Hi,
I have made a new GIMP3 plug-in. This plug-in is to use kaimonmok’s Film Scan Converter from GIMP.
How to install this plug-in.
Prerequisites:
Use uv to make venv for Film Scan Converter.
Make Film Scan Converter directory under $HOME/scripts
Windows users may need to install Git for Windows.
1) Installation of Film Scan Converter
The installation directory will be $HOME/scripts/Film-Scan-Converter. You may install it in a different location, but in that case, please adapt the instructions below accordingly. “$HOME” refers to the user’s home directory.
First, launch the Terminal (for Windows users, it is recommended to use Git for cmd). Make sure the current directory is your home directory ($HOME).
Next, use the following command to create a “scripts” directory under “$HOME”. If you have already created it, skip the following command.
$ mkdir scripts
Next, use the following command to change the current directory to “scripts”.
$ cd scripts
Next, use the following command to clone Film Scan Converter.
$ git clone https://github.com/kaimonmok/Film-Scan-Converter.git
Next, use the following command to create a virtual environment for Film Scan Converter.
$ cd Film-Scan-Converter
$ uv venv .venv (Create a virtual environment)
Once finished, activate the virtual environment using the following command.
$ source .venv/bin/activate (On Windows, use .venv/Scripts/activate)
Next, install Film Scan Converter using the following command.
(.venv)$ cd source
(.venv)$ uv pip install -r requirements.txt
Once the installation is complete, enter the following command to verify that Film Scan Converter launches.
(.venv)$ python ‘Film Scan Converter.pyw’
2) Installation of this plug-in
First, download my plug-in from here.
Next, extend this file, and copy extended files to GIMP plug-in installation directory and set python scripts property executable.
Next, edit config.ini in the directory to adapt your environment.
Default parameters are as below.
[Python Interpreter path]
PYTHON;/home/username/scripts/Film-Scan-Converter/.venv/bin/python
# Windows
# PYTHON;C:\Users\username\scripts\Film-Scan-Converter\.venv\bin\python
[Film Scan Converter path]
FSC;/home/username/scripts/Film-Scan-Converter/source/Film Scan Converter.pyw
# Windows
# FSC;C:\Users\username\scripts\Film-Scan-Converter\source\bin\Film Scan Converter.pyw
[Acceptable file extensions]
EXTENSIONS;.dng .DNG .cr .CR .nef .NEF .nrf .NRF .arw .ARW .sr .SR .raf .RAF .orf .ORF .rw2 .RW2 .rwl .RWL .pef .PEF .x3f .X3F .tif .TIF .png .PNG .jpg .JPG .bmp .BMP
[Use Nikon HE Raw or JPEG XL compressed dng]
NIKON_HE;False
# The value of NIKON_HE must be True or False
[Exiftool path]
EXIF;/home/username/Programs/ART/lib/exiftool/exiftool
# Windows
# EXIF;C:\Program Files\ART\1.26.3\lib\exiftool\exiftool.exe
# Mac OS
# EXIF;/opt/homebrew/bin/exiftool
[DNG Converter path]
DNG;/home/username/.wine/drive_c/Program Files/Adobe/Adobe DNG Converter/Adobe DNG Converter.exe
# Windows
# DNG;C:\Program Files\Adobe\Adobe DNG Converter\Adobe DNG Converter.exe
# Mac OS
# DNG;/Applications/Adobe DNG Converter.app/Contents/MacOS/Adobe DNG Converter
[temp. dng file deletion]
DELETE_DNG;True
# The value of DELETE_DNG must be True or False
This plug-in can decode Nikon HE compressed raw files, however to decode them it is needed to install Adobe DNG converter and Exiftool as helper programs and specify their path in config.ini. If your system is Linux, install DNG converter with Wine. If you don’t use HE compressed raw files, their installation is not needed.
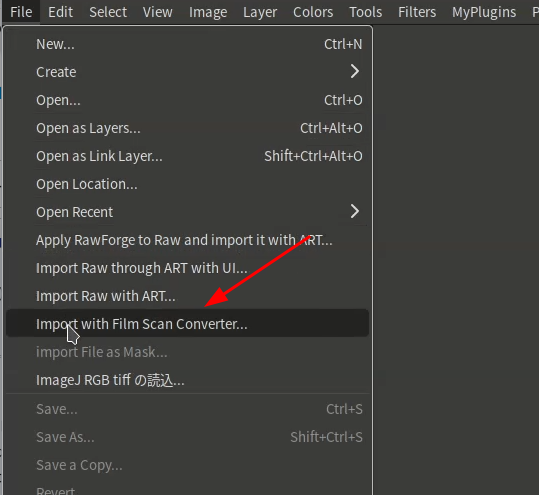
How to use this plug-in
You can run this plug-in from File menu in GIMP3. If you use Flatpak version, you should start GIMP with --socket=session-bus option.
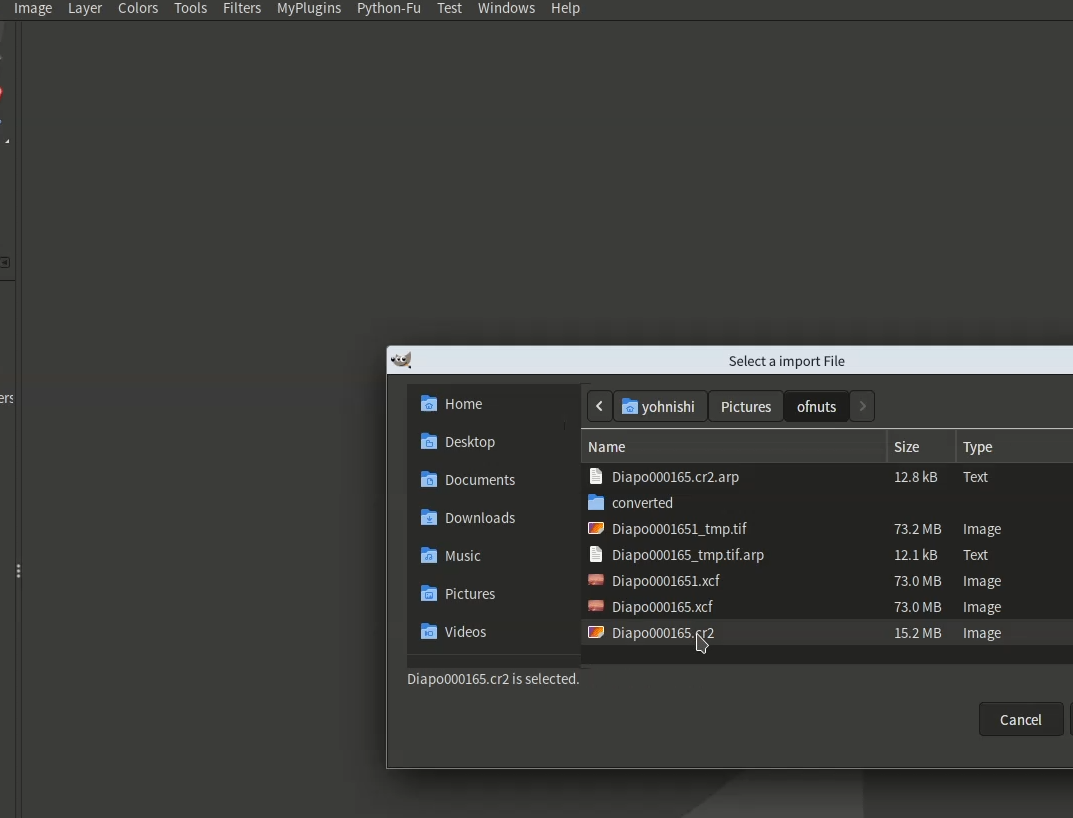
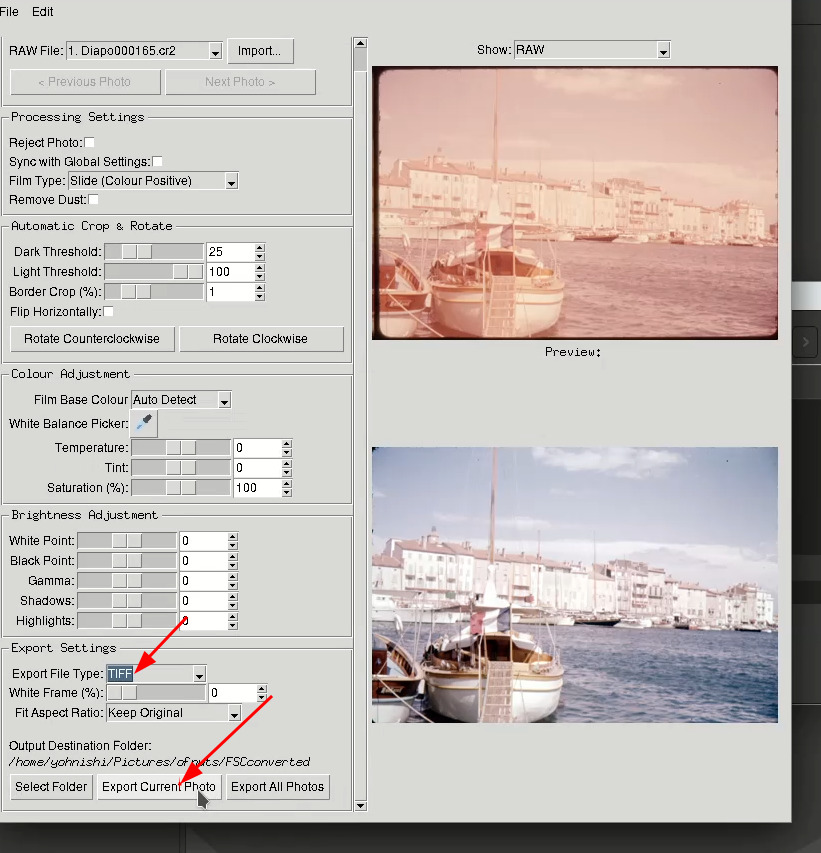
Once you select the target file, Film Scan Converter will launch.
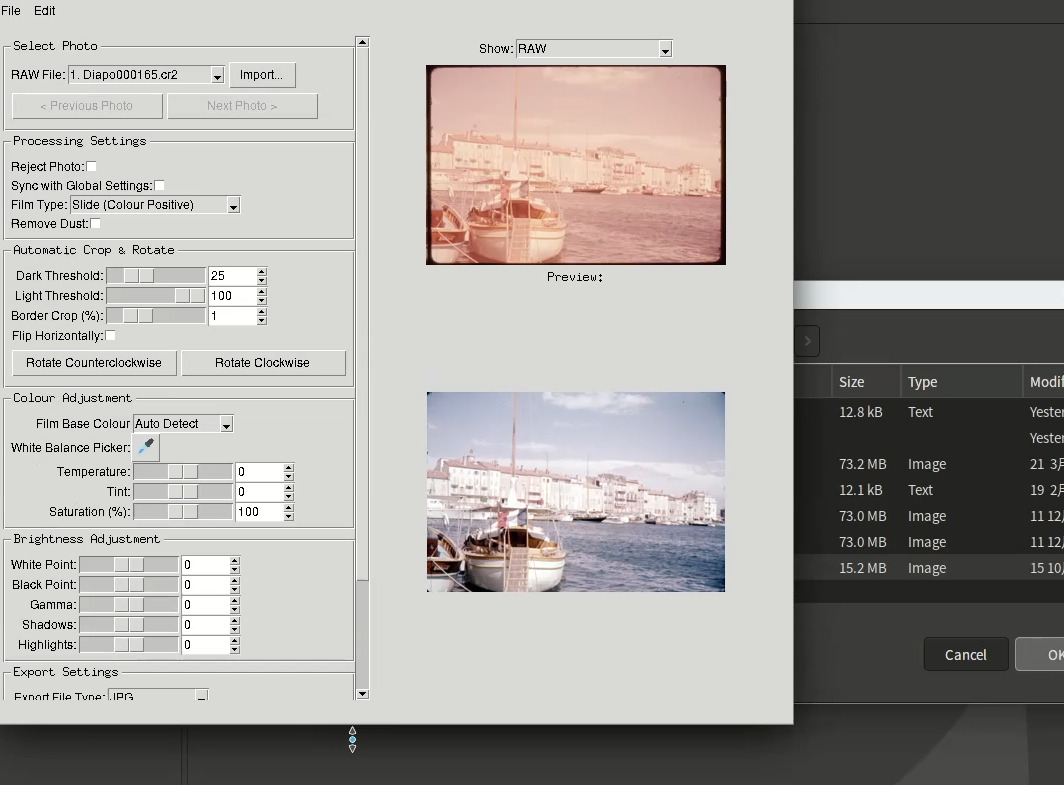
In FSC, edit the file and save the result.
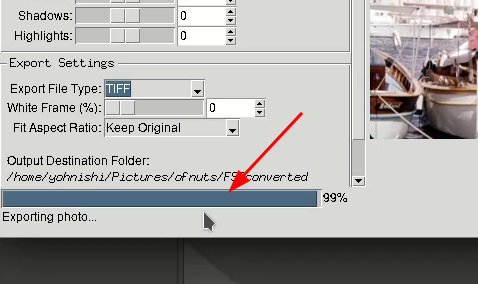
If you quit FSC, the result file will be imported in GIMP.