I have been digging into this problem since 2009 and still have not get a good understanding of everything. Here are some of my questions:
The RAW file should contain the original data that is recorded by cameras RGB channel, and those data would be the best starting point to the whole working process. Is there any software that can direct show those data on screen? For example, for a green patch on a color checker photo, show the RGB value recorded by camera sensors?
If I know those numbers, and the reference value of green patch sRGB data, it will be very easy to figure out the matrix that do the conversion between camera RGB values and sRGB values in final photo, it is just an linear algebra calculation and it requires only 3 color patches to do the calculation in excel, and the rest of the patches will align more or less
I have done this on cameras like DP1, with very accurate results, but not able to do it with Sony cameras, since I don’t know how to read their raw data file
Another problem is the tone curve. The brightest path on color checker has sRGB value 240,240,240, and the second one is only 200,200,200, and darkest one is 50,50,50. None of the cameras I have used could directly generate a shot that match these change of lightness, thus need some kind of curve applied to it. But a curve would also change the color of each patch (although not that much), so I’m not really sure if a curve should be applied first to camera raw data, then do the conversion from camera RGB to sRGB.
(I’m using sRGB for simplicy, since most of the devices use it, and aRGB workflow is similar)
You might find @ggbutcher’s Rawproc useful. I think every single processing step is optional in Rawproc, so it might be possible to get very close to the raw data. Glenn would know best, though.
RawDigger should get you what you want. That said, it sounds like you’re needlessly complicating things - at least if you’re using darktable (no idea about RawTherapee or ART). DT has everything you need to profile your camera and adjust colours accordingly.
The problem with GUI based tool is that the image that is displayed on your screen is already processed through certain kind of matrix conversion, so you are working with processed data, not the raw data. Only a command line based tool will allow access to the raw data, but without a GUI, it is difficult to navigate and find the color patch
This is also a question I’m seeking answer: The color checker photo you see in this video is displayed in sRGB color space, it means some kind of color space conversion is already done even before you do profiling. So your generated matrix might be multiplied on that matrix, that make the process more complicated
I think the purpose of profiling is to find the optimum matrix that directly convert camera RGB values into sRGB values (Let’s assume D50 lighting conditions apply which is the sun light), but GUI based profiling tools all need to convert camera RGB values to sRGB values first in order to display it on the screen, so you are actually profiling against already processed RGB value, and I’m not sure how many matrix actually were involved in the conversion process
I wouldn’t worry about what you see, worry more about what the software is doing internally. They’re not necessarily correspondent for this application.
Could the calculations not be going on elsewhere and then the result is of course processed by the display profile for visual display on your display… I really don’t know for sure I guess you would have to review the code, but if you check the thread recently started on color shifts in the Nikon D3400 with the default input profile you can see that using a sample image from imaging resources in what would be different lighting than what the OP shot in you can still manage a nice adjustment to correct for the magenta bias introduced by the input profile used by DT…
Don’t know how you got that idea, but it’s complete nonsense. Any given program will work internally with the color data in whichever representation makes the most sense, regardless of how that same data is visually presented (or not) to the user.
Yes on the screen, which has nothing to do with internal processing. In this case, the color correction is done in the color calibration module, which means a Linear Rec2020 RGB color space is used.
Honestly, it sounds like you have some very fundamental misunderstandings and gaps in your knowledge.
You said it right, because all those GUI based tools works like a blackbox, I really don’t know what they do under the hood, therefore my questions. If you know how the whole process is, please share it
However for a X3F file for DP1, it’s format is very simple, since it does not require demosaic, and it only contains one matrix. There are tools that I can replace the matrix in it , and by trying different matrix, I could get srgb values very close to reference value. But for other camera, I feel that the whole process is more complicated and I have never been able to generate a profile that makes photo looks precise enough (I don’t want to use LUTs to avoid color banding). I even doubt that this is a limitation from the sensor itself
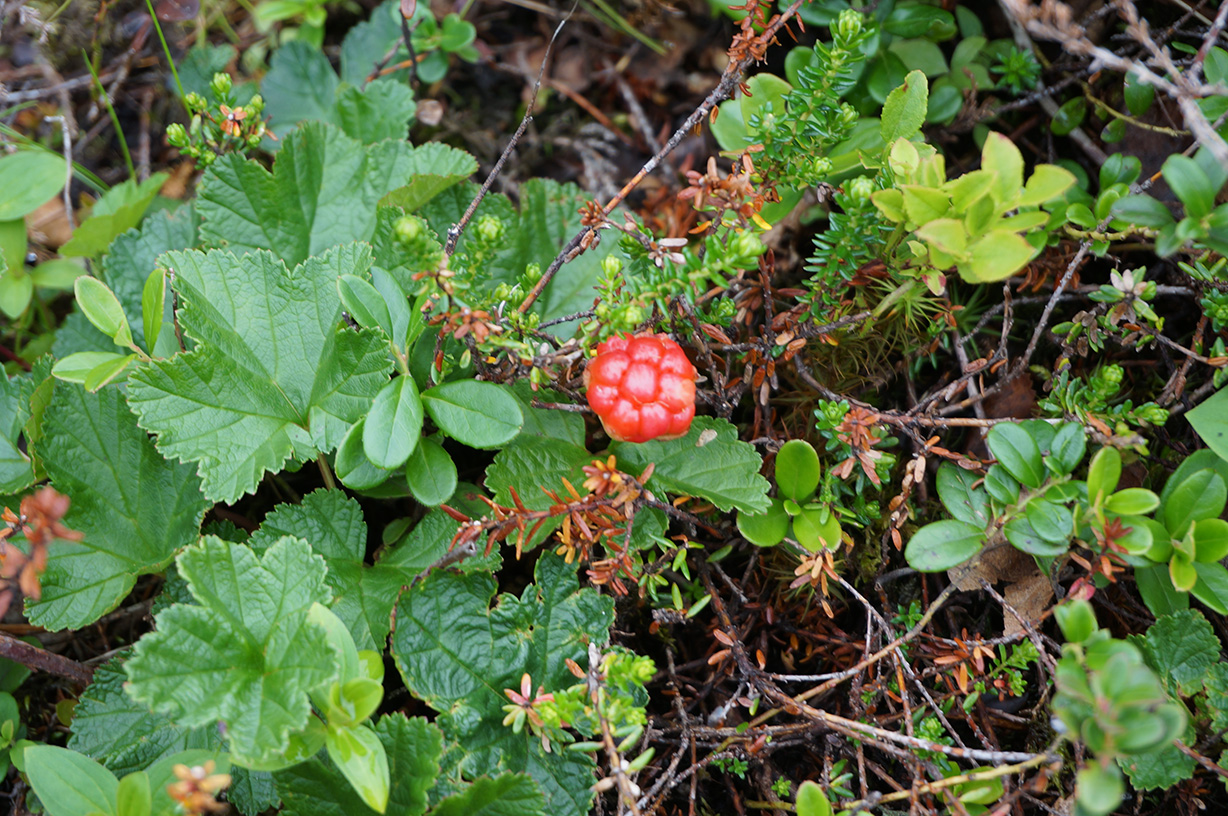
Take this photo for example, it is a in-camera jpg for cloudberry I shot in northern norway, but none of the camera profile I use for the camera can replicate the color I remember. In-camera jpg to be the closest one but still not exactly right. Of course this is a deep saturated color with red channel over exposed, but I still think a good profile would be able to reproduce the color
Keep in mind that the reference values for your colour chart are not measured in sRBG, but in Lab (*), and then converted to sRGB (which is a valid procedure). Those reference values are produced for a specific, strictly controlled illuminant and not through any pĥotographic process.
If you really want top colour accuracy, you’ll have to include a reference in the image. Otherwise, you’ll always be “guessing”, memory being notoriously unreliable…
And if you have a channel over-exposed, you’ve lost the information about the exact colour (which is the ratio between the colour channels; red will be too low, so displayed colour can shift to orange or magenta, and saturation will probably be off as well).
(* That is exactly what that colour space is ment for, btw, and it’s perfectly valid for that use. The problems with using Lab in photo editing come from the large range of L values required. And only L values in the range 0…1 are valid
Not only this you have a pixel pipeline…that JPG being used as the reference for an input profile is fully processed by the camera… The input color profile can only be set to make the color accurate at the point it receives its data. Steps done after that will either subtly or dramatically impact that final color so at least in the context of DT your not going to get a finished recipe from the input profile without a tone curve and or LUT embedded and then the use of that profile will be more restrictive when used or applied generally… at least that would be my interpretation and its why you have the colorchecker. Under the conditions you shot you have data for those colors. Software can create a matrix to make those as accurate as possible at the input stage but global and local edits are going to alter that
I suggest you haven’t looked closely enough, then. All sensible image editors will have a working color space, a display color space, and an export color space, and they will typically let you choose what to use. The display and export spaces are converted from the working space as needed. And RawDigger very specifically says right there on the front page that it tells you the RAW data values, so I’m not sure what there is to be confused about.
Yes, you need to demosaic. Whether it’s best to do it before or after the color transform, I have no idea, but darktable does white balancing before demosaic, for what it’s worth.
I guarantee that the sensor didn’t accurately record reality either.
It’s just as wrong, just differently. And as @rvietor says, you can’t trust your memory.
No profile will be able to accurately reproduce the color. Once one or more channels are clipped, that data is gone and the best you can do is an educated guess. And for that guess you need actual reconstruction algorithms, not a matrix. And even if there’s no clipping, bringing highly saturated colors, like with flowers, into gamut will always be problematic.
Before you spend more time on this, I recommend you read most of the articles here, starting from the top:
But to give you an idea of what you’re up against, start with this one:
I can trust my memory that they are different, since this is shot a few days ago, and I compared the on screen preview of that image side by side with that cloud berry, the real world object showed a slight orange tint, while the camera could not show that tint, the same with the mobile phone shots, lack of that orange tint. I think this is because human eyes have high dynamic range thus the overexposed red channel is still tolerable, so the red response is weaker than camera, and the object appears not that red
It is this kind of difference let me want to perfect the camera profiling again. For those rarely-visited places in the world, you see all strange colors that is not seen in anywhere else, it is a pity that camera can not reproduce the perception on site
Another example is shots with traffic red light, it is always overexposed in red channel, however some of the camera can handle it right so that red light still appears bright red, while other not so correct profile will generate some kind of color shift. This kind of color shift is bad since it changes color impression, and I try to avoid it through good profiling
Yes, what you mentioned are all very good points, there are so many moving parts in the whole process that I usually quickly lose my way in reading all kinds of articles on the topic, since most of them only describe part of the whole process
But still, I was able to process a color checker shot by X3 image sensor, with color patch sRGB value very close to reference value (each channel error less than 5), and I just used a manually calculated matrix. Maybe the format for X3F image is not that advanced like today’s DNG with many kind of advanced information in it, that is a very stright forward one-matrix-decided-it-all approach. So I suppose that it should also be possible for other sensors
No, you really can’t. The only way to remove all the biases your vision will introduce would be to take the rendition back to the scene and hold them side-by-side, in the same light.
You’ve got the right idea in chasing a good camera profile. Your camera is a measurement device, and properly characterizing its spectral response even with a coarse 24-patch ColorChecker target will ensure its measurements are properly interpreted colorimetrically. Trust that, not what you think you saw, at a later time…
I compared camera display and the real object SIDE BY SIDE on site that day, my memory is that they looks different
But camera uses auto white balance, by changing the white balance to cloudy in post processing, which added some yellow to the photo, I could get the color close to my impression now, but still the precision of camera profile need to be improved