Raising detail with tonemapping

There’s many ways to achieve a detailed image with good range and contrast. One of my favorites is to employ some of the tonemapping operators in LuminanceHDR.

For example we could start with a raw, or a bracket of raws for processing. I’ll just use a bracket of 3 exposures [-1.33, 0, 1.33]. This methodology can be used to raise details on single images just as well as multi-shot brackets.

  1. Dropbox - File Deleted - Simplify your life Middle [0] Exposure
  2. Dropbox - File Deleted - Simplify your life Under [-1.33] Exposure
  3. Dropbox - File Deleted - Simplify your life Over [1.33] Exposure

The middle [0] exposure looks like this straight-out-of-camera in linear gamma:

I’ve learned from various tonemapping and HDR creation tutorials that blending the results of tonemapping operations can be advantageous in the quest for photographic dynamism. Each has a unique algorithm for obtaining dynamics, but sometimes one method is not enough to produce something beautiful.

Note: In case you are wondering, I use HDR creation profile 5.

Here are my favorite operators:

  1. Mantiuk '06. I leave it at the default settings and tone map the full image resolution.
  2. Fattal. Usually default is ok, but sometimes I bump the beta to somewhere between .95 and 1. Sometimes I wiggle the Alpha slider and look for good highlights.
  3. Durand, which produces what I would consider classical tone-mapping. I keep Base Contrast somewhere in the middle, Spatial Kernal Sigma at 1.00, and Range Kernel Sigma at .10. Then adjust the pre-gamma down until you have a good color range.
  4. Ashikhmin, Eqn 4, with the Local Contrast Threshold all the way down to 0.00. Pre-gamma will also be adjusted for good range, not too dark and not too washed out. You may need to use Adjust Levels to alter the output gamma to your liking.

That gives us four 16-bit TIFFs to work with, and I like to create a fifth with a basic Rawtherapee edit of the middle [0] exposure, default mode is ok, but I turn sharpening off.

Open them all as layers and arrange/blend them from top to bottom like this:

  • Rawtherapee Edit/Normal, ˜40%
  • Ashikhmin Eon 4/Color
  • Mantiuk '06/Overlay
  • Durand/Normal, 50%
  • Fattal/Normal 100%

I can sometimes get away with some Unsharp Mask on the Rawtherapee edit, and adjust it’s curves to help fill in mid-tones, or whatever range needs support. Blending that layer in helps control some of the hyper-realism effects tone mapping can sometimes produce. Some may opt to skip the USM and use a High Pass overlay, or another algorithm like R-L Deconvolution. You can also duplicate the Durand or Fattal layer and put it on top instead of the straight Raw conversion, too. Whatever suits your needs according to the data at hand.

So this was one way to enhance images using tonemapping operations. There are other ways I have yet to discover. Perhaps you can enlighten us with your own techniques on your own Raws or Brackets of Raws. If you’d just like to practice, download the RAWs, give it a whirl, and post up your results. The method works on many types of subjects. Sometimes LuminanceHDR will balk at noisy images and won’t really work out for you in that case.

If you just want to peruse the gimp .xcf here you go: Dropbox - File Deleted - Simplify your life


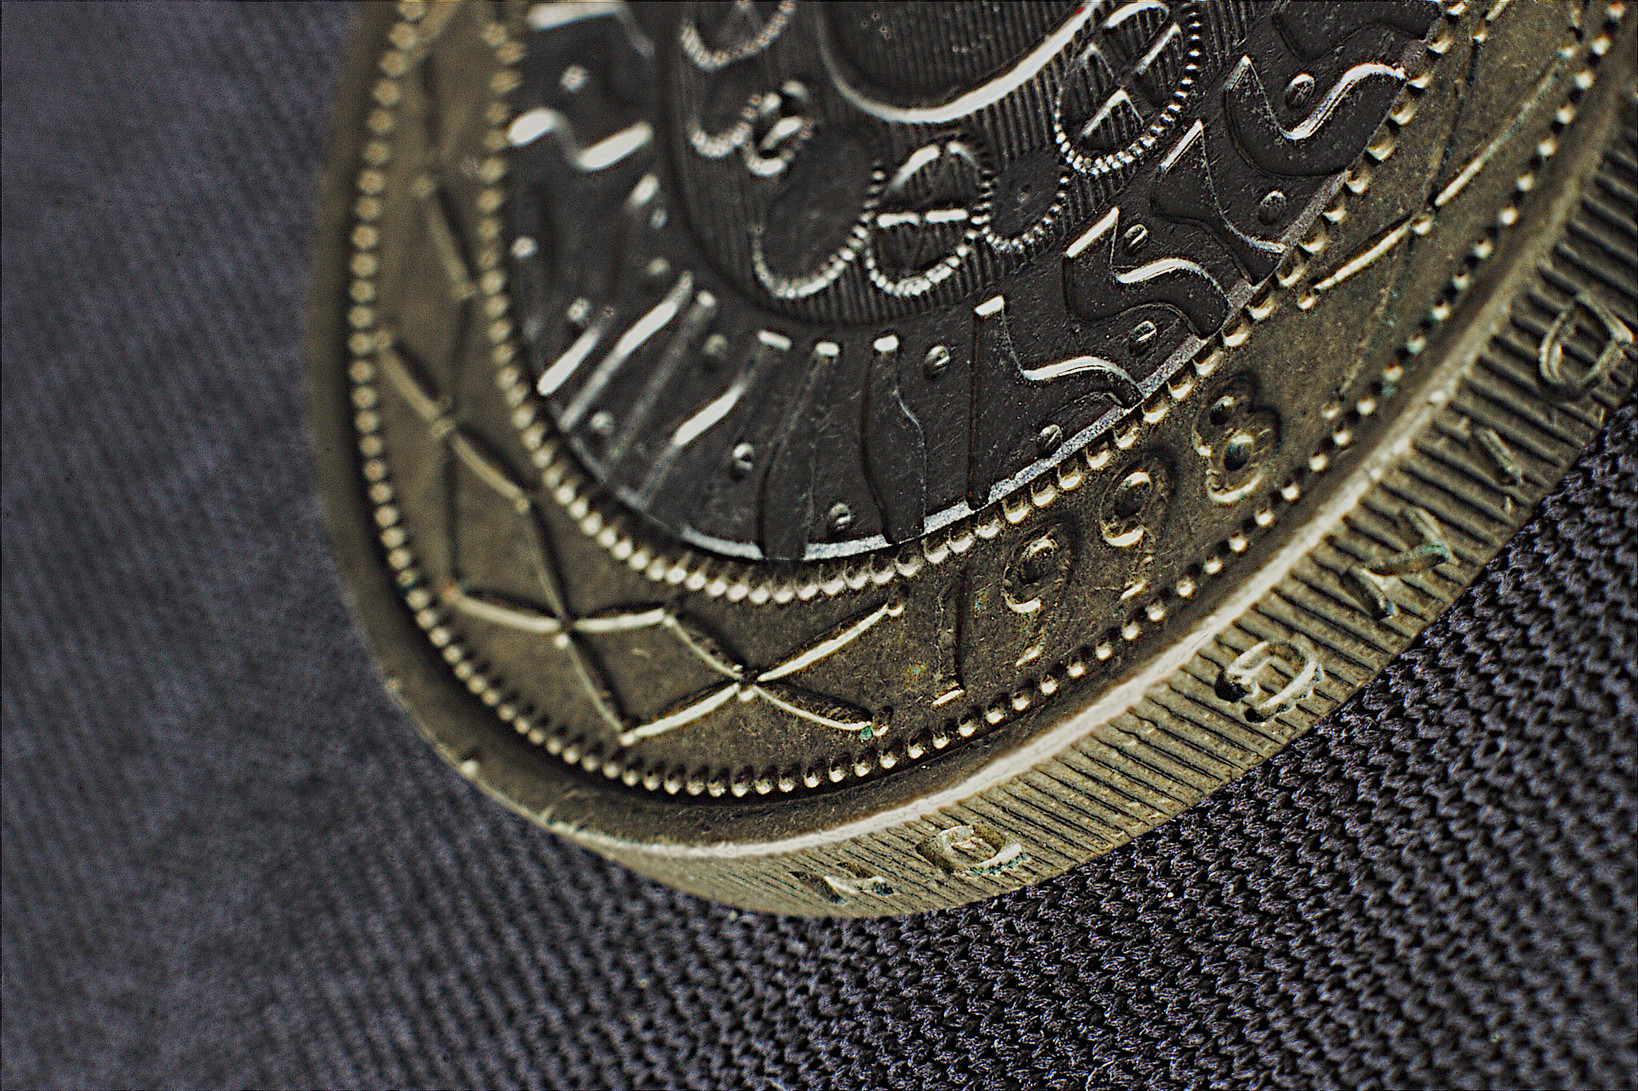
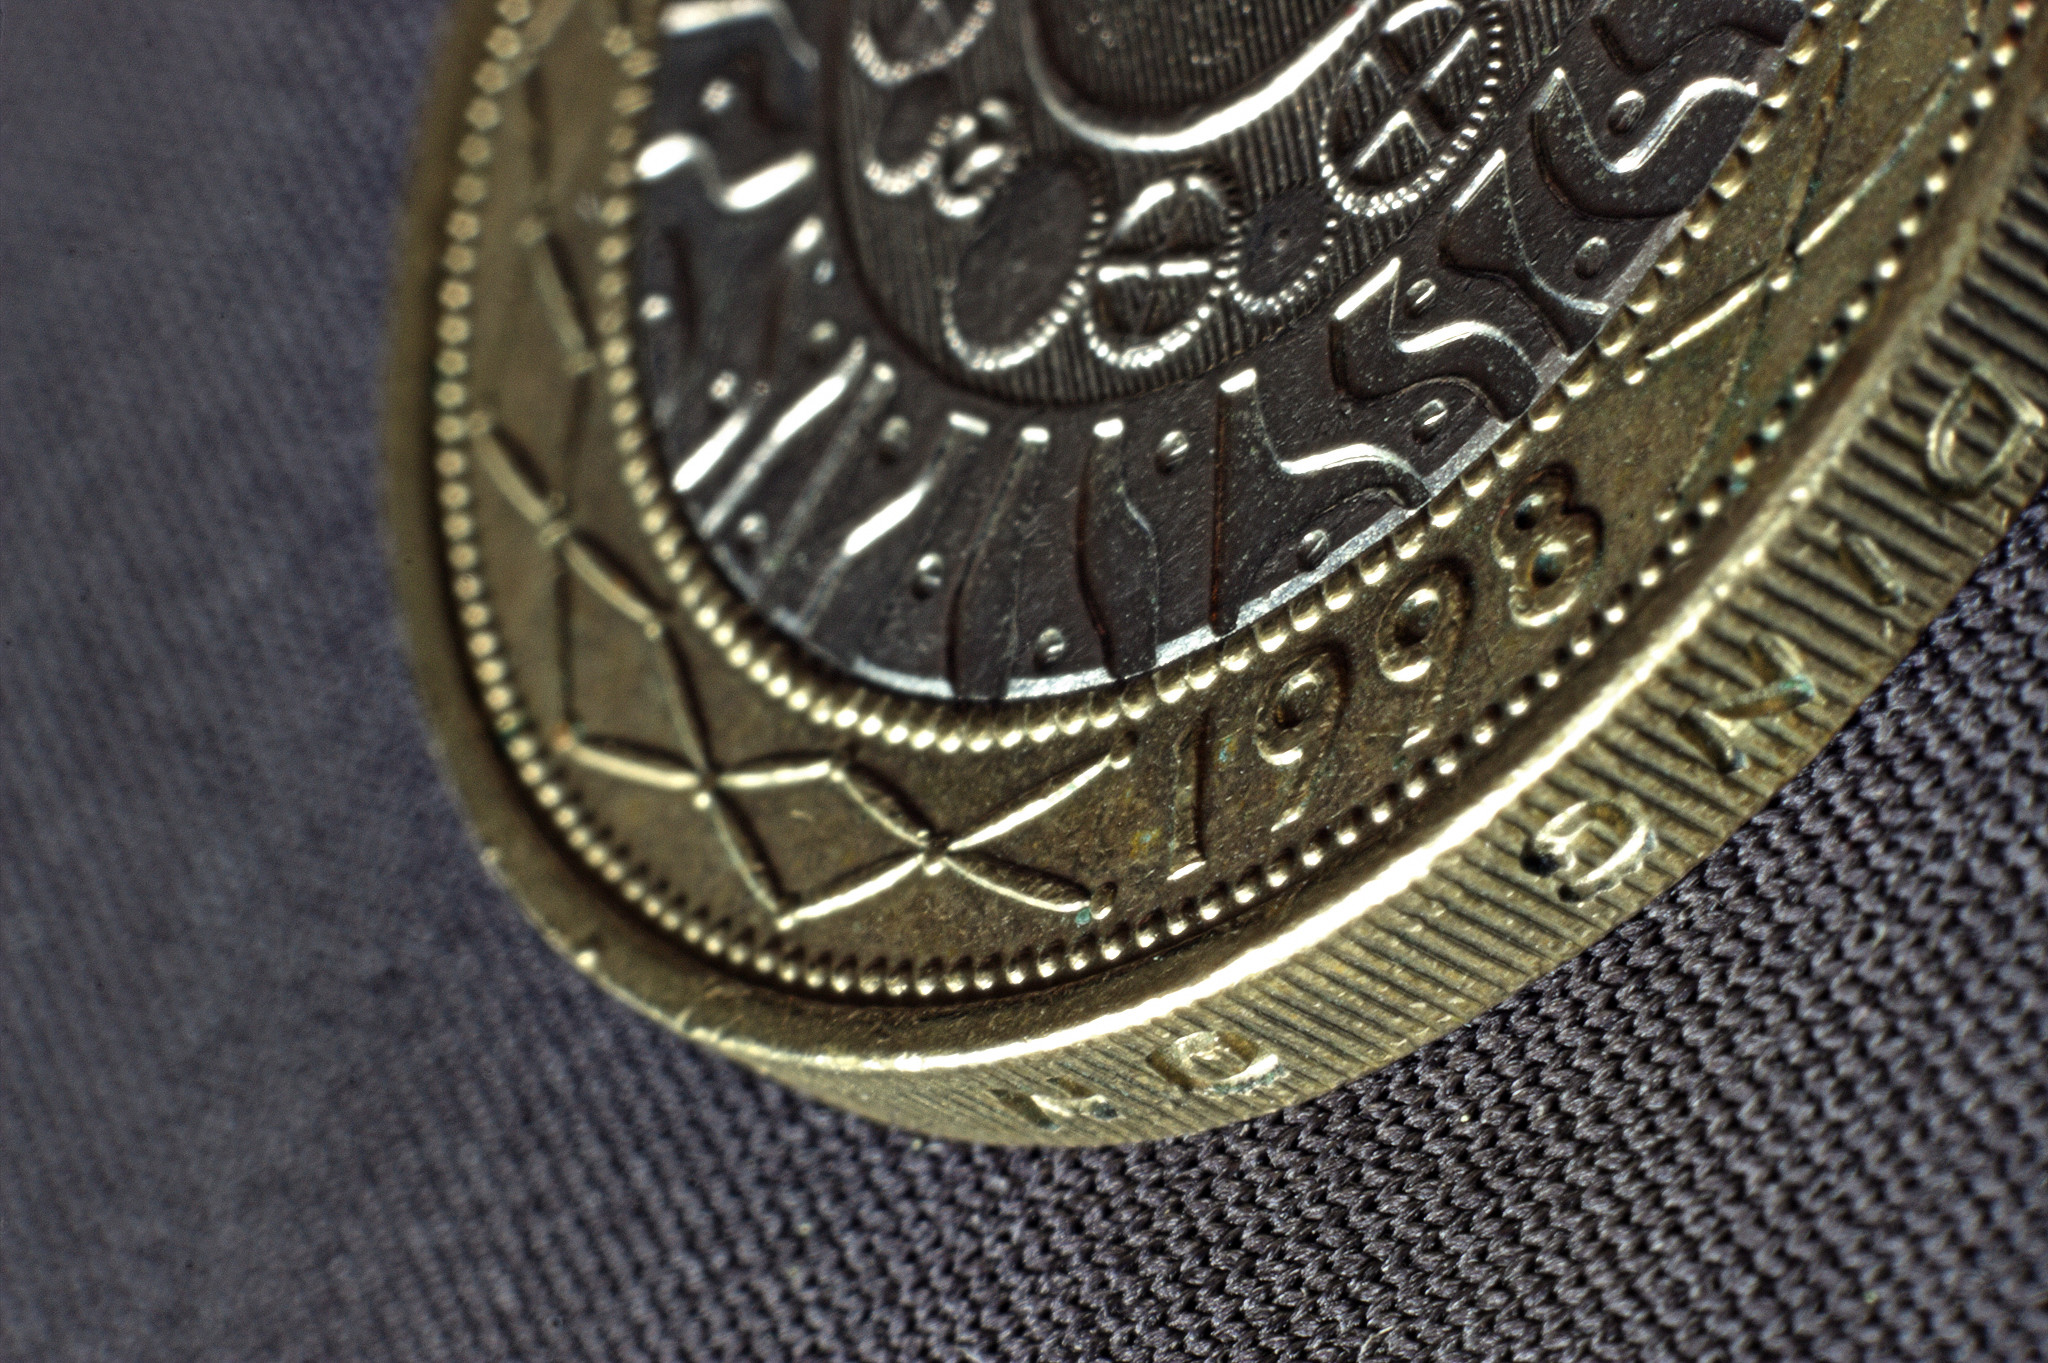
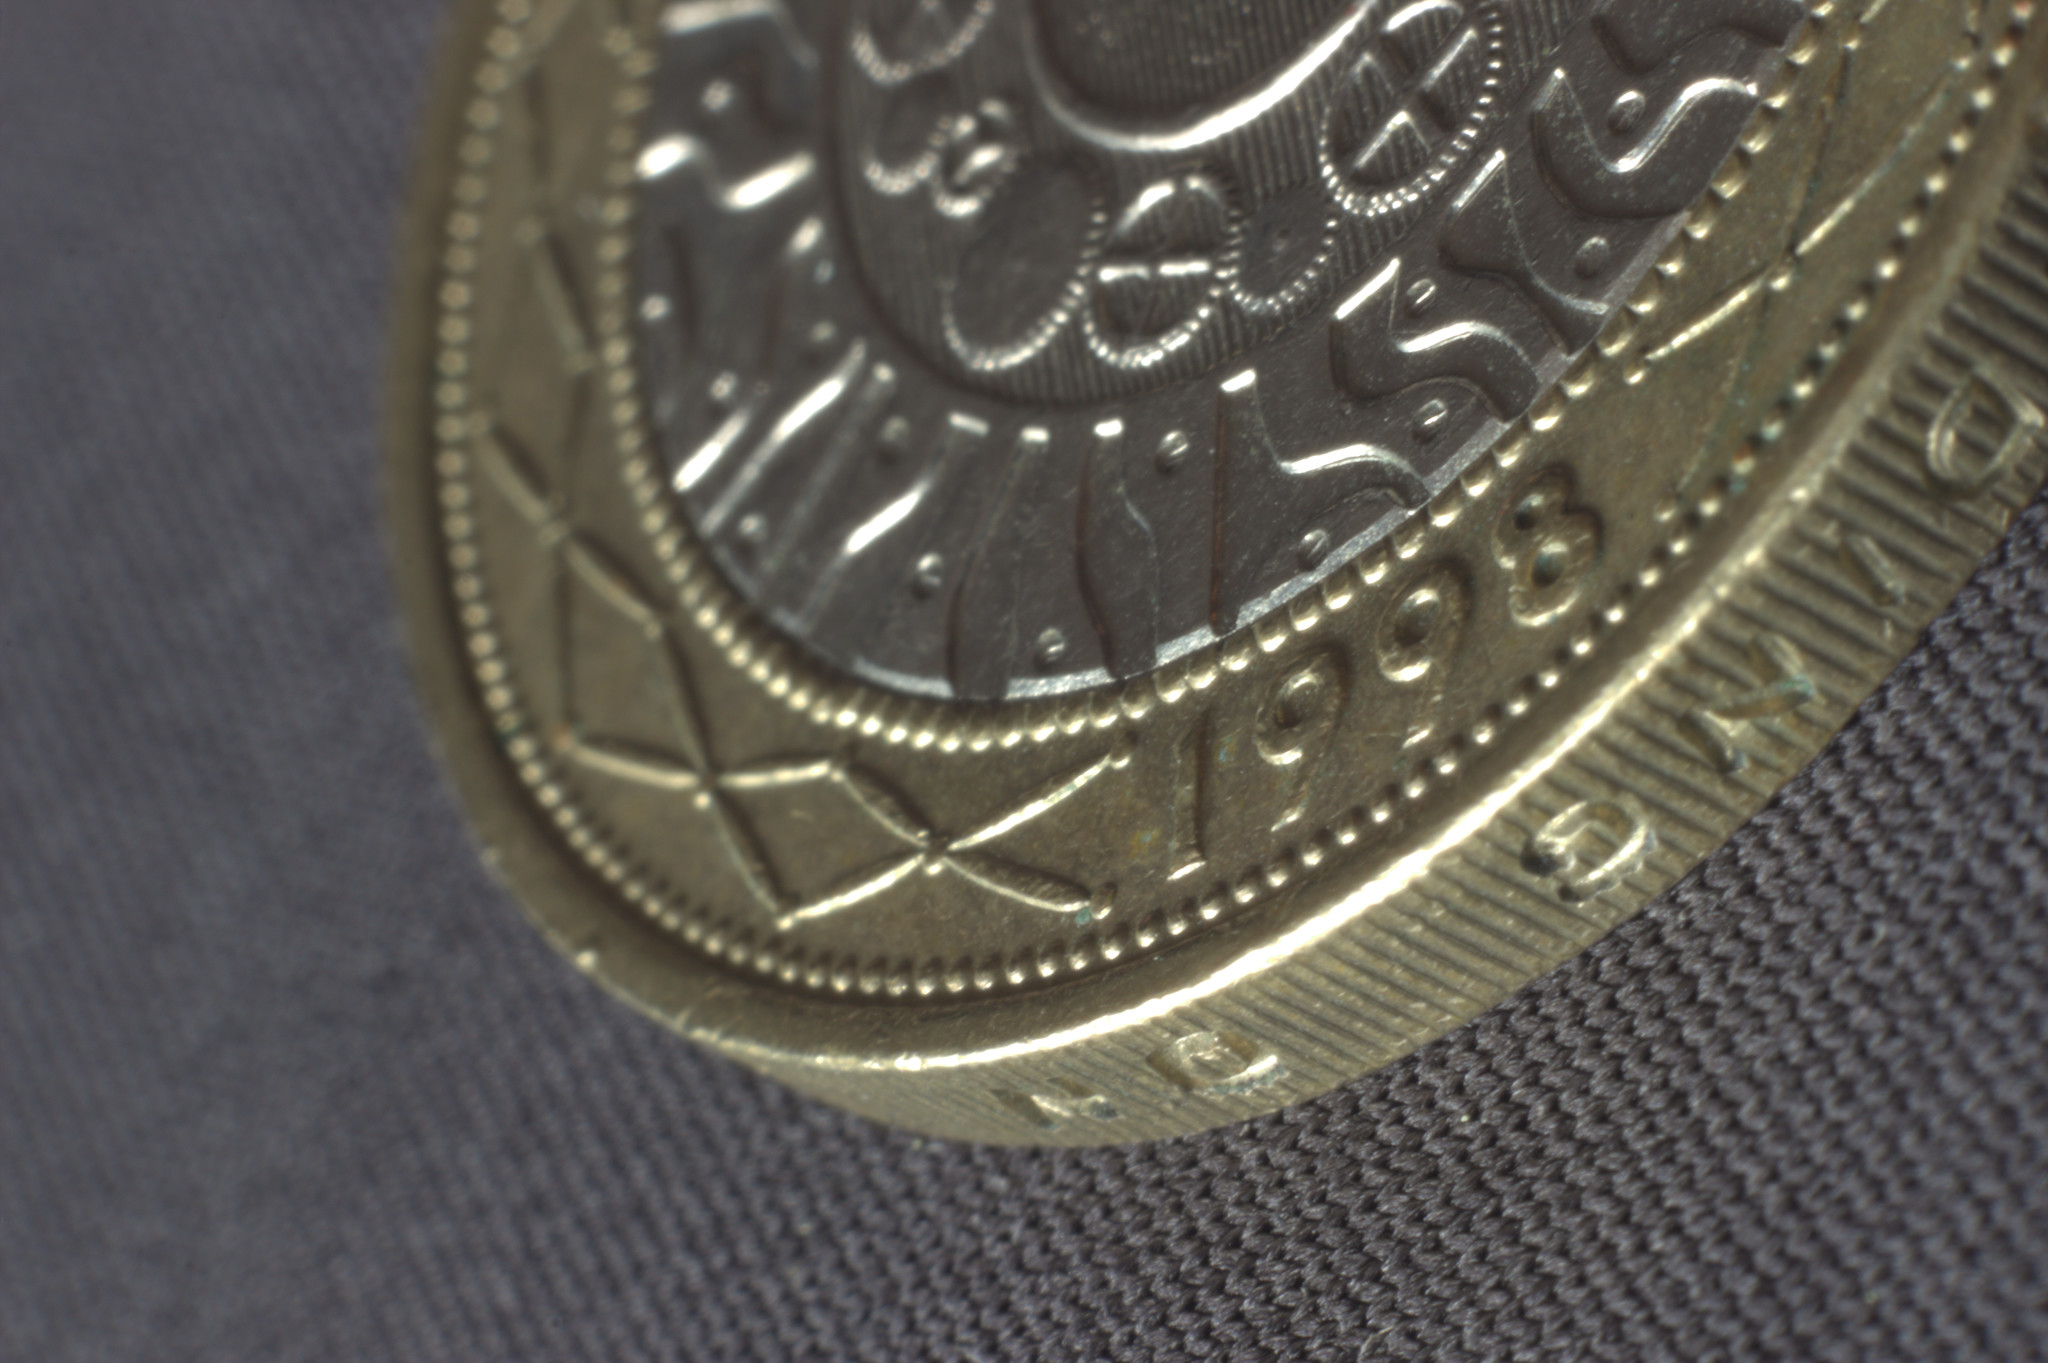
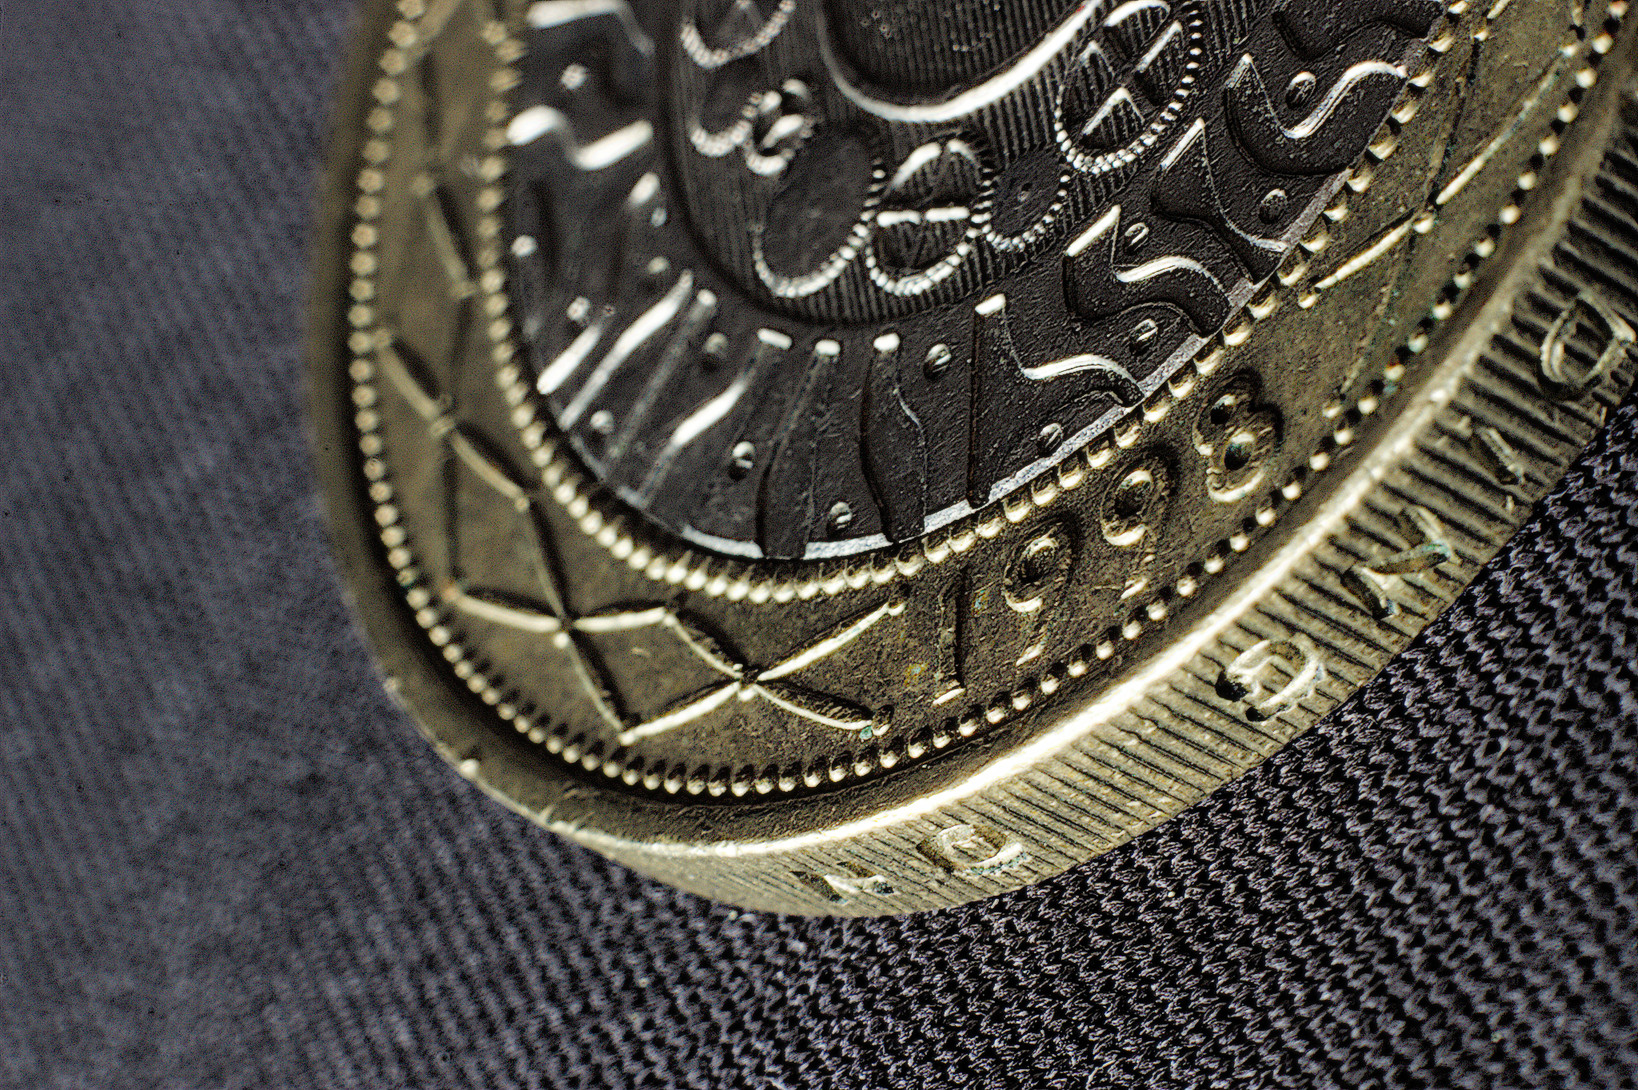
Tone mapping of single image using similar steps as above (you’ll have to ignore the highlight errors here and there):

7 Likes

This is a great write up, thank you for sharing. Dare I even suggest that @patdavid should post this as an article on the main site? It certainly is quality!

2 Likes

Filmulator’s tone mapping can be used for the same purpose, though much more subtly.

Could you explain why you need five different operators layered together? What does each do individually that you feel the need to merge with others? Can you show me the work in progress?

Default output:

Drama 100 (reduced developer replenishment), upper medium-format film area (reduced radius of developer diffusion) along with a lowered white point and darkened shadows slider to get the overall brightness similar:

2 Likes

Oh yes I forgot to explain what I like about the tonemapping ops.

Fatall has good contrast and serves as the image base layer. Durand has good dynamic range compression and I blend it with the fattal layer. Then Mantiuk '06 is used in overlay mode because it has very accentuated details, and we leave it slightly desaturated because the next layer, Ashikhmin Eqn 4, is used in color mode, thanks to its accuracy of colors. Then I’ll find that I’ve overcooked things a bit and blend in a flatter-looking layer like straight out of raw or whatever it needs to look natural.

Btw the filmulator results look amazing!

When I see the image, I can almost smell the metal. That’s why I like it. It is all metallic luster in detail. Now you can even see a bit of how the metal is processed.

Also check out the layers in the linked xcf file if you’re interested in seeing the tonemapping results I obtained and smashed together in gimp. I pared it down to 2048 pixels so it’s only 78 some odd megabytes.

With G’MIC, I did some work on your first “straight out of the camera” jpeg.

I used the filters: Details Equalizer, Local contrast enhancement, Local normalization, Local variance normalization on different layers with different opacities. I created a new layer from visible and sharped it with G’MIC Richardson-Lucy.

I know it isn’t perfect at all (and on a jpeg), but I want to show that you can do this things also with G’MIC. :wink:

2 Likes

Agreed! I’ll give it a little bit for everyone to talk a bit about it.

1 Like

Very nice iarga. I started using some gmic filters recently, and just the few that I’ve tried seemed very powerful.

Thanks and you’re welcome paperdigits!

I"m am such a baby at processing and I’ve been at this for 14 years. The things you guys are talking about - applying different sharpening to different layers are things I haven’t even thought of. This is why I love being on this forum.

3 Likes

I enjoy reading about various uses and combinations of tone mapping operators so that part of the tutorial has my support, but please don’t mislead yourself and others into thinking that this misunderstood, magical thing called “HDR” has anything to do with getting out detail from the coin photo. The scene in that photo does not have a high dynamic range (except for the specular highlights, but those are clipped in your final version as well), so nothing is gained by bracketing and going the long HDR route. Simply tone mapping a single raw image will do the job.

I would appreciate if you maintained a clear distinction between HDR and tone mapping if this article goes on the front page, otherwise it misrepresents things and adds to the already large body of sloppy writing which leaves people deluded.

4 Likes

Yes, tone mapping can be done on the single images as well as HDR sets, sorry if that wasn’t clear in the info. I try not to go into the difference between HDR and tonemapping. I do use this particular workflow on both single images and multiple images. As far as the highlighted areas goes, hey not bad for free. I think I was exposing for the flat part of the coin and ignored the blinking camera’s LCD on purpose. Sorry about that.

As an aside, pretty much everything I’ve read out there regarding HDR and tone mapping has been useful to me in some way.

Anyways, I’ve removed any references to the term HDR except one sidebar.

i like other results here better, but just wanted to take a pass using primarily retinex and wavelets in RT… (also did a sloppy selective wavelet sharpen after resizing in gimp using g’mic for the wavelets…)

IMG_1874.CR2.pp3 (9.5 KB)

1 Like

That’s a beaut, todd! Nice and crisp and good use of retinex. I try to utilize retinex from time to time but usually end up frustrated by my lack of practice with its many functions.

Agree. I’m for!