Hi
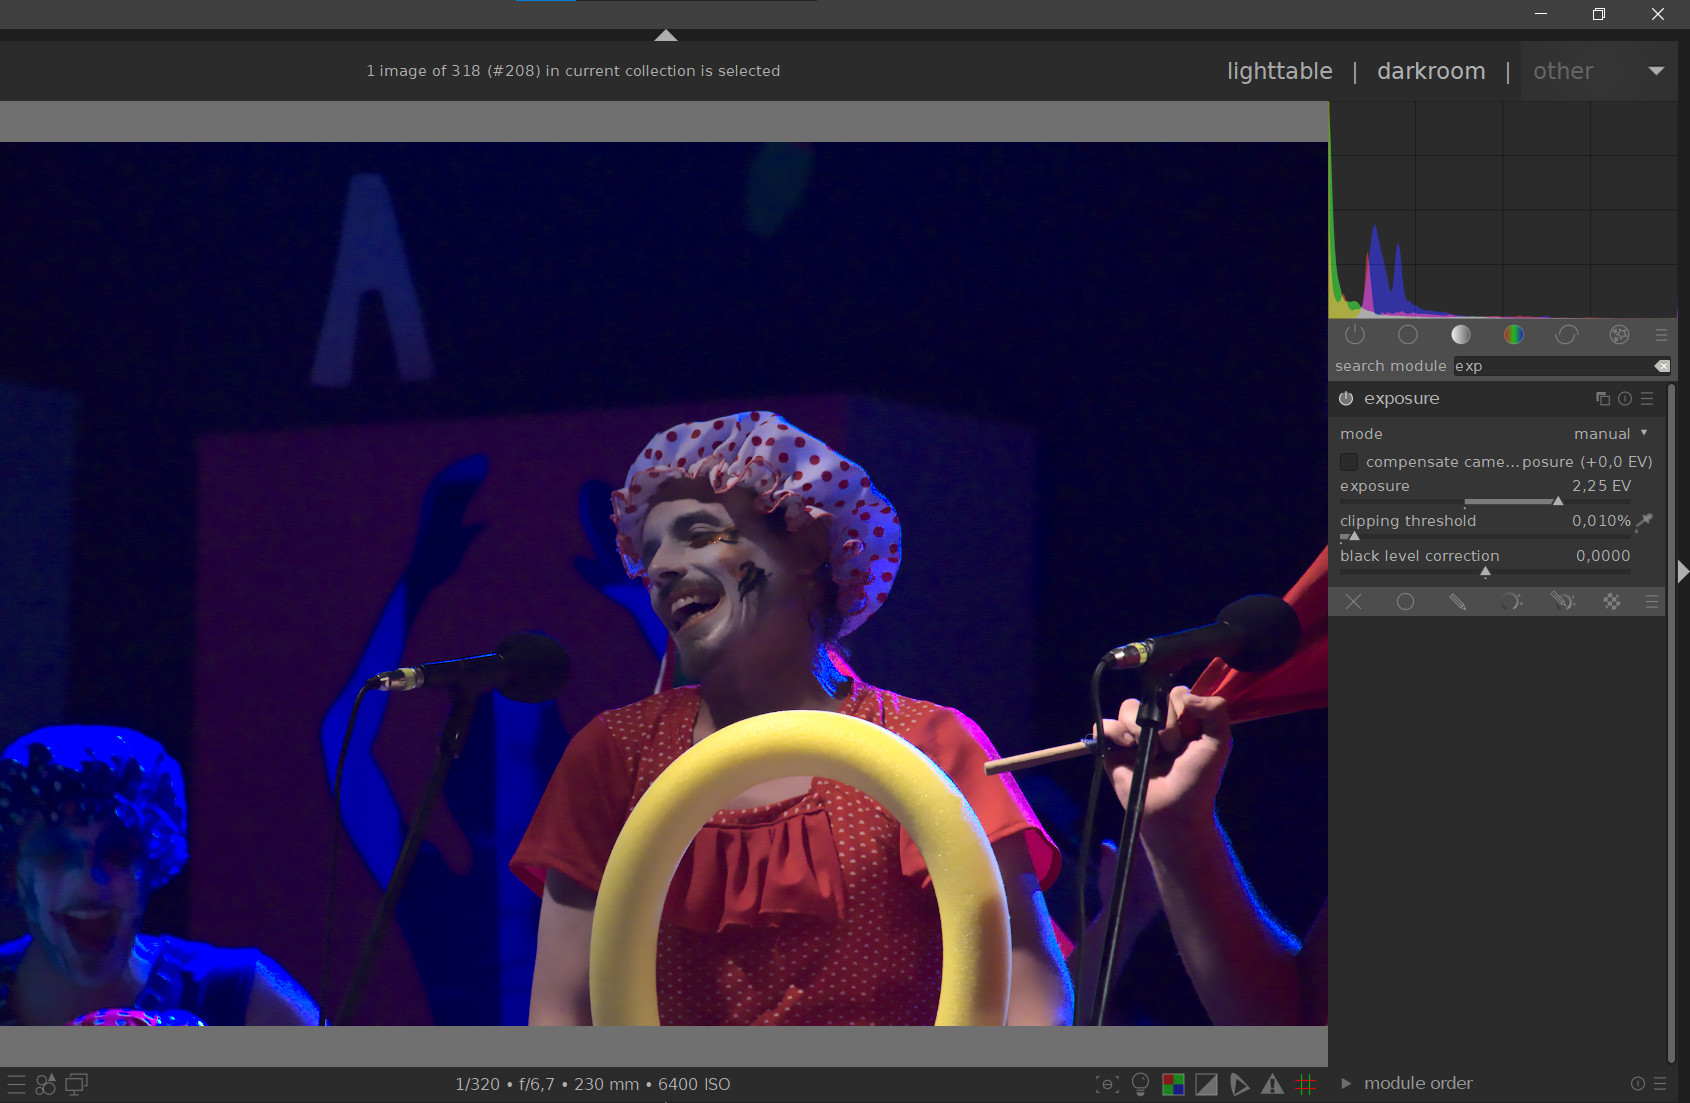
Which is the mathematical difference between increasing the exposure level and decreasing the White level in the RAW BLACK/WHITE MODULE? Experimenting I find small differences but I prefer the results fo decreasing the White level in the module.
Mathematically there may not be any difference, but conceptually there’s a big difference…
The raw black and white point settings tell dt what the physical limits of the sensor are:
the black point should give the lowest significant signal value, lower values represent mostly noise
the white point gives the largest value the sensor can report before hard clipping.
Those values are independant of the actual image, they only depend on the camera/sensor and iso setting. As such, they can easily be set automatically. So “Raw black and white point” is a purely technical module, only to be used with raw files. That’s “probably” also the reason that you cannot use masks with this module.
Exposure, otoh, is a module that is used (coneptually) to set the middle gray level in the image (or part of the image when you use masking). The “proper” setting for this depends on the image and on your vision for the image, and can be different for each image yo work with.
One mathematical difference is that “raw black and white point” works with integer values, whereas “exposure” works with floating point (triplets).
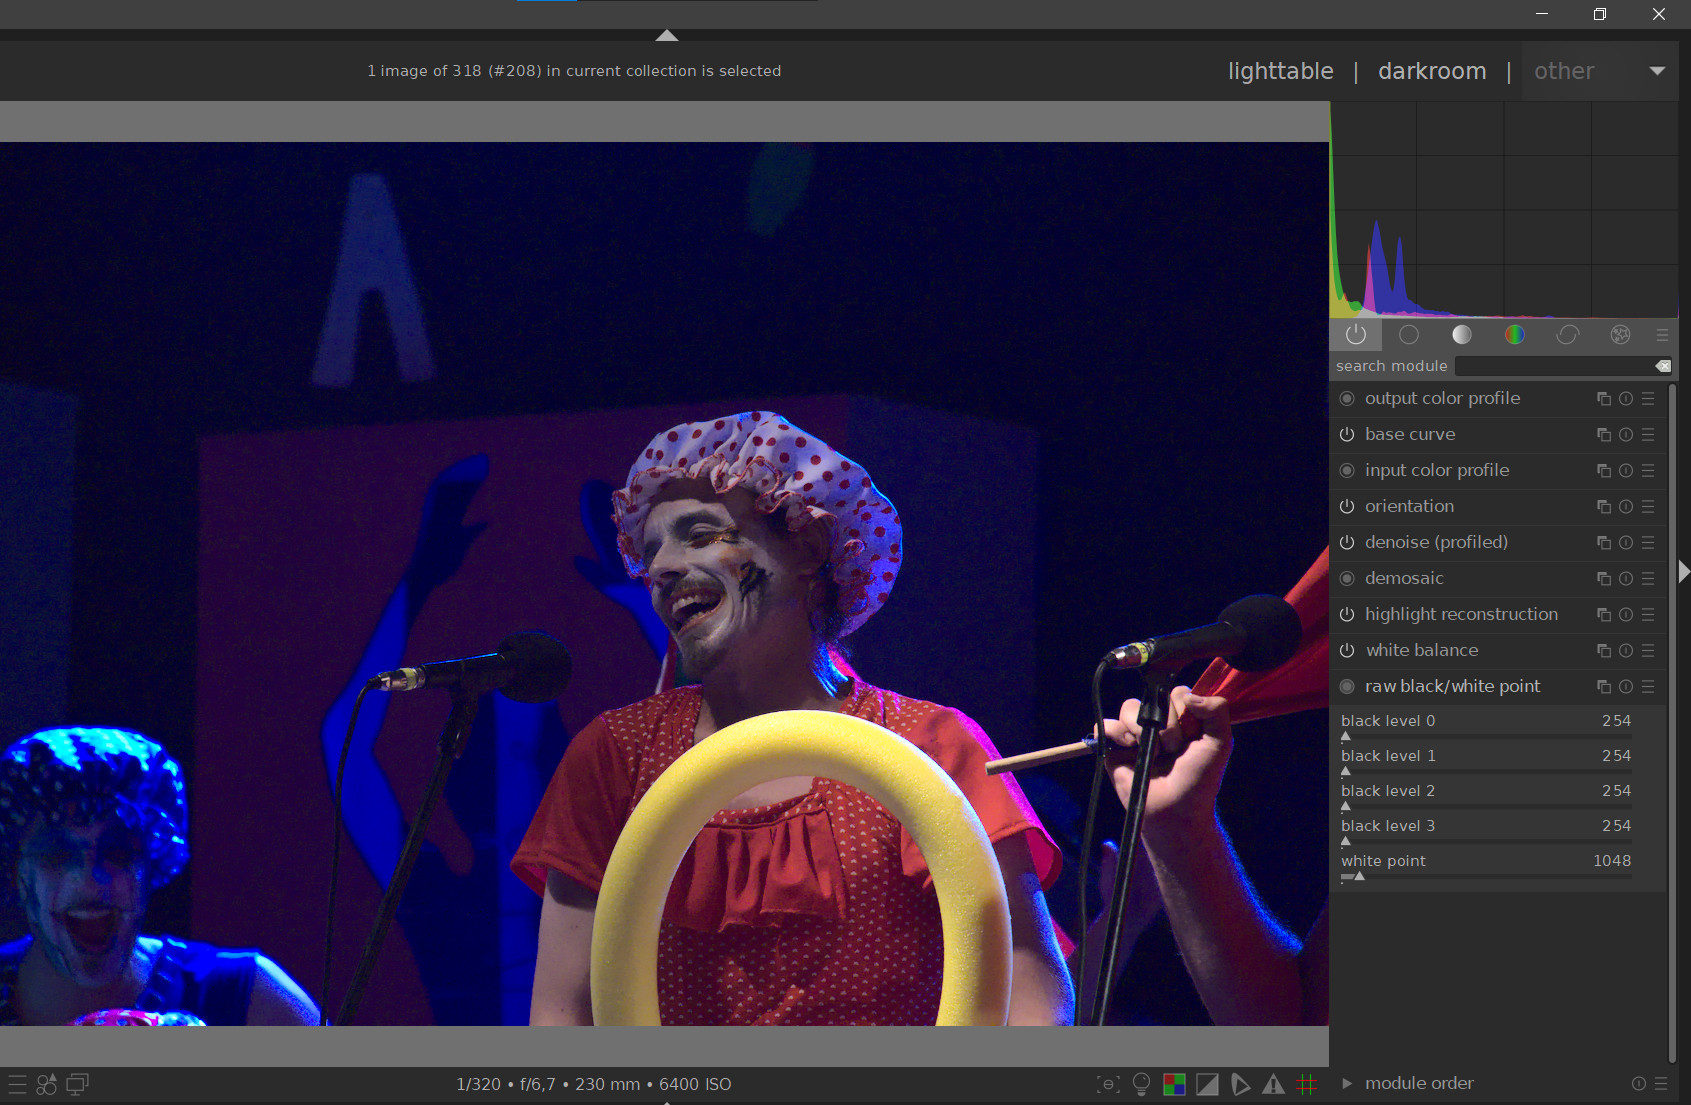
This is the second try, with White Point decreased from 4000 to 1024.
As you can see, the histograms are very similar, but in the pictures there are some small differences. For example in the cup of the “blue” clown, in the second image, there are some white points that are not in the first. I assume, that this is because of the posterization due to the integer values that you mention. Is that correct?
Neverthless, I prefer the second image.
Normally this is a technical reference set by your camera and not altered unless the values are wrong. It may have other consequences if you mess with it.
You probably don’t have posterization, but clipping when you lower the raw white point that much.
The raw white point gives a maximum value to be considered valid, anything above the value you set will be read as having that set value (in your case, any point above 1024 will be considered as having the value 1024, even if the original value is 3999). Also, the clipping can affect only one colour in an area, leading to colour shifts in the final image (that blue hat: blue is clipped, red and green are not, so you end up with a shift towards cyan)
The exposure module does a straight scaling, without clipping anything, and without changing numeric ratios between channels
So, contrary to what I said in my first reply, there is a mathematical difference between the actions of the two individual modules: raw point clips, exposure scales. Apologies for that, I was thinking of the theoretical result of the operation on the final image, and didn’t think of the clipping problem. If there is no clipping, you shouldn’t see any differences between the two.
Try to have a look at the histogram in “log” mode (you seem to be in linear mode), small highlights will become much more visible.
On a side note, I found that blue theatre lighting always a pain to work with, it over-exposes way faster than other light sources somehow.
Thank you very much for your detailed explanation. I have learned a lot with both of your Replys.
I’m starting with Darktable and am very happy with it. Last year I have tried Darktable but had problems with some HDR images, so I stopped using it. But last month I have tried again with success. The I have adopted Darktable as my main photo development software.