the socalled “raw” images from scanners using VueScan or SilverFast have nothing to do with raw images from a digital camera. It is just a misnomer, causing confusion over and over again. The data are not really raw, but have been flatfielded, dark subtracted etc., they even must have been matrixed, if one looks at the spectral sensitivities of lamps and detector (see e.g. Hunt 2004, page 566).
The “raw” data from a scanner, even if it is in DNG-format, are always RGB triples per pixel. No demosaining is needed. The DNG is just another format and the same information can also be stored in TIF format.
Just for completeness: If the scanner also includes the infrared channel, this is stored as a separate image with SIlverFast in the TIF, VueScans stores 4 channels per pixel in a single image.
Nevertheless, it would be indeed very nice, if the negative tool of RT would also work with scanned images.
Hi @ted_smith ,
what you need is a new feature which is already on my to-do list: linear tiff support (yours is at least the third such request )
I still have to finish my latest PR regarding channel multipliers (which is harder than I thought). I hope to complete it this week, then scanner tiff support is next.
So, stay tuned, and please stick with RT
I don’t really understand your problem? I use vuescan with the epson v600 and it’s more than capable to scan straight into a positive image tiff which is processable with Rawtherapee.
Just a matter of selecting the right mediatype (color negative) on the input tab?
Everything else works more or less fine, including the use of tiff files.
Why do you want to edit the “negative” version of the scan? Just wondering?
For B&W, its (Vuewscan) great. For films like Kodak Portra 400, the output looks awful. So I was hoping to just grab a raw negative scan (instead of a positive output) and do the conversion in RT. At the moment I send colour film to the lab for development and scanning just because I can’t get satisfactory results with colour at home.
It’s a common issue, particularly with that film. That’s why people are paying for Lightroom and the Negative Lap Pro plugin at $100 a time in droves.
If you’re easily getting nice results of Kodak Portra 400 with Vuescan out of the box, then please share your method with me. The best results I managed to get are detailed here and as you can see, they still don’t compare to what my lab gets :
Consider submitting a file for a PlayRaw to figure out if there is something possible with free/libre software.
For scanned images, I got very good results with darktables invert module, but it never worked with photographs of negatives in raw format. Seems that rawtherapee and darktable are kind of complementary with processing negatives … .
Could you share a problematic image in VueScan’s raw format (TIF) here for playing with it? Most likely it is too large for posting here, so please use e.g. filebin.net.
Yeah, I think darktable’s Invert module is bugged. The exact same scanned image works very different in TIFF than in Raw format. You also can’t tweak anything about the Invert module, whereas RT’s tool gives you some extra adjustment options.
A minor gripe I have with the Film Negative tool is that I usually need to adjust White Balance before I can sample the neutral light and dark points, and then I need to go back to do a final white balance. So that back and forth feels a bit inefficient, but perhaps it’s just the price to pay for inverting tricky negative files.
Both : I have uploaded an example of one such raw TIFF captured using Epson V550 scanner of Kodak Portra 400 negative to WeTransfer. I’ve sent the link via PM message if you’re interested for testing?
The result that my lab achieved with the same negative can be seen in the link I posted above, by form of reference, along with the version I got, somewhat out of the box (but without great results), using other means (negative2positive script etc).
My issue is not so much that the process is complex\problematic. I realise there are a multitude of steps I CAN take to achieve the resulting aim of a decent looking image from the negative. The problem I have is that I shoot film (for my own reasons) and simply do not have the time to manually click this slider and that slider and switch to this panel and that panel to get a result of satisfactory means. I shoot lots of film. If I had to do that for every frame of every role, even with an element of batch processing, I’d never be out the study.
What I need is something like Negative Lab Pro but I’d like it in an open-source tools like RT, as I am typically a user of OS operating systems and tools, and even develop some myself (though not photography editors!). What NLP does is enable the users to say “This is a scan of film type A B or C” and it gets you to pretty much the final result, which you can then finely tweak a little if you want to. In other words, the base emulsion colour itself (and whatever else) is used by NLP to generate an image of near accuracy based on pre-set profiles of the film type. I appreciate that can’t be done (easily) for dozens of films, but maybe it could be for the mainstream ones, like Kodak Portra 160, 400 and 800, Fuji Pro 400H, Fuji Velvia 50 and 100, Kodak Ektar, etc? As I say, I’m not familiar with the complexities of digital conversions of negatives to understand that, but I offer it suggestion only.
For now, I’m “happy” enough to just keep paying my lab to do what they do, which is great results every time. Who knows - maybe they use NLP themsevles! (unlikely as I’ve used them for 10+ years long before NLP came to be). But it would be nice if I could use a batch processing mechanism in one of the open-source tools I use to get near finished products just by doing a Ctrl + A across all my TIFFs, telling it “this is film type A” and clicking an “invert” button that does the job.
Hello, i got your PM
Thanks, i’ll use that as a test image since i don’t have a film scanner at hand.
Regarding the film profile database, that’s not a bad idea. It could be somewhat “crowd-sourced” from the users here on the forum, doing their tests and submitting the film parameters, that would then be selected in RT, like when loading a HALDclut file or a curve file
I come here after I read on pentaxforum-com about the feature in Rawtherapee 5.7, and like OP ted_smith was thinking great I will process my scans mostly there. And I found like ted_smith that this Negative film tool was missing in the options of the raw panel, then google brought me here.
Ok, so iẗ́’s a tool only for DSLR scans not scanners.
Like ted_smith I have been thinking of Negative Lab Pro. I am a unix/linux user since ever, but if something is really very good or existing only in win I just run that inside Virtualbox.
So I have been playing with Negativelab, which is a Lightroom plugin.
Until now, I have been processing my negatives (Epson V700 for 120 and Proscan 10T for 35mm) in Gimp, and the “Invert” filter, followed by a “Auto white balance” and/or “Normalize/Equalize/Auto levels”. Works well with sometimes just a bit more color/curves/levels tweaks.
I do scan the colour negative in Vuescan, in raw/tiiff as dng, and Gimp does “un-rawize” the file by calling Darktable or Rawtherapee, whichever is in the system, for further editing.
Ok, what I was thinking is: if Gimp does a good job at negative inversion, why couldn’t Rawtherapee do the same for tiff “raw” files from scanners? Of course I wonder because I have no clue about the specs and programmatic technicities.
But then, that’s what the Negativelabpro Lightroom plugin does.
I played with few 6x6 colour negatives.
for instance this is a two steps process in Gimp (invert+auto WB):
@antoniob please, since i don’t have a scanner, could you provide one or two sample tiff files for testing? I don’t need huge hi-res files, just a low-res linear tiff at the maximum color depth (16bits per channel, i suppose) would be sufficient. You can upload it via filebin.net
If you prefer not to post them publicly you can PM me.
Thanks!
Yes, please
I don’t know how to handle the IR channel, nor how to fit it into the existing RT data structures, anyway if you send me both versions i’ll take a look at it.
No need for hi-res scans, i guess the lowest dpi setting on any scanner would be more than enough for this test, and sould make a reasonably-sized file to upload.
that’s great. I can provide a bunch of scans. I tried upload to filebin.net without luck (generic “network error”, something on their side). Anyway I created a folder on Yandex Disk: https://yadi.sk/d/Vw_juxhc-q67Kg
right now there are only 3 negatives. A couple 6x9, two 6x6. I tried to pick different light/exposure/colors sets. One is night, one a grey day, etc.
These are scanned with an Epson V700 with Vuescan parameters as follow, which produces 16-bit tiff: mode= transparency, media= image, bits per pixel = 48, dpi = 3600, medium infrared clean, output colorspace Widegamut RGB, output format: tiff 48-bit RGB and separate IR-channel: 16-bit
so two separate scans/files by negative: the regular and the 16-bit infrared channel only.
I didn’t scan in 64-RGBi because for my tests with the Lightroom NLP plugin it’s unusable. But if you want I can just rescan.
some border is included in this negatives. The orange mask varies by film and/or development. It’s not used by NLP/LR but the little I have played with Darktable, unless I missed something, one needs to sample the orange mask for the inversion.
I also prefer having IR in a separate file, dealing with a 4 channel tiff is more difficult, so these are perfect
Yes, confirmed, in the latest version of film negative tool (which should be included in RT 5.8, and only supports DSLR) i also added the ability to pick the film base color. It helps in getting more consistent results when converting multiple negatives at once.
If i find a way to implement scanner tiff support, i will definitely include that feature.
Here’s a first attempt, obtained by horribly mangling the RT source code and hardcoding values left and right
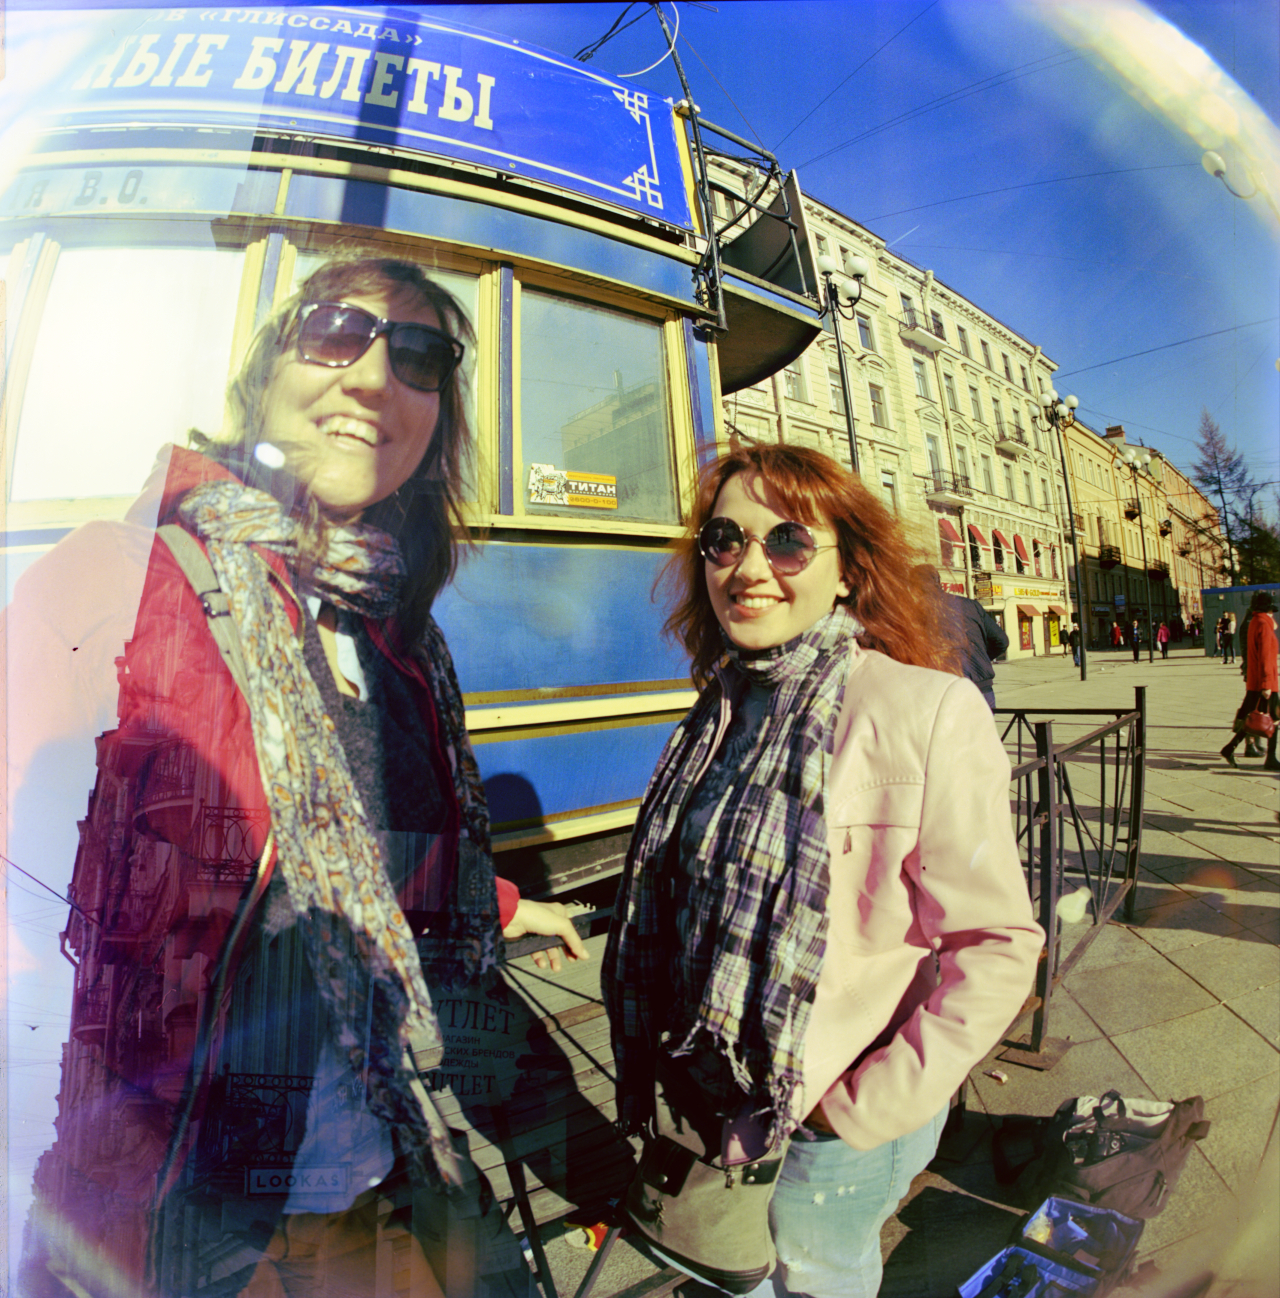
btw, this shot was a “wrong” one, I mean it was taken against very bright sun, I was blinded, but just wanted to see what I could do with it. I did use a longer shade, hence the vignetting.Lot of reflection and flare. The film is Lomography 100.
for comparison, this negative processed in Gimp, 2-clicks without any additional tweaking: auto WB then invert:
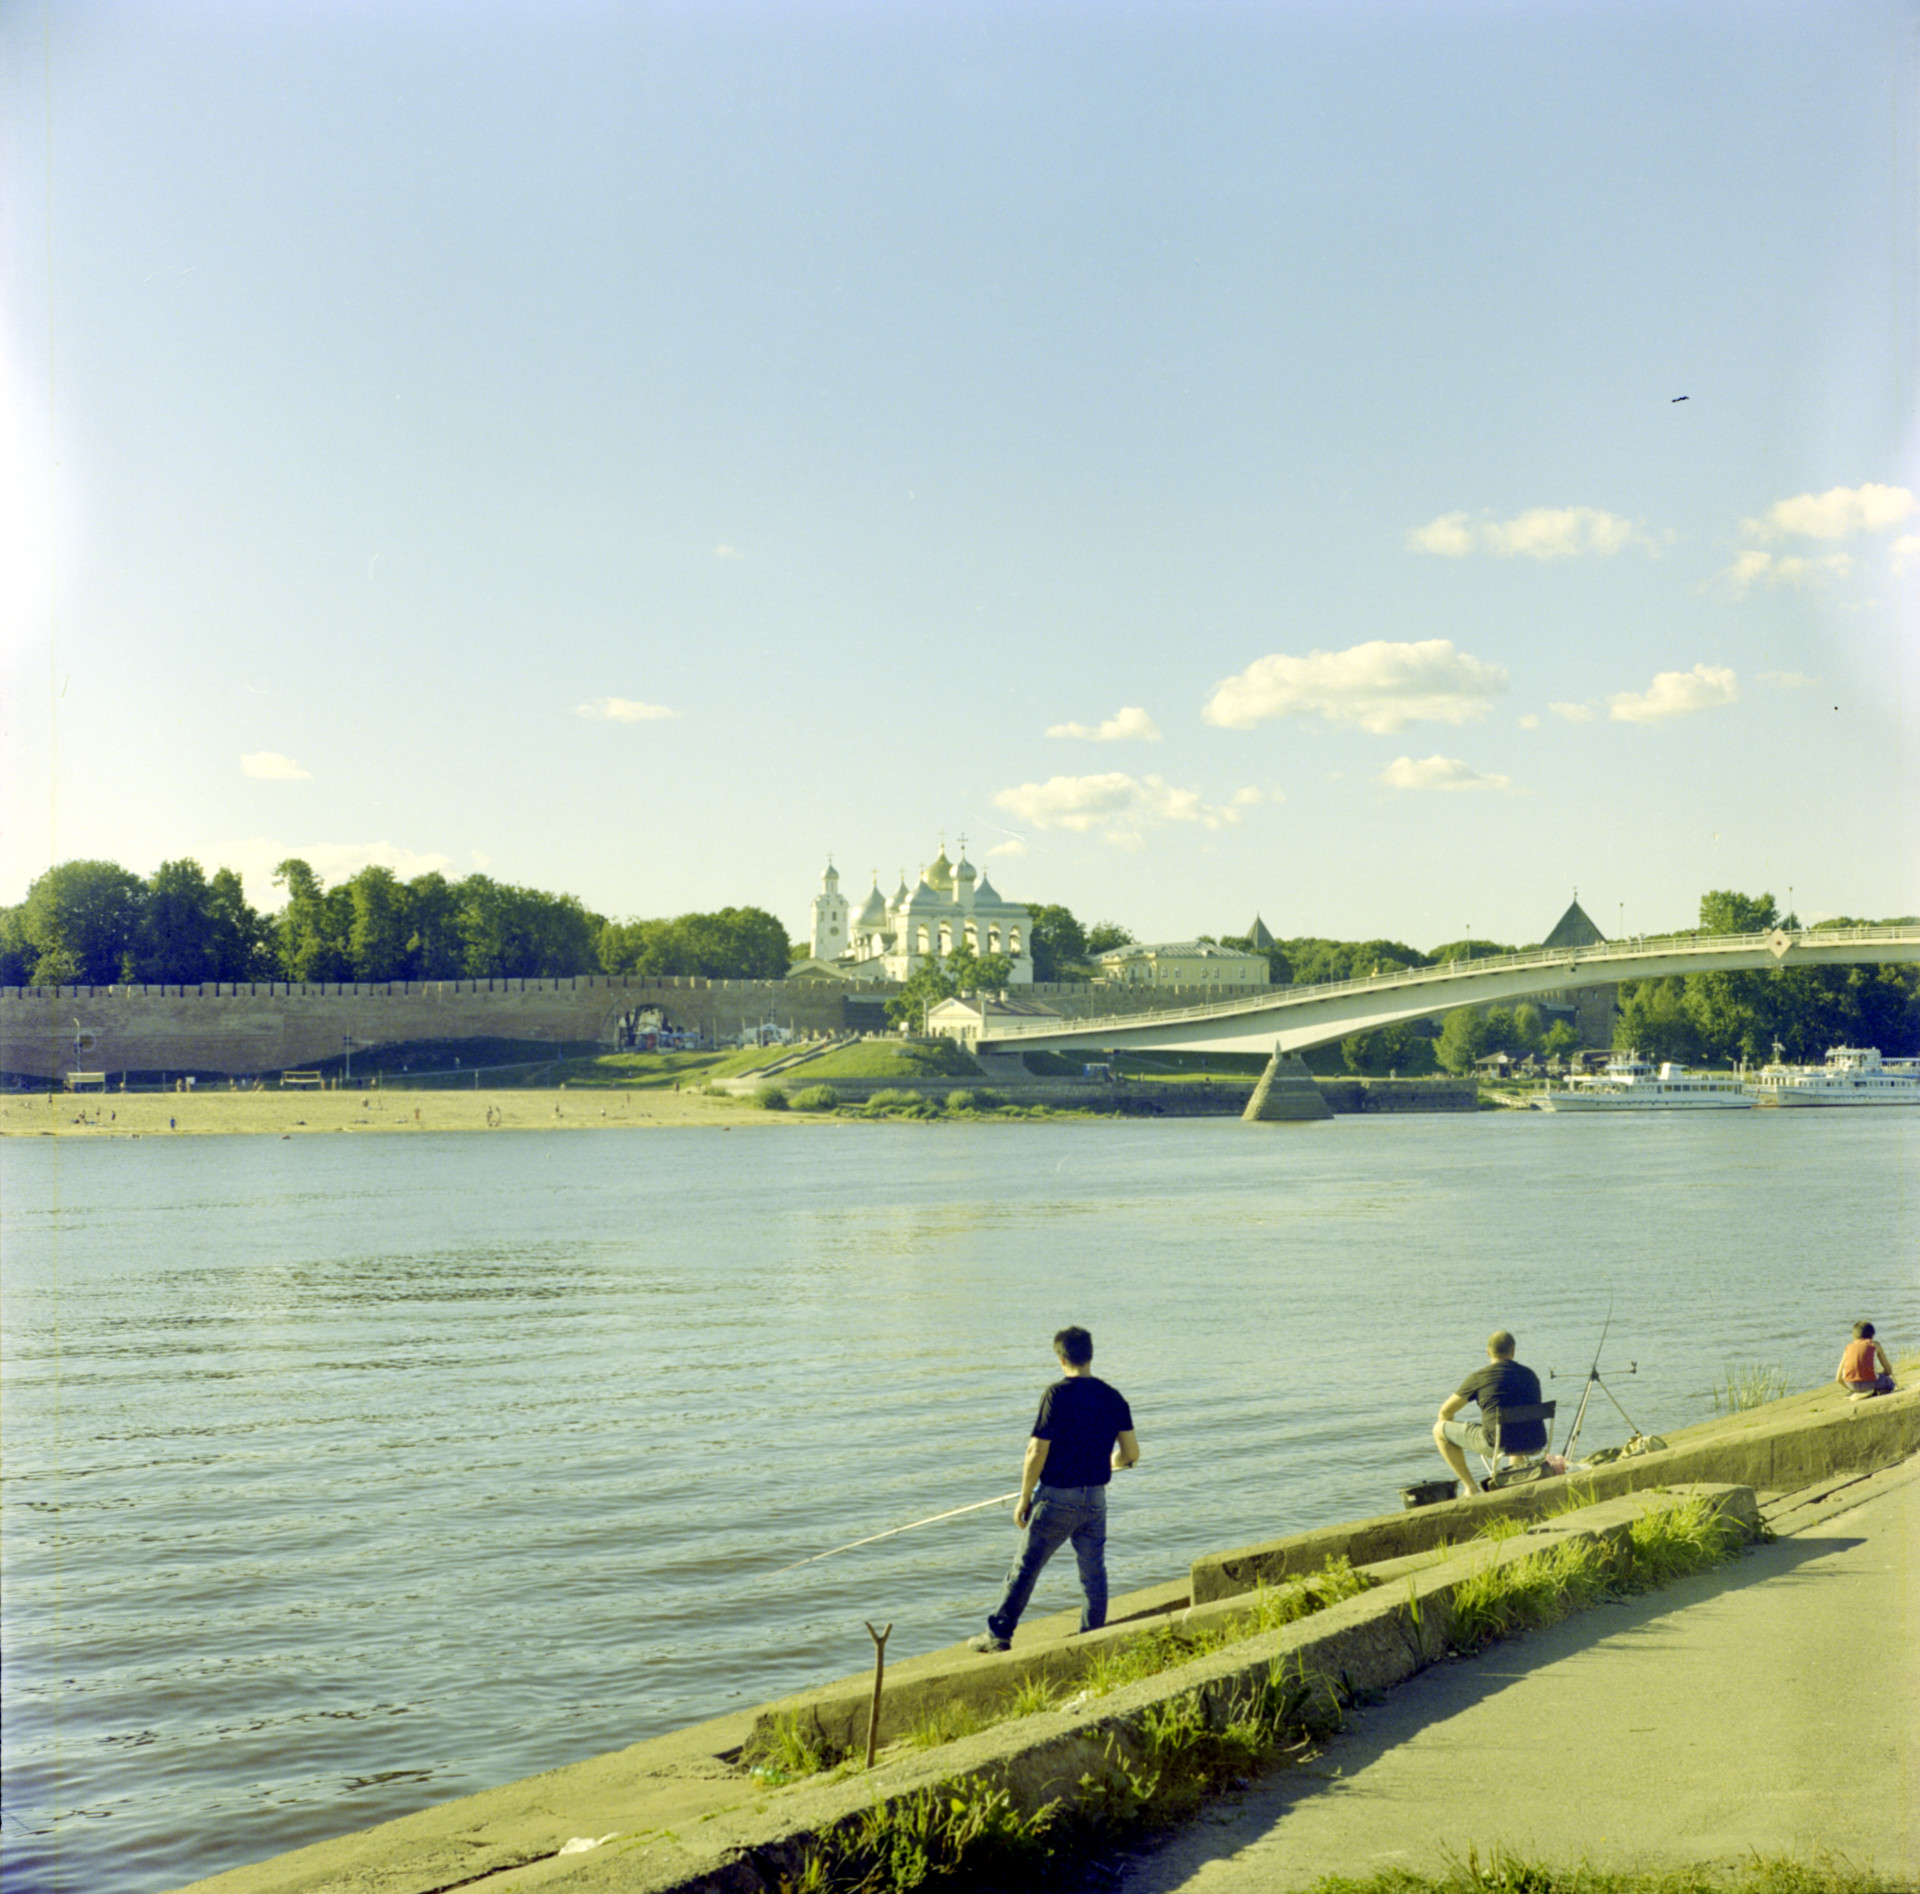
after this one I took shots from the other side, ahead from the left bank of the river, as seen from this one, where I am on the bridge. Tiff (2010-12-15-0006) uploaded to the yadisk folder.
Processed the same way in Gimp (auto WB + invert):
both need further hand tweaking but I found the Gimp one a bit better. The look of the two is consistent with paper/lab prints of this Lomography 100 film, reminiscent of Kodak Gold or similar cheap consumer film, often tagged “vintage 70’s/80’s” nowadays.
The massive posterization in the blue/purple areas is a conseqence of the source image being only 8 bits, i believe.
(sorry for the gradient band at the top, i use it for debugging )

 )
)


 )
)