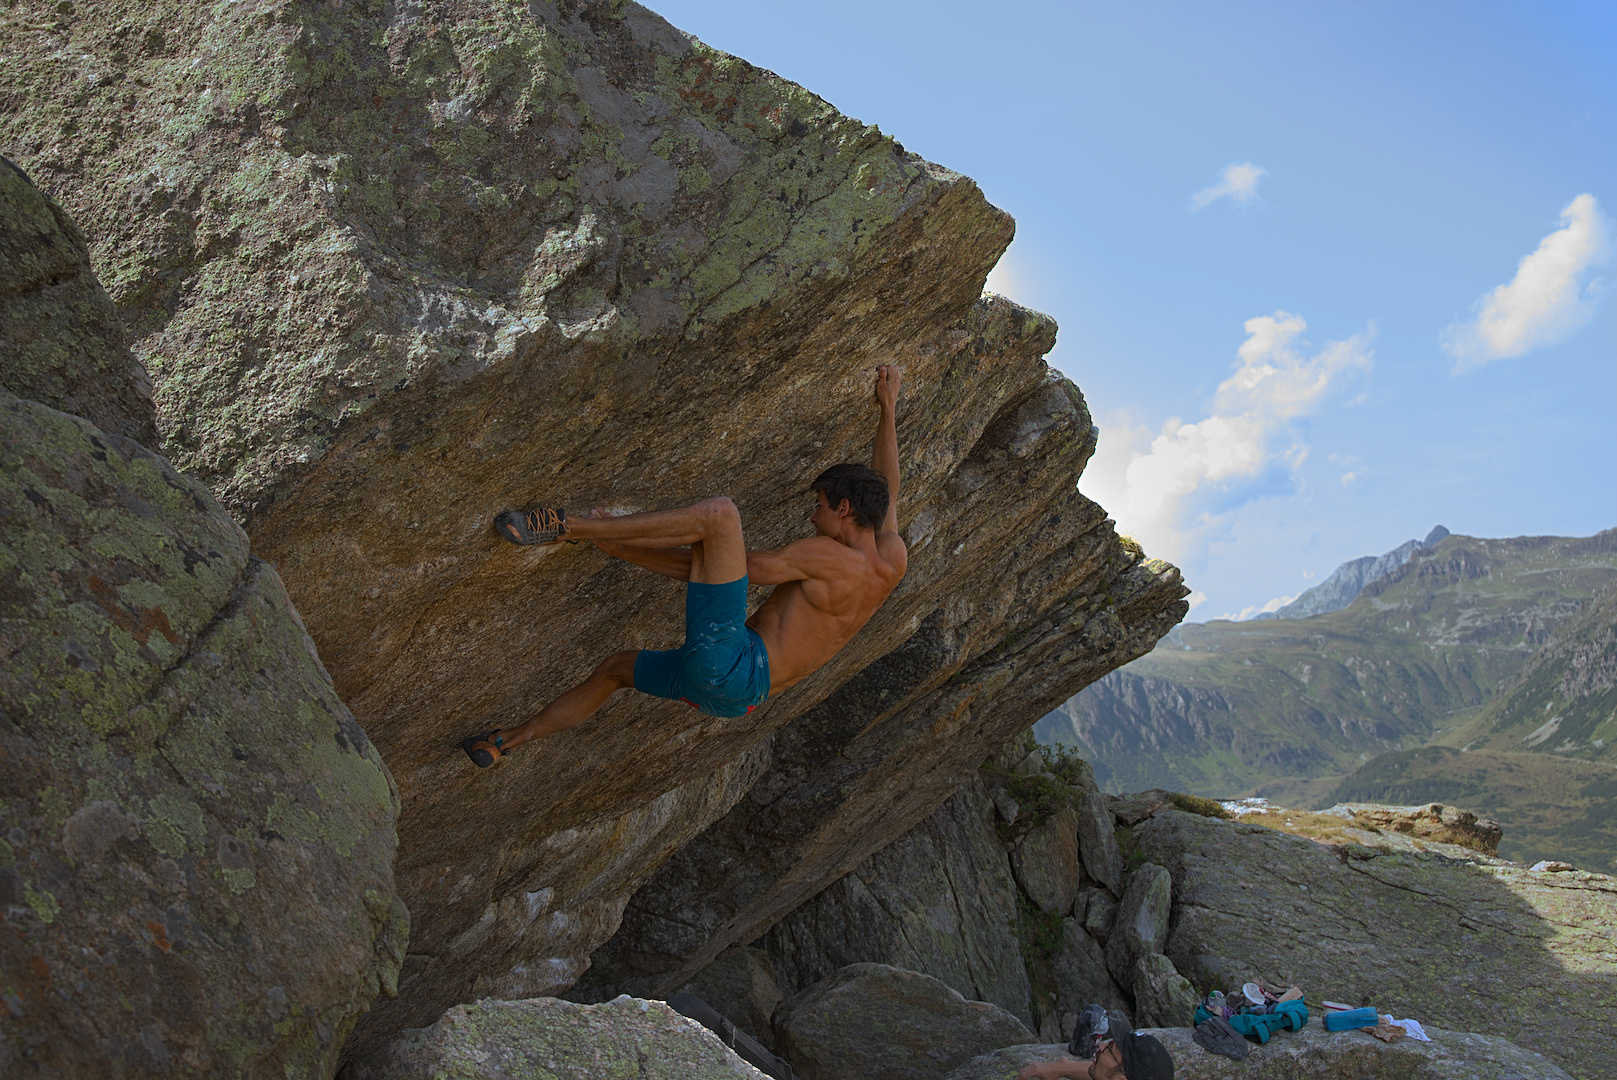
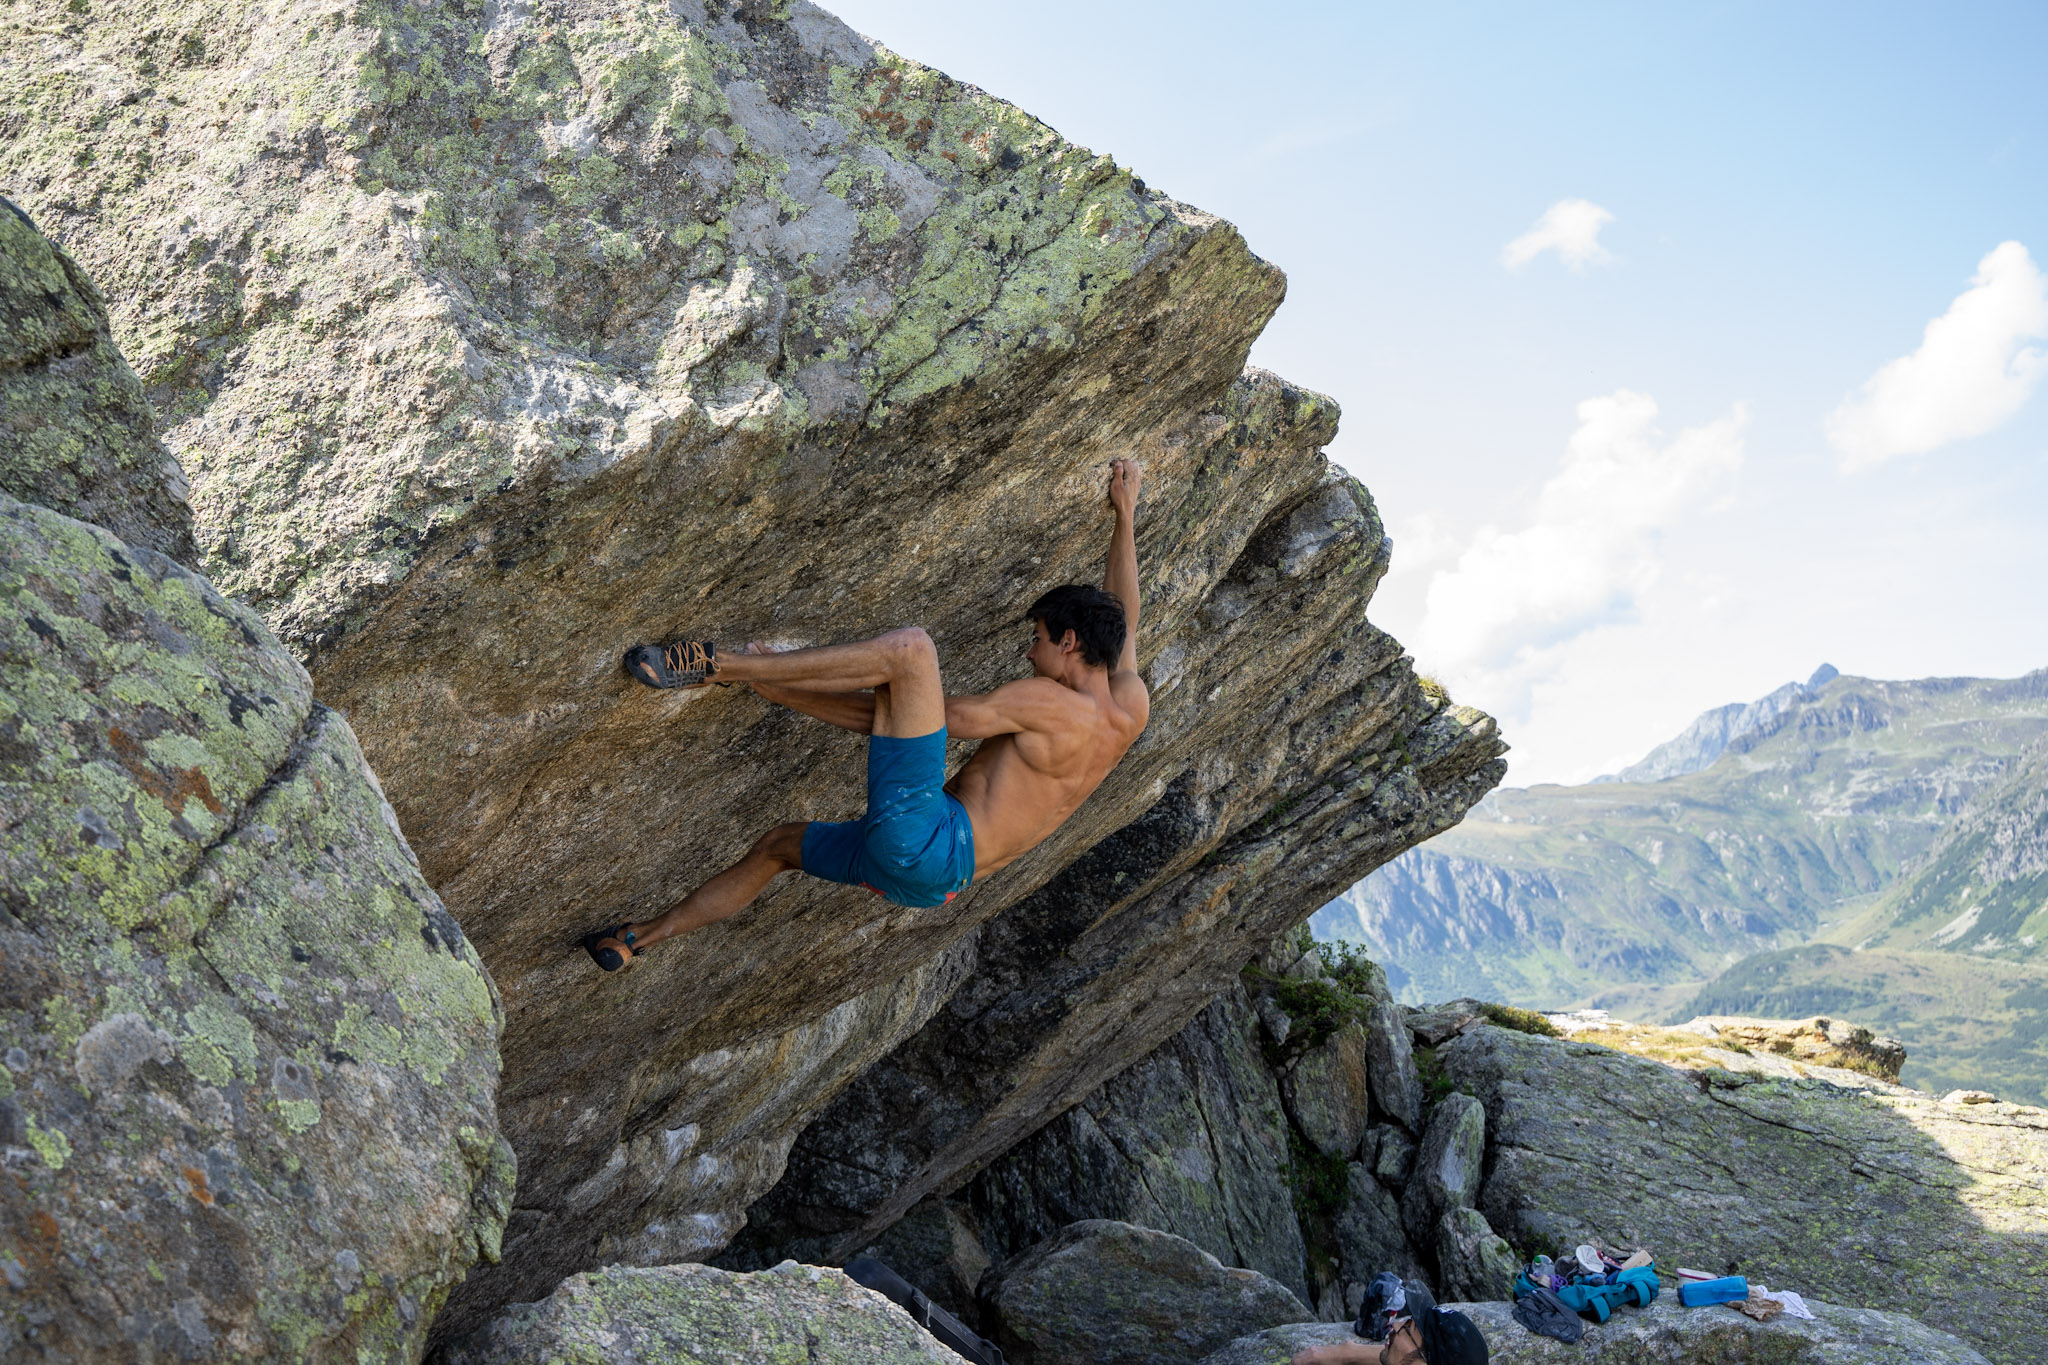
Hi, I have this picture of myself. I am not quite happy with the picture itself but that is irrelevant. I did some work with darktable and was fairly content with it. But I gave the RAW file to my mother who uses photoshop (not lightroom, no idea why) and she was able to recover some clouds and structure in the top right corner. I tried playing around with filmic/exposure/tone equalizer etc. but was not able to recover the clouds, does anyone know why that is and how to recover the clouds?
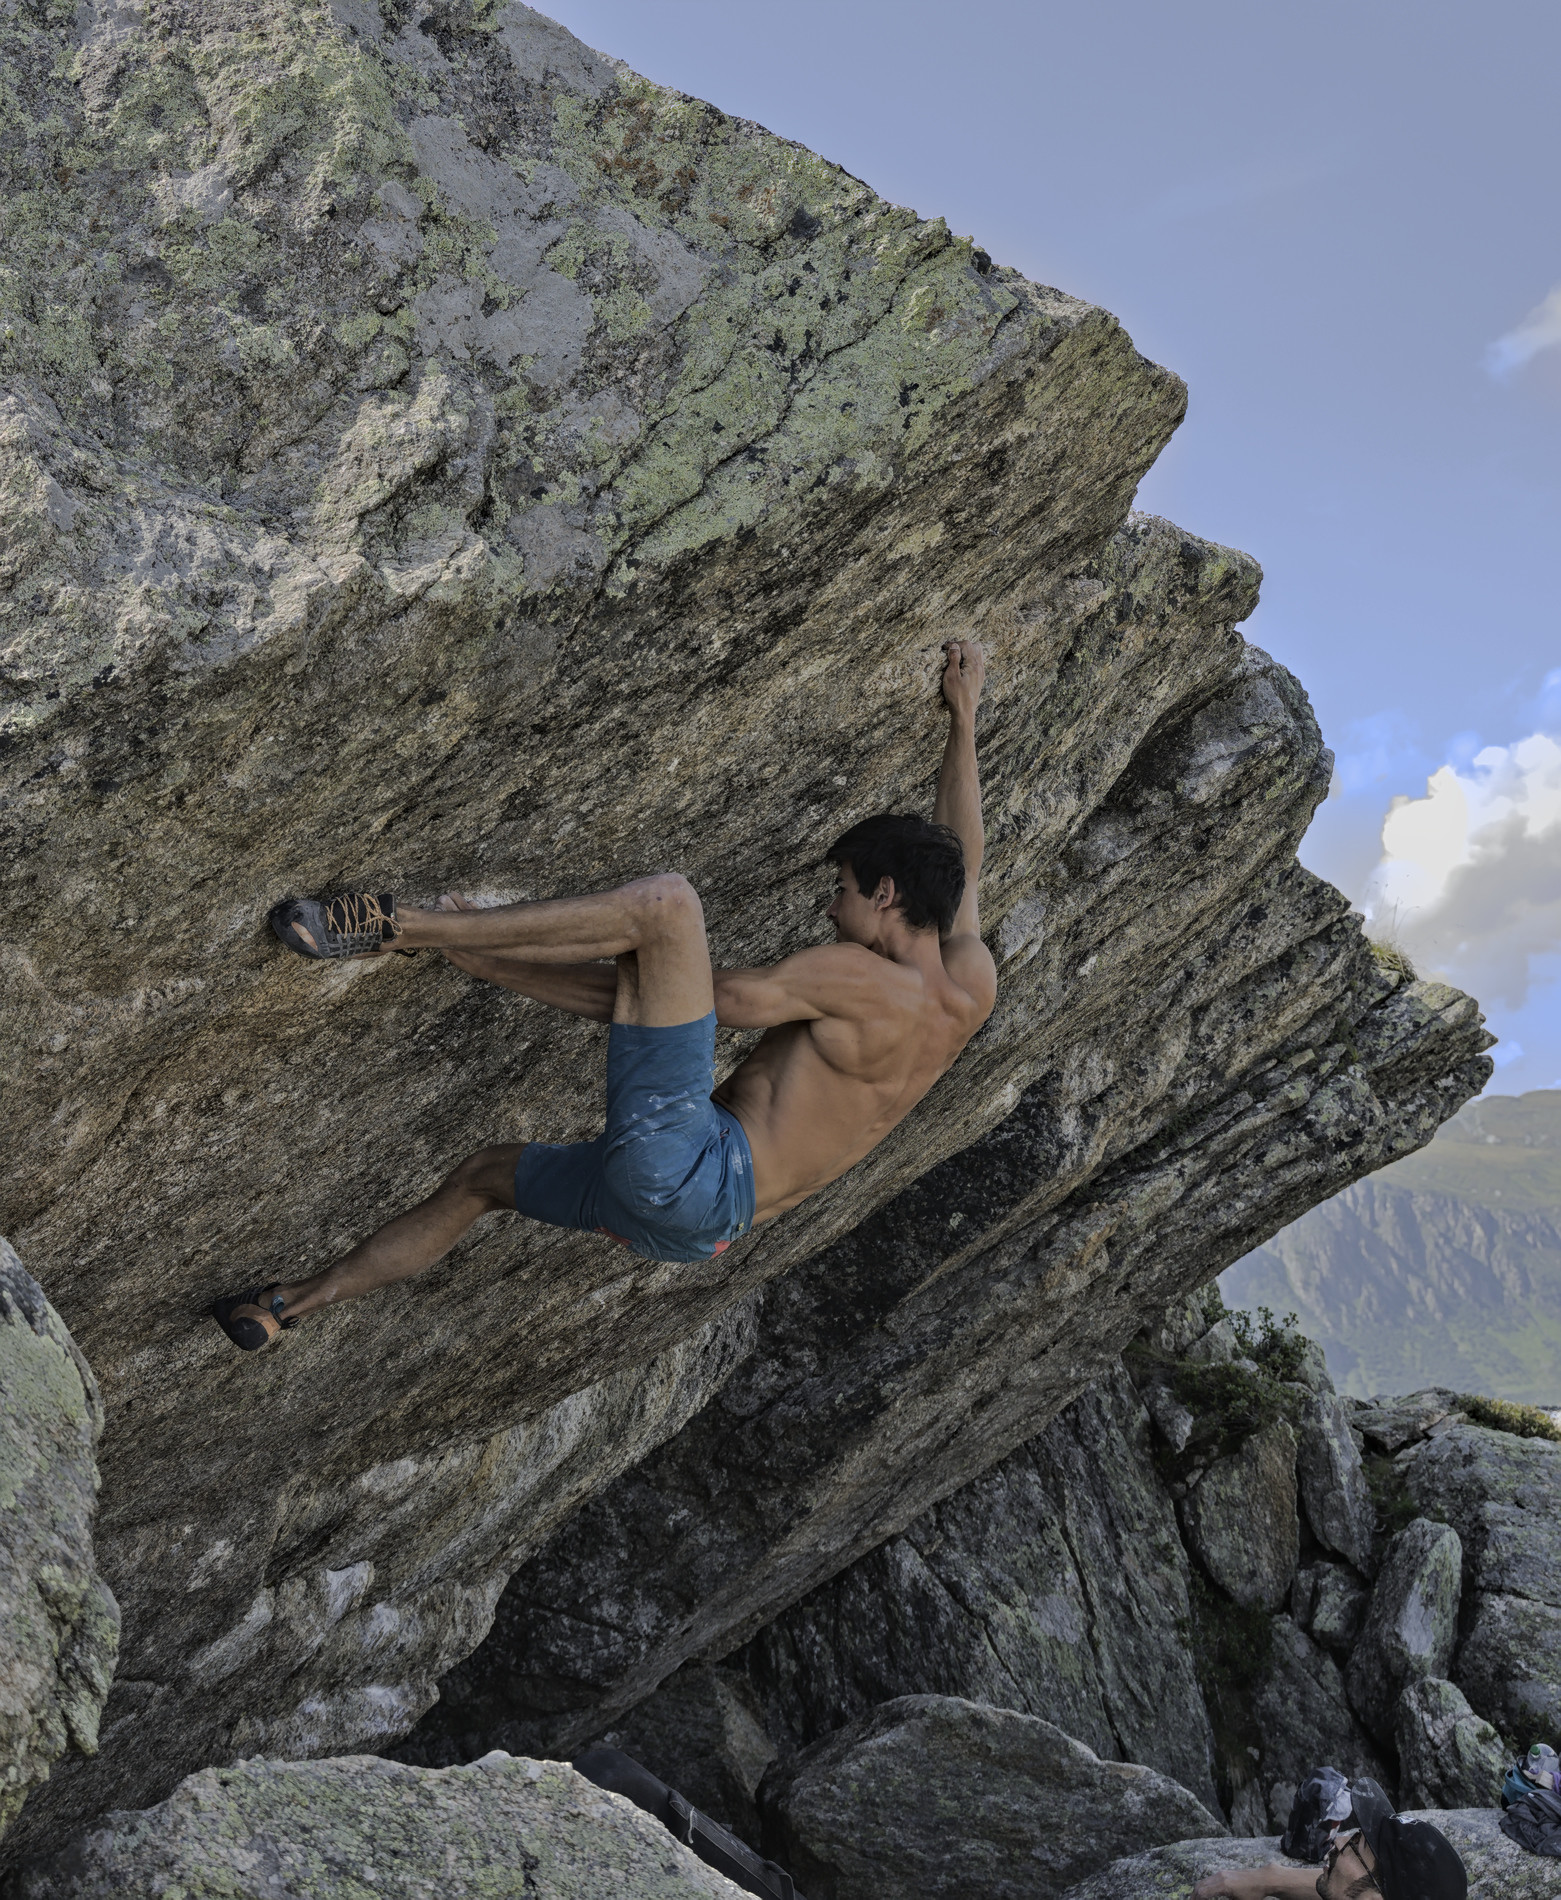
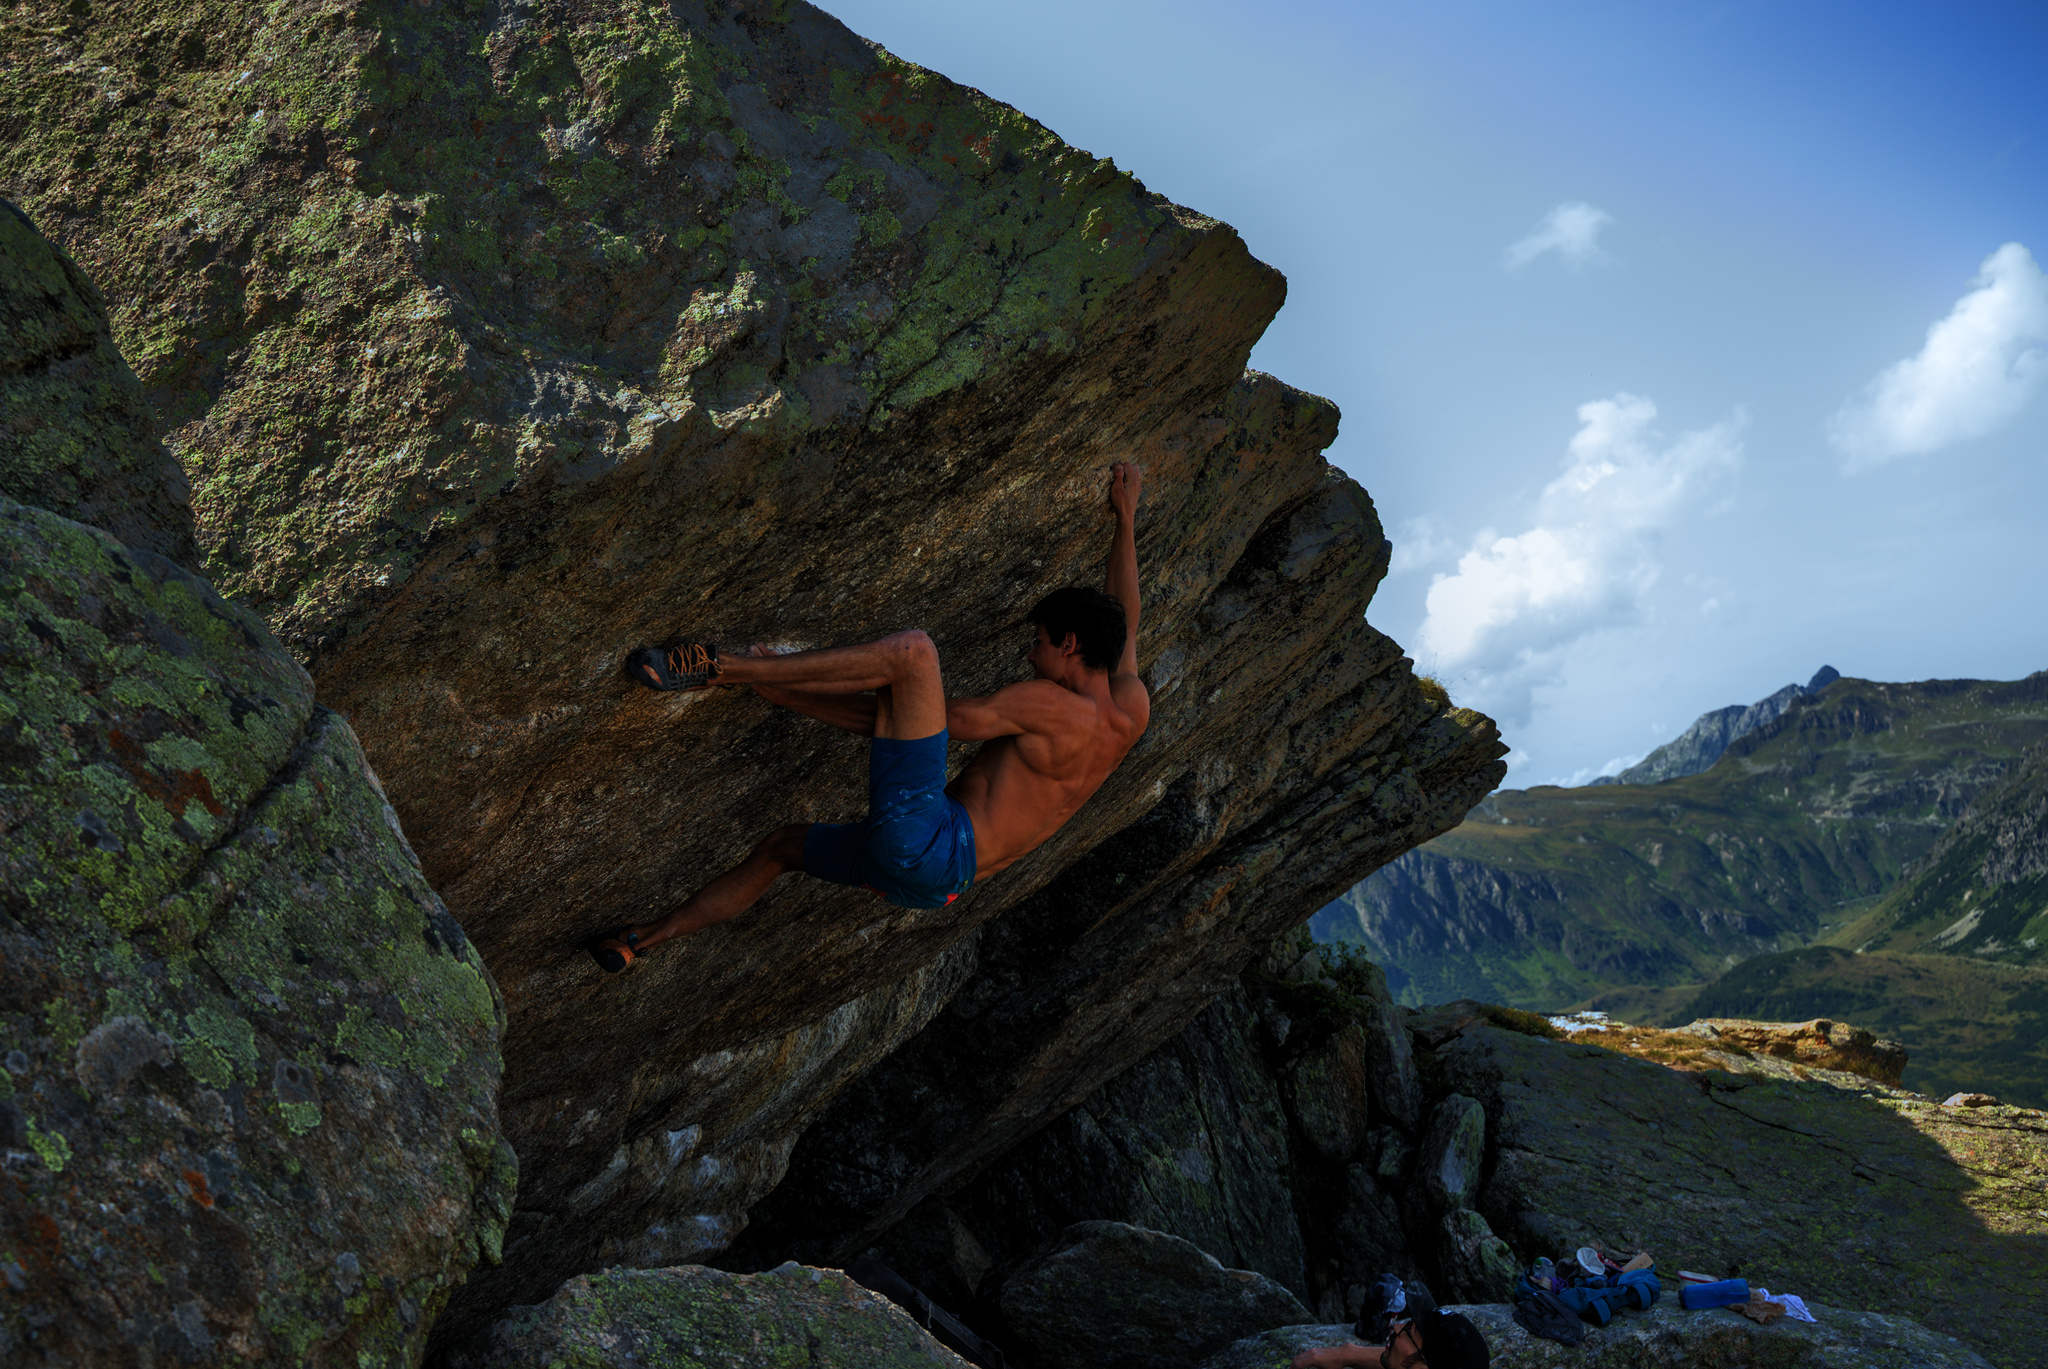
Using Darktable I was not able to recover any details in the sky. However, with ART the clouds can be recovered nicely, just by reducing the exposure (I didn’t work on the colour cast).
Gerd
5 Likes
This looks good! Can I ask how you did that?
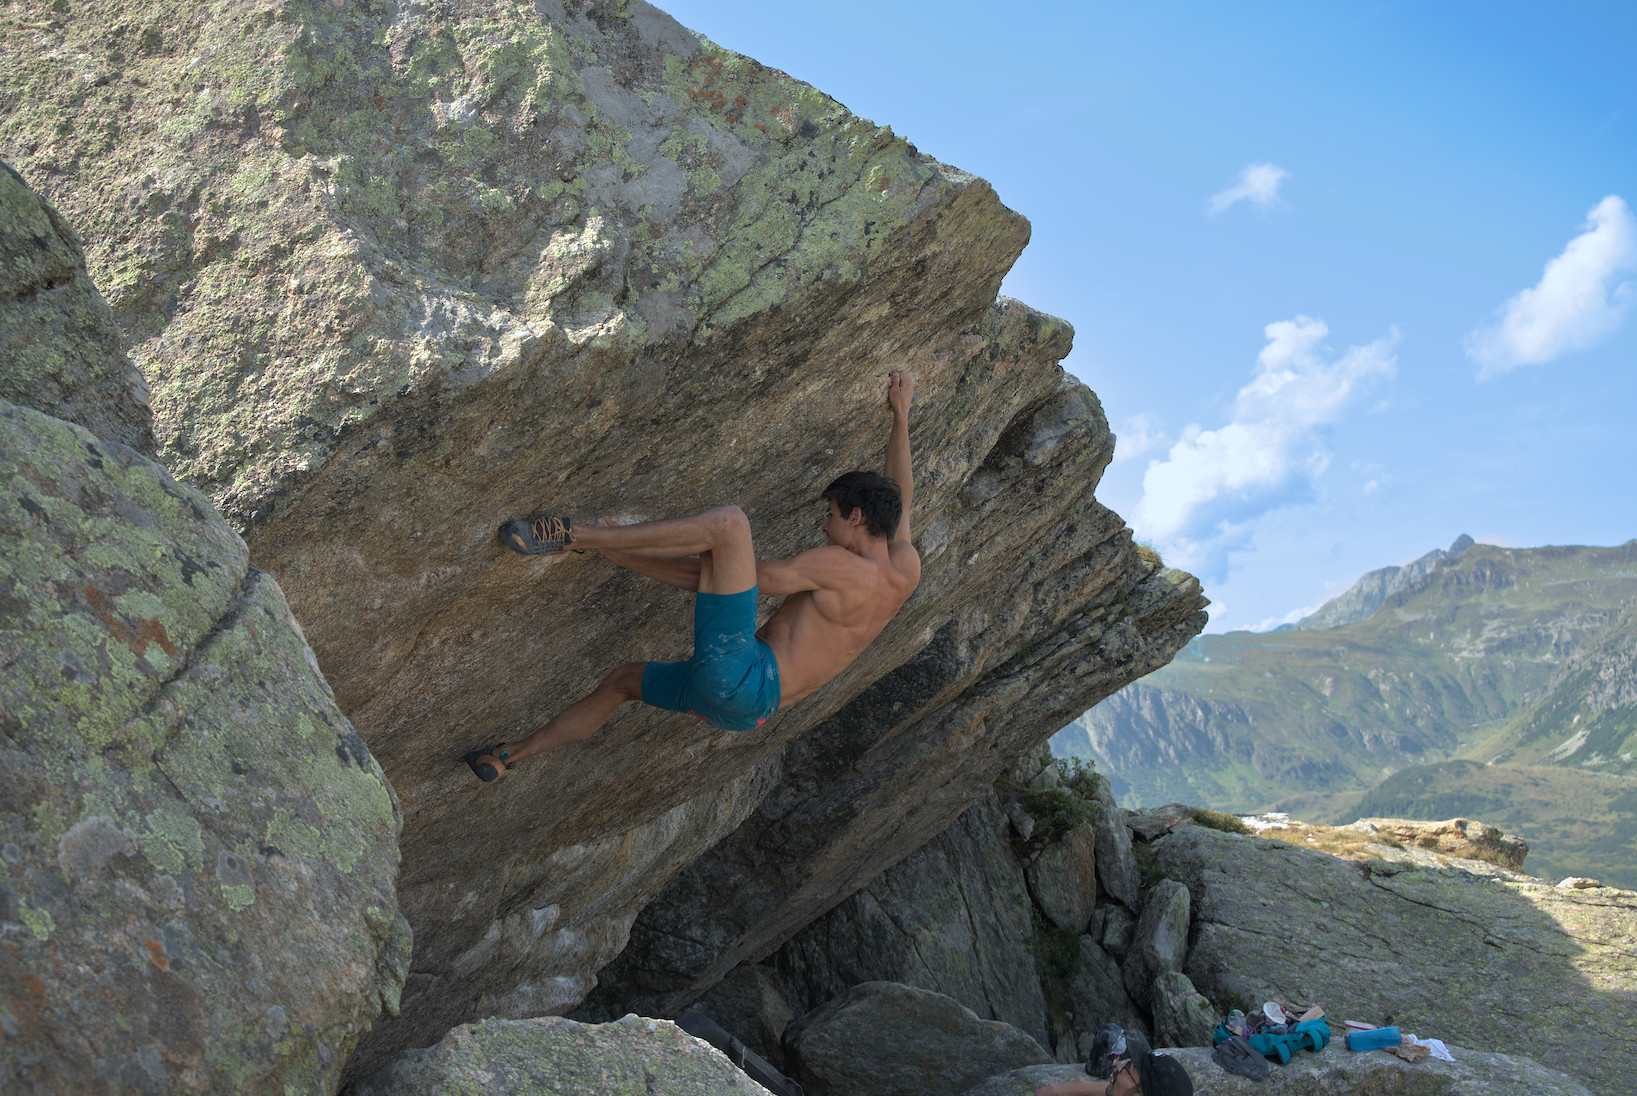
You can load the posted sidecar file in darktable 3.6. It is possible to recover the cloud structure but not the blue in the sky. So I added this with the color balance rgb module.
Ah right, thanks. This sounds stupid now but even with the sidecar file I am unable to reproduce your results on the same picture. Like, I can load it and all and get your picture and when I click on the first exposure setting (from the bottom) in the history I get what I want (i.e. only recovering clouds without adding any coloring as that is what I was interested originally). But I am unable to reproduce this. I mean did you do anything other than setting the overall exposure to -1 EV? If I delete the history stack (i.e. discard your sidecar history) and I “just” set the exposure to -1 EV I don’t have the same results you do.
Check the settings of the highlight reconstruction module.
if you click on the history item on the left you normally reset all your edits which come later. so you basically undo all the edits that you imported with the xmp file. if you want to see the values of a module find it on the right side instead. there is a tab with all active modules which makes it easy to go over them.
I know. I was just to blind (i.e. stupid) to see that on the right side in the module @Thomas_Do changed the method in the highlight clipping and I only changed the threshold and hence wasn’t able to reproduce his result.
The lower left part of sky being completely clipped in the raw file, it is not really possible to recover its color with highlight reconstruction.
So I painted the sky as @Thomas_Do did.
ART

more normal position for a layman 
Quick and dirty edit. I got a similar result to @Thomas_Do, although his clouds are better.
The key as you’ve probably discovered is to reconstruct in LCh in the highlight reconstruction module.
2 Likes
![]() Thomas_Do I wonder how you find in color balance rgb 1 that mask
Thomas_Do I wonder how you find in color balance rgb 1 that mask
Hi,
I’m an “advanced beginner”  in post-processing and just for testing, I did play with this picture, trying to recover the clouds, in darktable and Rawtherapee, with limited success (or let’s say, with more or less complex steps and not so great results).
Out of curiosity, I tried in Apple Photo and Lightroom (test account) and managed to recover the clouds in a matter of a few clicks/seconds.
My goal is not to draw definitive and global conclusions on the comparative merits of all these apps, but just to understand what’s going on in this specific case, is it that Apple Photo and Lightroom are relying on some sort of AI process ro recover highlights that we don’t have in dt or Rt?
On the same topic, I’ve read that RT seems better at recovering highlights than dt, is it (still) true?
Thanks for any feedback.
To get the best feedback on your question…post those experiments for comparison and comments
Ok, here’s the Lightroom (web version) result (just with the automatic adjustment, no other edits).
I don’t have access to my wife’s mac right now, so I’m not able to provide the Apple photo result.
Again, I don’t want to start a debate on the global merit of different apps/ecosystem (FOSS vs proprietary, etc.) and I understand that dt and RT are not oriented towards “automatic” adjustments. I just want to be able to better understand the specific possibilities and limits of these apps in terms of highlights recovery.
Thanks.
Hey no problem…just nice to know what the target result might be.
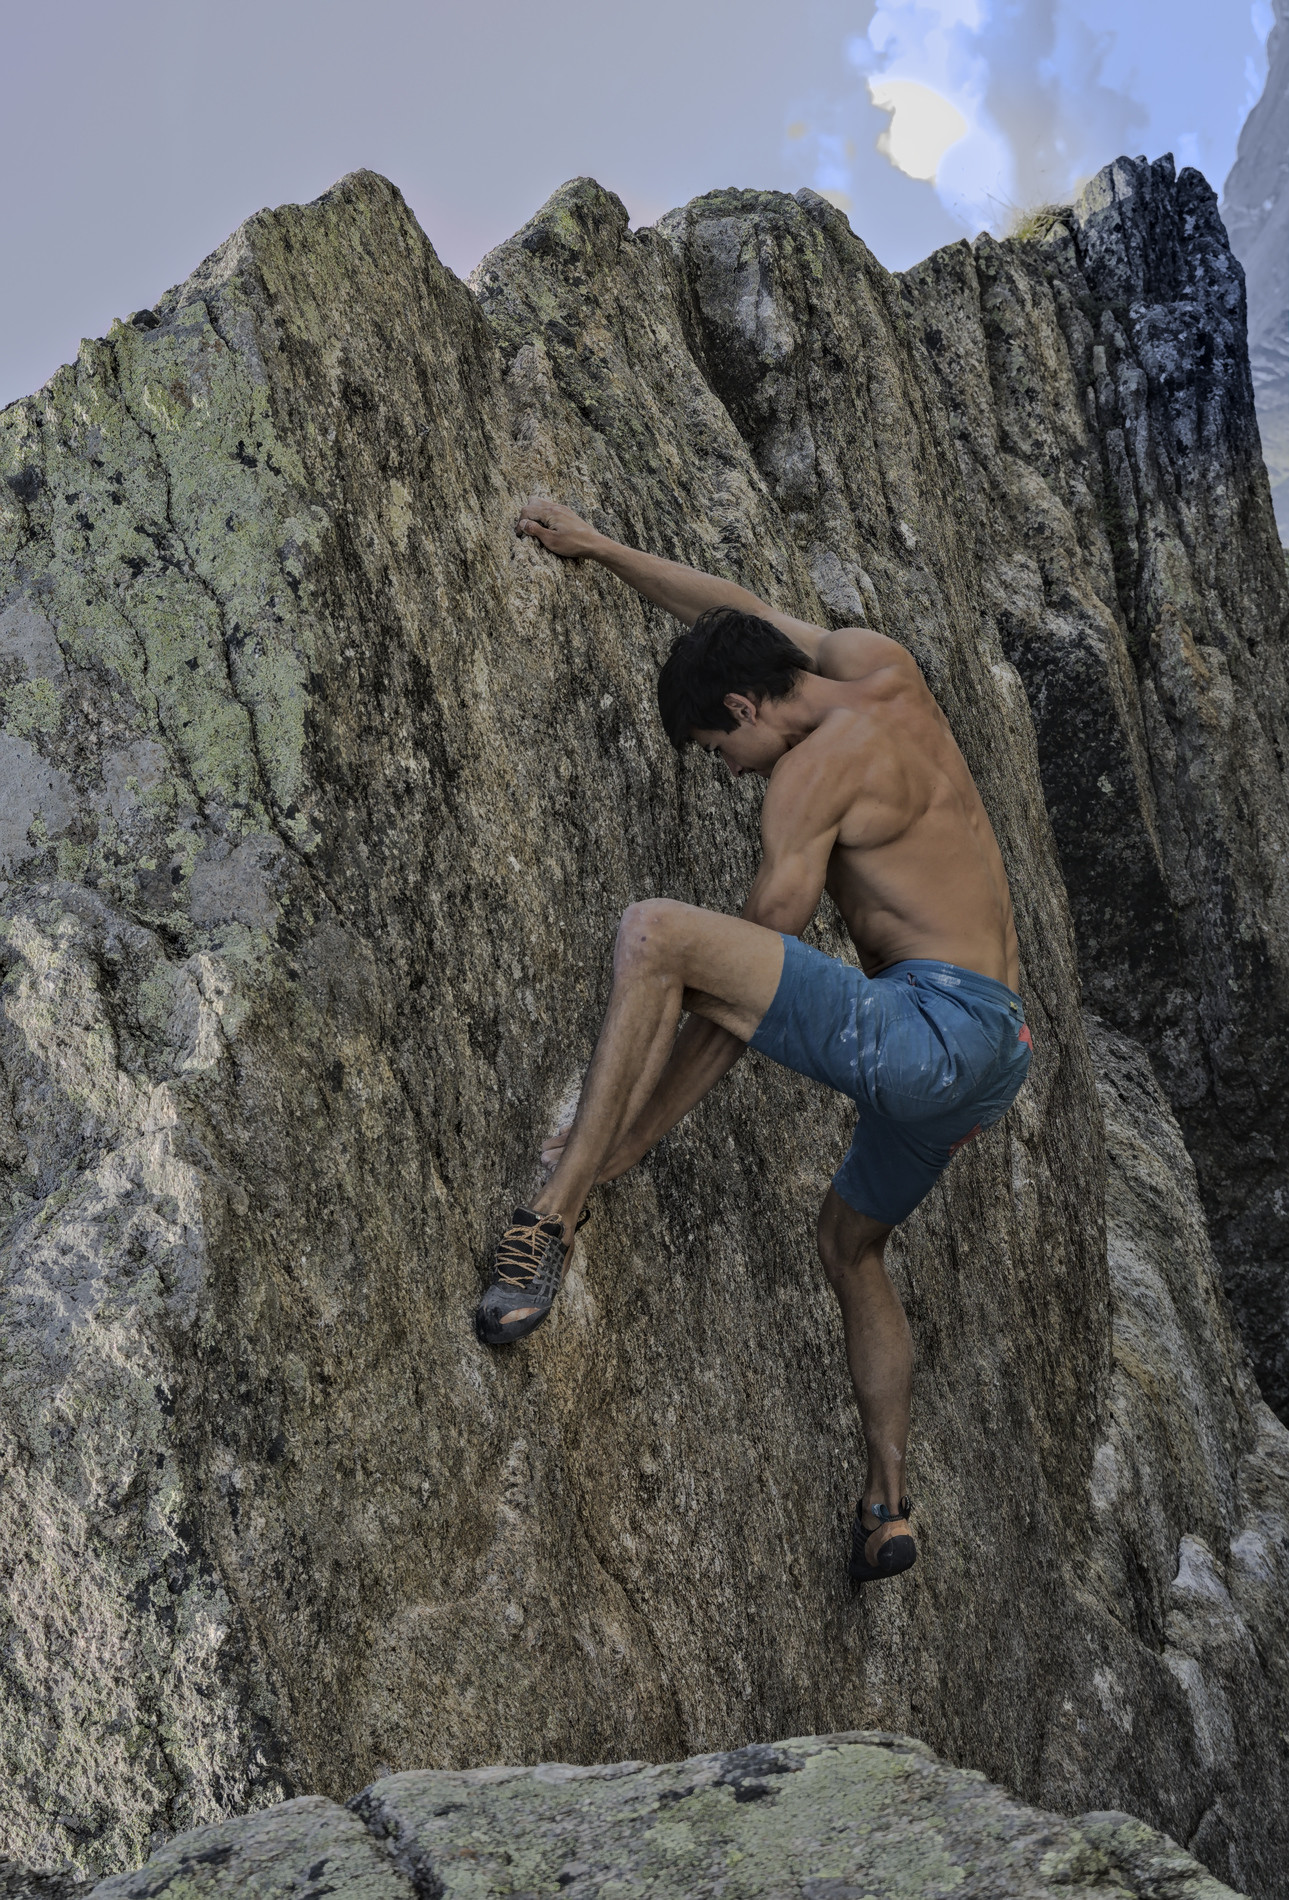
This edit is more contrasted and less warm than the original and I wasn’t careful with the sky but for what its worth… This is DT 3.7_799 or so

You can get the xmp from the jpg if you are on a dev version…
basically I used a second exposure and color lut module mostly with a mask to deal with the sky…also your lens correction blows out the sky so I turned off the vignette correction part of it and used a small amount of reverse vignette to remove the darker upper right corner…again not too carefully…so 2 or 3 modules which could be applied more skillfully I am sure…the clouds look a bit unnatural but that could be addressed…
2 Likes
I like the Version LR produces, it looks very natural (asight from the a more aquamarin sky tone). I would go for something like this (without masking, thus also pretty fast to achieve). The main adjustments I did where changing the highlight reconstruction to reconstruct in LCh and removing the vignette correction of the lens correction, which just blows the highlights.
DSC09639.ARW.xmp (7.7 KB)
1 Like