I’d advise that you give us a SooC jpeg and then the edit with the preset. I’ve never used LR Mobile and probably never will… there seem to be multiple presets in there, but only one seems to be shown.
It looks a lot like “de-saturate everything but orange and crank the contrast.”
And it’s not a built in preset. I just want to get the same look. And believe me - just desaturating everything but orange and cranking the contrast isn’t the solution. It’s a little more complicated. But I will look for a raw file of mine to use as a baseline and post it here - good idea.
I would probably go in there and reduce the saturation of the sky but I’m general I do like it.
Now I’m gonna try to recreate the same look with Darktable and I’m gonna let you know what comes up.
These are the steps I got from the video for the LR Mobile Edit (as a reference what has be done to the image):
Exposure -0.3
Contrast 70
Highlights -40
Shadows +25
Whites -70
Blacks +20
Curve lift blacks J
Vibrance +30
Saturation +16
HSL
RED H 0 S -20 L -10
ORANGE H -10 S -30 L +10
YELLOW H -100 S +30 L +30
GREEN H 0 S -100 L 0
AQUA H 0 S -100 L 0
BLUE H 0 S -100 L 0
PURPLE H 0 S -100 L 0
MAGENTA H 0 S -100 L 0
These kinds of presets always leave me wondering if people care about not crushing the dark tones because I find myself hesitant about that specifically, I always try to keep everything into gamut, maybe I’m just limiting myself? I would like to hear an opinion about this .
I’m trying to reach an effect similar to the “preset brand” example just to play around in dt with the raw you provided, even considering that presets don’t work for every picture in the same way, tho. I never rely on them anyway for that specific reason, I find myself having to change multiple parameters, so I just prefer to start from scratch.
This one doesn’t get very near to that preset, but what do you think could be done to make it closer? I’m mostly playing around with color equalizer and masking the sky to get a similar mood, exposure, filmic RGB and recovering the highlights of the traffic.
Whoops, just refreshed my page, and I see I’m totally off track from your personal edit, but that too looks quite different from the presets, much more colorful.
I’m still considering mine a good enough attempt just to convince myself I didn’t waste time, lol
One tip: LR Mobile free still lets you convert the raw file to dng, you can export that dng directly to the app itself and voilà, you have a dng and the basic LR Free experience to test. The issue is that you’d likely need a few of the features behind the paywall to achieve the preset look.
Well full transparency here: The BLVCK PARIS is sort of desaturated and matte blacks plus reds which didn’t work very well for this photo (not even in LR Mobile with the original settings from the video). That’s why I tried the BLACK ORANGE preset values and I really like them.
The settings are for the Black Orange preset just to give everyone a similar starting point.
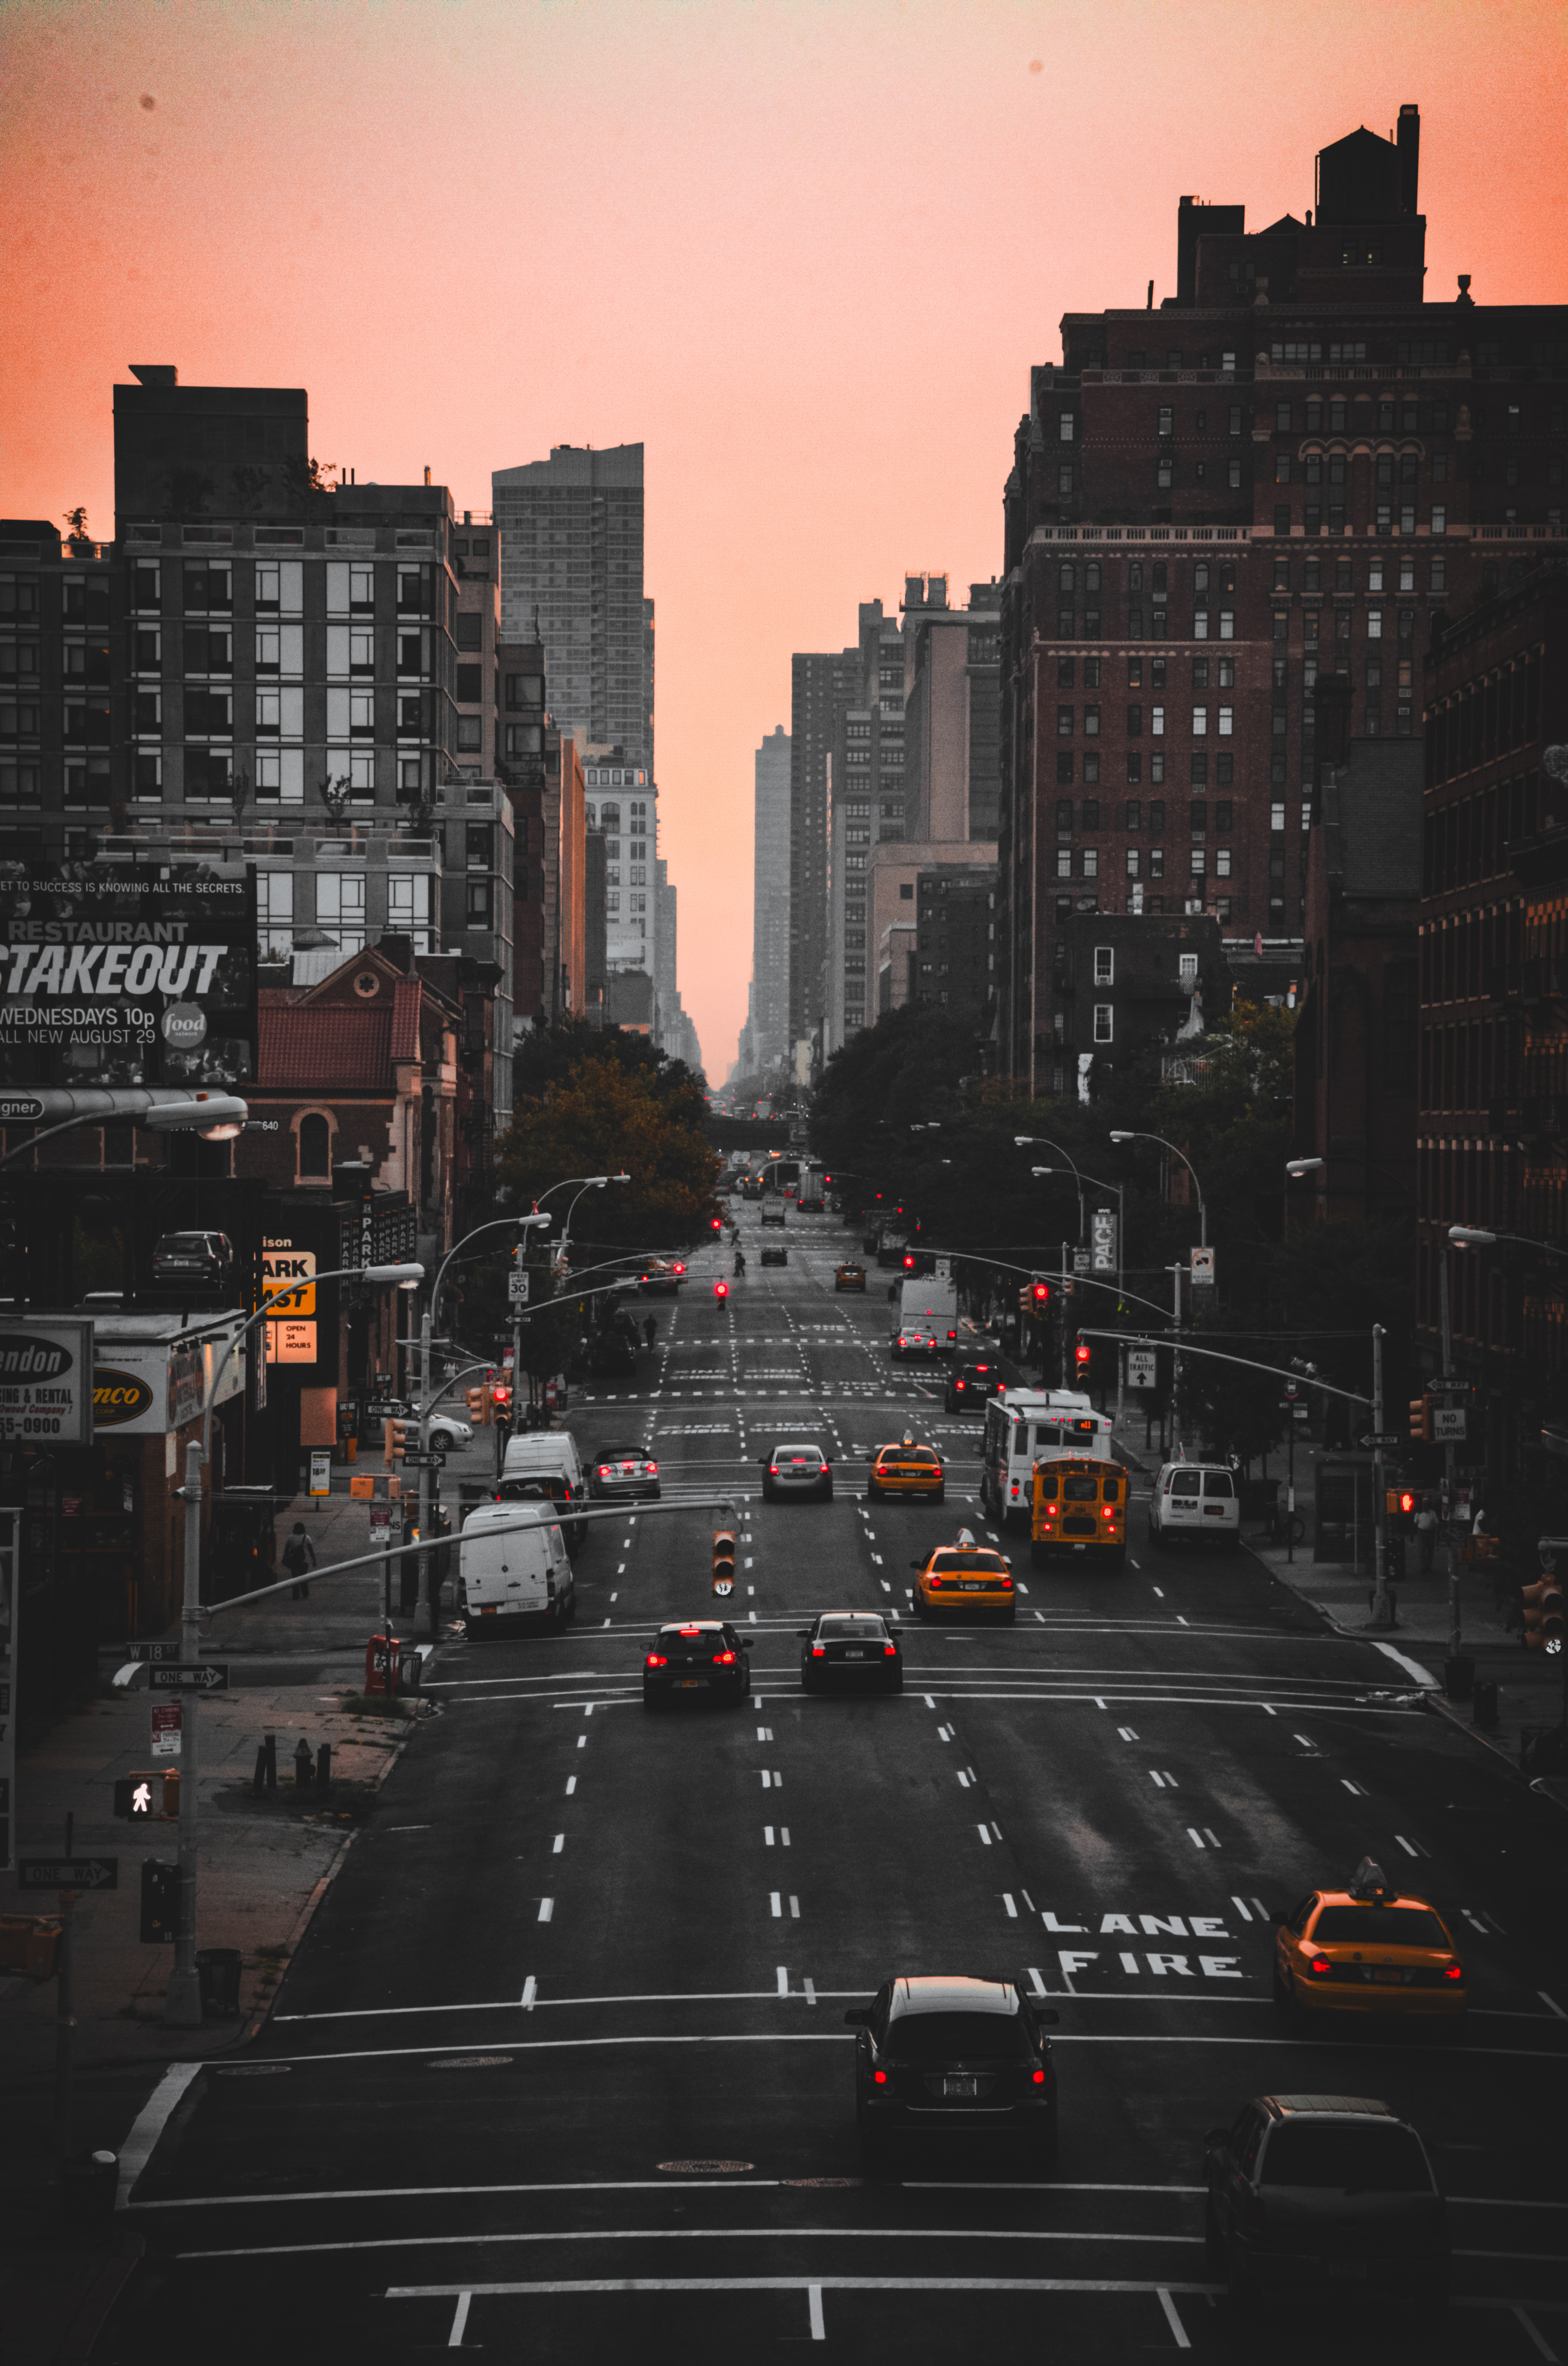
@DaDaLand I feel your edit is still too colorful. I can see greens in there and some yellows and the overall shadow details are different from the look I’m after. And yes you’re right, presets might not work for every photo and you’d probably have to go and shoot with a preset or look in mind in order to capture the right starting colors and mood etc. I like this looks because some of the blacks are in deed crushed and then lifted. But to me I like the dramatic dark mysterious feel of those photos. Obviously it is a matter of taste and it might not be for everyone or a whole body of work. But it can be a way to enhance a certain theme (NYC in this instance) and convey something very cinematic.
I wonder if it would be possible in Darktable to create a preset that is sort of parametric. What I mean is let’s say select a sky based on its color or lightness, select specific colors in the rest of the image and have them changed or desaturated based on the overall look. I’m not sure if that’s even possible - I haven’t gotten to the level of understanding darktable and its capabilities in that matter.
@Thomas_Do Very nice! I’ll grab it and put them one next to the other to compare and analyze them.
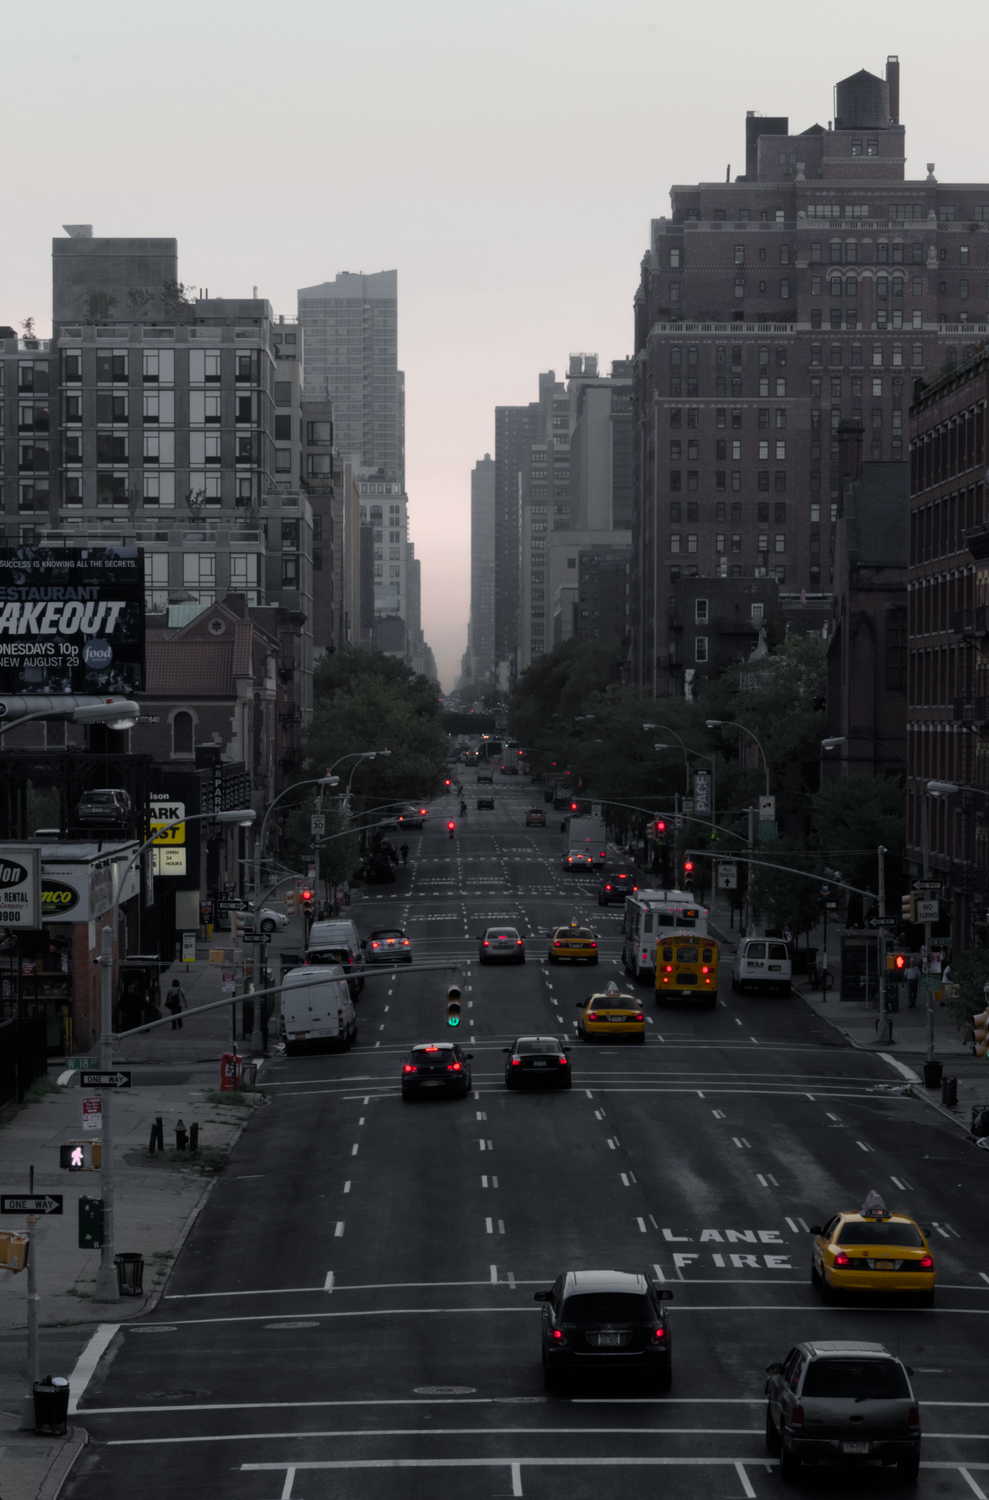
I left some green because there are just yellow taxis and red traffic lights. I felt like balancing them out with some colored billboards, but you can load my sidecar and lower the greens and look for yourself if you prefer it that way.
It’s almost monochrome except for that.
Oh, and I desaturated and brightened the sky just because I mostly wanted to replicate the preset, but of course that just comes down to taste.
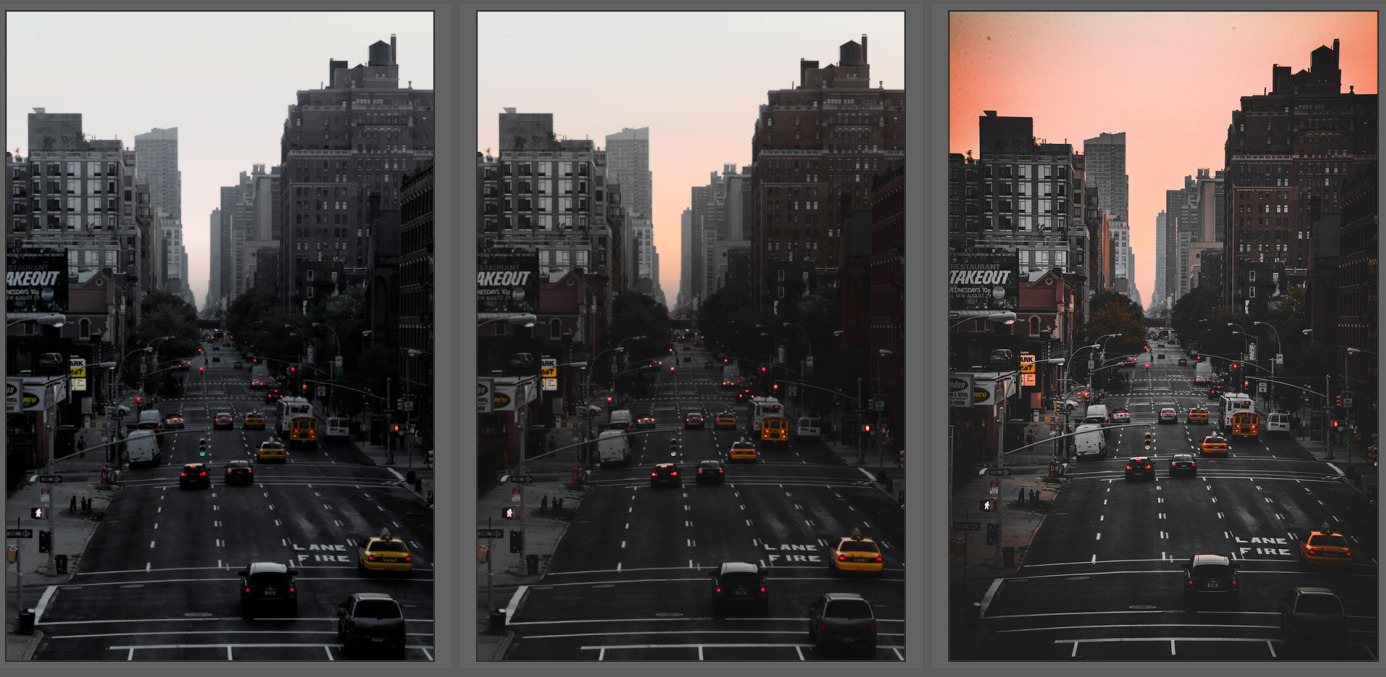
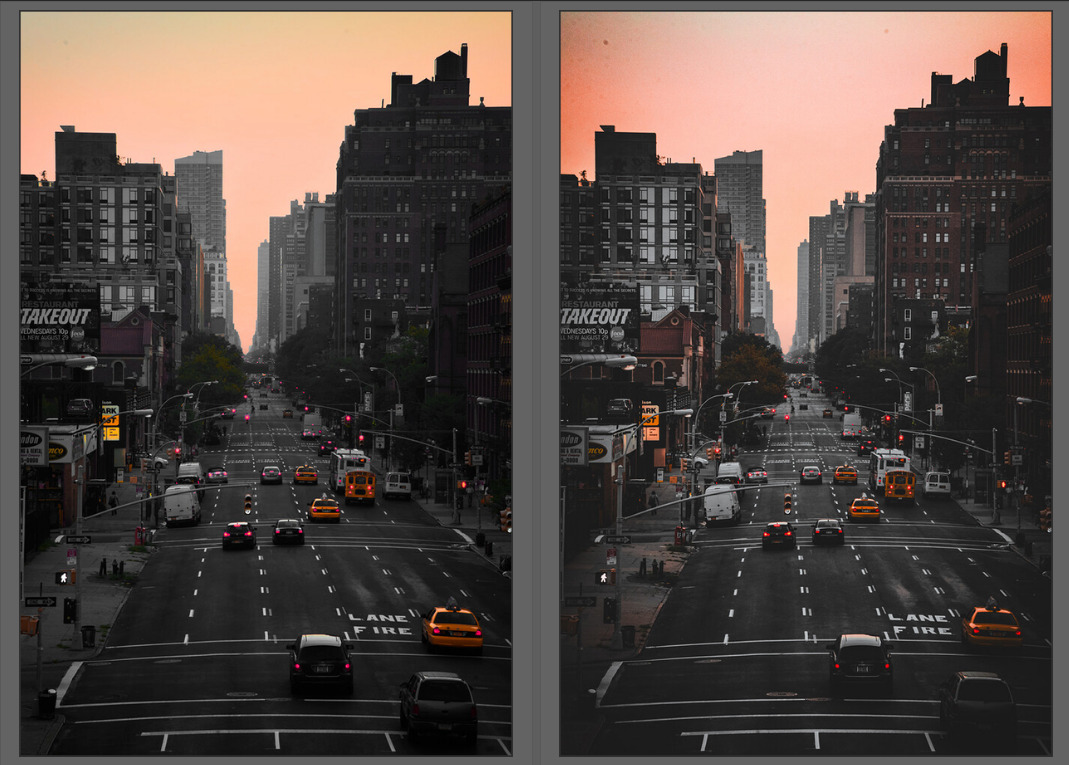
Ok so I downloaded your sidecar file and looked at what you did (left). And then I went from there (center) and adjusted mostly the curve and the colors to get closer to the LR edit (right). Here’s a comparison:
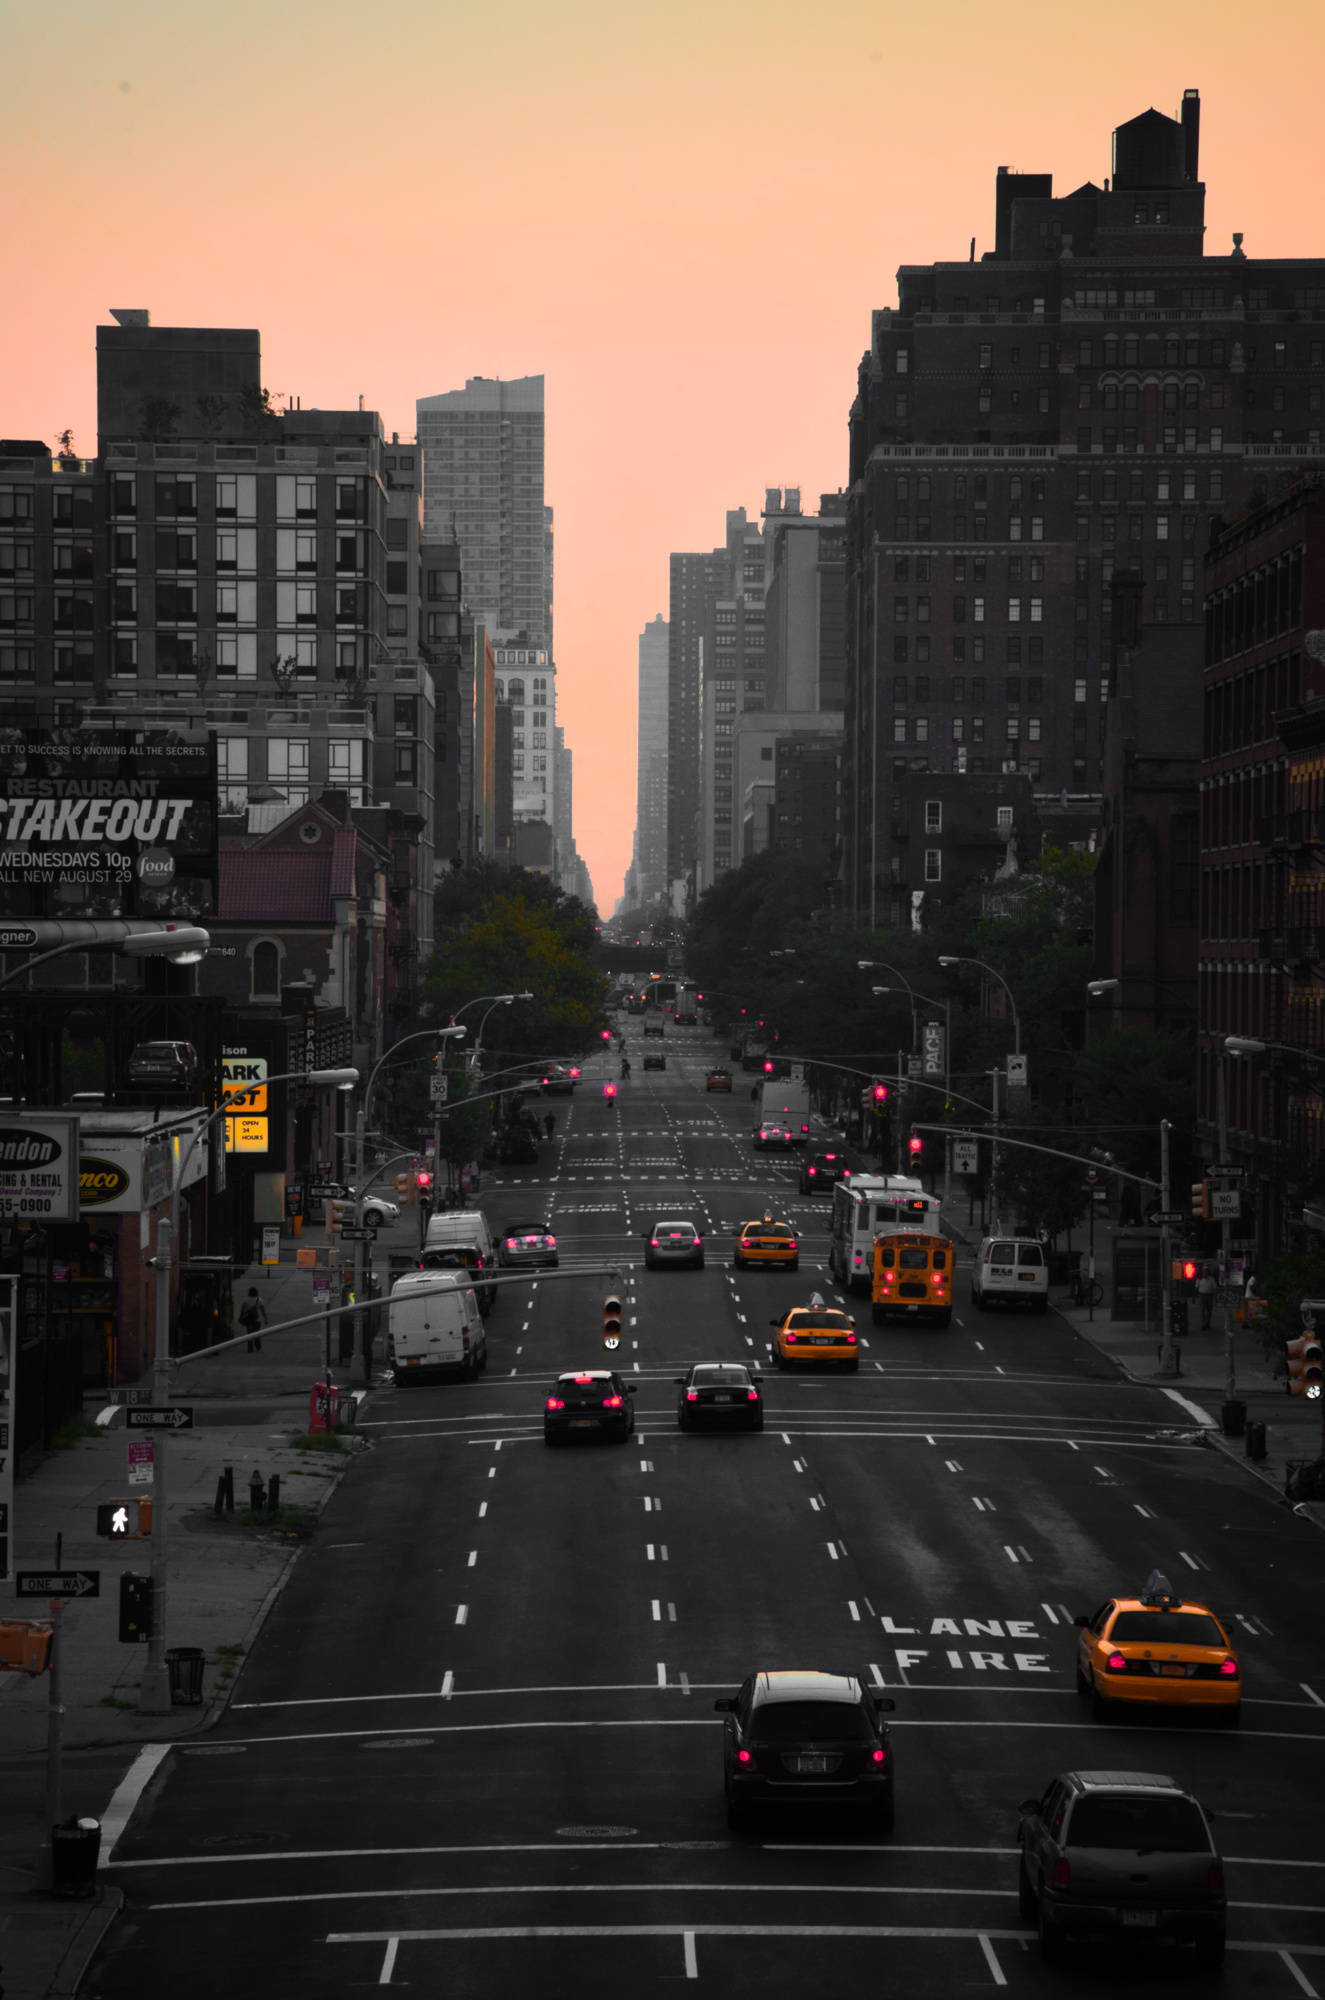
Disregard the sky in mine…it’s too much orange but that’s an easy fix. But look at the shadows and the details…it looks so good and retains a bunch of details although being compressed…
Now I got some questions. What difference is there in between the tone curve and the rgb curve? they do give very different results
@Thomas_Do yours comes really close - the colors are a bit more orange but that’s easy to fix. The only difference I see is the blacks. I was looking for a module in DT to work on the whites and blacks but I couldn’t find one. I did change the blacks in the exposure module if I remember correctly and the whites in the shadows and highlights module but I can’t get it to look like the LR edit.
Also the clarity is quite a challenge. Am I right that that has to be done in the contrast equalizer?
Their license is completely they’re own (Free Raws - License, Terms & Conditions - Signature Edits) and is not under a known, existing license. I don’t want to test in court if pixls.us is “creat[ing] a photo sharing site like our Free Raw Files page.” and we don’t want to play a laywer to figure it out