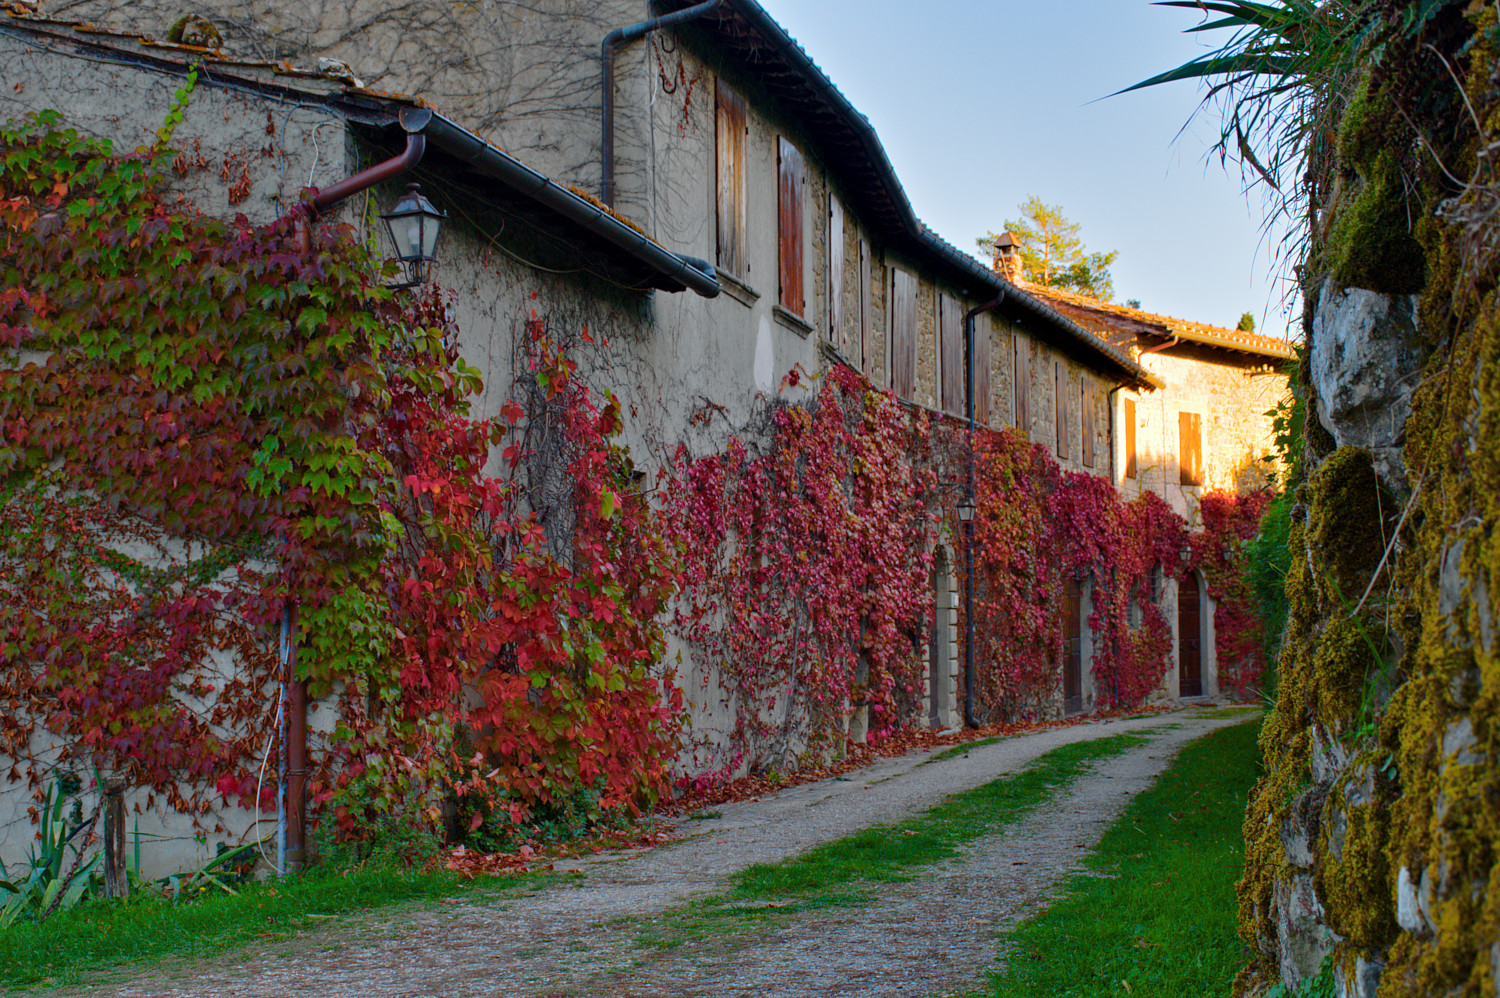
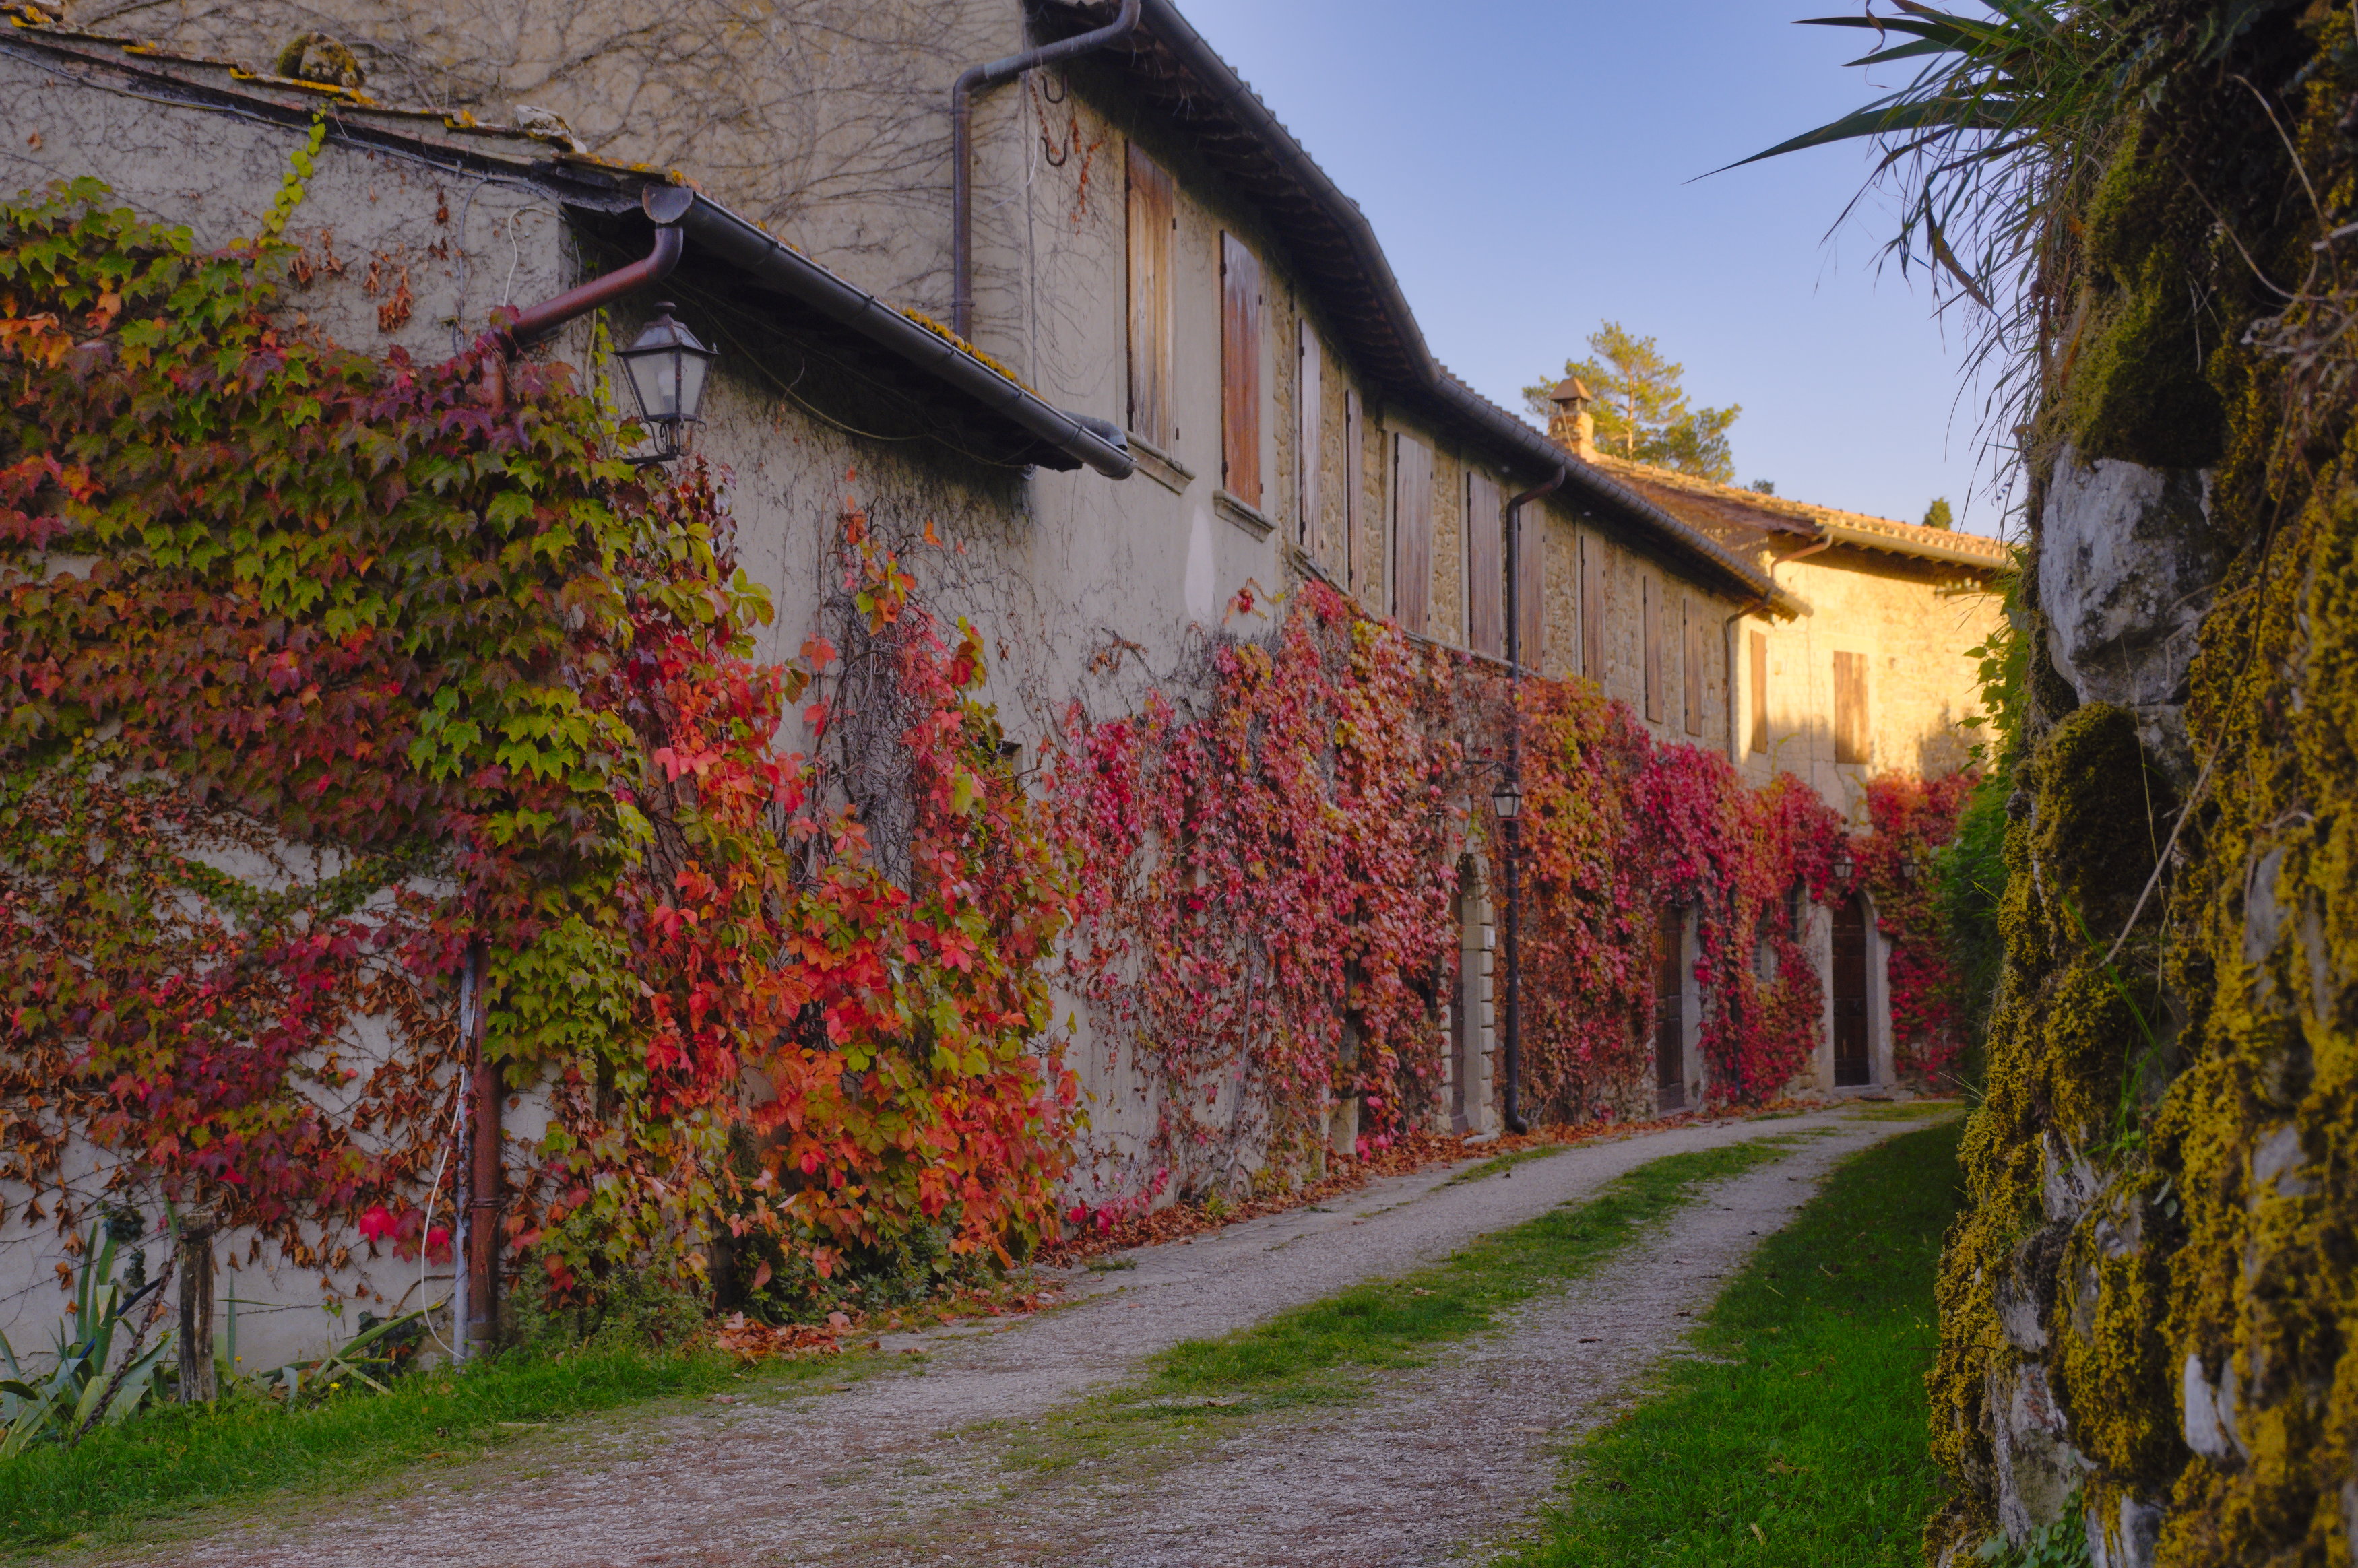
Nice shot, here my version in RT 5.9 dev:
DSC_1319.NEF.jpg.out.pp3 (15,2 KB)
My play in GIMP, after taming the contrast a little by blending different exposures.
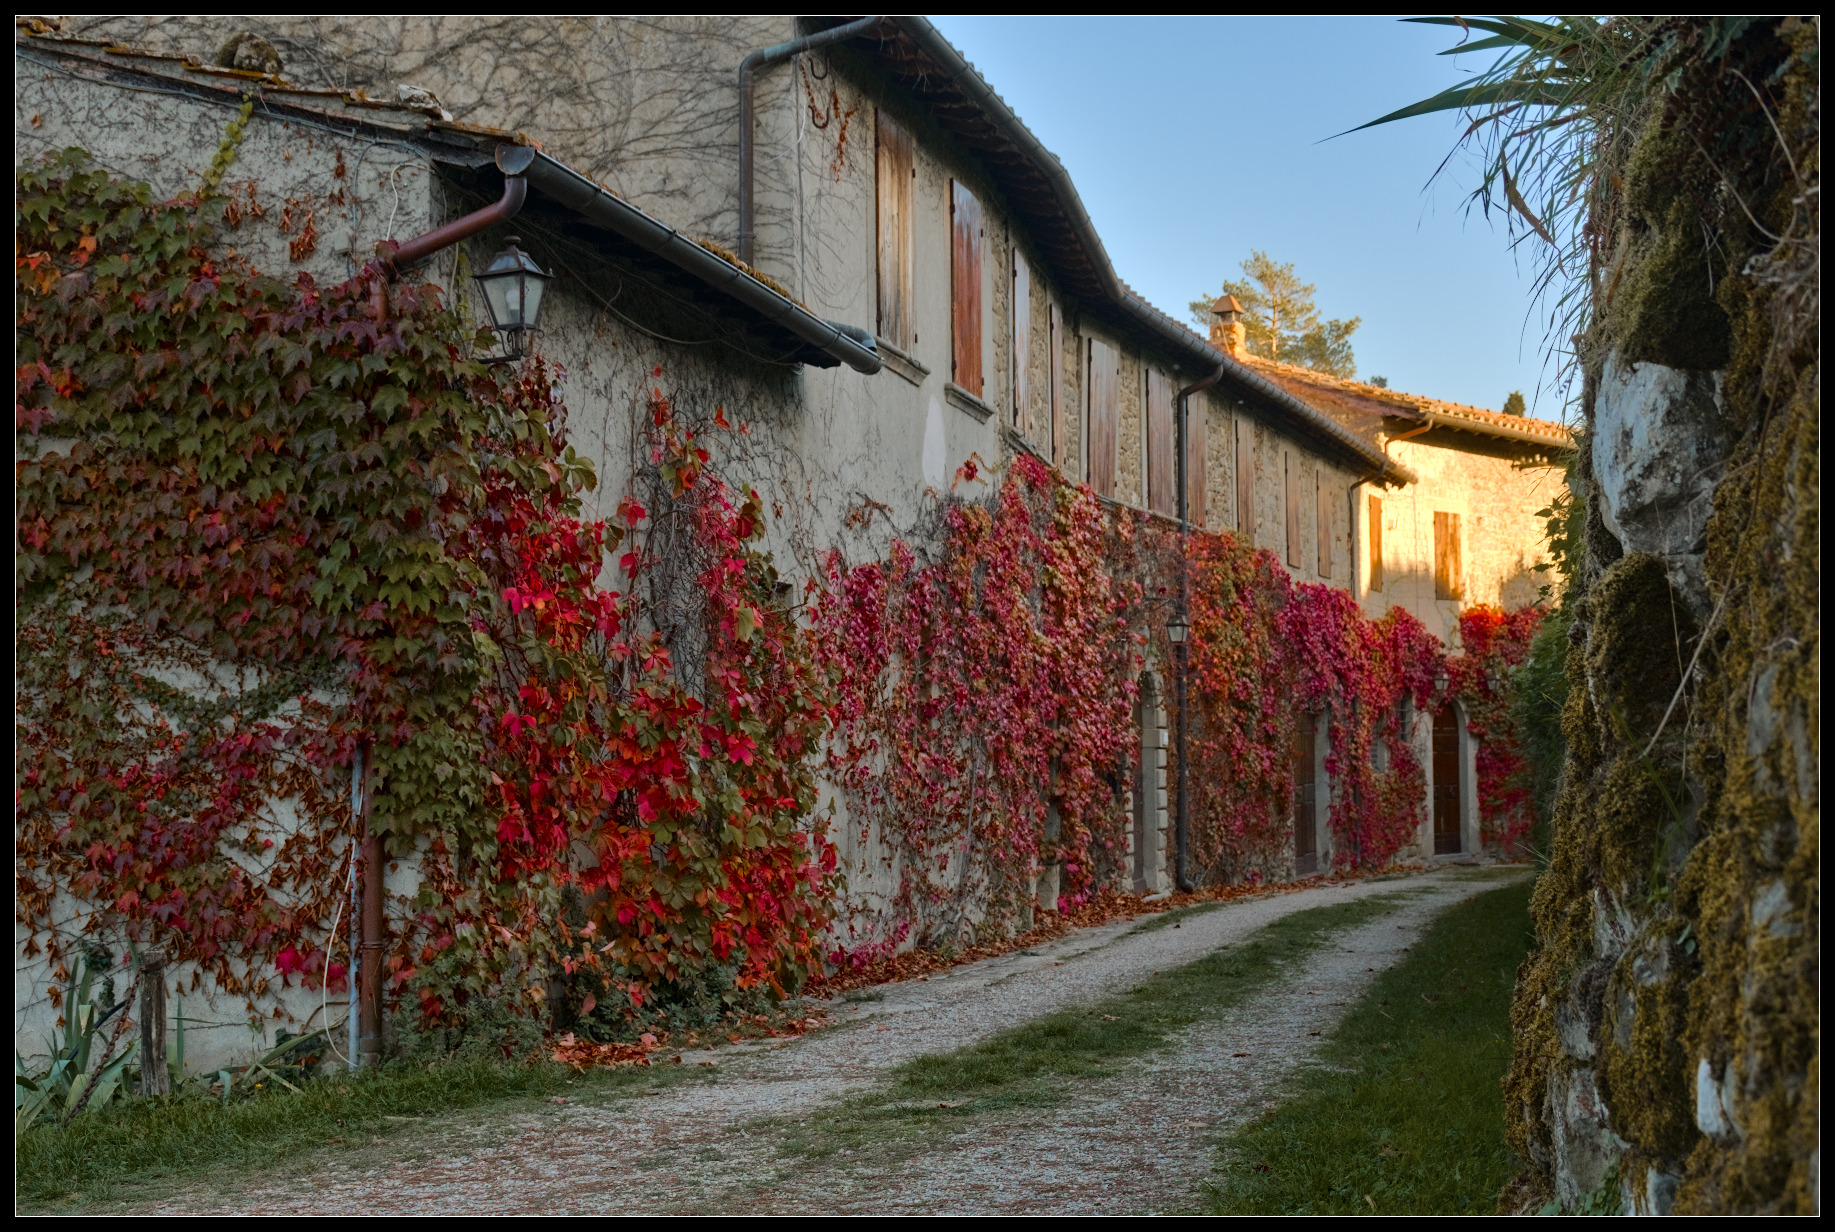
I know that these leaves become a very intense red in the autumn - I hope I have not overdone it.
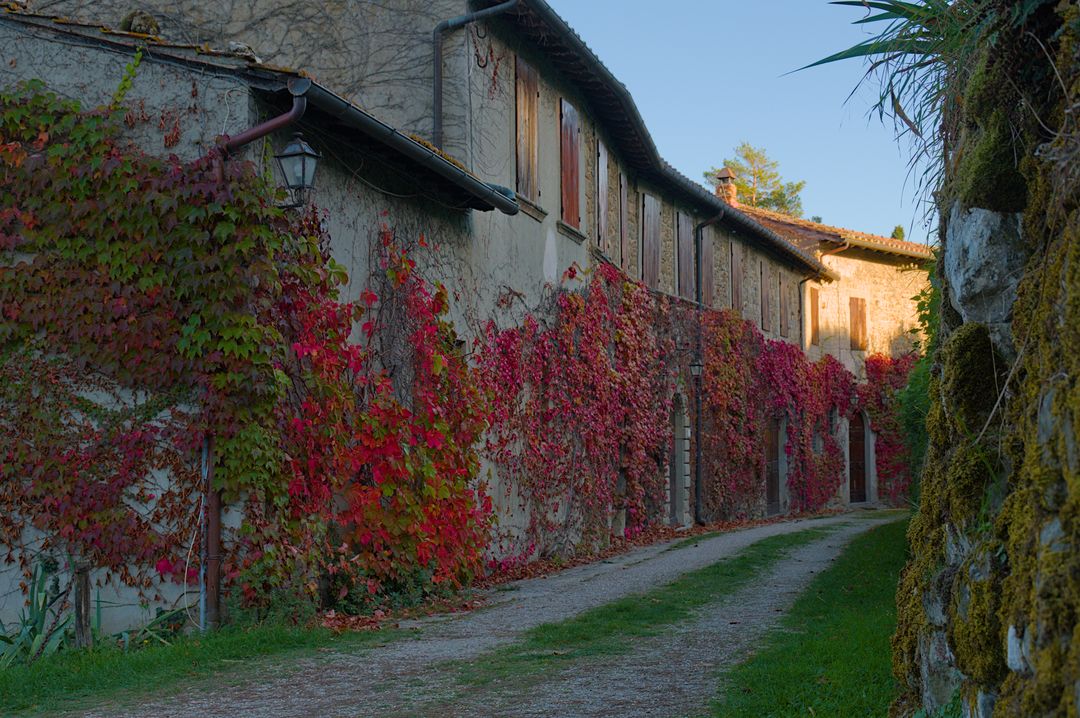
Here is my try in darktable 4.4.2. Pretty straight forward, I think, nothing too fancy. It was a very nice scene ![]()
Yes. When I originally went to the Exposure module, I noticed that some parts pushed the histogram off the chart, even though the look was quite dark. But I decided not to do my edit faithful to the dark scene, because no one here ever likes them that way. I increased exposure, anyway.
thak you so much for all your edits!
I hope you had fun editing the photo. When I took the photo I already had the “final” image in mind but I wasn’t able to get it with the edit. Some of your edits are really close to what I wanted to achieve.
Filmulator:
Hello,
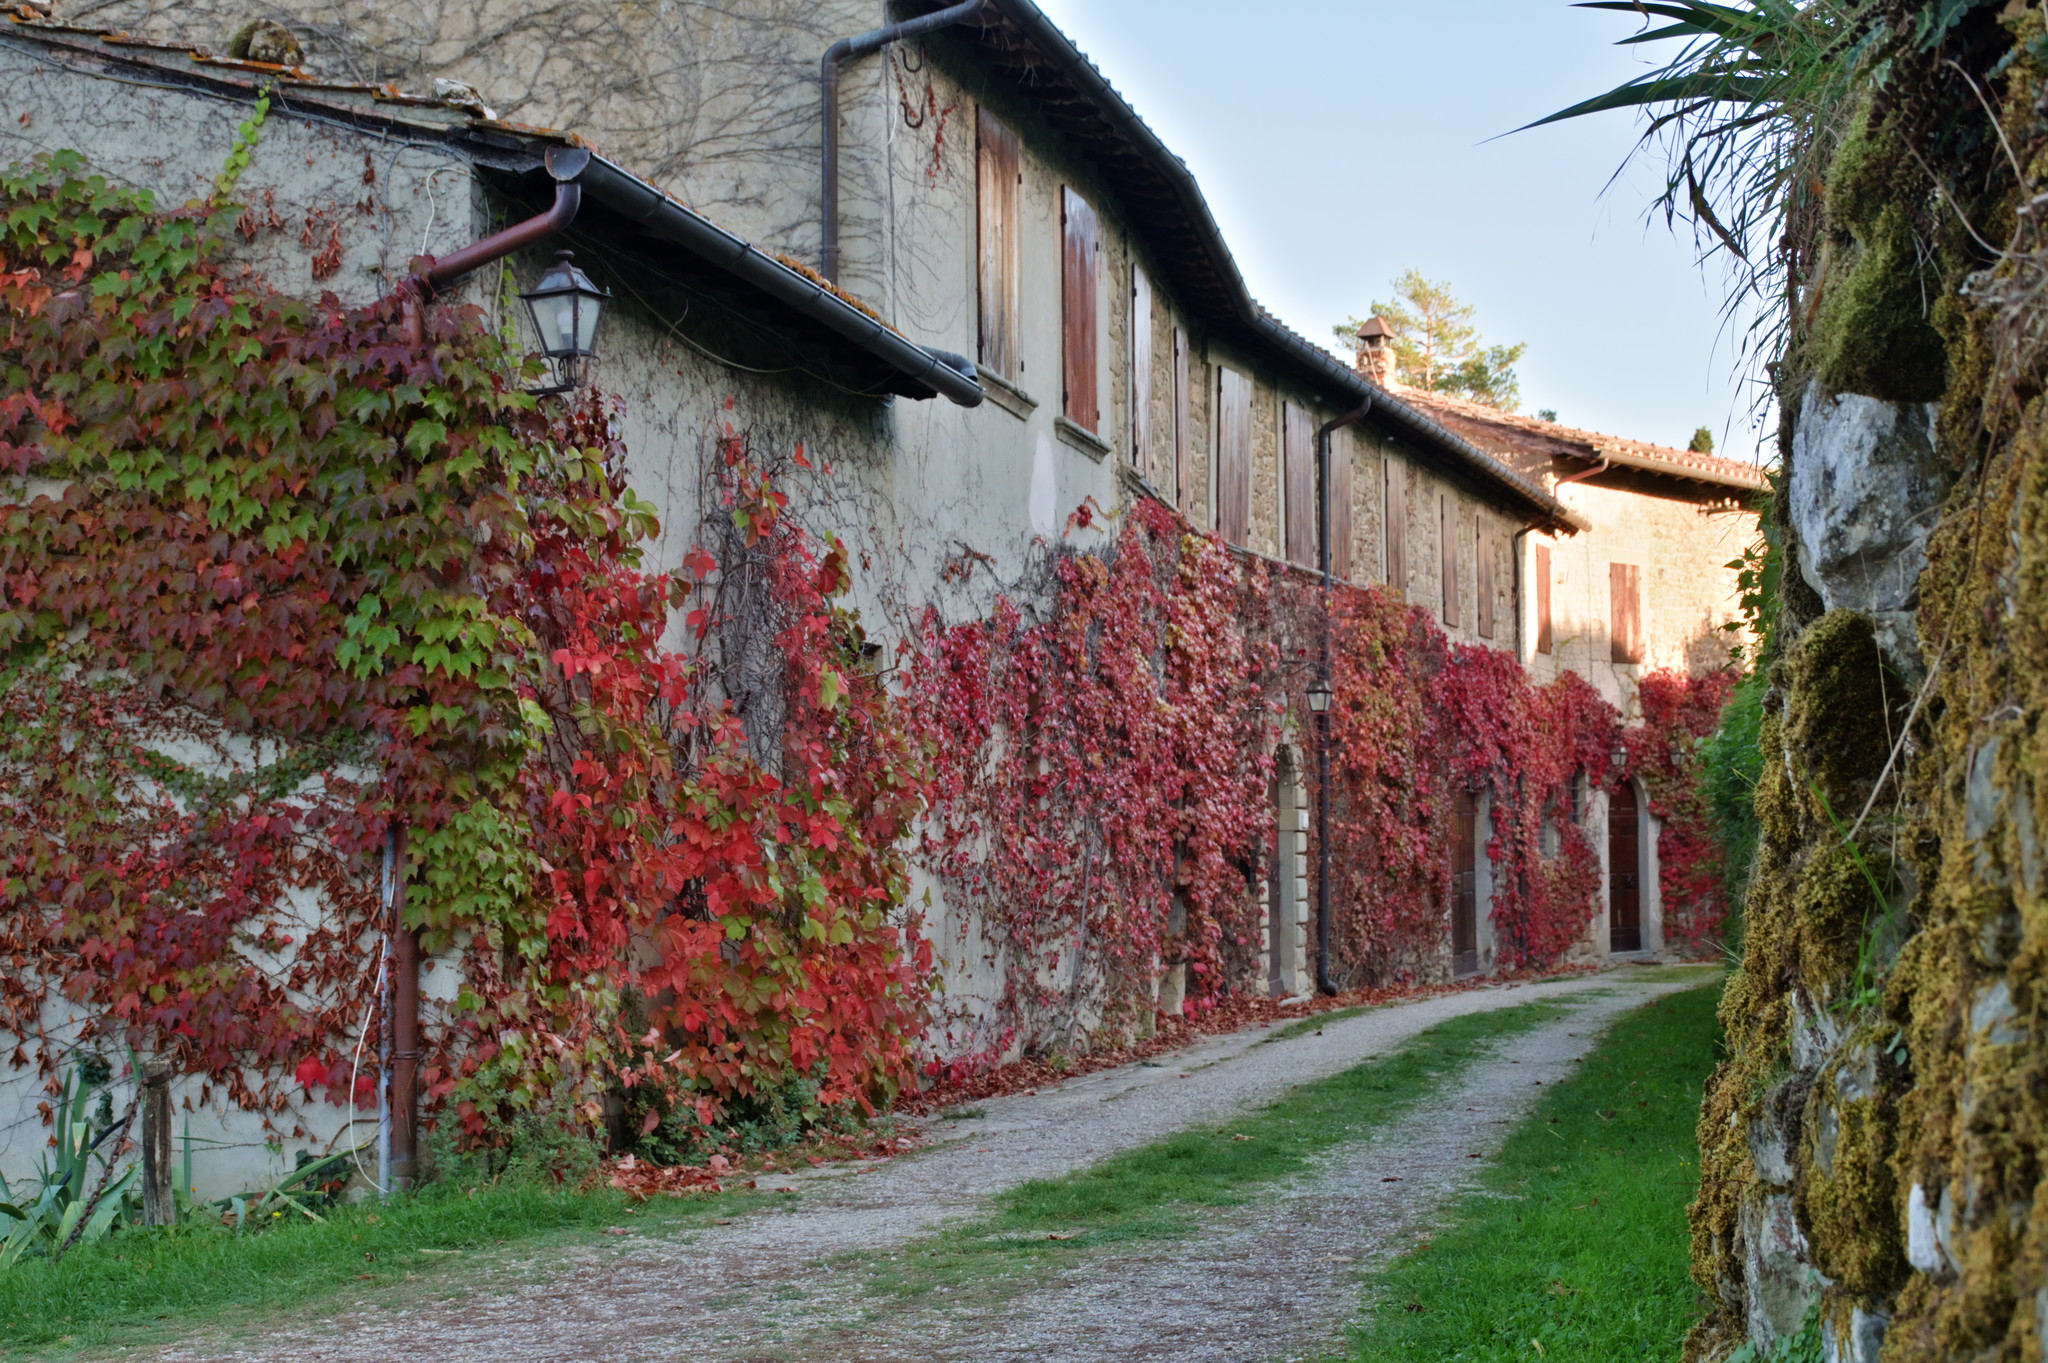
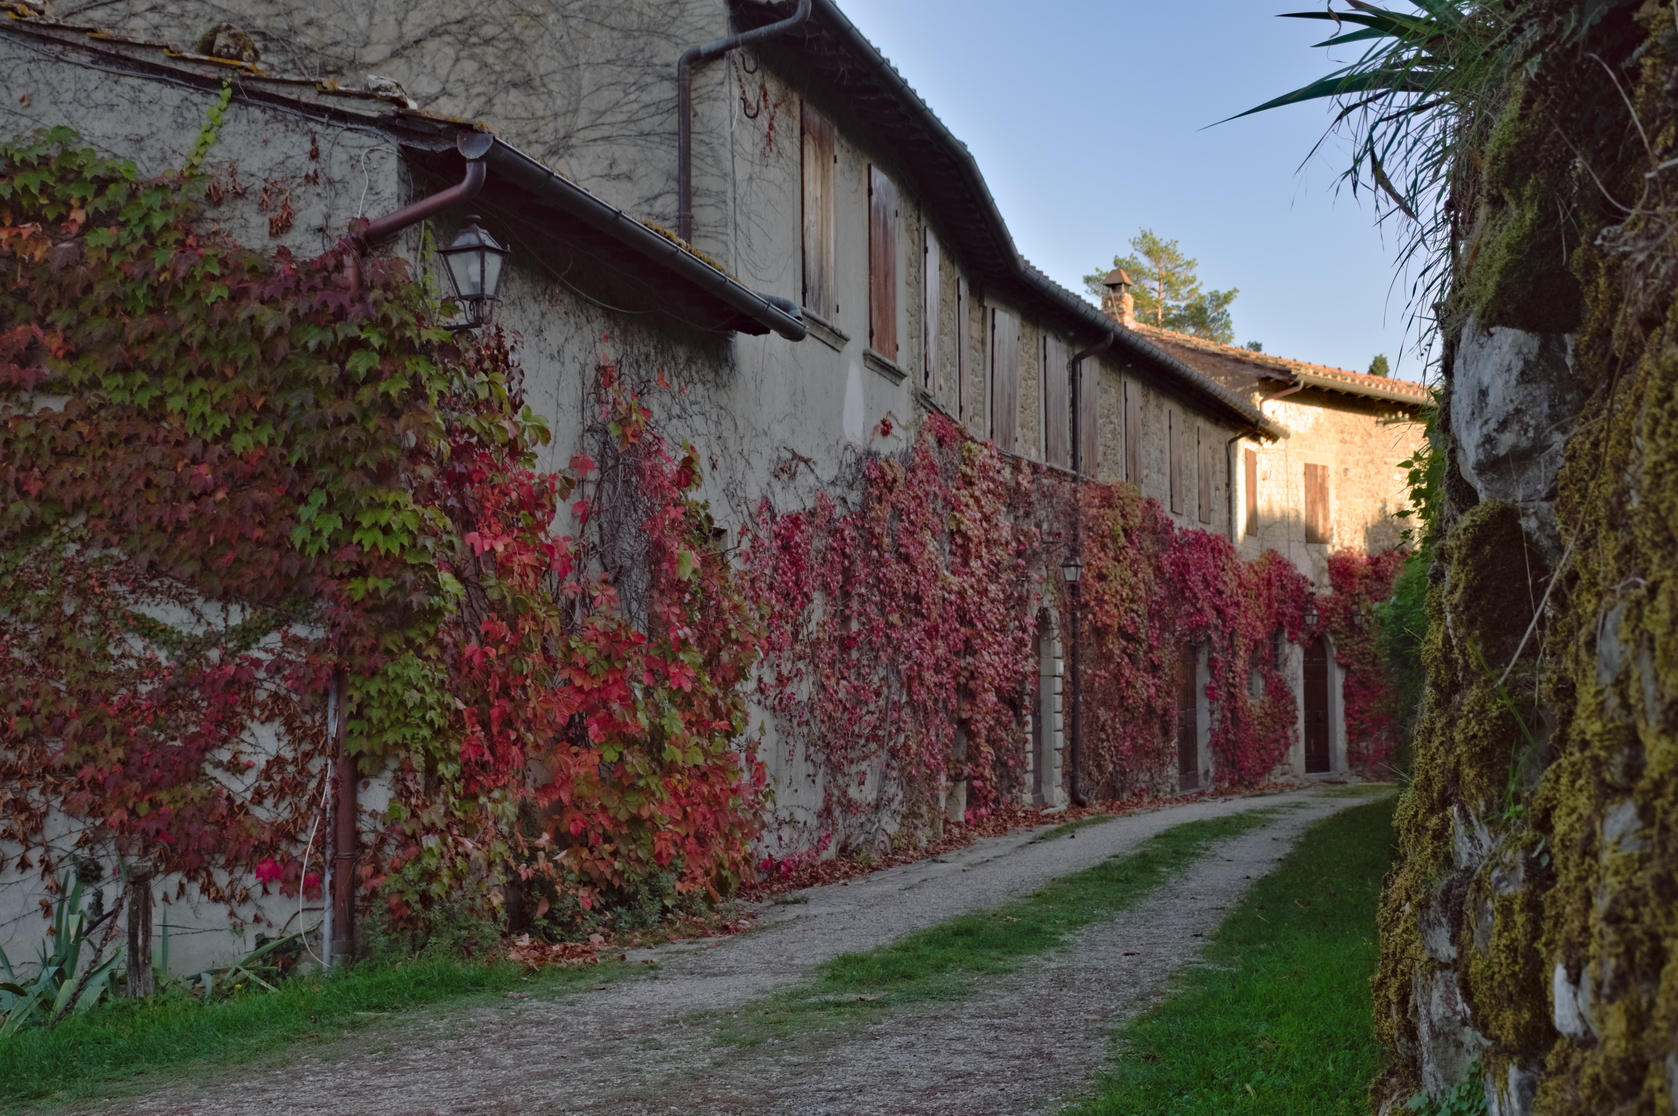
Here’s my interpretation, I opted to keep the alley a little dark while adding light.
I used the RGB Primaries module to highlight the autumn colors and also the new primaries function (AGX like) from sigmoid recently migrated to the master version. Darktable 4.6 will be a great release.
Edit:
Here is a second version with a clearer sky to avoid the slight halos and then an iinstance of the “graduated density” module.
Darktable Master 4.5.0+911
Greetings from Brussels,
Christian
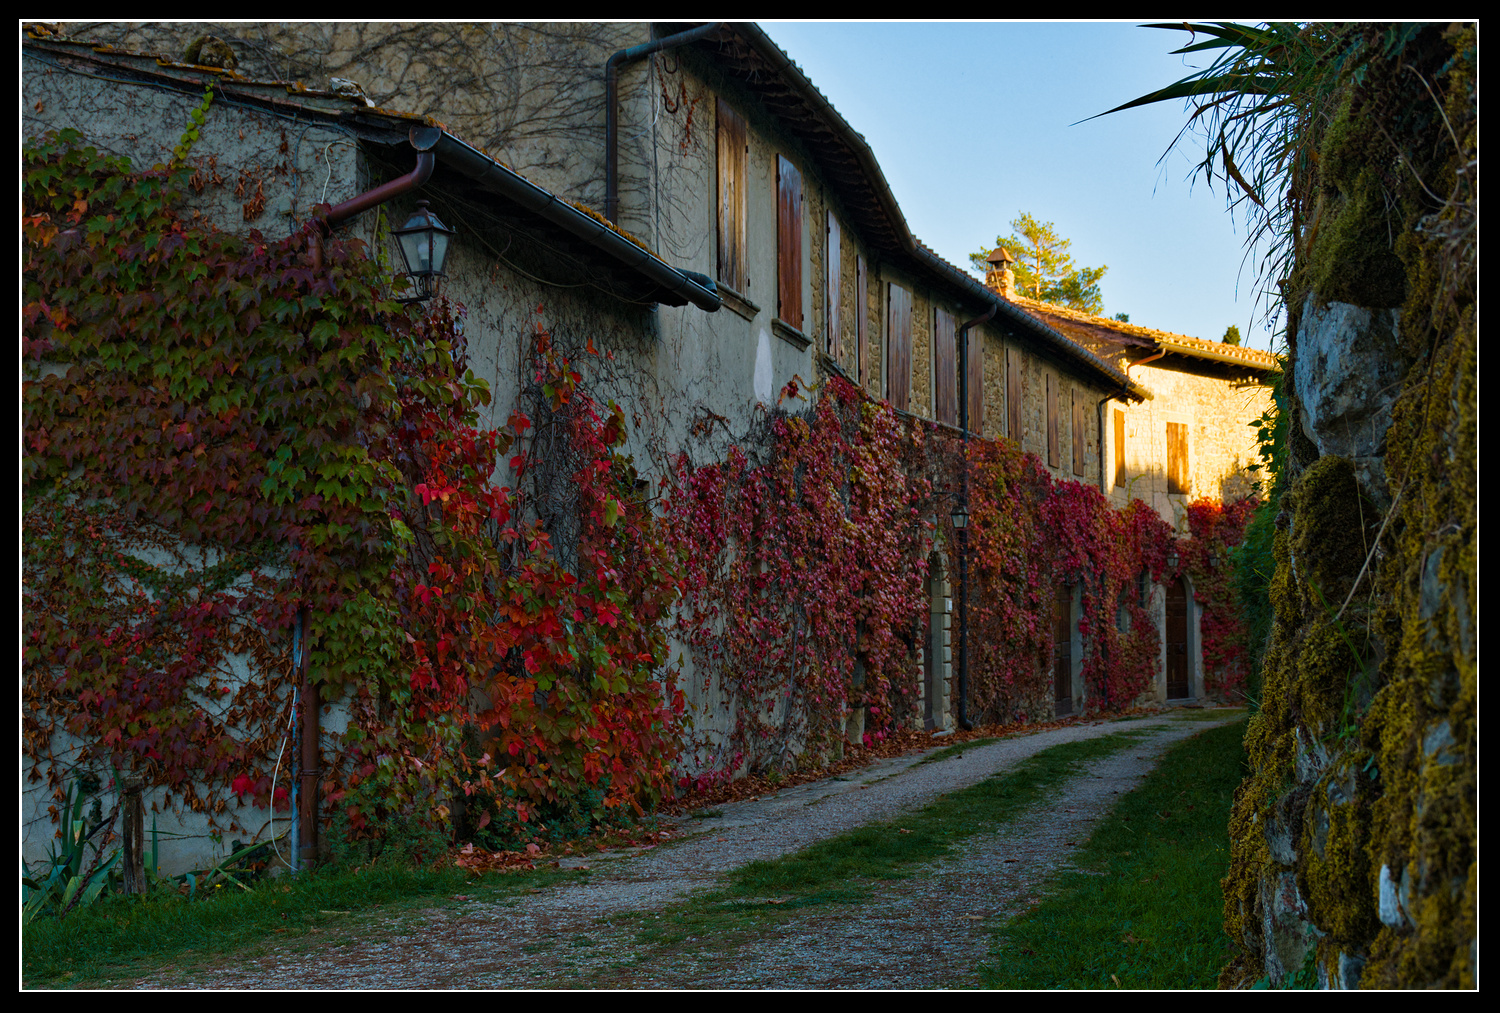
OK; used Inkrubber (User Filter preset) along with Luma Invert (G’MIC) set to Overlay and blended to taste. For the downsized image, I did sharpen it a bit from the original (hirez). ![]()
hirez: red_pop.jpg
red-ivy-DSC_1319_01.NEF.xmp (21.3 KB)
dt 4.4.2
Another attempt in GIMP - image correction in the LAB space
In GIMP - image correction in the LAB space you can conjure up various
This was an unexpectedly hard challenge for me (not so to push the reds, but the overall picture). I had multiple tries at it and finally managed to get something I liked. But then… I don’t think it adds much value over the already existing edits here. But anyways, here is it…
DSC_1319-2.jpg.out.pp3 (14,5 KB)
Your second one is - as far as I am concerned - the best solution here. While some have pushed saturation and especially the red part to ridiculous levels, I have always kept a look at
the wall in the sun
the sky and
the green grass on the ground
Any effort to push the reds MUST keep these tone as “real” as possible, and I think you did good here.
Thank you.
I think the important aspect of contrast eq’s chroma tab is that it does not indiscriminately boost saturation everywhere; rather, it increases the colour difference between neighbouring areas. One can also set the granularity (I don’t want to increase pixel-level colour noise, for example).
I used color rgb with a parametric mask to pop the reds and tone equaliser to control exposure. dt 4.4.1