I have tried out Siril for the first time yesterday and followed this guide:
as the scripts weren’t working for me for some reason?
Unfortunately after performing the Background Extraction I ended up with a yellow tint to the image and the light pollution wasn’t really removed at all.
Using DarkTable I am able to DeHaze the image without the need for stacking and the result is ok but of course I don’t benefit from the noise and vignetting reduction.
Is there anyway to remove a full light pollution wash over the image in Siril so I can get down to the stars hiding beneath?
Maybe I am doing something wrong in the processing?
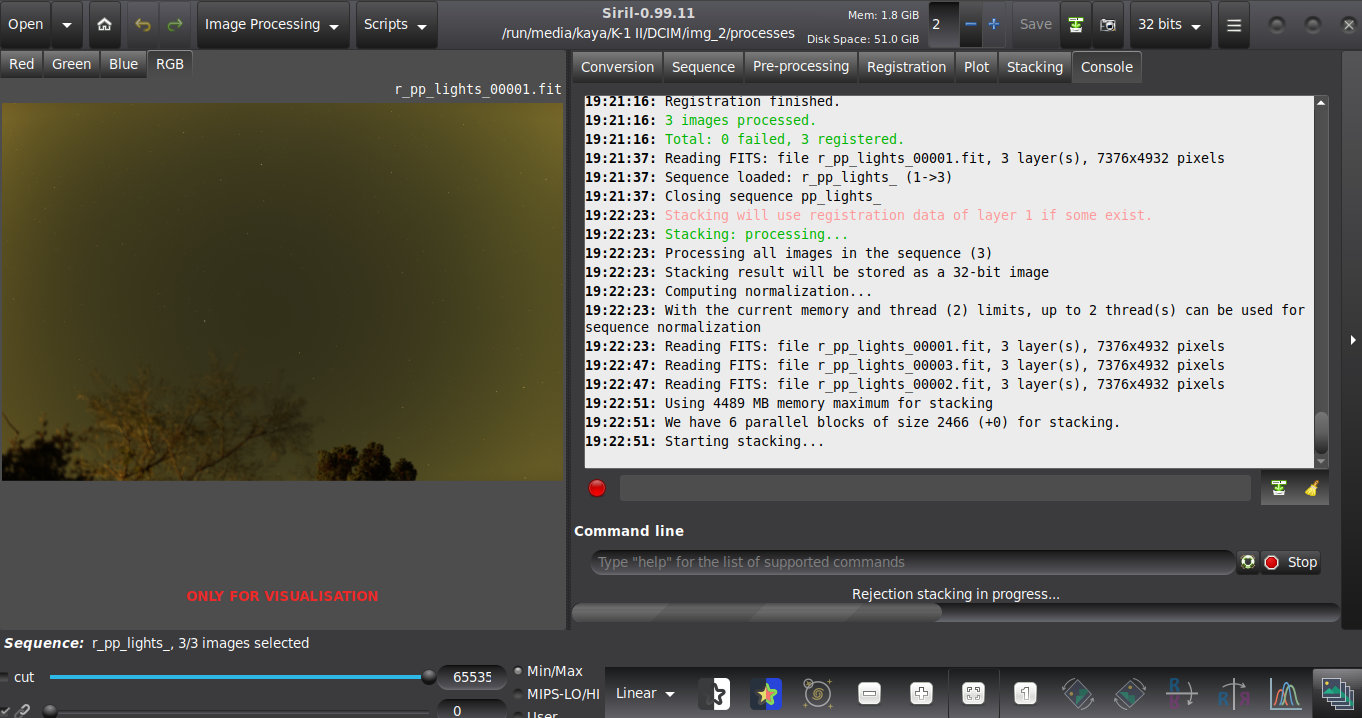
Hi, is this the stacking result or a raw image?
The background extraction’s goal is to remove a gradient, not to remove the atmosphere. If the stacked image does not show stars, you won’t be able to get them, if the calibrated subexposures don’t show stars you won’t be able to register and stack them anyway.
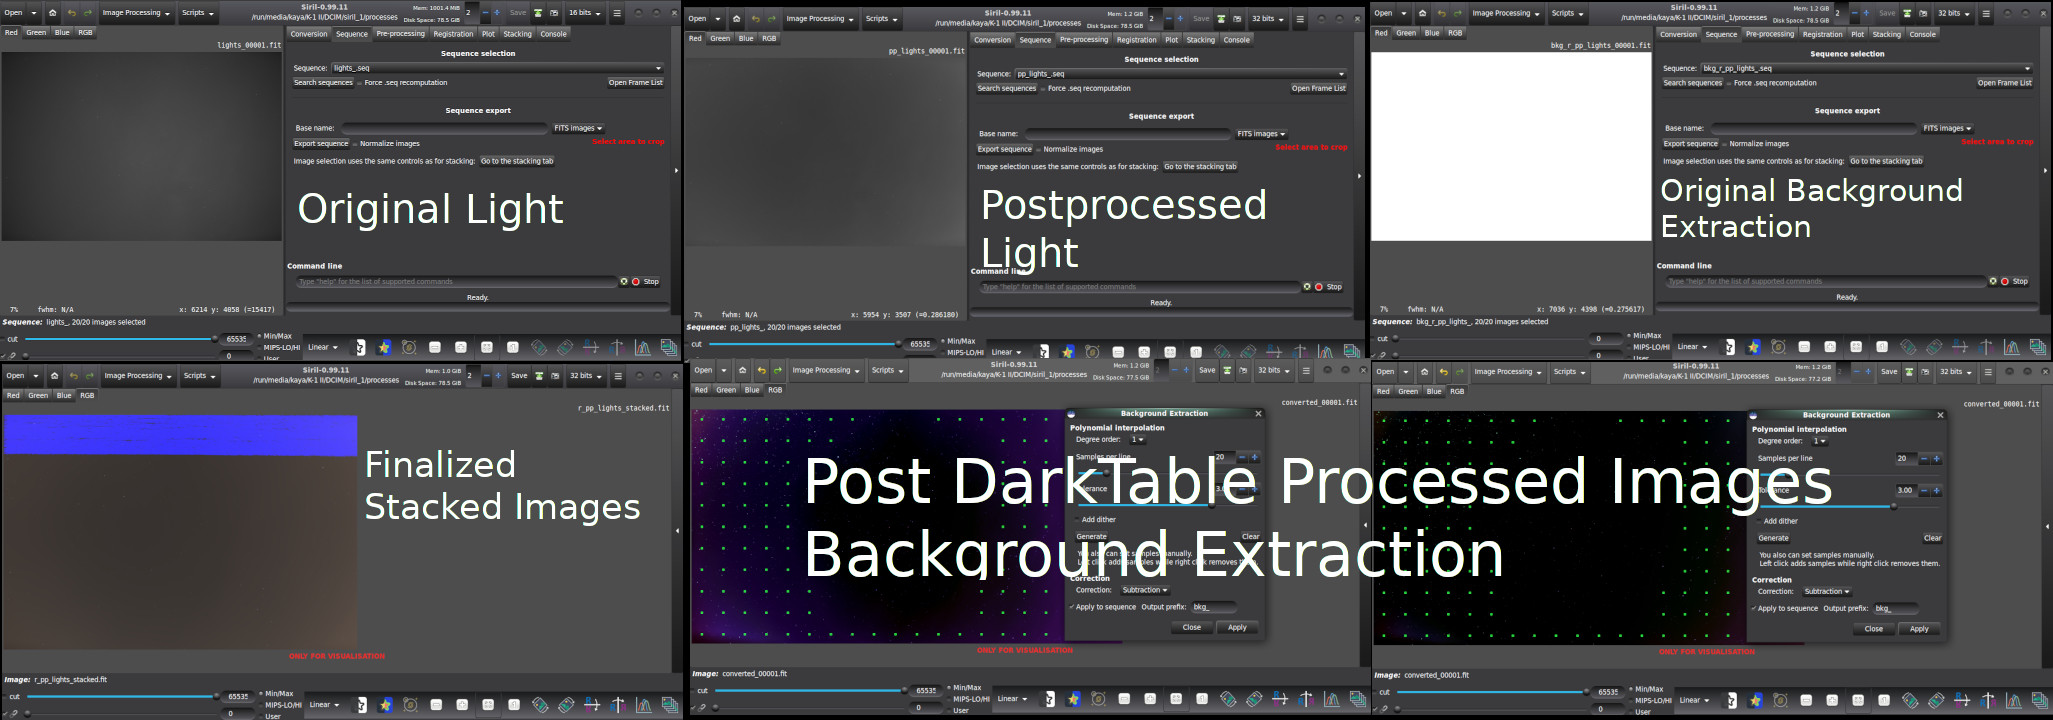
I loaded in by darks, biases, and flats and this is the result that Siril gave after I followed the link posted above…
I’m really curious if there is anything I can do to remove the light pollution using any software somehow? Though because it is so much, it may be impossible
Of course changing the location is the best solution but as this was taken in my backyard I wanted to see what I could do with the images I have already.
I tried using the DeHaze tool on one of the images in DarkTable first before feeding into Siril, so that hopefully it would see the black background and stars. Unfortunately result is the same
Don’t expect magic with this tool.
As @vinvin said, this tool is dedicated to remove gradient, not photon that have been caught by your sensor. It is impossible. You can play with white balance if you want but you cannot expect miracle.
Then, you have a strong vignetting because you probably forgot to apply flat images.
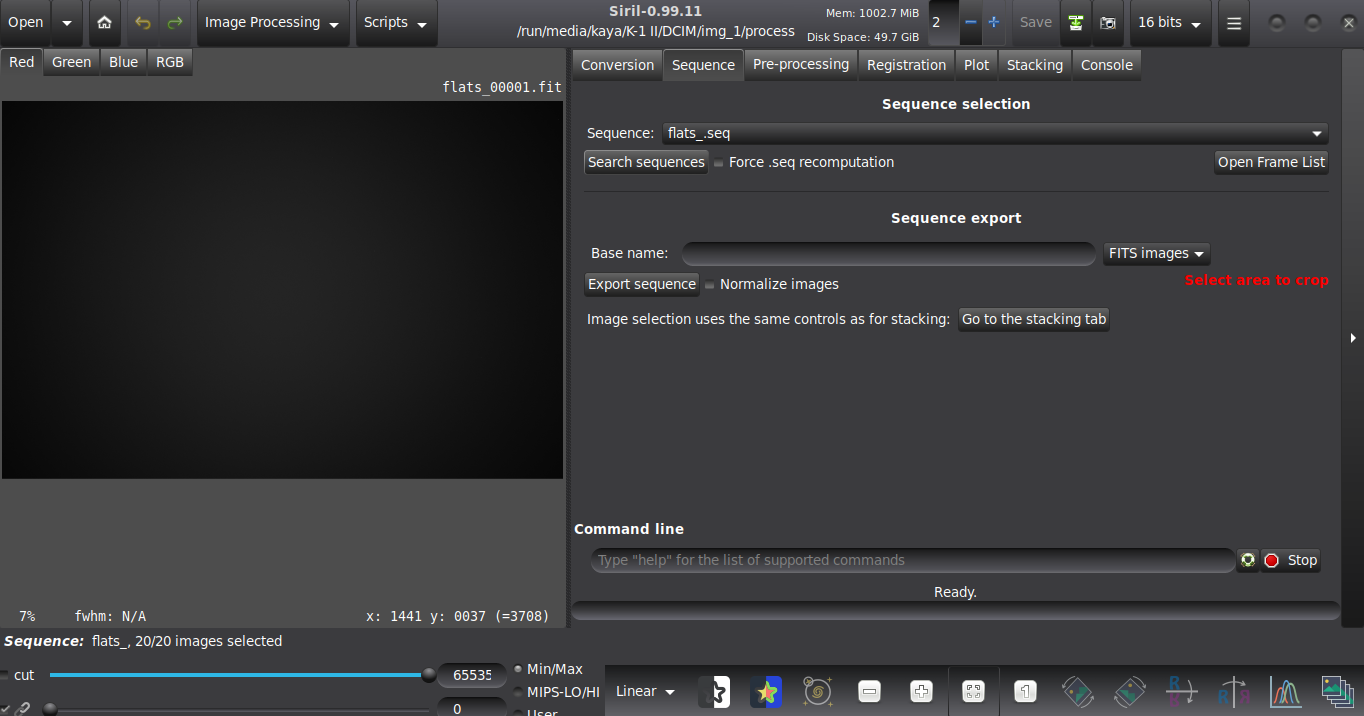
The guide I read suggested to take the flat images in the cameras Av (DSLR) mode at uniform brightness but the light should not too bright to clip the histogram of the camera. I laid some print paper over the lens and then took a sequence of burst shots - 20. The shutter speed was at 30 seconds so perhaps I blocked too much light going into the sensor??
As said there are a lot of basics that I still need to understand and I probably will need to change location too…
You laid paper in front of it but did you shine light upon it? Because with the starlight it’s not enough
Anyway, you should not have to open the calibration files demosaiced, like the flat here. Calibration happens before demosaicing (a.k.a. debayering).
I didn’t take the flats outside. I brought the camera inside while keeping the same focus. I used a small room which has 5x 9W LED cool white GU10 bulbs in it (spot lights).
Of course the lens cover was off
Yesterday I retook the series of flats using a higher intensity of brightness in the room.
I think the resulting images are better??
I’ll feed them back into Siril and have another look later today.
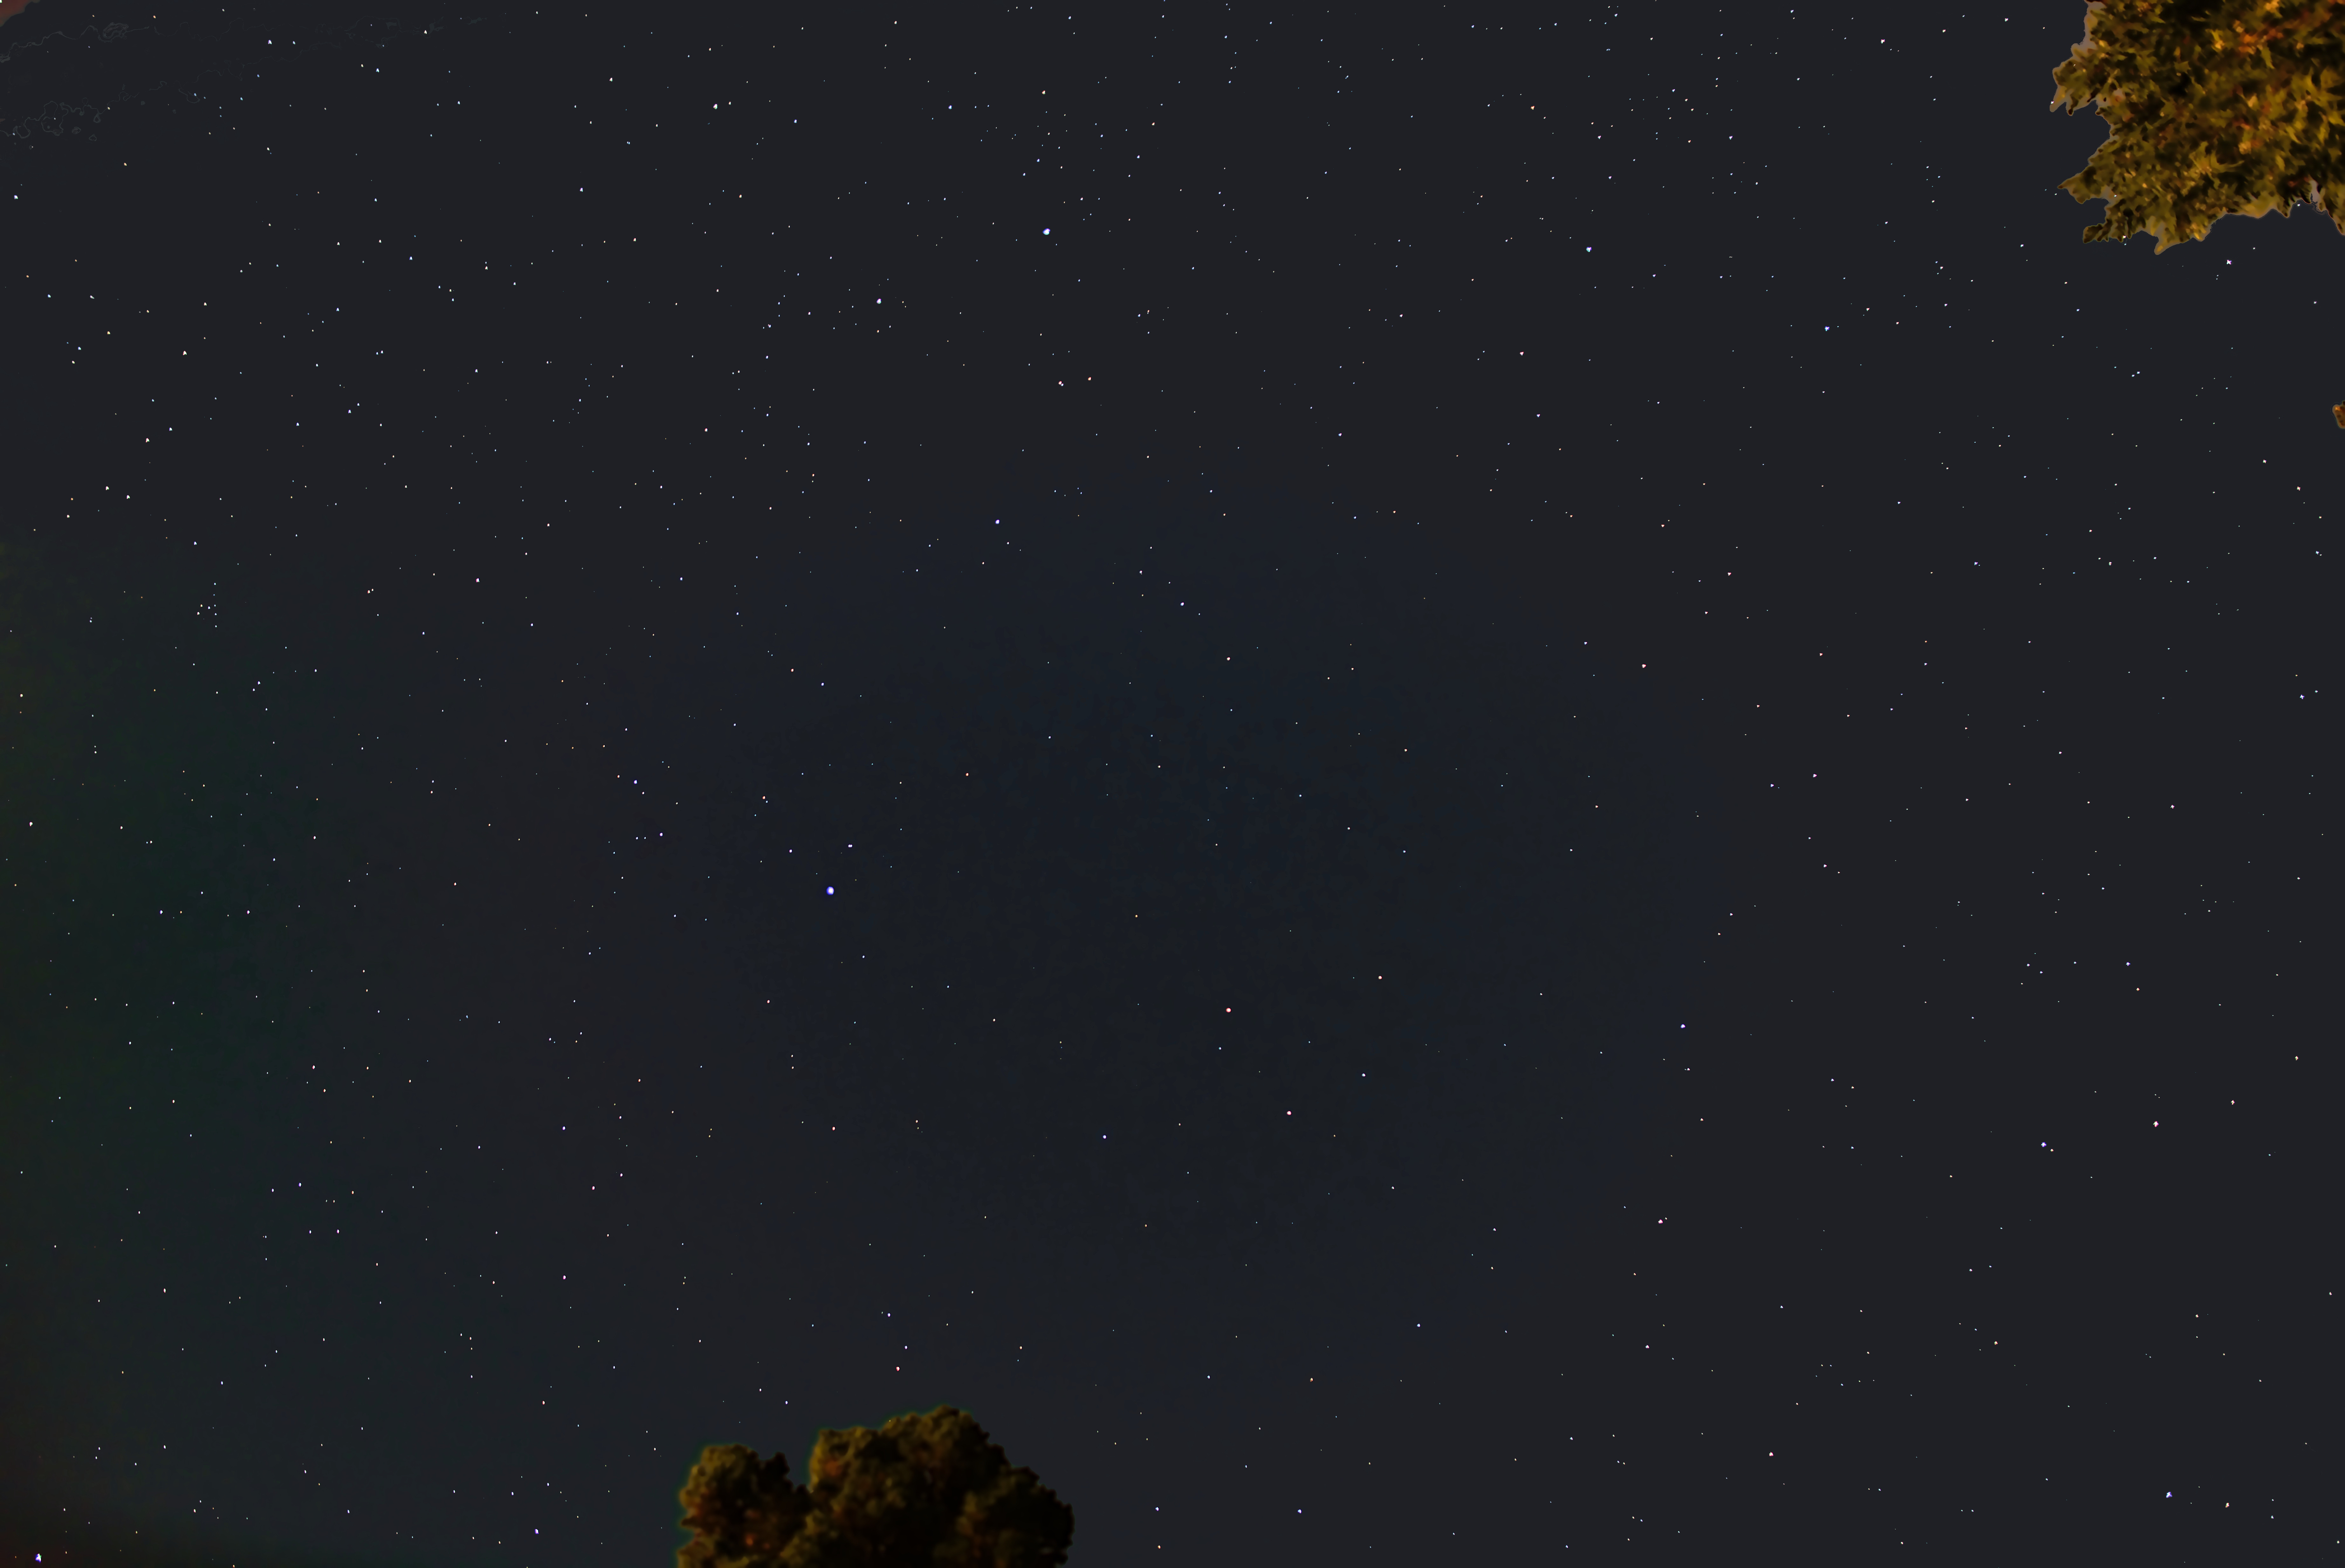
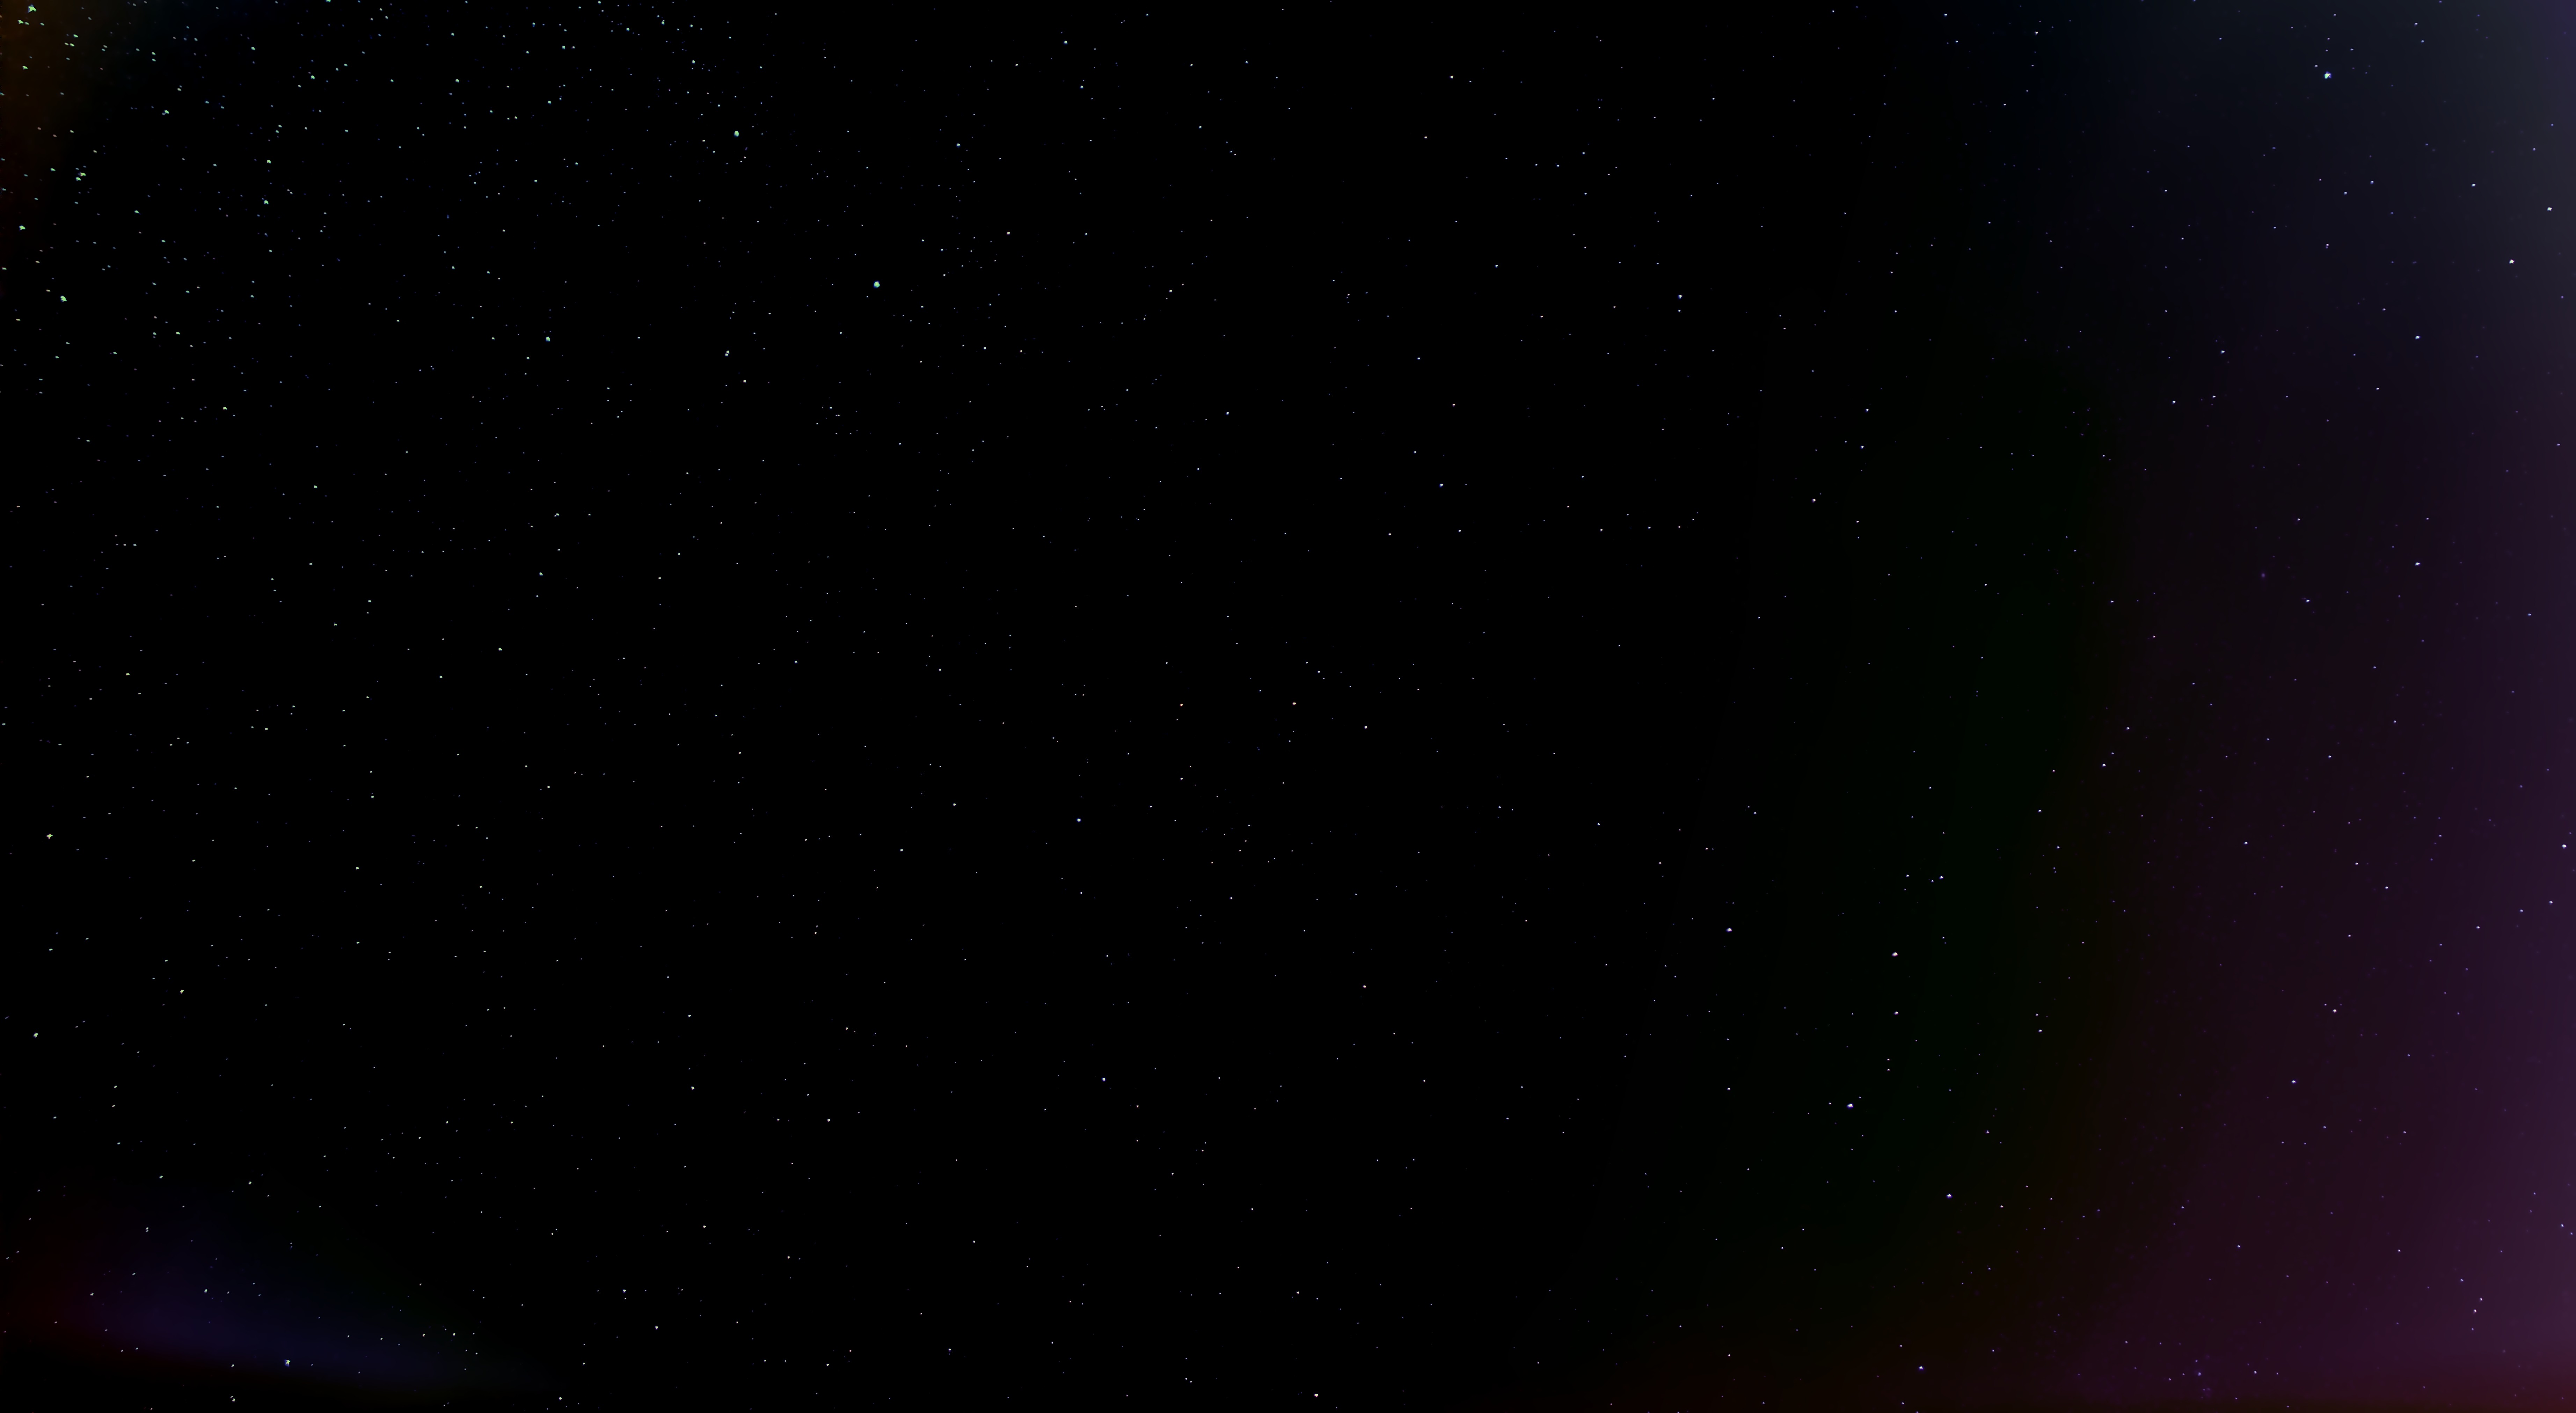
Here is the original image, unedited and straight from the camera:
I think overall it’s pretty frustrating because I have taken many sky shots of different areas in the sky using my 24mm f1.4 Samyang/Rokinon lens which I bought specifically for astro and low level light work. I also tried with my 28-105mm zoom at focal length of 105mm f5.6 to get a little bit less wide.
As nothing can be done about the quality of the sky view it feels a little bit like a lost case…
Though having said that, the astrobackyard site has managed to get pretty decent results in a bortle 8 sky. Of course the difference was that a WO telescope was used with much longer focal length then what I have to work with.
It seems like a lost case indeed… What you may do is use filters to keep only deep sky objects like the L-eXtreme. In that case light pollution is reduced but for wide fields the result would be somewhat unusual and not very good looking.
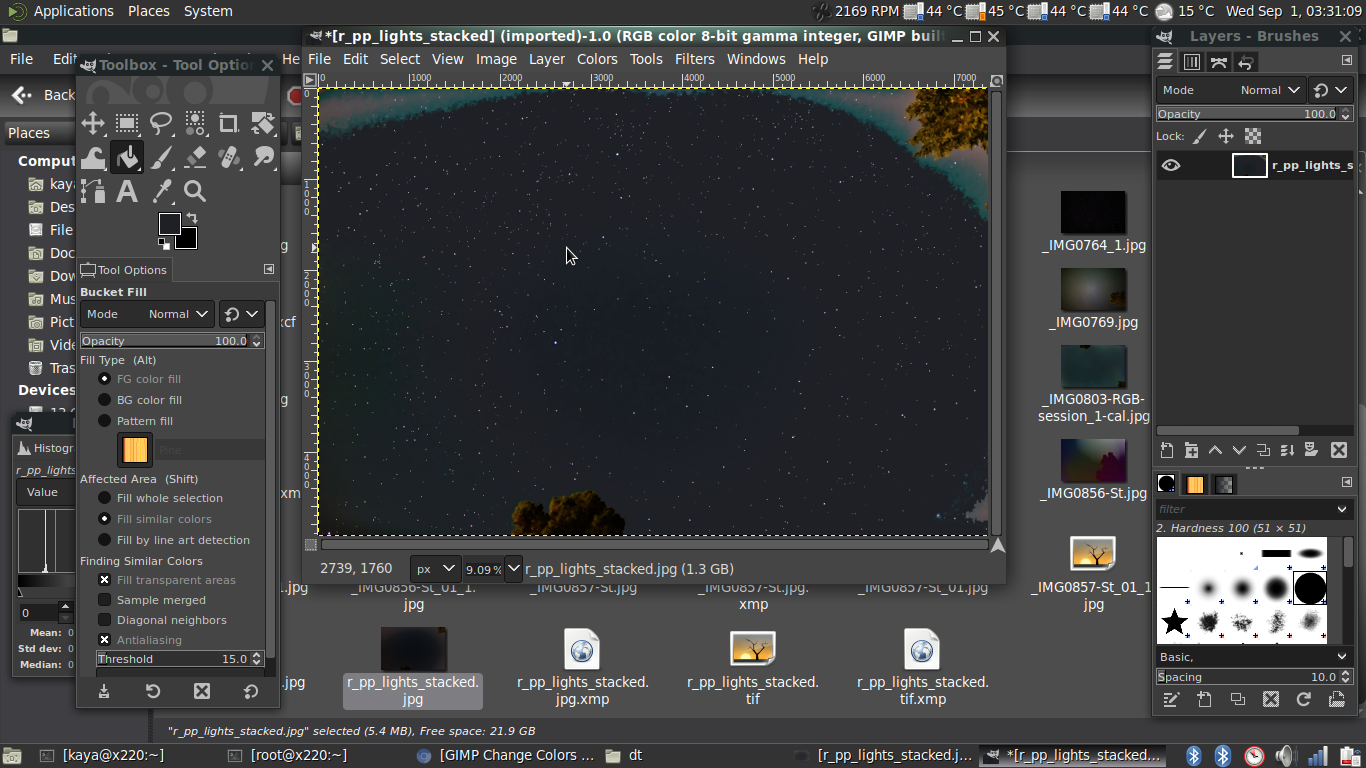
I’m just going to add a quick workflow to at least reveal stars and create some kind of more palatable image. I discovered this late last night while fighting with the images as I didn’t want my ‘air time’ to go to waste. Hopefully this will help someone who has run into the same issues as I have…
As a note: ! it is not a replacement for a good location and conditions !
The first part is to stack in Siril using the raw files collected but not apply any post processing.
Using the pipette tool choose a color closest to the remaining ‘haze’ noise from the now revealed sky.
Then select the remnant Haze noise using ‘Select by color’ tool, then bucket fill with the previously selected Foreground Color.
← repeat these steps till the image is clean:
Finally use light pollution map apps to scout around and see if there is anywhere lower close by that has easy access to try to get a better and clearer view of the night sky
Also another recommendation is to use a nighttime weather map for clear night predictions.
I will need to read further on how it was achieved. Though the initial view doesn’t seem to feature the white gunk that my shots have all over them. It’s strange as when you look with the naked eye it is quite dark at my location, but when captured it becomes bright and white’ish?
Maybe there will be an article online describing the phenomena and the cause (northern hemisphere summertime/wintertime thing, atmospheric conditions, light pollution etc…)
Last night I had another clear night (which is the first one for ages), tonight it seems also that the sky will be ideal for ‘backyard astro’.
In fact last night I wanted to try out a different location but was unable to as the battery for my car key died and I wasn’t even able to open the door. That was a little disappointing as I had camera and everything in hand at the time so I was totally ready and rearing to go
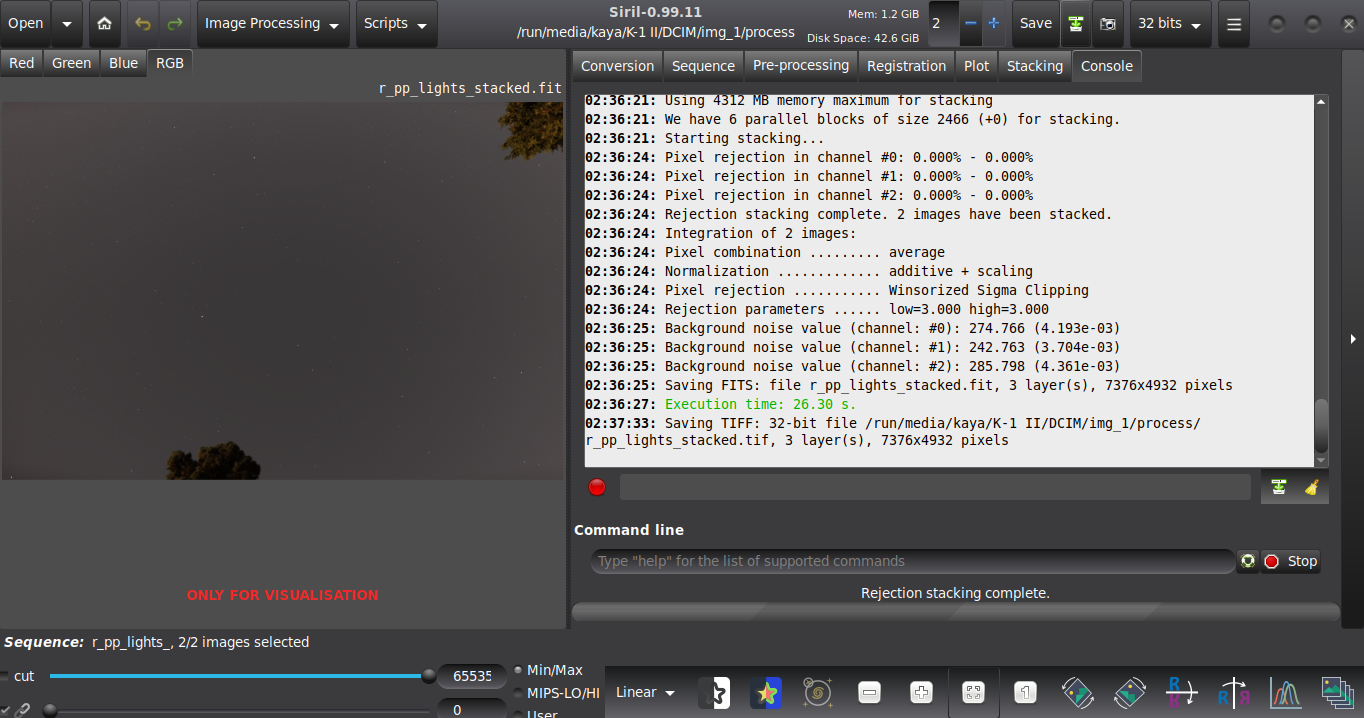
This is the workflow within Siril from a stack of 20 images, then loaded into DarkTable then back to Siril for more background extraction. The first attempt at background extraction did not work at all as I only got a white blank image.
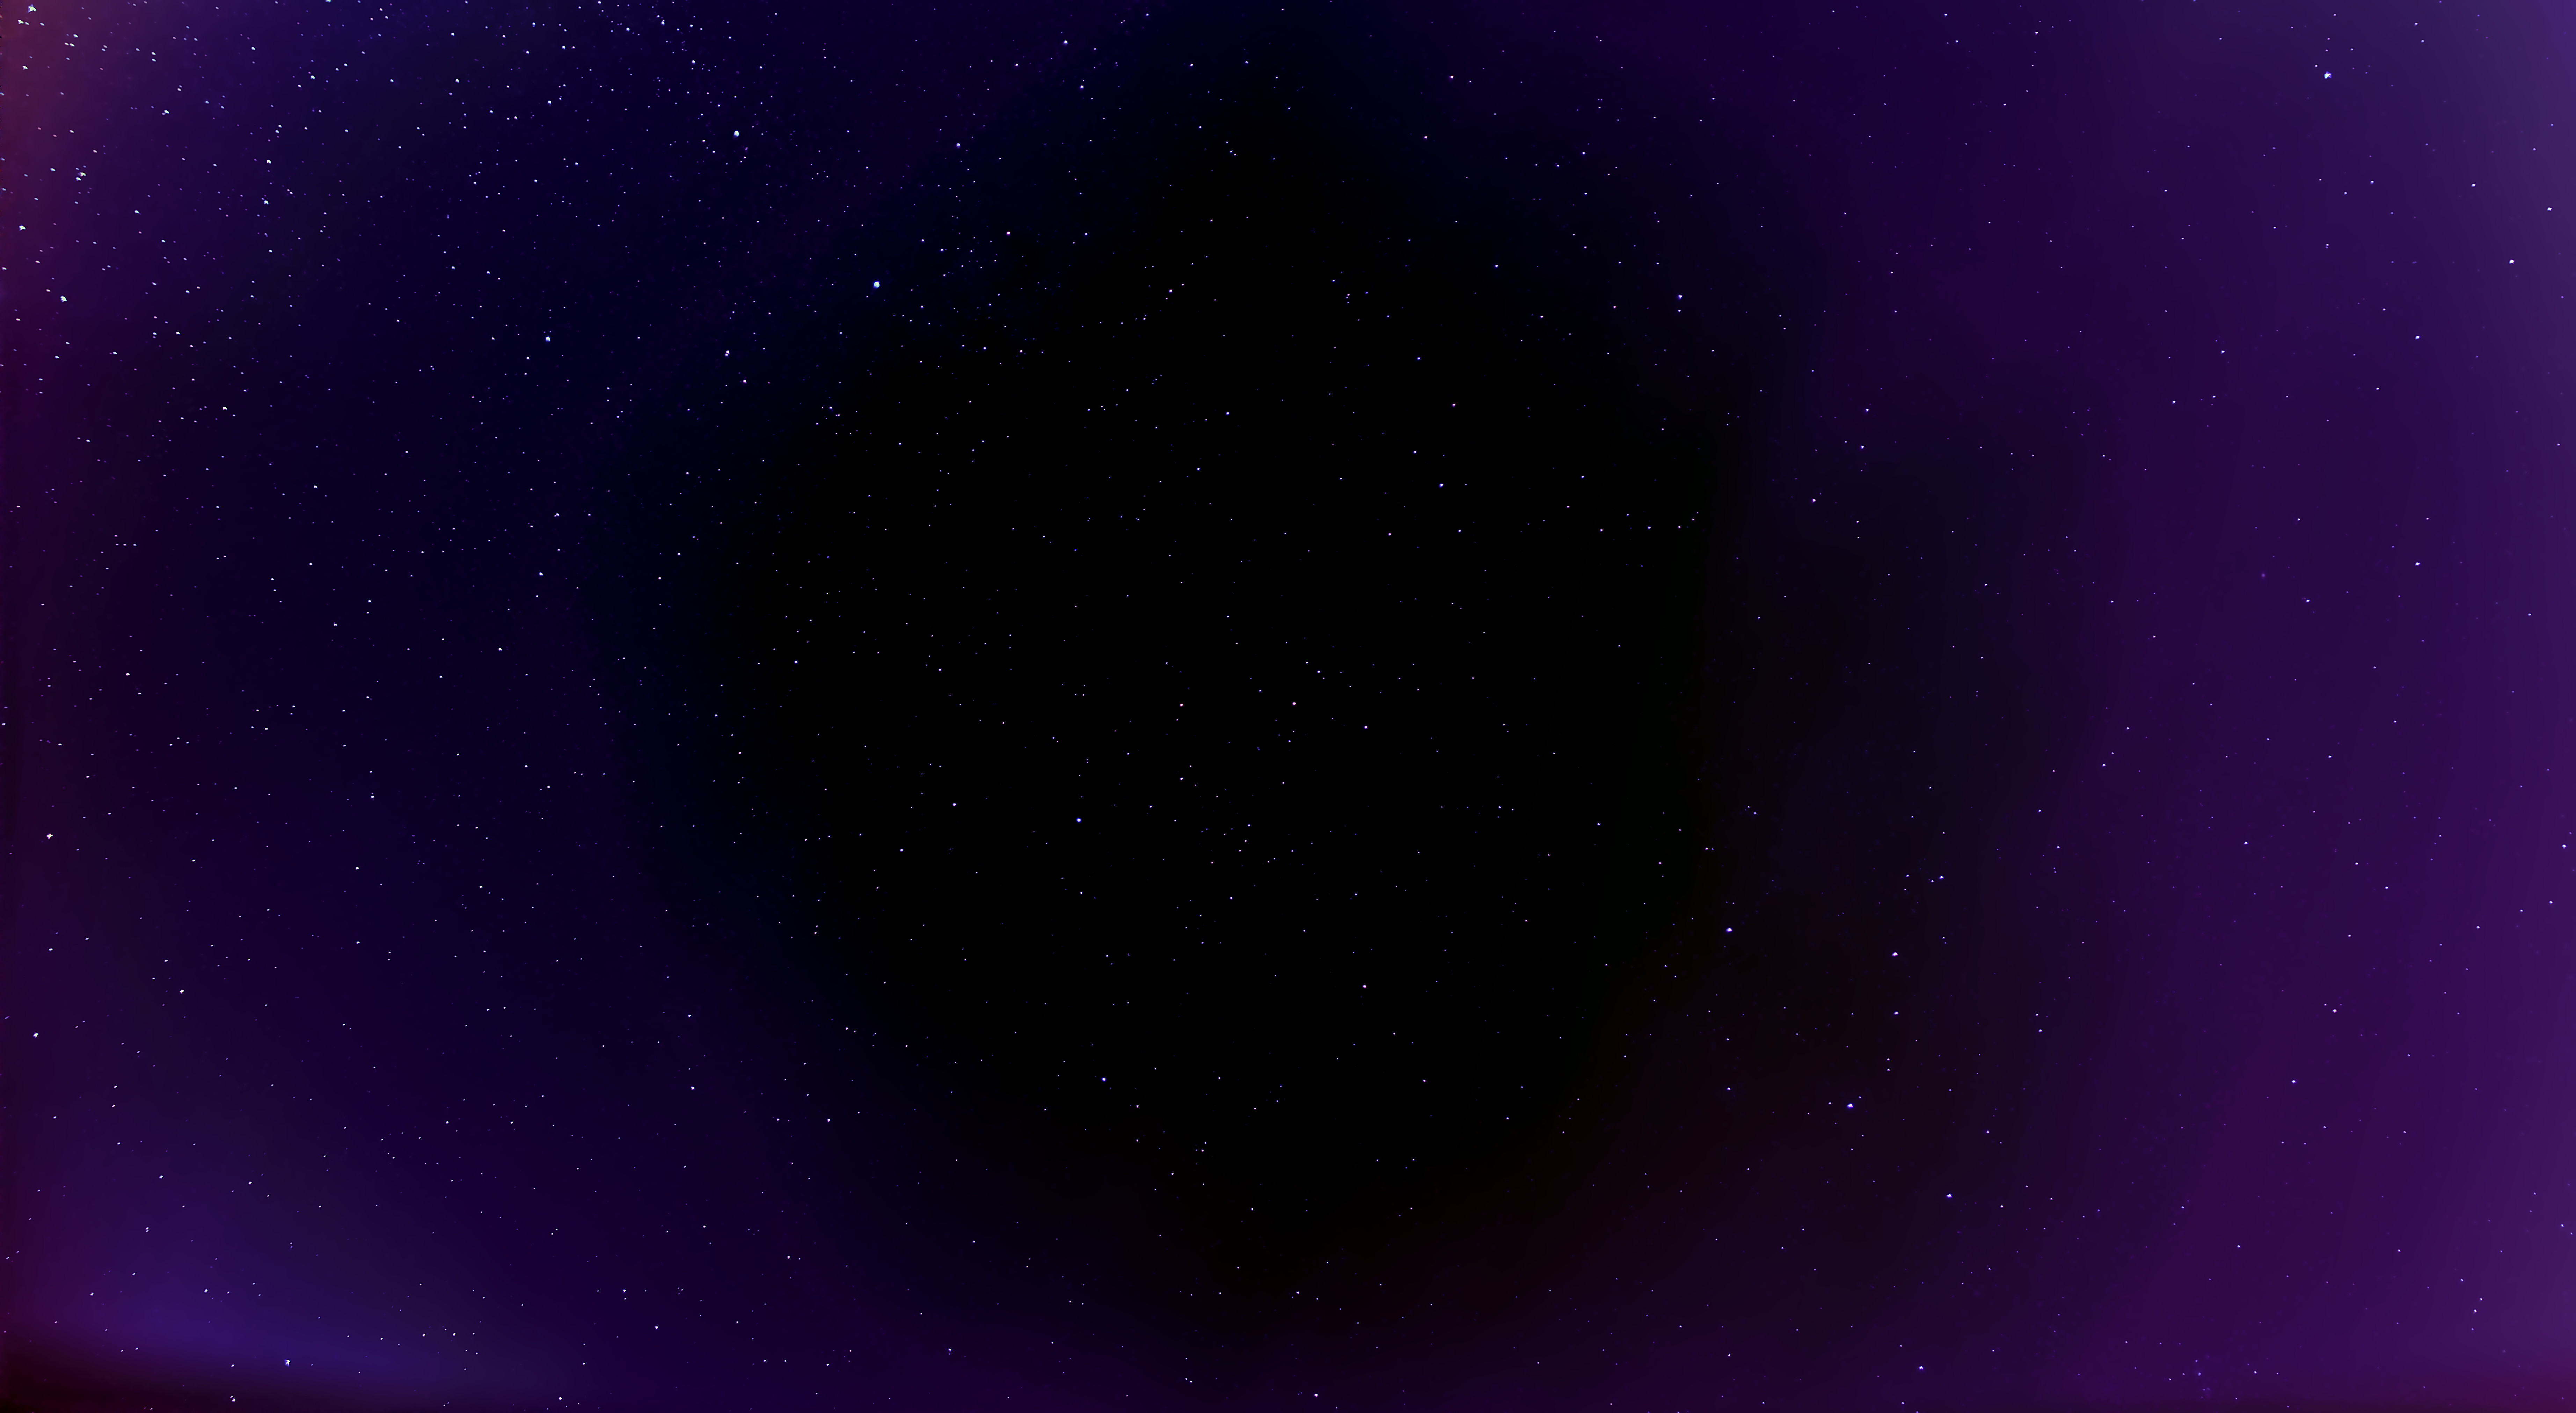
To combat this I increased the black point and stretching using the Asinh Transformation tool.
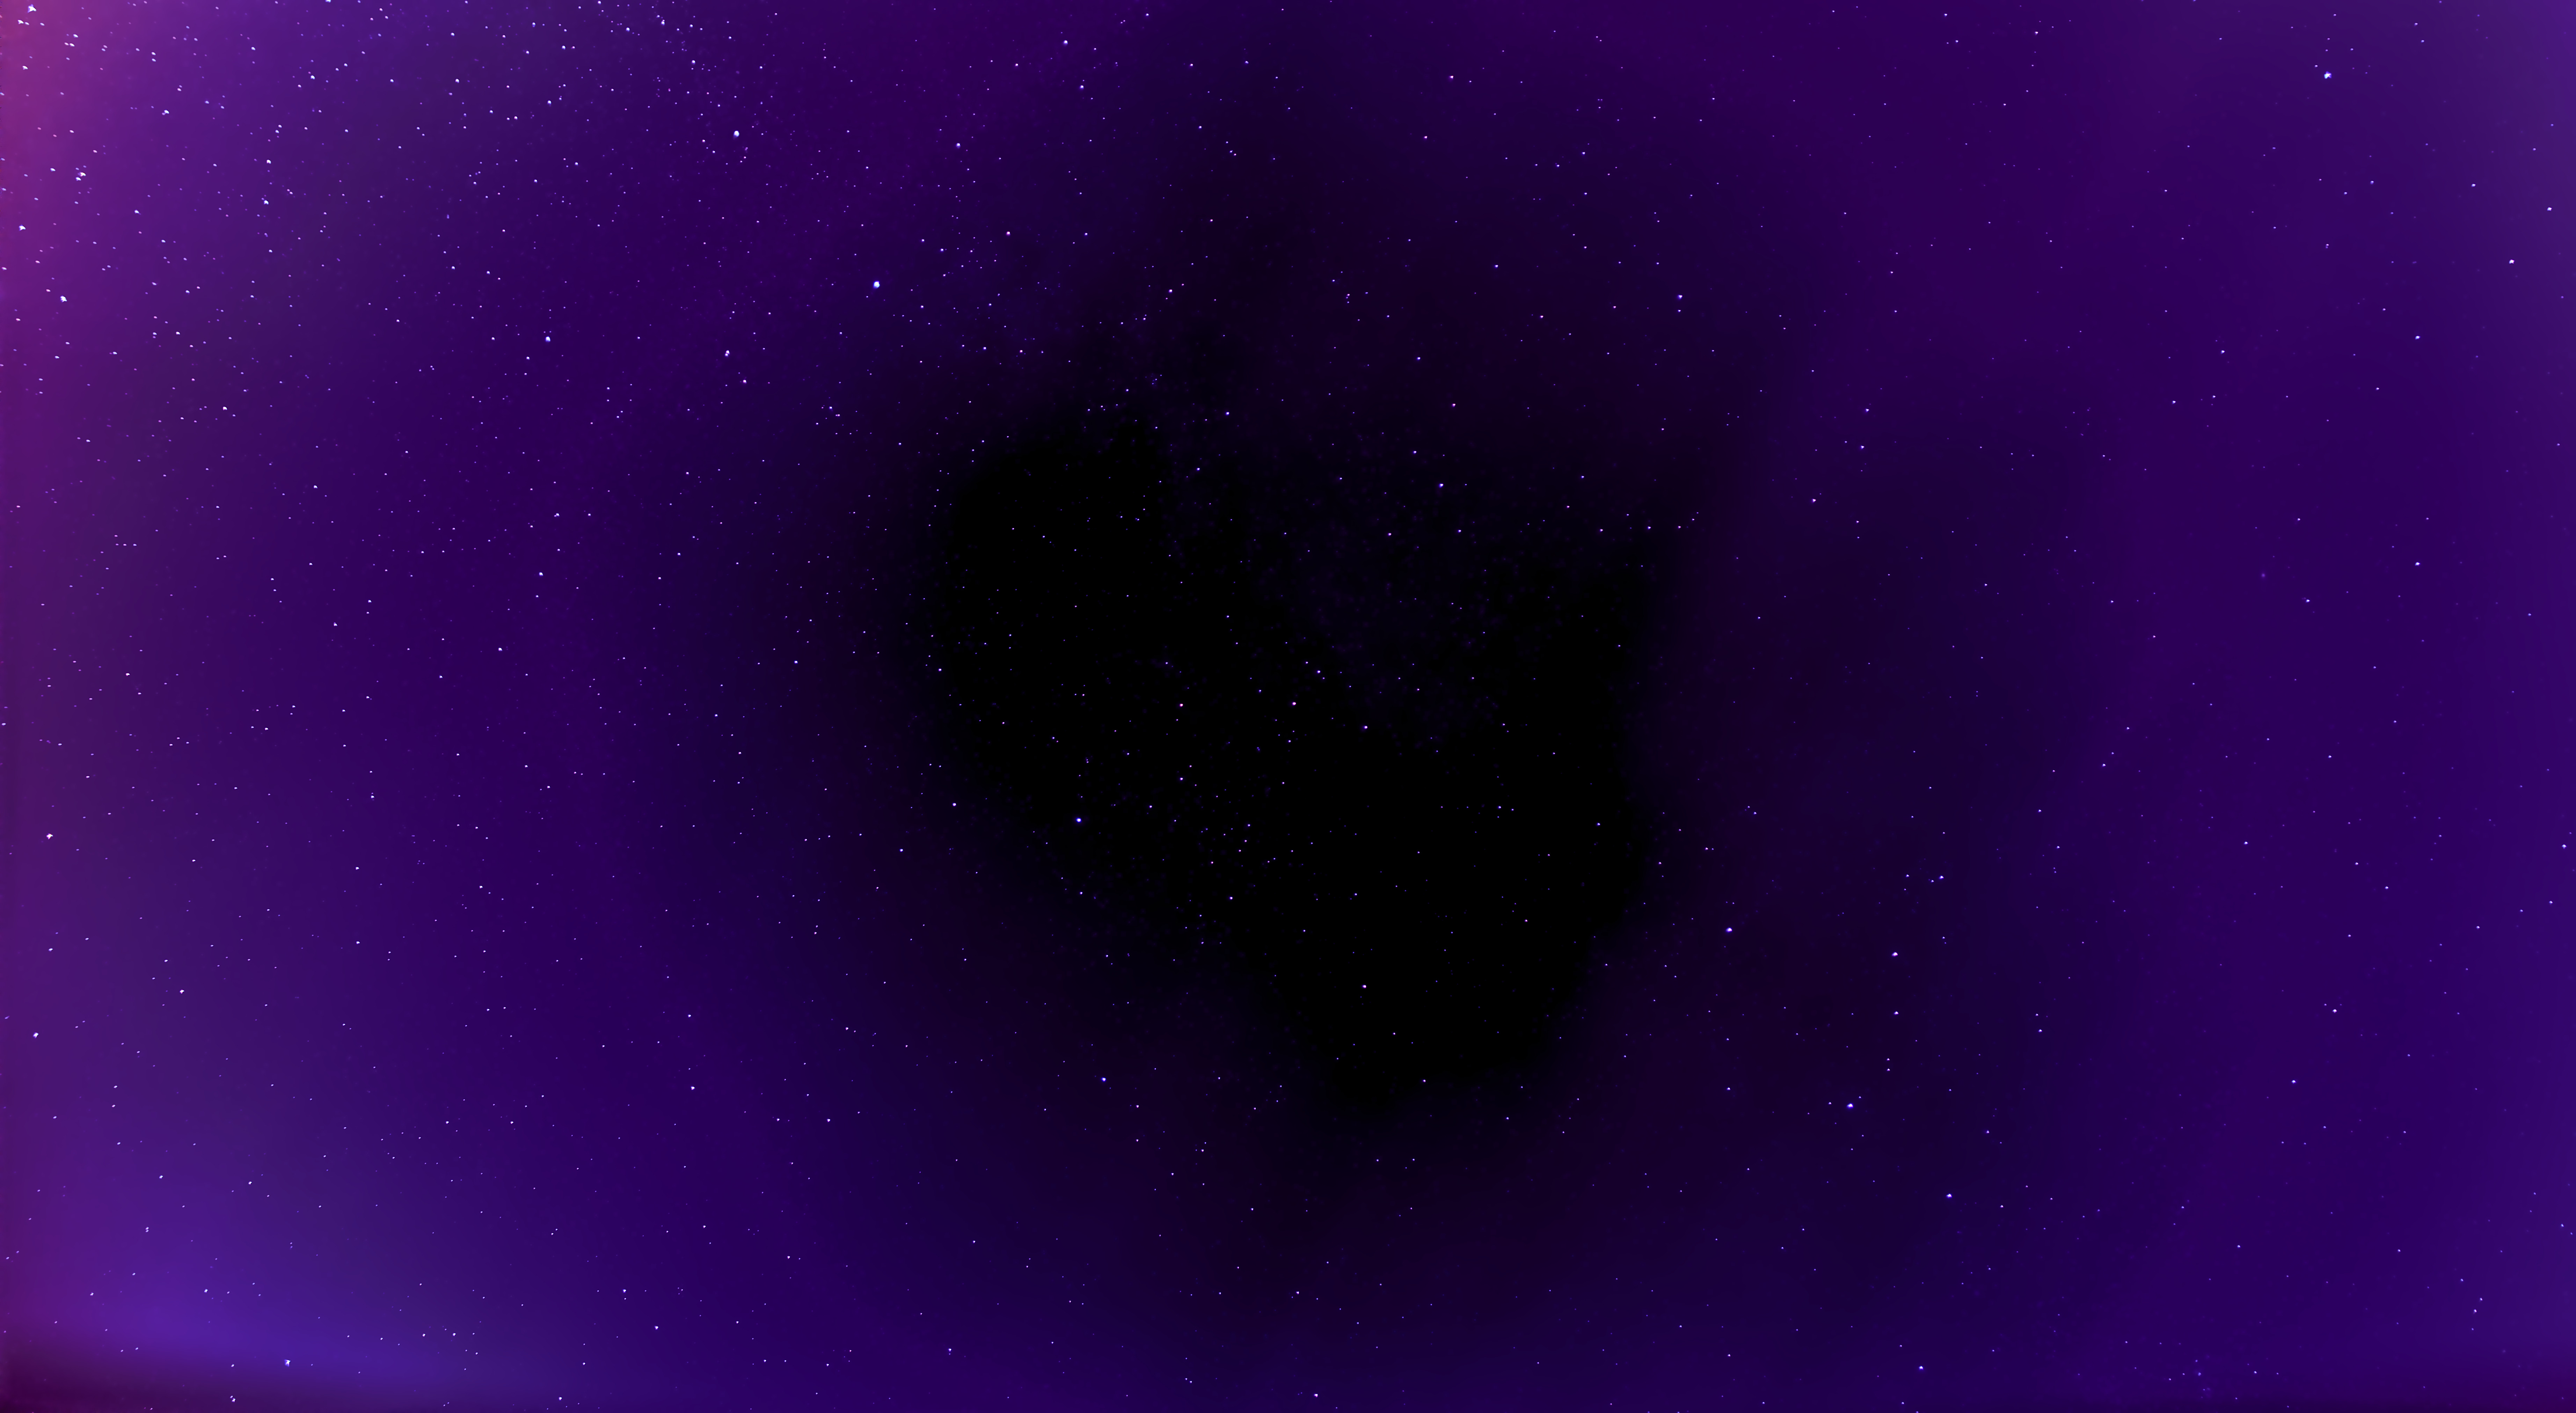
I think that stacking the images made the background worse as it turned into an orangey, brownish, yellowy muck.
The original un-post processed (in Siril) image from DarkTable looks like this, of course it was tweaked in DT using the process above as a guide though I wasn’t able to get as aggressive with the DeHaze tool:
Tonight the weather is looking to be clear again so I will try a similar process using my 105mm zoom lens. Again I want to go and try a few different locations I found but as I still don’t have a keyfob battery from my car it may be a while as the weather is mostly cloudy at my location pretty much all year round