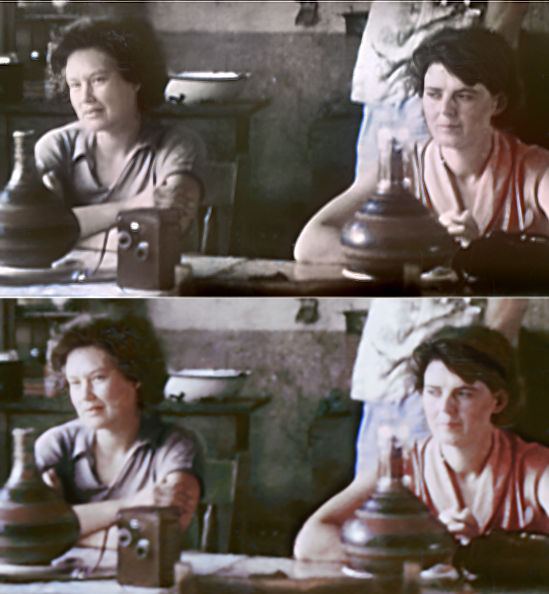
I’m trying to restore highlight details in an old color photo, using GIMP. The original also had severe color distortion, aka too much cyan. So now, I have two versions. One where I mostly won the color battle. The other with facial detail. Is there some way I can apply the details (contrast and luminosity) of the top image shown here, to the color version?

Something like this?

I didn’t want to overdo it ![]()
My swift “solution” is two layers in The Gimp.
color version on top, bw below.
Change mix mode/opacity on top layer until you are happy. Example: Hard light/32%.
I am certain that there are lots of other possibilities, like using Gimp-g’mic…
Have fun!
Claes in Lund, Sweden
1 Like
Liek this?

j/k, maybe something like this?

I used three layers in GIMP. The bottom one is the detail-rich near-b/w version, the other two are copies of the colored-in version. The color layers are both set to 100% opacity; the middle layer is set to HSV-hue, the top layer to LCh-color.
1 Like
In GIMP I decomposed to wavelets, and moved the colour layer to cover the detail in the upper.
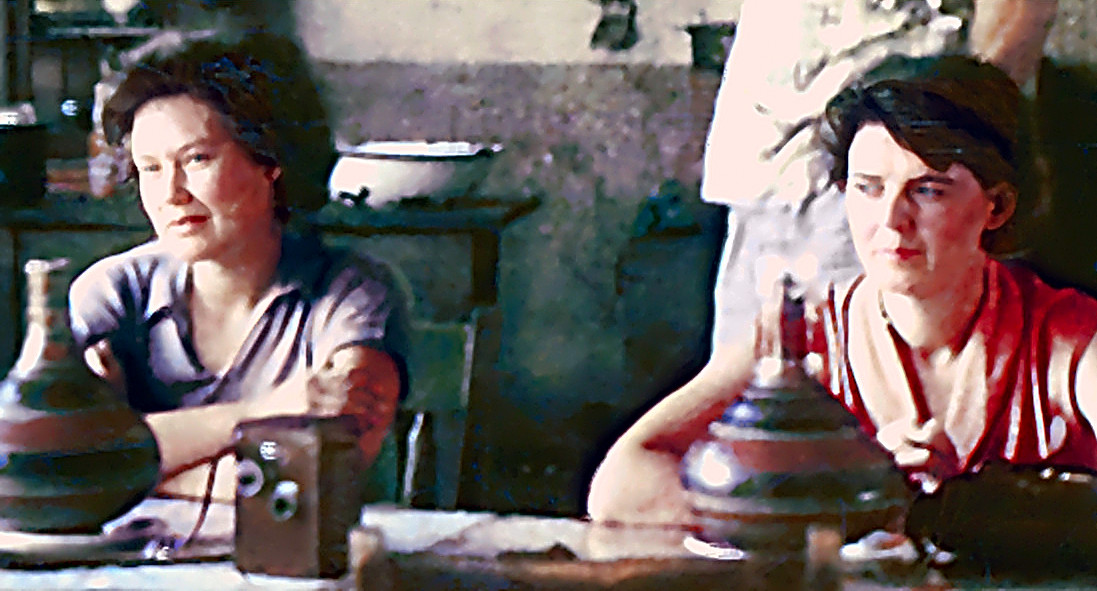
Thanks for the replies! Here’s what I did: I put the desaturated version on top, since I visualized it working as a kind of mask. Then I went into Mode, all the way near the bottom, to Luminance. Finally, I set the top desaturated layer to opacity about 66% just because it looked good.

2 Likes
Pinging @Iain.
Since you have a couple jpegs, YCbCr would probably do well enough in most cases.
gmic img1.jpg img2.jpg to_rgb rgb2ycbcr channels. 0 j[0] . k[0] ycbcr2rgb
You can almost certainly achieve better results without having to split and combine in the first place, but that’s a different approach I can’t help with.

4 Likes
I like what you got!
However, I googled “GIMP ybcr” and got nothing. I did find ybcr associated with G’MIC!
I’ll tinker with that next time I’m in GIMP; G’MIC is of course installed.