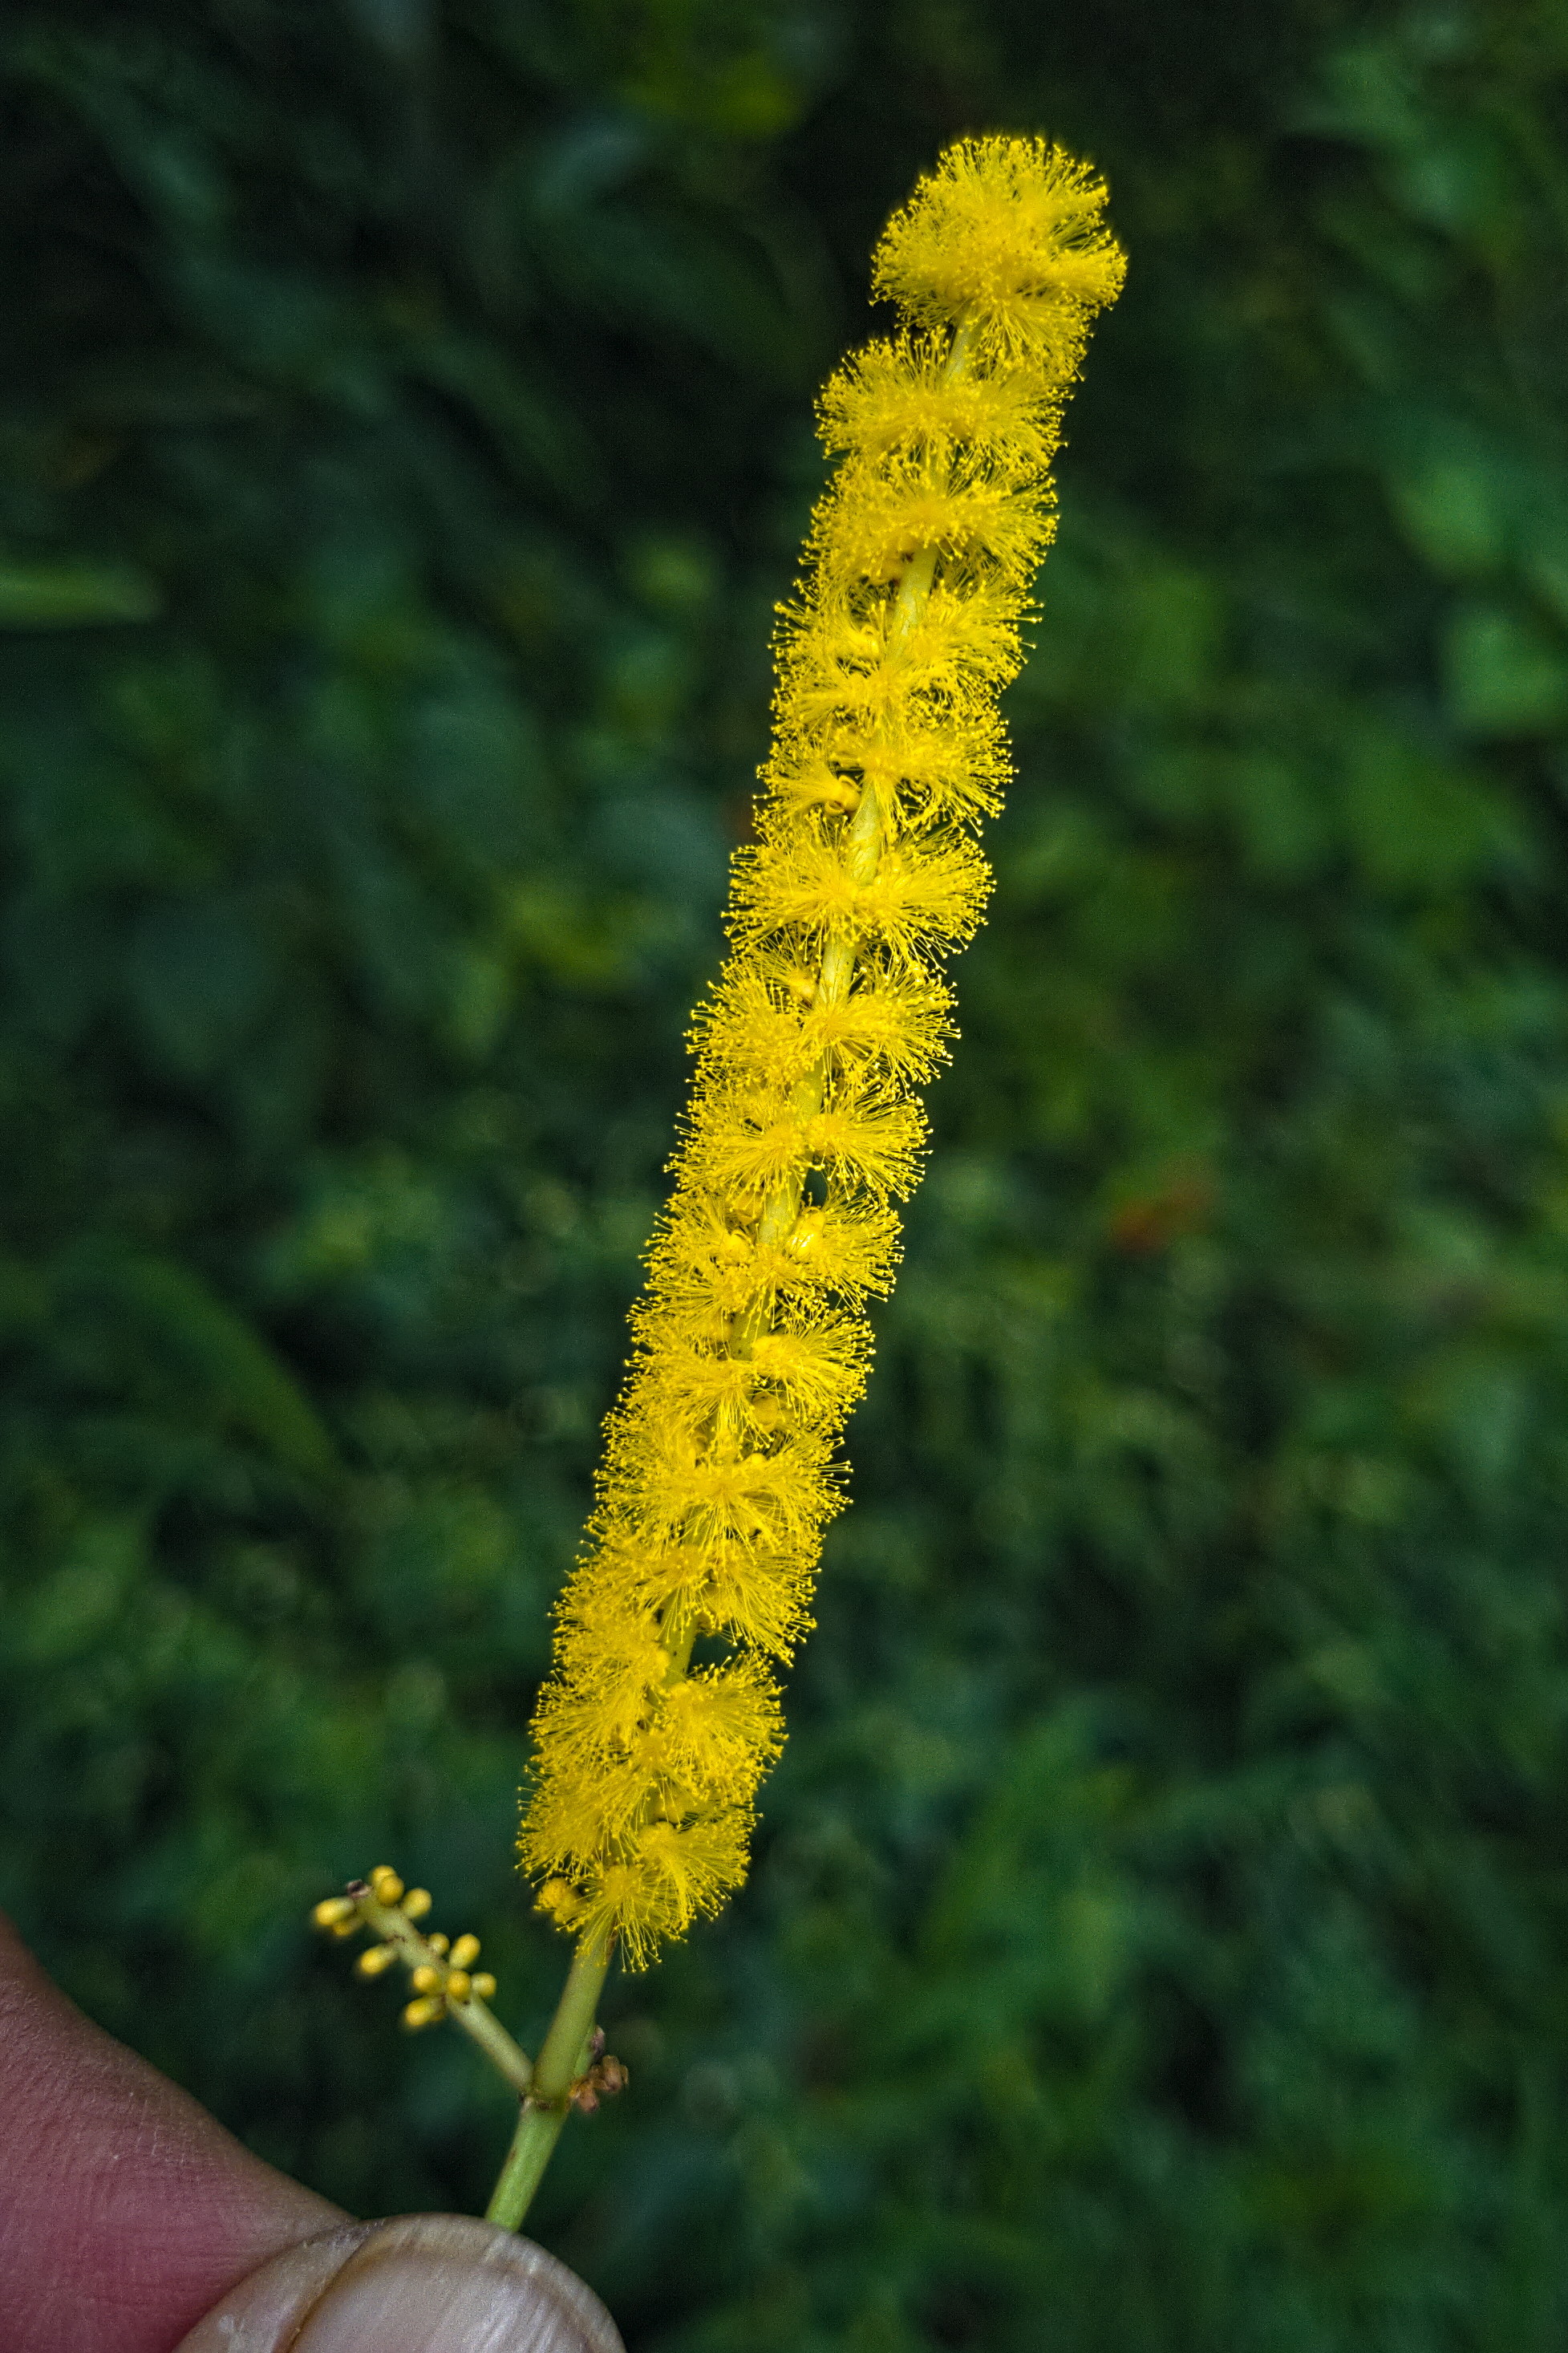
Came across an Acasia tree (Acacia Auriculiformis) in the wild with its exquisite tiny yellow blossoms. Not carrying a more formal camera then, attempted a handheld macro shot with my OnePlus Nord phone in Pro mode hoping to reveal the countless delicate strands of the tiny flowers.
The OOC jpeg was quite quite unacceptable. So processed the dng file in RT 5.8. The resulting jpeg is attached with the dng and the pp3 sidecar file.
Although I was happy to see the refined image, I am wondering if more refined details can be seen using RT for this image. I guess the main limitation would be the quality of the raw image data produced by the tiny smartphone sensor, but am just curious to learn from RT experts if and how more can be squeezed out from this dng file. Would appreciate if anyone can suggest. Thanks.
(All files attached are licensed [Creative Commons, By-Attribution, Share-Alike])
@arvindppixls.us
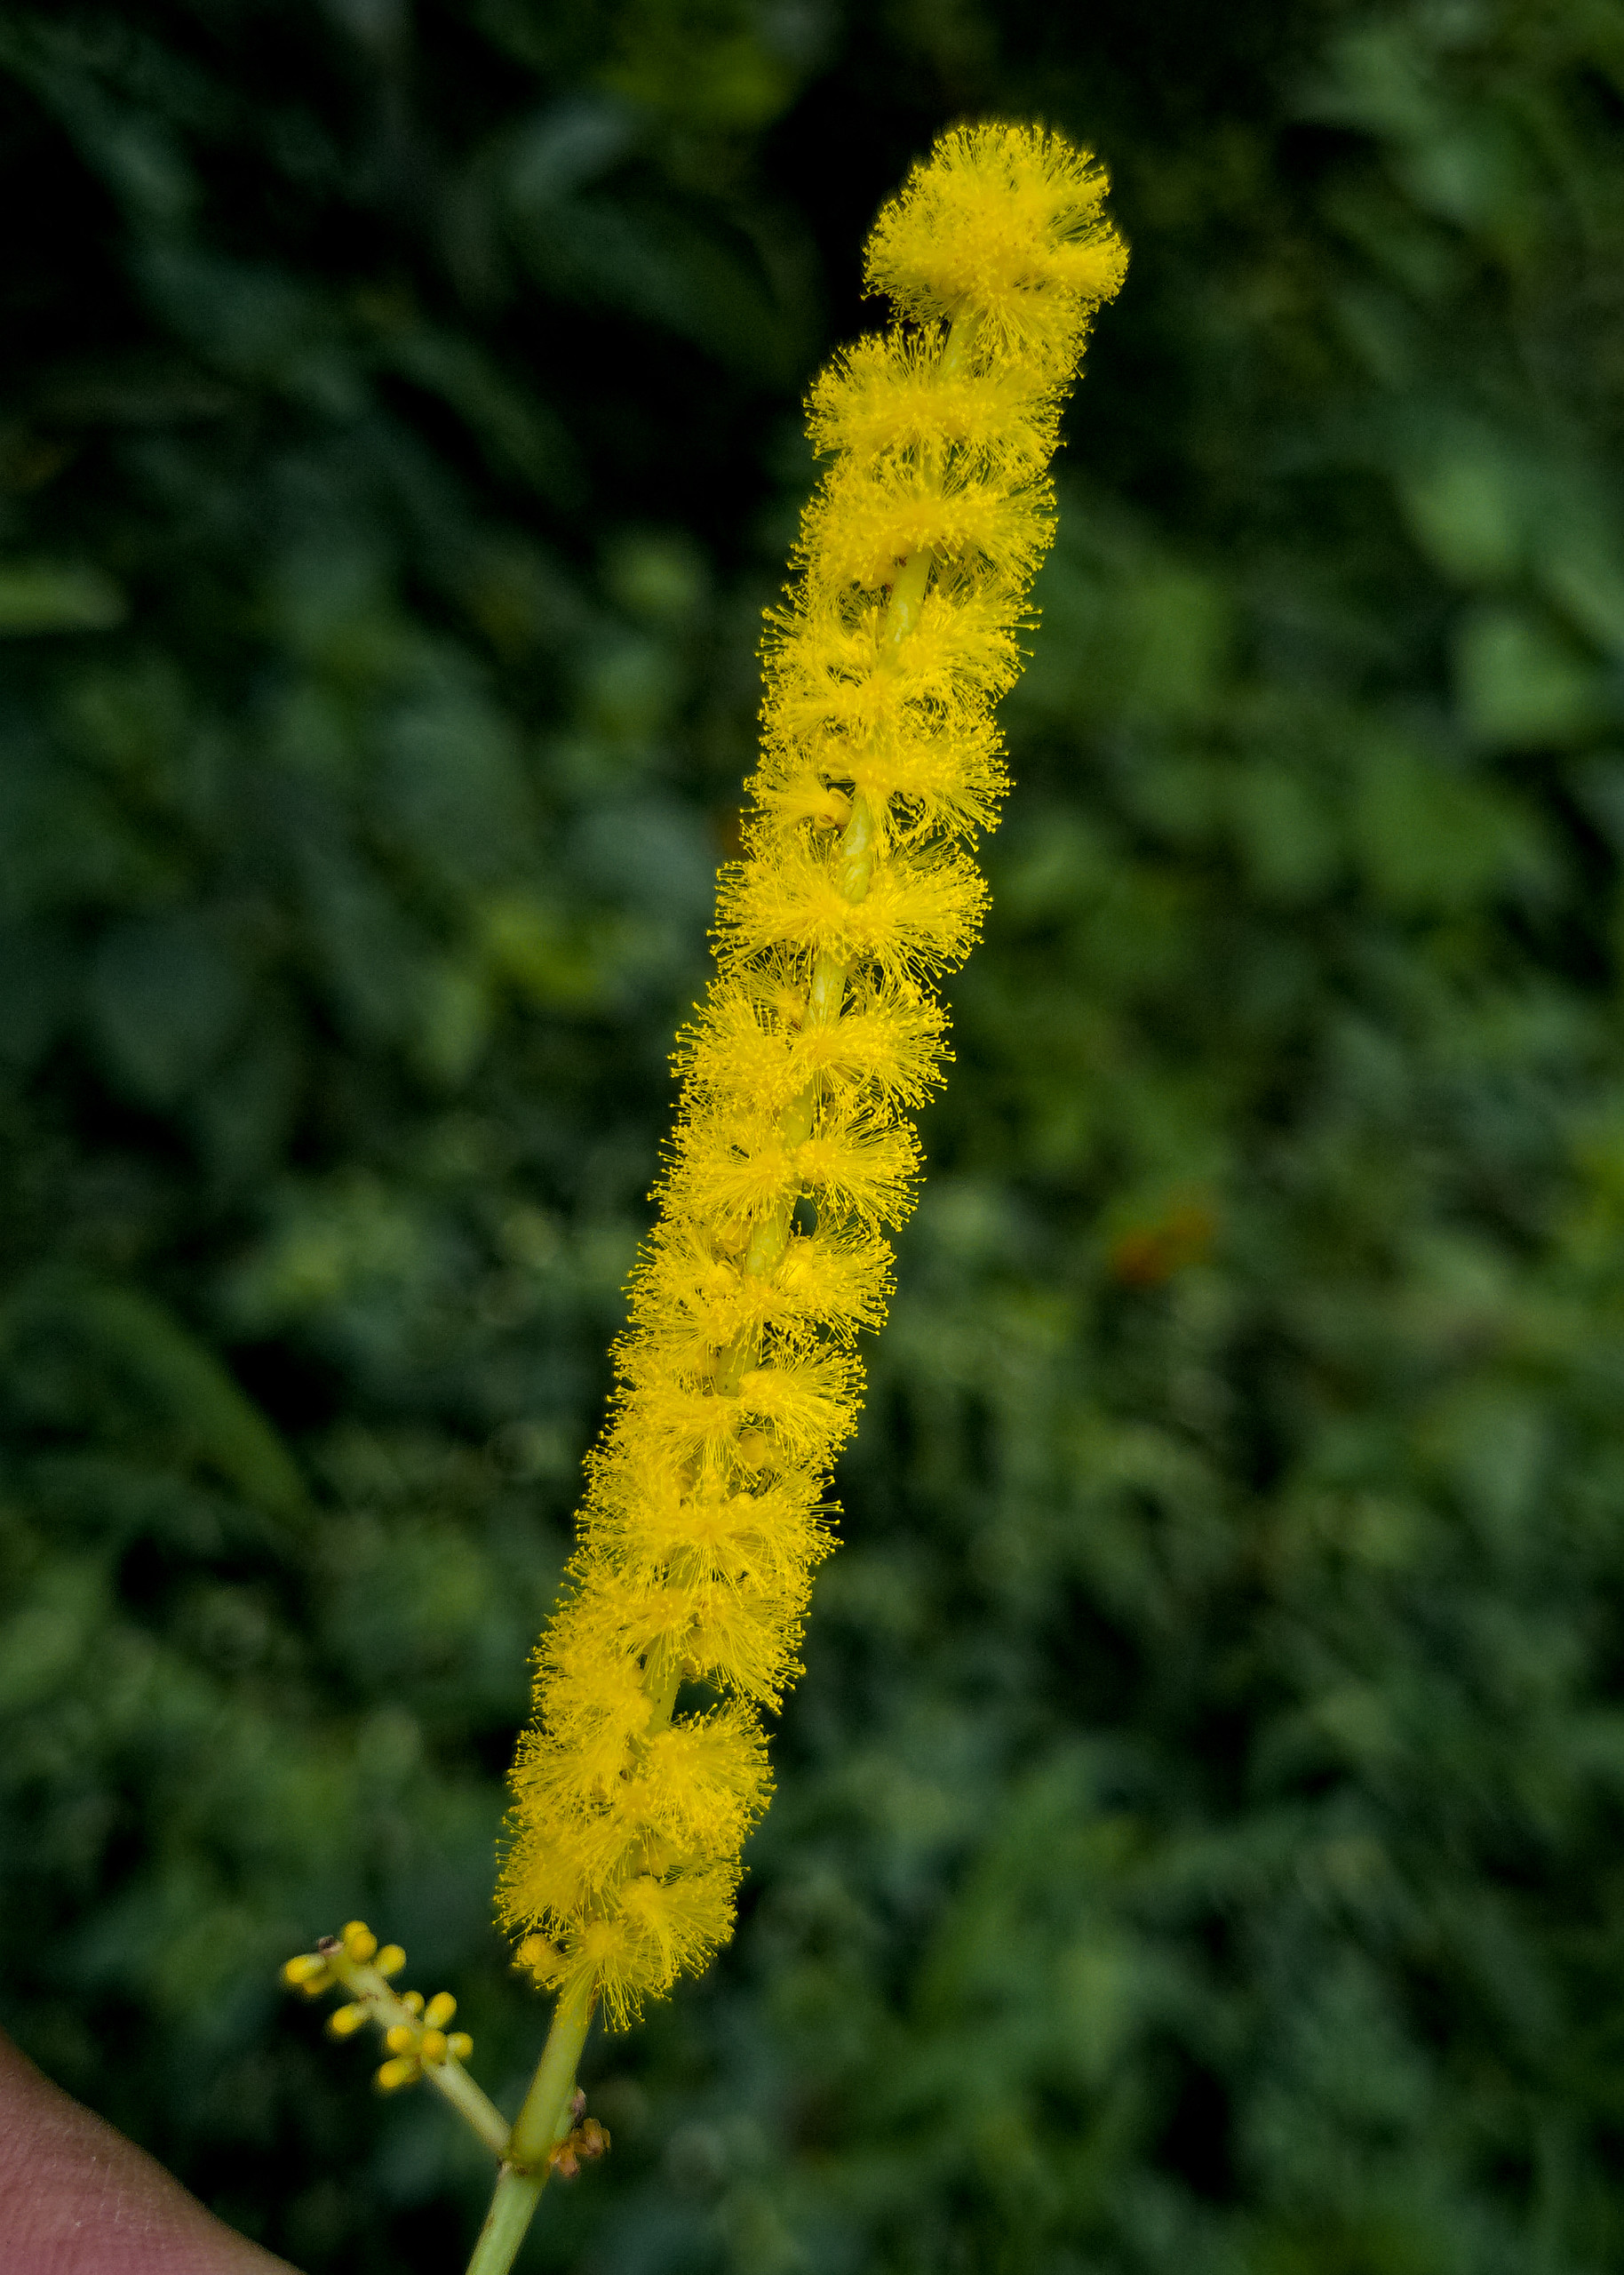
Full sharpness:
In addition to CaptureSharpening, to me it brings good results of higher sharpness if you use the wavelets levels-> Denoise and refine module:
@heckflosse, @David_Prescott , @Jade_NL , @arturoisilvia , @XavAL – thank you so much for sharing your pictures. They all look better. Will study the pp3 files and filters used. I am using the stable RT 5.8 Flatpak at present. Will try the dev version too. … Really appreciate the suggestions.
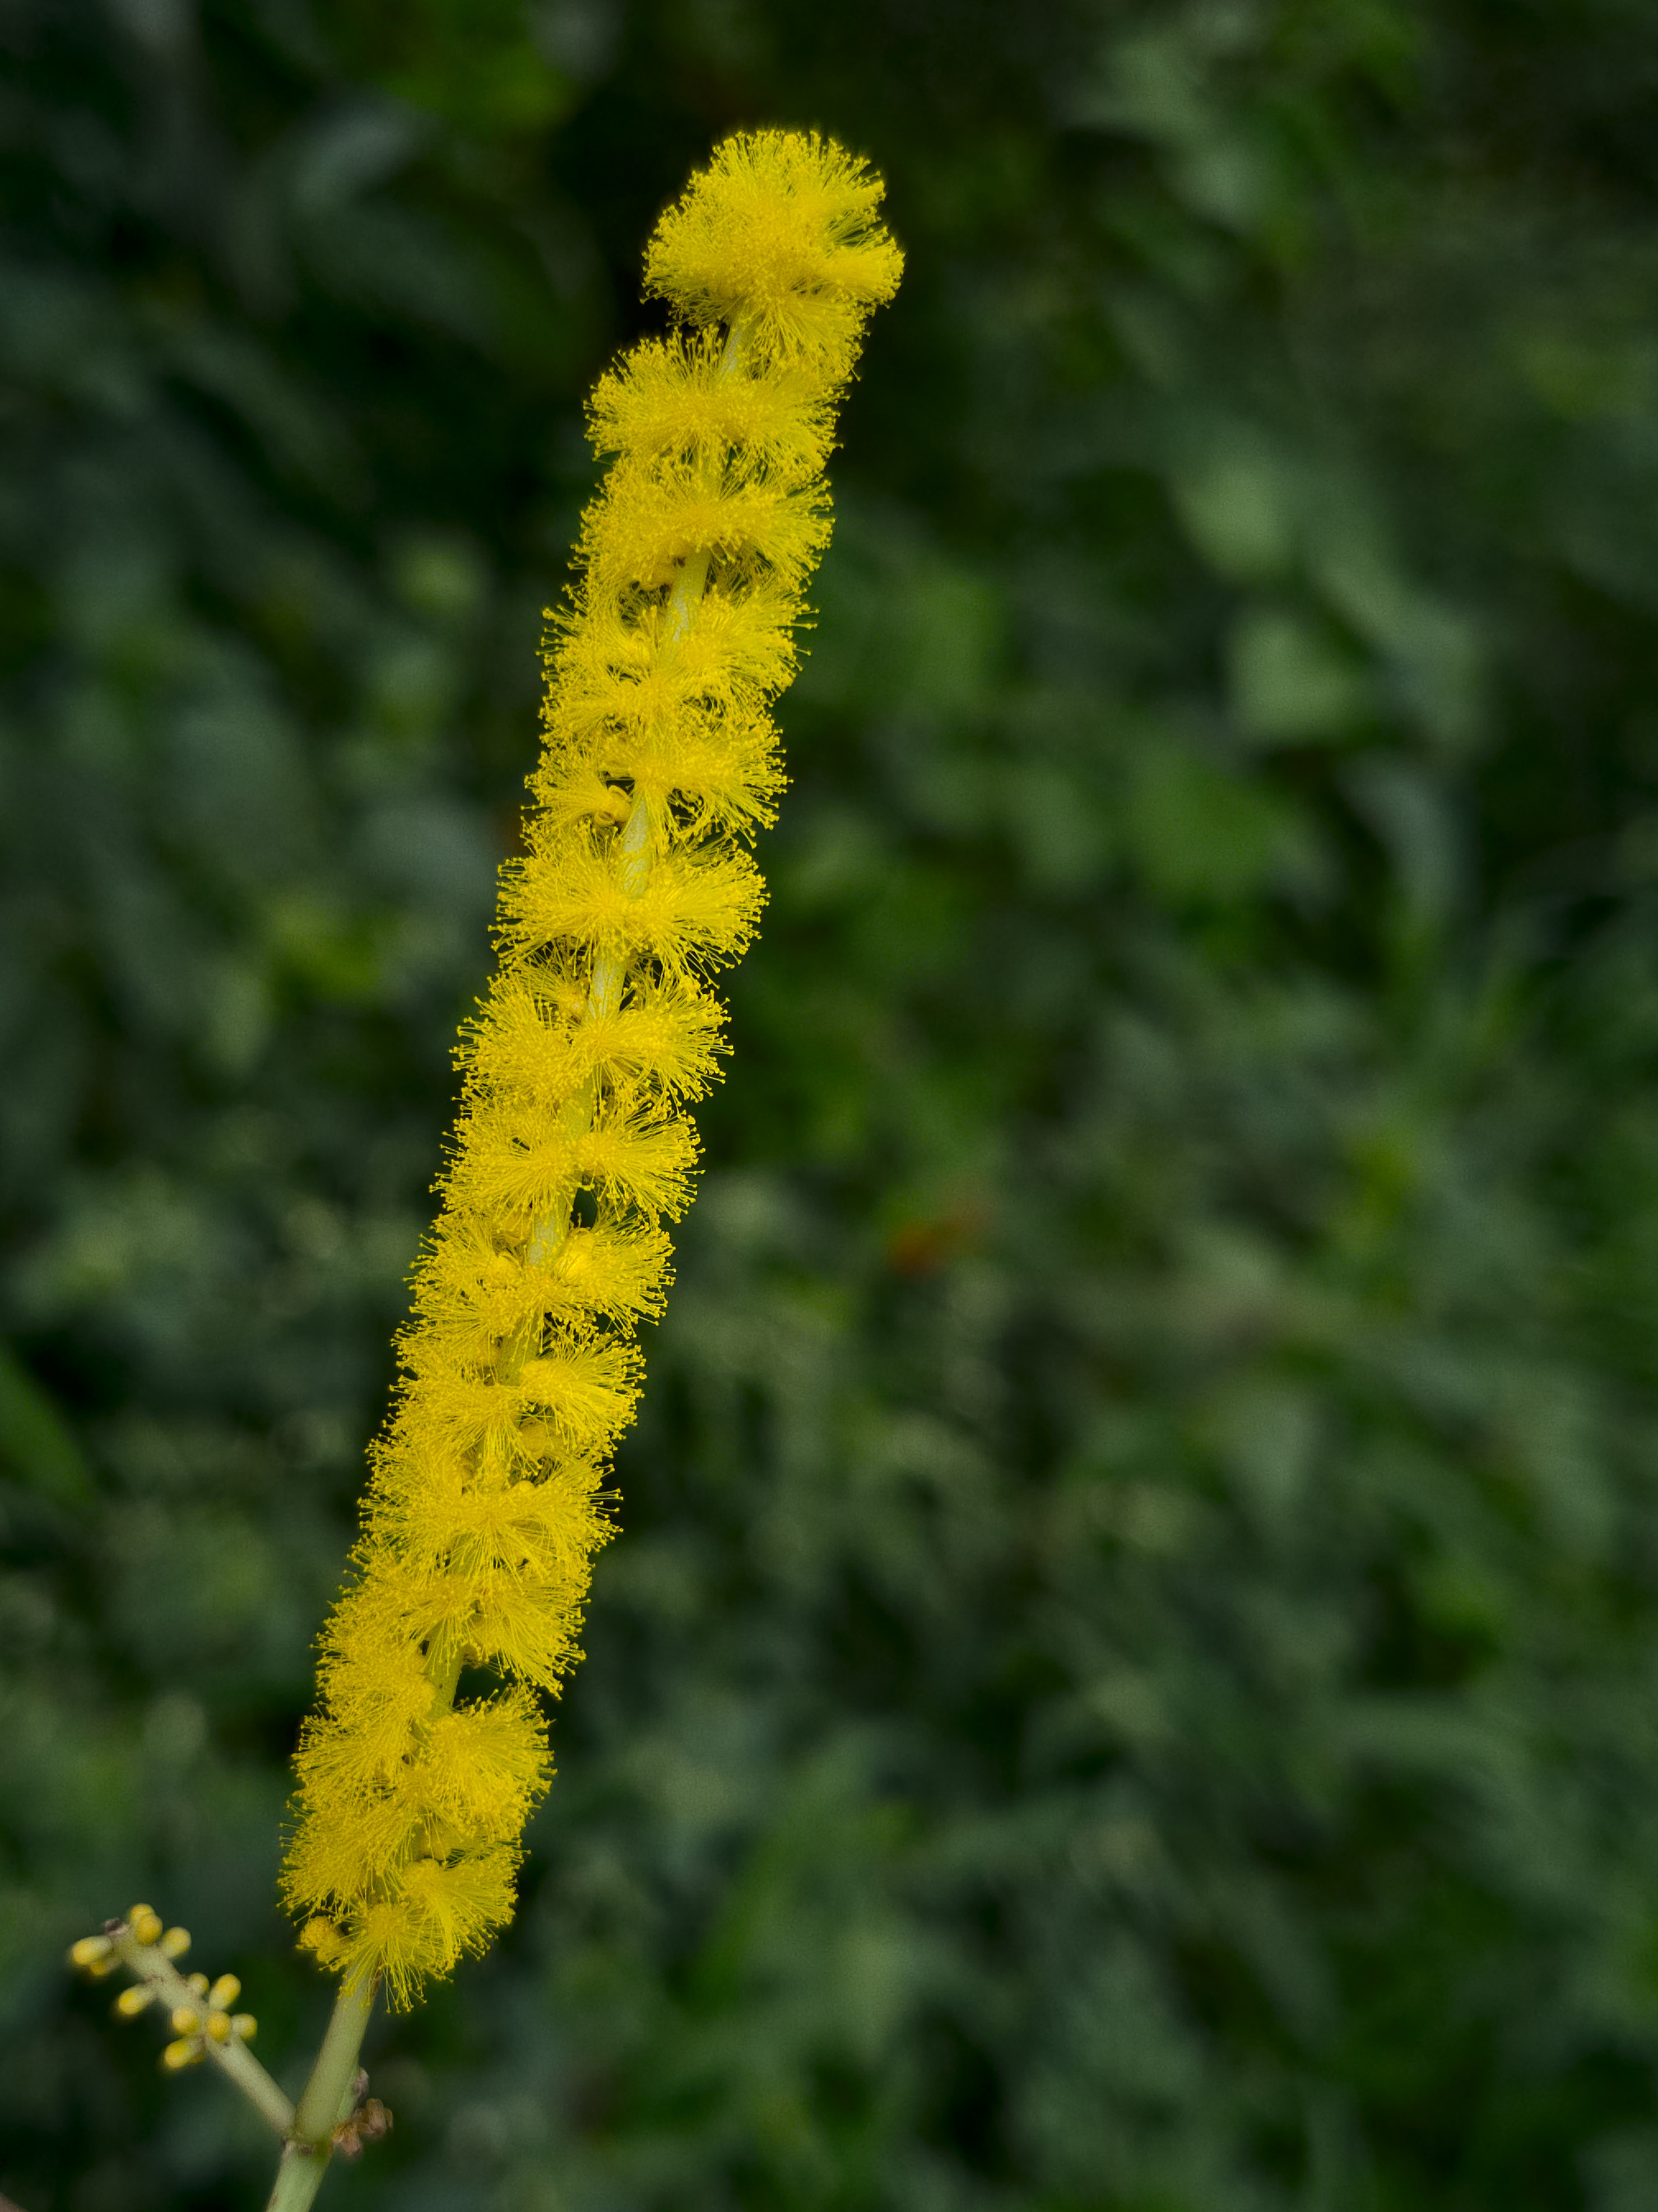
Thank you @gaaned92. Apart from the excellent details, the background blur is noticeable and useful. I am not using ART, could you mention which filters contributed most?
About gaaned92’s background: You can get a very similar result in RawTherapee using either the Colour Toning module using an Hue based mask and/or using the Local Adjustments module with a masked Color & Light tool.
The latter gives you more control but might also be harder to get right.
My hat is off to all of the posters, you guys REALY know how to use RT, not only was the detail enhanced but the saturation and general feel of the images I tried was excellent. I created a new post asking if there is a repository for pp3 files.
Given the complexity of RT, it would be an excellent resource.
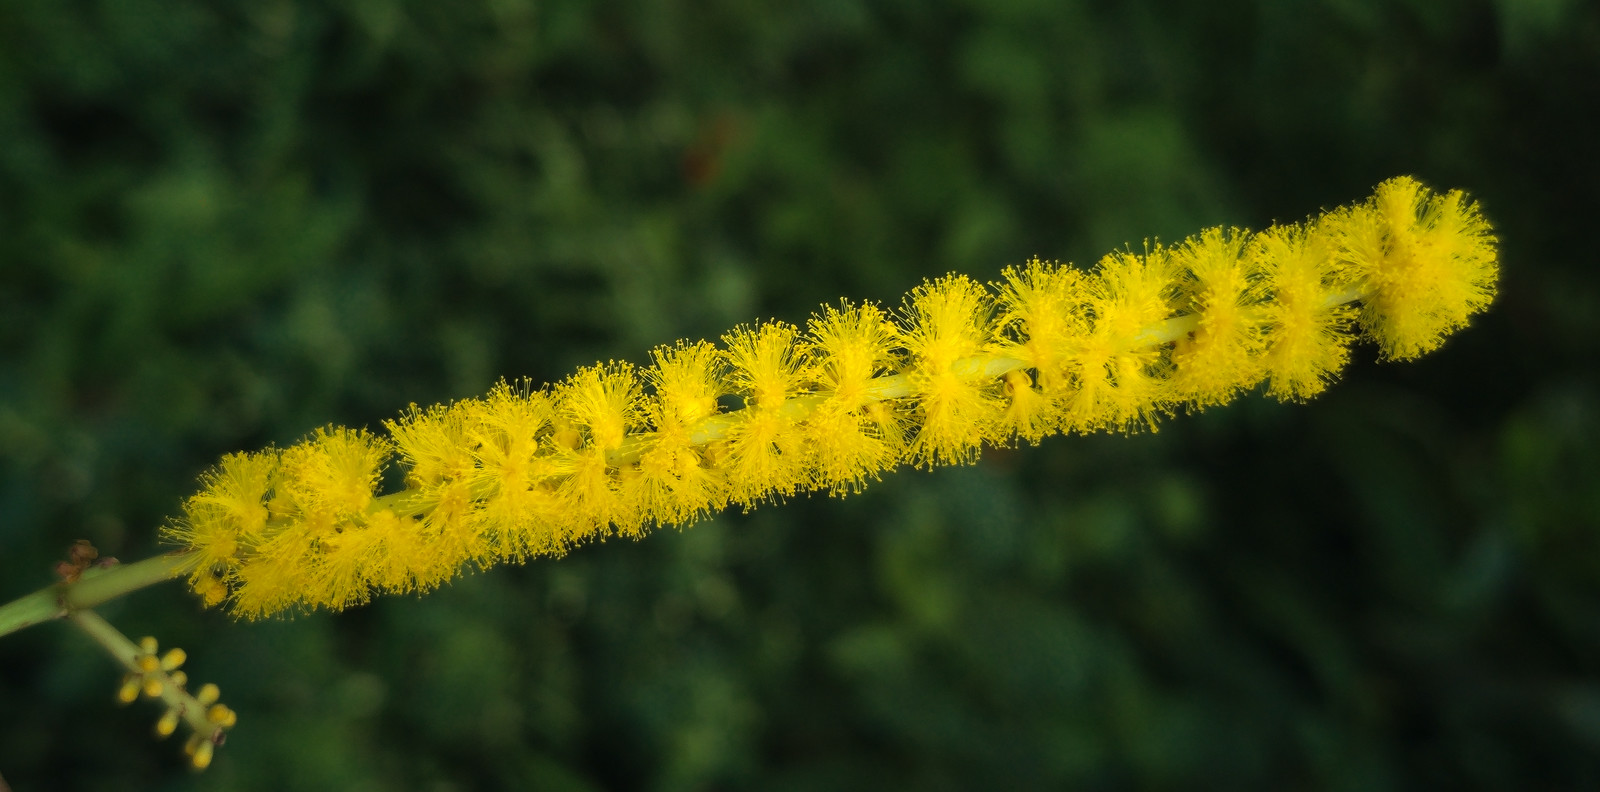
Yes, beautiful, thanks @HIRAM
Did you deliberately tick “Avoid color shift” check-box in LAB adj? I unticked it and felt that the color distinction you attempted was a bit more pronounced. May be my eyes, or may be my device screen The sidecar files are so helpful to learn…
It is meant to be a subtle shade effect, and didn’t sense any change visually or in the histogram, most of the shades already lying within the default working colorspace. It was a deliberate twiddle, which randomly ended up ticked!


 The sidecar files are so helpful to learn…