Master is currently full of issues due to the gtk4 migration. I have been using it daily for a few months but at the moment it’s impossible until things get ironed out.
3 Likes
Uh, it should be there.
Right-click → toggle advanced controls
(Or just shift click on the row)
Yup, as I explained above I am trying to get people to test the end state, which has no mask manager because it becomes redundant.
1 Like
Thank you all for the stimulating discussion.
A new build is available.
What changed / was fixed
Empty-mask overlay
-
An empty mask now does not show the infamous yellow wall. If the mask overlay is active, it shows:
- The underlying image, if nothing is masked.
- The actual overlay in all other cases, so you can see what is masked.
- If there are mask elements but they all contribute nothing (e.g., very low opacity, or wrongly parametrized parametric channels) you will just see the grayscale image and no yellow overlay. Note that this is how master behaves already, no change here (just adding this to avoid creating confusion).
-
A mask is NOT empty if at least one of the following conditions hold:
- There are at least one shape or raster mask
- There is at least one parametric channel which is NOT in its default state
In other words, a newly added parametric channel is considered a no-op. It only starts effectively contributing to the mask after you move at least one control point.
It follows that adding a channel, turning on the mask overlay, and using the picker now shows the real image (and not the yellow wall) until the range is actually narrowed. This alone is a big improvement imho.
Parametric-channel color picker
- Clicking the picker no longer immediately samples ~90% of the image — it waits for the user’s own drag.
- Refined so it only starts blank when never used or explicitly reset (not on every re-arm); resetting the slider makes the picker forget its last selection.
- New “no-op” badge on a parametric-channel row when its range is a full-span no-op, taking precedence over the low-opacity badge (drawn as a solid red dot — a placeholder pending a proper icon). This is just a visual aid that “you added a parametric channel that is not doing anything yet”.
All these things are demonstrated below:
Group headers
- Fixed a few bugs related to an empty group header being rendered through a different code path, which caused several inconsistencies. In particular:
- Clicking an empty group’s lead icon no longer incorrectly opens the operator picker.
- Ctrl+click rename now works also on empty groups.
- Empty group headers now render a disabled opacity slider and match real groups’ layout/spacing exactly.
- Do not offer the option to change a bottom group between-group operator, since it is a no-op already. This addresses the previously reported refresh issues.
Precise-value popup (“whisker”)
- Hovering now live-previews control-point position and the popup’s own displayed value, without committing; the mask recompute stays debounced until the pointer stops.
- Pressing
Escwhile the popup is visible restore the pre-popup values. - Points that you push around while moving another control point move back to their original position if they are allowed to (i.e., if you move the active point back in the other direction).
The demo below shows the hovering behavior. Dragging works in the same way:
What I could not fix
- I could not reproduce the issue with (some of) the opacity sliders of clustered shapes not showing. @finestructure if you stumble on it again, could you please try understand if it is reproducible, and maybe share steps to repro?
- Also the issue reported by @Christian_Pfister, could not repro yet.
4 Likes
Hey Daniele …
sorry to say , but the submenu is not appearing in my build .
right-click and toogle advanced control done , nothing happens … row does not expand for the controls
shift - click , nothing happens … row does not expand .
works when i created a selection with the path tool , shift -click and the row expands for the controls
Just to let you know
Andreas
1 Like
You are right! Investigating.
Good luck 
@Masterpiga It’s looking good! I can’t reproduce the missing opacity bars anymore.
I created a new mask group in addition to the populated one, and positioned it below the populated one. I clicked the button to add an AI mask, but it got added to the wrong group, the pre-existing one (foo):
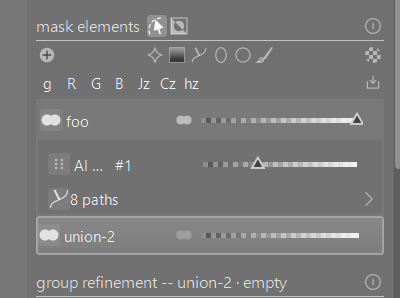
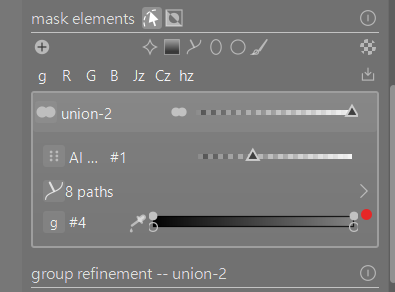
It’s reproducible.
When I deleted the gradient element, the group became “foo” again. I’m reminded of the wolf and the grandmother in Little Red Riding Hood.
Edit: I also noticed that when I change an opacity and press ctrl+z to undo, the panel disappears, then slowly reappears (in a different position, maybe since the panel height changed during that time). But even if it didn’t move, I would lose my position during the change.
1 Like
I do use a “contrast equalizer (luma tab)” module for sharpening. After adjusting control points, I hit the “display mask” icon to let yellow overlay to cover the entire image. Then I choose the parametric mask tool out of masking tool group bar. I never touch any triangles on the scale bar. I just slowly drag the “detail threshold” slider to the right until yellow overlay disappears from the flat surface areas like sky, water, etc. That’s my normal routine for dt sharpening.
Now the detail threshold slider doesn’t function at all in Flexi panel while it still functions normally in dt classic masking mode. I will test if this issue has been resolved in new build.
1 Like
I did verify this issue with a new build. As the parametric channels are untouched at all, the base group is actually a “no-op” state. So I add a new group where the path tool is selected. I drew path lines outside of image to include an entire image to be covered with yellow overlay when I press the display mask icon.
Sort of success, but the yellow overlay does not cover the image entirely as expected. Some parts of the image were not masked even before adjusting the “details threshold” slider. I do not understand why this happens in Flexi panel.
1 Like
The followings are how I view on the DT’s classic masking vs Flexi masking panel.
It would be fair for me to disclose about my photography and raw development practices before addressing my view. Landscape photography is my primary focus, and I do masking in almost all processing modules I do care about. That’s the most important reason why darktable is chosen as my preferred raw editor. Mostly I start with parametric masking and then add drawn masks to cut out some areas to selectively exclude masking effect. Sometimes I called upon raster mask, and I consider whether inversion is needed. and then take a subtractive masking method to complete shaping. To me that practice is more than sufficient.
I prefer the behavior of classic masking mode because:
(1). Once the maksing tool(parametric and union) is selected and diaplay mask is activated, then darktable regards the entire image area is regarded as a mask. In classic masking mode, I have no problem using details threshold slider, in other words I just drag that slider to the right until flat surface areas are cut out. But in Flexi mode, some part of the image had already removed from yellow overlay without my intervention. There seems to be no rules associated with automatic removal. Something wrong with the codes or algorithm(?).
2. To me, Flexi provides too many complicated way of masking althogh highly experienced dt user may welcome. What I like Flexi most is integration of masking panel and mask manager into one single workspace. Is it possible to provide a choice between “simplified” version of Flexi and “full capacity” version of Flexi in preferences settings. Think of preferences> processing. I can pick “scene-referred (filmic)” or “scene-referred (AgX)”. Of course, either version of Flexi needs to resolve the issue described in (1).
Let me confess how I post opinions, questions, suggestion in an effective manner. I will study Pixl.us guidelines about posting. Sorry!
1 Like
Thanks for your feedback, @don51.
You should be able to refine the details on the whole frame without adding any mask element, as no mask element means “everything is masked”. If that does not work (as you report) then it shall be fixed 
EDIT: fix will be in the next build.
I installed this on windows 11… curiously…I have no masking options classic or otherwise… Did I miss something about how they are displayed or activated now??
There is only one mask panel in this build, which is flexi. I removed the others to test something similar to the end product, and to get people to stress the migration path. Just open any masked image and it will be automatically migrated.
By default, the blend mask panel sits at the bottom of each module and looks like this:
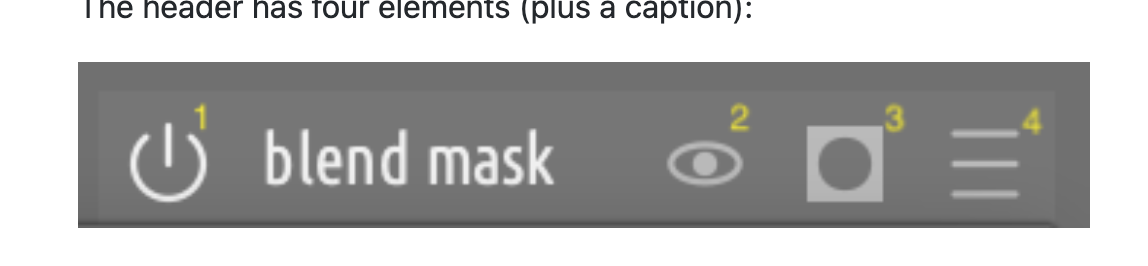
You can use the hamburger menu to move it elsewhere (see docs).
Thanks…
I am just seeing this…
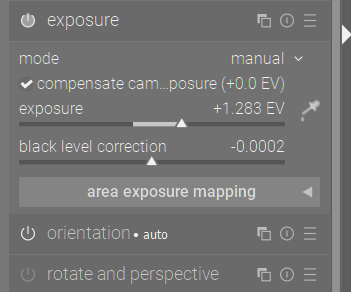
No module has any mask panel at the bottom…
Maybe I’ll build it myself… and see if its the same…
Uh, that shouldn’t be the case. I haven’t tested on windows but I do not see why that would be any different. It should just work out of the box.
Is it possible that by default the mask panel is being docked somewhere else?
Check the utilities menu for a “mask editor”:
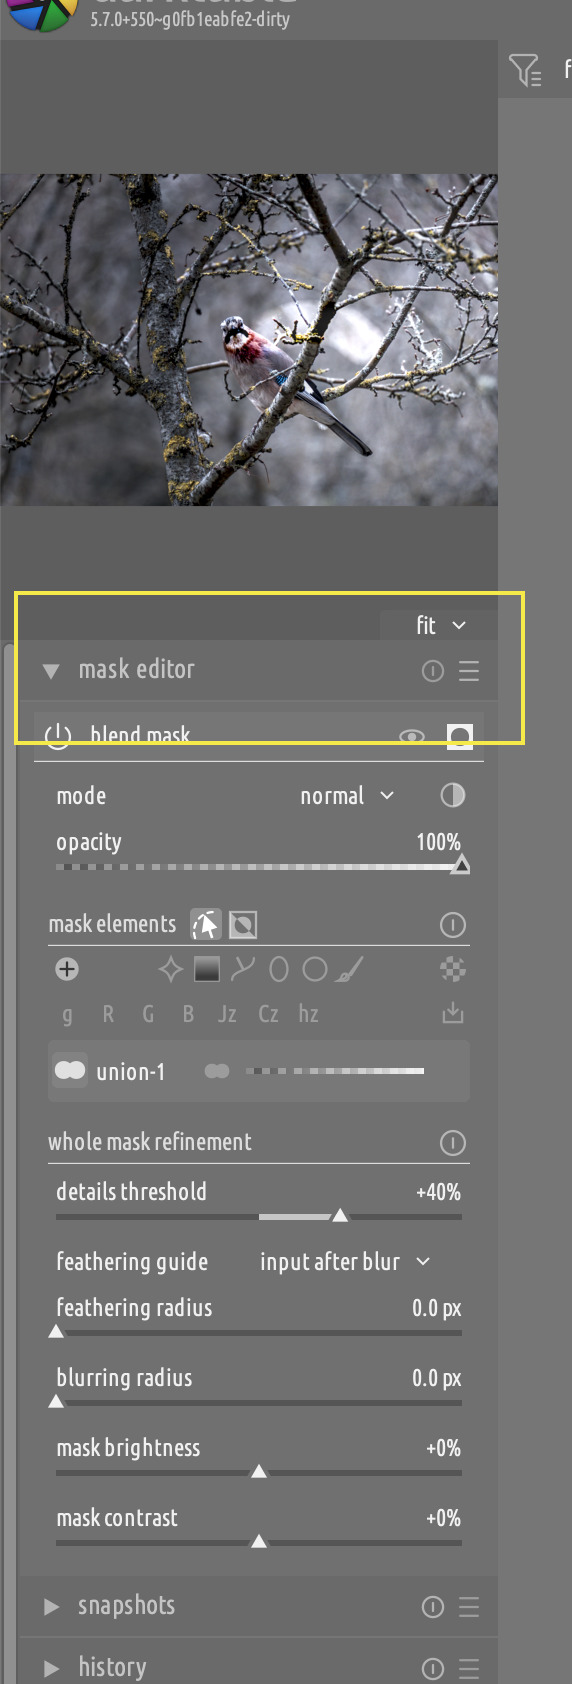
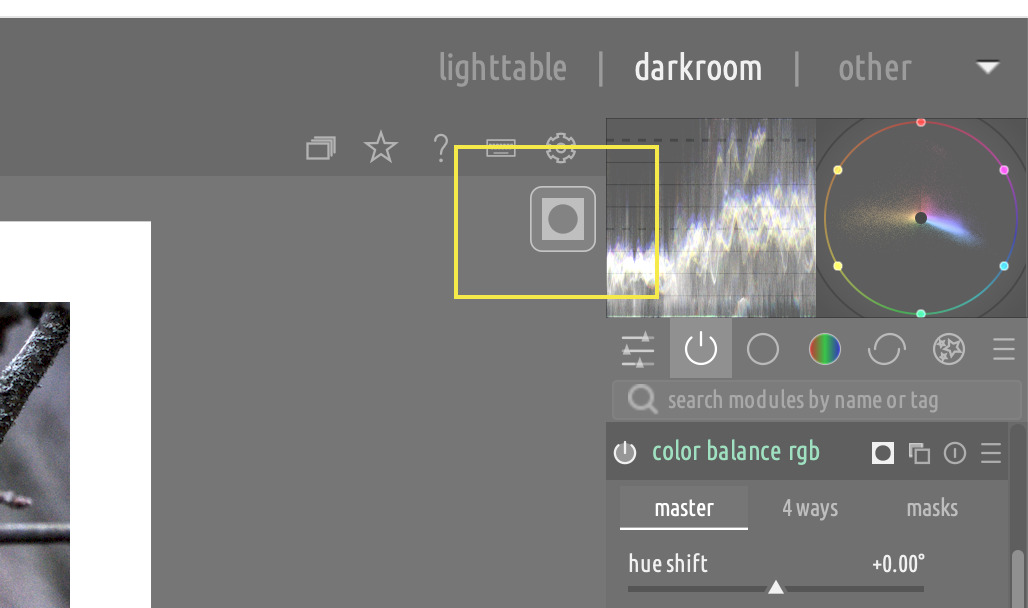
Or see if you see the dedicated-panel overlay in the top-left or top-right corner of the canvas:
Maybe this is somewhat related to my issue, also on Windows 11.
Sorry for the many screenshots.
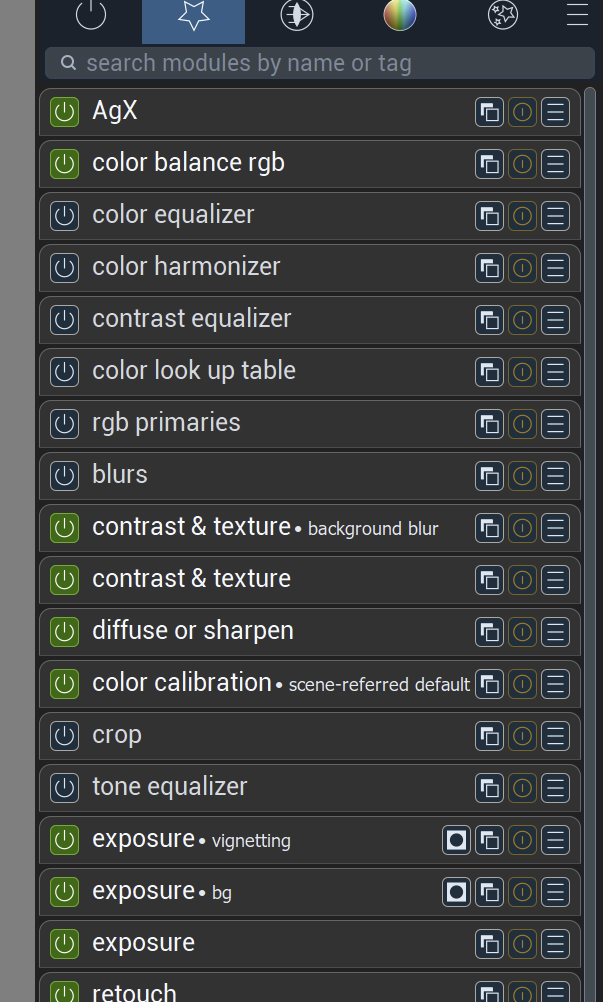
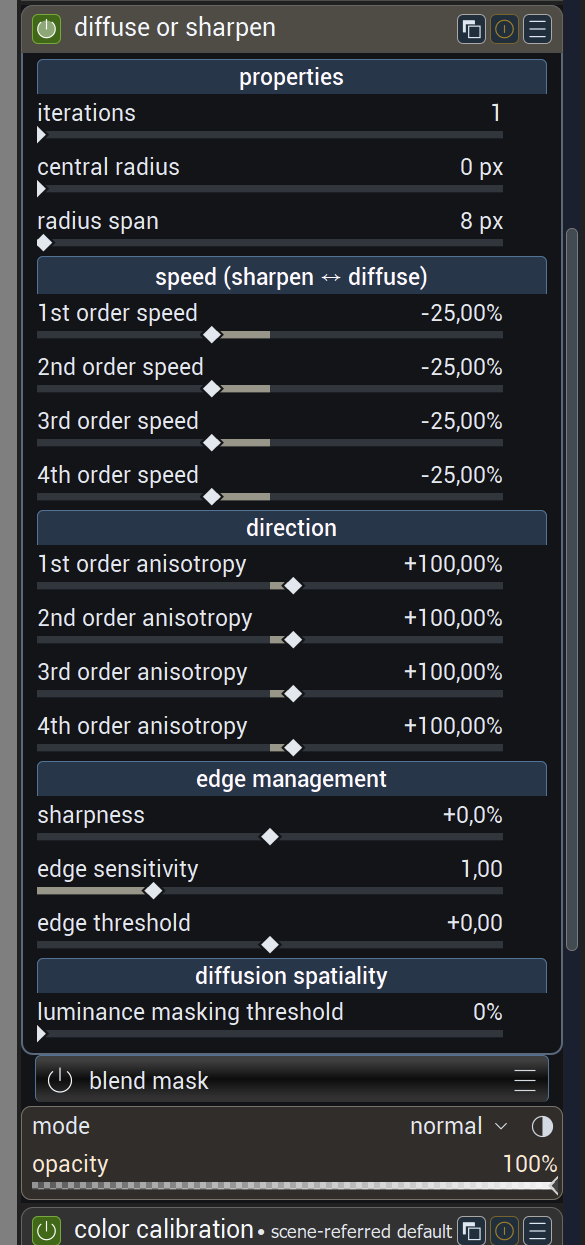
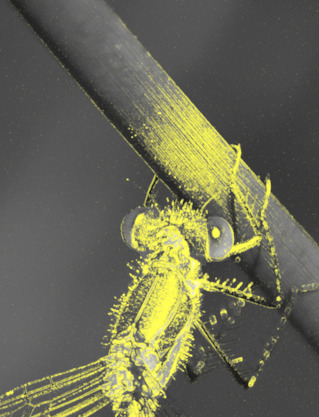
In this image developed in 5.6, three modules have masks. The two exposure modules have an AI mask (bg) and a drawn-elipse mask (vignetting). The d&s module has only the details threshold slider at +62%, no drawn or parametric mask. But all 3 modules show the ‘display mask’ icon
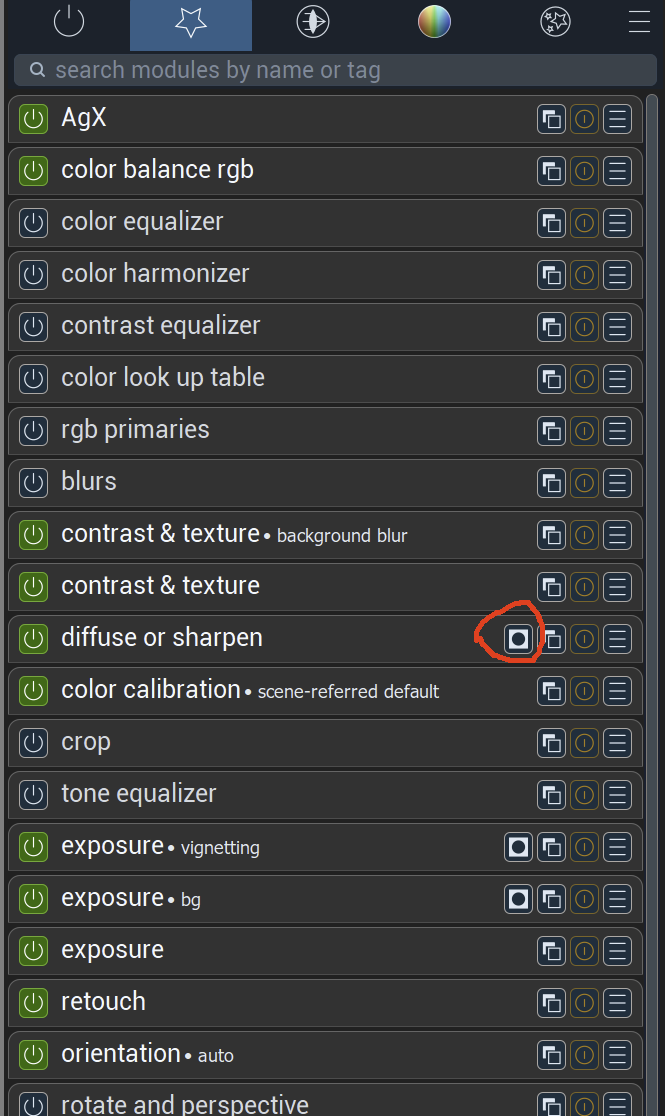
d&s mask, only detail threshold slider moved
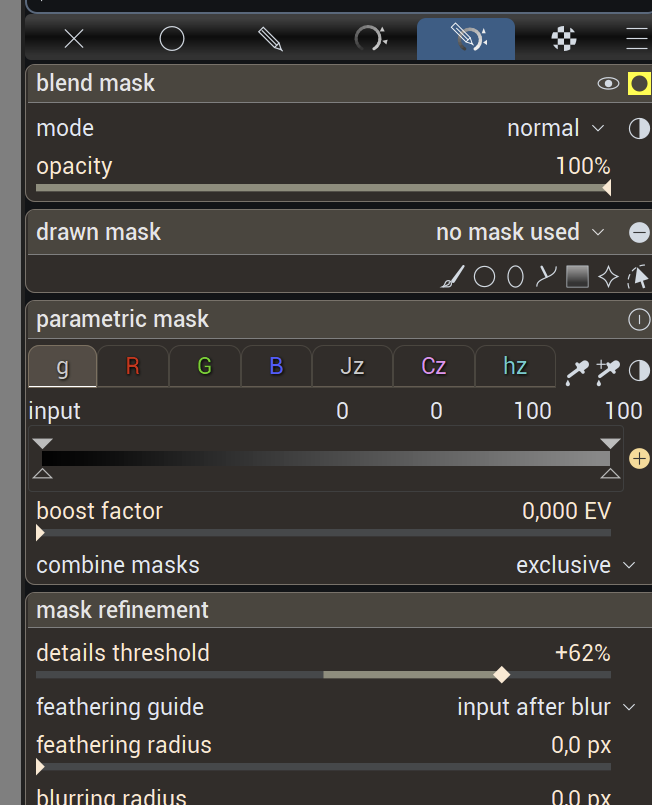
In the flexi version I only see the mask display icon in the exposure modules.
The Blend mask is there and seems to be activated but only mode and opacity are shown
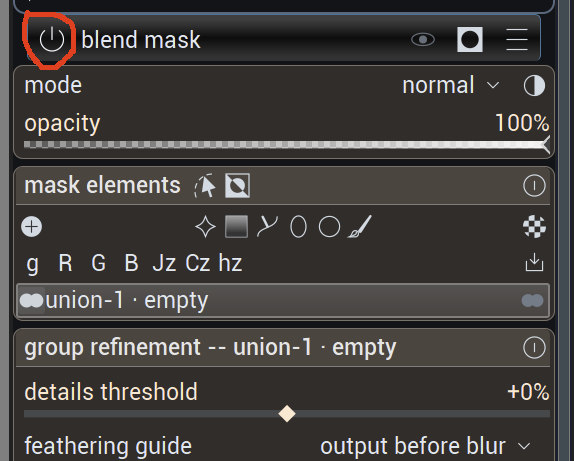
I click the on/off blend mask button twice and the mask refinement pops up
but the details threshold slider is at zero.
But the mask has been transferred if I activate display mask
Two other points:
If an image has been modified in the stable version and you open the flexi version afterwards, I’m now asked what to do with the modified image in this pop up window:
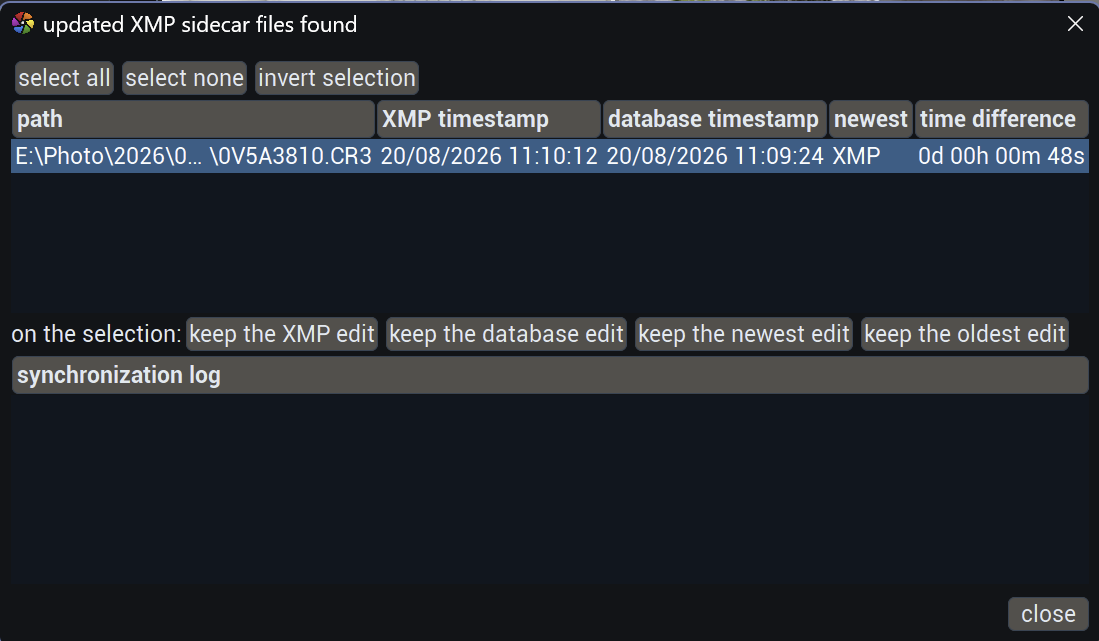
Under ‘on the selection: keep the … edit’, edit of what or where, in the stable or flexi version? I don’t fully understand what to select to transfer for example the latest edit in the stable version to flexi.
Second point: If I have multiple versions of IA masks in an image in the stable version, they come over as ai…#1, ai…#2 etc. to flexi, but I don’t know which one is #1 or #2. For drawn masks (multiple paths for example), if you hover over one in the canvas, the corresponding row lightens up in module. Would that also be possible for ai masks?
Thanks for all the comments, @Christian_Pfister.
I am going through them, but I wanted to address this one immediately:
This should never happen, recent builds of Flexi make a copy of your DB and do not write XMPs in the same dir as the original image.
Anyways, under normal conditions, if you get this dialog and you are running the official darktable release (or whatever version you use normally) then you should select “keep the database edit”. This will update the XMP to use the version saved in the database.
In the specific case, I do not know what you are running and with which configuration, so I cannot be more precise.
A new build is available.
Changes
-
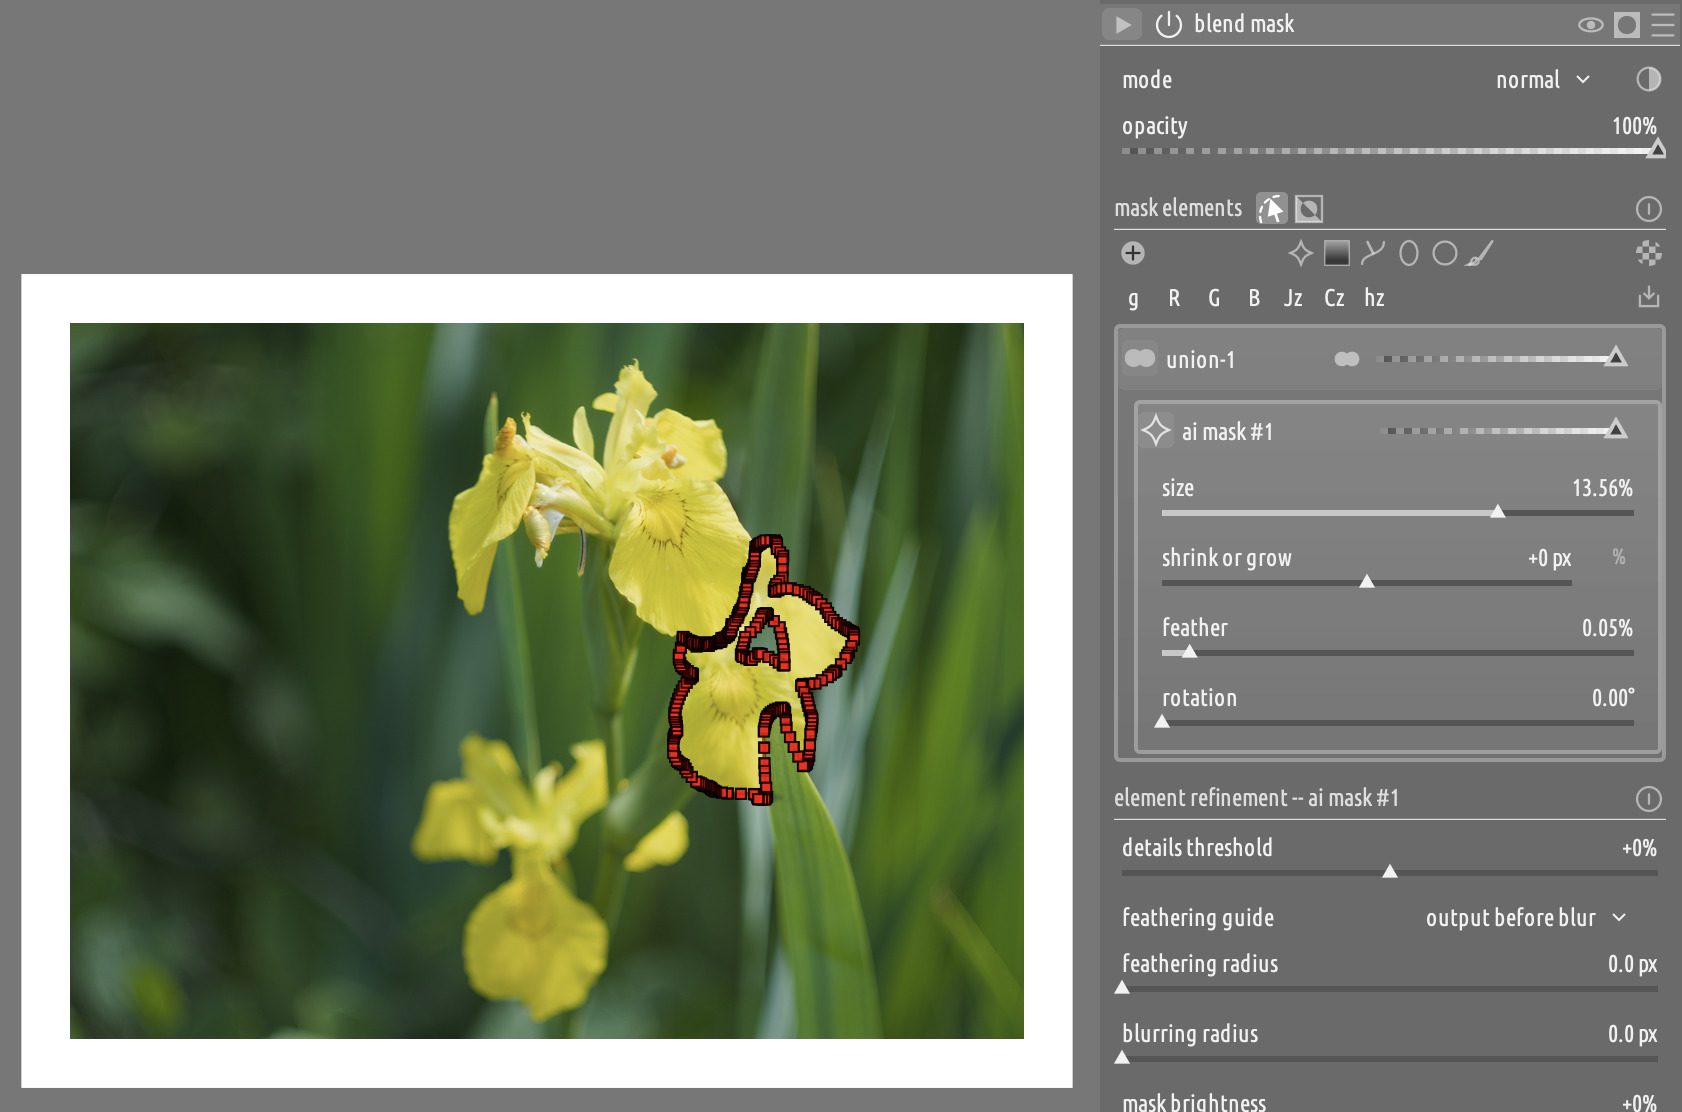
Implemented proper support for AI masks that consist of more than one shape (@helgeschneider, @finestructure)
- AI masks are treated as a single entity, both in the panel and on the canvas. You can move, rotate, feather, resize the whole AI mask at once, no need to attend to each constituent shape independently. You can also edit all the points, just like a regular shape. @anry, this could be interesting for you. Also @martinus IIRC had thoughts about it.
- There is also an option to break a AI mask into its constituent components, which lets you edit them independently if you really have to.
- Fixed a few bugs related to AI mask assignment to groups (@finestructure)
-
Show mask overlay on a an empty mask with detail refinement, and apply the effect of the refinement (@don51)
-
Disable refinements on empty groups, as they do not make sense.
-
Fixed issues with drawn masks sometimes jumping to the top-left corner after move (maybe this is a master bug, I don’t think that it was caused by Flexi).
-
Fixes some panel refresh issues (@finestructure).

2 Likes
Regarding the use of ‘details threshold’ slider, I think nothing has been changed from the previous build. Let me explain about what I really want to see from the Flexi panel. For accurate communication, please allow me to re-iterate my sharpening practice as follows:
Step 1: parameter settings in ‘contrast equalizer-luma tab’ for sharpening.
Step 2: I turn Flexi on for masking. Base group called “union-1” to be untouched as it means ‘everything is masked’ at this stage.
Step 3: I hit the display mask icon to make sure an entire image is fully covered with yellow overlay. In reality, some areas are already masked out by unknown reasons as if details threshold slider has already set at 35% position.
Step 4: I will look for details threshold slider to exclude flat surface areas from sharpening. To my surprise, that slider is grayed out, which means my workflow is forced to stop.
I hope my English as a second language does work in this reply.