In a recent topic (see lowpass only on pixels in mask - #20 by kofa) I brought up that I was dealing with a situation where pixels from outside the mask has an effect on the pixels within the mask.
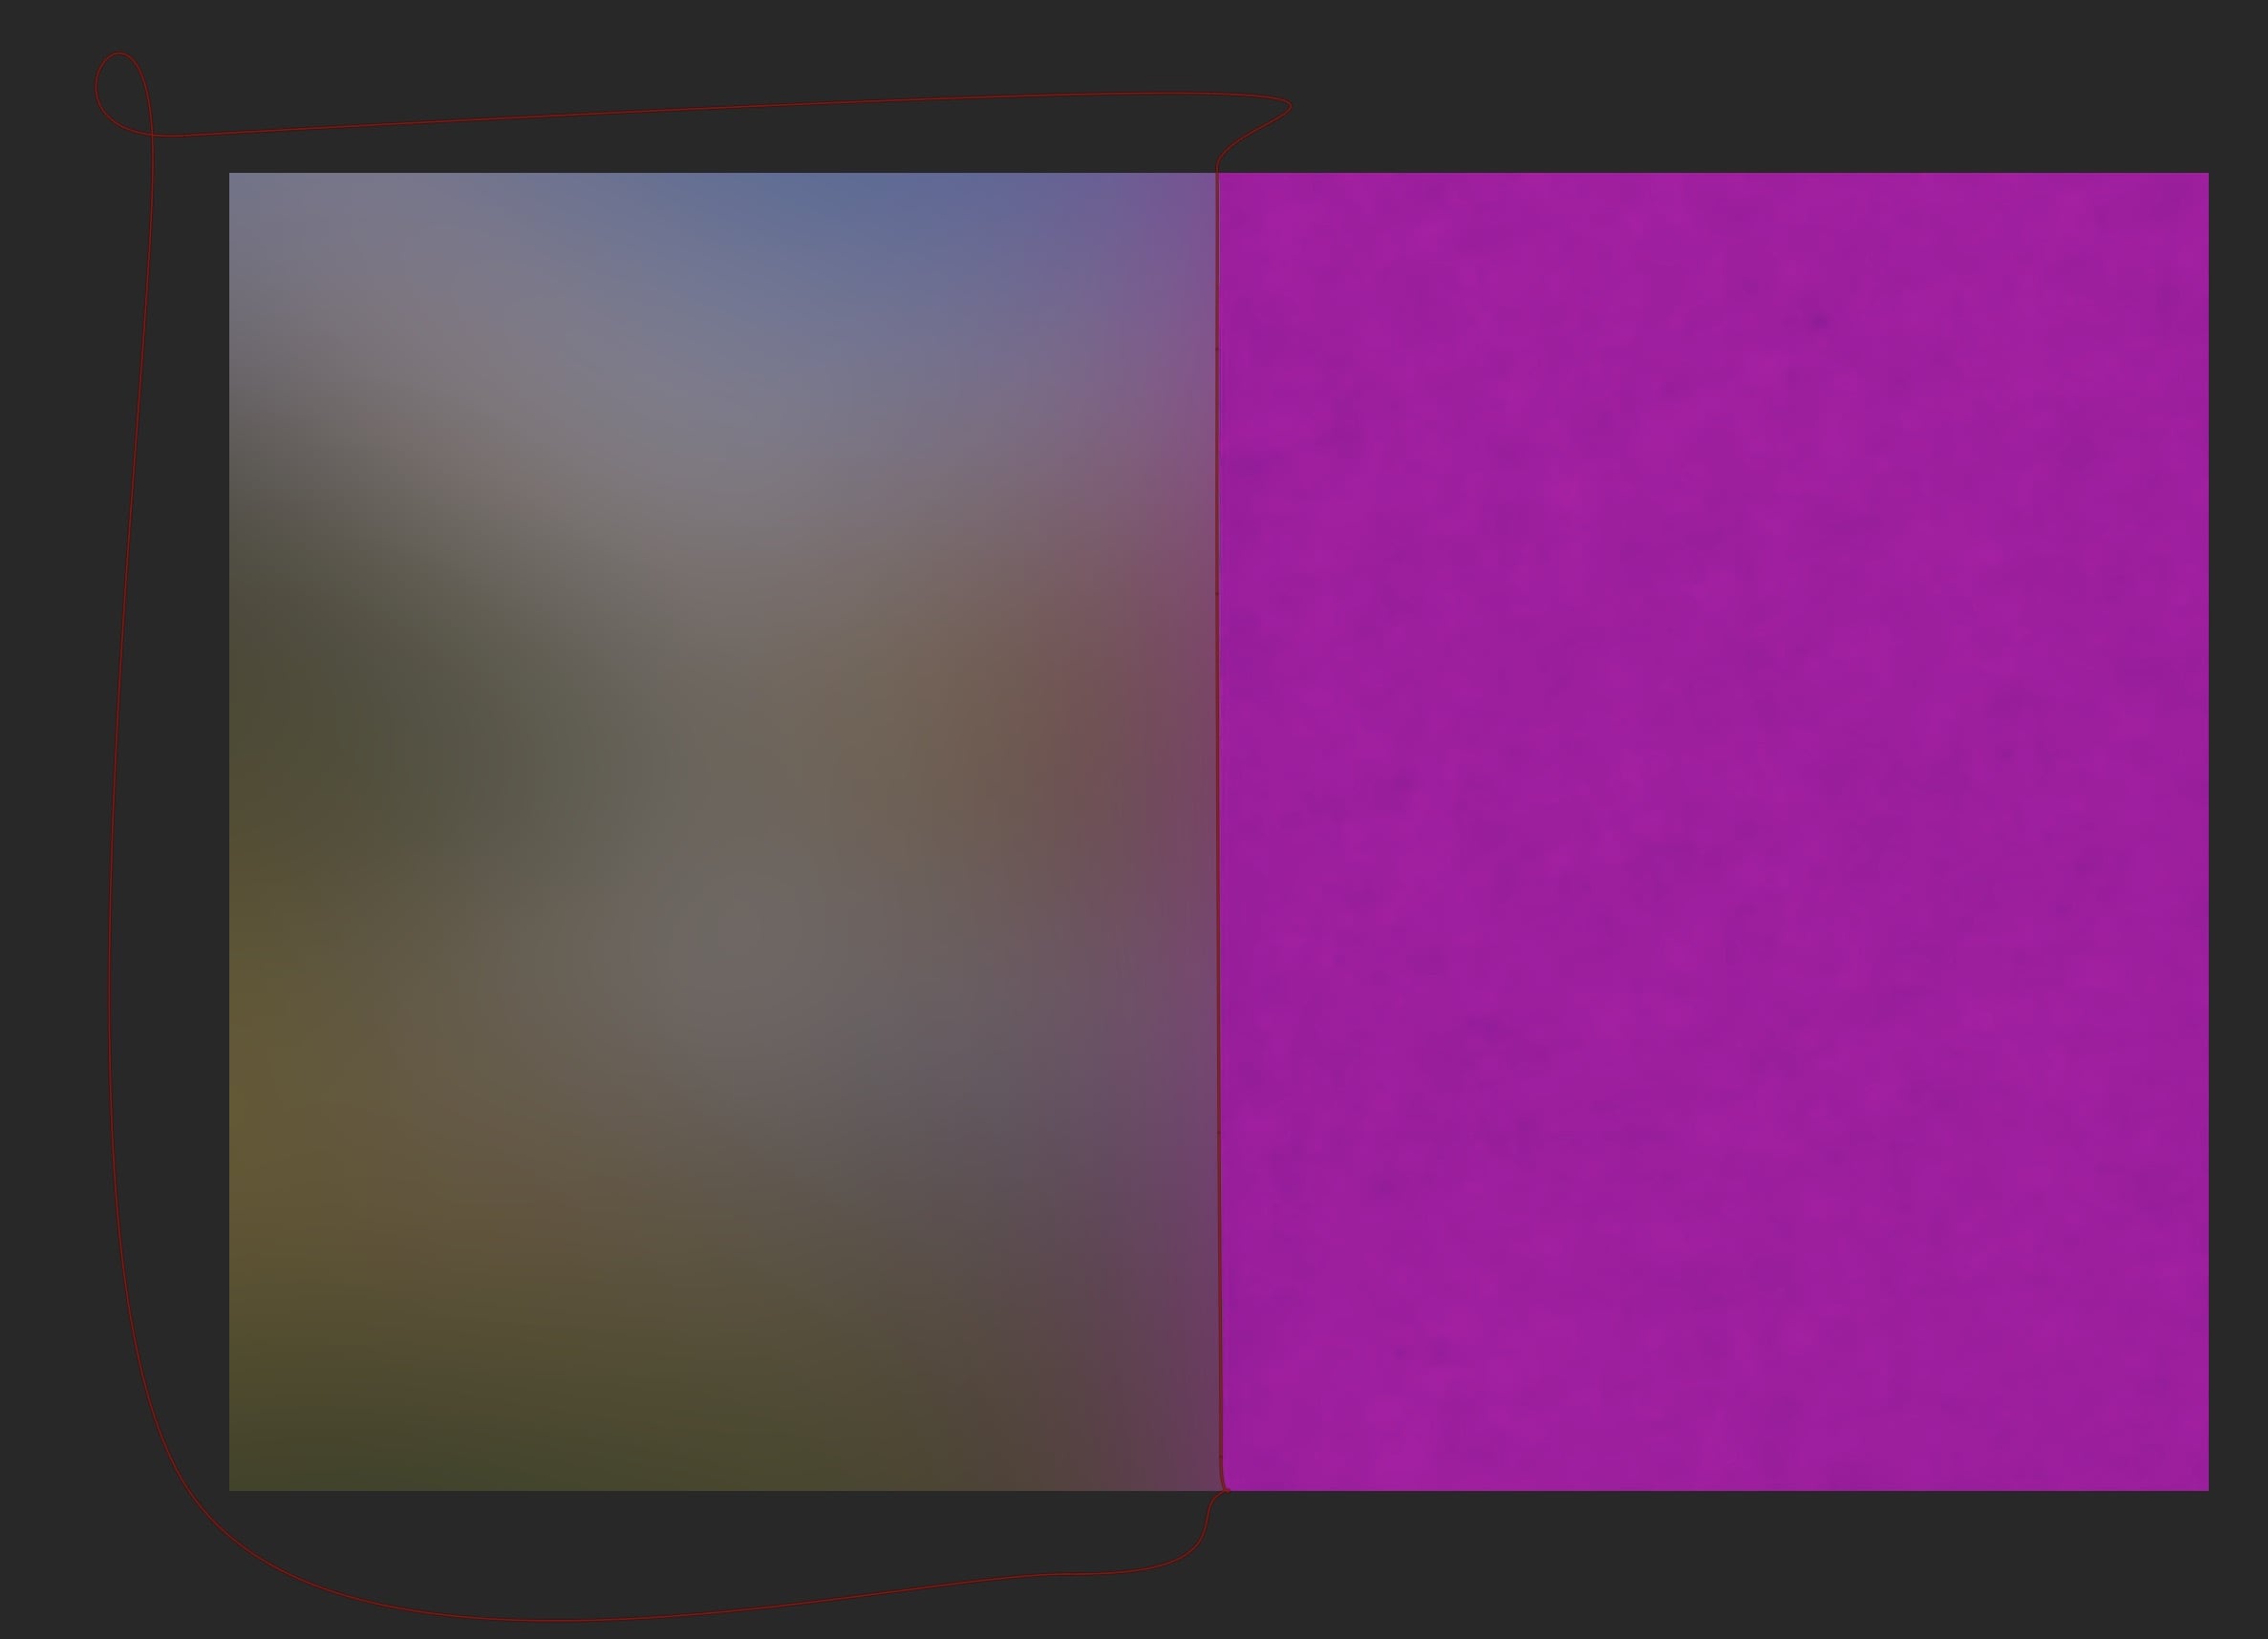
The situation from me was the lowpass module. The image below gives an example of the purple pixels that are outside the mask, still effecting the pixels inside the mask given in a purple glow.
This behaviour is not only true of the lowpass module, for every module that doesn’t act on a purely pixel by pixel basis. Another example of such a module is DorS.
It was already mentioned that topic that maybe someone could draft an feature request.
But before doing this. I first what do raise a couple of questions:
Are there more modules except from lowpass and diffuse or sharpen that ‘suffer’ from this behaviour?
Are more people interested in options that for those module some kind of solution is offered that the pixels outside don’t have an effect?
What would be a good solution for darktable? Would that be that for the pixels outside the mask some kind of interpolation is done from the pixels within the mask (like with an algorithm as the gimp plugin resynthesizer or like retouch or ??) Or is there a complete different solution?
NB. I want to limit the discussion to darktable. The other topic has solutions outside of darktable.
With enough interest we might grow a feature request from this.
I don’t think raising enough interest is the problem, so imo the feature request does not need backing from here. And i am pretty sure there have been feature requests already, or at least discussions here and elsewhere, i remember several over the years since the masking was initially implemented in darktable. It is an obvious limitation and i don’t see why it should not fit well into darktables capabilities.
The biggest problem is that somebody has to implement and maintain this feature. If none of the current devs, or people capable to code this and stay for a while at least, is requiring this feature, it will be difficult to convince somebody to do it.
That said, maybe it is worth to propose the most simple solution (maybe it’s the one with outside pixels just being treated as non-existent or whatever the current code does at the regular borders) as a starter which later could be refined by more elaborate methods.
Anyway, if it eventually turns out that enough interest makes a difference though, yes, i had the problem as well several times, especially when trying to blur the background of a subject.
I am not sure if this is really suffering. I have masked from the days of film and now in digital. Usually a good mask has a soft transition to conceal the edges. Of course this usually excellent softness is a problem with some edits. For me it is challenging to keep a person sharp (especially fly away hair) and blur the background as if it was short with limited depth of field. Yes if DT or any program could offer a masking solution for challenges like this it would be great, but I suspect we are getting into the realm of AI to succeed at that.
The problem is not with the accuracy of the masking. No matter how exact or intelligent your mask is, as long as you first blur the image, and only use the mask to determine if the pixel should come from the original or the result image (or should be mixed from those two), the resulting image will have pixels that carry the effect of a pixel excluded by a mask.
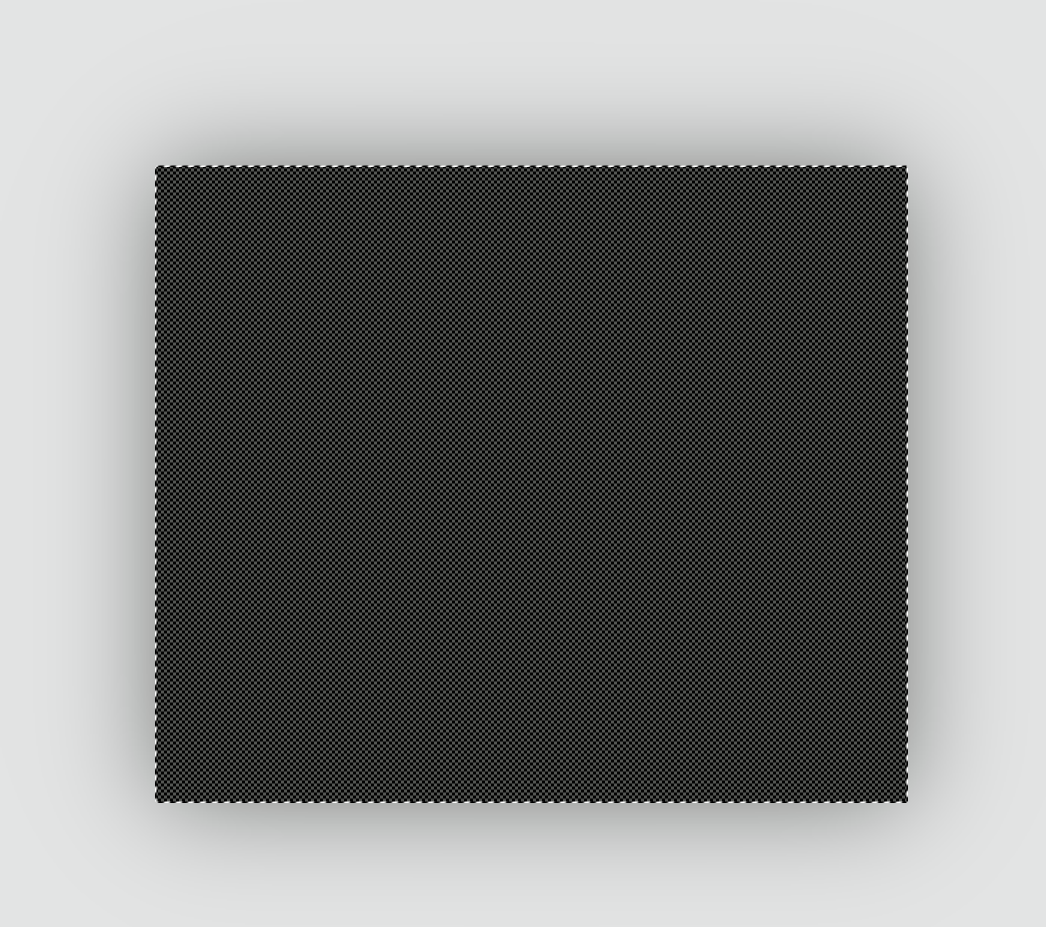
Suppose you have a light background with a black cat in the middle.
What people want to achieve:
create a mask that excludes the black cat
apply a blur to the light background
No matter how well the cat is masked, if you:
first blur the whole image
then mix the blurred image with the cat’s pixels taken from the original image,
the cat will be sharp,
but the dark cat’s blurred outline will seep into the bright background, a sort of averaging effect.
No amount of AI masking or manual work will help. The solution is to arrange the calculation to exclude the cat, or to reverse the dark blurred outline bleeding into the background. That’s what the method I outlined achieves.
Actually, you don’t need AI of this. All you need is a mask of the subject. AI just speed up this process.
If you have a mask of the subject then you could apply a gaussian blur algorithm on the background… If you have gradually increase strength with more distance from the subject you have your depth of filed.
Also see the reaction of @kofa about 30 seconds ago.
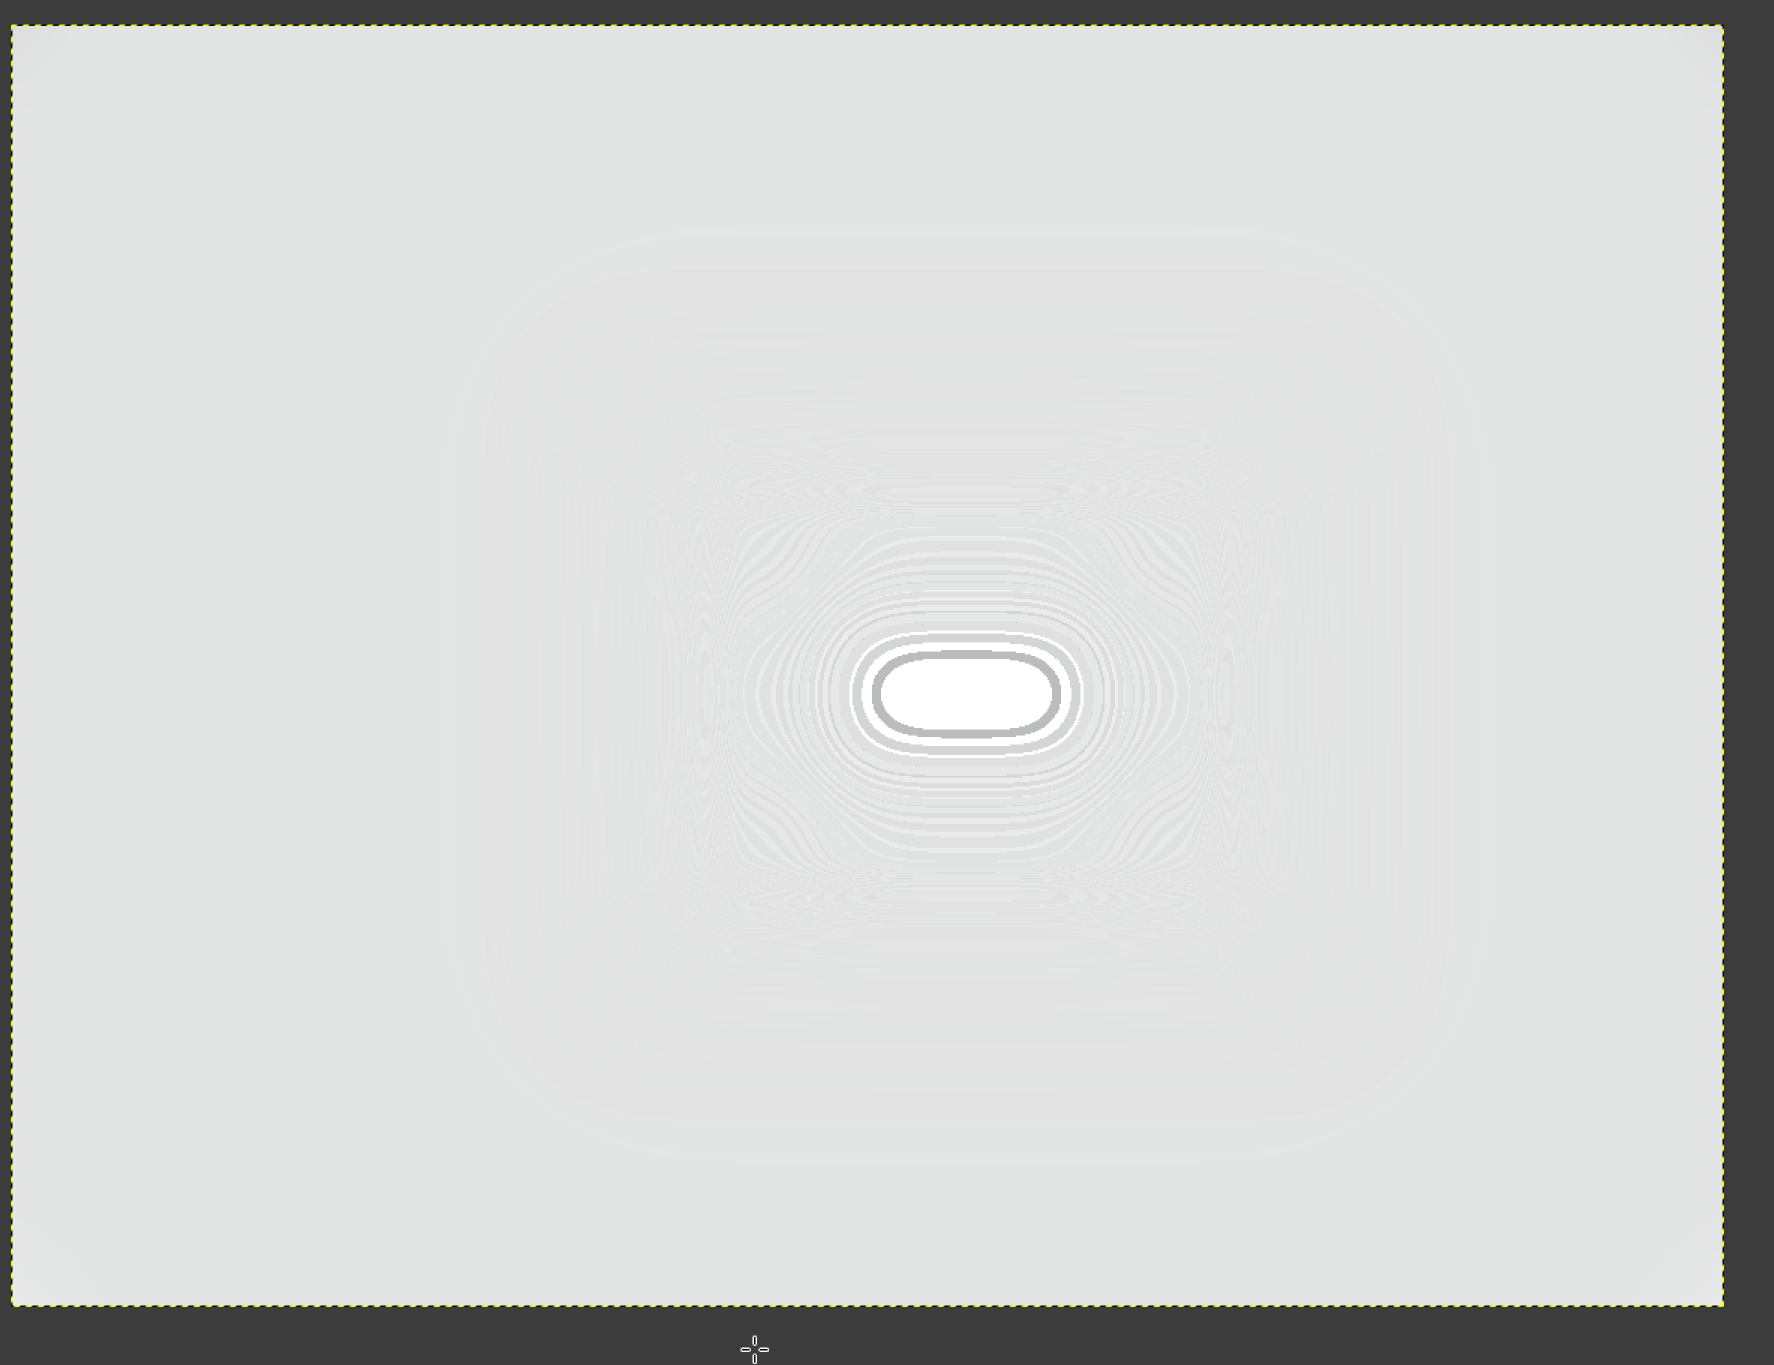
Blurred - the sides of the ‘cat’ became brighter, because the bright background bled into the cat; the area around the cat became darker, because the dark pixels affected the background:
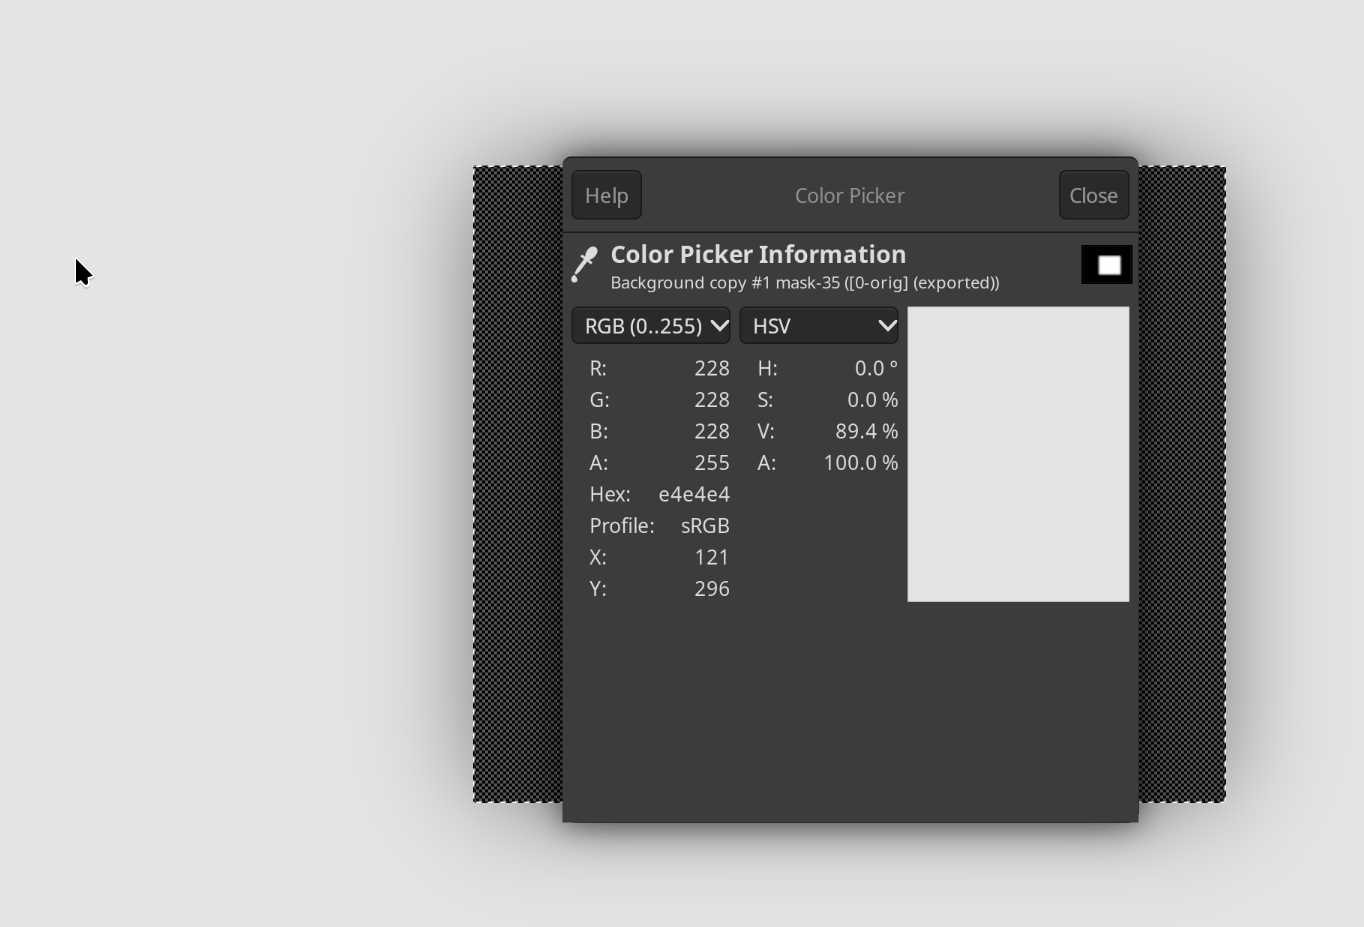
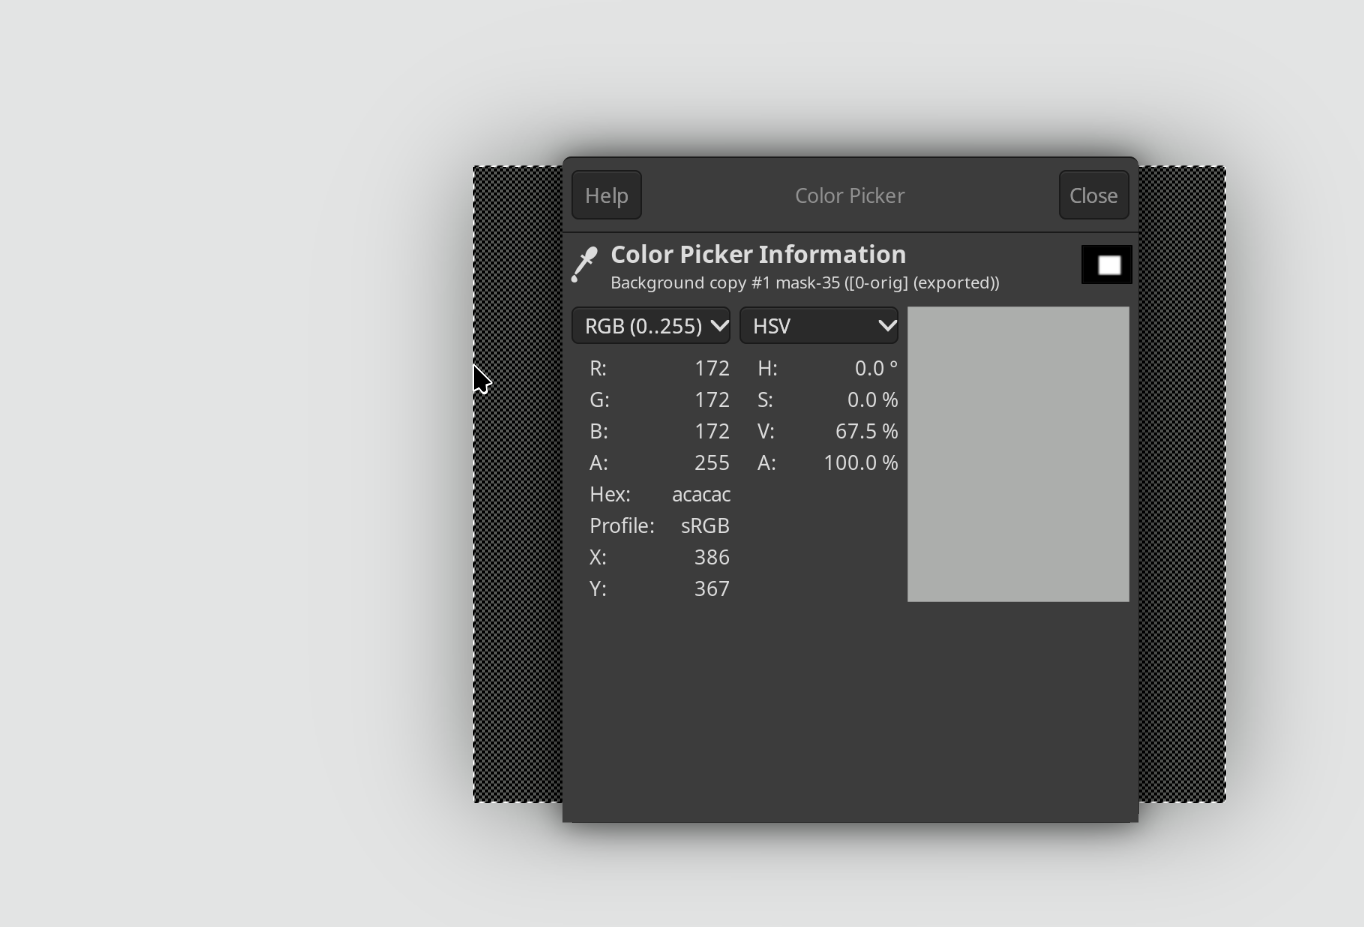
The perfect mask applied: it takes the cat pixels from the original (they are sharp, and not affected by the blur, not brightened – they are simply taken from the original image). However, the background still has that dark halo.
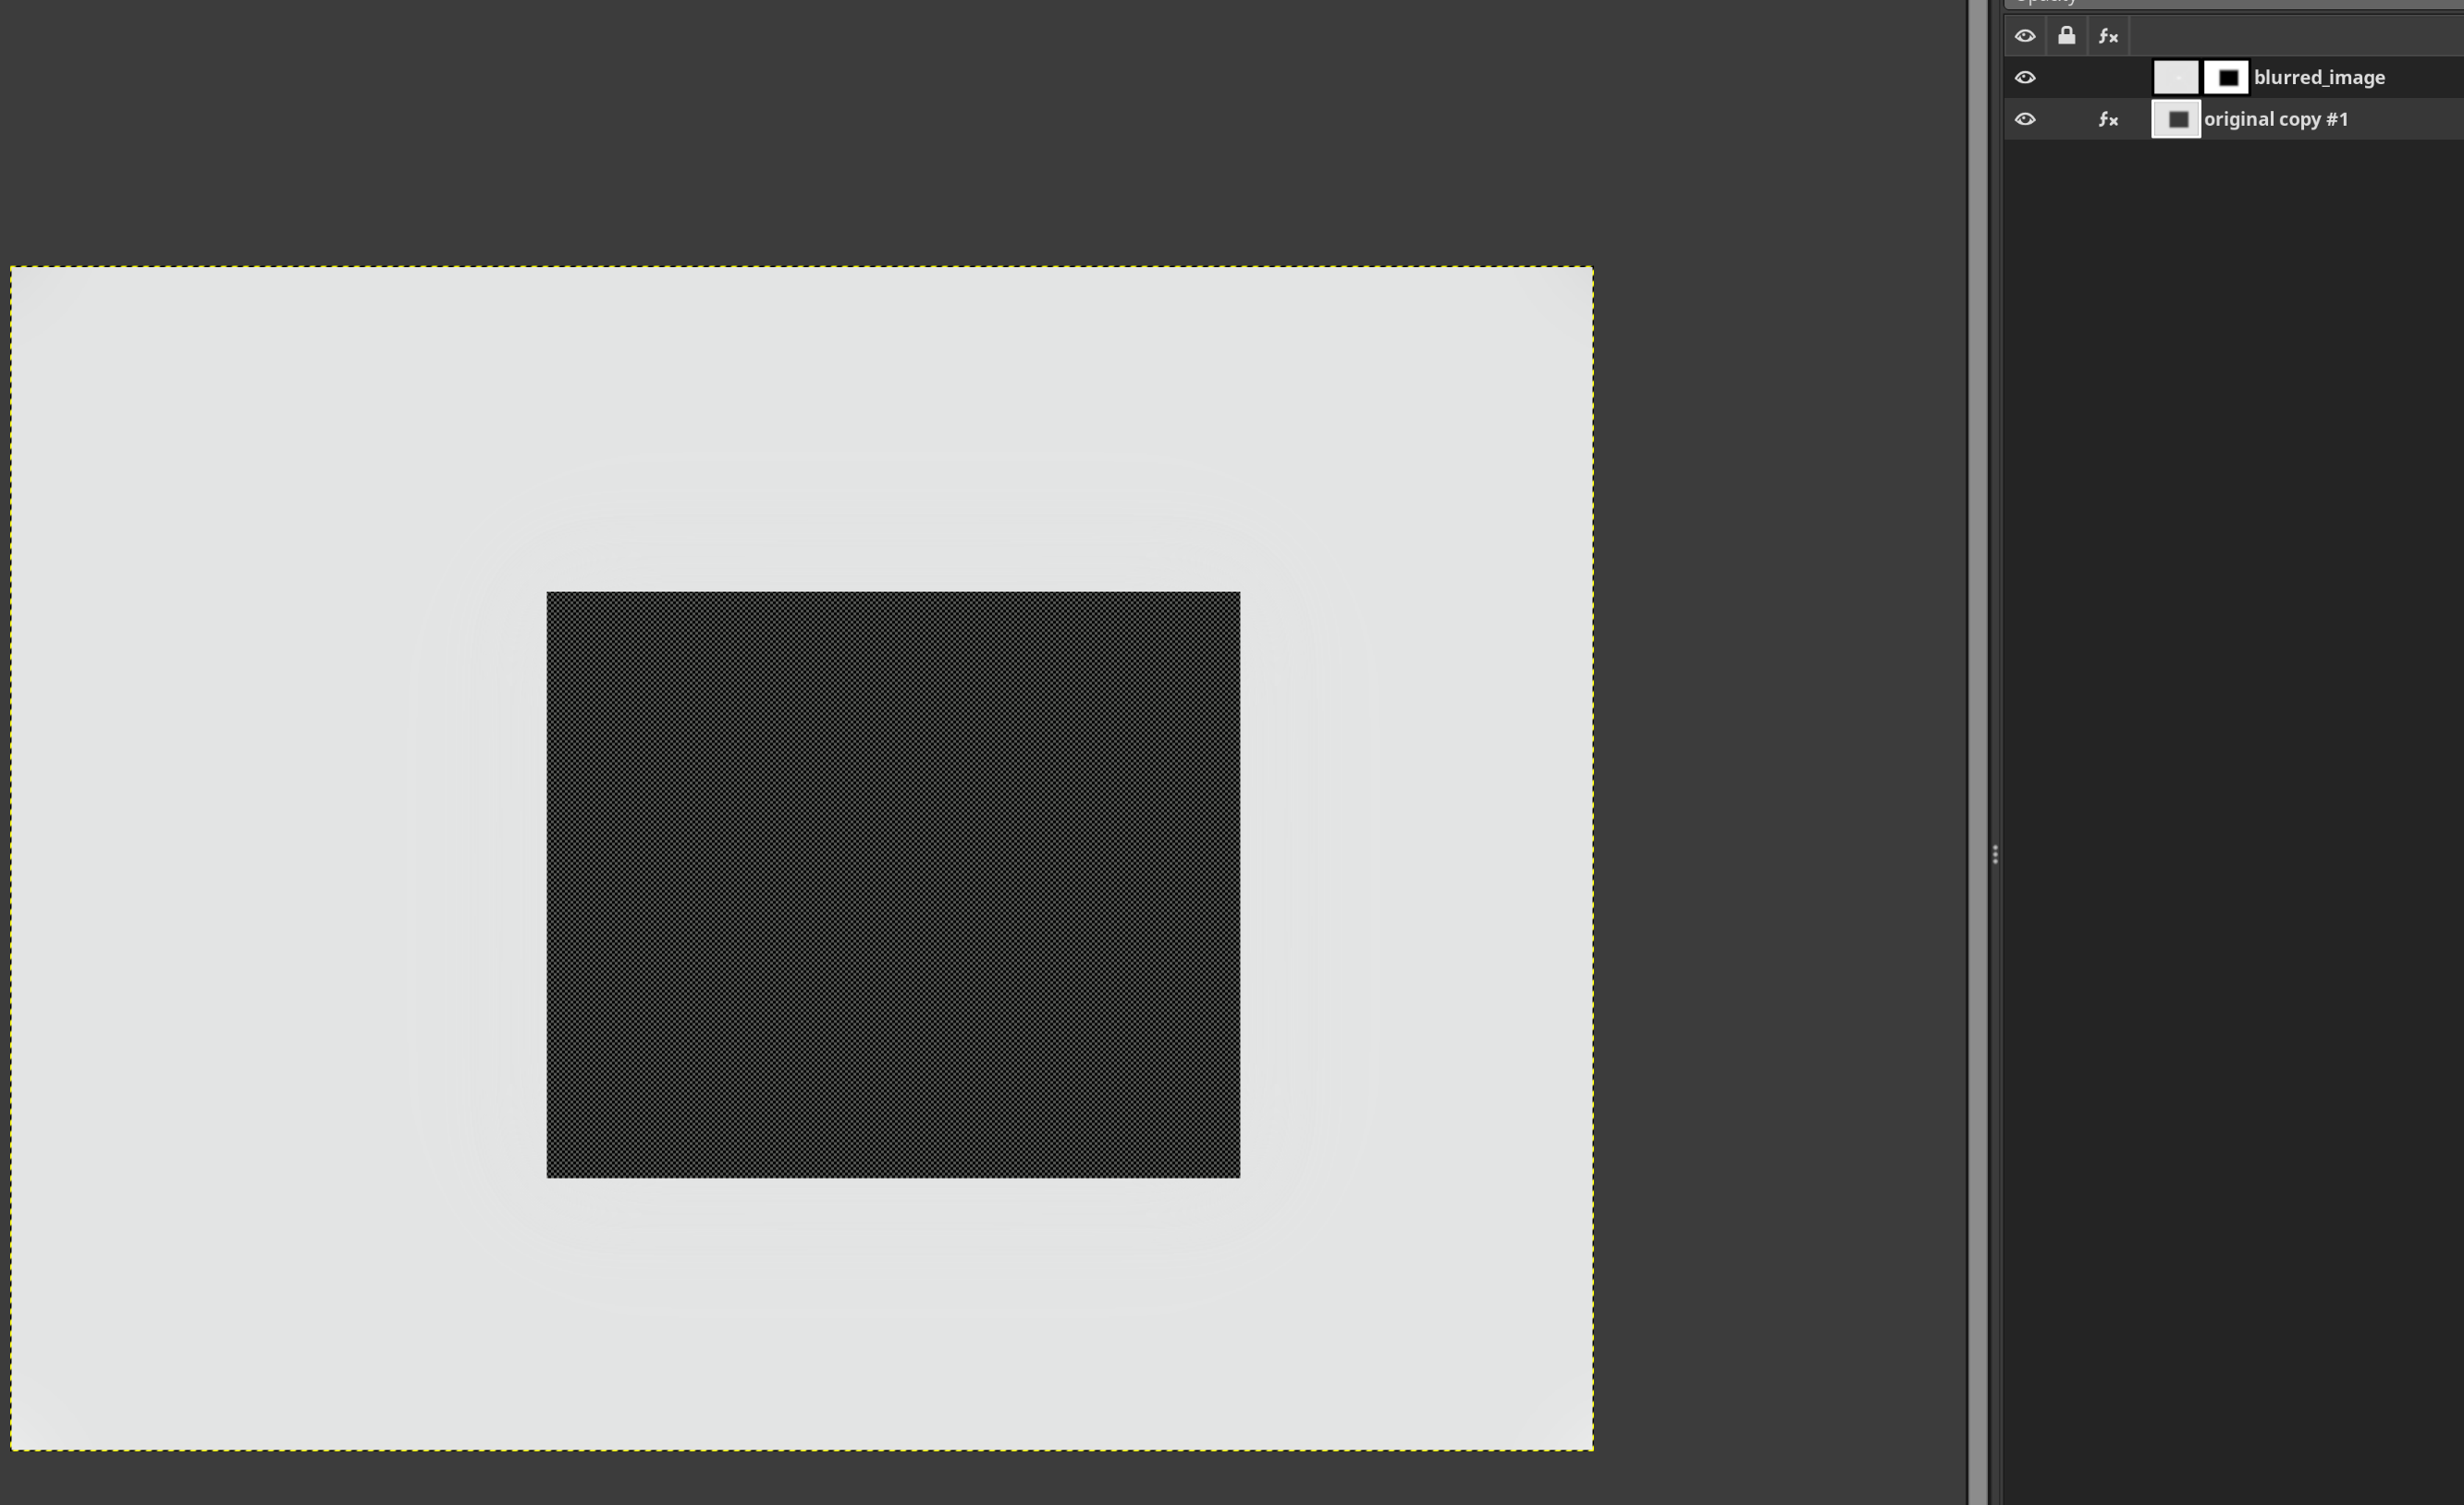
This looks bad – but now we apply it to the original image via the mask. The mask is black (transparent) over the ‘cat’, so the middle of the image is replaced by the cat:
blur/blur applied to the original image, subject to the original mask (I’m including the Gimp layers in the screenshot: the bottom layer is the original image, the top layer is the blur/blur, the mask of that layer is the original mask):
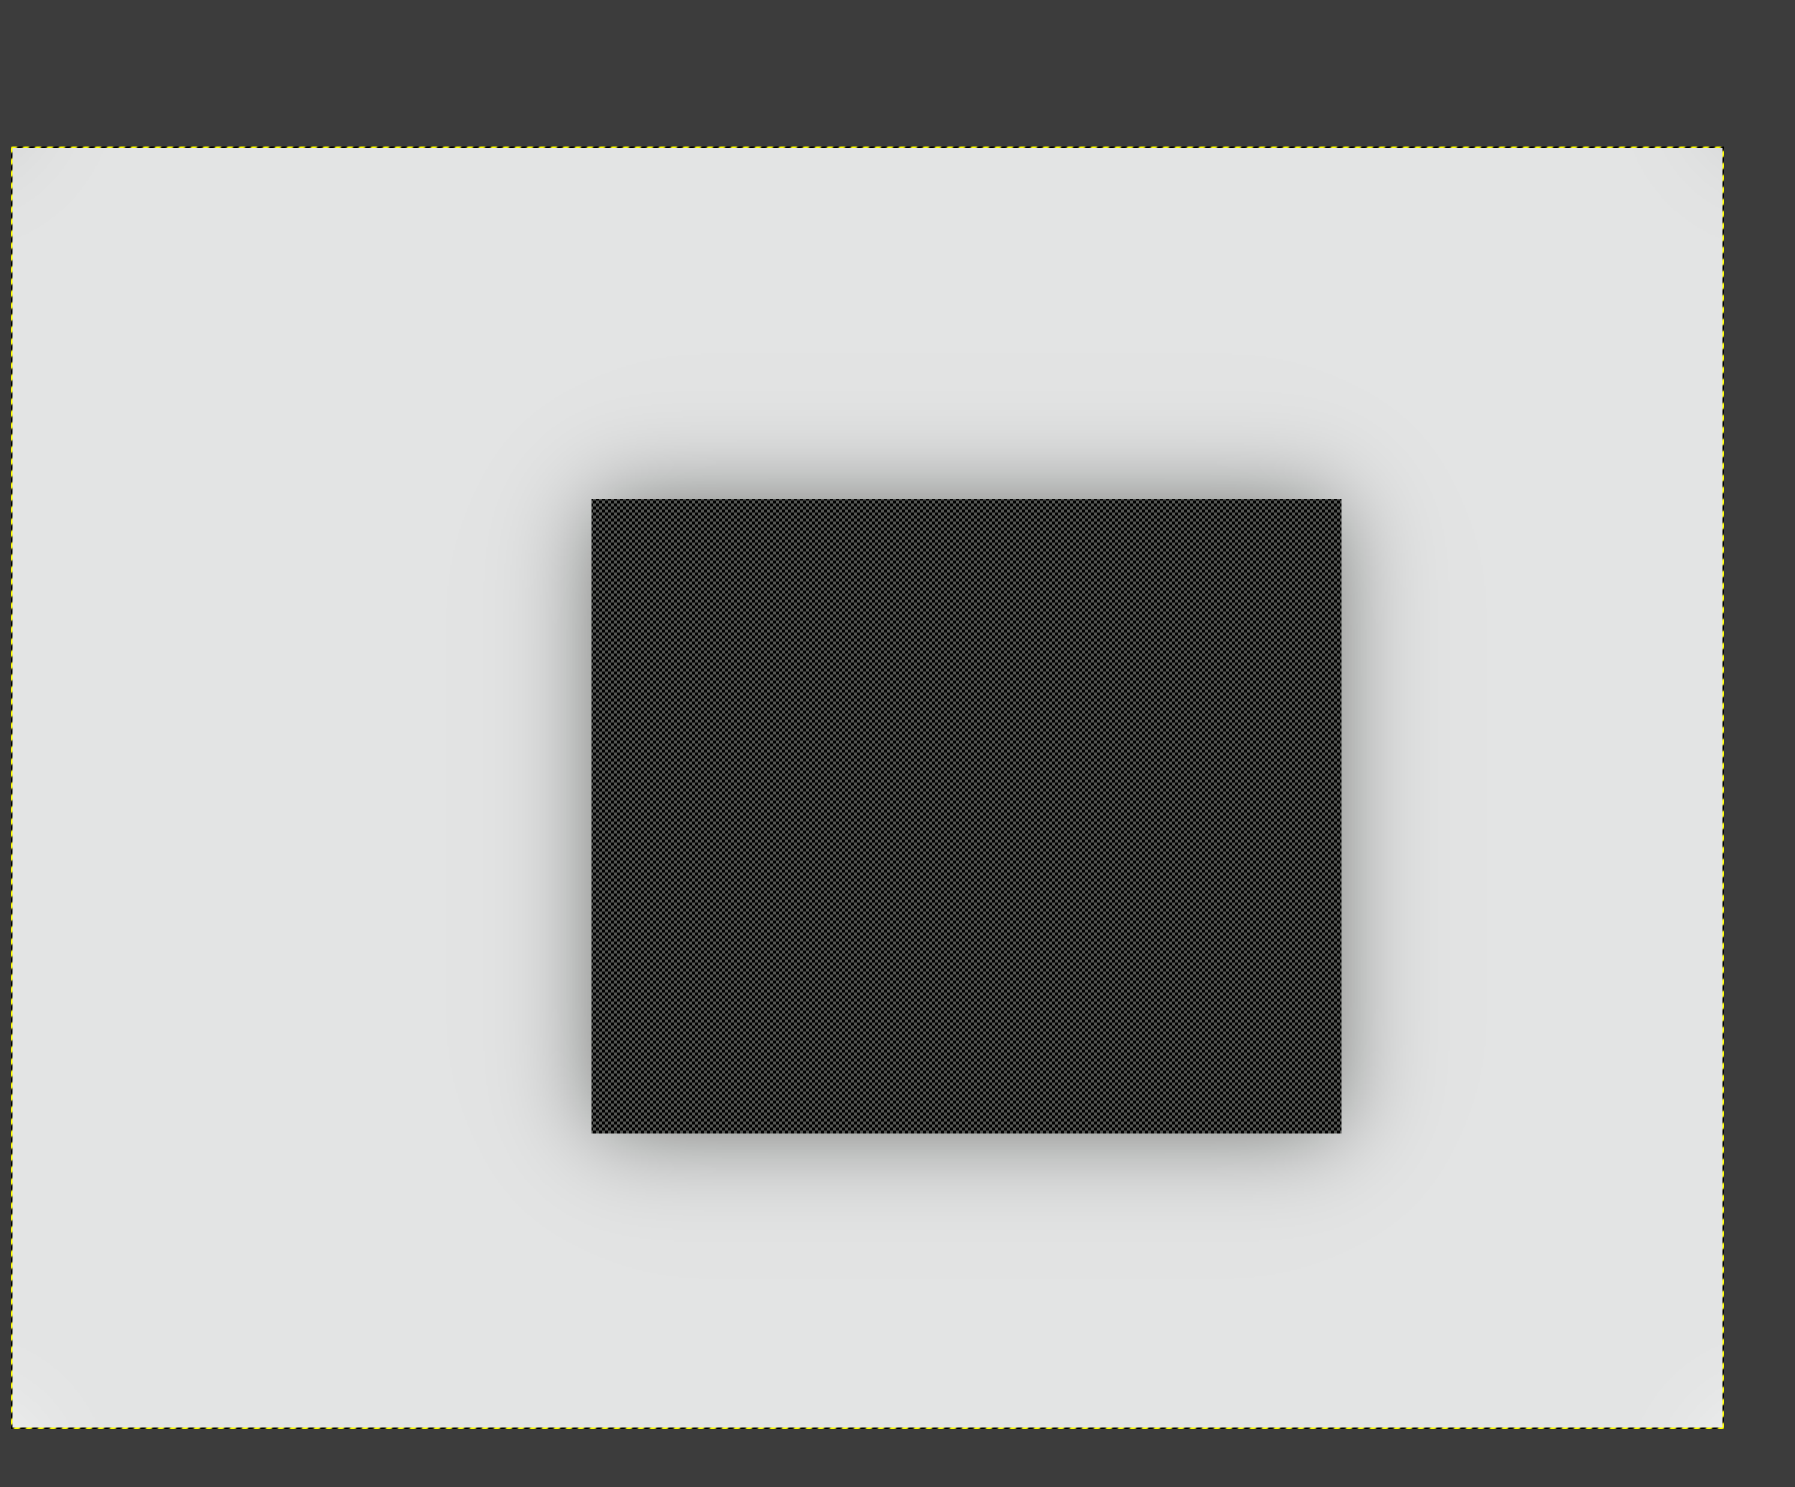
And this is what Gimp does, if I select only the bright background, and try to blur it, protecting the middle – the dark ‘cat’ bleeds into the background:
I think kofa’s solution requires blur(image*mask)/blur(mask) approximately equals blur(image). Is that always true? If not, there’s another algorithm that’s computationally worse:
image’ = blur(image)
image = combine image and image’ based on the mask, so the masked region (the cat) is the only blurred part
Repeat the above steps. With each iteration, the unmasked part of the image will stay the same, but the masked part (the cat) will become increasingly blurry. With each iteration, the original masked area (cat) will have less influence.
Finally, apply the filter to image and apply the mask. You well will end up with a blurred part with little cat influence, and a cat on top of it. This solves the fringe of cat influence in the blurred part, but not perfectly. The cat always has nonzero influence.
If this is potentially useful, I can make a mock-up later. And sorry if this is a useless algorithm!
I must have made some mistake. I thought this was the entirety of your operation (followed by masked blending). I’ll give both techniques a try when I’m at a computer.