I’m starting a new thread about scanning color negatives.
I use Darktable regularly and I’ve recently started digitizing my negatives. I have an older Epson Perfection 4990 scanner, which already gives quite decent results, even if more recent and higher‑end scanners obviously exist.
My current workflow is based on scanning the negative as a positive image, keeping a small strip of unexposed film at the edge. I scan with the Epson software and then use Negadoctor in Darktable, calibrating the white point on that unexposed strip.
I thought that SilverFast might help me improve the quality of my scans. I have a basic version of SilverFast that only offers 48‑bit to 24‑bit conversion and HDR Raw output. I’ve mainly experimented with HDR Raw, assuming that, as an archival‑oriented format, it would be interesting to start from a very raw file.
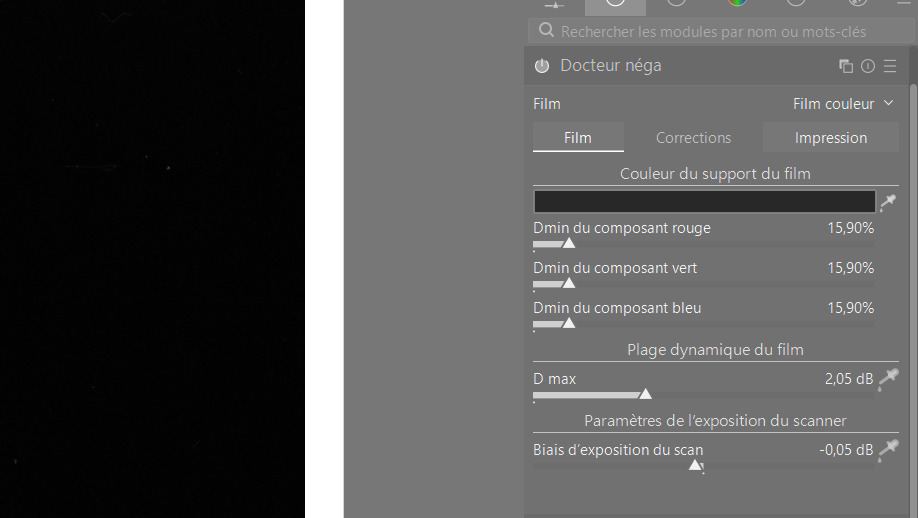
However, the resulting files are extremely dark. I understand that the gamma is 1.0, but even when I use an unexposed portion of the film and Negadoctor, the image remains very dark, and I’ve even seen some very strange artifacts.
I’ve tried different settings, but so far nothing works properly. Can HDR Raw files from SilverFast be used correctly in Darktable?
Is it actually worth using this format, or should I stick to “positive” scans from Epson Scan?
If HDR Raw is usable, how should I invert and process it correctly while preserving good color dynamics?
I’d be very happy to hear your experiences and workflows with SilverFast HDR Raw and Darktable.
Hey and welcome! For best answers, you’ll probably need to post one of these HDR raw files from silver fast. On the face of it, HDR sounds overkill for film and if I had to guess, I’d say its disingenuous marketing on their part.
I have an Epson V850. previously I had a canon flatbed which I preferred the neg scans from. I found the epson and Silverfast software not as good on the canon. So with the epson I scan as a positive like yourself and use negadoctor. I scan in 16 bit tiff files which Epson call 48 bit (16bits per RGB channel x 3= 48bit in Epson speak). I never use the raw file option which is intended for use with the supplied software post scan. Or at least that is my understanding. It is not a raw file as in the case of a digital camera. Shame about that.
So I recommend 48 bit tiff from your scanner for Dt to work with. Dynamic range of film is very limited at best.
IIRC those files are slinear DNGs and the last time i took a closer look because of issue reports those files were clearly missing data. You might search on this forum …
Hello,
thanks for your answers.
Finally I managed to get good results, after reading different topics.
In short:
Scan in 48‑bit HDR in SilverFast, including both my photos and a non‑exposed frame (master frame).
In Darktable, with the master frame, set the input color profile to Adobe RGB and keep the working profile as linear Rec. 2020 RGB. Increase the Exposure (+3–4 EV) and apply Negadoctor to create a preset style, then apply this preset to the photos.
This ensures consistent inversion and color cast correction across the roll, and gives good results, even better than Negafix.
You might find some interesting information in the embedded reference here provided by Aurelien, in his write up for scanning…there are sections for DT set up and some other information in the article…
I followed your advice and tried other input profiles, notably linear Rec.2020 RGB.
I’m now getting results that are more directly usable.
I also read about using white balance before Negadoctor.
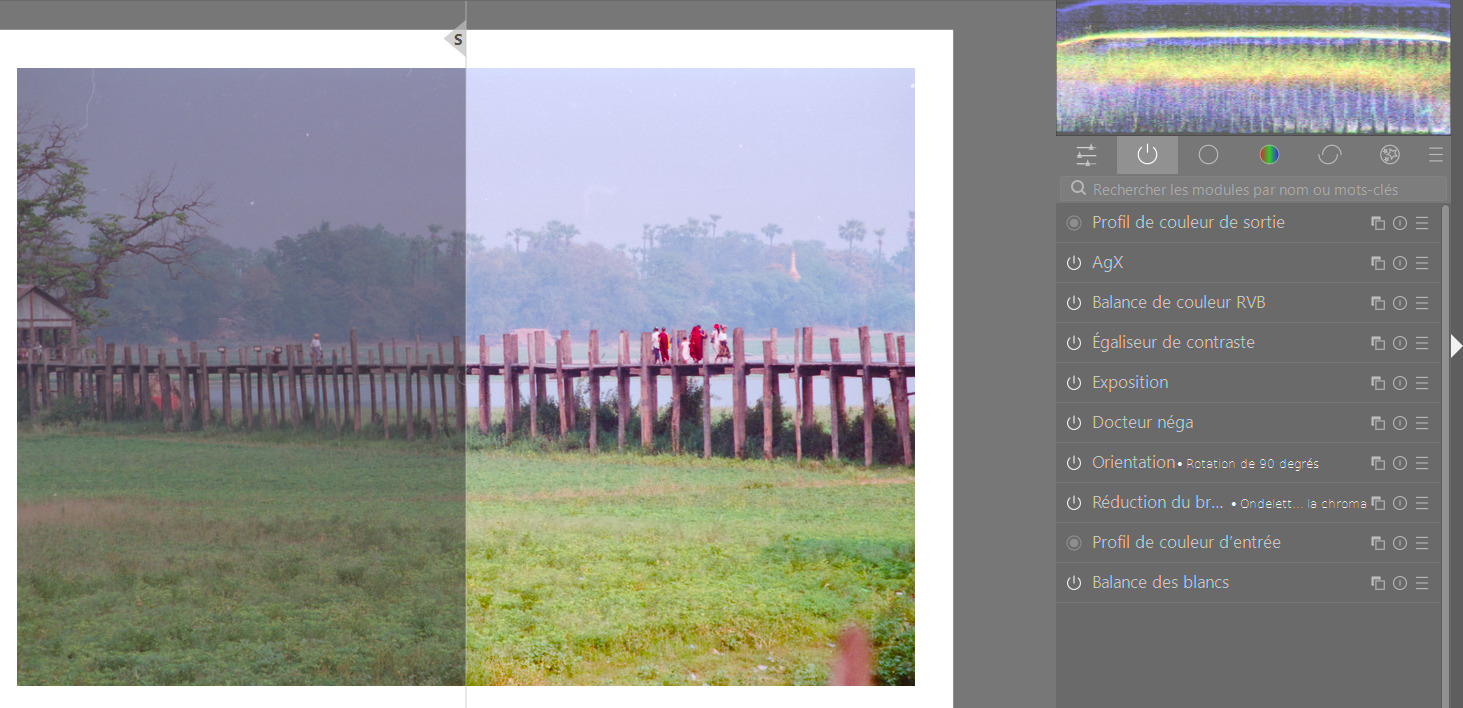
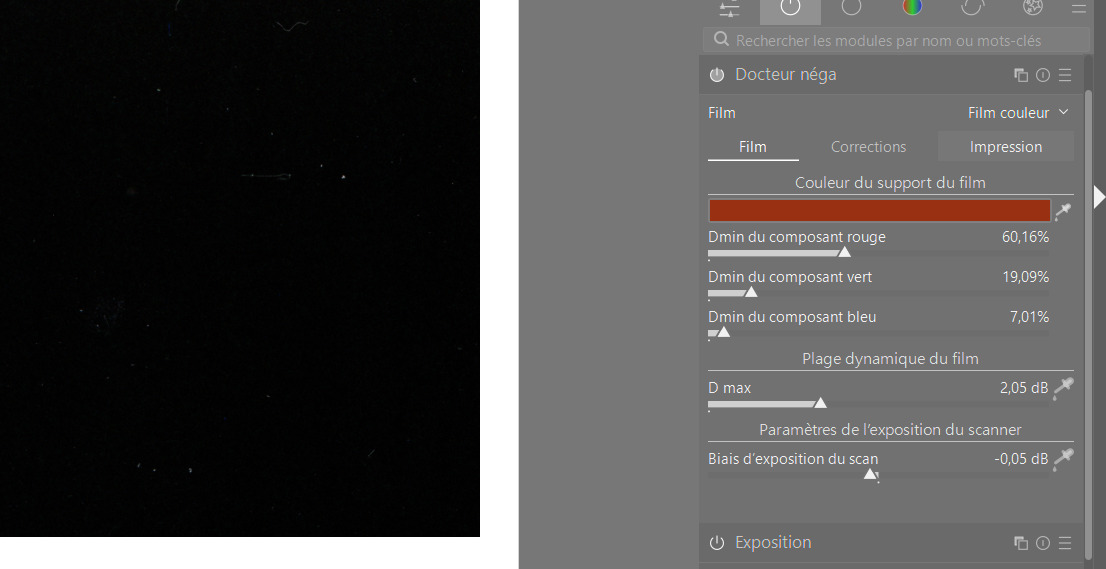
Here is what the conversion of the master (unexposed area of the film) looks like.
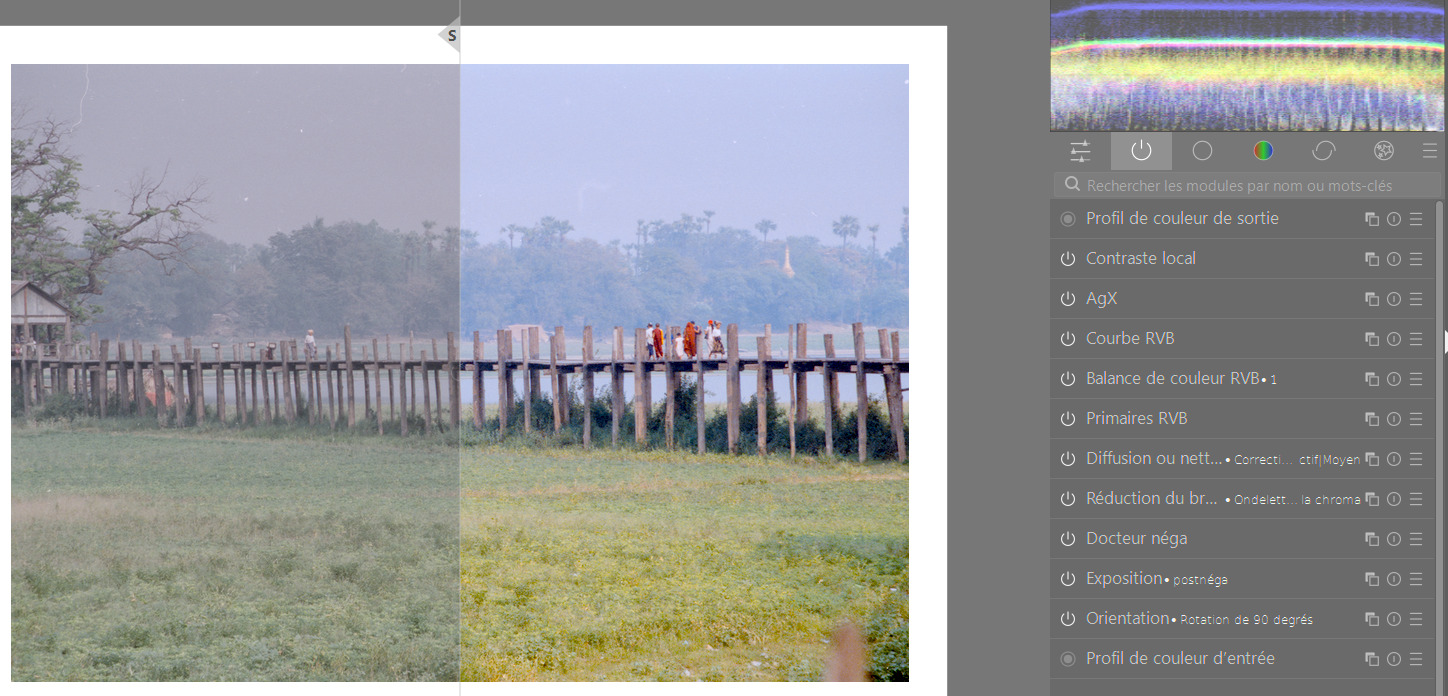
I applied this setting to my negative, and here is the direct result, plus exposure correction, RGB color balance, and AgX (which I don’t find particularly useful for this photo).
I’d appreciate a better understanding of this phenomenon, and whether white balance is actually necessary on the master, and how to even more optimized this workflow
Thank you.
There are too much unnecessary modules activated here.
Agx, Curve RGB, Exposure (after negadoctor) and Noise reduction shouldn’t be necessary with Negadoctor workflow.
If you need to increase exposure, you should do it before the Input profile module, in the RAW/input space.
Also, I don’t understand what you are trying to demonstrate. Input profile should be chosen depending on what profile has been used in your scanner software to save the file.
Do you mind sharing one image scan so I could see how to deal with them ?