Hello Darktable Community, I’m struggling to get my RAW/TIFF edits to have that ‘JPEG pop’ that comes straight out of my camera (Nikon Z9, shooting in RAW + JPEG). I’ve tried tweaking exposure and contrast rates, but can’t seem to bridge the gap. I’m fairly new to RAW processing in general, are there any good guides, good practices, or even modules in Darktable that might be able to help me achieve this?
I’m using Darktable 4.6.0 on an M3 Pro MBP with the latest OS, etc, if that helps. Happy to add more details (no pun intended) if it would help, just let me know what’s missing!
Post an example so we can try and demonstrate our ideas. However, I find that if you use filmic for the tone mapping you get dull colors. This is intentional and you use the color balance RGB module to get the pop in the colors. There are presets in the color balance module to achieve this.
But I prefer to use sigmoid instead of filmic as my default tone mapper. The colors look better straight out of the box.
You need to process the image after loading into darktable. It wont give you automatic processing by default. Check the manual process section: darktable 4.6 user manual - process
Pardon my n00bishness, but how do I “provide” a license for the file? I took it. It’s mine. I release it under… whatever CC license you deem necessary to help me out
You need to process the image after loading into darktable. It wont give you automatic processing by default.
Yes, I’m aware. I’ve been trying to process it in Darktable - generally by tweaking exposure and contrast rates - but I can’t get anywhere close to as good as the parallel JPEG looks.
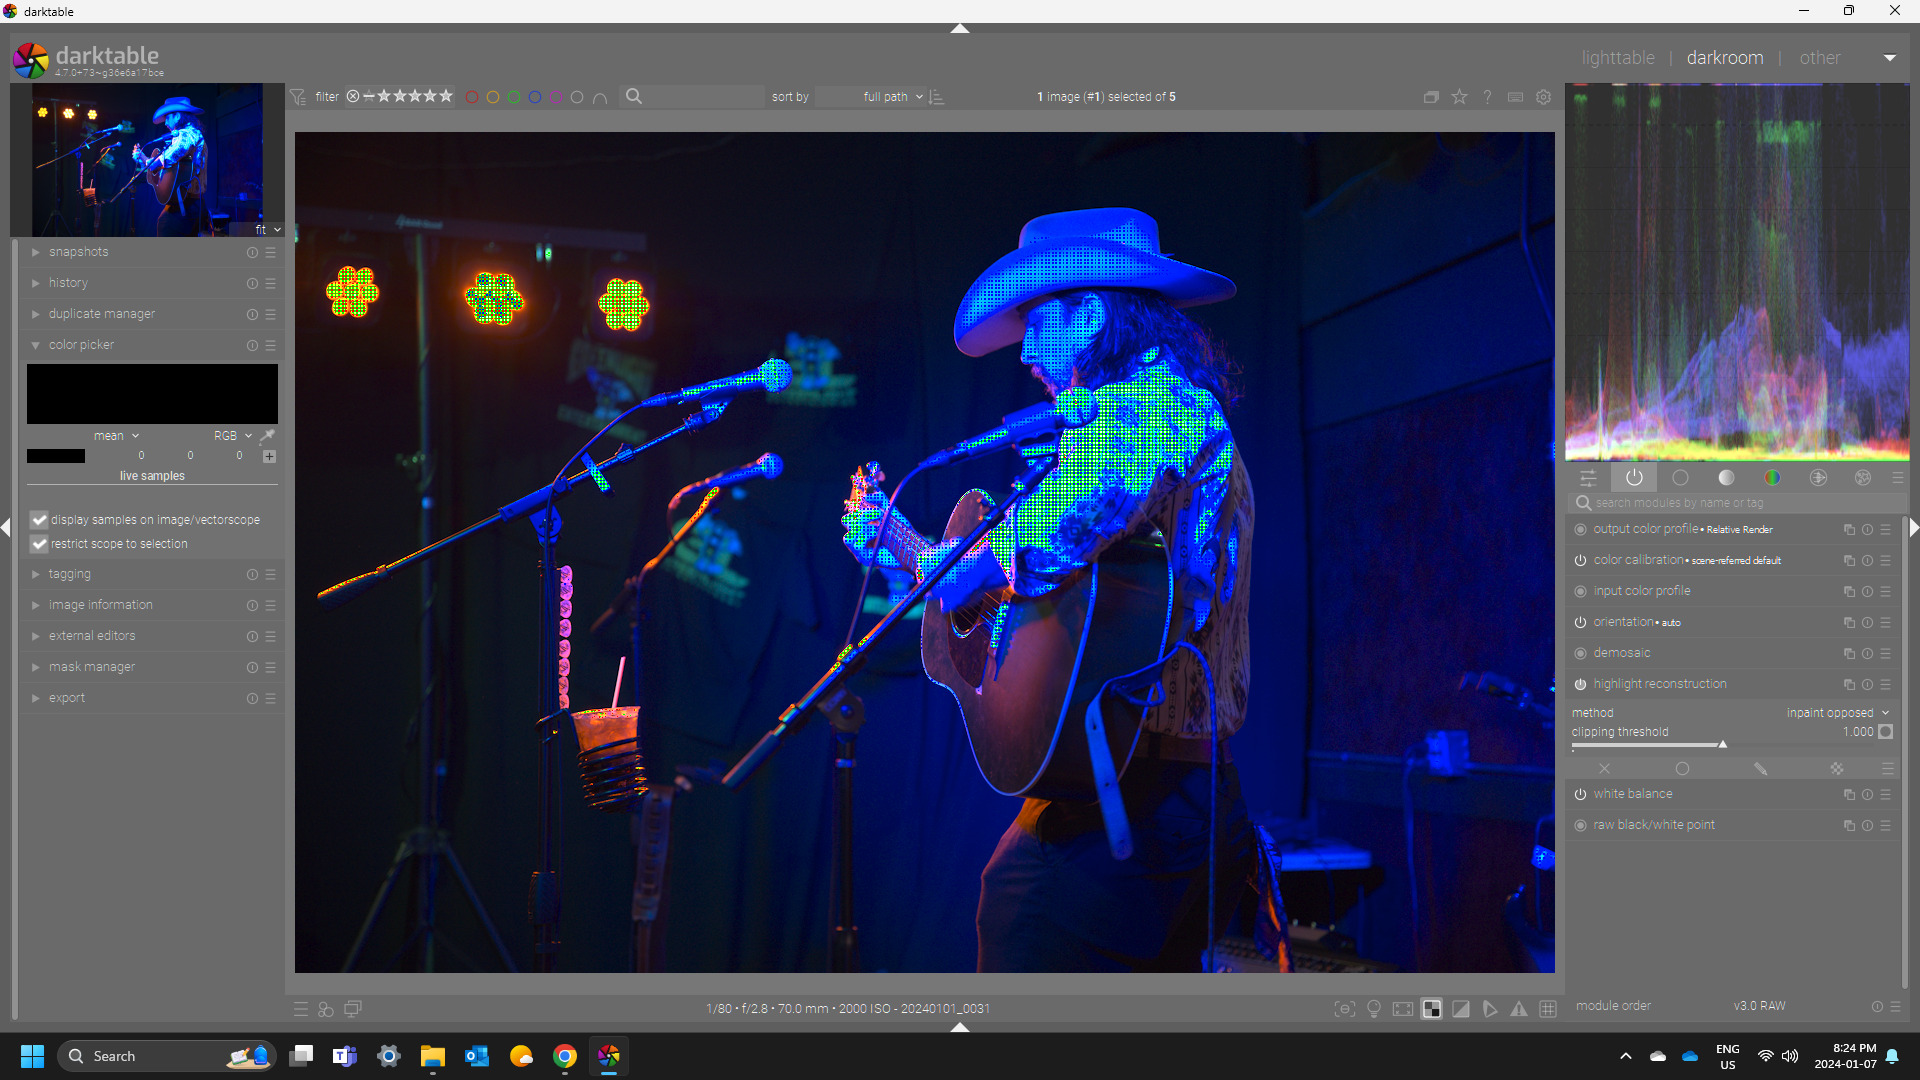
On issue if you look at the raw overexposure is that you have lost data…you can see the blown area’s there… when that data is gone then reconstruction and development is harder… so here even messing with exposure isn’t going to help this…
Welcome
If you haven’t already, I would go into the preferences, and on the processing tab set “auto apply pixel workflow default” to sigmoid. This will apply to any new images you open in the darkroom or any if you discard the history.
I say that as in my experience it gives a starting point nearer the jpeg. Also sigmoid can do a very good job of handling colourful highlights.
Then tweaking exposure and sigmoid contrast is usually all thats needed to get a good looking image. On my phone at present otherwise I’d have a crack at it.
As to the licence, try opening a new topic, and set the category to Play Raw - it’ll give you a handy link. You can just copy and paste it here, or follow it to find out more about the CC0 licencing.
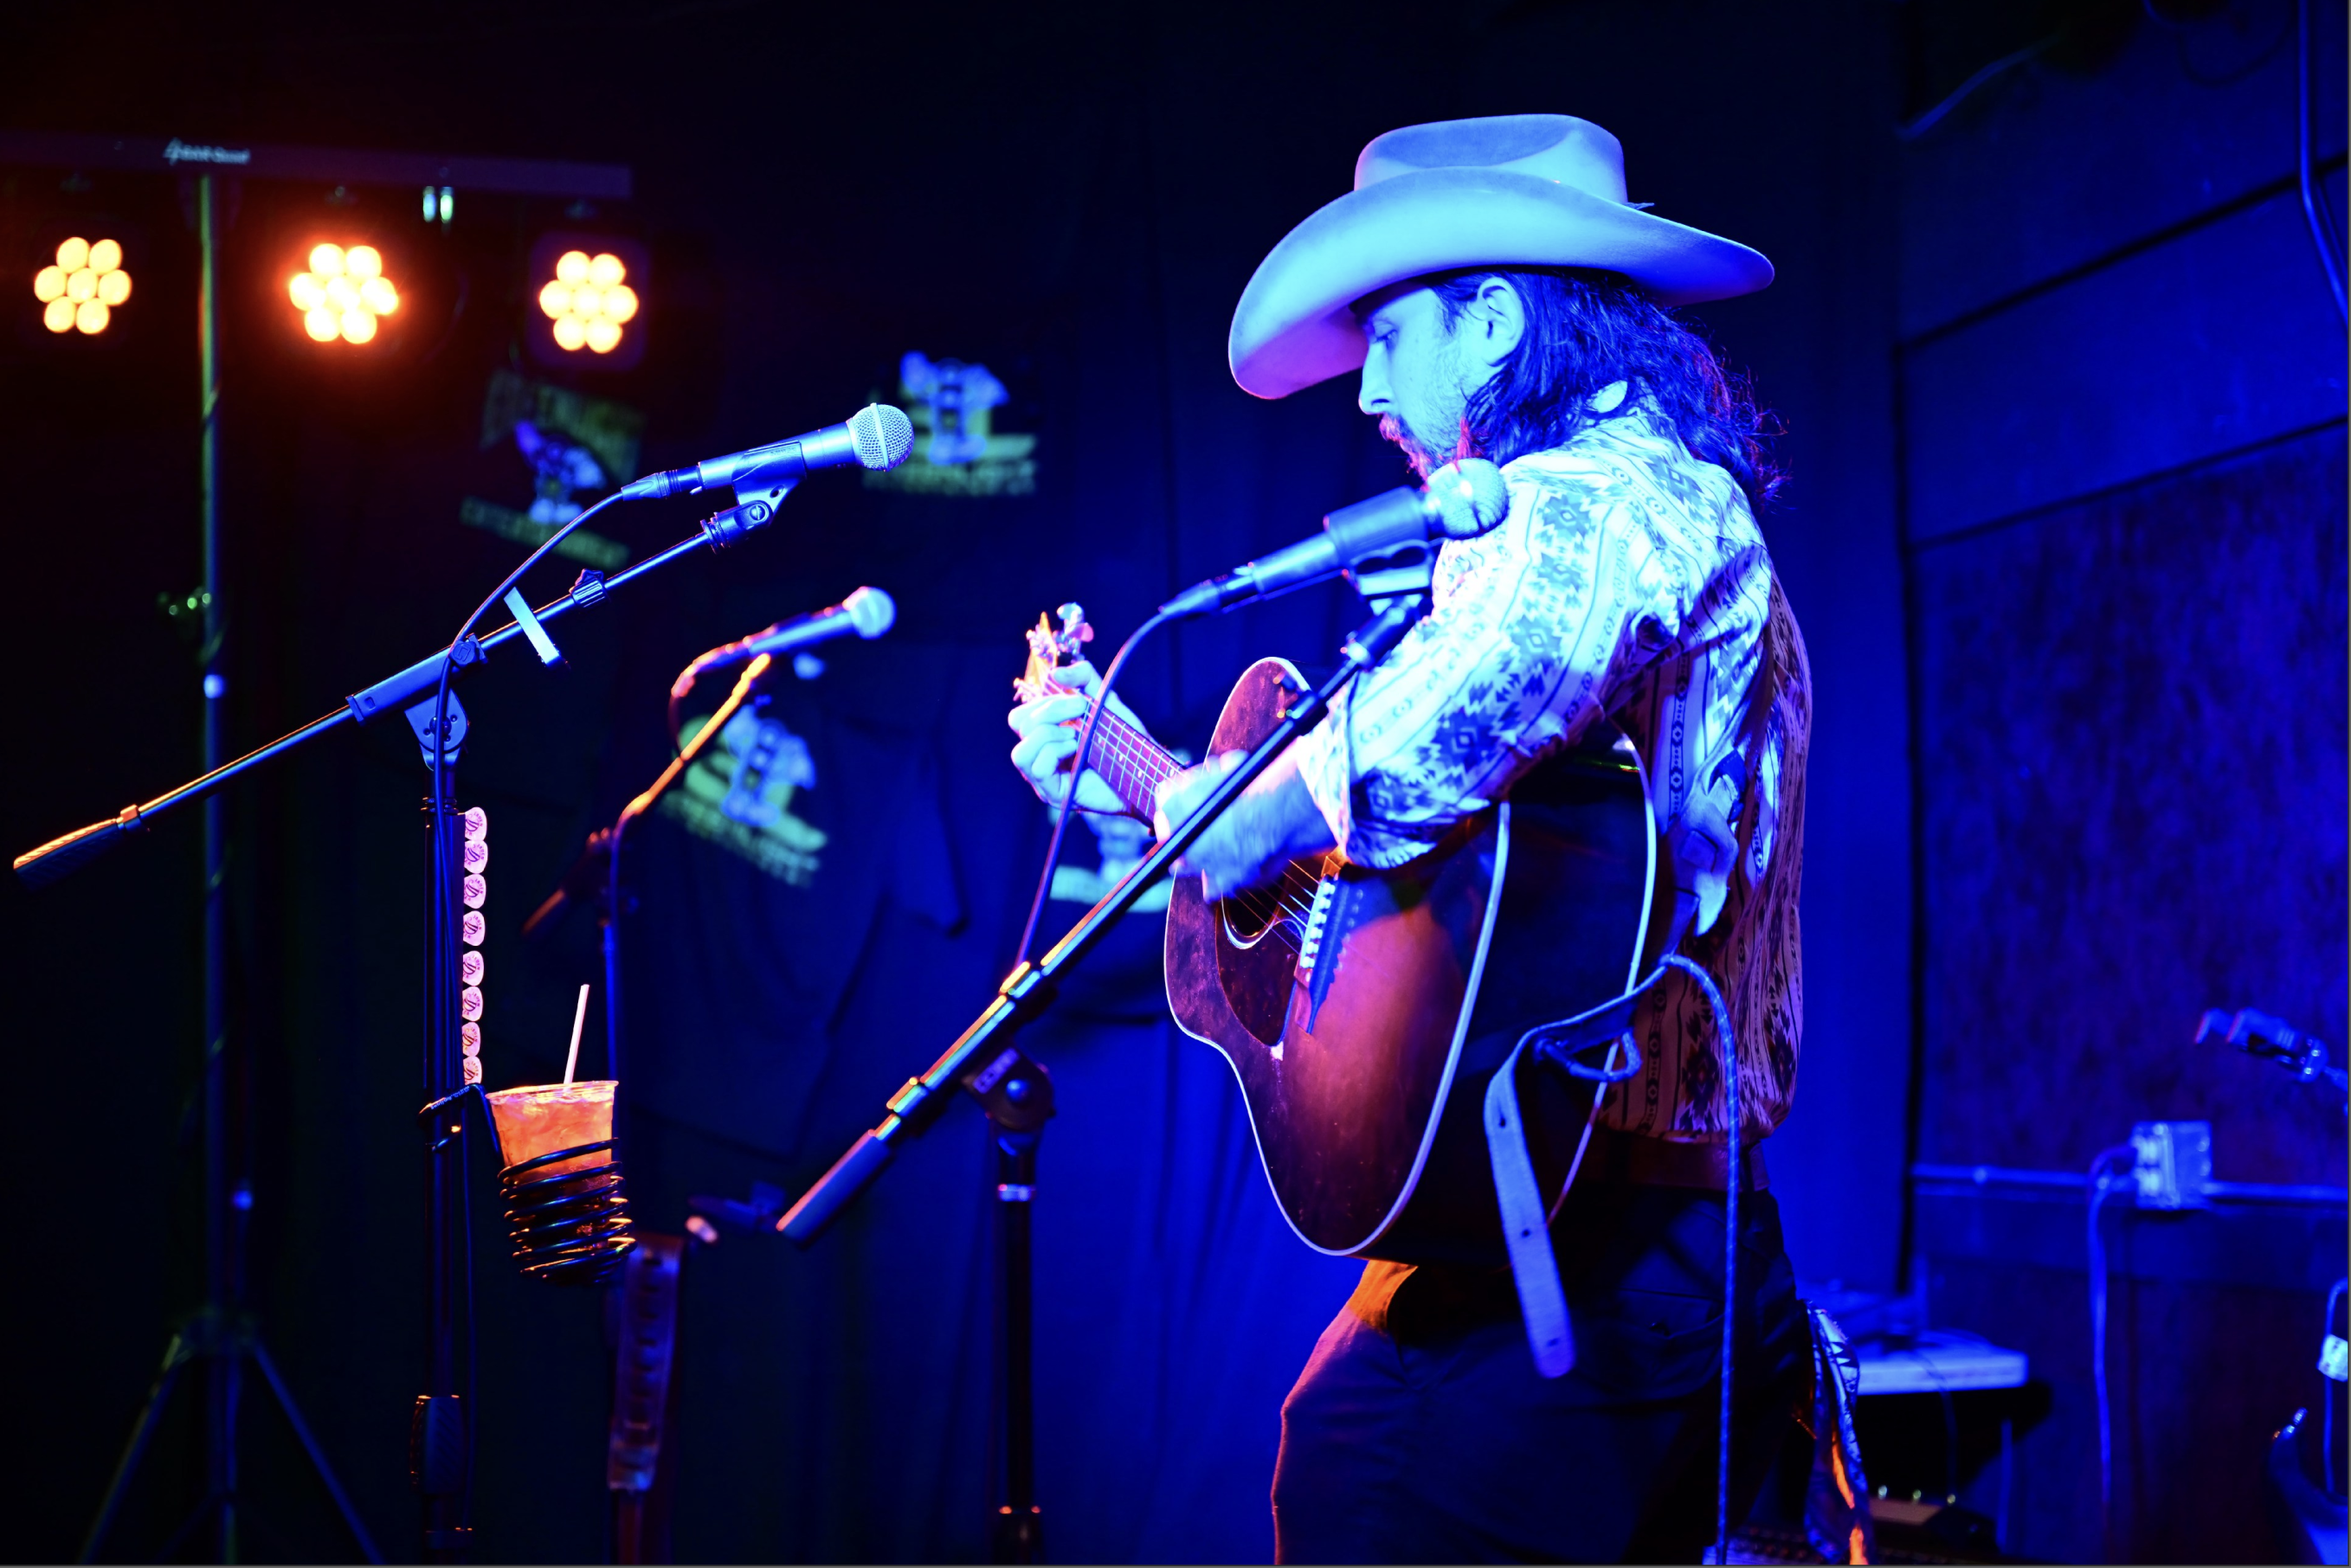
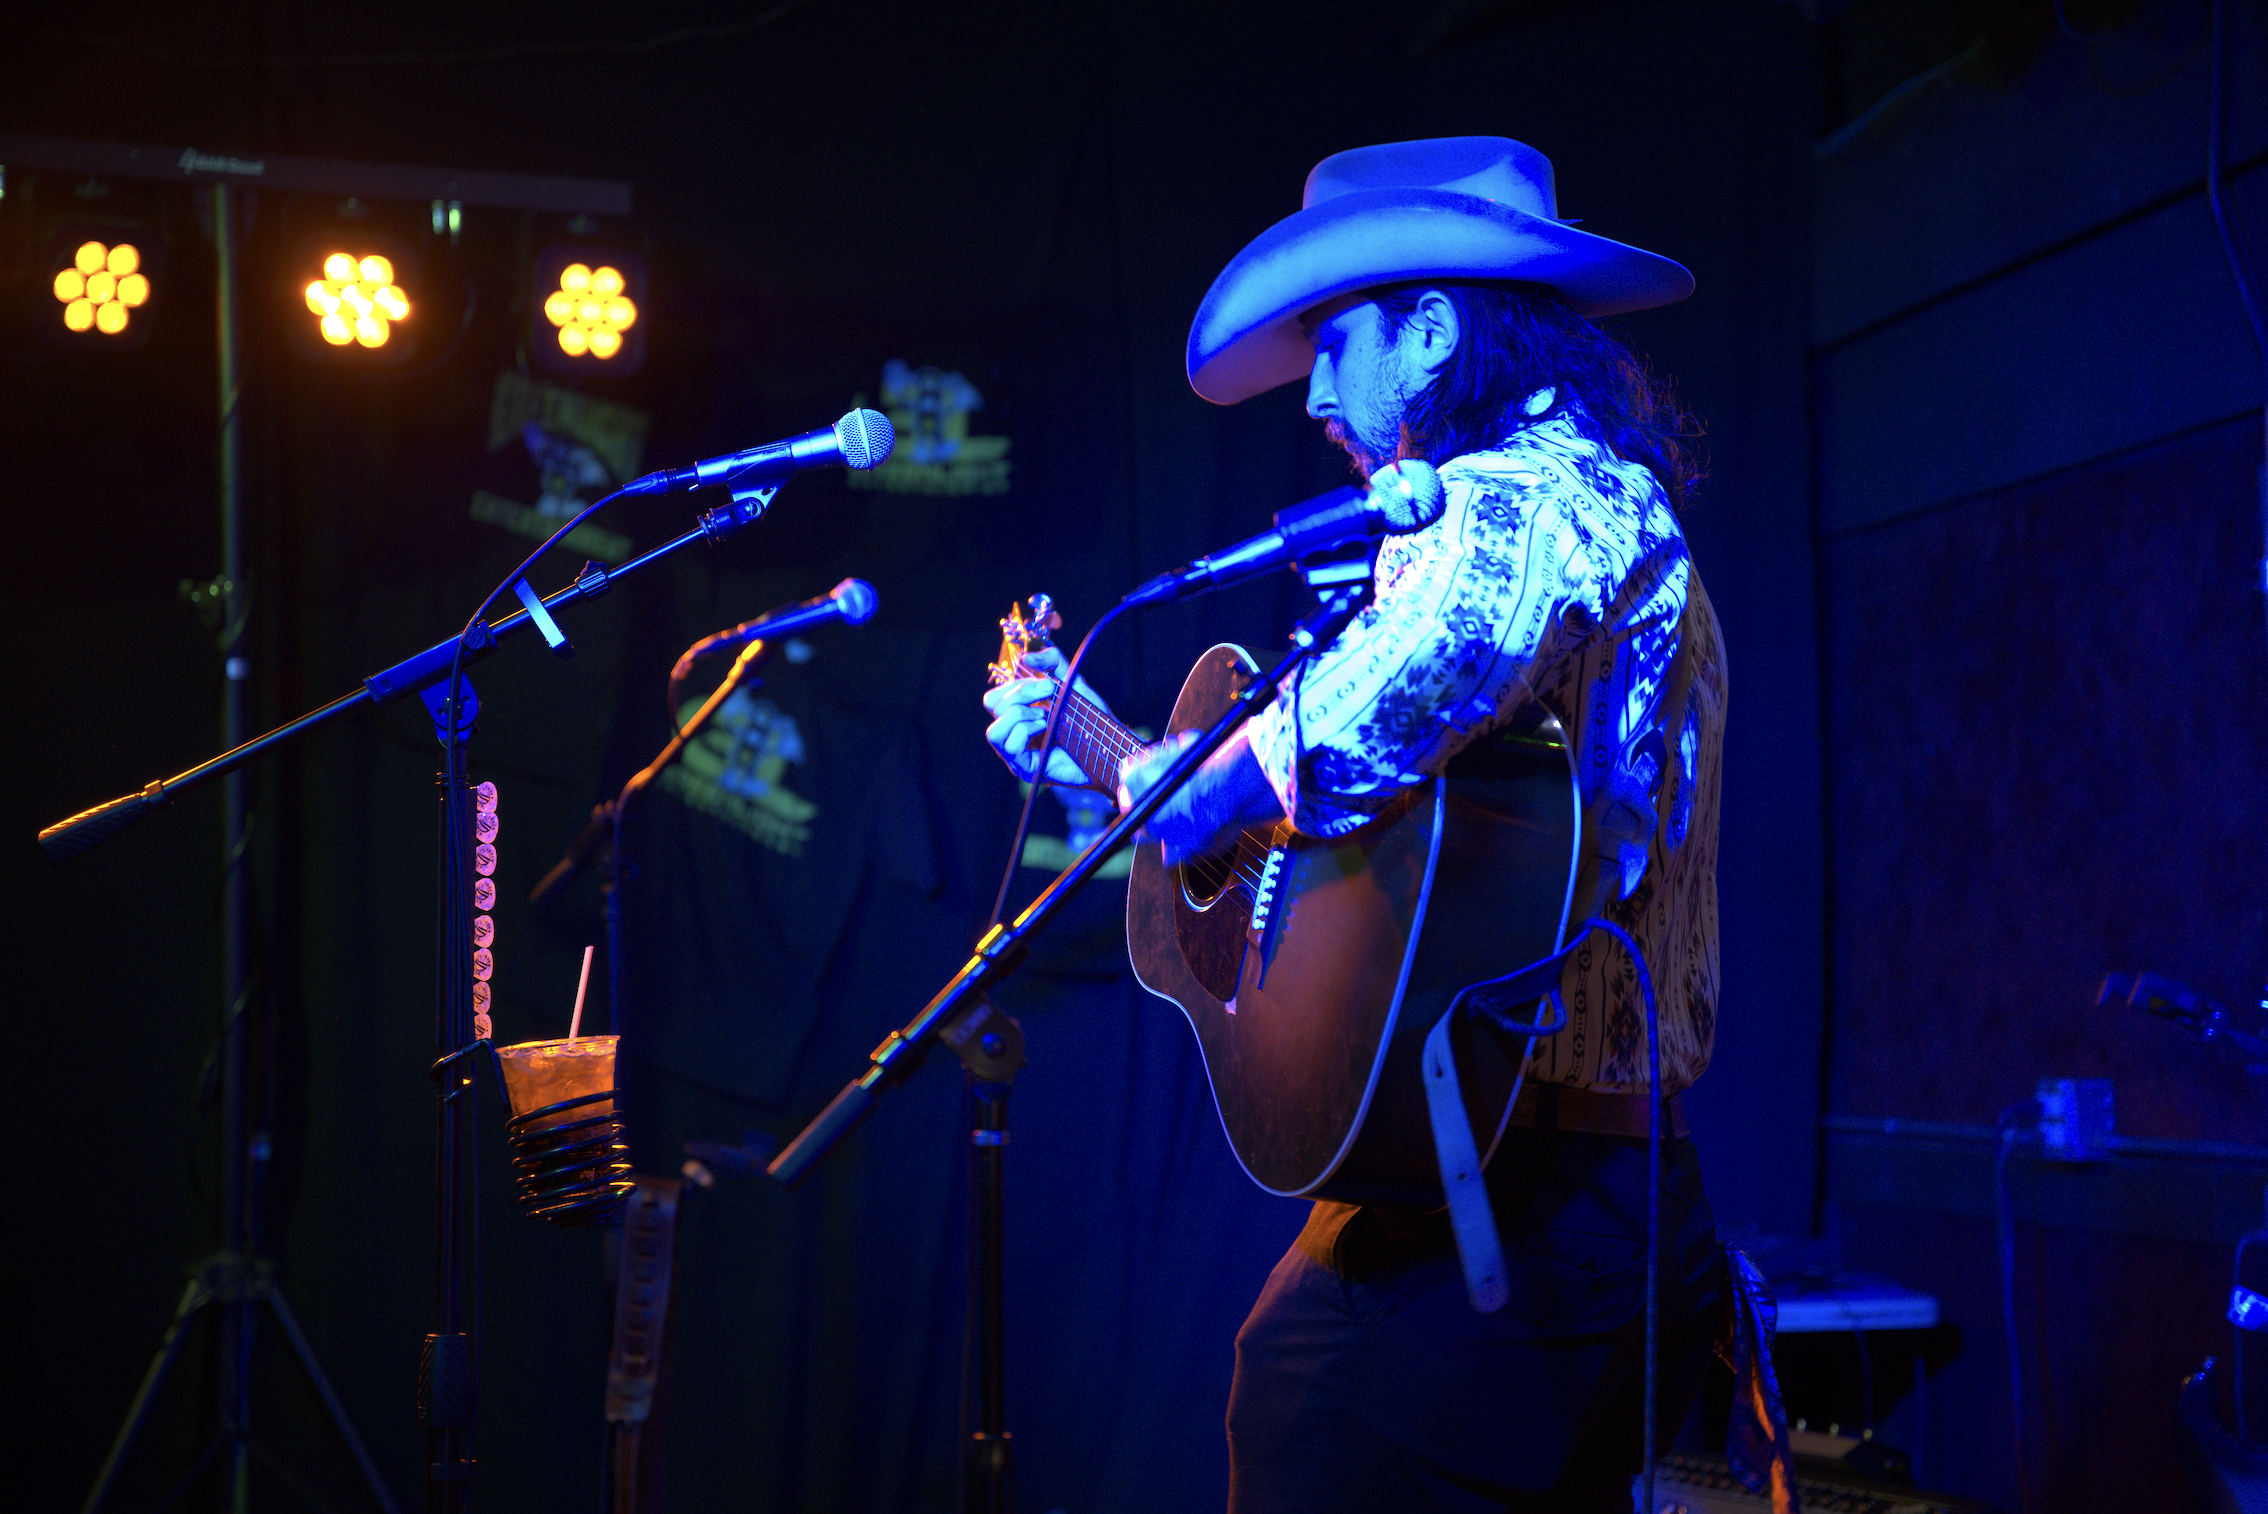
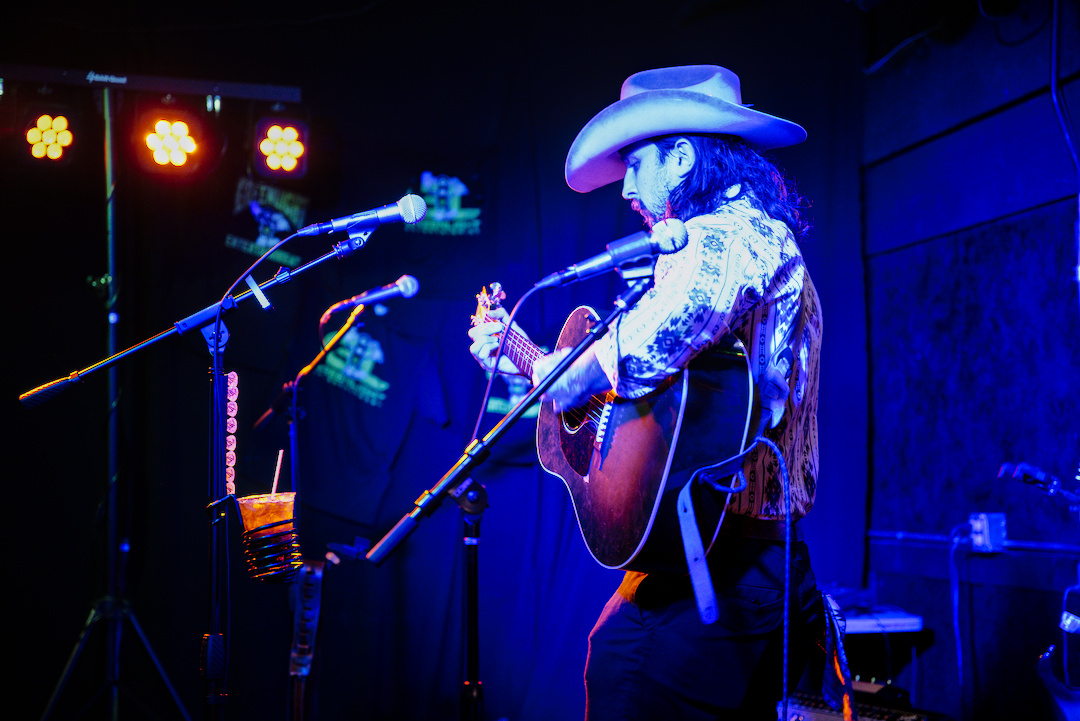
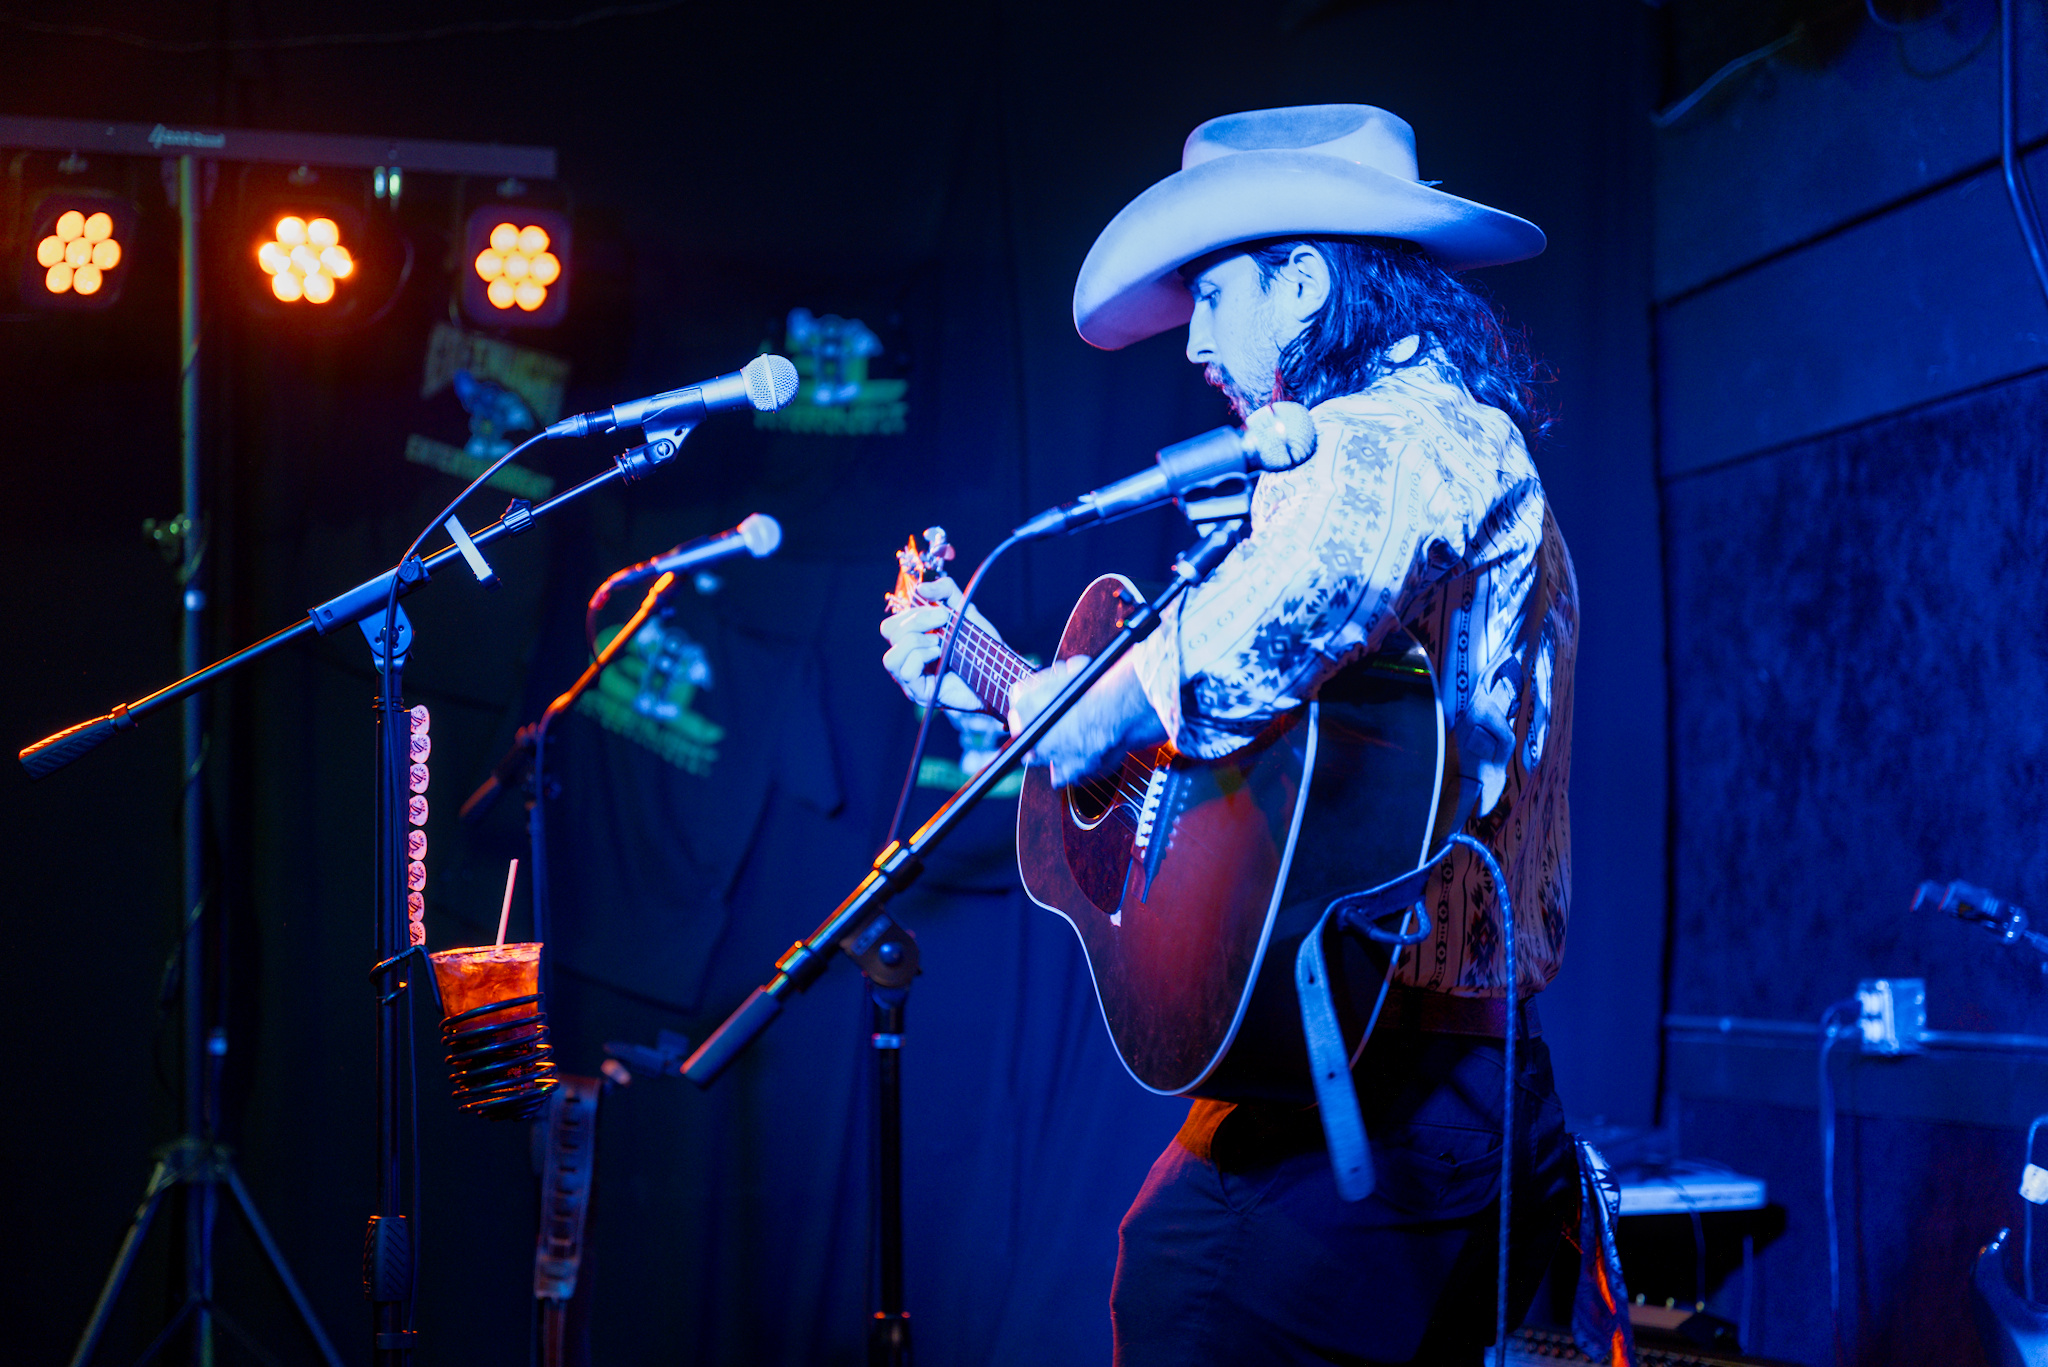
here are two just loaded versions of your image without any editing . The left if filmic and the right is sigmoid. Does sigmoid give you a starting point you are more pleased with?
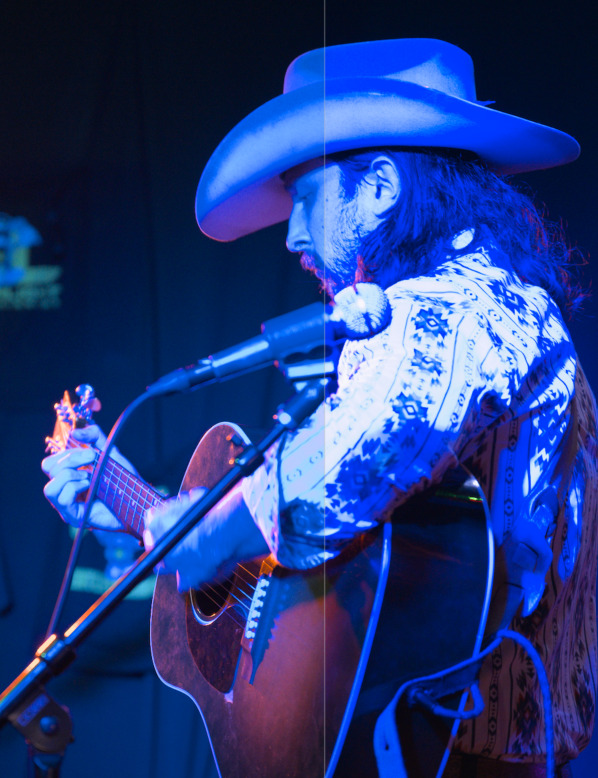
Personally I hate trying to match a cameras JPG. I want to do better than the JPG and if I like the jpg then I feel why not just use the JPG. In your two posted pictures I actually prefer the look of the RAW file instead of the JPG, especially the look of the guitar. Photography is all about personal taste. I am unsure what it is you like about the JPG, but I have given it a go here with this edit. The tricky bit for me was the blue near the eyes. I had to attenuate the blue channel in the sigmoid module.
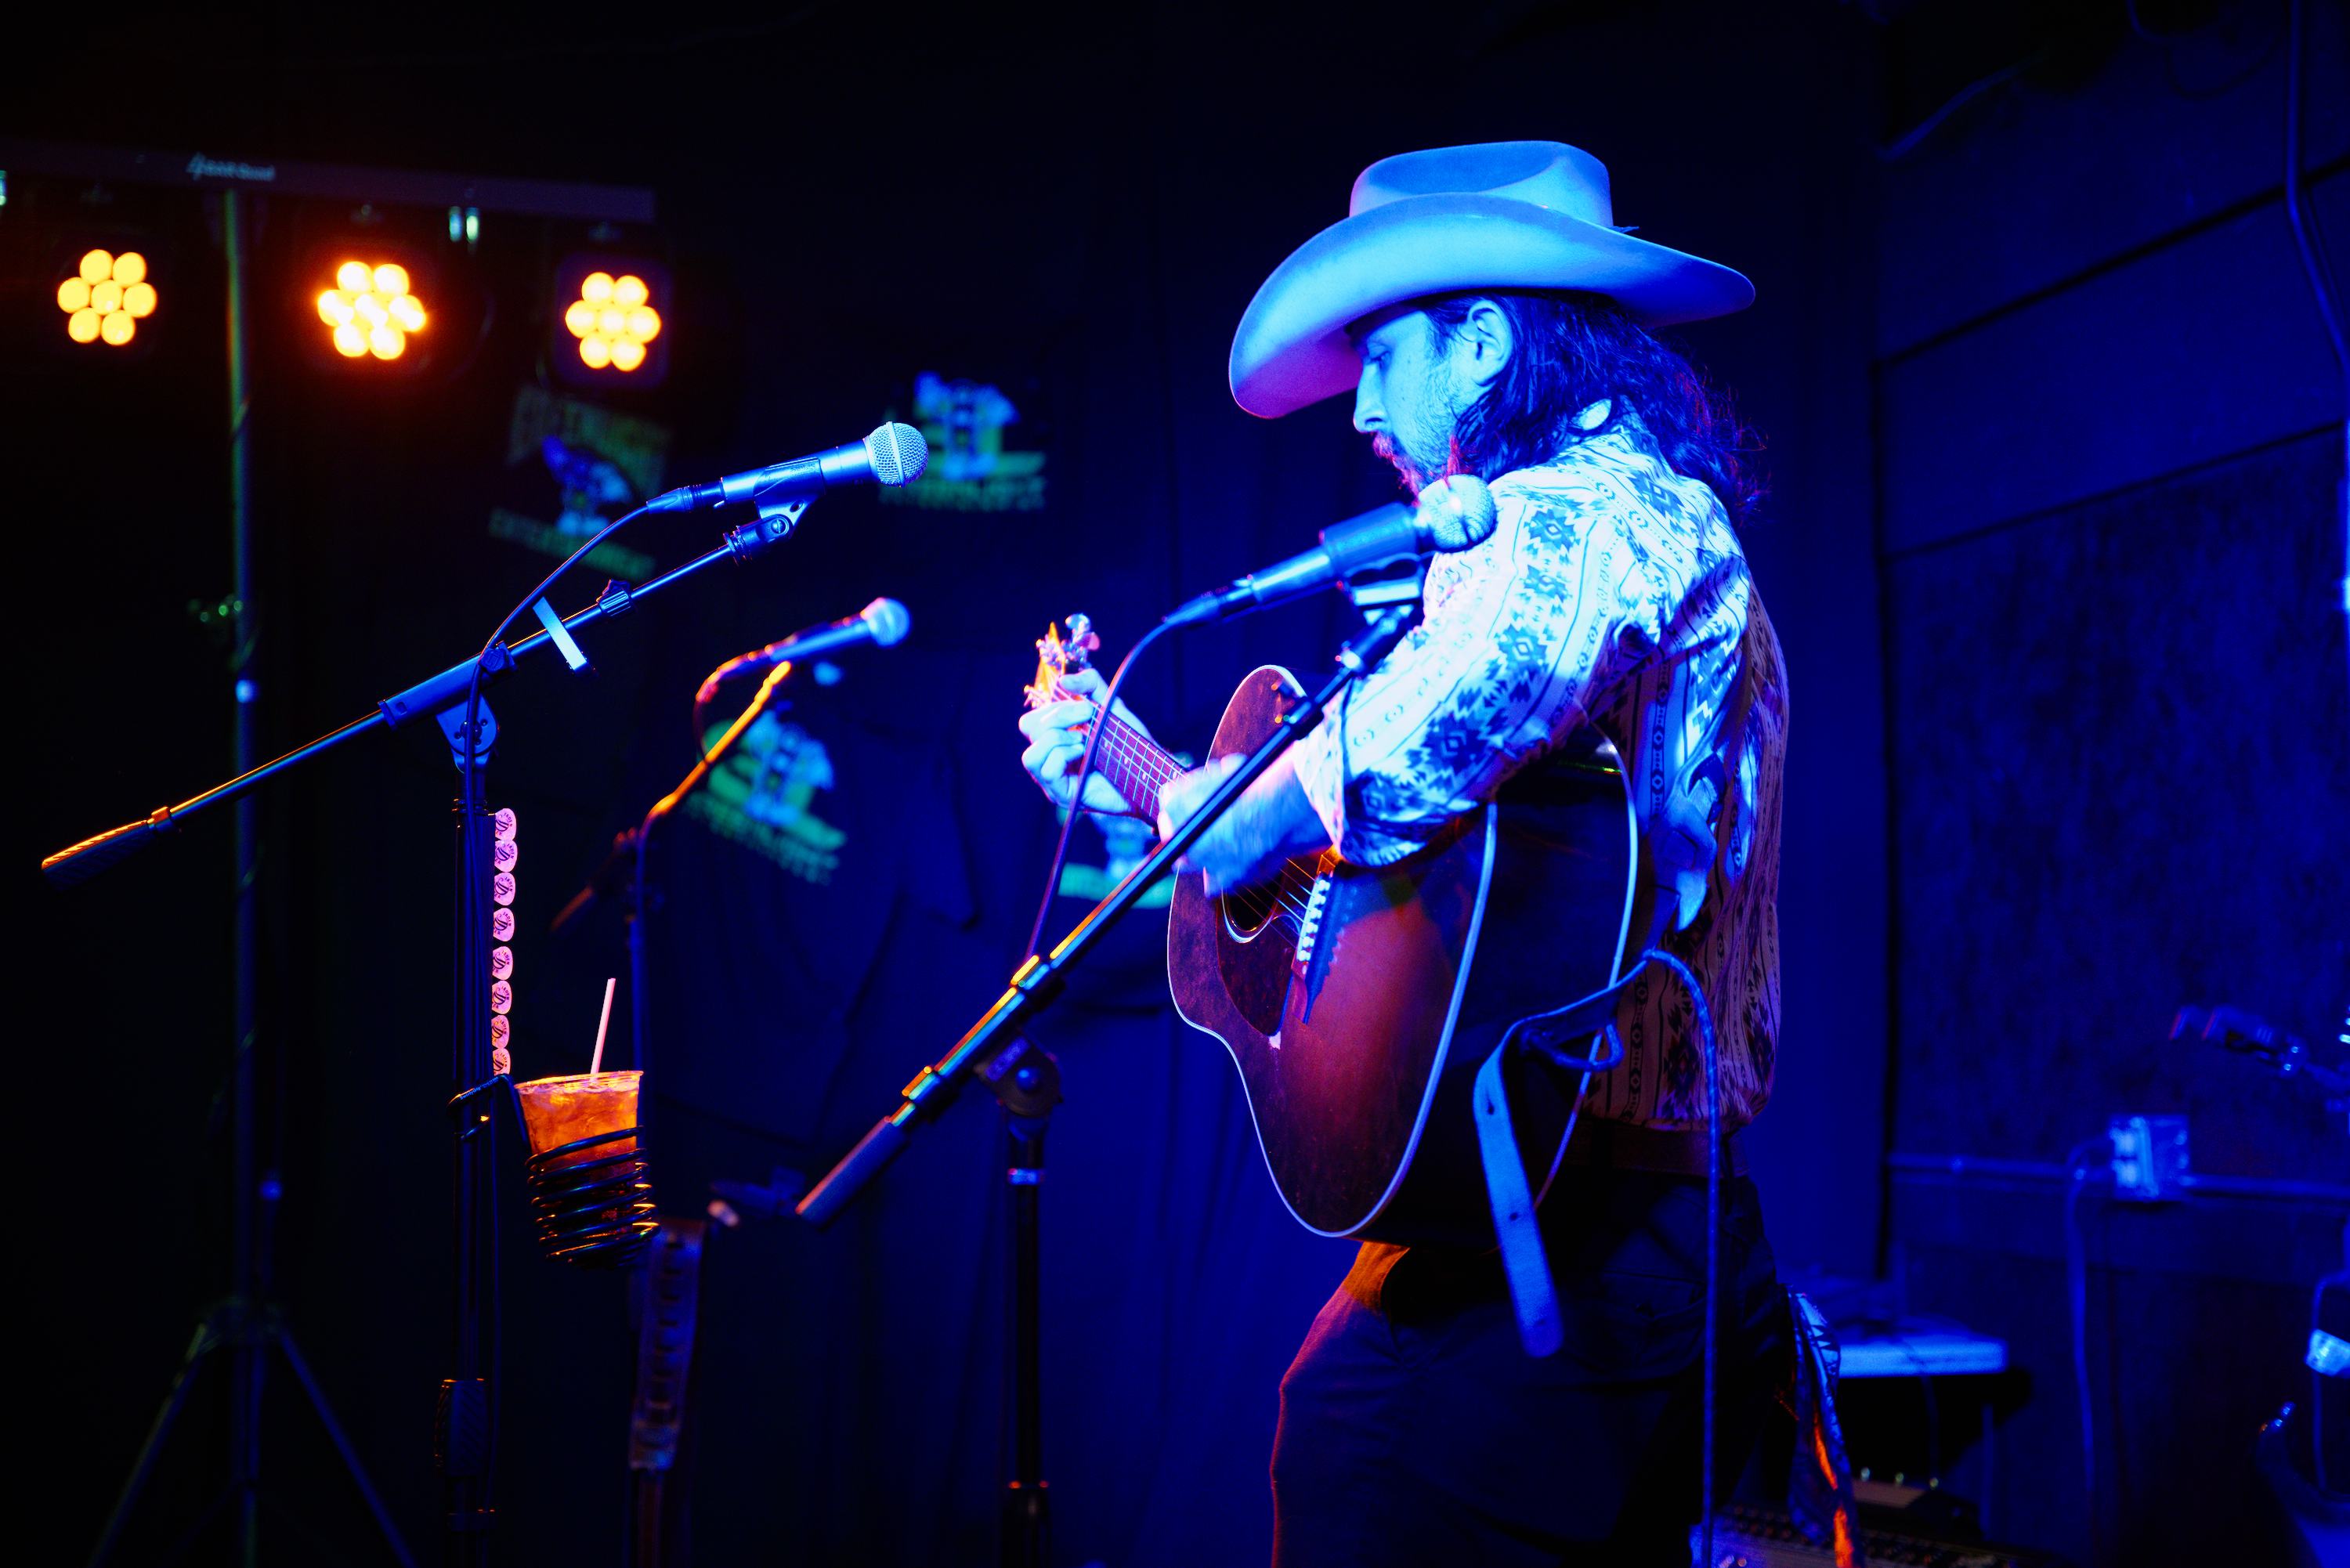
This a lovely example for the new ‘smooth’ preset in sigmoid. (dt 4.6)
Looked close to the camera jpeg and (IMO) decent with very little other tweaking.
Adjusted exposure a little and a couple of small tweaks in color balance rgb. 20240101_0031(1).NEF.xmp (8.6 KB)