I would like to let jdc know how grateful I am for the amazing & extensive work put into RT recently in selective & etc. editing. I can’t get my head around it (yet - but I will), especially the termology of explanations. I’m not at all computer savvy but enjoy using RT on my mainly RAW files of indoor scenes before any Gimp adjustments. If I was a younger self ( Ive seen nine different decades!!
4 Likes
 )would try to help. Thanks again for advancing RT.
If this is in the wrong area of Pixls forum - sorry I’m not sure where to post it.
1 Like
When I went to my first job interview at 18 years of age I was asked why I wanted to be a photographer. I said because when I am 65 years old and about to retire I will still be learning. Wise words from a young self. I certainly am still learning and innovating.
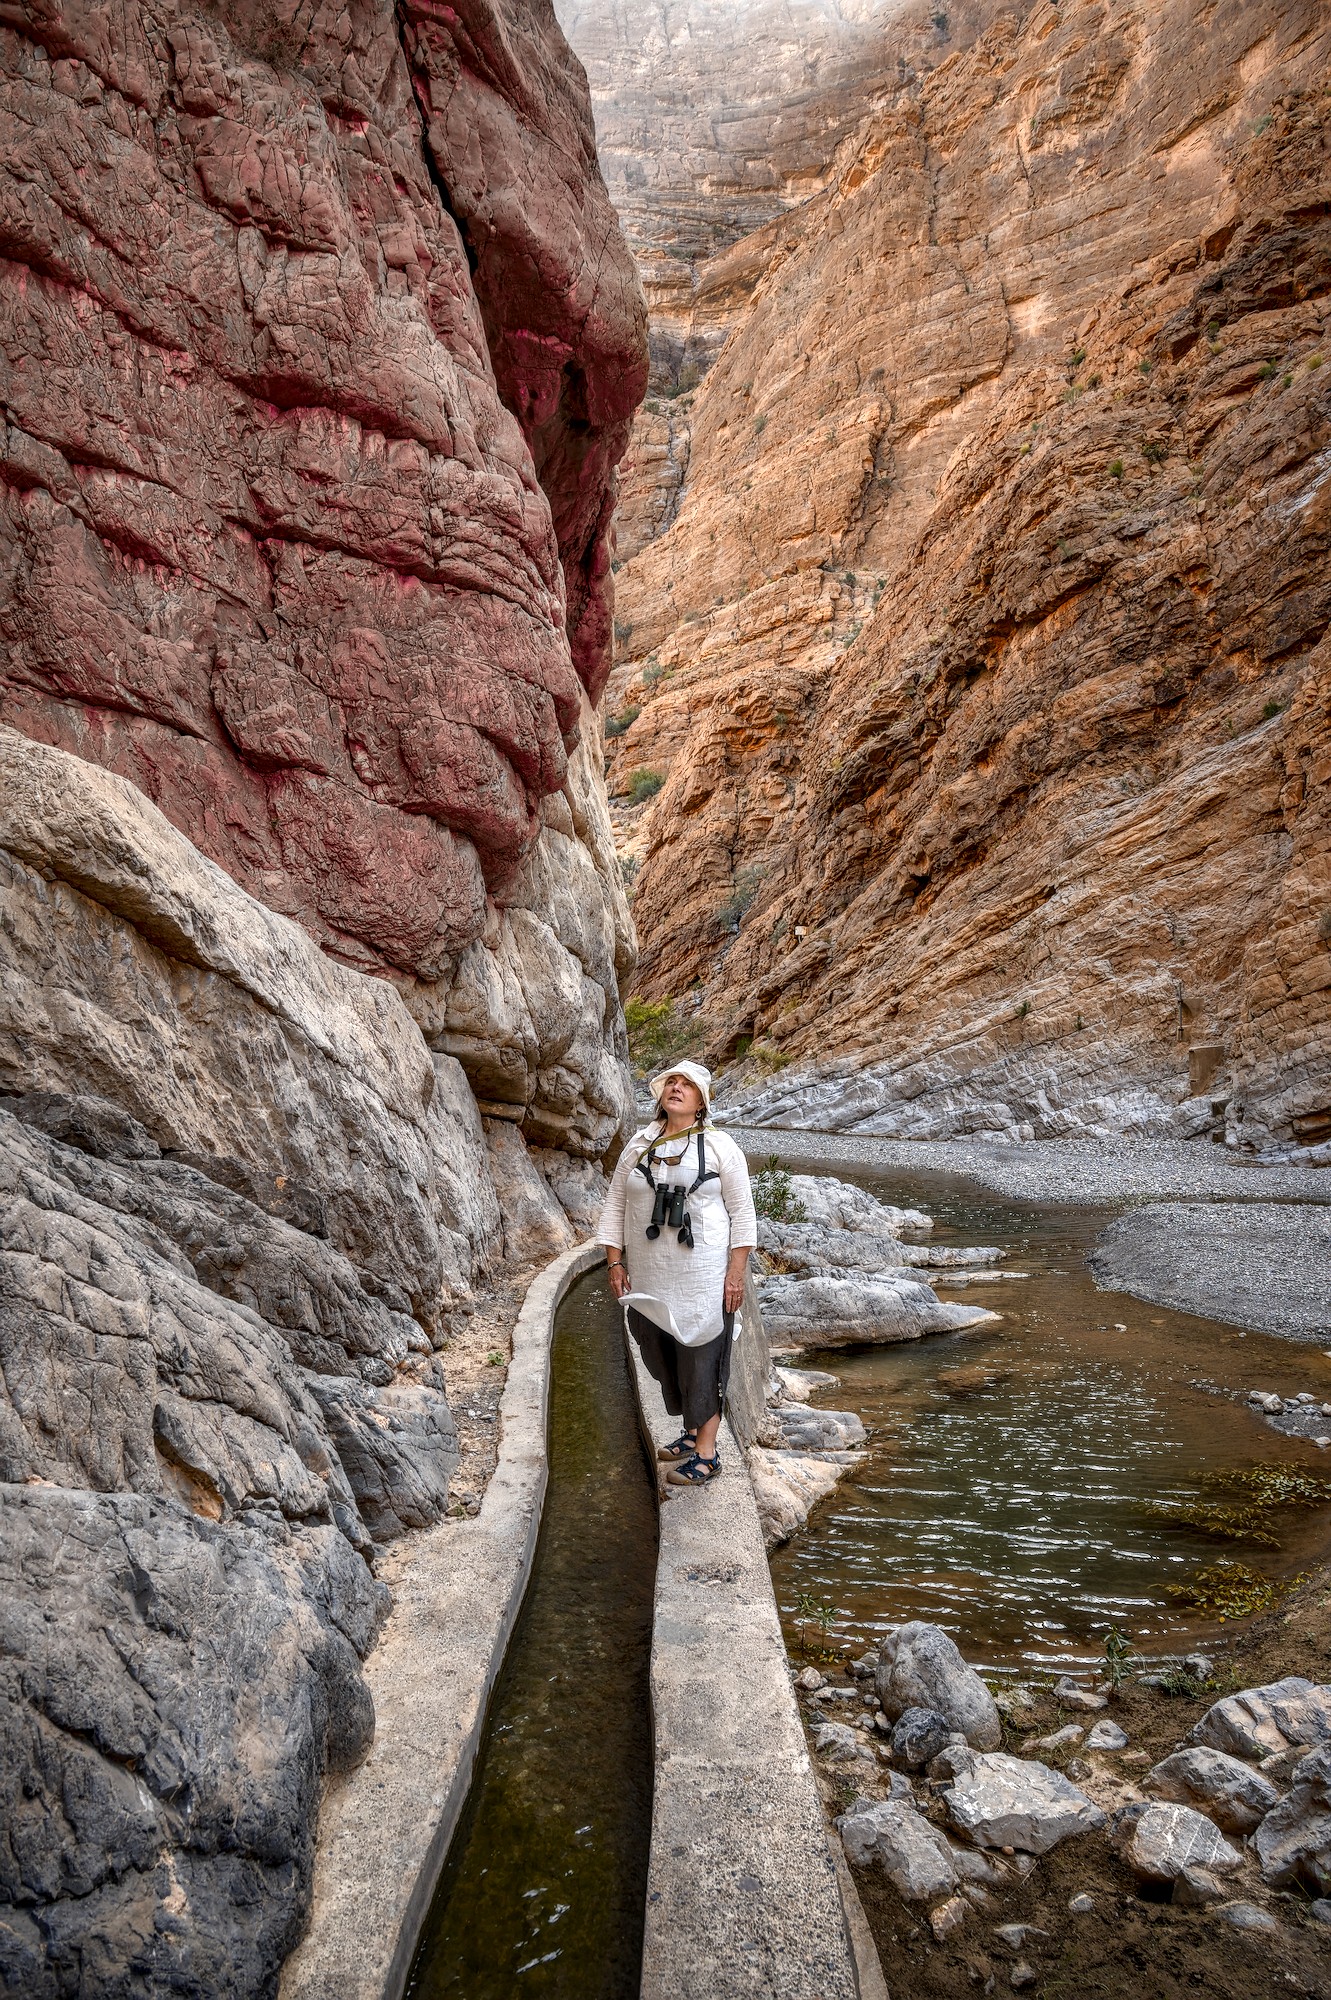
TZ5_1767.NEF.xmp (18,6 KB)
2 Likes
Hello all
This thread was originally started to discuss the difficulties in understanding “Selective Editing” in RawTherapee. It’s now turning into a demonstration of Darktable’s capabilities.
I’m not saying the results with Darktable are bad, but this isn’t the place for it. In that case, please start a new thread on Playraw (or another place) to discuss the processing of this image. I don’t usually say this, but I don’t think my intervention in the ‘Agx’ threads (in the Darktable section), comparing it to ‘Generalized Hyperbolic Stretch’ (GHS), would be welcome.
Thank you
Jacques
7 Likes
This has become a regular and annoying tendency whenever someone asks a question about how to do something in RawTherapee. The thread gets hijacked with something along the lines of “I’m not a RawTherapee user but…” or, "I’m sure RawTherapee is a great program but…"This is usually followed by a statement lauding the benefits of programme X, Y or Z. Not only does it not answer the OP’s question but it fills the thread with off-topic information making it difficult to sift through for those of us who are genuinely interested in the question in hand.
4 Likes
I think we should calm down a little bit. I simply overread that there was questioned for a RT solution. Sorry for that.
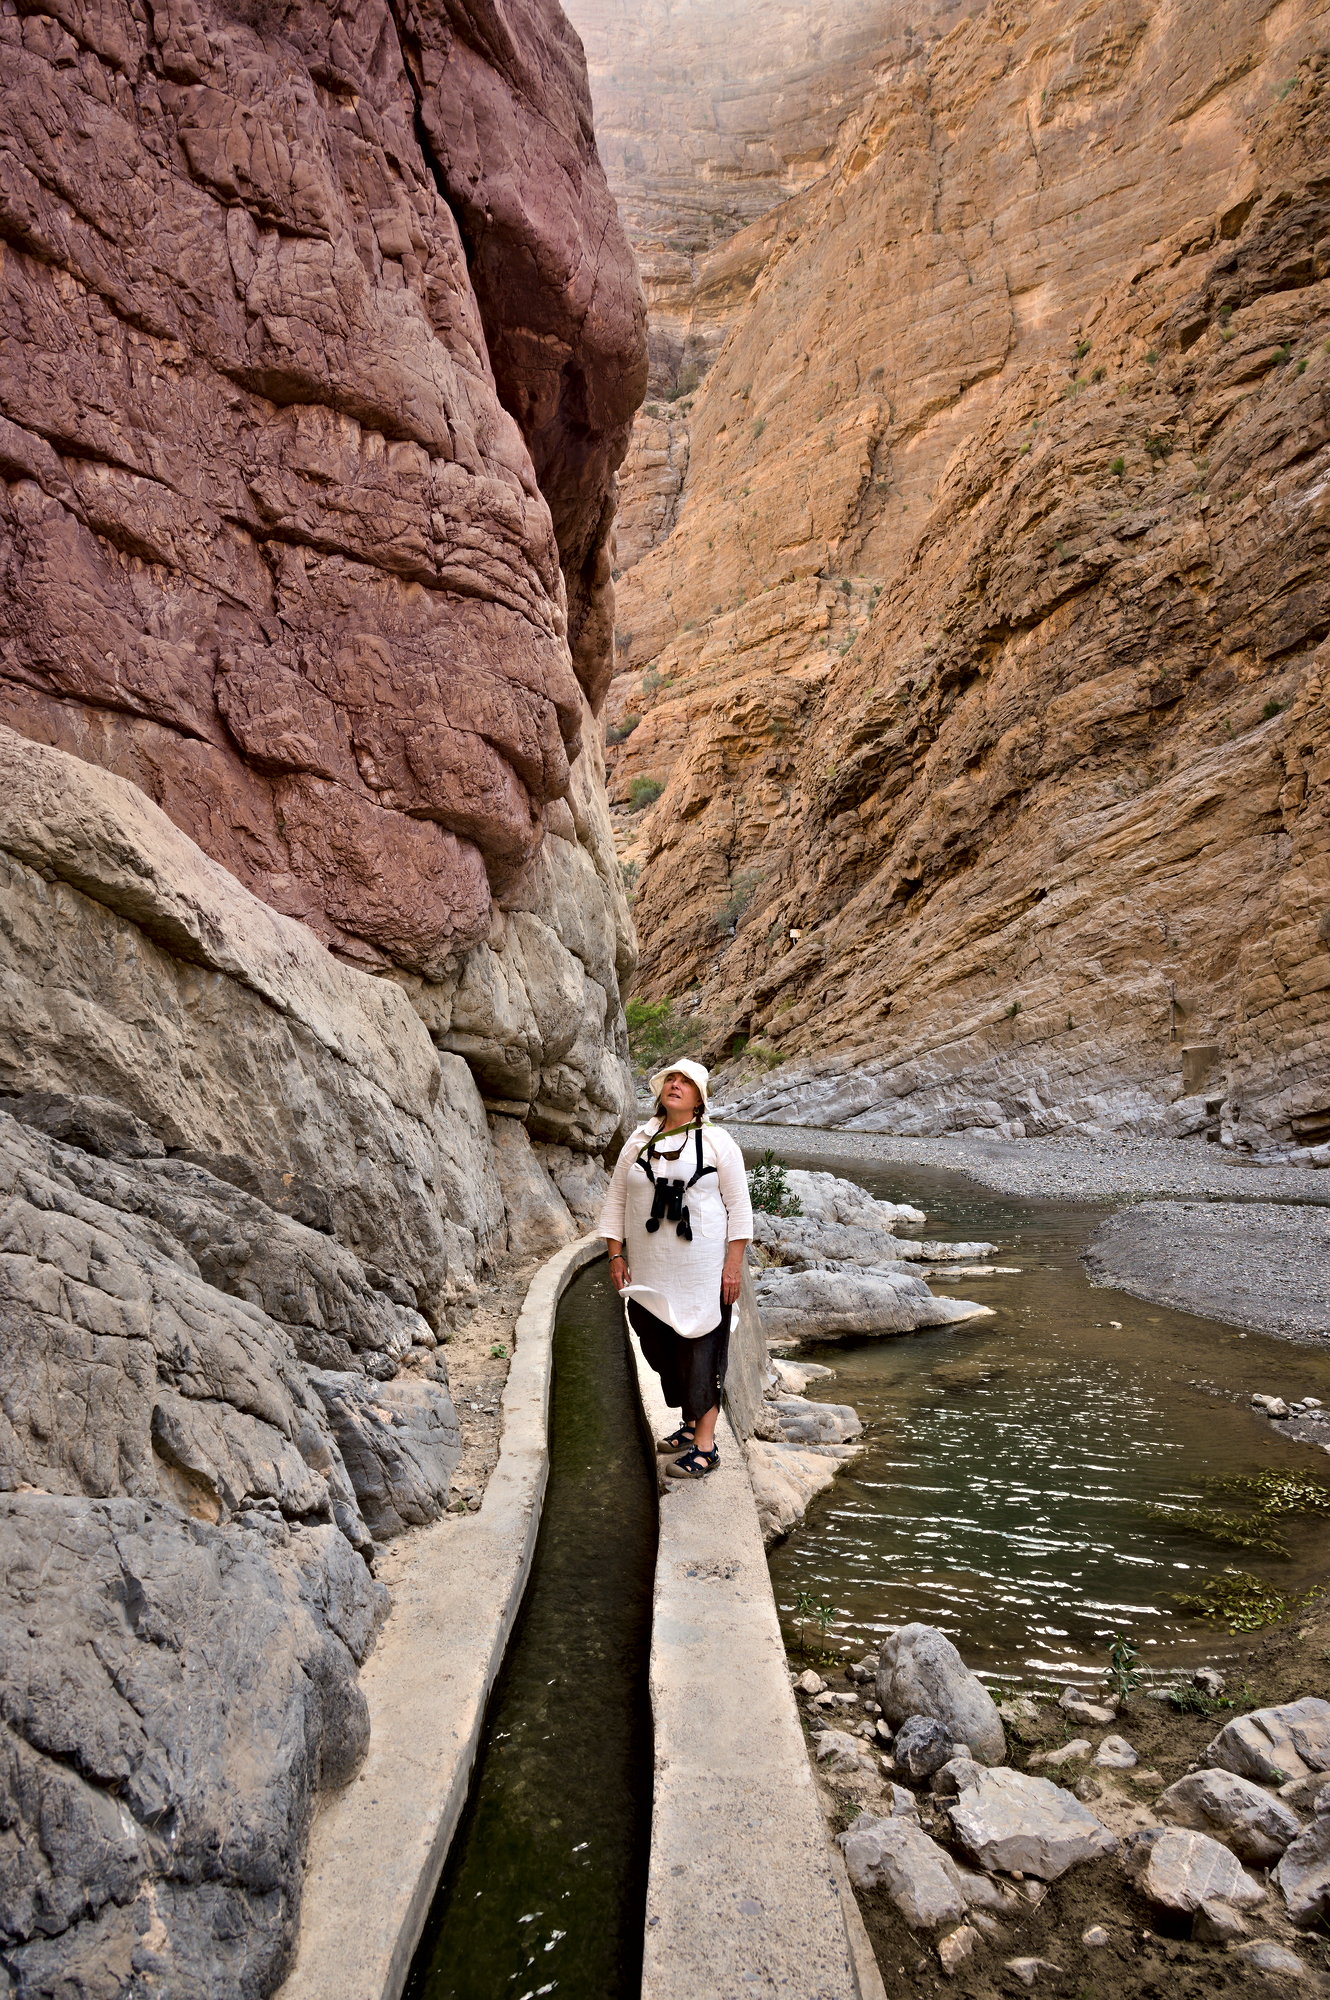
Anyway, RT has a weak spot in selective editing. This was why I switched in the past to dt. Still, a lot is as well possible in RT. Even though, the goals on selective editing are harder to achieve.
TZ5_1767-2.jpg.out.pp3 (25,6 KB)
1 Like
A brush isn’t necessary. What would help is a path or a polygon. Don’t know if that is easier to achieve. I’m not a coder.
It’s exactly the same problem… with a little more GUI-related issues: how to draw a polygon, I am totally unable to do that.
But where things get complicated is integrating this into the algorithm itself, which is very complex… inspired by the principle of Nikon Capture NX2 (2006)… but of course without the code, nor the algorithms. I’m not sure (in fact, I’m almost certain it would bring anything significant) that it would.
As a joke, instead of comparing Selective Editing (SE) to solutions using ‘masks’ and ‘layers’ - which, I remind you, originated with Photoshop about 25 years ago - these ‘masks’ are directly derived from photographic enlarger concepts (yes, I had one, yes, I did color processing, yes, I used paper masks, or even my hands…) and I never found it intuitive… We’re working backward. So, let’s think about it the other way around.
What can we easily do with SE, with very simple maneuvers, that requires more with layers and masks?
One day I showed my daughter and one of my grandsons a ‘trick’ that took 5 seconds…(no more). I won’t tell you what it was, and I’m not going to play cat and mouse and find examples to ‘convince’ you… It’s pointless. So don’t ask me for examples… Since 2014, when I launched this “thing,” I’ve had many (really many) opponents - some hadn’t even tried it, or at least hadn’t read the instructions - etc. What is this nonsense? It’s better with XXX.
My daughter tells me “it’s magic” how on earth is that possible?


Jacques
4 Likes
That’s very effective!
But I don’t understand how your selections have worked. You’ve got the big rectangular primary selection. Looking at the preview of that, it looks like your base colour correction should be applied more or less evenly across a rectangle covering the top left corner of the image. But it doesn’t apply to the white rocks on the lower edges. Which is what I want, but I don’t know why that’s the case.
The other two spots are excluding spots, but they seem to add effect the areas they cover, not negate it. Add they even add colour outside the limits of the original rectangle. My understanding of excluding spots was that they would hide the effect of lower spots, but clearly I’m missing something here.
I have read the manual for this tool, and I have had a few inspiring successes of my own. But I would love to see more ‘worked examples’ that explain how all the knobs and buttons come together to produce their magic.
Probably that was my advantage. I didn’t. I’m not the reading manuals guy. I usually try out things and look how they work for me. For darktable that most of the time leads at some point to some understanding.
But I use RT rather seldom and usually not, when I need to do selective editing. Therefore I unfortunately can’t explain why the tool works the way it does. So in the end I can only show a way to reach your goal. But somebody with more understanding than I have, has to explain. 
Sorry!
Game changer with this image - tutorial
At first, I thought this image was from a Gorge near my home, in the hinterland of Nice in France. It’s less than 100km from where I live. I haven’t been there in a while, but it does somewhat resemble this Middle Eastern landscape. The colors of the rock near Nice are redder. So I tried to recreate this effect (it’s subjective). Here is a link in French, but there are other sites
I’m going to show you how to process this image; some of the settings might be excessive. My aim is to teach through example, rather than focusing on the final result itself. The most important thing for any photography enthusiast is that they are happy with the outcome. Of course you can criticize, add treatments, remove some… and say ‘it’s better with XXX’
PP3 (I hope no error by charging from my machine)?You must use the latest version in ‘dev’ from today, December 7th
TZ5_1767.NEF5.pp3 (29.1 KB)
First steps :
- set to Neutral : with the new default settings, the ‘working profile’ is set to ‘Rec2020’
To verify the discriminating criteria for image adjustment, let’s check two things a priori :
-
Activate ‘Highlight reconstruction > Color propagation’, and check the image and histogram to ensure there is no change. Since there appears to be no effect, deactivate ‘Highlight reconstruction’.
-
Go to the ‘Color tab’ and enable 'Gamut compression’. I’ve chosen ‘sRGB’ as the ‘Target Compression Gamut’, which should be suitable for most users with a standard monitor. Again, double-check that there are no changes to the image or histogram, and examine the information line under ‘Maximum achromatic value’. You’ll see three values: R :, G :, and B :, which correspond to the maximum of the three channels (in sRGB). In this case, they are all much lower than 1. This suggests that the image has been underexposed. We’ll see what to do with this information later. Then deactivate ‘Gamut compression’
-
Go to 'Raw tab > Capture Sharpening’, activate it, and check that ‘Contrast threshold’ is not set to zero. If it is, you will need to adjust ‘Presharpening denoise’ (see the corresponding Game changer tutorial). Leave the default settings and leave ‘Capture Sharpening’ enabled.
-
Go to ‘Color tab > White Balance’ and choose ‘Automatic & Refinement > Temperature correlation’. This algorithm compares up to 236 colors in the image with over 400 spectral reference colors. Some of these colors are in ‘Beta RGB’, the smallest color space encompassing ‘Pointer’s gamut’ (the reflected colors seen by humans), while others are in the entire visible spectrum (ACES-P0). Try the two settings ‘Medium sampling - near Pointers’s gamut’ and ‘Close to full CIE diagram’. You’ll see a difference in the calculations, which is probably due to the slightly hazy upper area of the image – perhaps corresponding to a break in the sunlight. I chose to keep the first setting. Note that these references are only used for calculations and have no direct relation to the ‘Working Profile’ or ‘Output profiles’. It makes no sense to use it with illuminants other than Daylight and Blackbody.
The processing itself (of course you could have changed the Input profile, or other Raw settings, but I wanted to show the essentials)
Generalized Hyperbolic Stretch (GHS) (See the recent Game Changer tutorials for more details)
- Go to ‘Selective Editing’ choose an RT-spot in ‘Global’ mode, then ‘Add tool to current spot…> Shadows/Highlights, Equalizer et GHS’ . Activated ‘Auto Black point & White point’. You see two values for Black point (BP linear) and White point (WP linear) that are neither zero nor 1 or higher. The WP linear value is very close to the ‘Maximum achromatic value’ seen in ‘Gamut Compression’. The goal of this operation is to always place the data within the interval [0-1], which corresponds to the ‘Rec2020’ limits. We will perform a ‘pre-tone mapping’. Adjust the ‘Stretch factor (D)’ which will stretch and compress the data using the ‘Symmetry point (SP)’ as a reference. Note that we do not use the concepts of Black-Ev, White-Ev, or Middle-Grey. Adjust ‘Local intensity (b)’ which will move the area of effect; there’s no magic bullet…You can see other settings that vaguely correspond to the concepts of ‘Toe point’ or ‘Shoulder point’, but the comparison ends there. The red rock on the right is clearly poorly handled. We’ll see in a later step how to adjust it (according to my taste…).
Capture Deconvolution
Still in the same RT-spot and in order to give the image a little more bite, 'Add tool to current spot…> Sharpening’ and choose ‘Capture Deconvolution’. It’s essentially the same algorithm as ‘Capture Sharpening’, but it can be active for non-RAW images or to act further in the process. Try it with the (arbitrary) settings I suggest: ‘Contrast threshold’ around 16 to make the mask appear and ‘Capture Radius’ on ‘auto’.
How to (subjectively) improve the red rock in the top left corner
-
Create a 2nd RT-spot in ‘Normal’ mode, place it on the area concerned. Activated ‘Generalized Hyperbolic Stretch’, but with ‘Inverse GHS’. This action will cancel out part of the effect created by the previous RT-spot. You’ll notice that ‘BP linear’ is close to zero, and ‘WP linear’ is close to 1. Adjust ‘Stretch factor (D)’, ‘Local intensity (b)’, and other settings to achieve the desired effect. You’ll notice that the reactions to slider movements are ‘reversed’.
-
Now we’re going to try to make the rock redder (like in the Gorges du Cians) : ‘Add tool to current spot > Color & Light’. I adjusted the chrominance settings and the ‘Color correction grid > Direct’ option.
However, there are (at least) 2 areas to try to improve
The upper area of the image which appears hazy and the part under the red rock where the previous RT-spot ‘bleeded’ a bit
- The upper area of the image
I created a third RT-spot in this area and activated ‘Color & Light > Advanced’. I slightly adjusted ‘Lightness, Chrominance, Gamma’, as well as ‘Color correction grid > direct’, note also ‘Blur shape detection’. But most importantly, go to ‘Merge File’ which allows you to merge the current modifications with the previous data. You have several mode options (‘Difference, Multiply, Overlay’, etc.). I chose ‘Screen’… and some settings to my liking.
I could also have used ‘Soft light & Original Retinex > Original Retinex’, which is a way to handle ‘Dodge & Burn’. I left this option disabled. Of course, you need to enable one or the other.
- The part under the red rock
To try and mitigate the edge effects in this area, I created a new RT-spot in ‘Excluding spot’ mode, which allows you to recover the original image. There are two steps: a) reduce the previous effect with the ‘Excluding’ area by adjusting ‘Scope’; b) make modifications to this area. Here I added ‘Color & Light’.
The final part of the treatment
This final process involves two parts, to adapt the image to the actual observation conditions:
-
Improve luminance balance, increase local contrast : This is done using the concept of ‘Abstract profile’ (Color tab)… it is neither a ‘working profile’, nor an ‘Input profile’, nor an ‘Output profile’, but an ICC type profile applied to the data in progress. Note the ‘gamma’ and ‘slope’ settings (which change the distribution of shadows and light) as well as ‘Attenuation threshold’ which reduces highlights. ‘Contrast enhancement’. This is a way, using wavelets in signal processing (but in a way that’s simple for the user), to increase local contrast. I won’t go into a long technical explanation, but it has nothing to do with ‘GIMP’ or ‘Diffuse and Sharpen’.
-
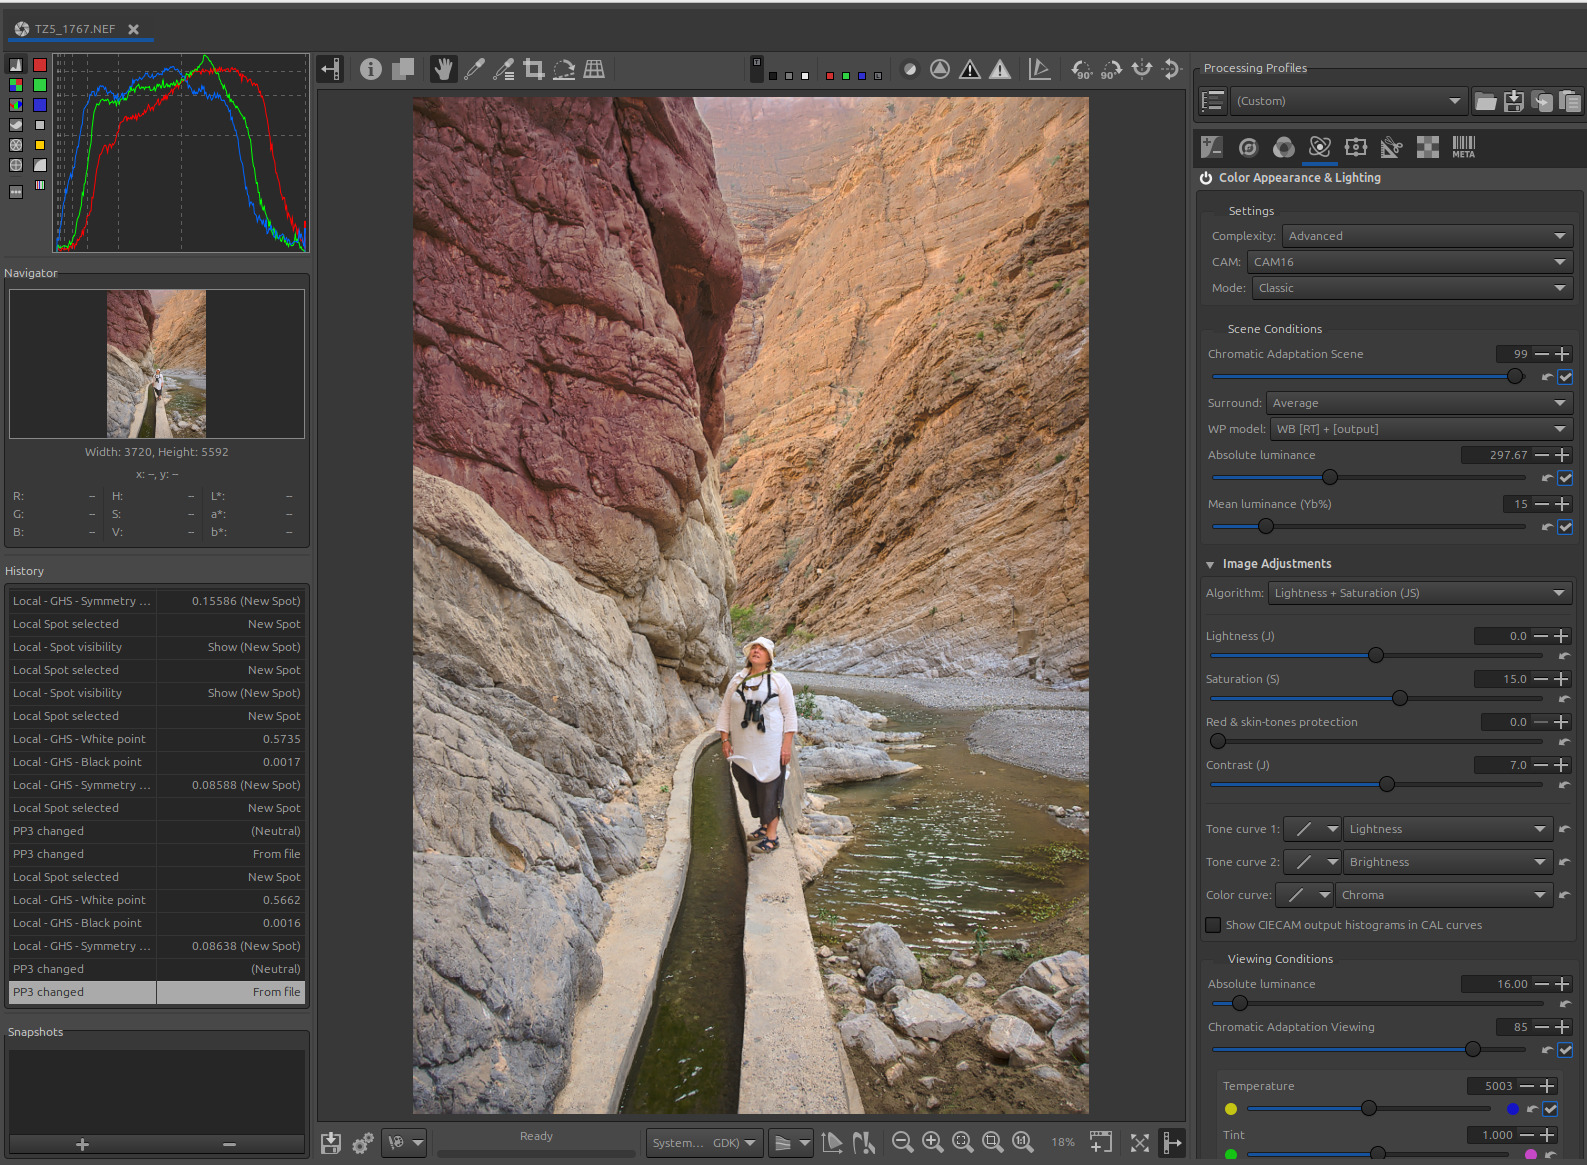
Then I used the last module before assigning the output profile ‘Color Appearance & Lighting’ (Advanced tab). Don’t be put off; this module aims to account for human physiological aspects (eye/brain cross-section) based on the work of researchers. The modules used are CAM16 and Cat16. It also allows you to adapt the output to viewing conditions (dark room, surround sound, etc.). I chose to demonstrate a simplified use in ‘Classic’ mode - you can try the ‘Automatic symmetric’ mode, which will perform a chromatic adaptation between the temperature after white balance and the observing conditions. I preferred to keep ‘Classic’, which gives a ‘warmer’ image. Note the use of ‘Saturation’ instead of ‘Chroma’ or ‘Colorfulness’ to prioritize low light.
End
Look at the histogram at the end of the processing.
You can see that we haven’t used any ‘Exposure Tab’ or ‘Detail Tab’ modules. We haven’t used masks (except those built into certain tools - Capture Sharpening?..), nor functions like ‘Sigmoid’, ‘Log encoding’, etc.
I am not claiming that this is ‘THE’ treatment, but wanted to show something else, which of course you must adapt and complete.
Excuse my poor English, and of course, there are other ways to do it. I remind you that what I just wrote is the basis of a tutorial, not a magic bullet.
Jacques
7 Likes
I understood - as already said, without reading the manual - the excluding that the two spots exclude the area where there is already a mask and in this case it worked at least somehow like that.
Merci Jacques!
This is wonderful. Lots of details for me to study, this is super helpful. It will take me some time to work through this, but I look forward to it 
- tyler
2 Likes
Art has been able to include an array of masking including polygons… As it’s a fork of RT maybe it is something that could be ported into RT…
But perhaps this has been implemented in a way more unique to Art… And so maybe not easily included in RT
Thank you Jacques. This kind of tutorial, a worked example, is extremely valuable to those of us who are not so knowledgeable about some of the concepts and calculation methods. Your English is fine for this purpose and I hope you can do a few more of these here.
4 Likes
Thank you for the positive feedback. To give this tutorial more visibility, I propose creating a dedicated thread (I’m just copying the text, plus the image reference), adding it to the other “Game changer tutorials”. Otherwise, these explanations will be lost (in a short time).
Jacques
5 Likes