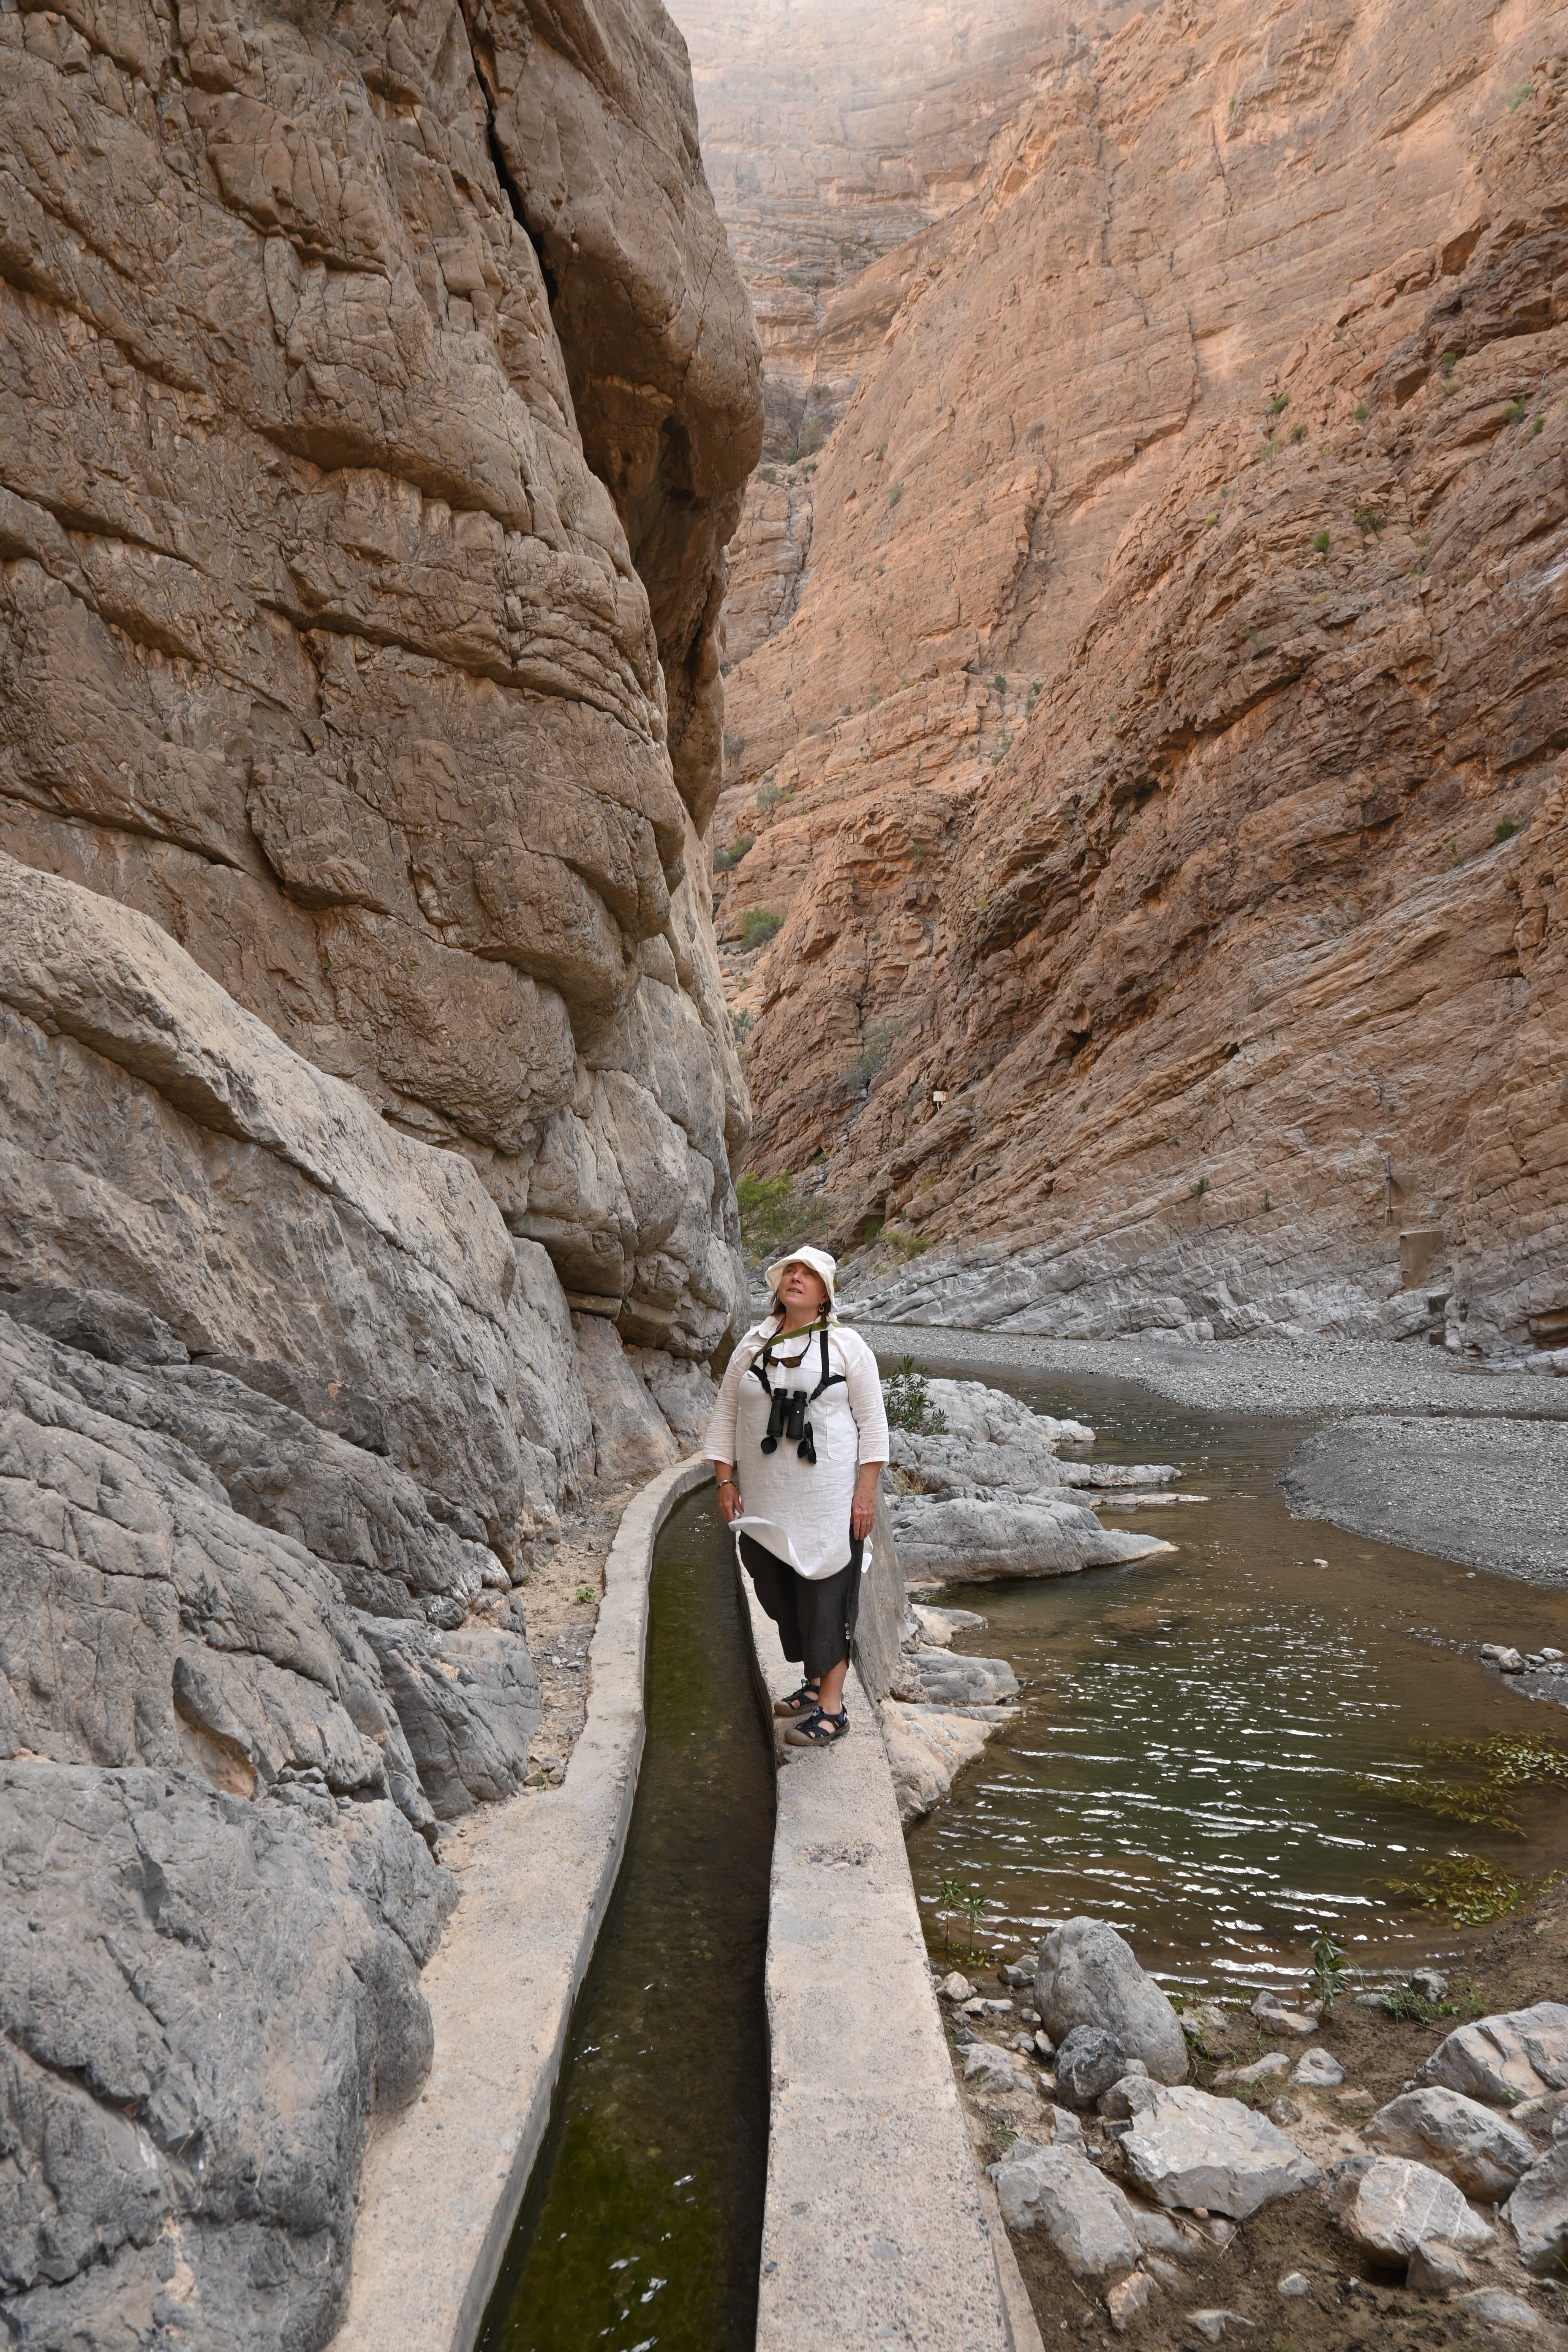
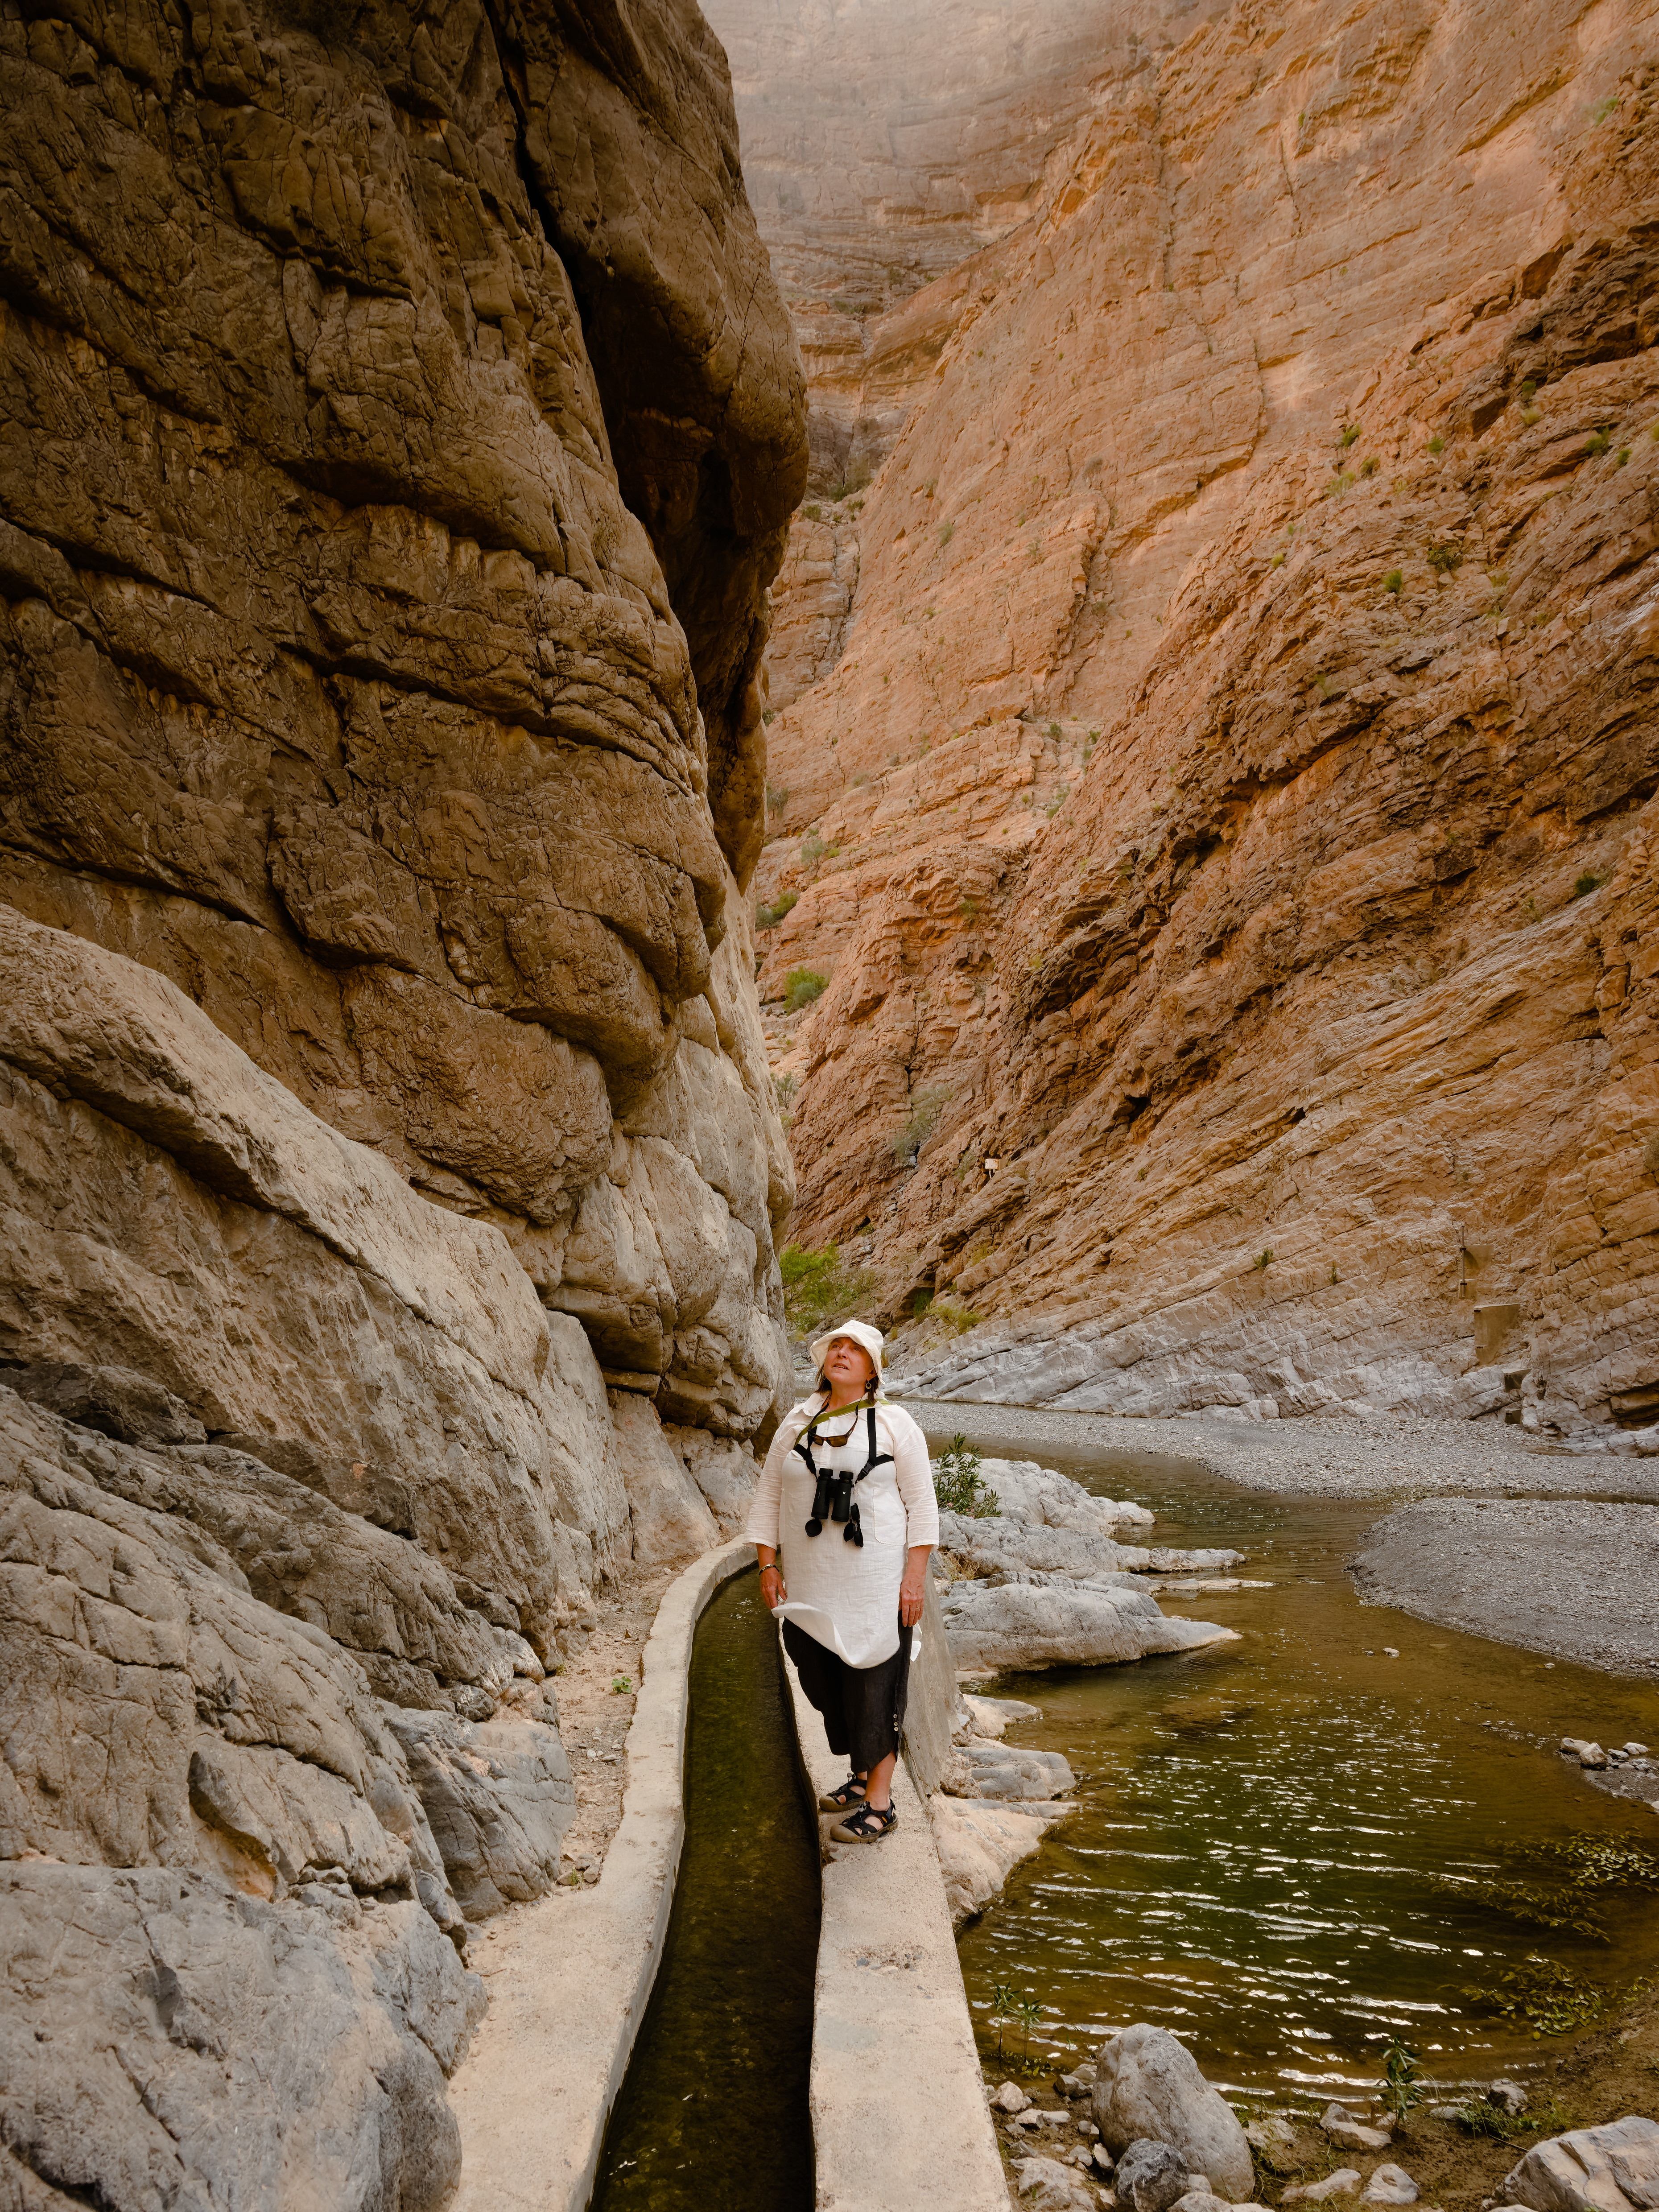
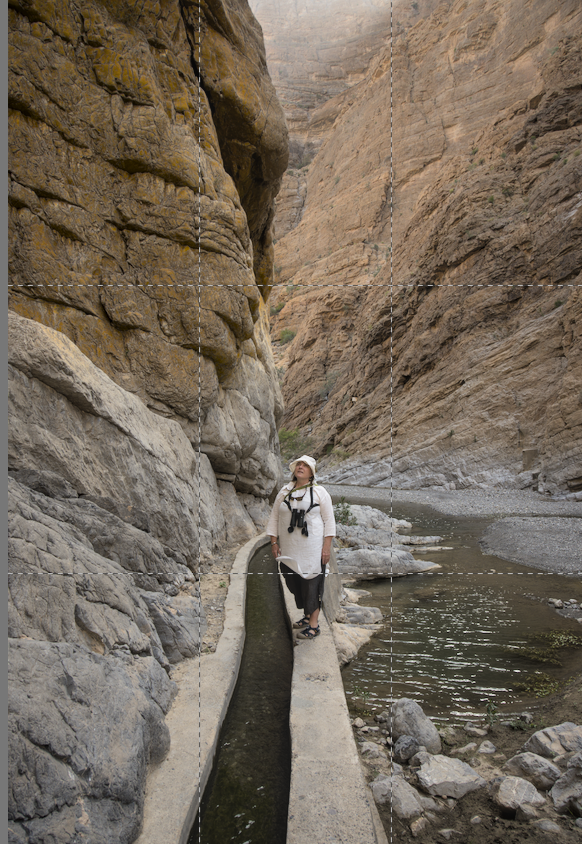
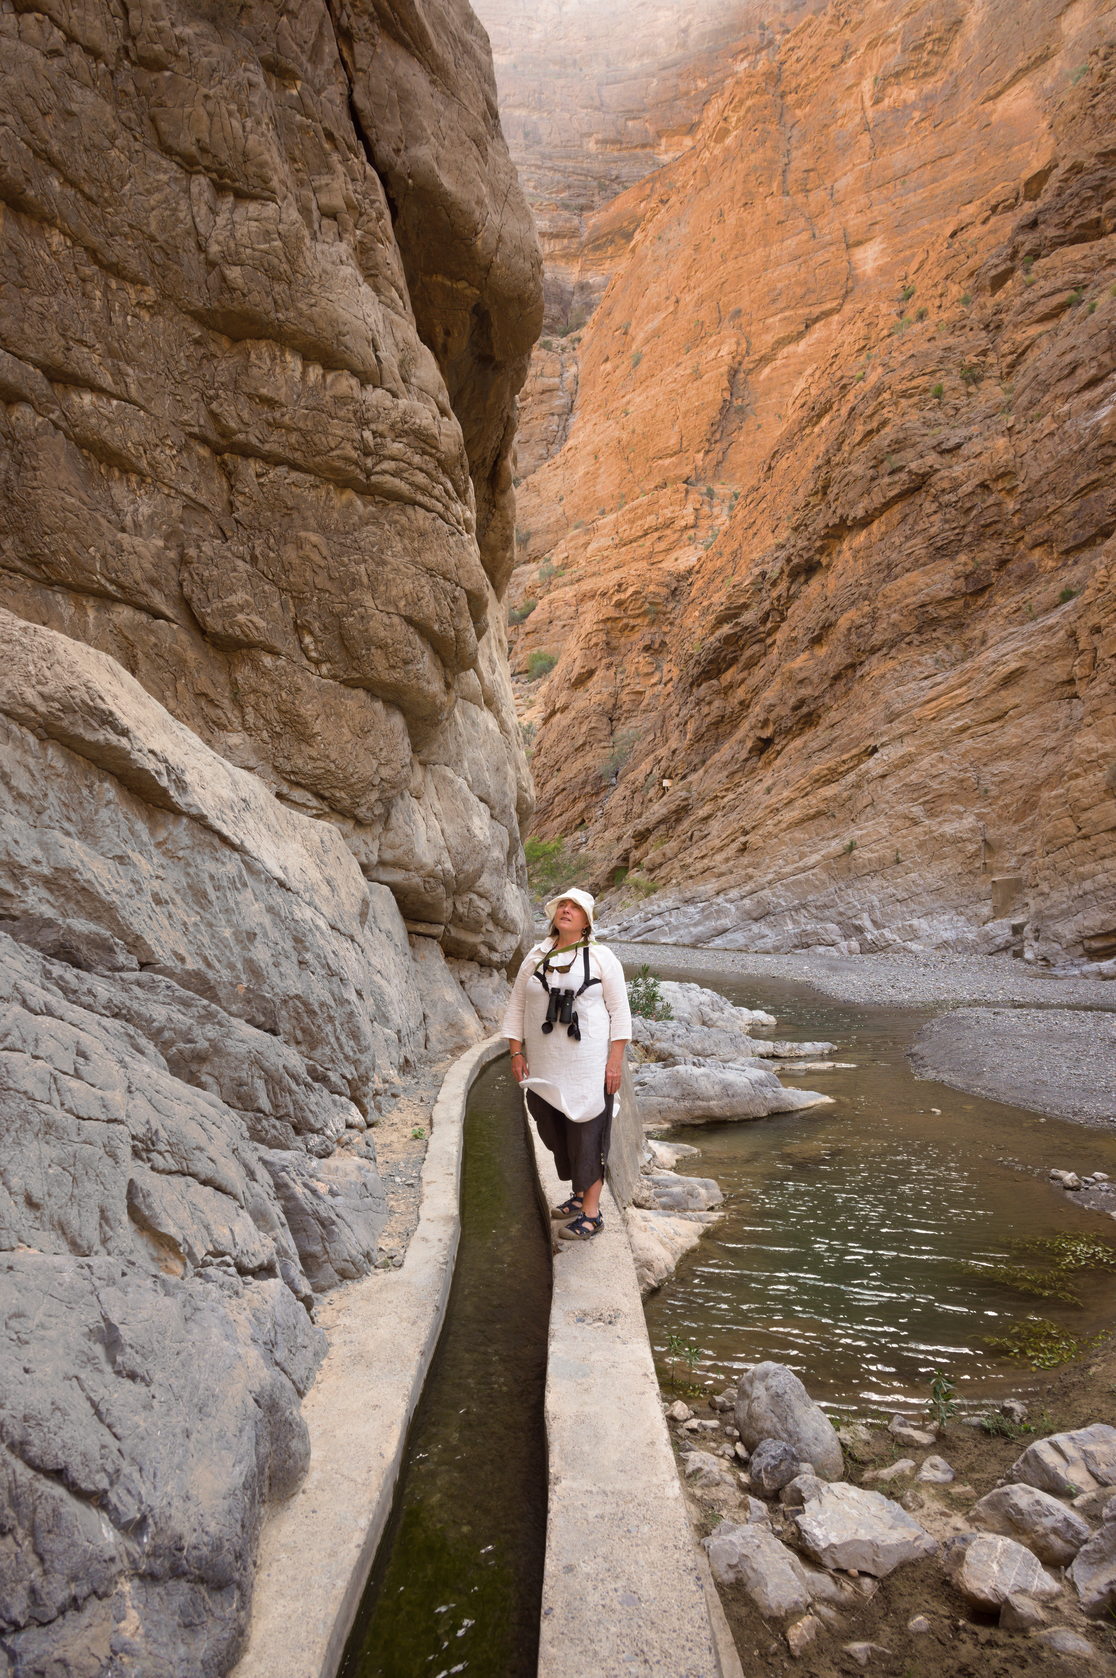
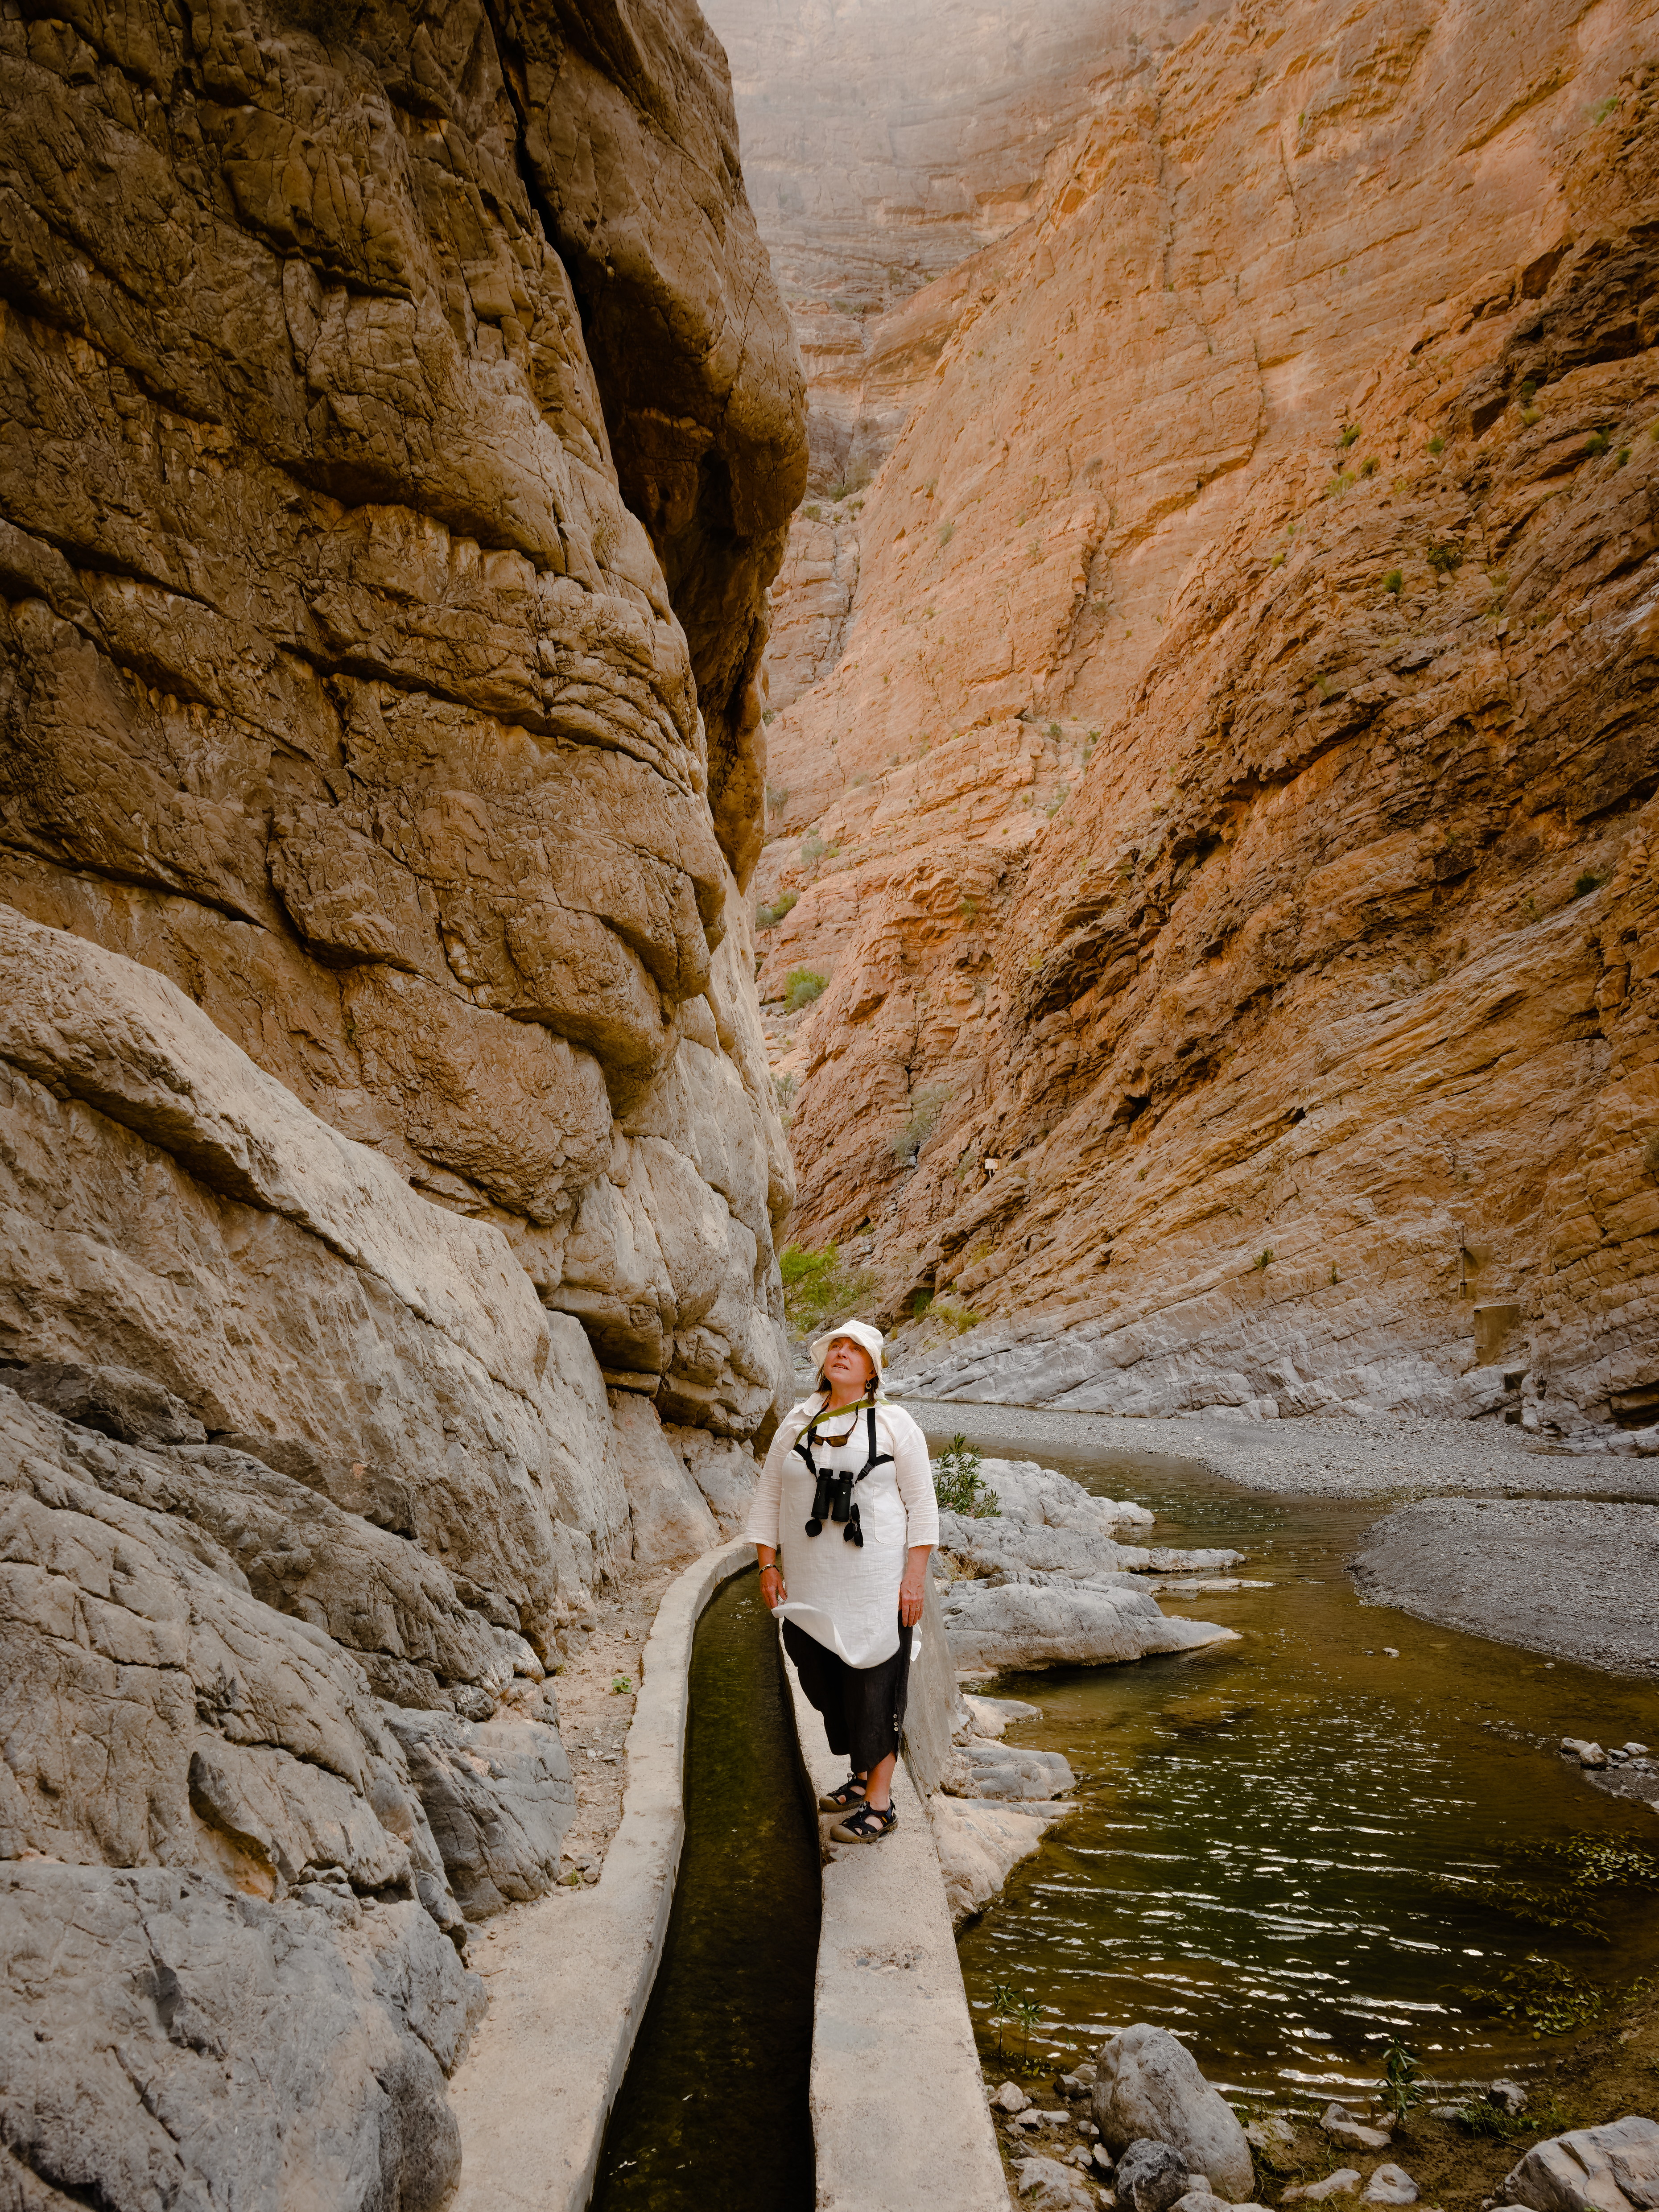
There are three main regions of rocks - the lower left grey, upper right orange, and upper left brown. The colour and brightness separating these regions is subtle, and I want to tweak it a little to make it stand out a bit.
This looks like an opportunity to use selective editing, but I can’t figure out how to isolate the upper left ‘brown’ region. Is this possible, or am I better off exporting to Gimp and using brushes?
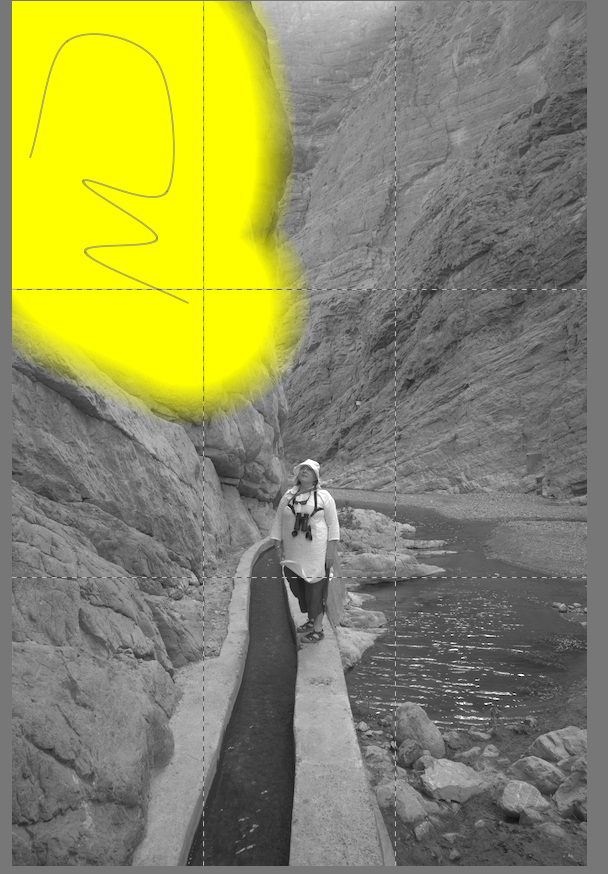
I sort of accomplished what I want by sticking a gradient filter in the upper left corner, but it’s a bit rough:
If I get stuck with something like that, I’ll use a drawn mask (brush) over the area I’d like to adjust, and then fiddle with the details slider until it’s in the range I’d like to adjust. And that can be for any of the color RGB, local contrast, or color look up table modules.
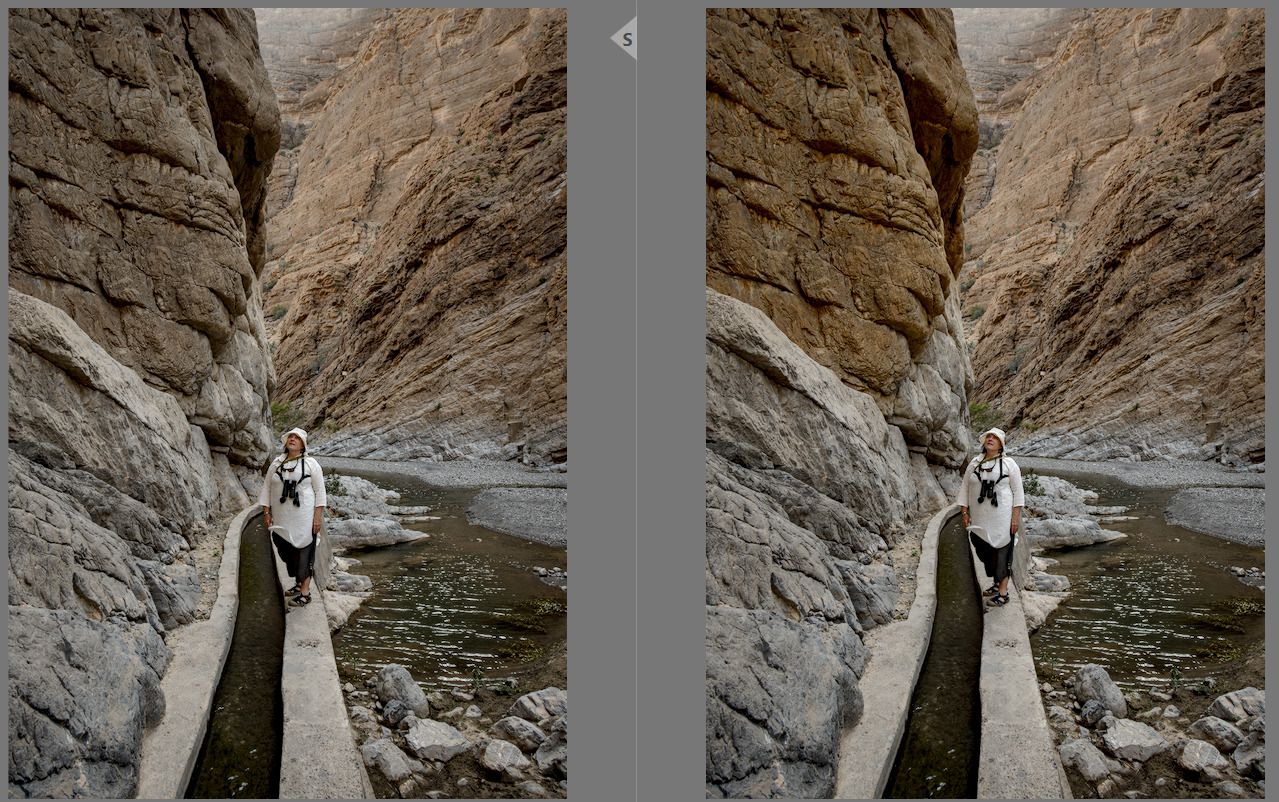
I just went at this very quickly…opened in dt 5.0, then applied camera preset “Sony ILCEA6300”, then opened a second instance of Color Balance RGB.
I used a large brush size to draw a large mask, then activated the mask visually to begin adjustments.
I slid the details threshold slider to -77 in this case, and that gave me mostly what I wanted to change…no other changes to opacity, contrast, feathering, or opacity.
Then I cranked up the color adjustments more than 60% just to show the visual change.
That same mask could then be used in the local contrast module, or the contrast eq to tweak the final appearance (if it were my edit).
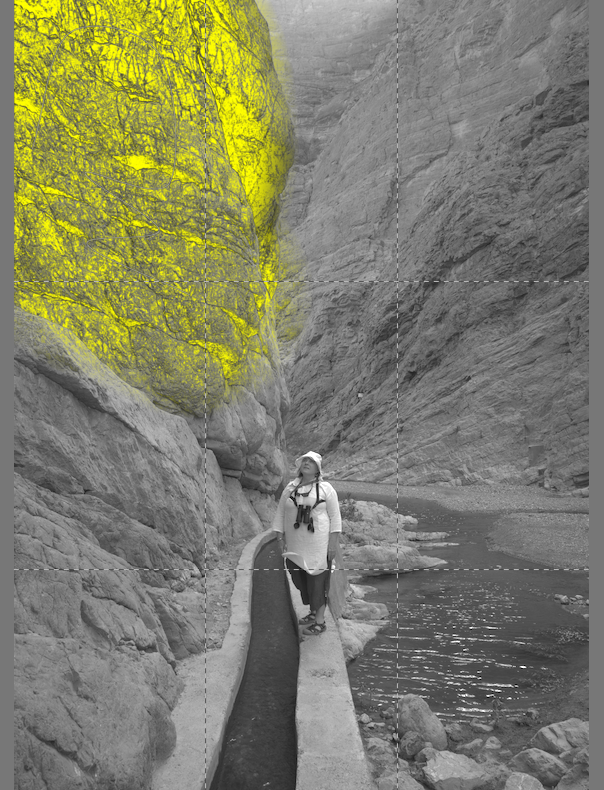
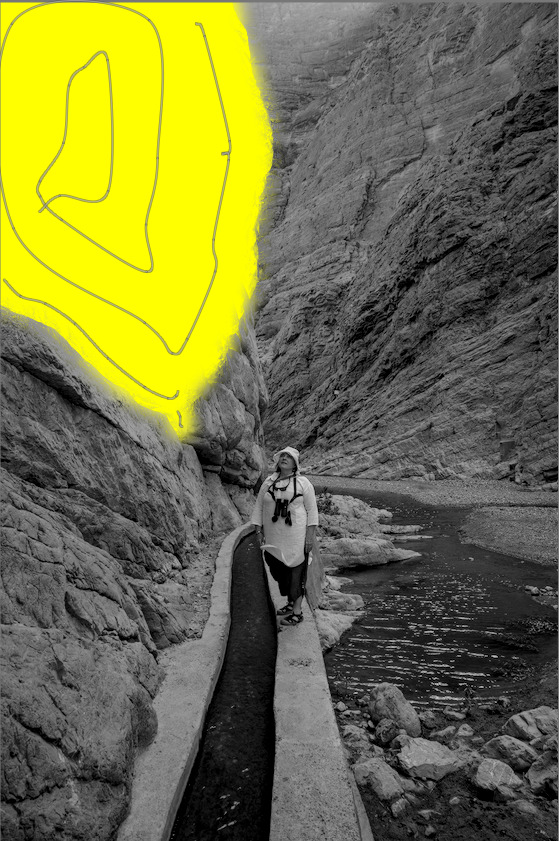
I am a DT user. In DT I would have used a path tool to outline the shape of the rock. However, in my example here I have combined three brush strokes to select the rock because I presume RT has a brush.
So I have used this shape to add chroma to the rock for the purpose of demonstration. Personally I don’t feel this image needs selective editing of the rocks.
However, I might have done selective editing to keep the person light and darken the rocks with a vignette to draw the viewers eye to the person which I see as the subject of the picture. DT5.3 with AgX module and two instances of exposure.
This is the issue: it doesn’t. It has selective editing instead. Which is great for selecting regions with big differences from the surroundings. Like a bright red jacket in a grey streetscape. But for more subtle things it’s tricky to apply.
You might be right, this image may not need the kind of edit I’m trying to do. It should be a very subtle change if I do use it, that’s for sure.
Yes, you can isolate each of the three areas to some degree in RT by making careful use of elliptical spots in the Selective Editing (SE) panel and tweaking the delta-E Shape detection settings. See the Shape Detection section of RawPedia for starters.
Here’s a crude example of how SE might be used in your example: TZ5_1767.NEF.pp3 (28.7 KB)
in short: put a spot onto the area you want to tweak , activate deltaE and adapt the scope, deactivate deltaE and choose the tool of desire (here color and light).
Thanks, that’s instructive. Seeing your spots, maybe I’ve been trying to hard to get mine exactly right, with 100% coverage of what I want, and 0% of what I don’t. You managed some very nice edits without a small bit of overlap.
Thanks all for your feedback. I got a reasonably accurate selection for a local edit. One revelation on this round was seeing how the local selection settings interact. Moving one parameter on its own often doesn’t change the selection, until you also change at least the scope or one of the other parameters as well. Makes it tricky to learn what they’re actually doing.
Here’s my latest version. It was certainly educational, although I’m not sure it’s actually better than the SOOC jpeg
"ΔE decay”: adjusts the fall-off in intensity as a function of ΔE using a power function (1 = linear up to 10 for very high decay). The higher values are designed to be used for images with a very wide gamut.
Is it just me, or do I not understand a word of these instructions?
I’m a beginner with RT, but I’ve been working with other tools for 20 years. And I feel like I have to start all over again.
In many of my images, I make local adjustments – brightening the eyes, darkening and blurring the background, the usual things to bring out the main subject and soften distractions in the image. I neither need nor want to automatically remove objects or do some fancy AI stuff, I want authenticity instead of artificial images. Doing local adjustments is what I did in the darkroom 40 years ago (yes, I am that old), it was tedious.
If I understand correctly, in RT there is actually only an ellipse and a rectangle and a lot of manual work in every image if I want to do this? No brush, no easy masking?
I don’t have a lot of experience with Local Adjustment, and from my limited experience, the “deltaE decay” works like a reversed “blur mask” parameter, though not quite blurry.
I think the area your want to have local adjustments applied needs to be distinctive in color (hue) or brightness (and maybe chromaticity) to be correctly picked up by Local Adjustment spot. I personally struggle to separate the upper left part of the mountain from the mid-left part in the OP’s image.
RawTherapee only has these two shapes for the spot, no brushing and stuff, (I believe is) because the designer of the Local Adjustment module, Jacque Desmis, isn’t an expert in GUI programming. I would do brushing stuff in GIMP and the likes.
Thanks, @syyrmb Indeed, I’m not at all (absolutely not) an expert in GUIs or computer code. Of course, it would be “better” if there were brushes or similar tools, but I don’t know how to do that.
I’m not saying the tooltips are simple and explicit, and I’m not saying the RT-spots, which are (somewhat) similar to what’s in DxO or Nikon Capture NX, are “superior” or “inferior” to traditional masks… but they are very different.
In what I’ve designed (except for the GUI), everything is different from the concept introduced 30 years ago by Adobe in Photoshop (layers and masks). I was asked to add masks in “Selective Editing,” but with very few exceptions… they serve absolutely no purpose (in my opinion). It’s like comparing apples and oranges.
Of course, it would be better if…
But given my age and health, and since no one else is willing to help or modify the code, it will stay as it is.
If you “forget” about layers and masks, you’ll see that in 90% of cases, I’m sure, it’s simpler, often more efficient, and in a few cases - 10% at most -there are shortcomings.
This is the classic problem when learning a new system: unlearning. Unfortunately, it would require tutorials, videos, and discussions… which don’t exist, and I’m not going to create them.
I offer no criticism of RT which is clearly a very popular and capable program, but the reason I became a darktable devotee is the parametric and drawn masks that work in every module that can benefit from them. I started working in the darkroom environment 55 years ago…OMG I am that old.
I believe the program ART which is a fork of RT offers more localised adjustments and might be worth a look.
P.S. welcome to the forum and good luck with your editing.
Can I suggest having a look at the the First Steps part of the documentation and in particular section 2.1 : Local Adjustments - RawPedia
The terminology still refers to Local Adjustments instead of Selective Editing and the icon has changed (the hand icon has been replaced) but the rest is still relevant.
On Youtube there are some video tutorials, with step by step instructions; they also cover the local adjustments options. For instance the ones recorded by Andy Astbury (very well done, IMHO):