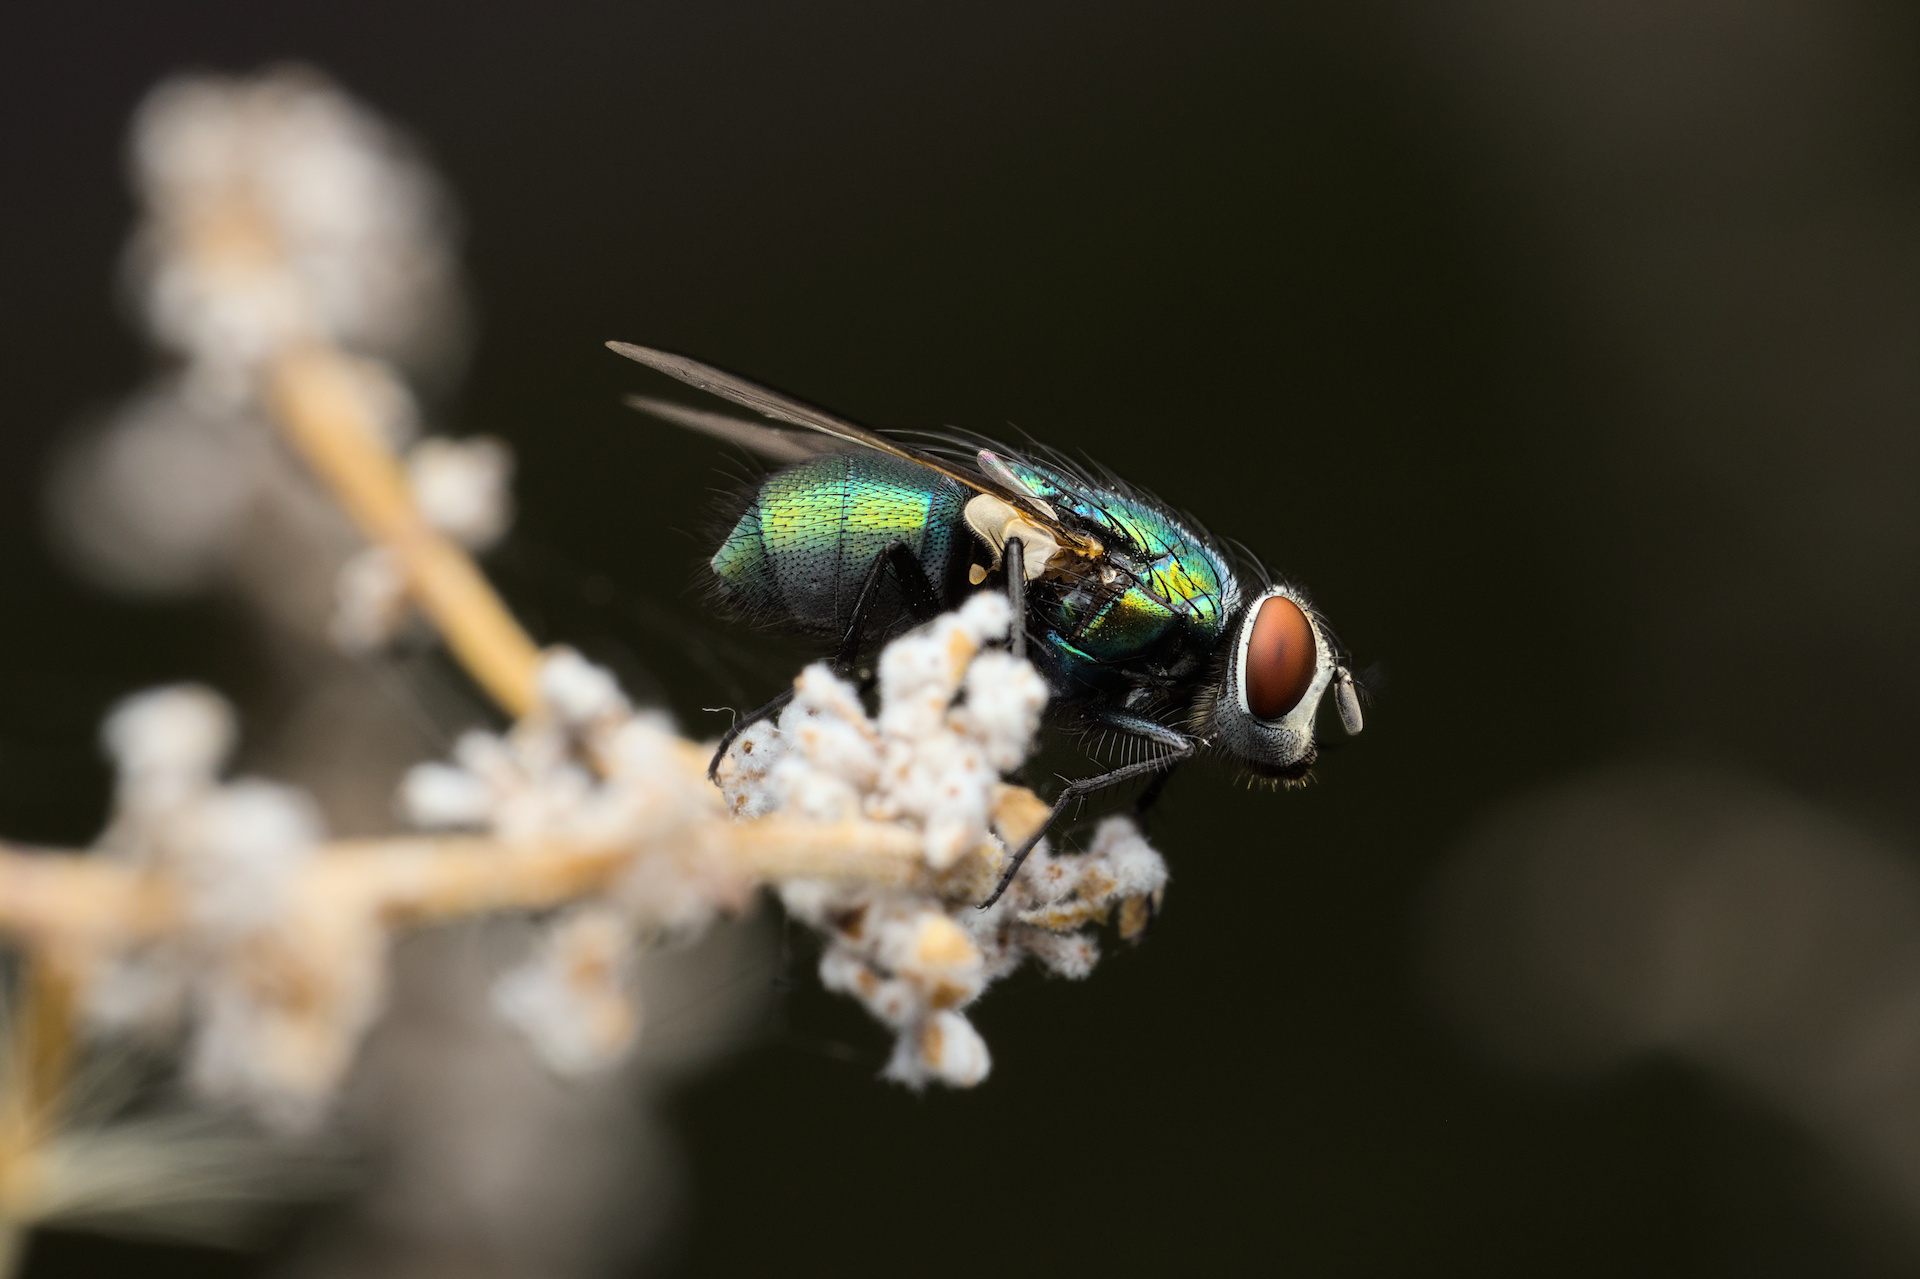
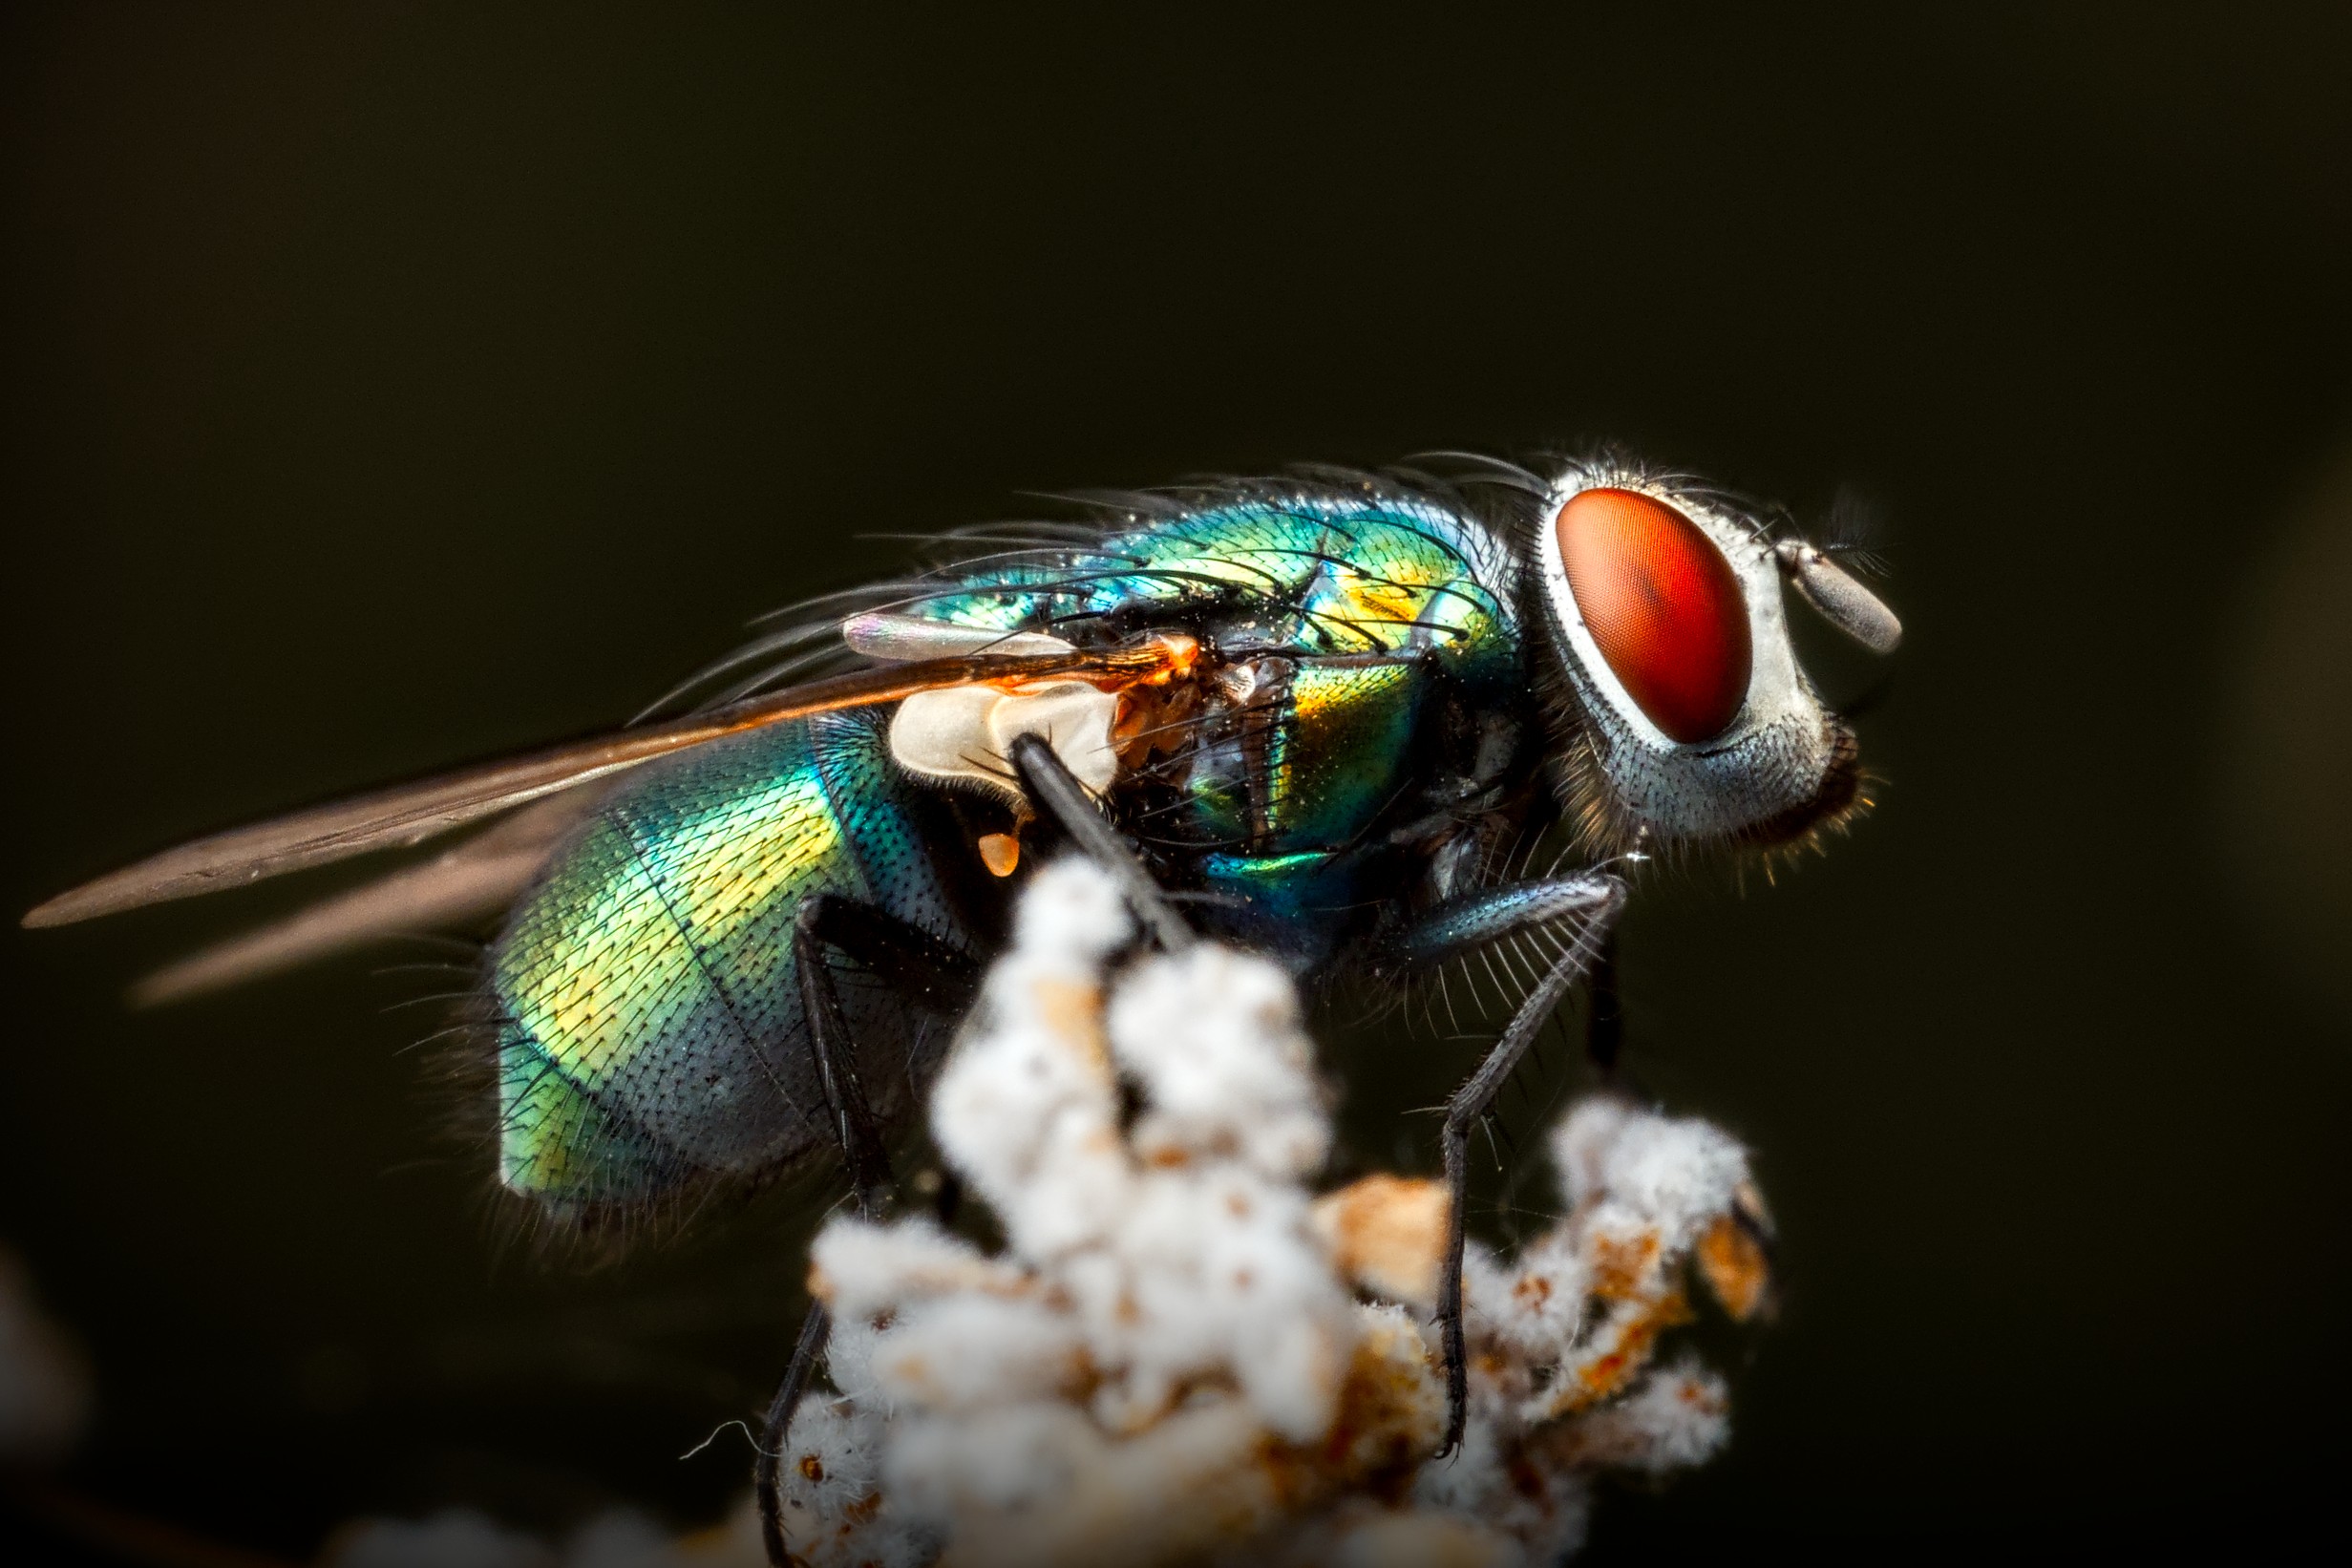
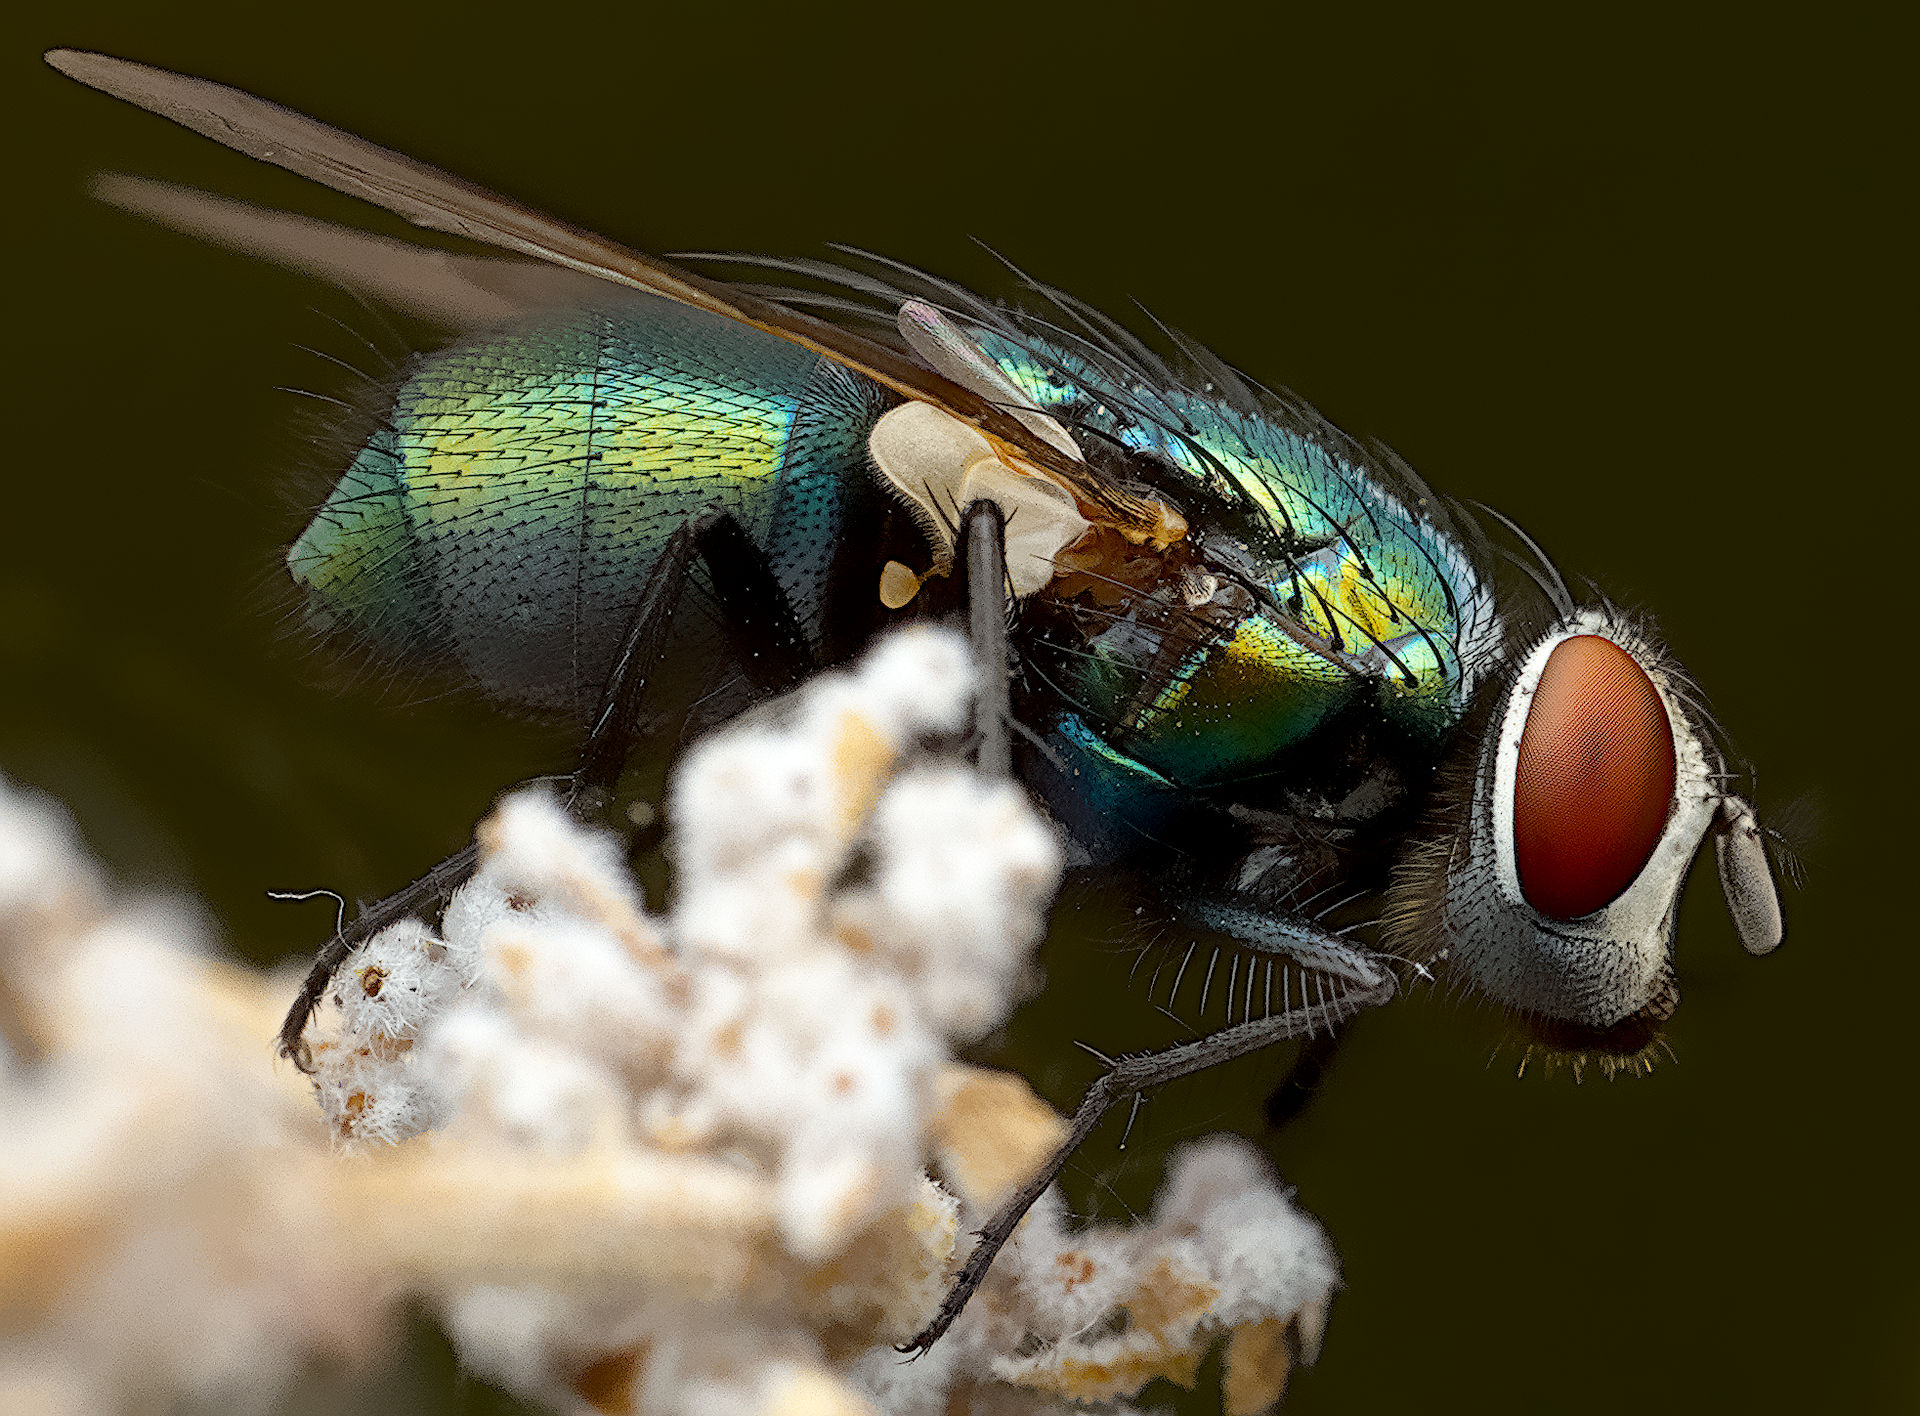
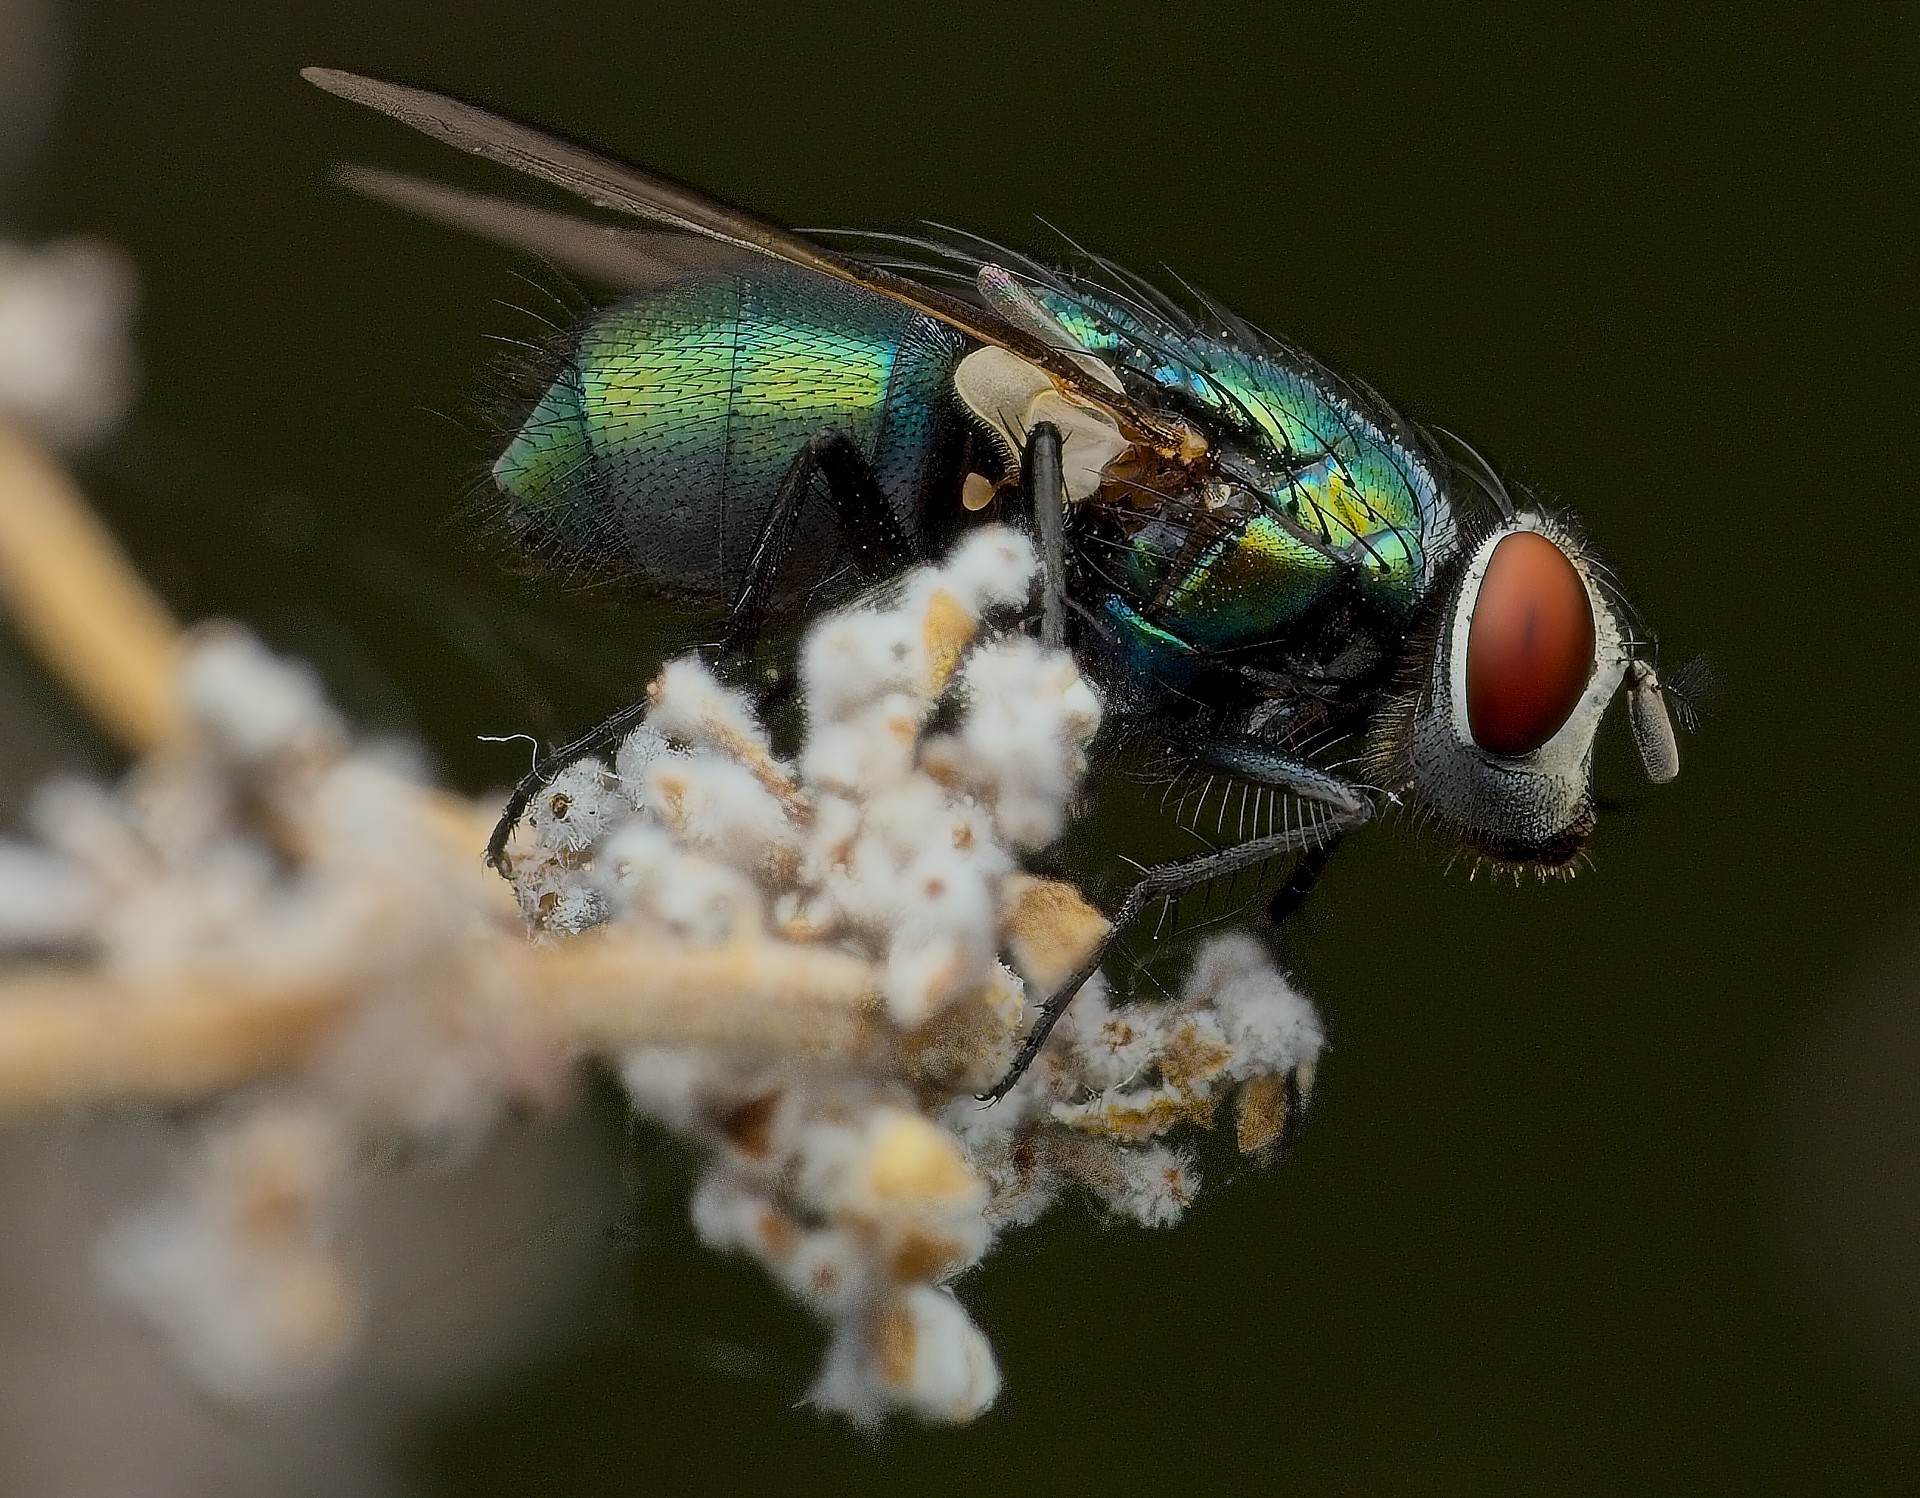
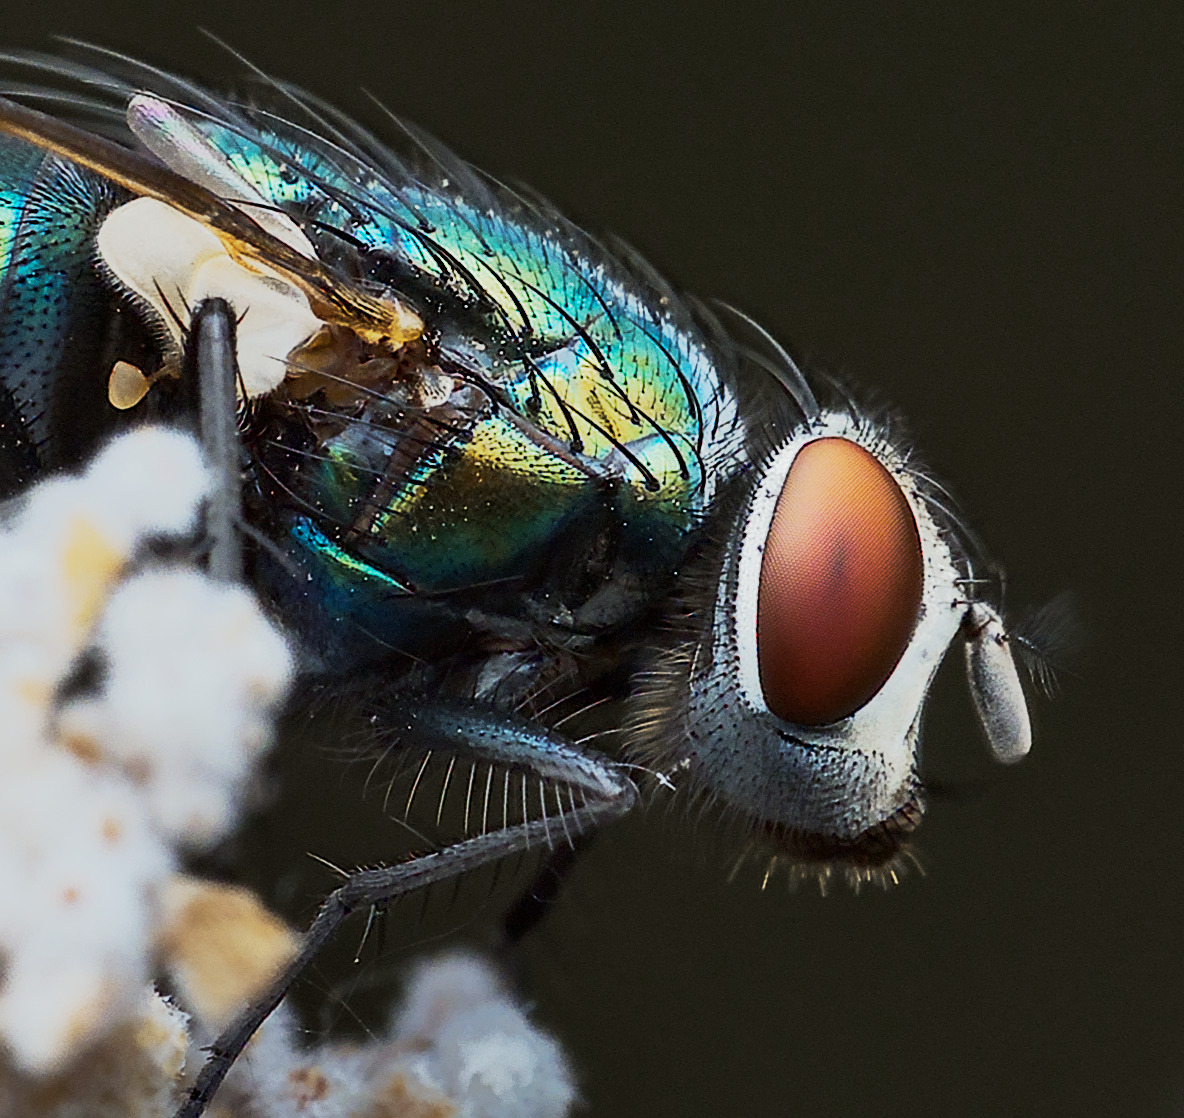
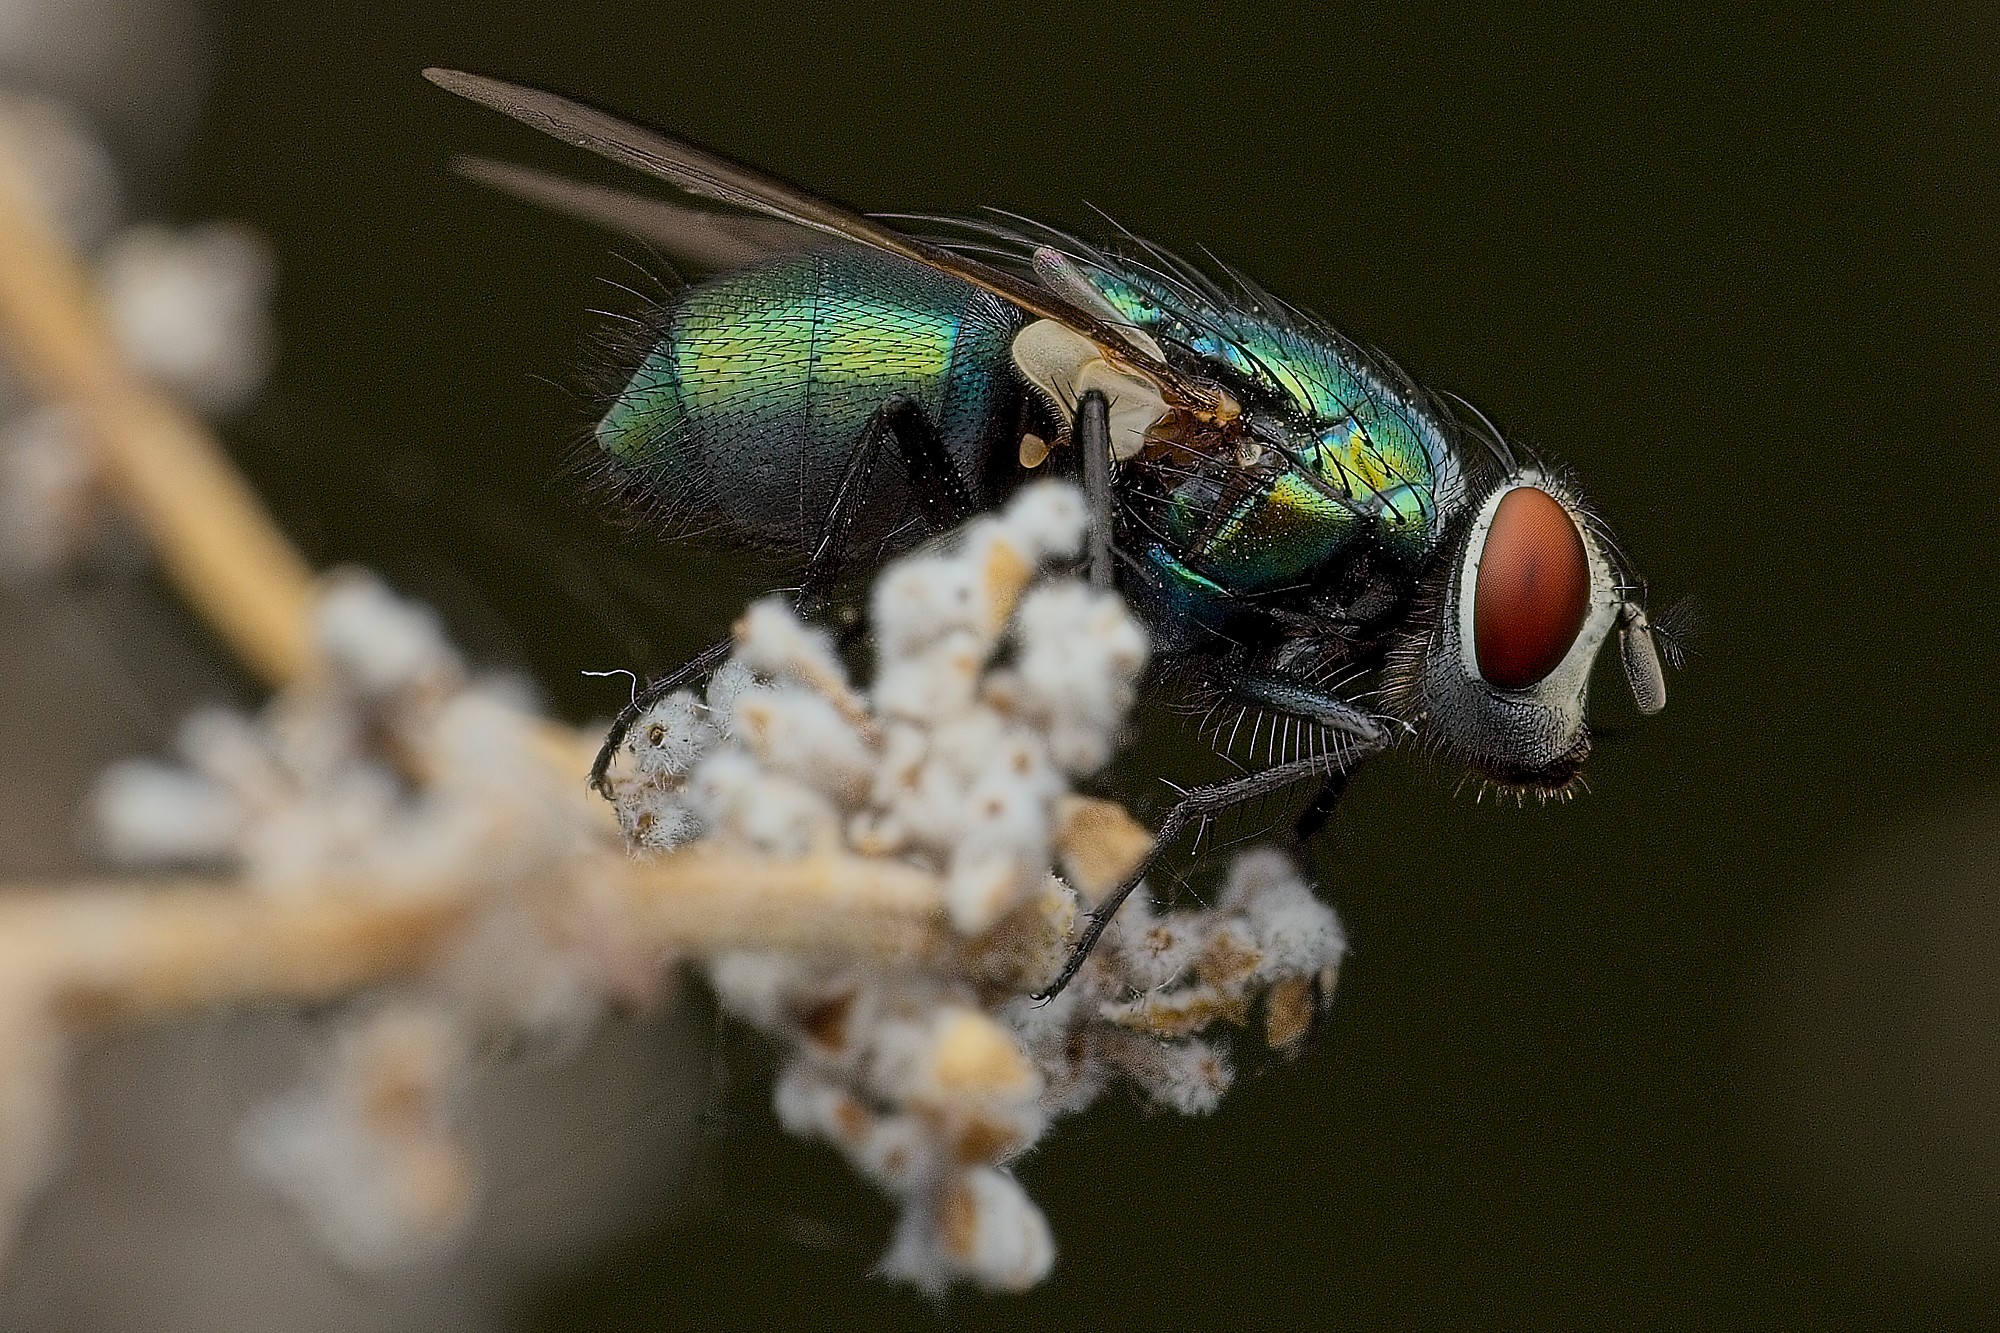
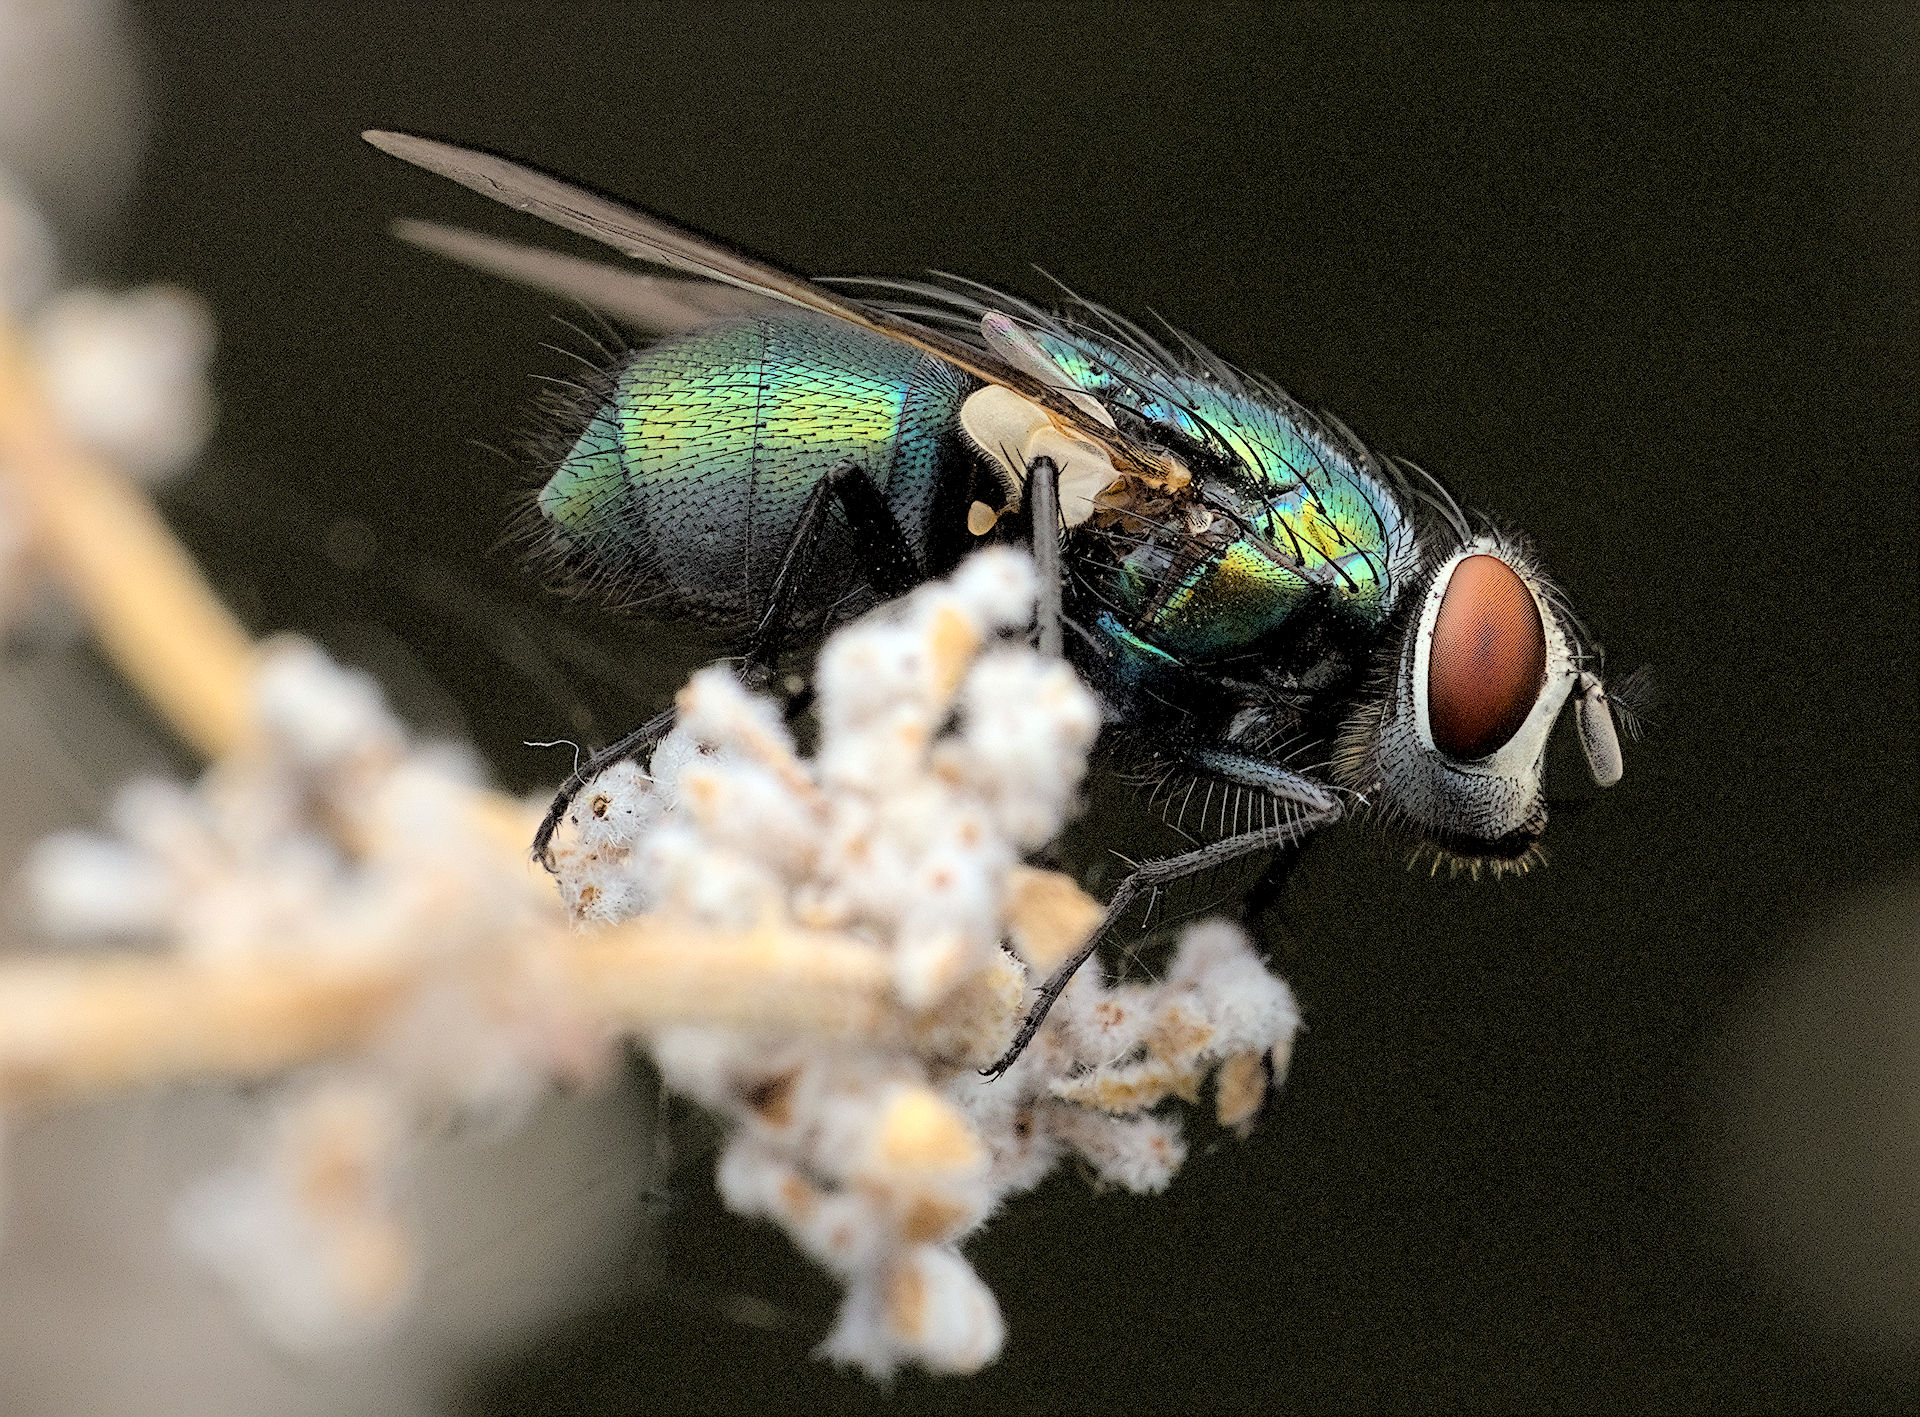
There’s a lot of fine details here in the fly’s eyes and hairs. Any creative edits are welcome but primarily I’m interested in seeing how others handle sharpening, whether it’s using the many methods in darktable or any other application.
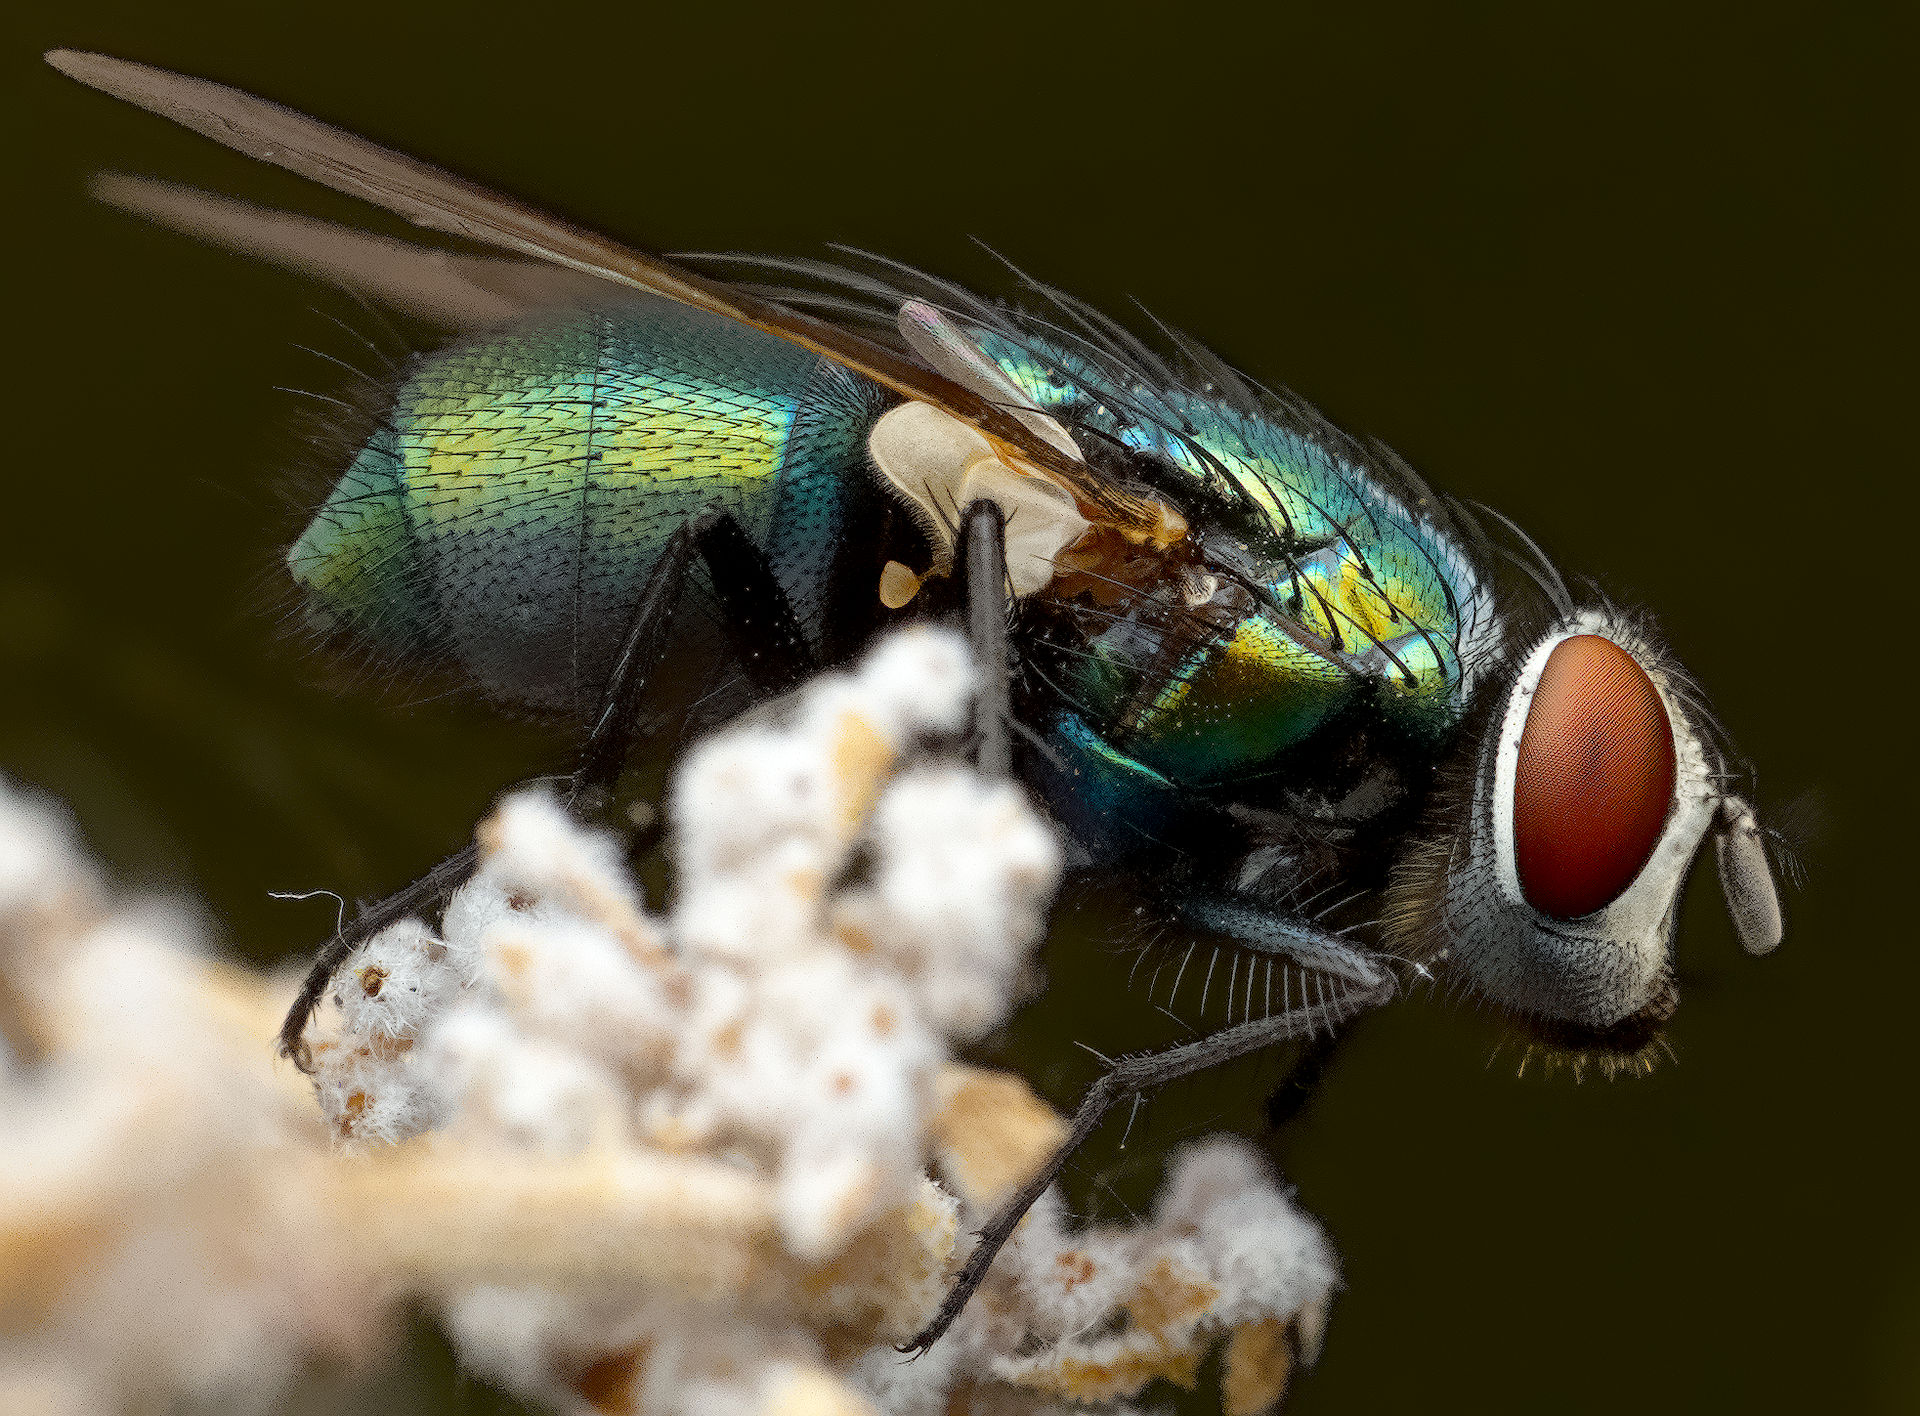
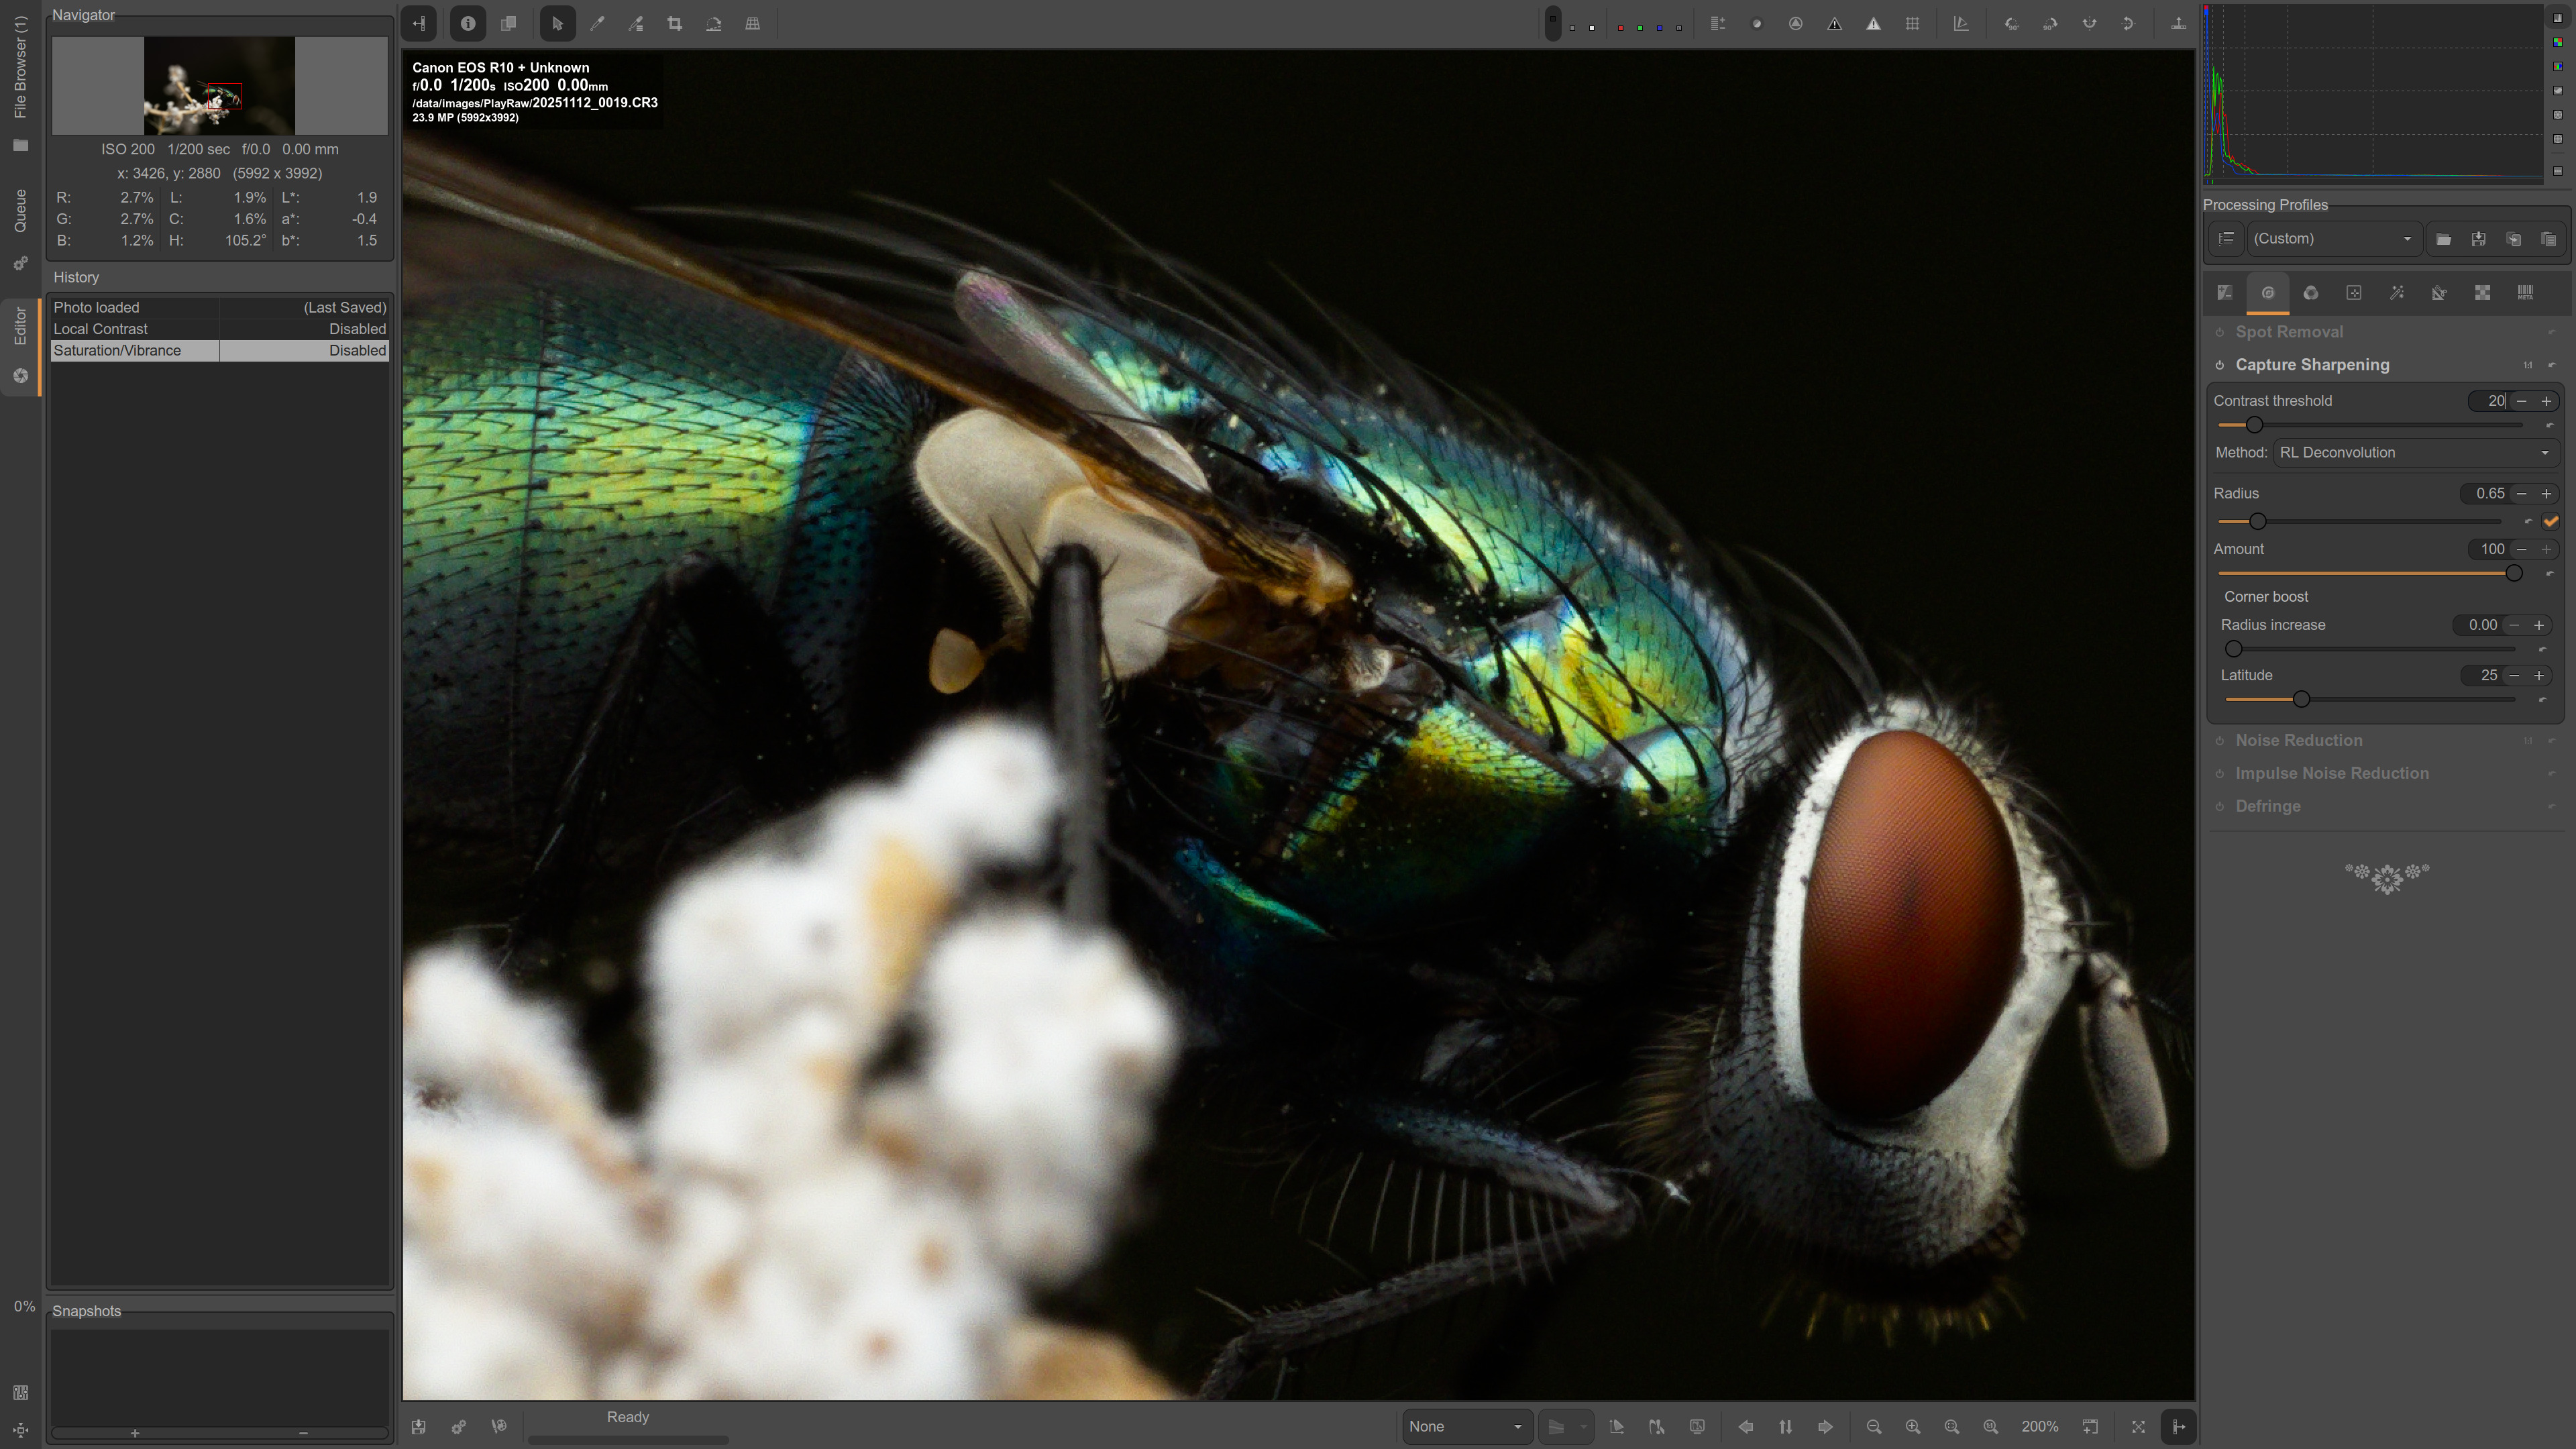
My edit is made in DT 5.3x using a combination of the demosaic capture sharpening feature as well as diffuse or sharpen lens deblur medium preset and the contrast equalizer clarity preset with the mix at 20.
I’m not sure if this would be welcome here but I personally would be interested to see comparisons with commercial software (Lightroom, PhotoLab, Topaz, etc) but that might be something better suited for an article on the pixls.us website
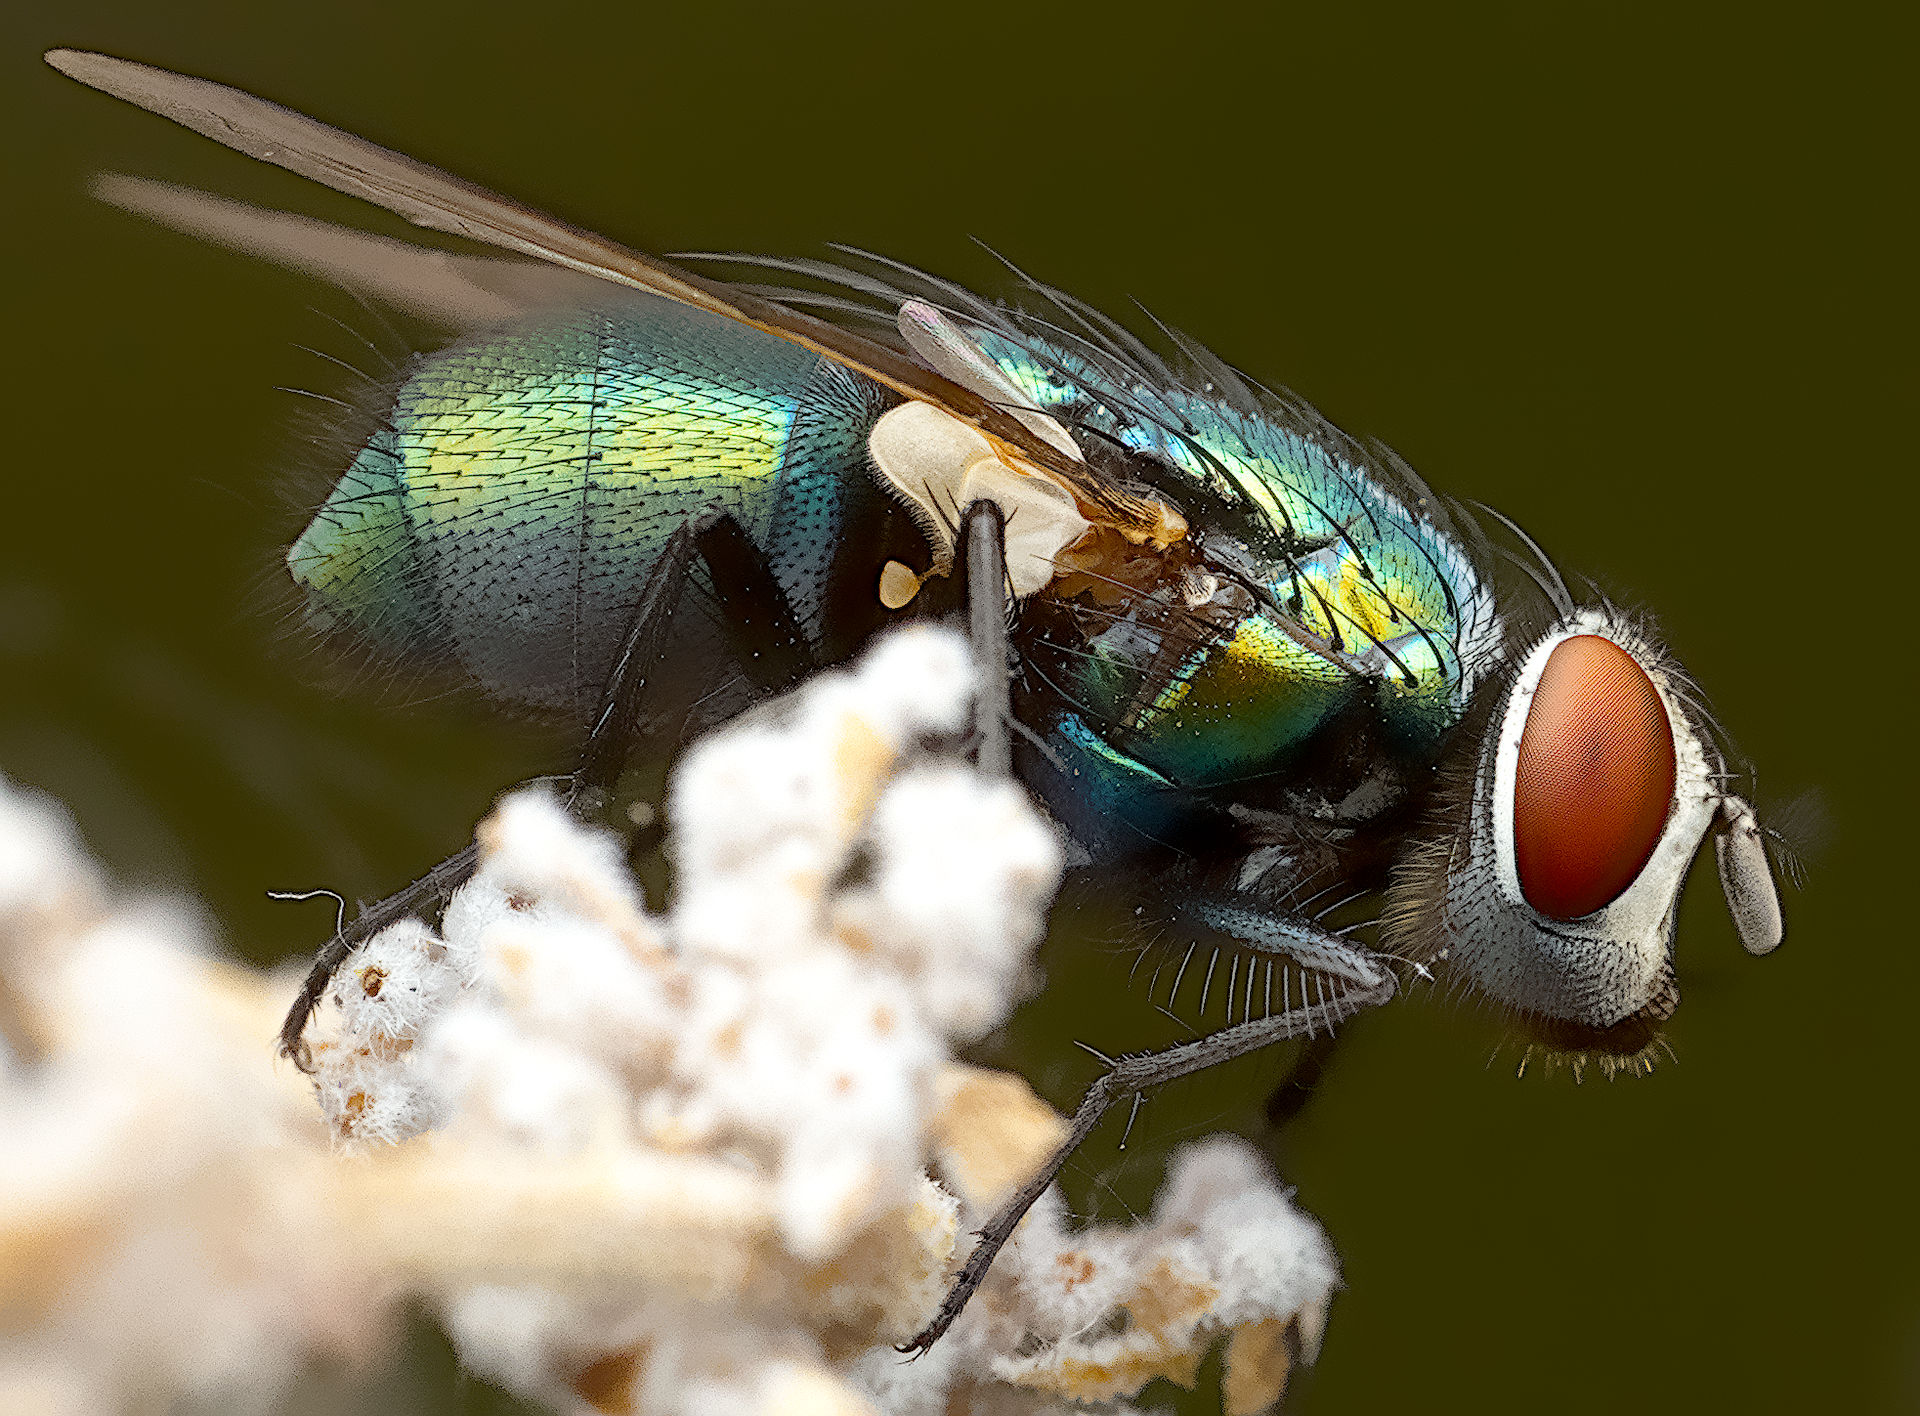
Tack Sharp is weird at least to me…I have ON1 as I got it really cheap one time so I thought I would just play with it or use it to denoise if that proved really superior…So I am not that familiar with editing it… You can see the image as it is after being processed by the Brilliance AI…also to a degree the color esp and the rendering can change a lot. It seems like ON1 has its own profiles and then ones from the camera and then it picks up Adobe one so your starting point can vary depending on that selection…
Basically the next step is to use the AI denoising and sharpening…
Classic needs to be dialed in so its like a no-op as far as I can see. You can see some details come up in the AI denoise. I could likely bump the sharpness up but likely there would be artifacts all over the place…
THe weird one is the Tack sharp. It gets added at 100 percent deblur but this seems to actually be blurred. You lose all the details if you drop the deblur slider to zero and increase micro detail then you get something… If you move over to the both setting it doesn’t combine them by default it goes back to adding the deblur at 100 so you lose all details…
THis is something that I just noticed… I made a little screen capture so hopefully that shows up… Having deblur actually seem to blur things seems weird to me…
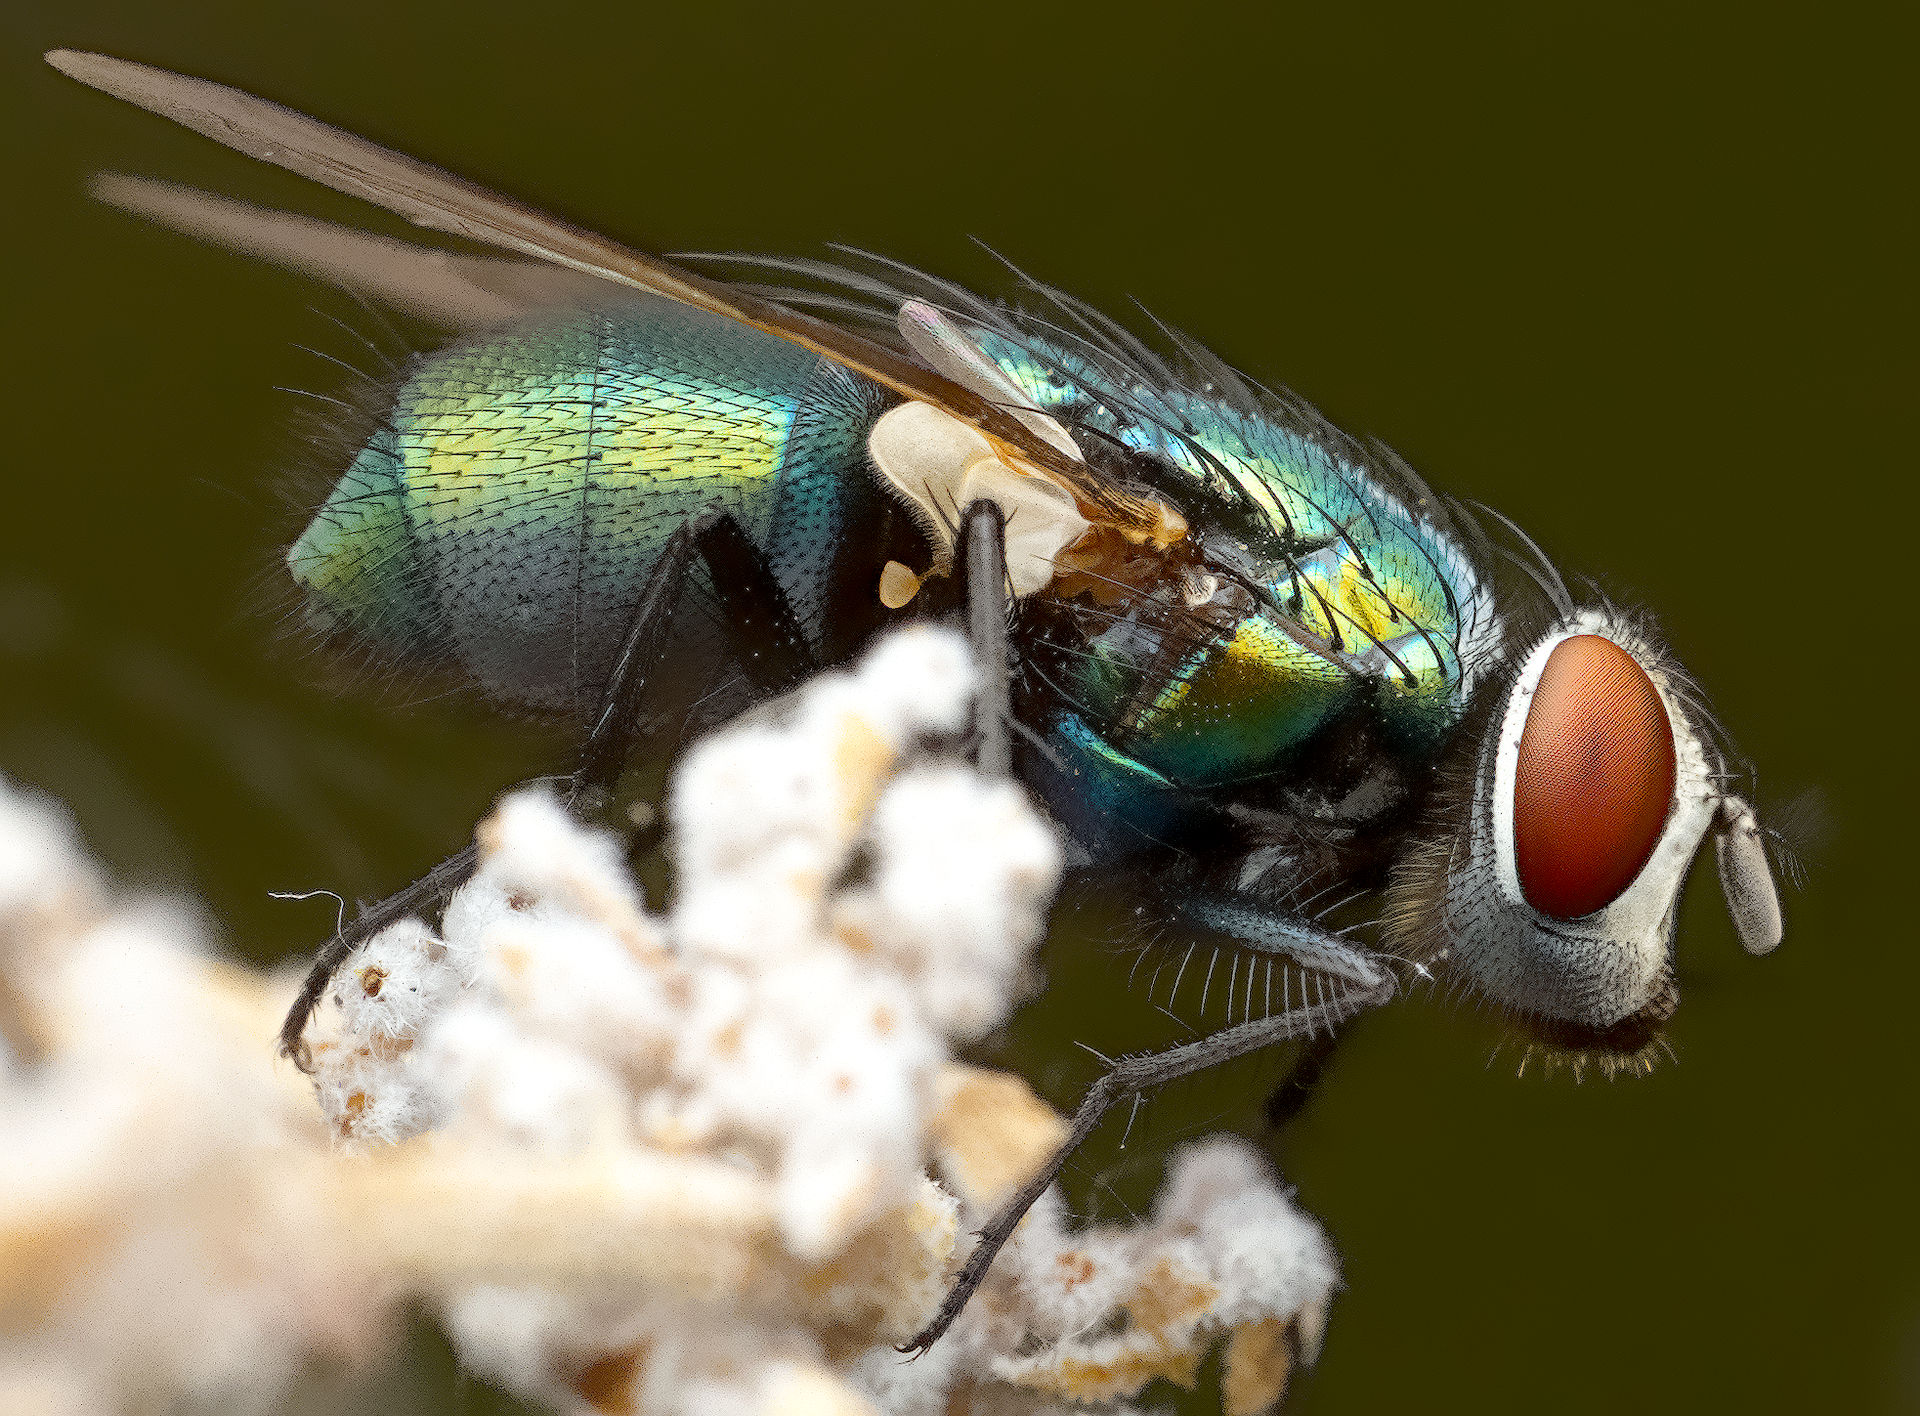
Here are the 3 options DN AI, TS AI, and both… this time with the deblur pulled back in TS so that it doesnt kill the detail in the eye …
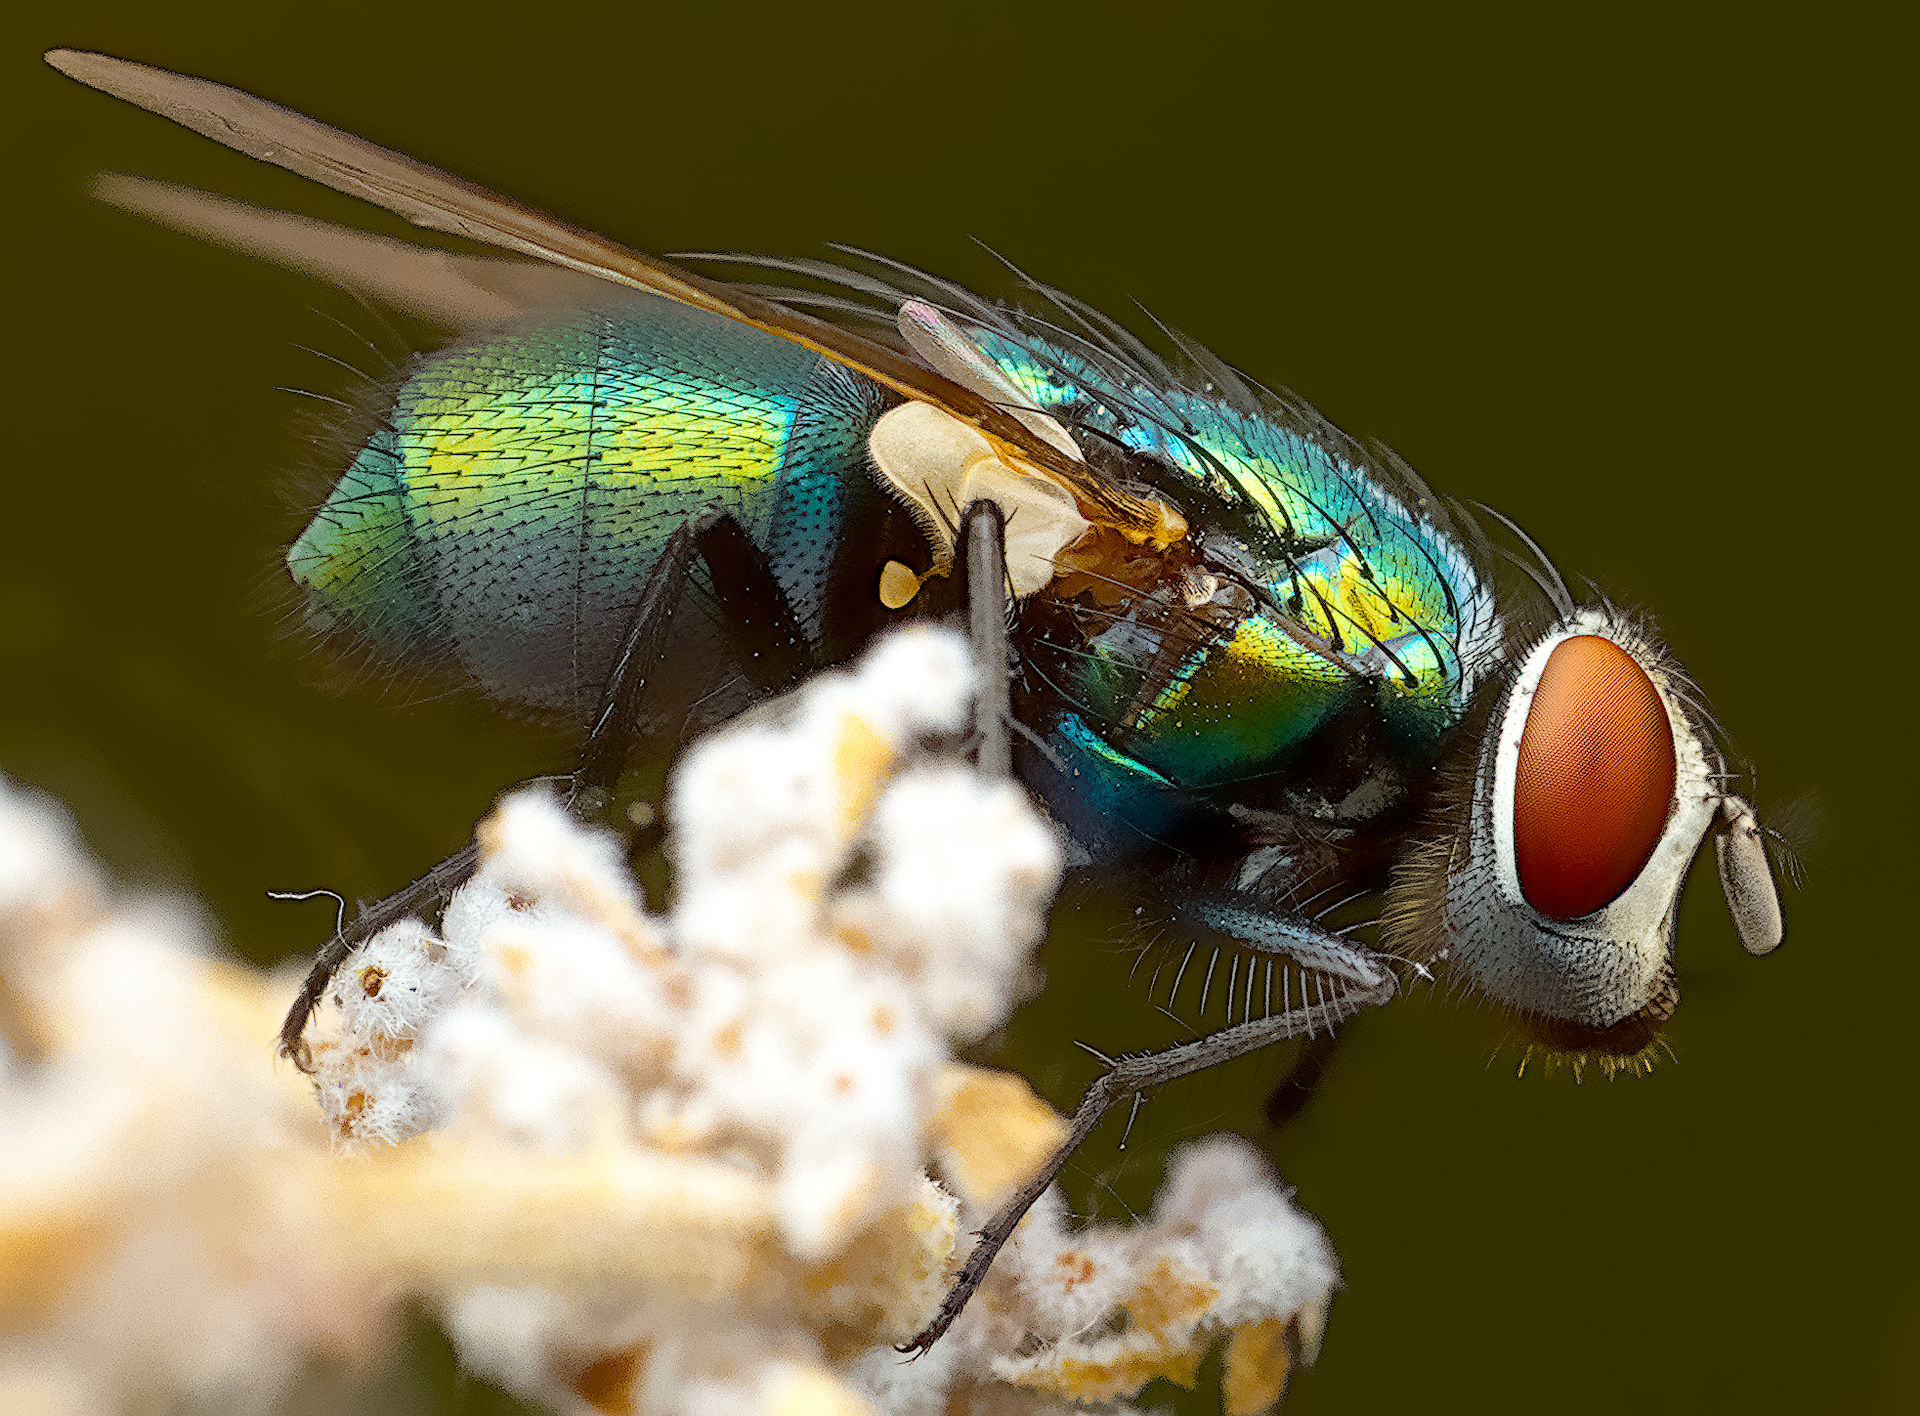
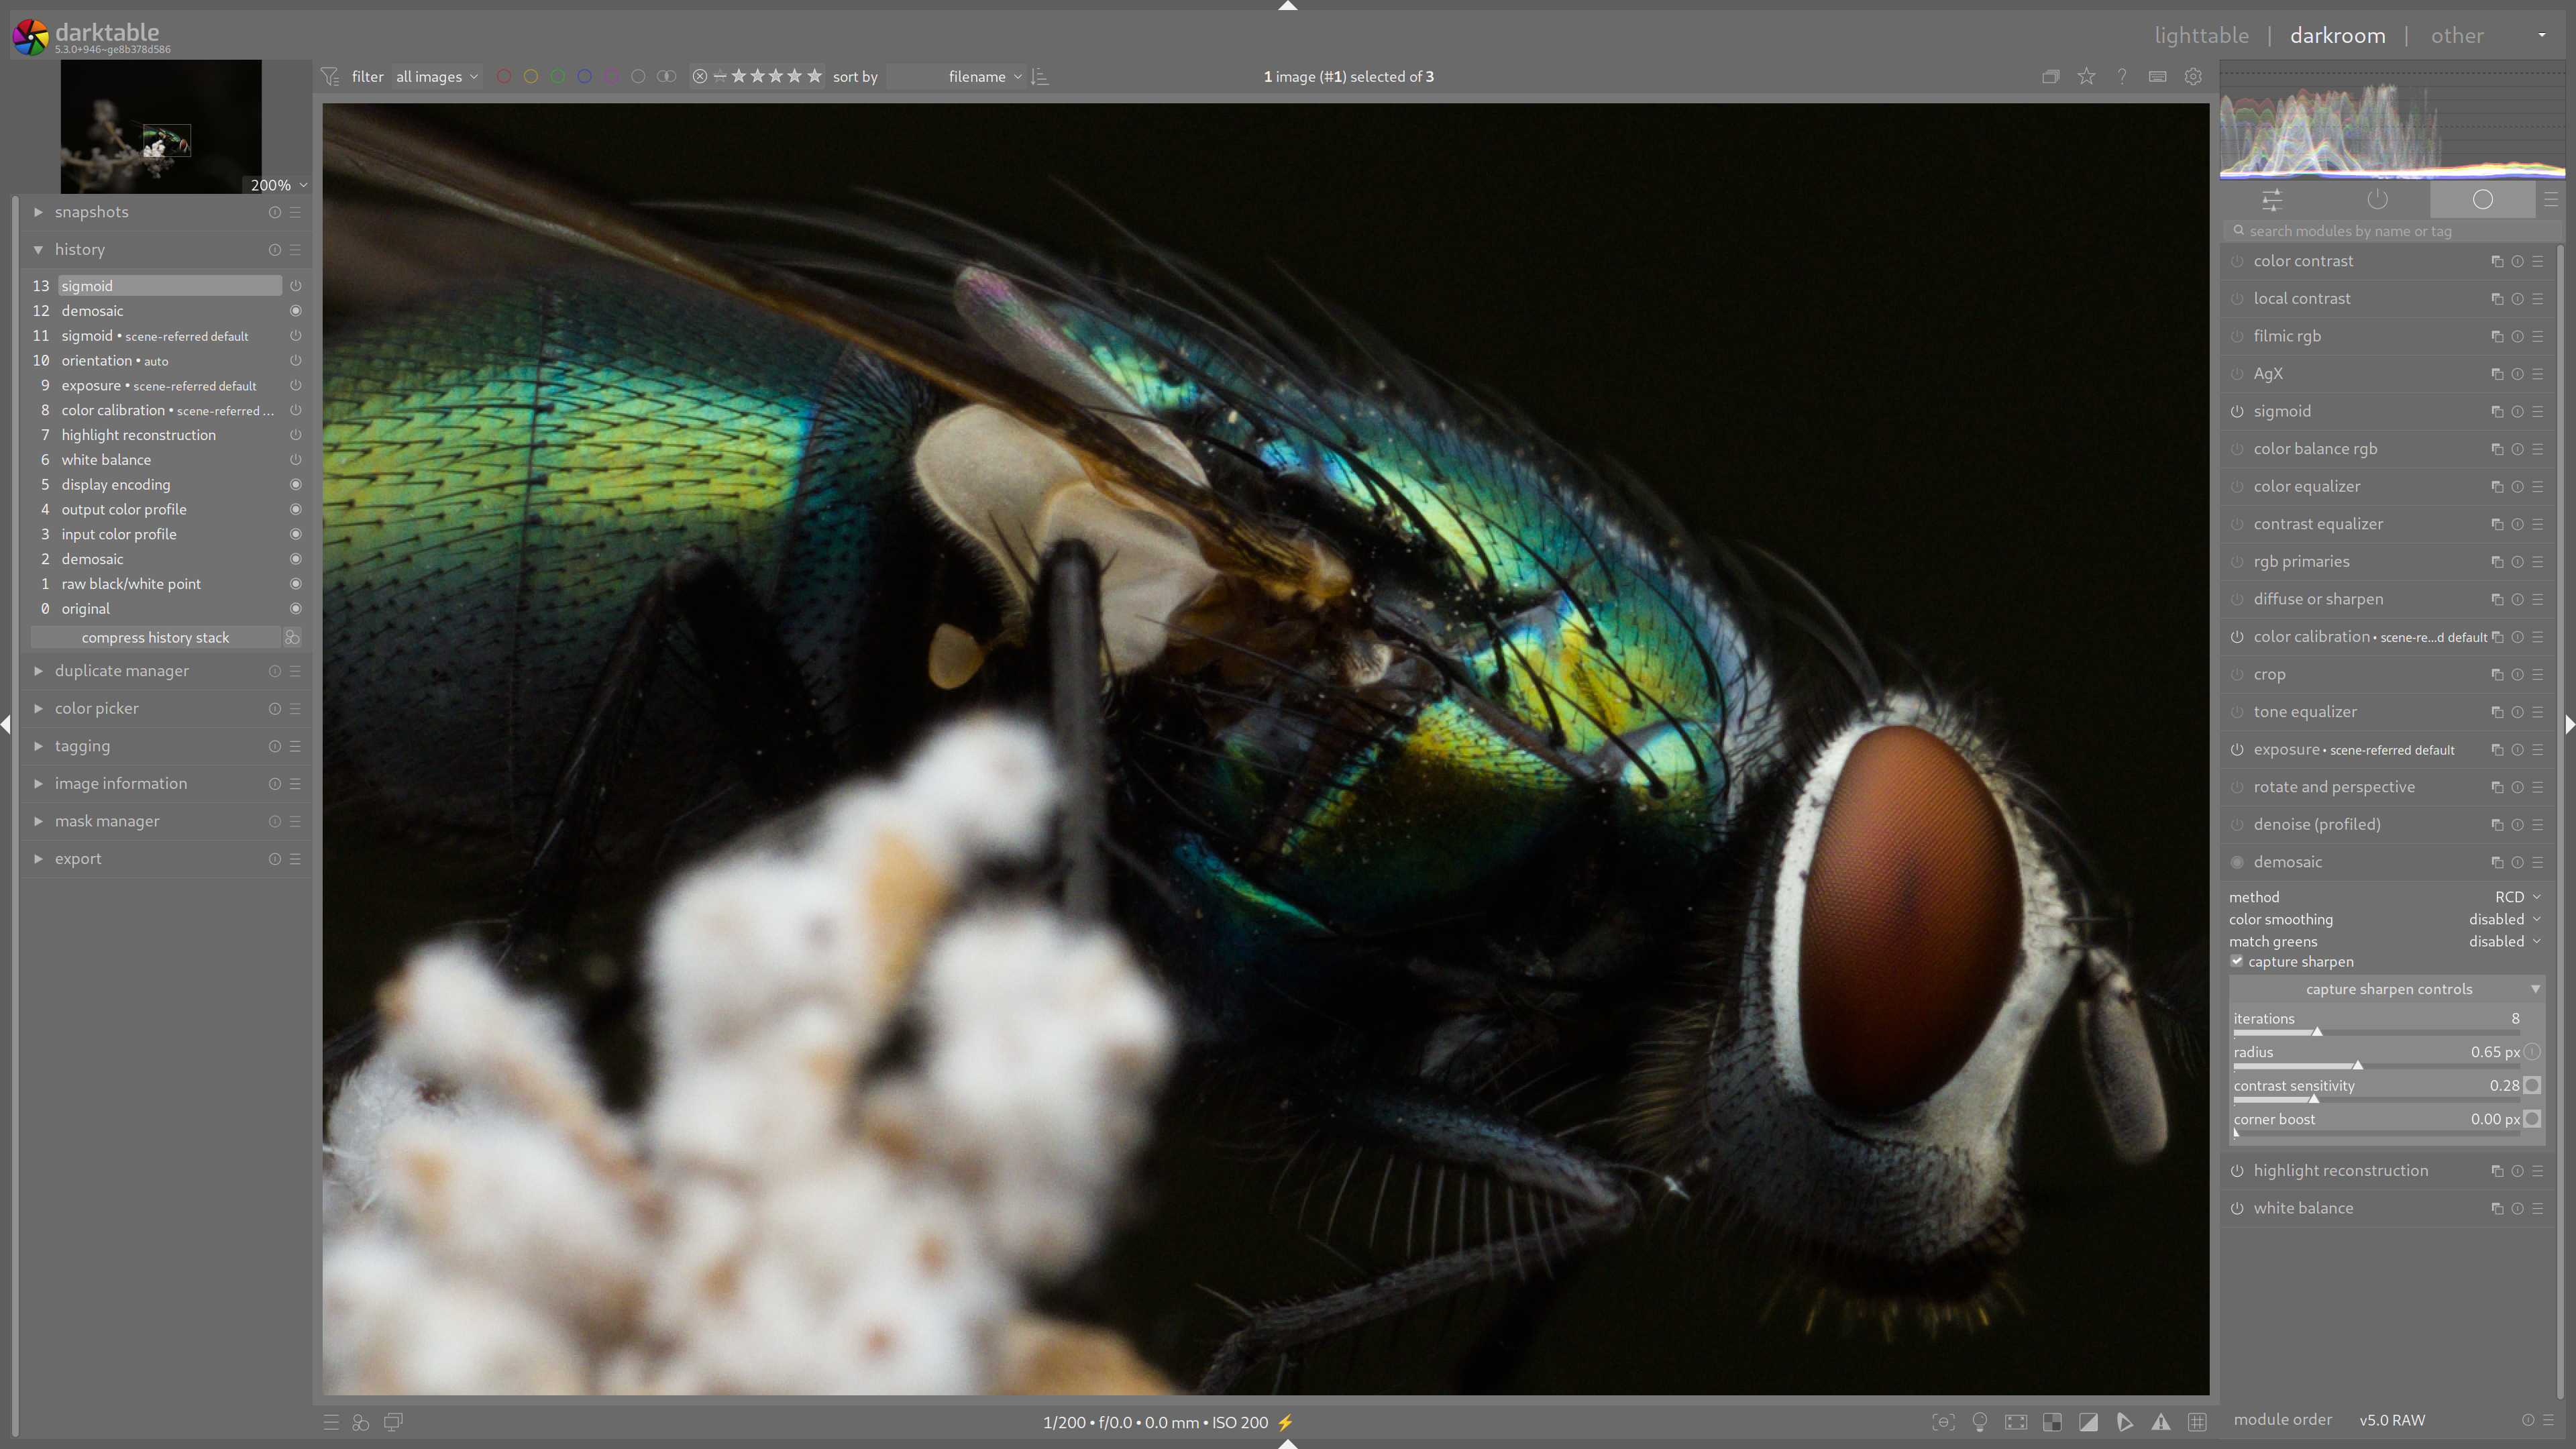
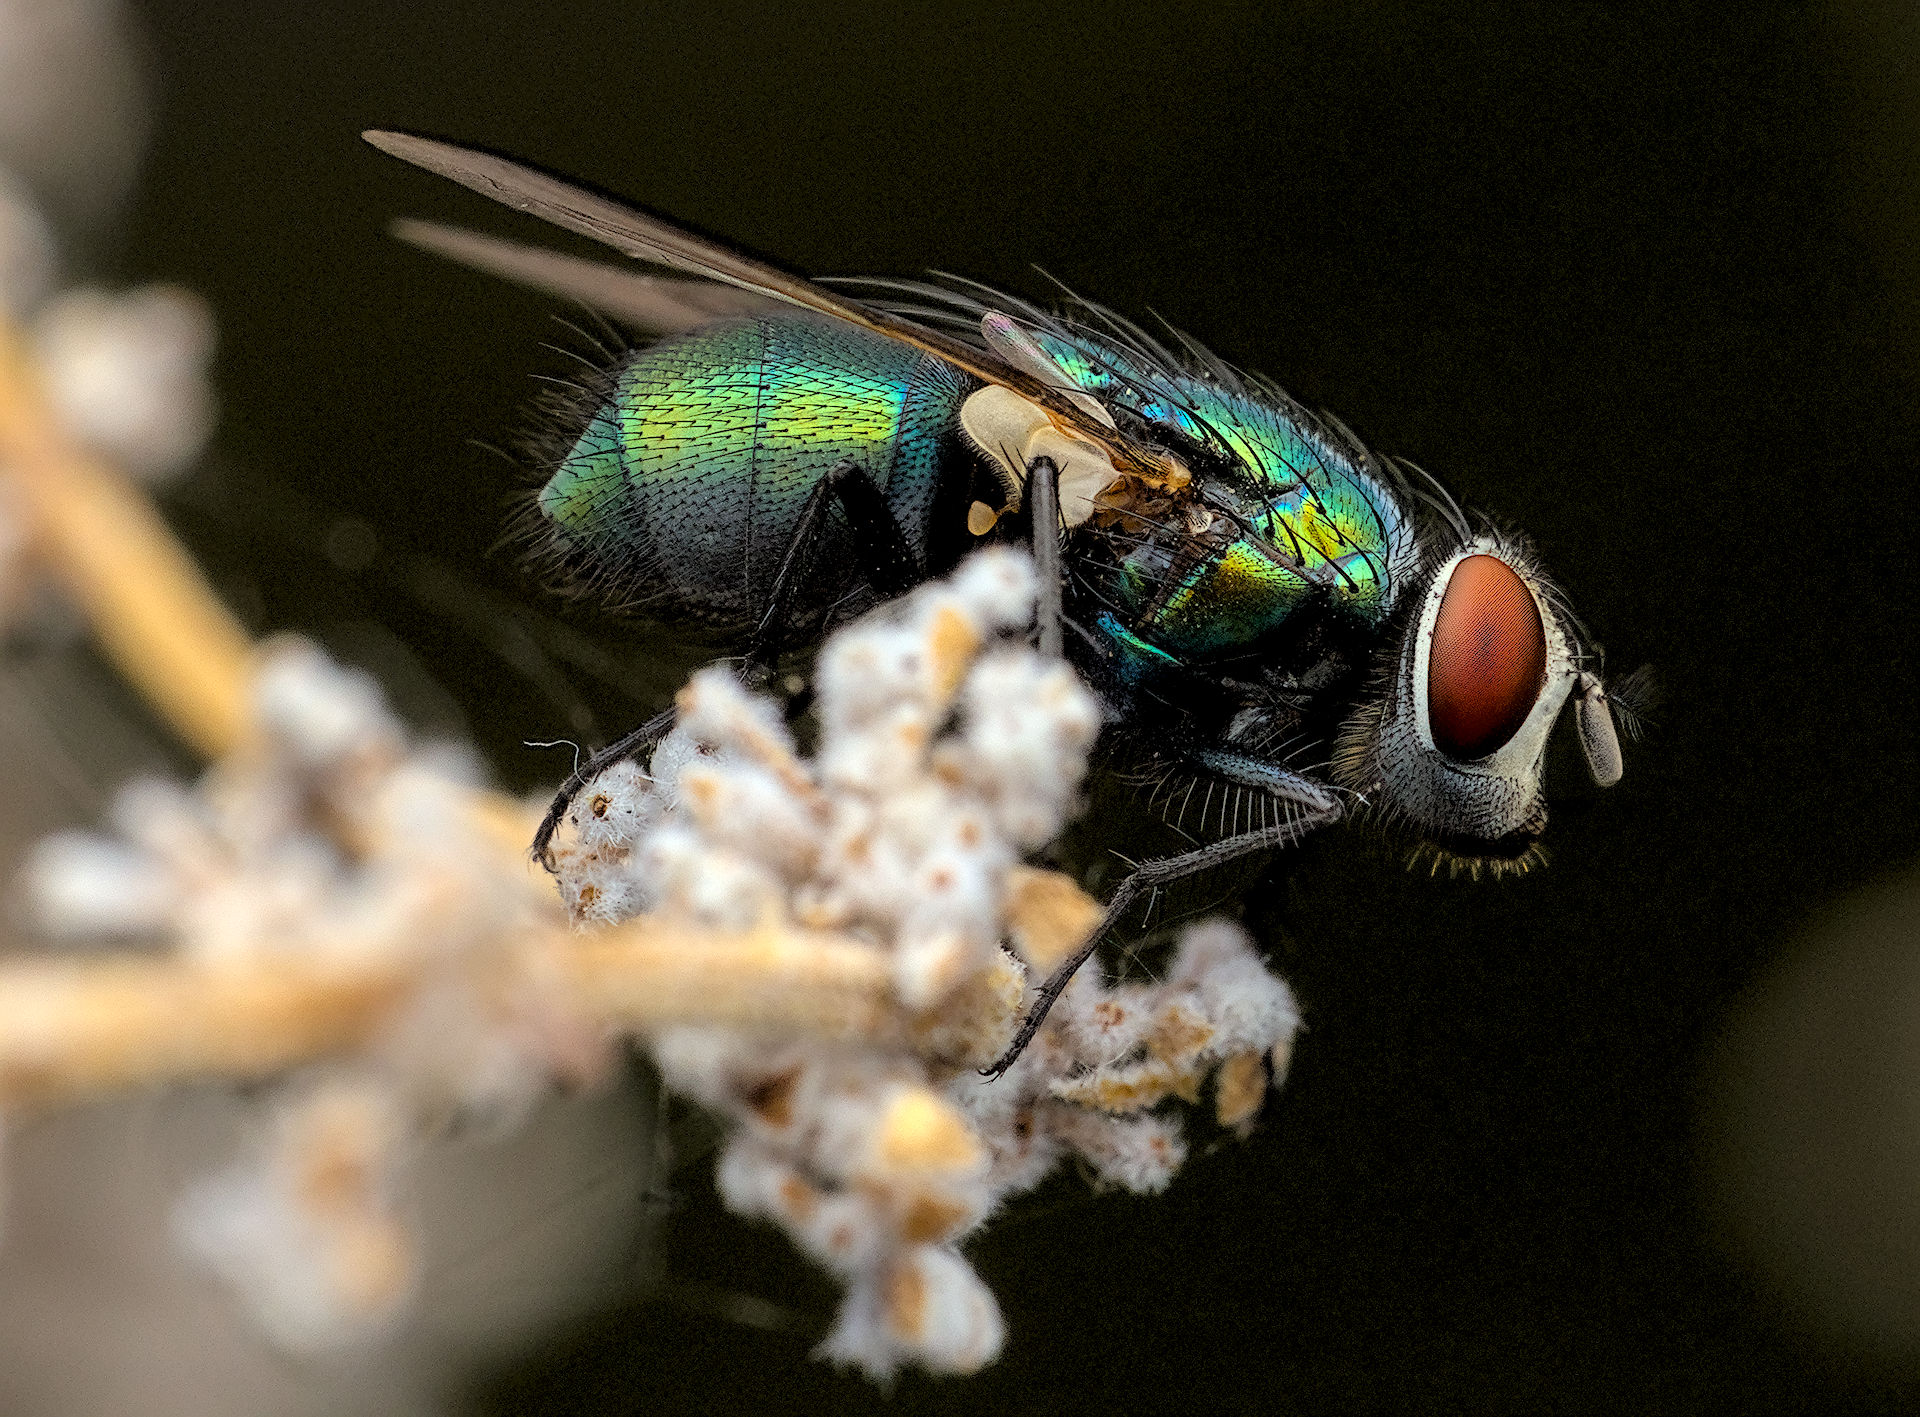
This is my first attempt using my AgX default style that I apply to my Canon R7 images. I figure an R10 would be similar. No extra sharpening steps applied except for default capture sharpening in the demosaic module. 20251112_0019.CR3.xmp (12.6 KB)
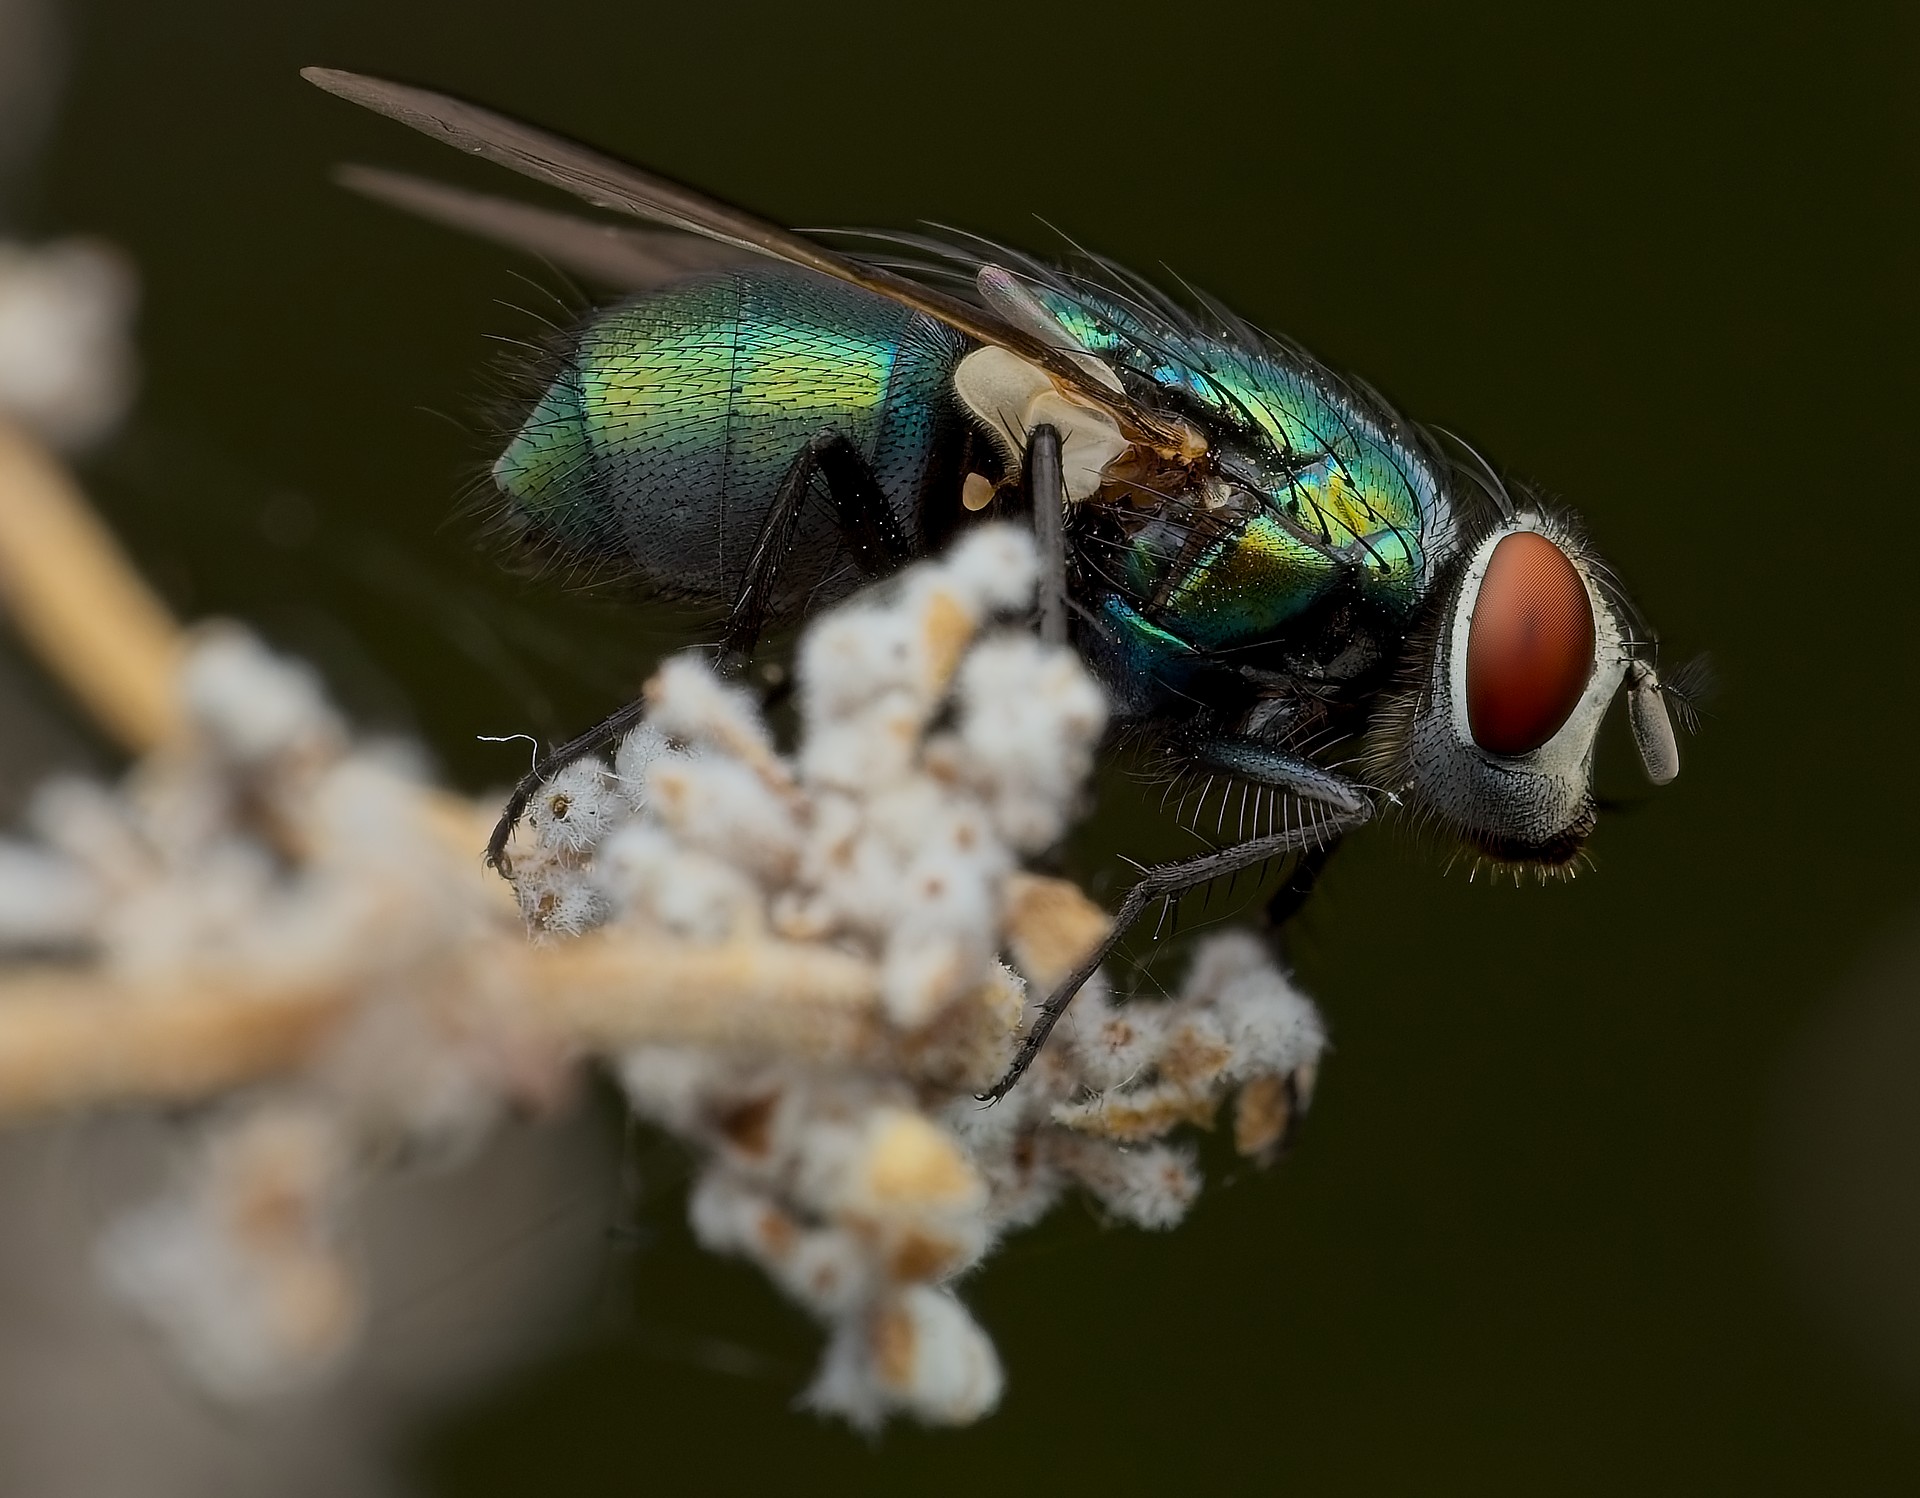
Here is my second attempt where I aimed to do more sharpening than just the capture sharpening. I also reduced the capture sharpening’s contrast mask to zero so the whole picture area was sharpened. 20251112_0019.CR3.xmp (30.3 KB)
Hi Uli, I notice you seem to favour the old school sharpen module in these edits. Is this your usually go to module for sharpening?
I know sometimes when I have a noisy image to sharpen I might reach for the sharpen module because I can set the threshold to avoid noise. I also have used the unsharp mask method for many years since I first used Photoshop when it came on 3.5 inch floppy disks so it is second nature to me.
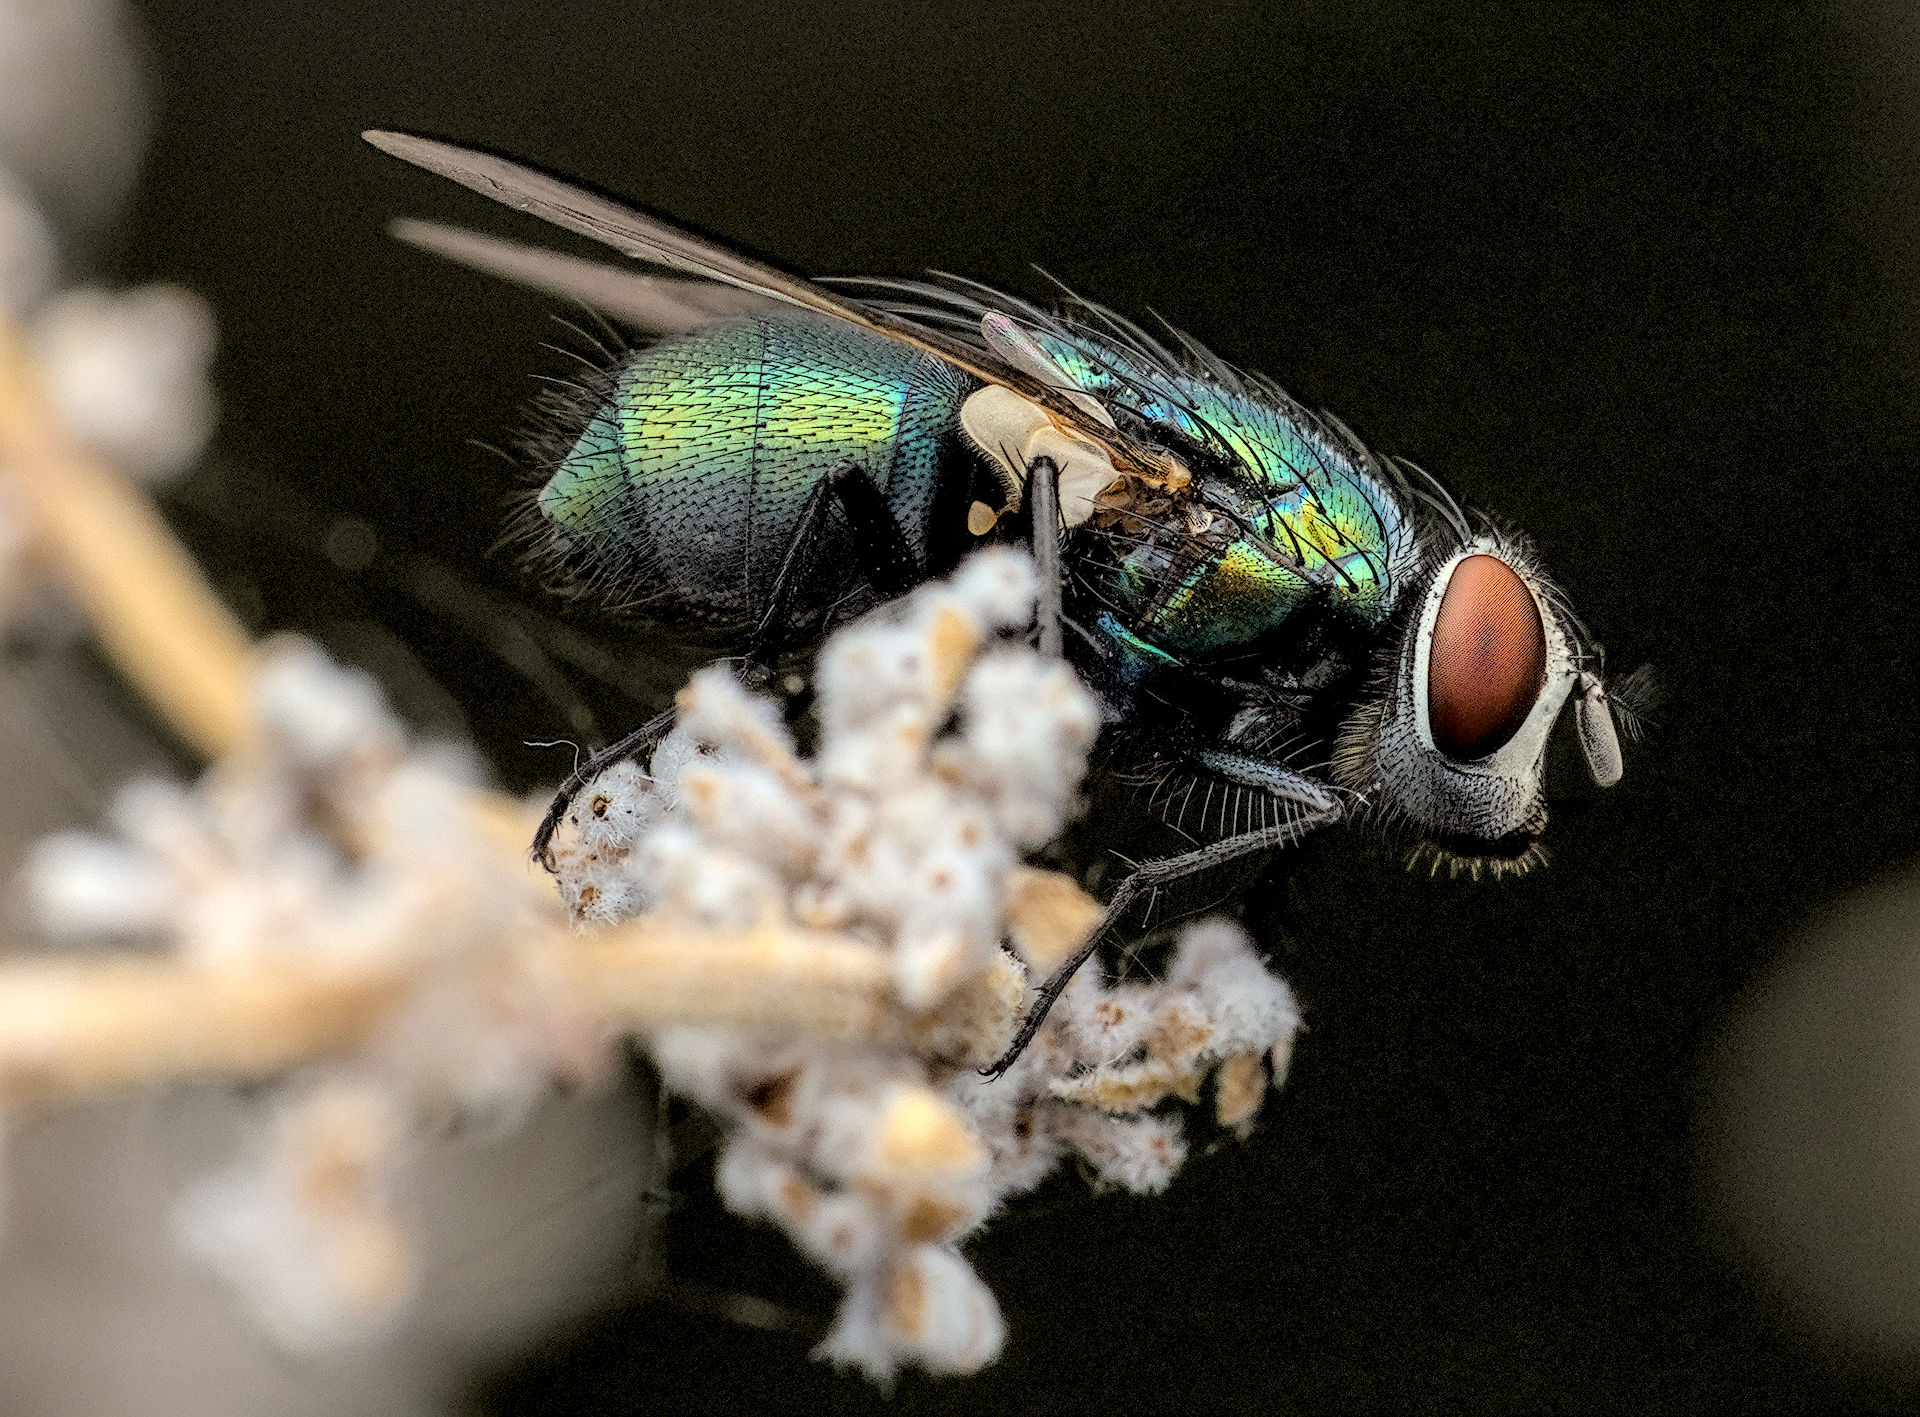
I usually combine some modules to sharpen. The old one is always part of my sharpening. I find it overwhelmingly easy to use and yet quite effective.
Usually I as well use some contrast equalizer and in the past D&S. Now D&S is replaced by capture sharpening even though sometime I use still D&S on top.
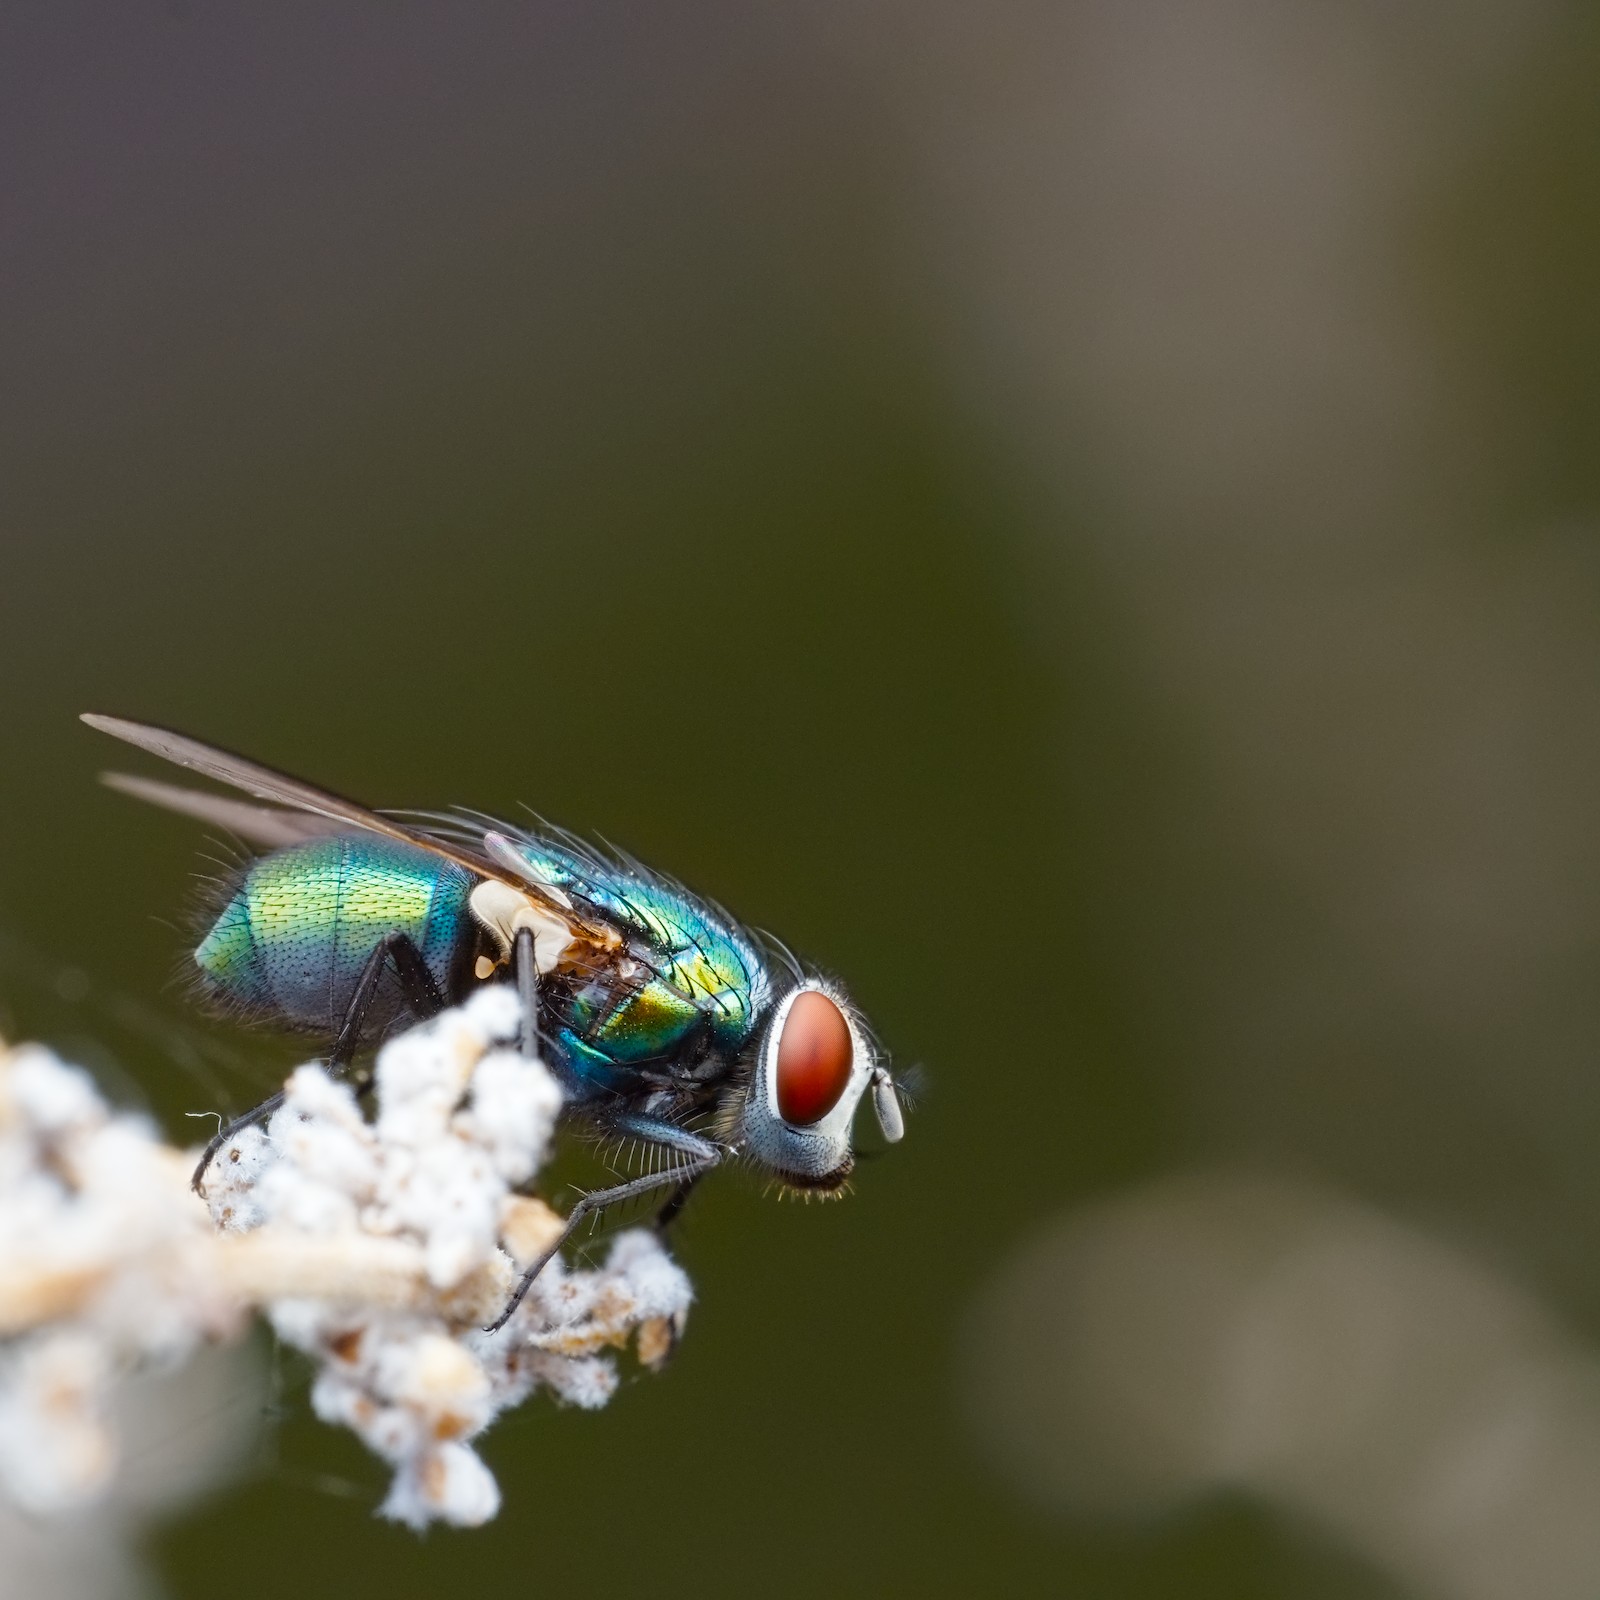
On this photo I found the old sharpening module quite effective and I didn’t want to fiddle around for too long. The photo simply doesn’t need that. I would have been happy with my standard setting.
For me it usually have to be simple and easy. Because editing has to be a quick process. I usually do a lot of editing after holidays. And then I often render around 1000 pictures. So there is not much time to concentrate on single photos.