Yes I’m flooding the forum with my silly problems today…
There is this strange behaviour in DT that only now I seem to have understood a bit where it comes from; this would happen occasionally, and just on some photos.
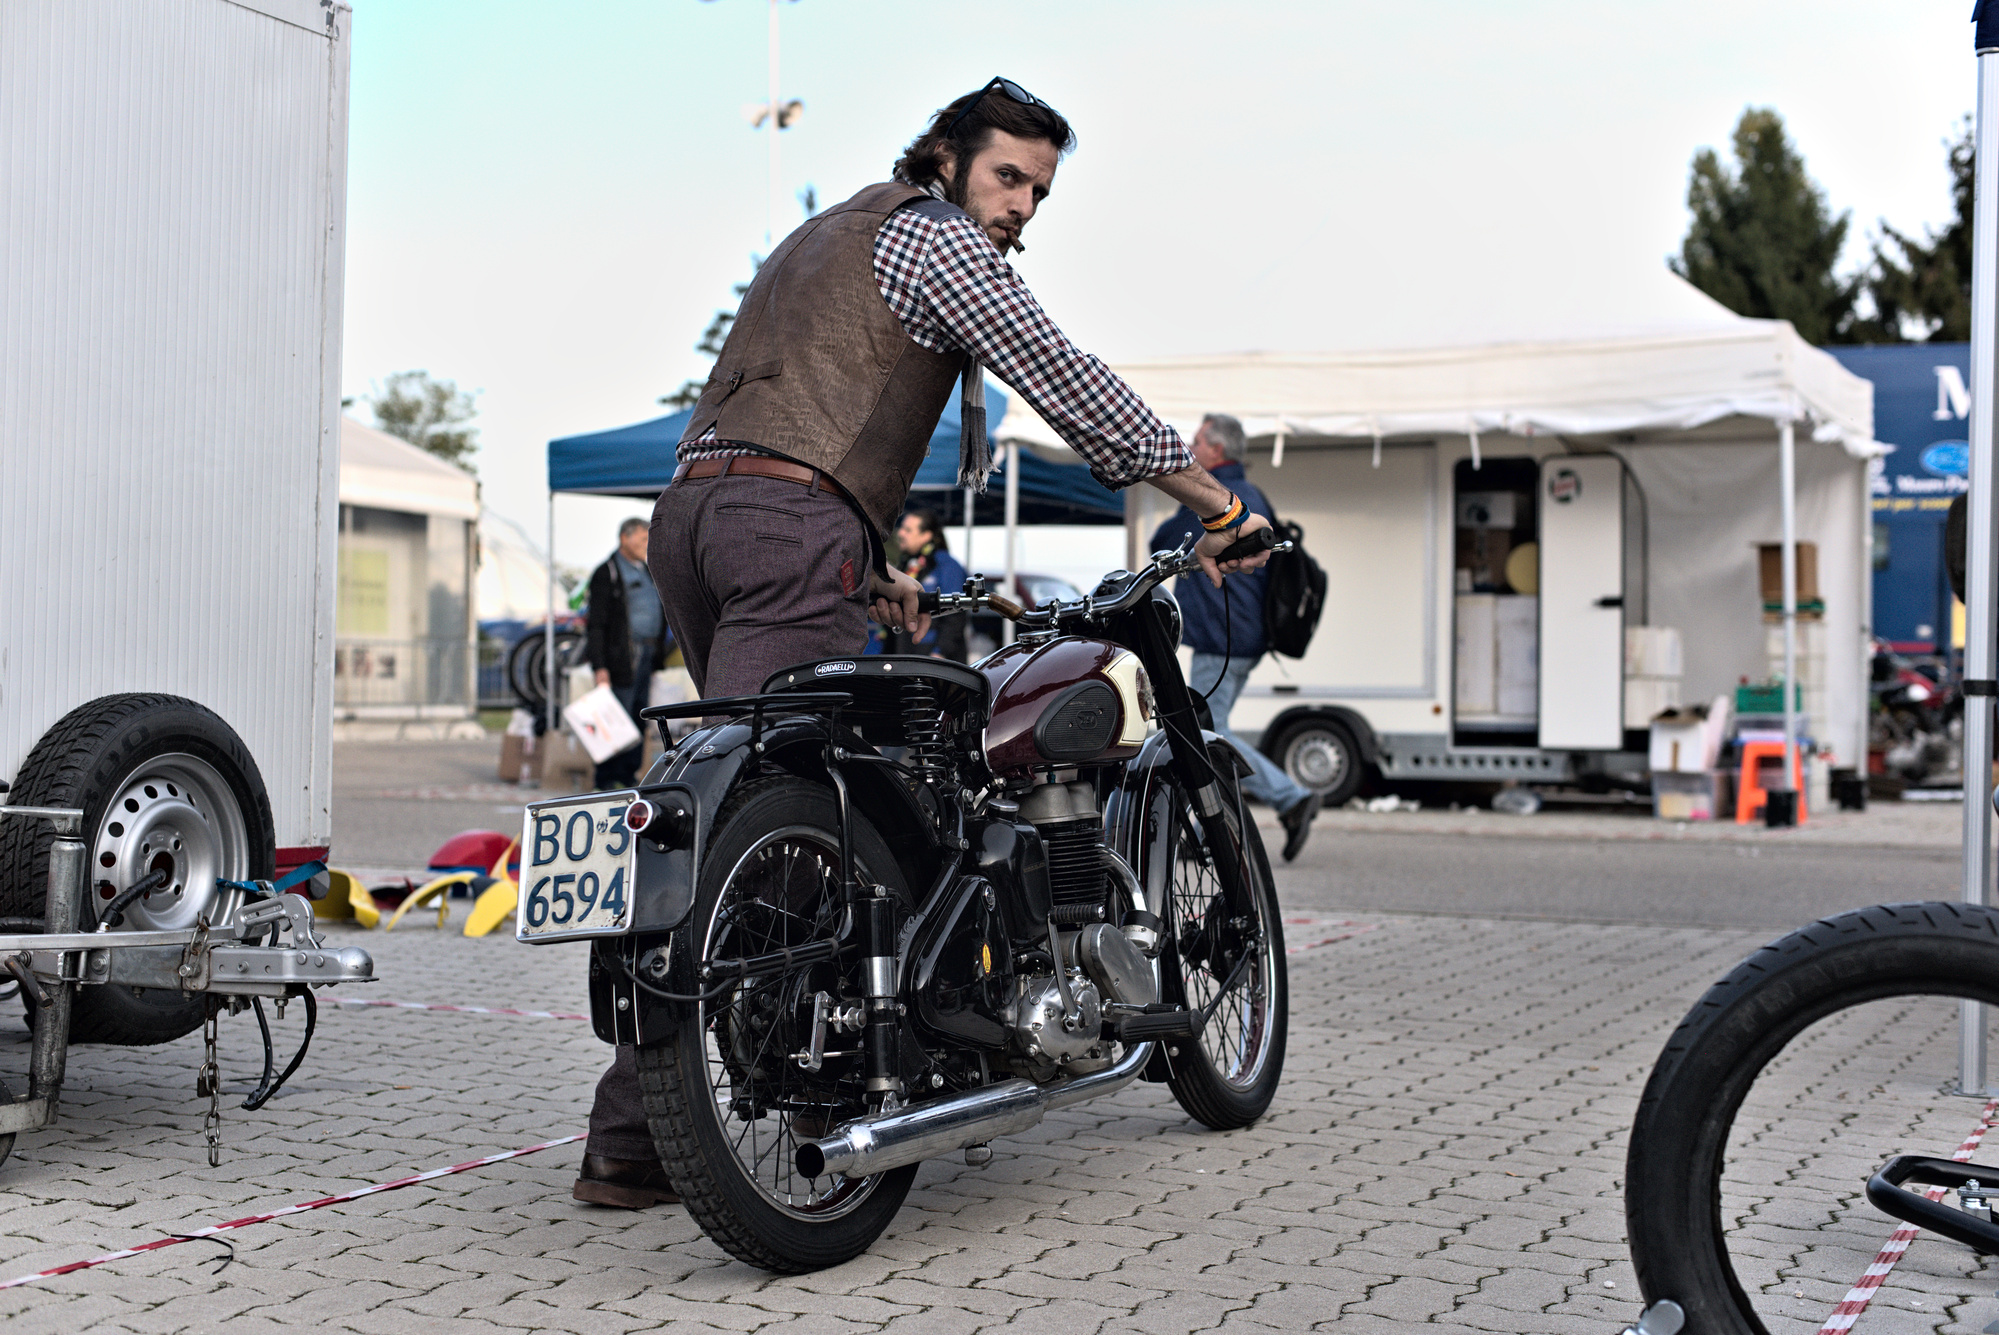
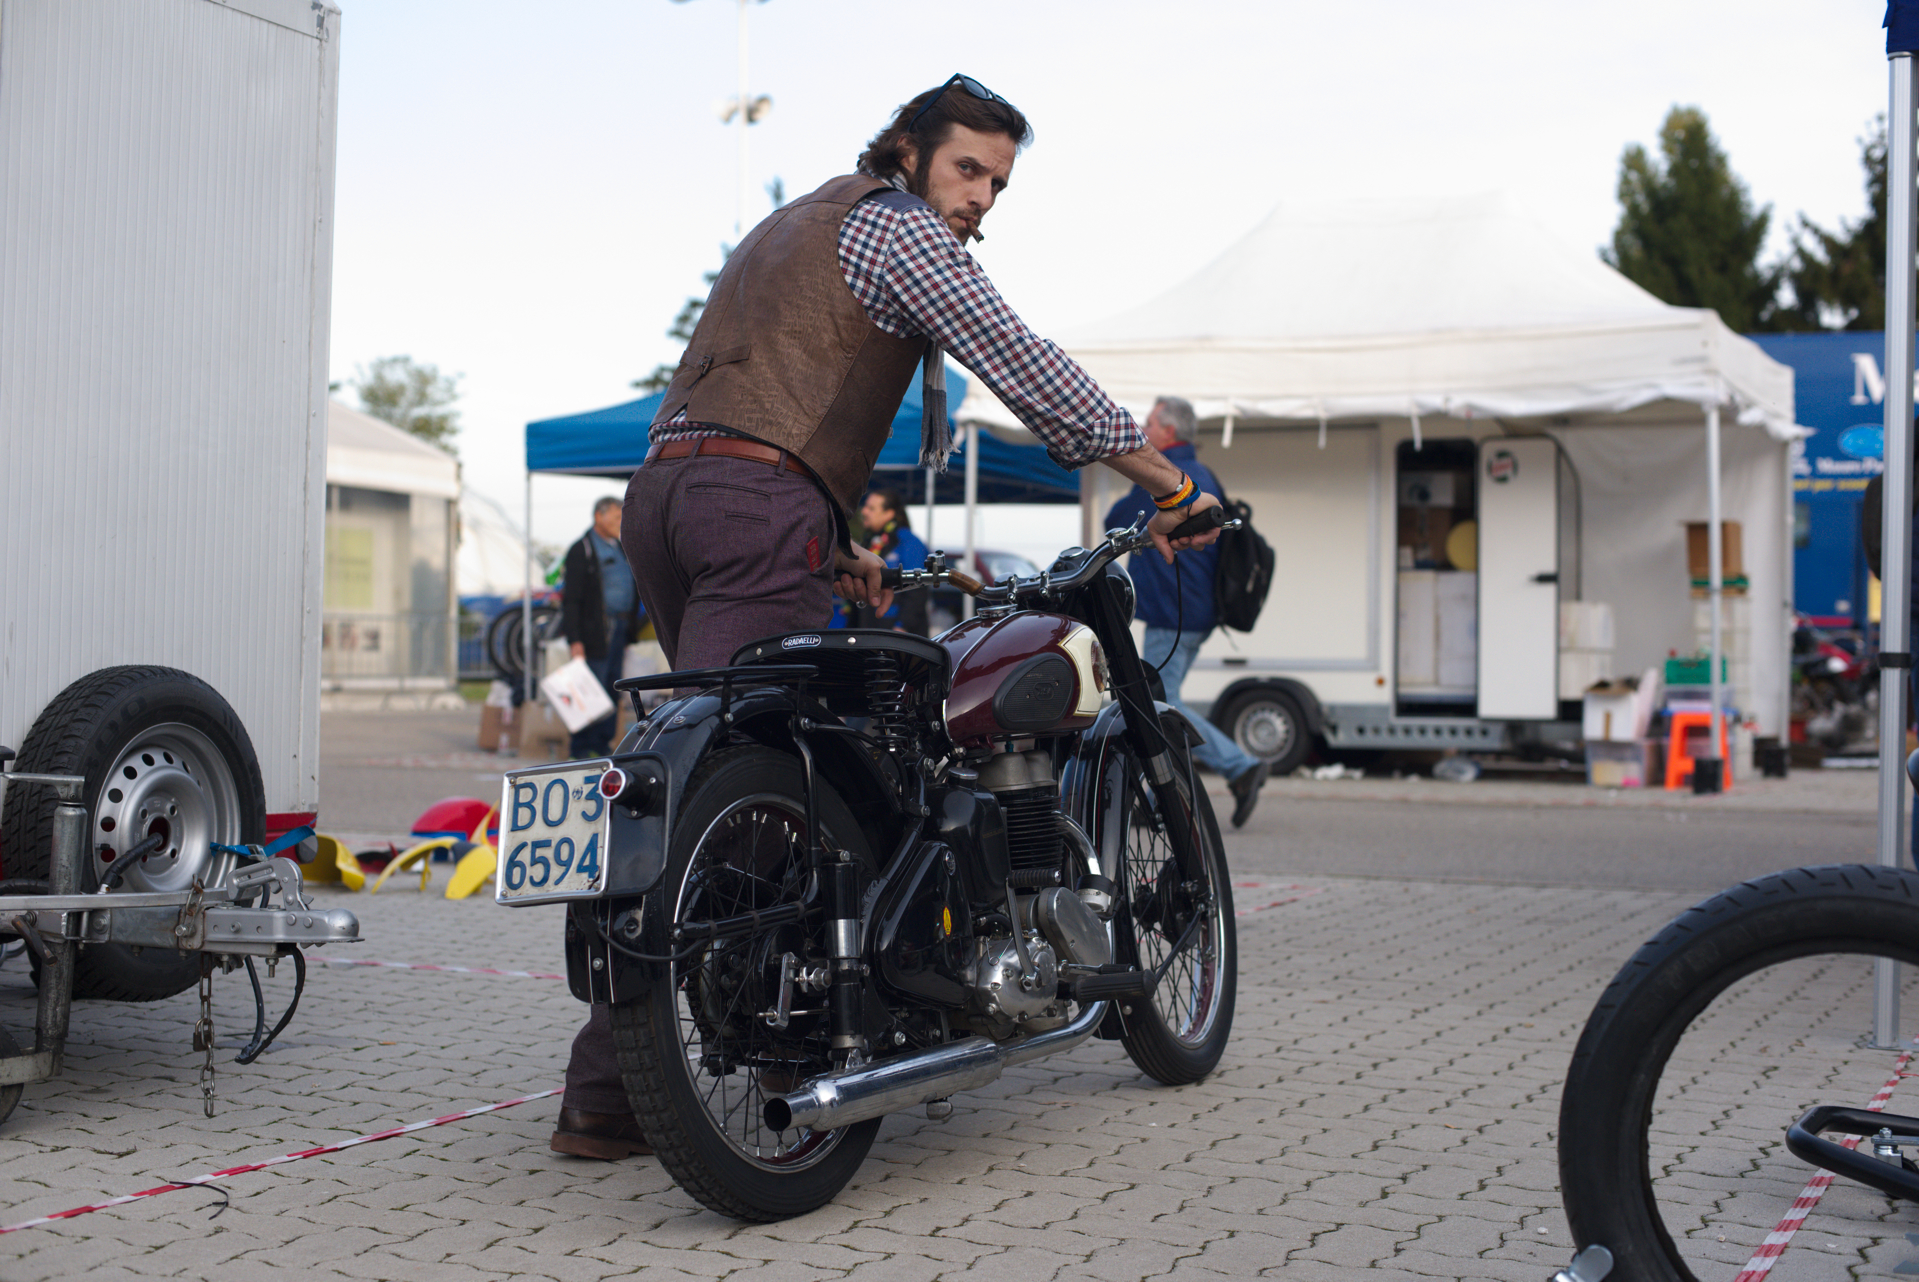
I would increase the exposure and the sky would turn to a freakish cyan. Only now I’ve realized that this happens when shooting against the sun.
These are not camera-specific; the first one is shot with a Nikon D810, the second with a Fuji XT2. Despite playing with higlight reconstruction, the cyan is still there and I don’t understand why is that and how to get rid of it.
I mean, one way to avoid this is to simply use filmic because it automatically applies desaturation to those extremes, but very often I use a simple workflow with exposure+rgb curve and little else (I know filmic could be even simpler since you do the first two steps in one module, but bear with me).
Anyway I wanted to know if this is a common issue and how other users would tackle it or if I’m the only one to struggle with this.
I’m adding here also the 2 raw files that I’ve shown here:
Common for me, and I do usually use filmic for shots like this that capture a wide dynamic range, and I’m learning to underexpose more to protect bright highlights. I find I don’t need to use filmic when the shot has much less DR. I was just watching @s7habo last video and he does wonders with just the color balance module but the pictures where that is successful tend to have less DR.
I also find in less DR photos that using base curve (shock!) actually gives good results, but base curve isn’t effective in high DR.
When I was using lightroom, I’d use combinations of grad filters and exposure etc. but the results were always blah. Results in darktable for high DR are better for me especially if I use filmic for managing that range.
So for me, the tools/flow I choose is photo specific.
I see nothing unusual here. Both photos are just overexposed and blue and green channels are over the gamut. If you increase the exposure in the second photo, you push the channels even more over the gamut. So the filmic is the most reasonable solution if you want to brighten up the photo.
@age has mentioned a solution and I will strongly recommend to learn not to overexpose the pictures. With overexposure the information is lost and has to be reconstructed. And this is always a cramp with rarely satisfying results. Underexposed images can be treated much better than overexposed ones.
Cyan happens because green channel clips faster than blue channel when you push exposure without any dynamic range compression afterwards.
I started a minor side-project 2 years ago to deal with exactly that. It takes care of highlights compression as film does, and avoids hard clipping. Word is the v4 is on the way…
Thanks everyone for the comments and help. Yes I will try to avoid overexposing as much as possible and use filmic or the LCH highlights recovery modules when I blow exposures but I still want to save the picture!
Lch reconstruction is useful only to reconstruct sensor clipping, at an early stage in the pipeline.
If you push the exposure later, it will do nothing. In that case, you need tone + gamut mapping at the end of the pipeline, to bring back everything in place.
Sometimes the opportunity for the shot you want disappears quickly. If you are unsure of the exposure you want at the time you are shooting, maybe exposure bracketing might give you more chances at getting the exposure you need.
I used to think that I had all under control, I mean the mechanical act of taking photos… I usually put a deliberate effort in thinking about the right moment to shoot (when photographing people) or framing to make boring landscape photos less boring (*)… and the rest, i.e. exposure and other technical details is just so easy that I leave the camera do all the work (I routinely shoot in Aperture mode, with fixed ISO and center-weighted metering).
Well it turns out that after so many years maybe I have to rethink my attitude and give a bit of thought also to exposure etc! thanks everyone for making me think about this.
(*) the two photos above are obviously not examples of what I consider good photography! They were just taken to show the problems that sometimes I have while processing.
Thats the side effect of having plenty of dynamic range capabilities on the capture side but only limited capabilities on the output side. So HDR processing is no longer stuff for nerdy photographers but common business…