@Dinobe would you mind terribly explicitly stating the license so we can look at it for you?
Sorry, struggling on how to do that exactly
Just post that you are releasing the image under license XYZ (preferably Creative Commons Share Alike).
Hope I got it right now, still learning…
1 Like
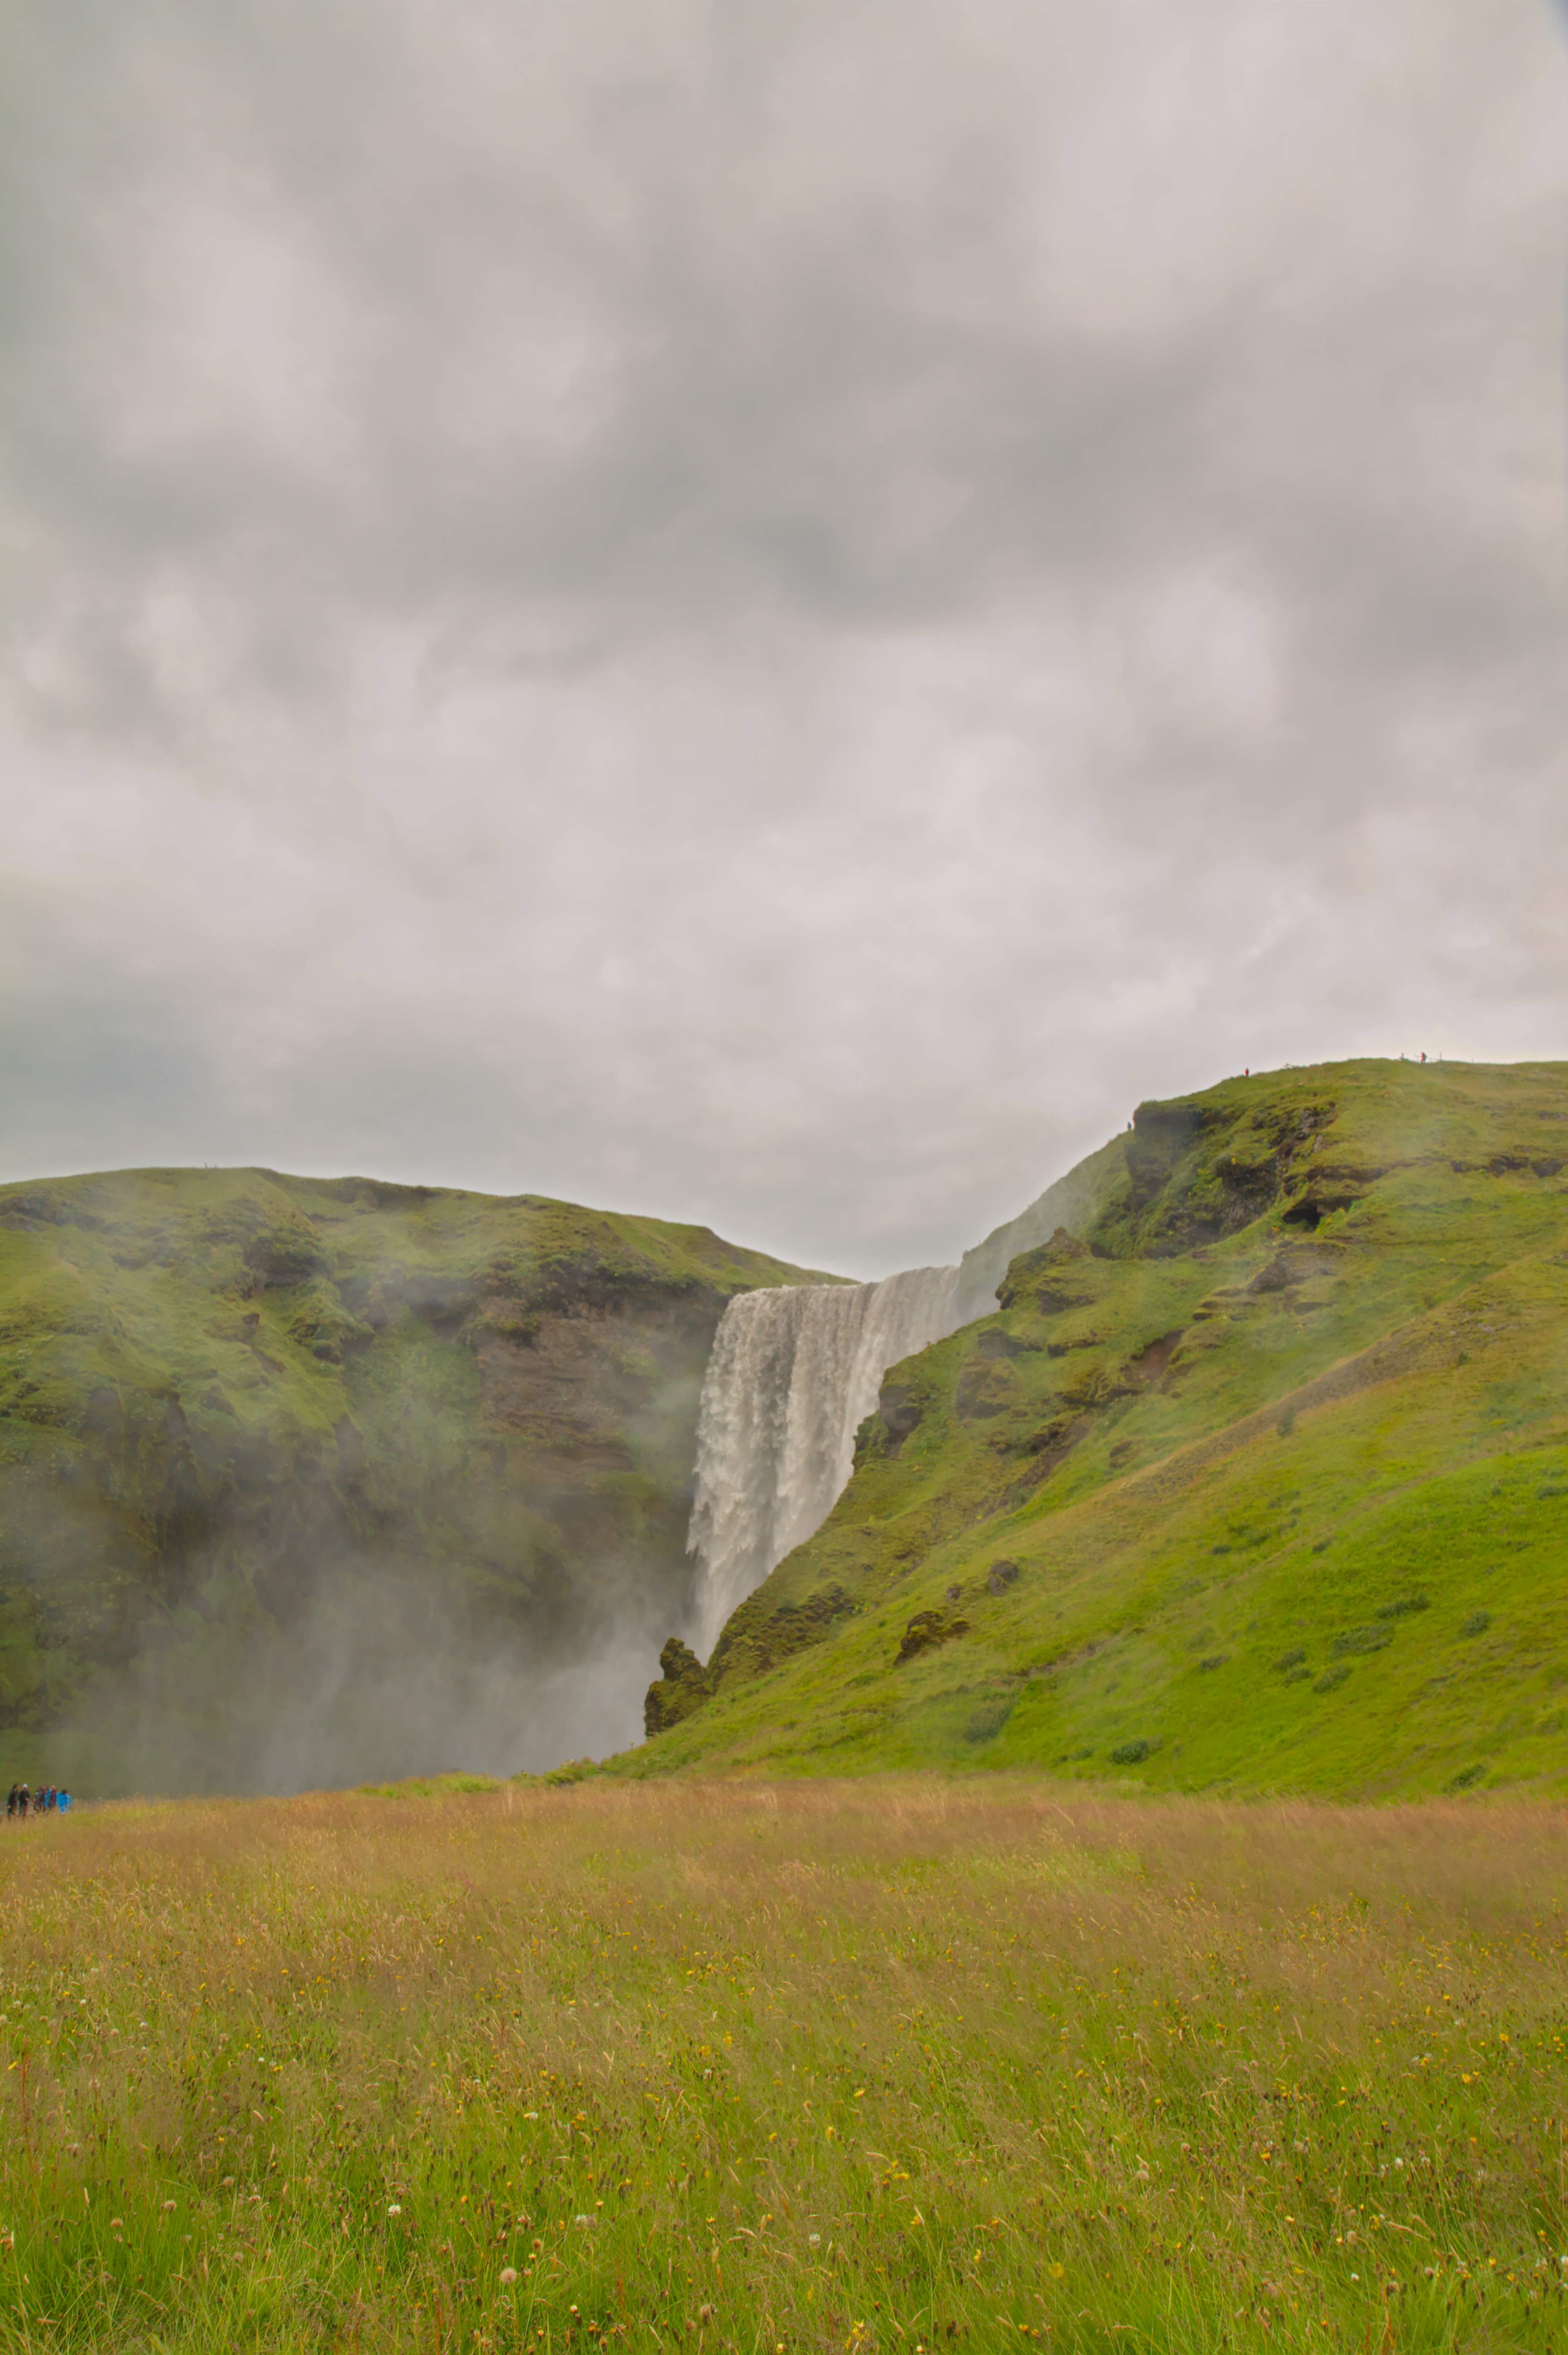
So in this photo you have clipped two of the raw channels, leaving only the red channel left to retain any highlight data.
To deal with this, you need to change the highlight reconstruction module’s method; “reconstruct in LCh” works well for this image. Then reduce the clipping threshold.
I do have a question, though: was the sky actually blue? To me it looks like entirely overcast weather, throwing Lightroom’s output into question.
4 Likes
No I don’t think the sky was blue, must have been an artistic interpretation I gave to the sky in LR . What was I thinking so many years ago…
I’ll have a look at that reconstruct in Lch option
@Dinobe I played with your image a little using same method as @CarVac with addition of color reconstruction module.
Here is the result with darktable 3.0.1

IMG_1324.CR2.xmp (11.1 KB)
1 Like
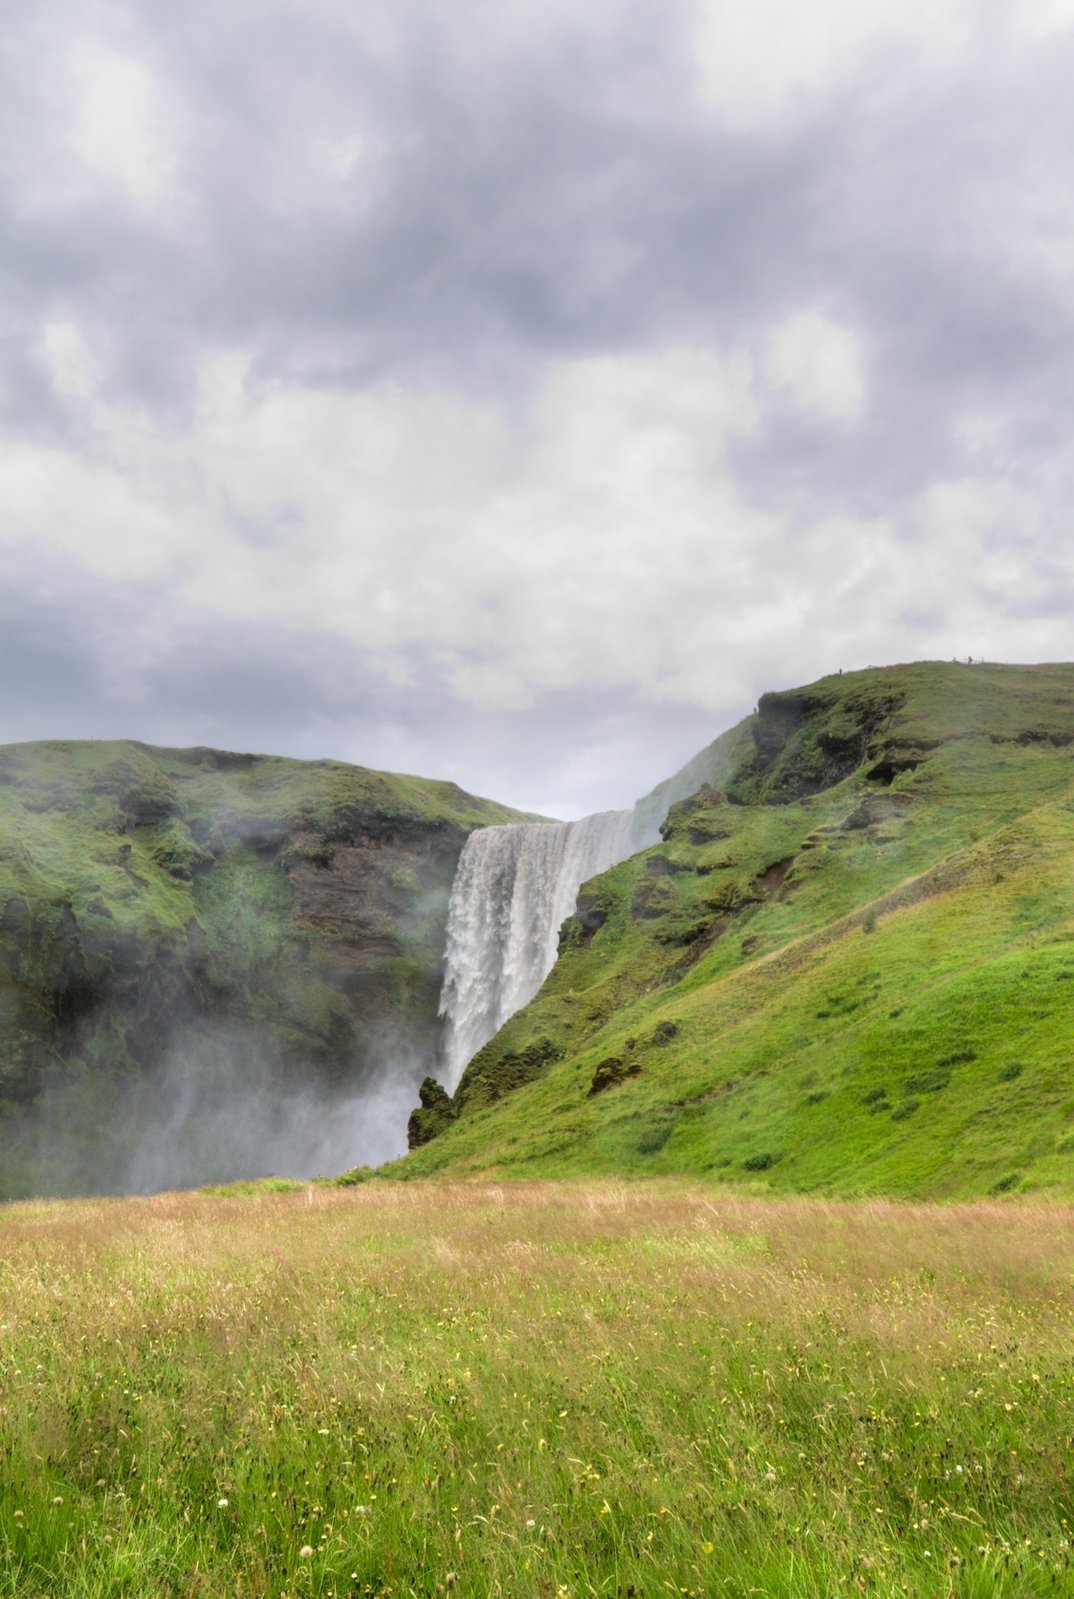
Here’s a literally-zero-effort output from RawTherapee using the Color Propagation highlight reconstruction method and then slightly reduced exposure compensation, just to see what you have to work with:

And here’s what I did in Filmulator, which has the same backend Color Propagation highlight reconstruction:

- Auto CA correction 1 (on, in previous versions)
- Highlight Recovery 2
- Exposure Compensation -0.67
- Shadow Rolloff Point 0.034
- Drama 76
- White Clipping Point 0.422
5 Likes


Ok guys, thanks a lot for pointing me to the ‘reconstruct in Lch’
I steared away from it as it said “Manually adjust the clipping threshold against magenta highlights (you shouldn’t ever touch this)”
I had to drop the slider to 0.788
I’m getting much better results. I think the image could still some local dodge and burn. But it’s already looking a lot better.
9 Likes
i found 7D needs a lower raw white point. I found 13580 a better white point reducing magenta in clipped highlights very well. Additional hightlight reconstruction in LCH an a one-size-fits-it-all filmic style (see Filmic RGB - loss of detail and saturation in high contrast scenes - #7 by MStraeten) gives a good base to tweak details - maybe desaturate the sky a bit to reduce the color difference between clipped and unclipped areas, increase color contrast in the green areas, …

IMG_1324.CR2.xmp (6.3 KB) (the file was processed with filmic v4 module but v3 setting, so there might be errors when importing the xmp with 3.0.x)
a little bit tweaking:

IMG_1324.CR2.xmp (8.8 KB)
3 Likes
From RawTherapee camconst.json:
    { // Quality A, ISO and aperture WL data by CharlyW at RawTherapee forums, missing samples safely guessed
        "make_model": "Canon EOS 7D",
        "dcraw_matrix": [ 5962,-171,-732,-4189,12307,2099,-911,1981,6304 ], // Colin Walker
        //"dcraw_matrix": [ 6844,-996,-856,-3876,11761,2396,-593,1772,6198 ], // dcraw
        "ranges": {
            "white": [
                { "iso": [ 100, 125 ], "levels": 13480 }, // typical 13584
                { "iso": [ 160, 320, 640, 1250, 2500 ], "levels": 12550 }, // typical 12650
                { "iso": [ 200, 250, 400, 500, 800, 1000, 1600, 2000, 3200, 4000, 5000, 6400, 12800 ], "levels": 15200 } // typical 15304
            ],
            "white_max": 16383,
            "aperture_scaling": [
                // no scale factors known for f/1.2 and f/1.0 (no lenses to test with), but the
                // typical 12650 white levels maxes out at "white_max" for f/1.4 and below anyway.
                { "aperture": 1.4, "scale_factor": 1.250 }, // guessed
                { "aperture": 1.6, "scale_factor": 1.150 }, // guessed
                { "aperture": 1.8, "scale_factor": 1.110 }, // 15196/13584
                { "aperture": 2.0, "scale_factor": 1.080 }, // 14734/13584
                { "aperture": 2.2, "scale_factor": 1.050 }, // 14386/13584
                { "aperture": 2.5, "scale_factor": 1.040 }, // 14272/13584
                { "aperture": 2.8, "scale_factor": 1.030 }, // 14042/13584
                { "aperture": 3.2, "scale_factor": 1.015 }, // guessed
                { "aperture": 3.5, "scale_factor": 1.000 } // guessed negligible
            ]
        }
    },
Tricky one. The highlights were very recoverable, but the fringing atop the hill was a challenge. Would have been better to do two different versions - one for highlights, another for the rest - but here it is in one. Using darktable.
IMG_1324.CR2.xmp (25.3 KB)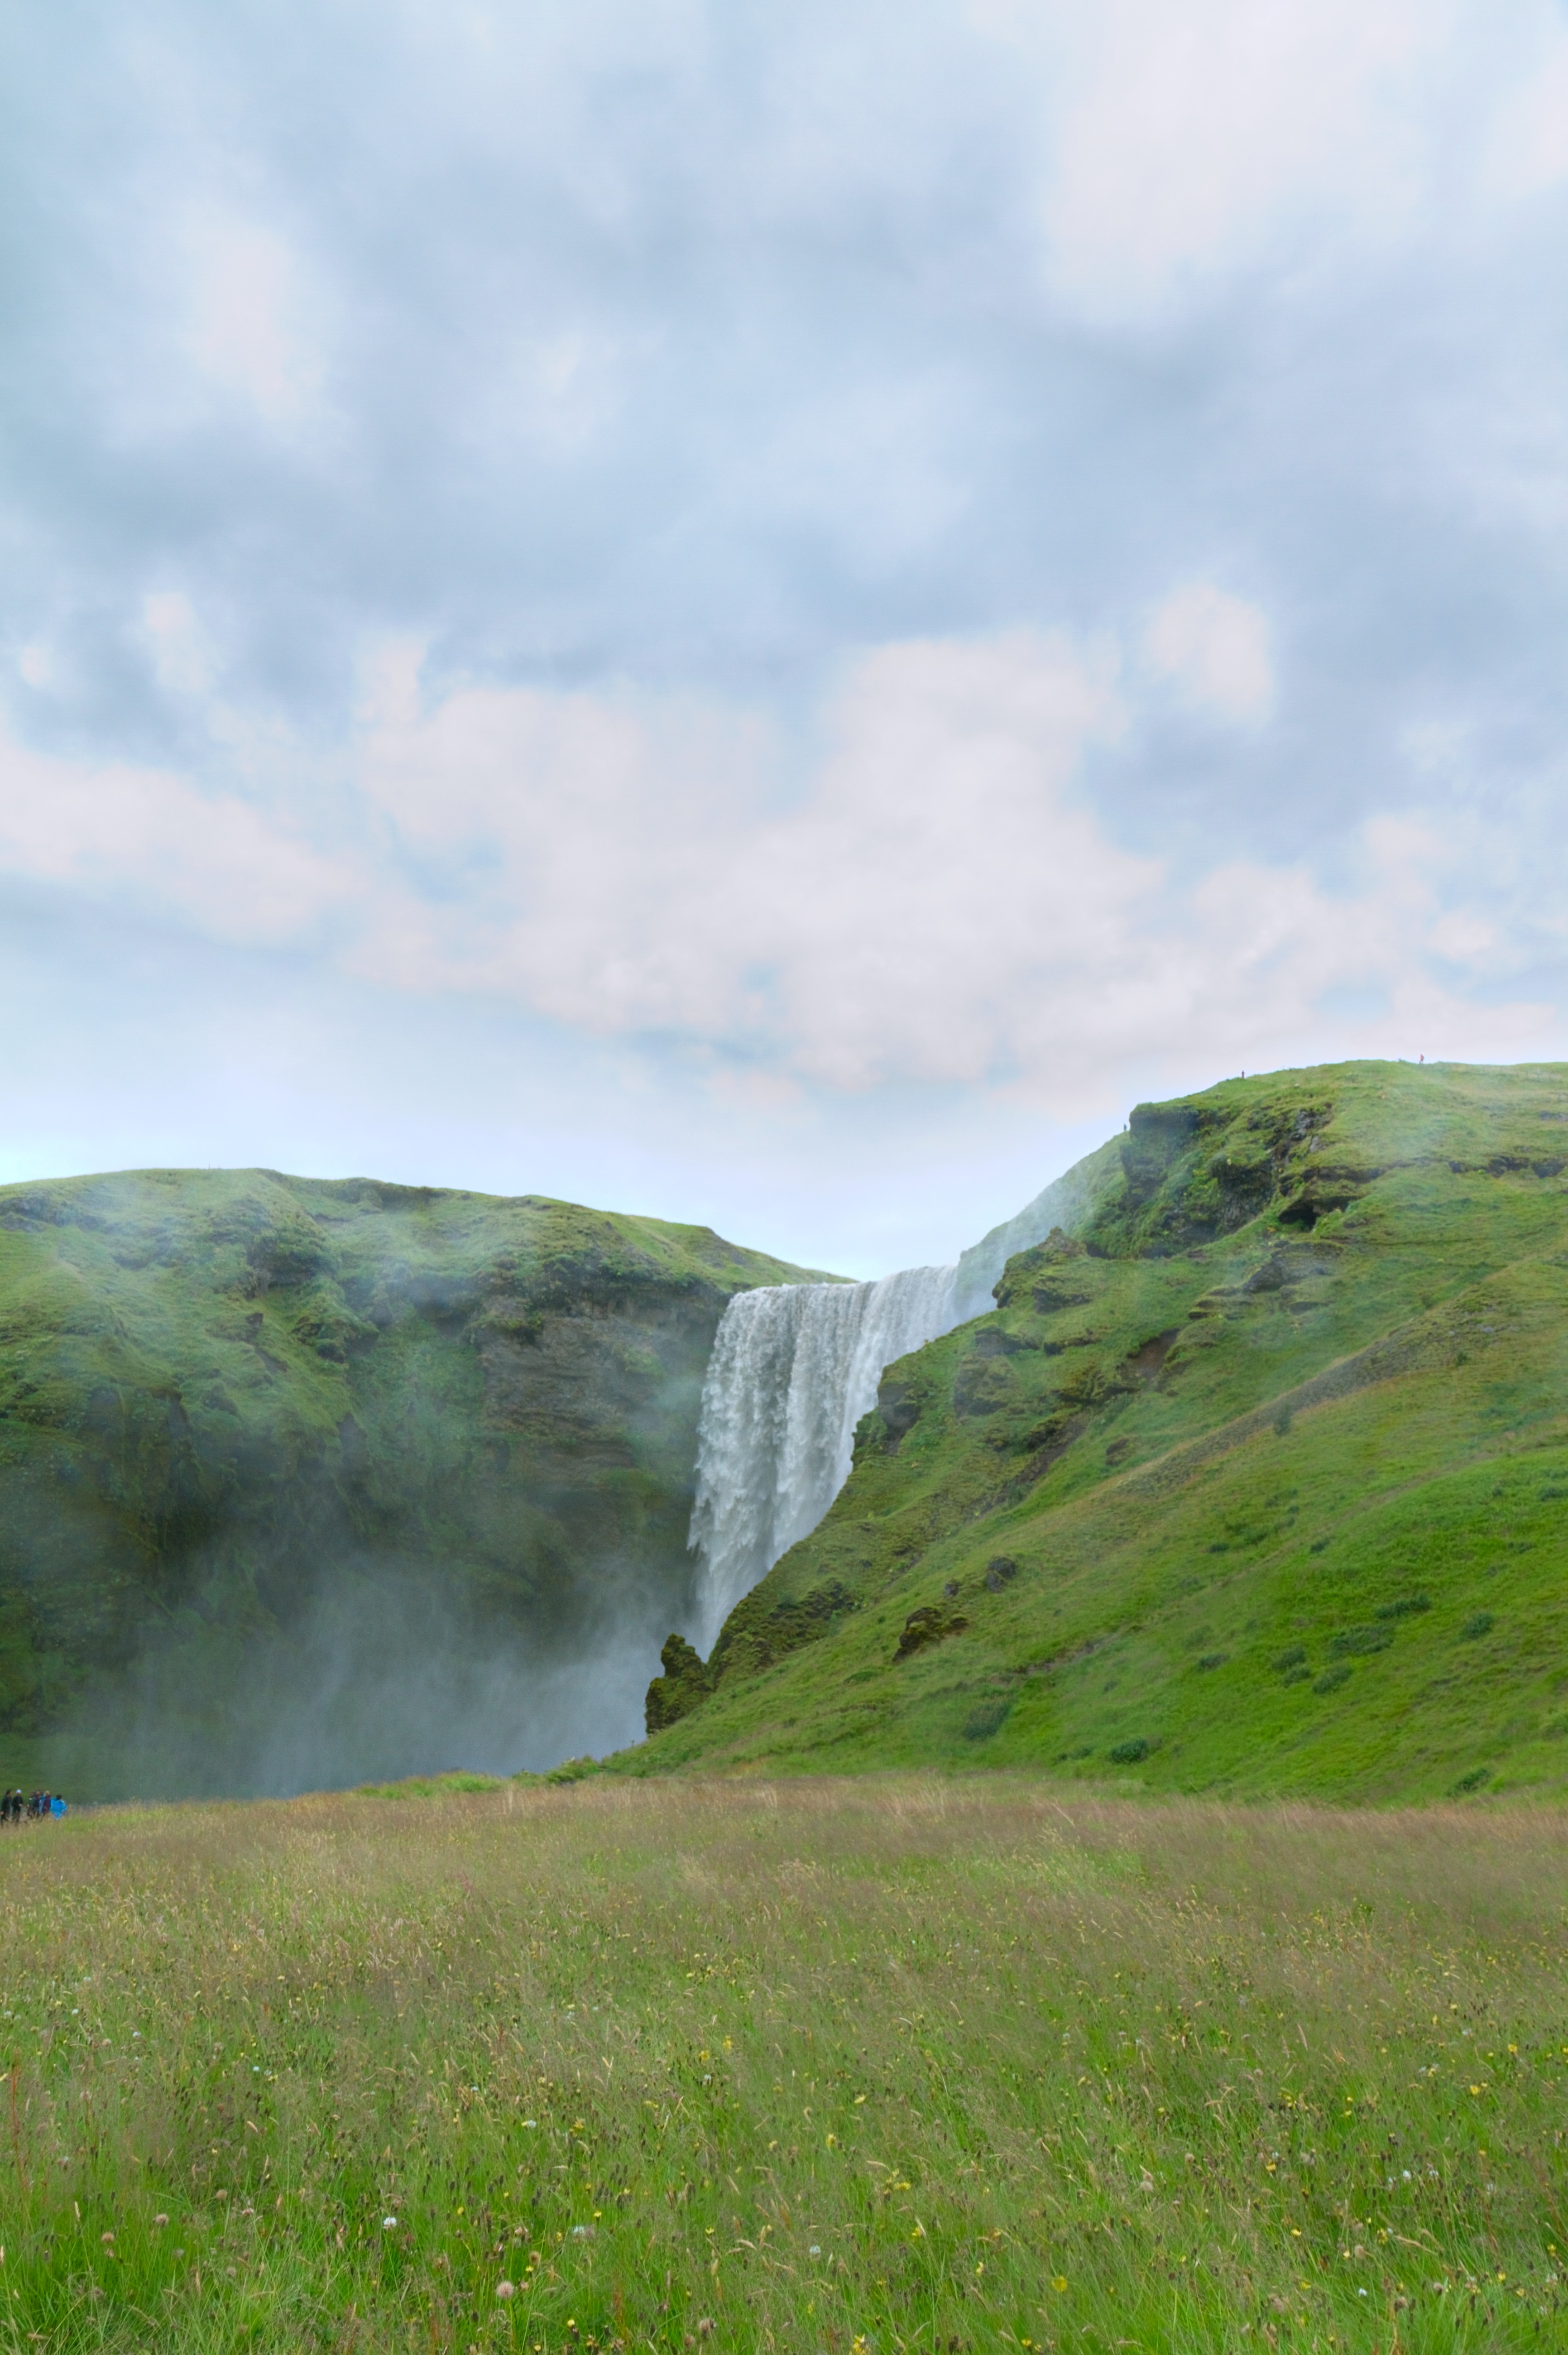
2 Likes
You lost me there, but I’ll have a look into that…
Its in module raw black/white point one of the default modules and sets some basic values for the useable range between min black and max white level of the sensor. “Modules” in the darktable usermanual
Could this possibly be ported to rawspeed using a simple XML change?
I don’t know anything about rawspeed, sorry ![]()
Of course, just open an issue at rawspeed git: https://github.com/darktable-org/rawspeed/issues/new or change it yourself and initiate a pull request.
But then it makes sense to add the iso specific ranges as well as it’s done for more recent cameras