I’m looking for assistance and input on how to recover the skies in this shot. This image was taken years ago and had I processed in Lightroom. While stuck at home and as a kind of training in Darktable, I tried reprocessing this image.
It feels like I’ve been a in fight with Darktable the last couple of hours and I can’t figure out how to darken the skies/recover the skies.
I’ve tried:
- adding an Exposure module, -2.5 EV, with a gradient over the sky → clouds turn magenta and purple
- adding a colour balance modue, dropping shadows, midtones, highlights to -50% (the minimum) → some blue clouds reappear
- adding a tone curve, dropping everything to a minimum
- adding a RGB curve, dropping everything basically to 0, → some magenta clouds reappear
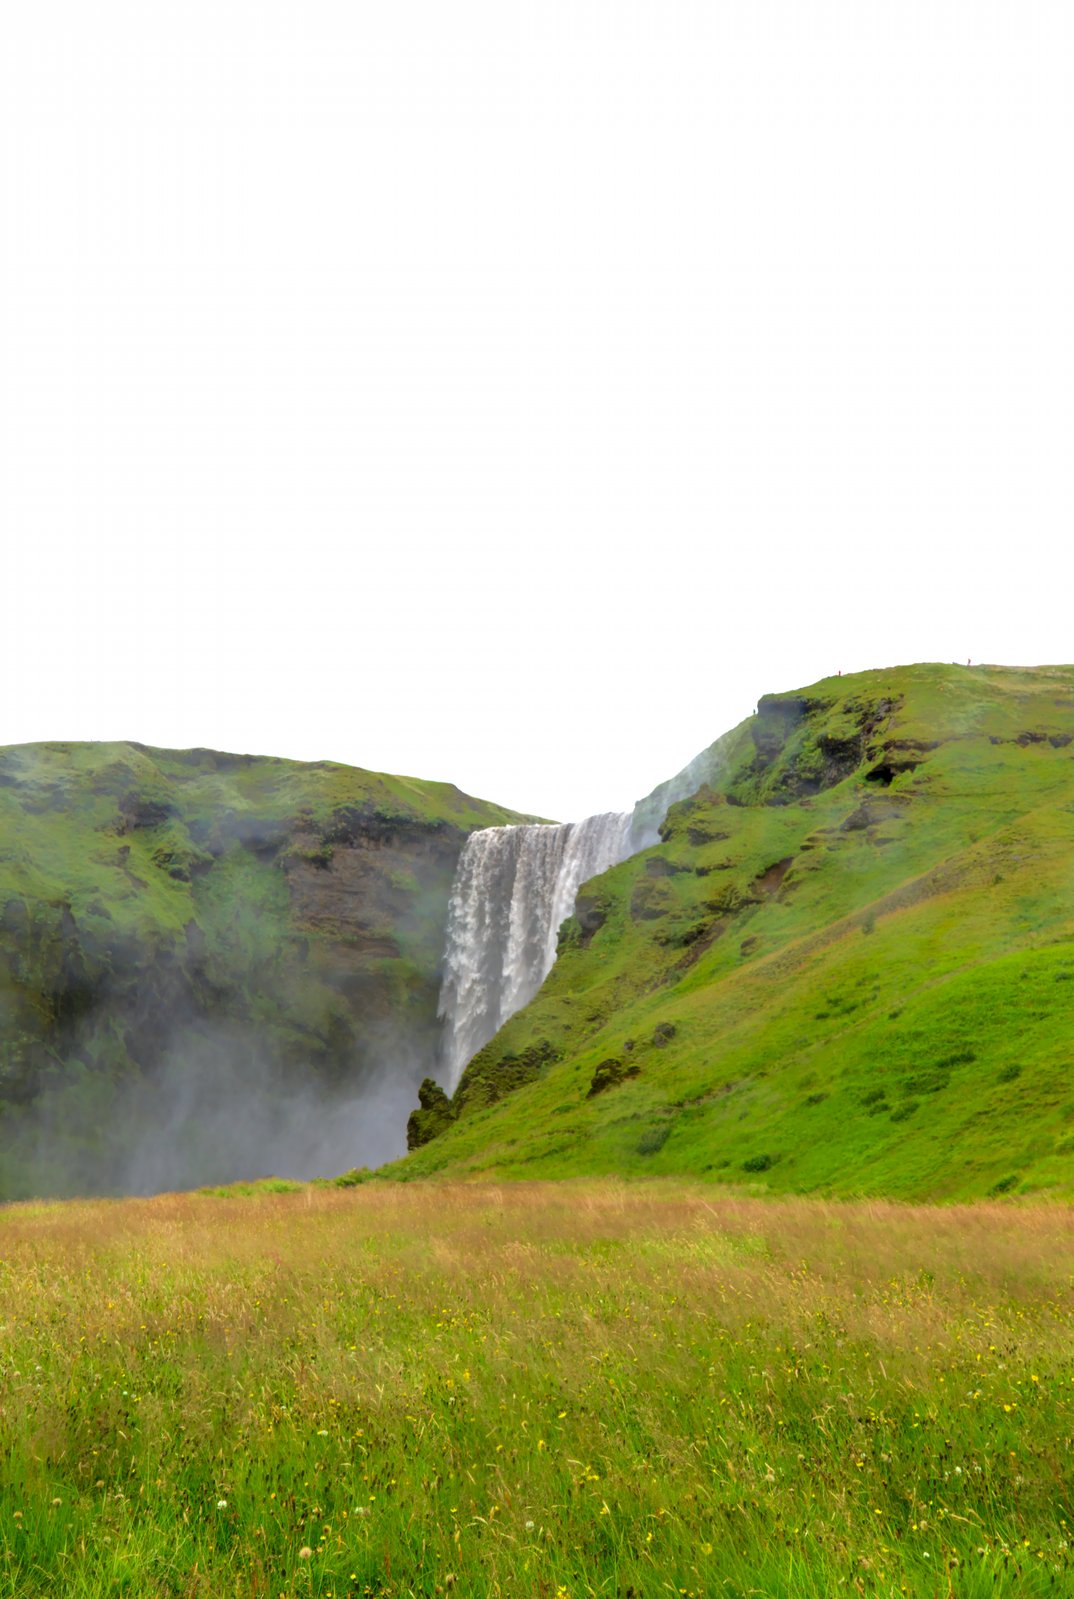
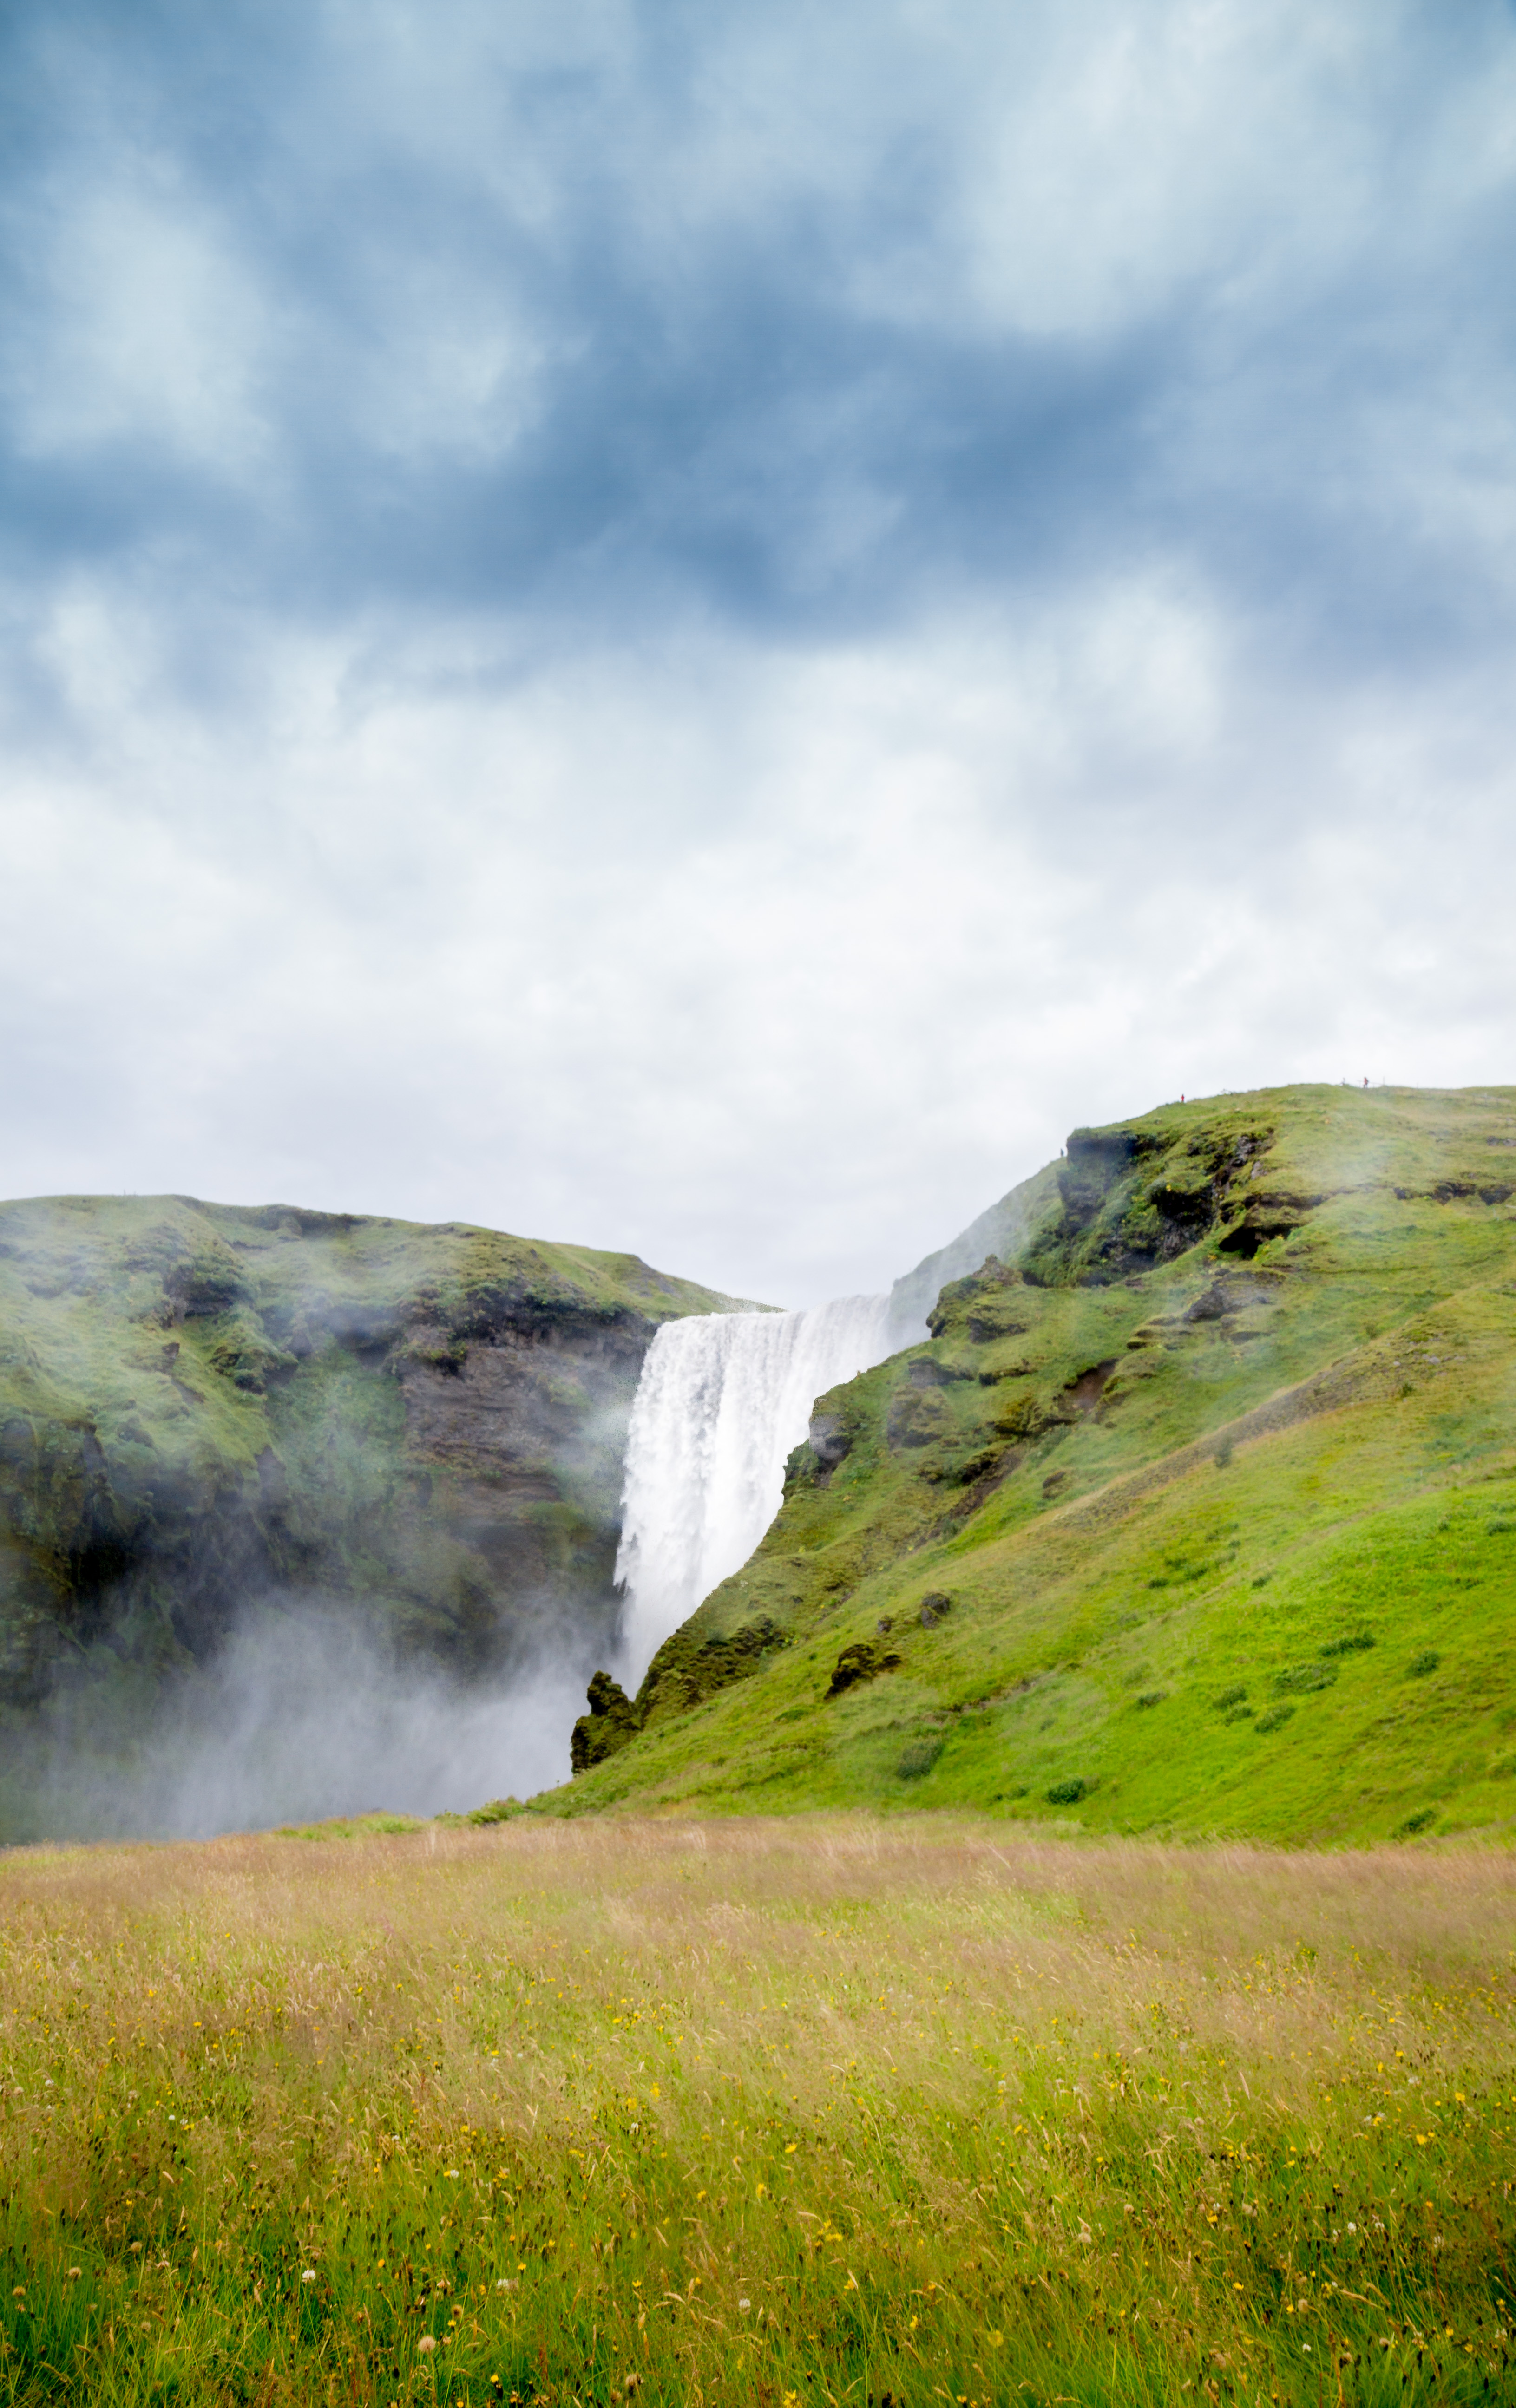
- adding filmic, set extreme luminance saturation to 0% → some ugly plain grey clouds reappear
- tried adding a tone equaliser over the sky and drop everything, but couldn’t get clouds back
After 3 hours of trying I’m giving up. What am I missing? I feel like I’m fighting a piece of software and not working with one to achieve a goal.
After every step I feel like: why have you done that? I have no problems learning something, but this is becoming ridiculous. There must be something key I’m just overlooking.
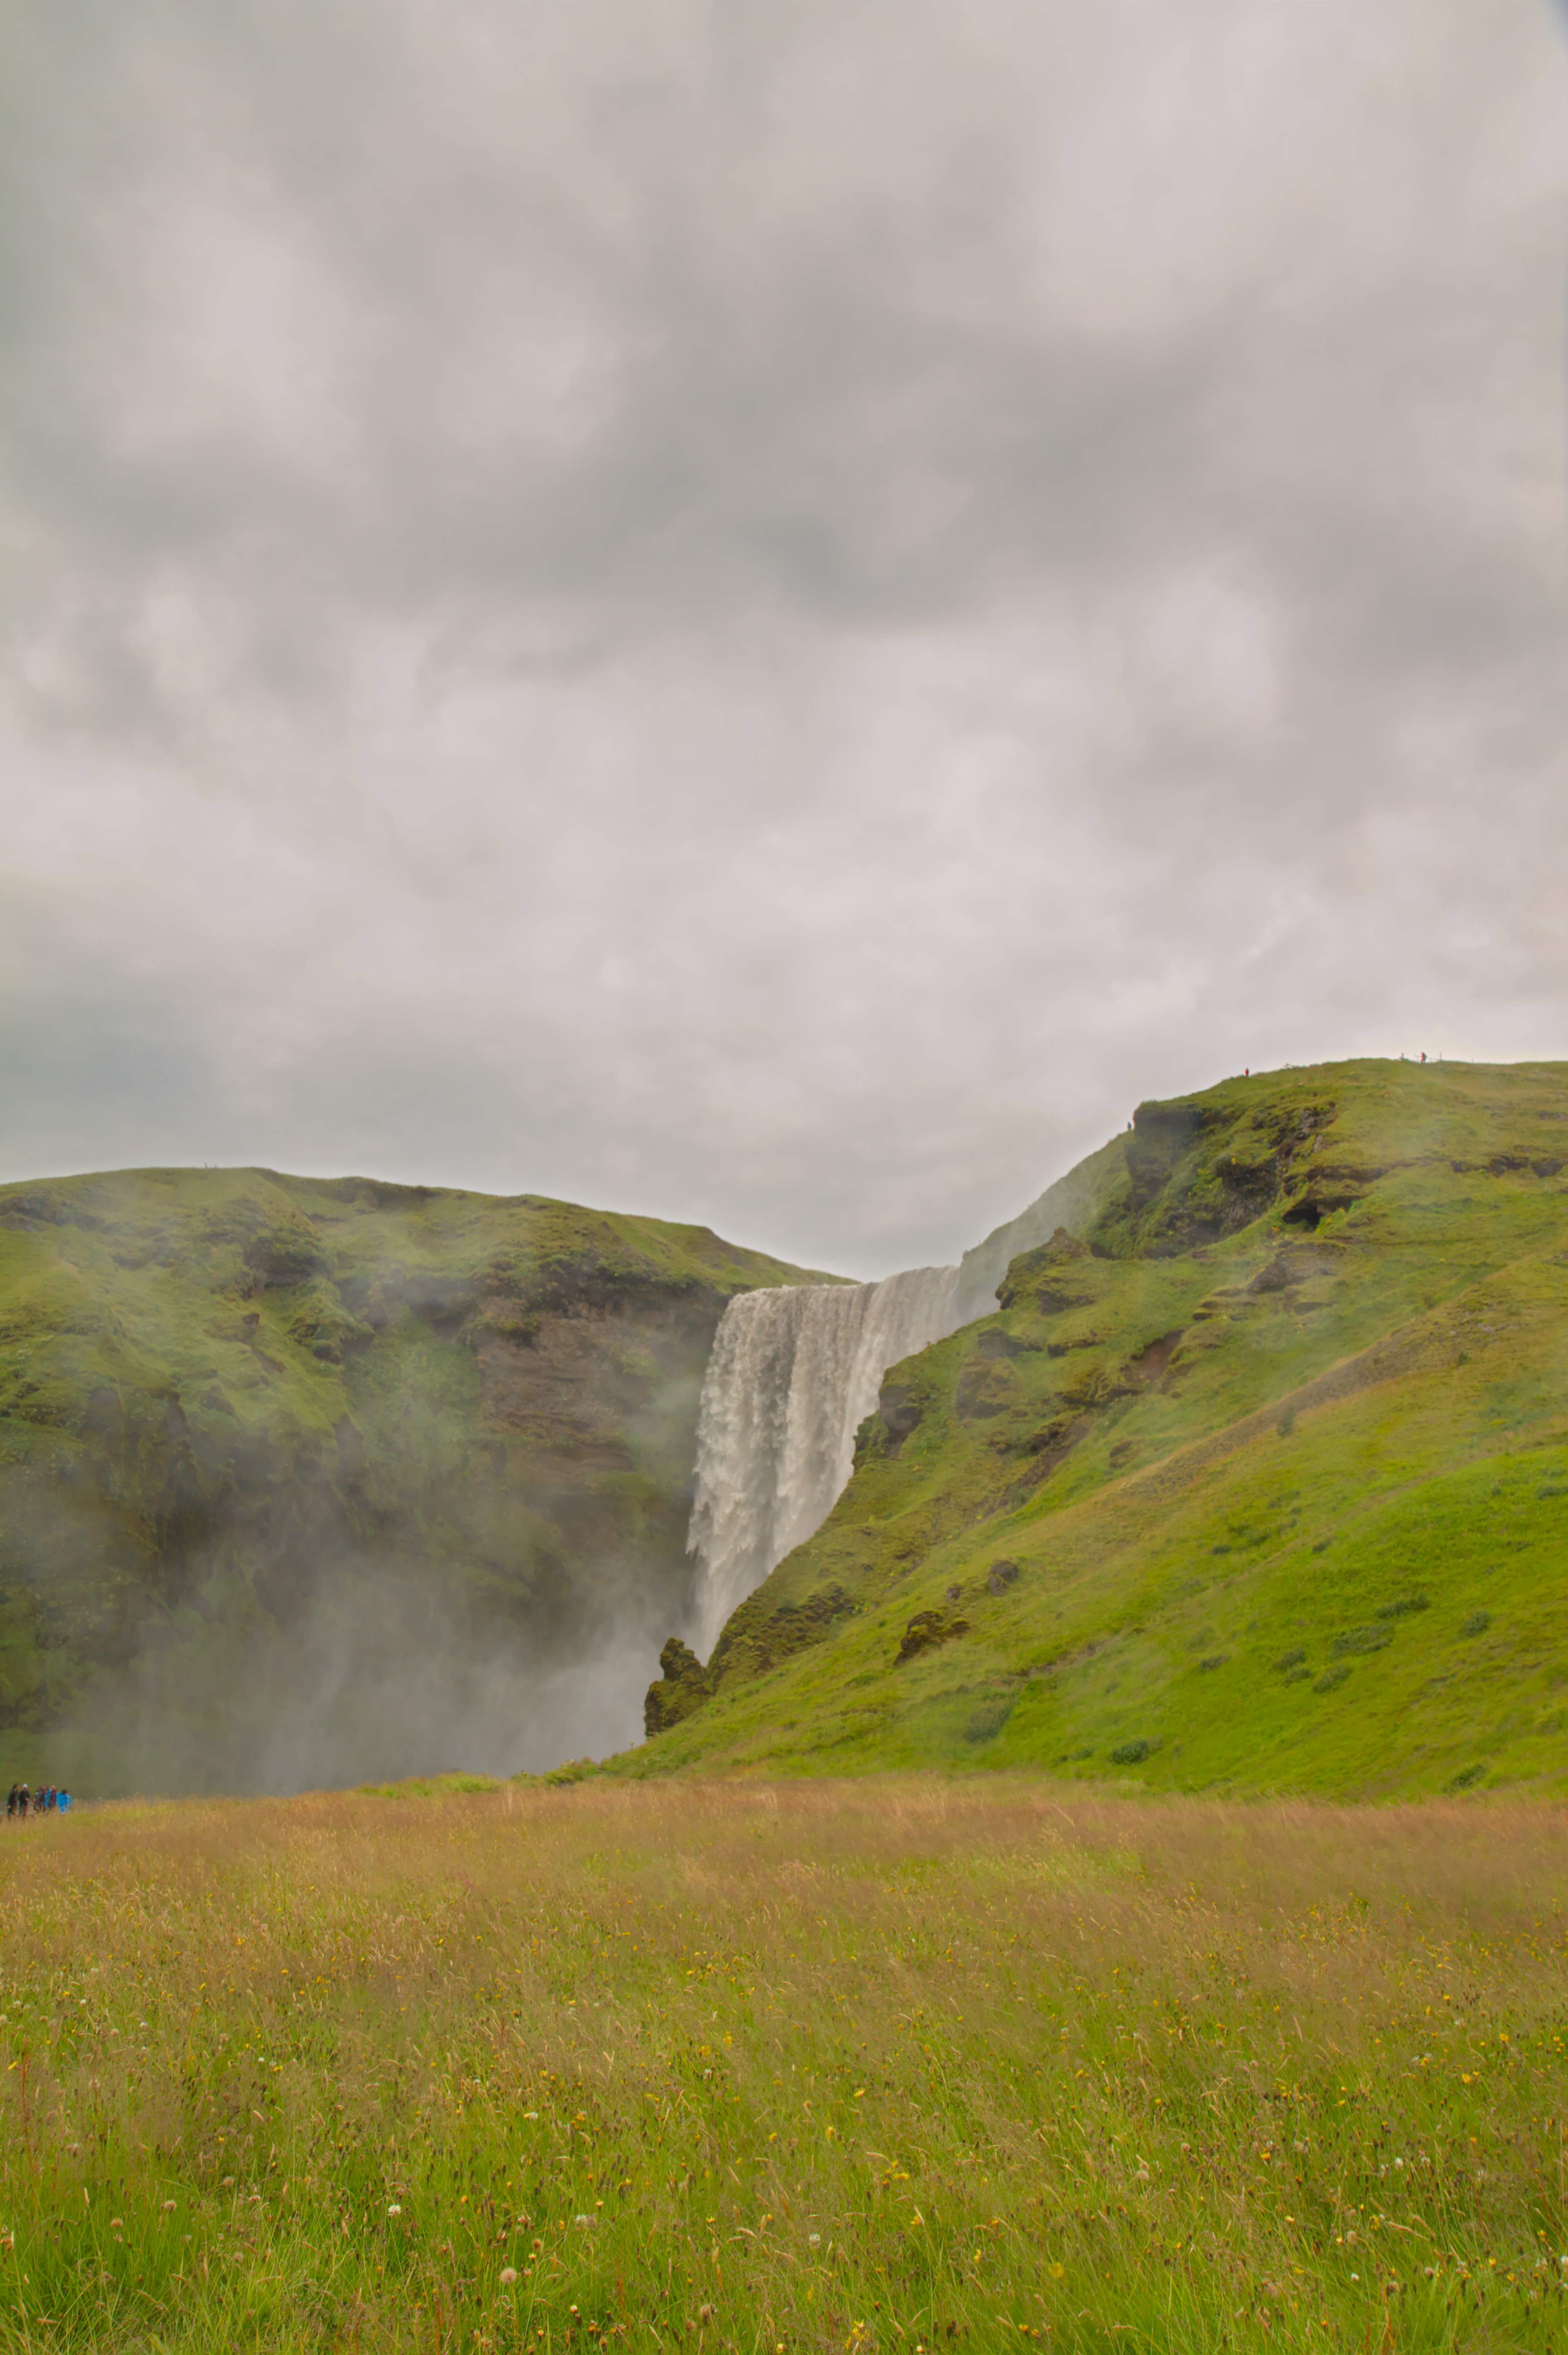
You can see the Lightroom Export, the current export from Darktable. The foreground looks good / similar to what I had. The clouds are nowhere near, and the information is there as LR can recover them. The shot might not be perfect nor the processing might not be your taste, but I’d just like to know how to achieve those clouds.
Darktable export (similar result after tone cure, rgb curve)

This file is licensed
(Creative Commons, By-Attribution, Share-Alike)
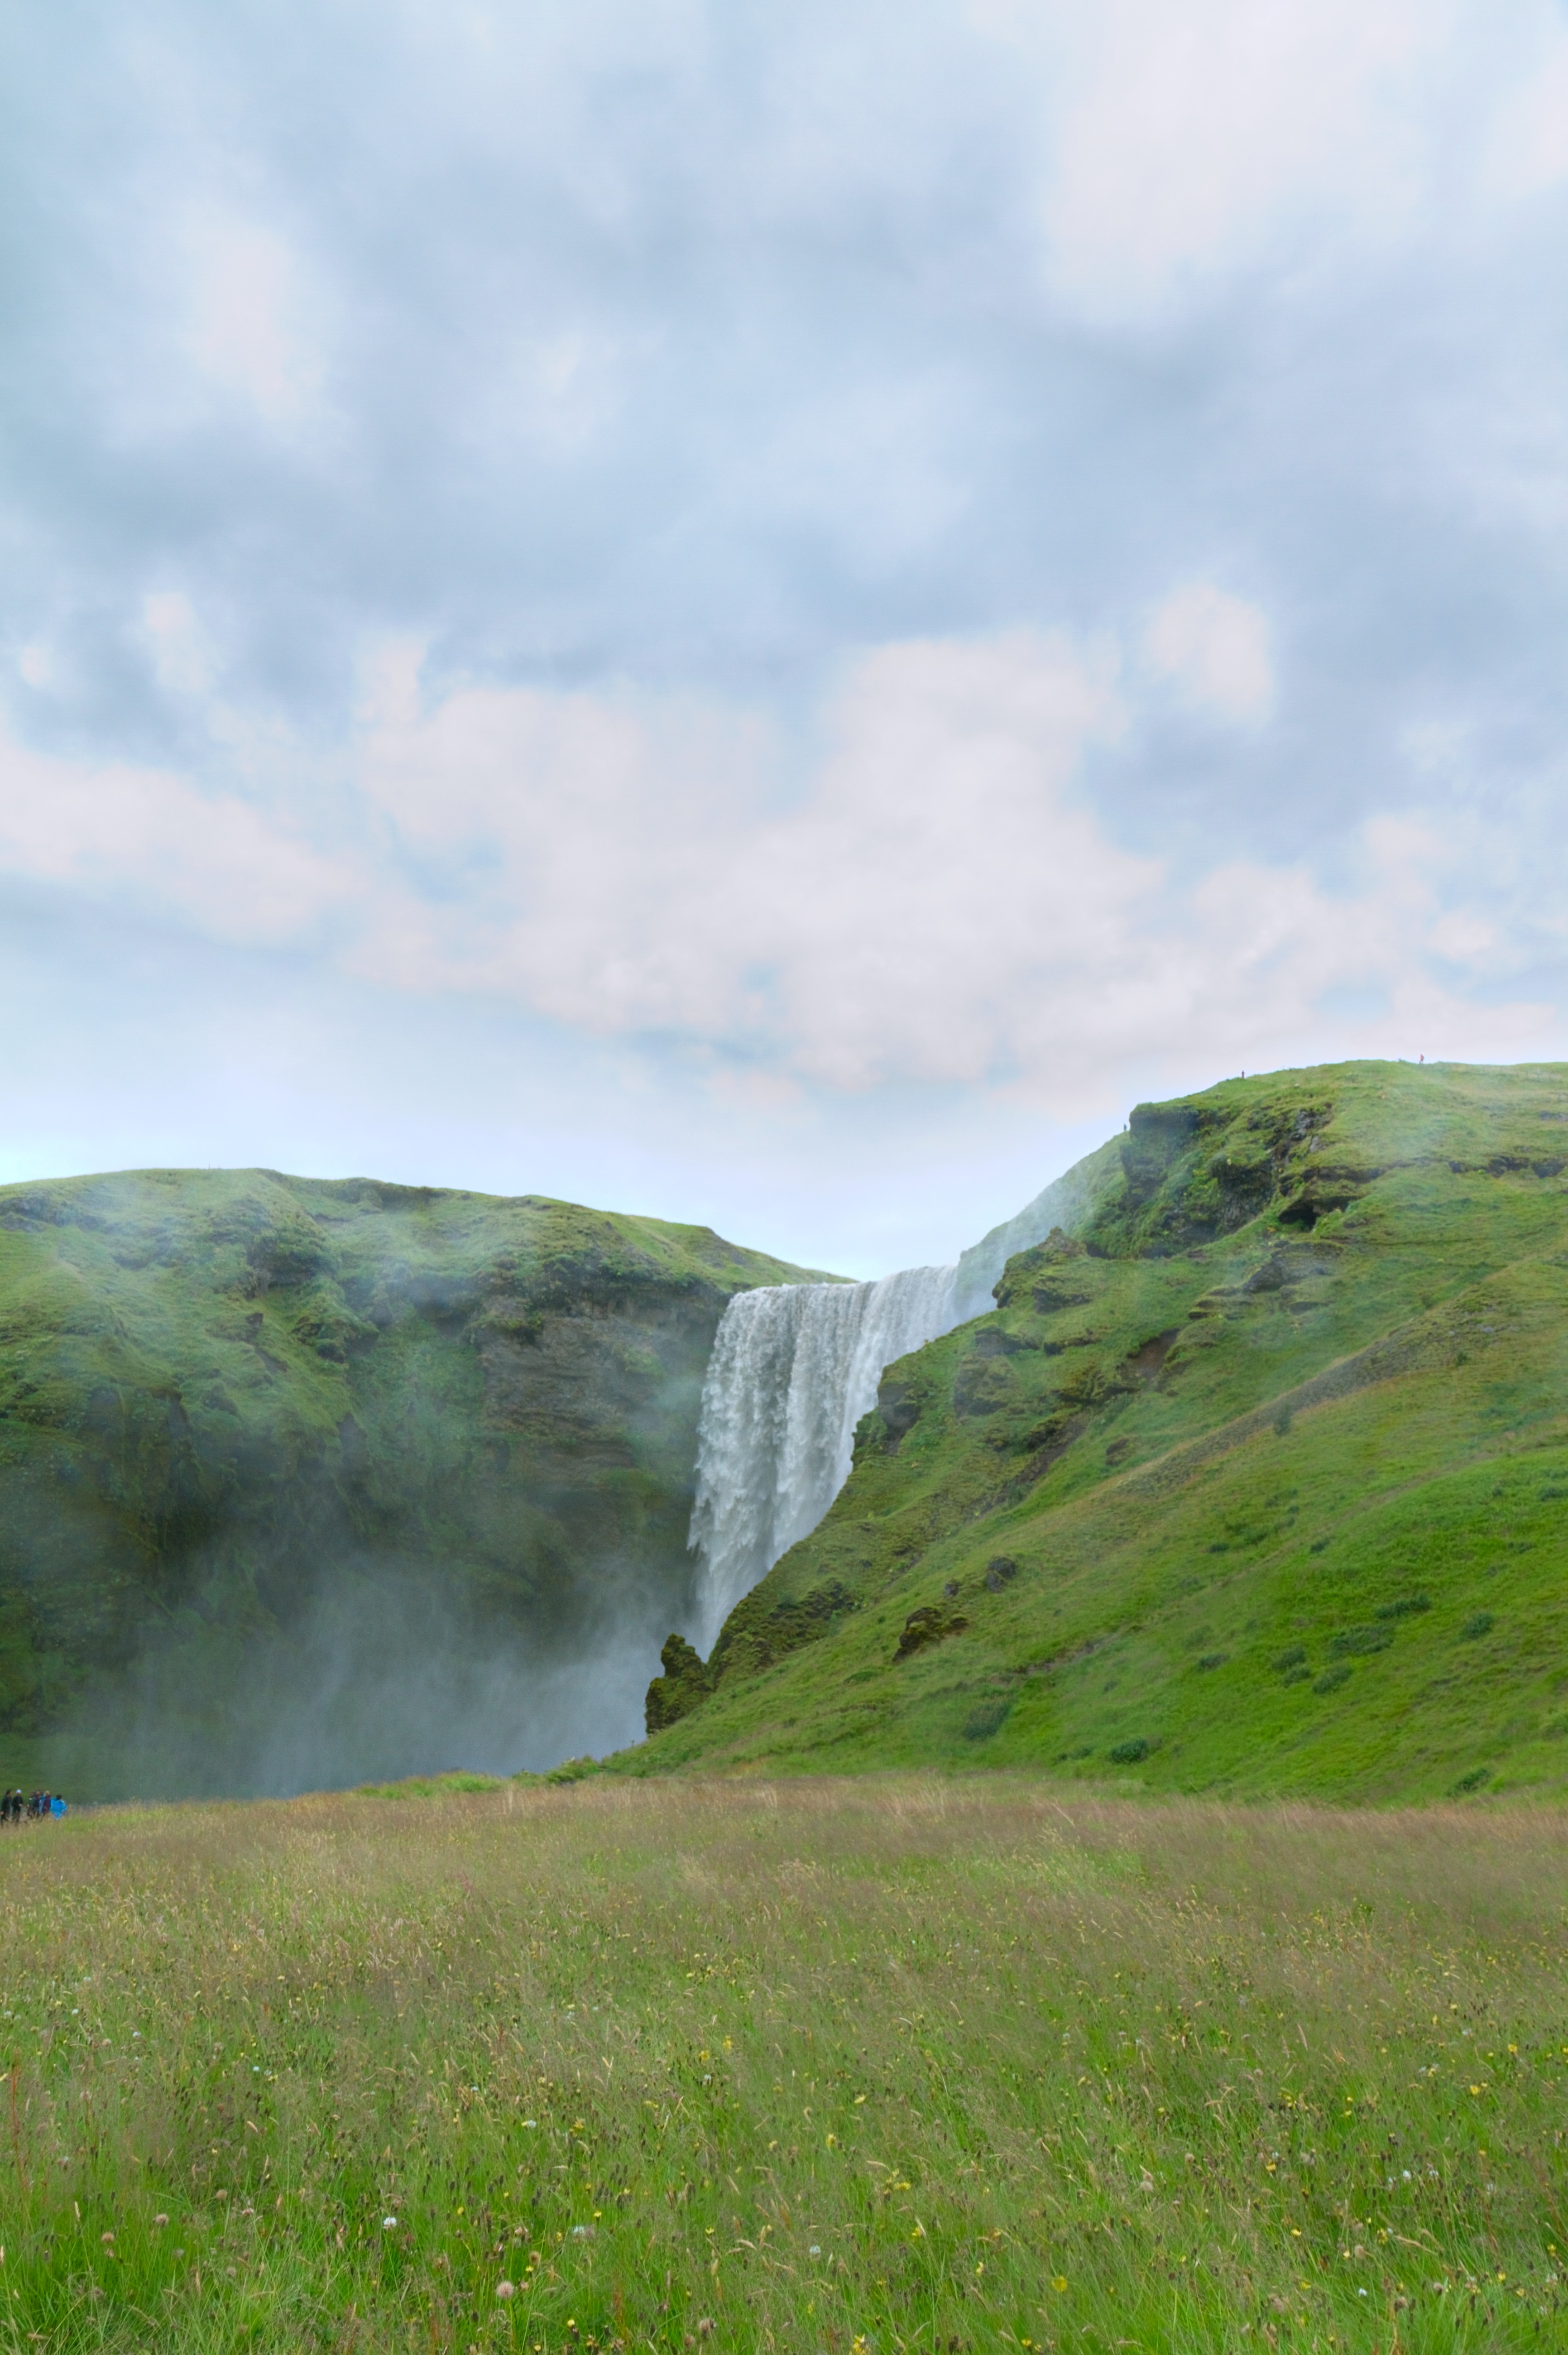
IMG_1324.CR2 (22.6 MB) IMG_1324.CR2.xmp (21.3 KB) Darktable export (filmic)

This file is licensed
(Creative Commons, By-Attribution, Share-Alike)
Darktable export result:
This file is licensed
(Creative Commons, By-Attribution, Share-Alike)
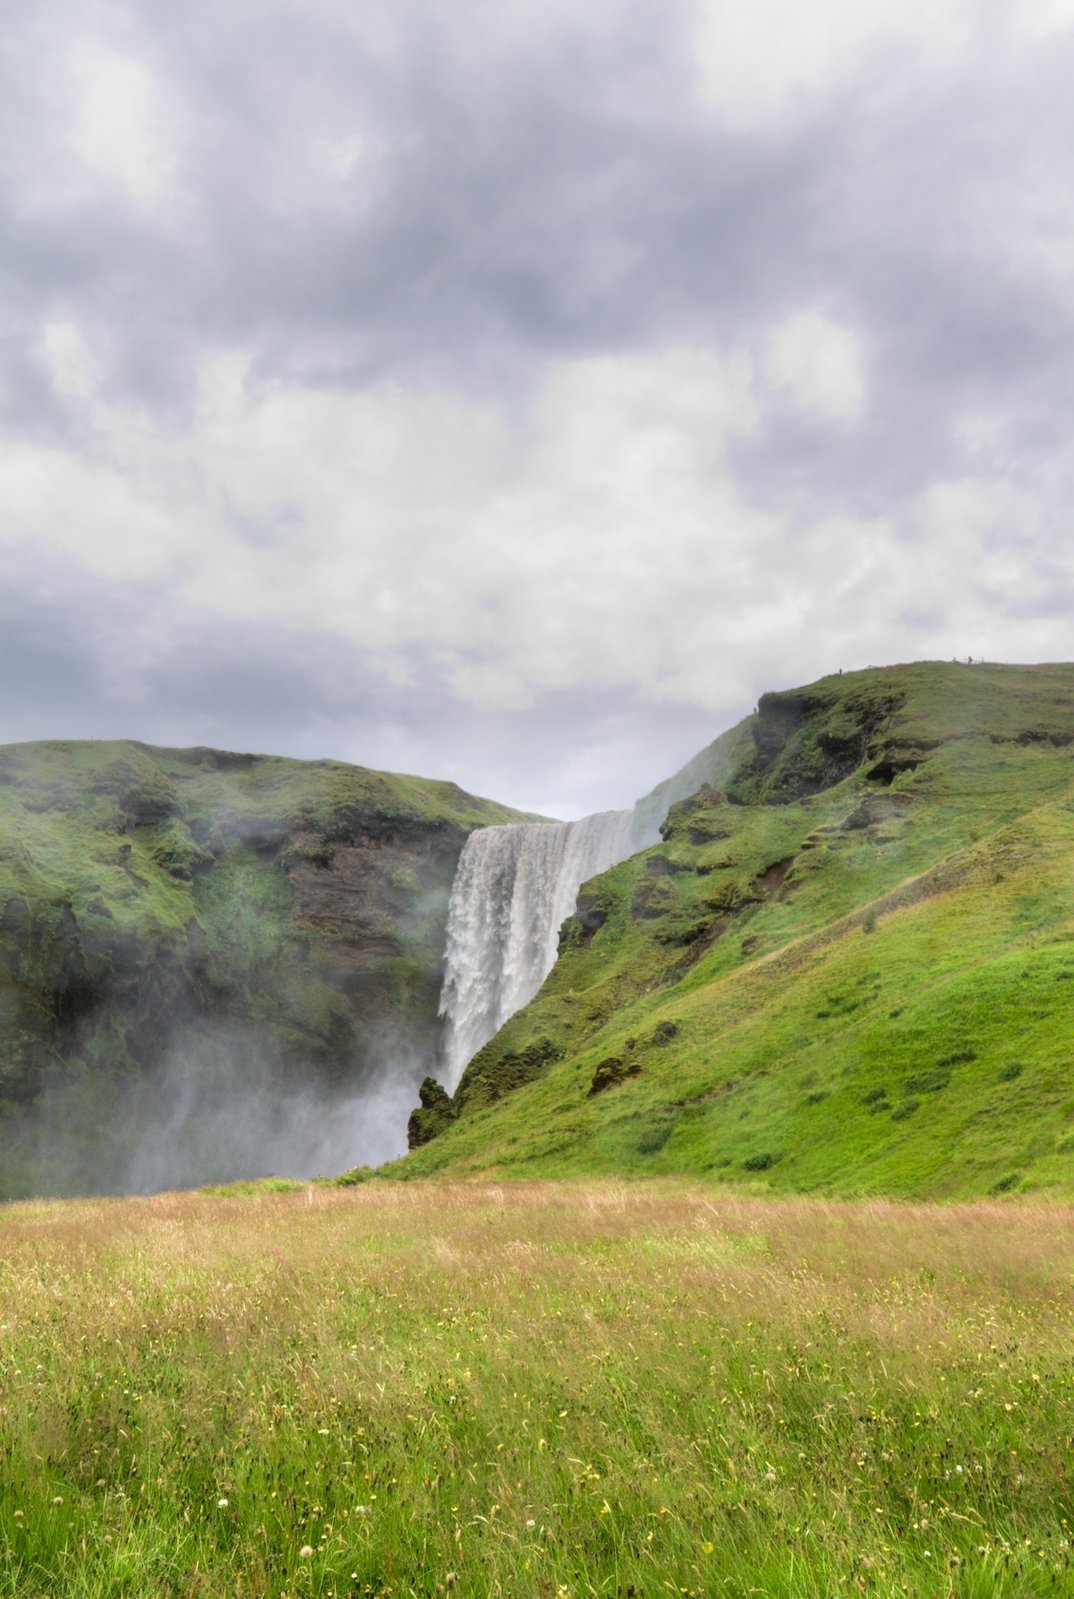
Lightroom result:
This file is licensed
(Creative Commons, By-Attribution, Share-Alike)
I 'm releasing these images as (Creative Commons, By-Attribution, Share-Alike)
I also notice some ugly grid pattern in the Darktable exports, apparently when switching on "high quality resampling " on export, I get these grid patterns…