Hey @hanatos
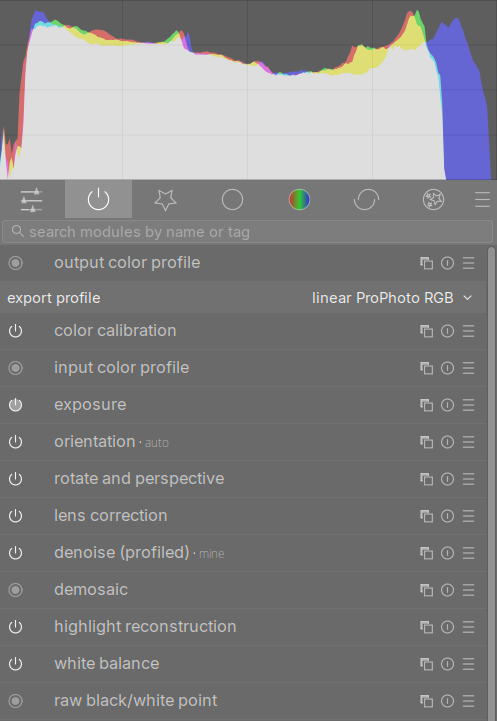
I’m exporting a 16bit Tiff from darktable with the Linear Rec2020 profile and loading that into agx. The JPEG is me verifying the histogram is similar to what @arctic had done with their raw conversion.
I’ve compared a scan of Portra 400 metered for ISO 400 and on digital on the same equivalent exposure, with agx-emulsion applied with default settings (.xmp and .arp attached for reference).

Dslr0567.NEF.xmp (11.7 KB)

_8105001.jpg.out.arp (11.5 KB)
While not identical, the look & feel is there. Most likely the print properties for the negative could be tweaked more to look like the agx settings or the other way around.
Thanks again for creating this amazing tool and integrating it in ART.
Best,
John
5 Likes
wow cool! you wouldn’t be able to share the raw/scan/input images here too? something about the luminance/tone response in the blacks that looks different enough so i would like to play with the data ![]()
1 Like
Hi jo,
Hopefully this works. Pardon my messy living room/photographic lab ![]()
Shots taken minutes apart, same lighting, lens, aperture and metering. Lens used at capture was a Nikon 105mm f/2.5, digitized with a Nikon Micro-NIKKOR 60mm AF-S G. Additional frame with film rebate for orange mask correction.
_8105001.NEF (39.2 MB)
Dslr0567.NEF (48.8 MB)
Dslr0568.NEF (37.1 MB)
4 Likes
This is very curios.
Can someone explain in what state should be input image. Assuming I have a RAW or ARW?
Should it be less contrasty or not manipulated at all? Do I need to prepare it somehow?
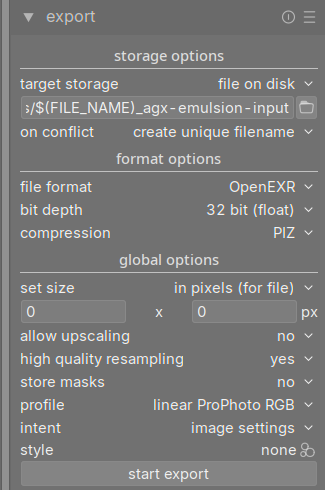
I’m exporting my edited raws to 32bit exr with linear ProRec colorspace. Works well, although the initial render is off and one need to press run first to get a proper rendering.
1 Like
Thank you. What software are you using to export it to exr?
darktable
1 Like
This is how I’ve used it:
-
darktable modules (no tone mapper, i.e. no sigmoid, filmic rgb or base curve)
-
darktable export
-
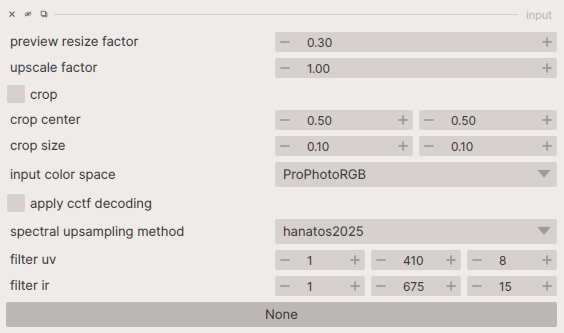
agx-emulsion input settings
2 Likes
Your comparison confirms my experience. I struggle to reduce the “punch” of the digital simulation so that it matches what I’m used to with analogue film.
If anyone figures out how which settings mute and reduce contrast to approximate scanned film it would be great to hear some tips.
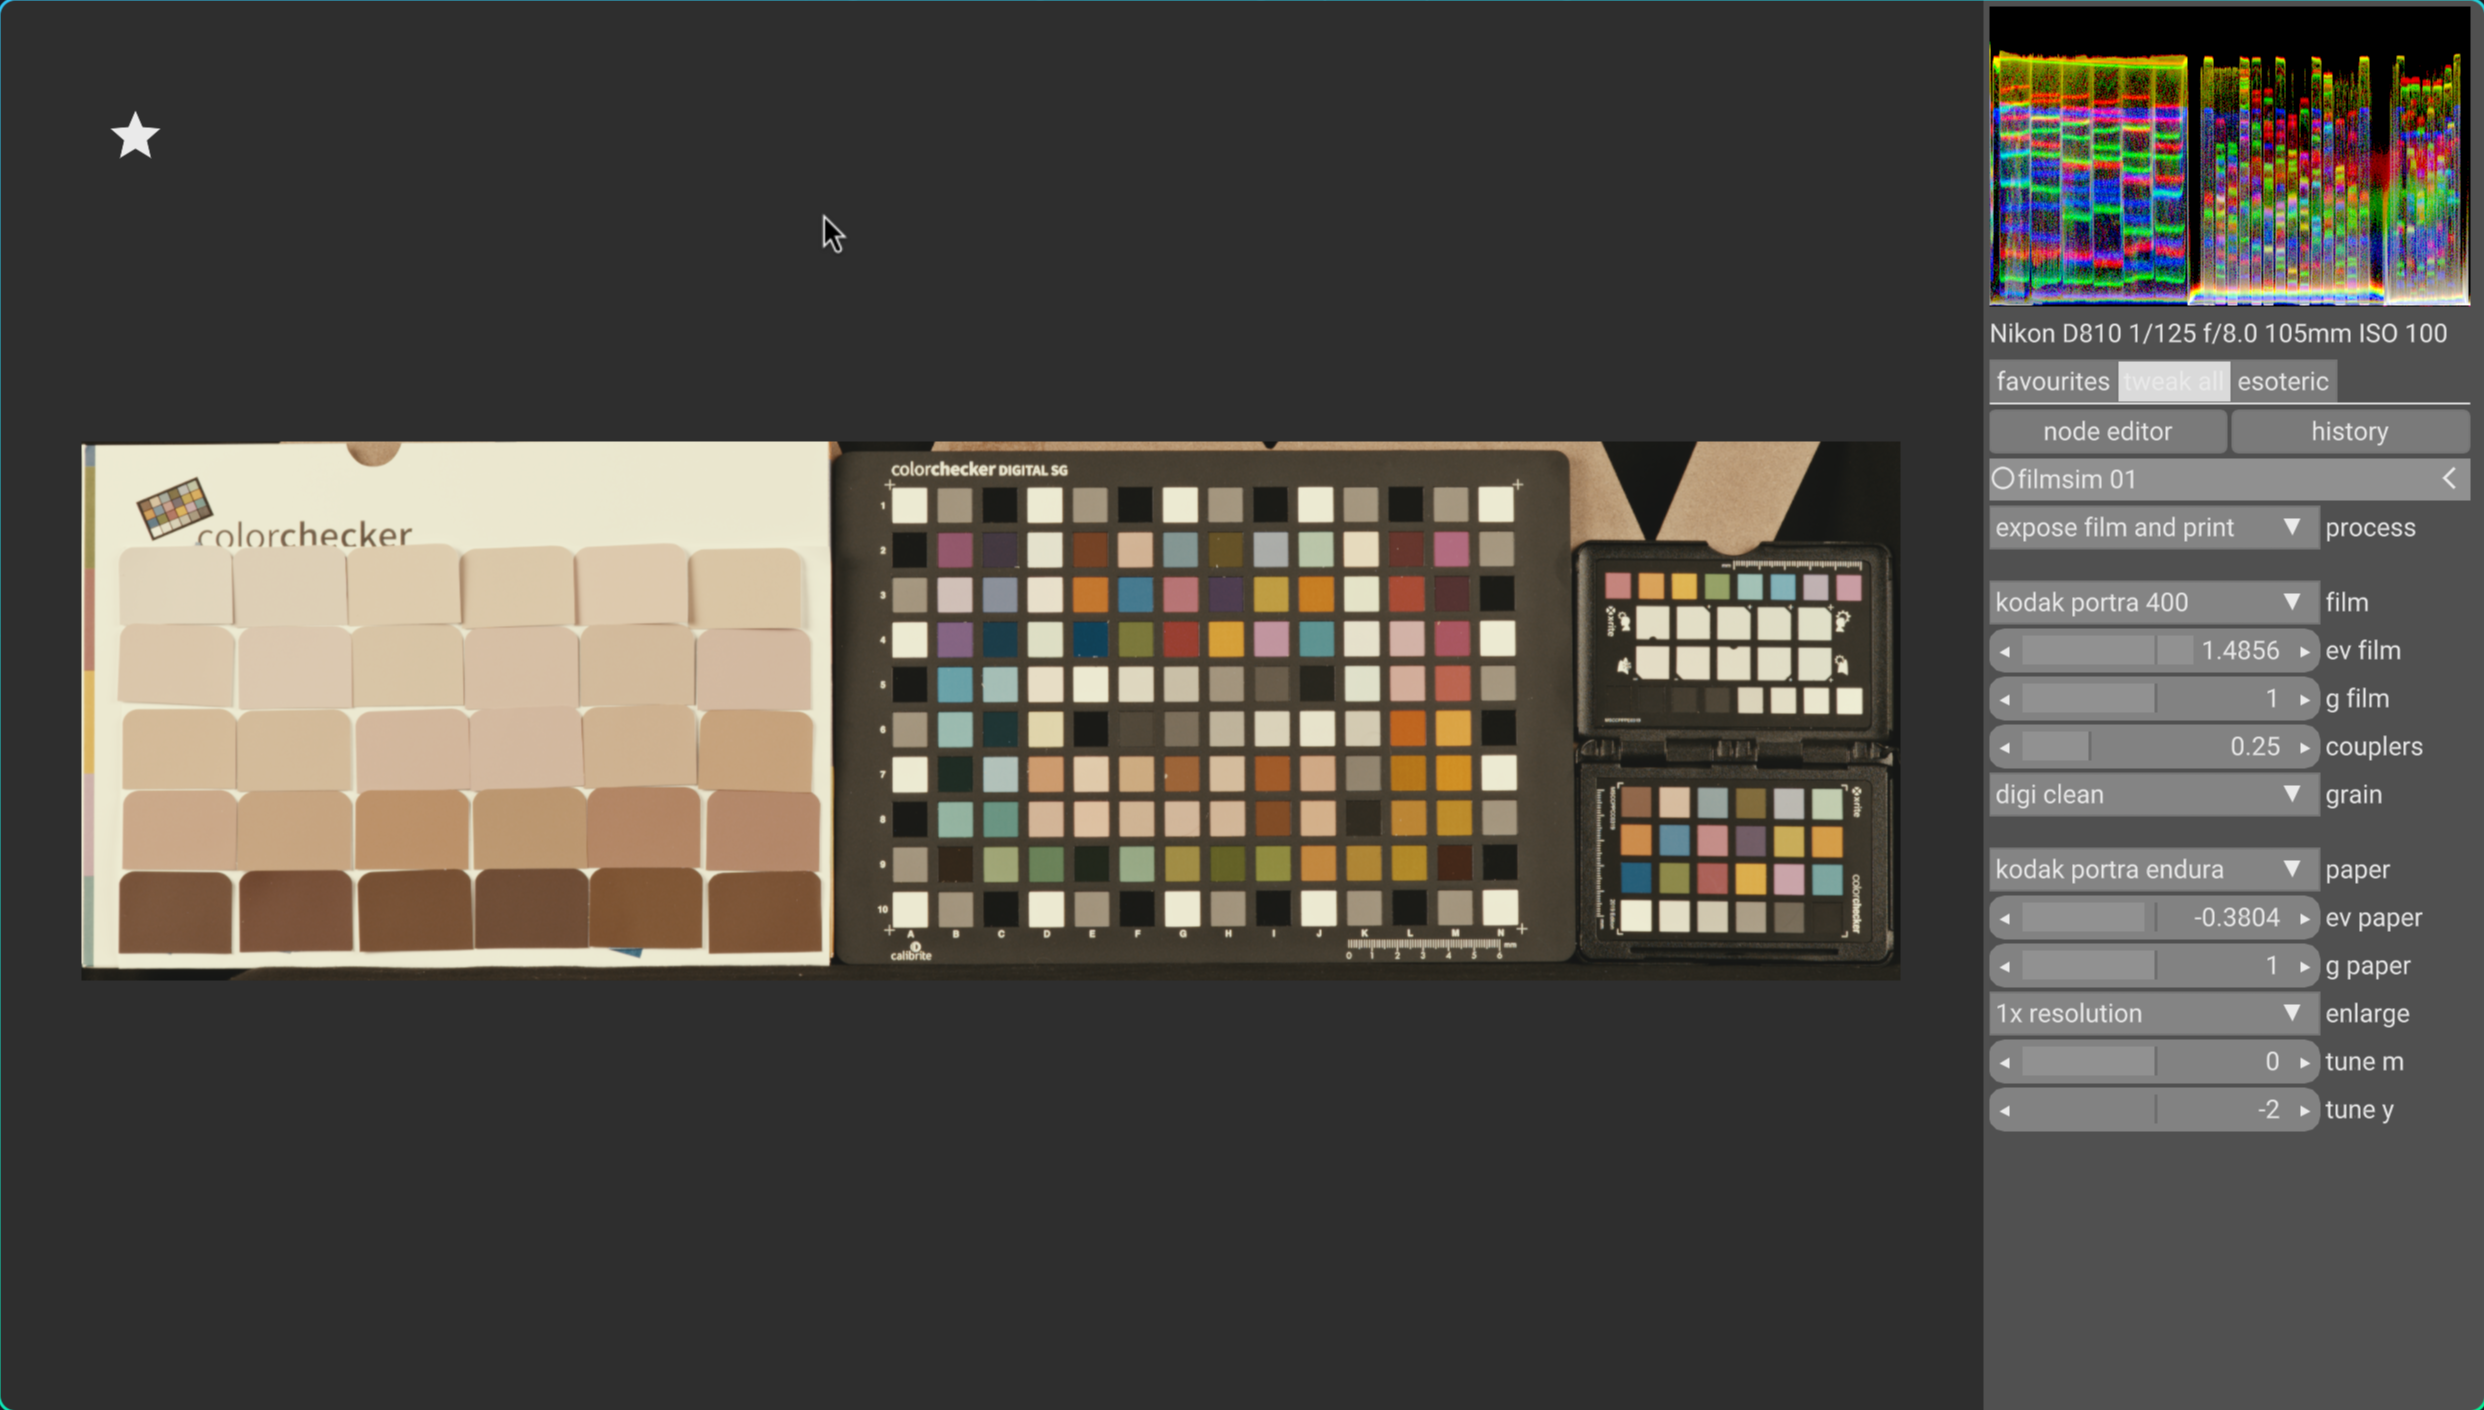
the film response is not linear, so you can play with exposure to put your image signal into a range where the blacks are crushed or lifted up. here i reduced exposure before application of the film simulation, essentially underexposing by 4 stops, and then compensated via paper print exposure (ev paper in the screenshot):
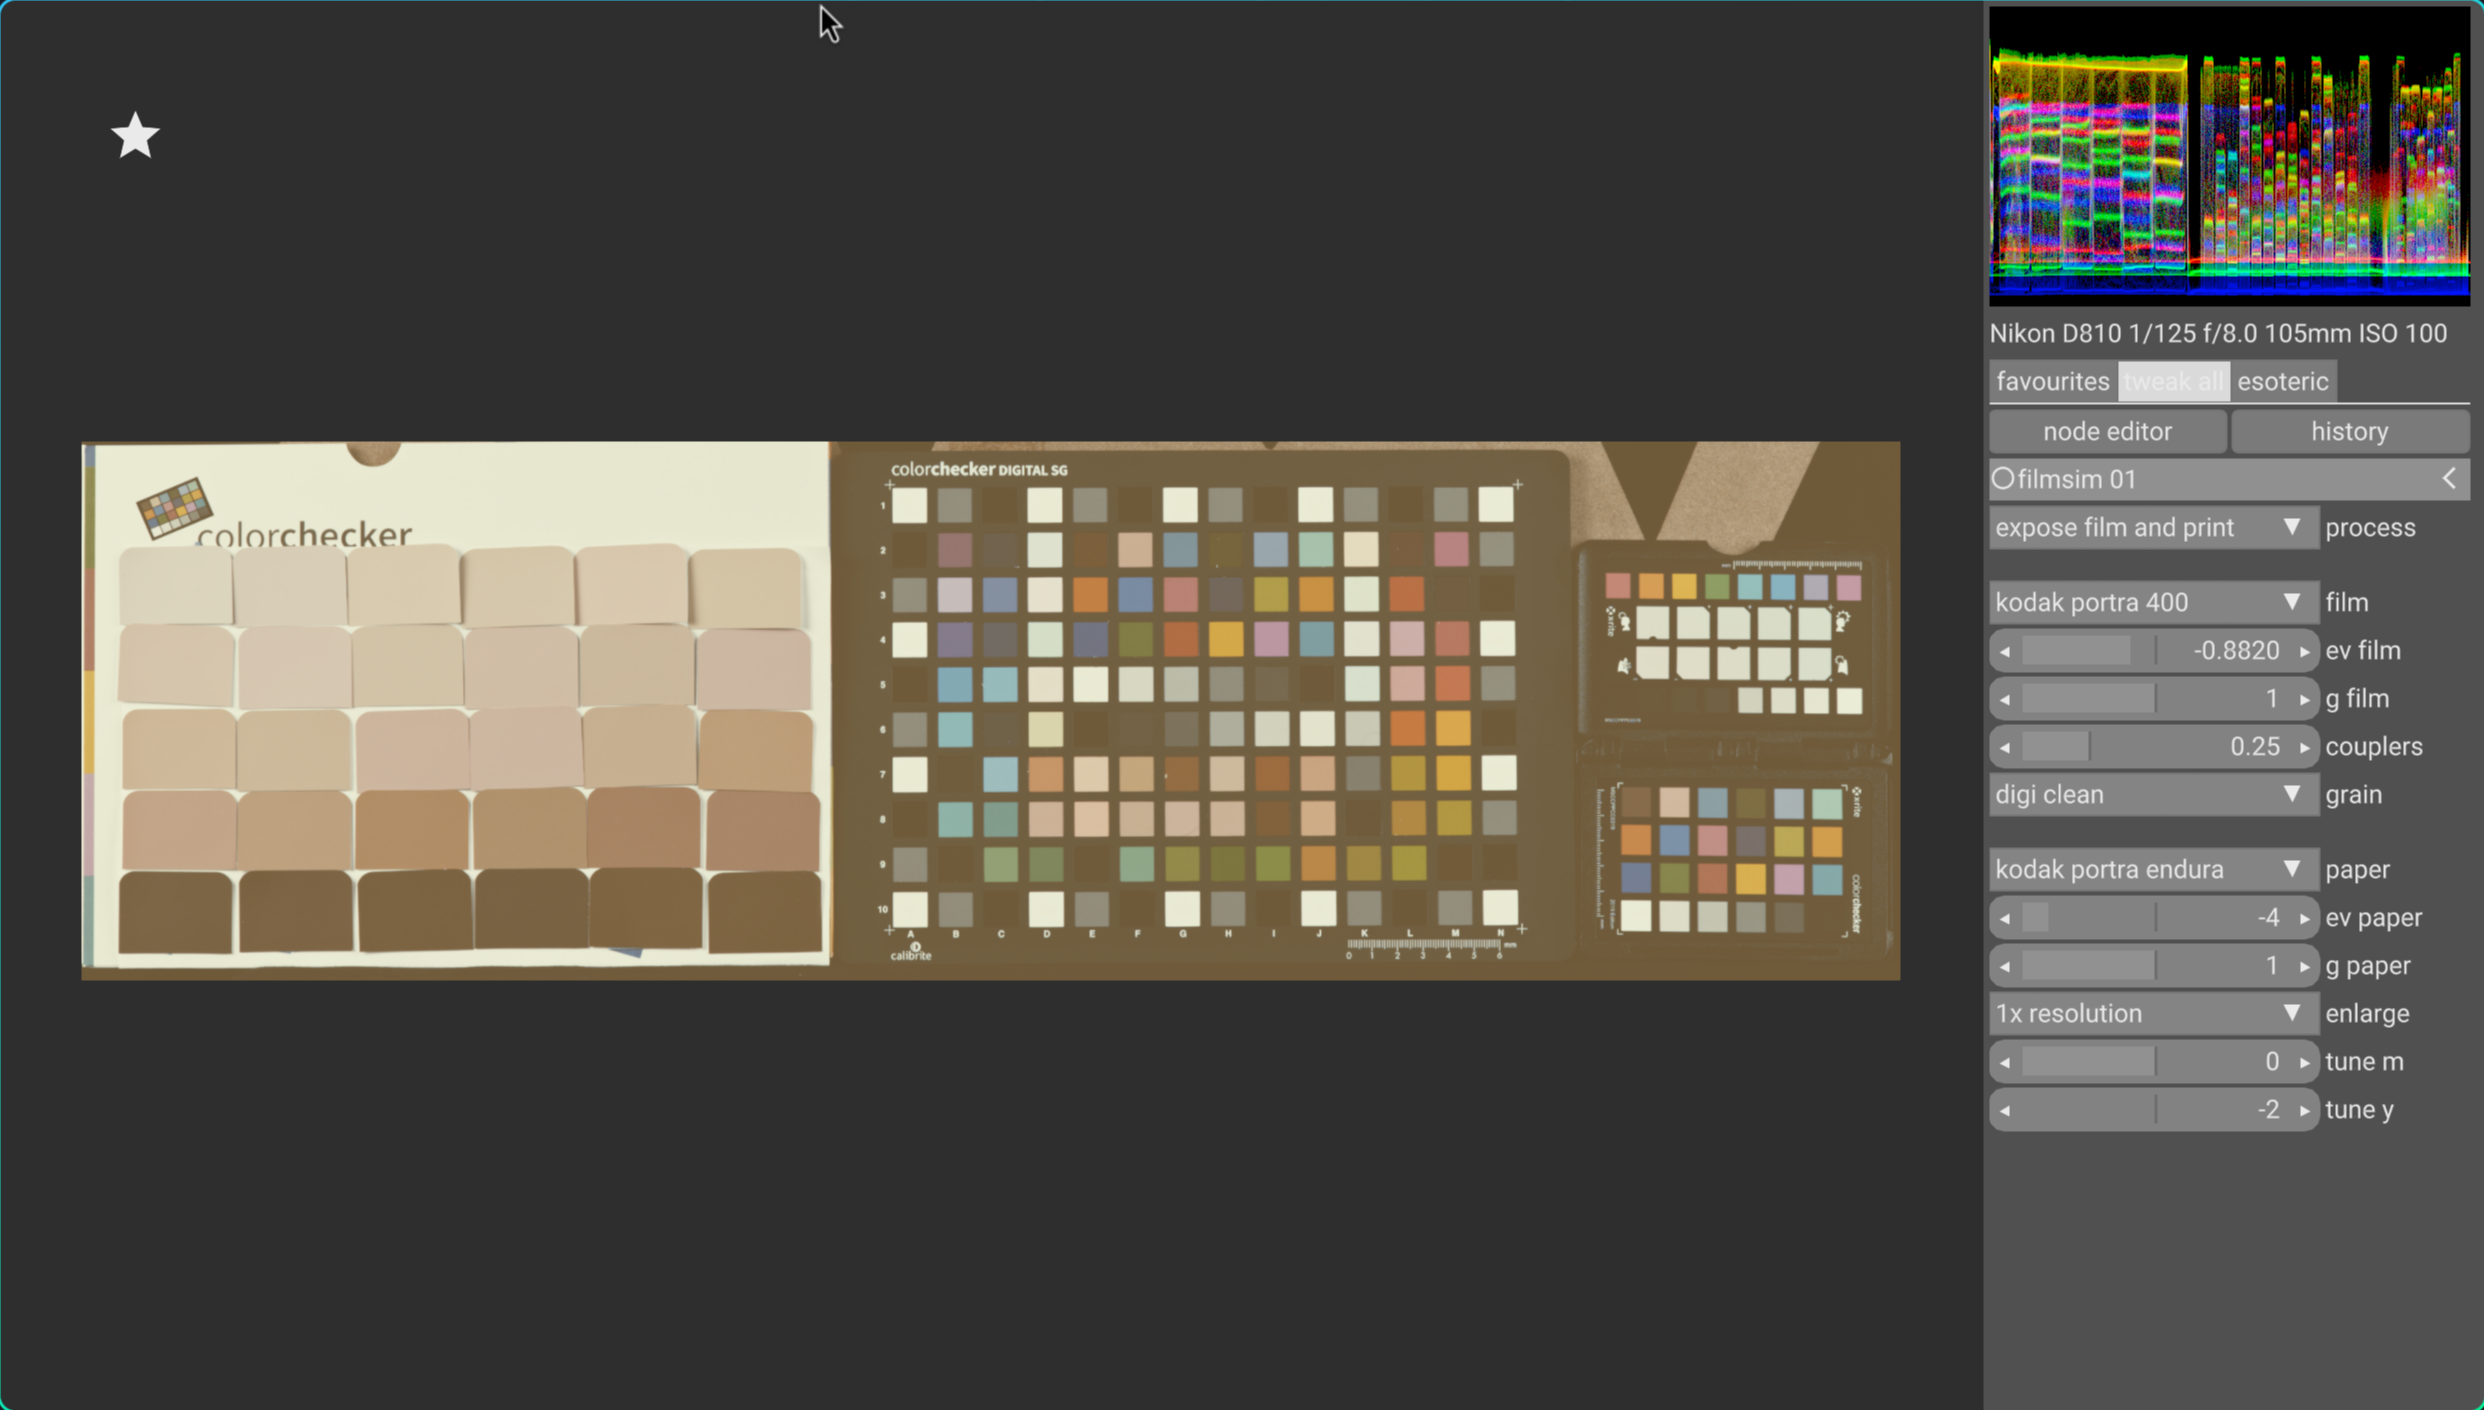
for reference, this is the image with default settings right after applying the filmsim preset:
not sure that’s what you’re asking?
1 Like
You can also play with “print gamma” to reduce the contrast at output. Maybe that’s what is meant by @nosle ?
1 Like
right. i didn’t want to advertise gamma since it’s a bit of a non-physical (though useful) option.
at the end of the day there’s still the min density in the film stock profile which might not match the footage accurately. before changing the profiles i’d certainly evaluate all options we have in our “secondary” softwares.
1 Like
Thanks for the tips @hanatos , @agriggio I’ve done some quick tests and it’s in the right direction.
Is that agx-emulsion in vkdt?
yis. this was integrated for the longest time now… which reminds me i should really make a release. running out of excuses what to finish/merge before 1.0.
8 Likes
Hi, just curious, are there plans to implement the couple missing things from agx-emulsion to vkdt? I am mainly interested in halation, and perhaps print preflash.
Obviously no kind of pressure for this from my part, I have been very happy with the results the filmsim module provides, and this is just something I am kind of sometimes longing for ![]() .
.
Another thing I have noticed is, that the magenta and yellow filters have a very different effect depending on which film stock is used, for example, with portra 800, a -1 magenta filter tuning makes a very strong effect, while with portra 400, the effect is much more subtle, and sometimes not even enough to achieve a neutral palette without additional white balance tweaks in the colour module.
1 Like
ah good point. halation definitely yes. the preflash i forgot about since i’m a bit ignorant to this process. what effects would you achieve with it?
the filters are spectral filters and the film has spectral response… so clearly same filter with different stock will have different overlap and thus show an effect of different strength.
fwiw the fine tuning sliders can be set to overdrive by just typing numbers (click on the number not the slider). or just use the three auto-matched cyan/magenta/yellow sliders (non fine-tune), these will have bigger impact. white balancing is definitely something i struggle with most when using filmsim.
Honestly, the purpose of pre-flashing can probably be achieved with just adjusting the film exposure - paper exposure balance, since it is meant for preserving highlight detail. It seems increasing the negative exposure helps with that nicely!
So, wouldn’t put much priority to this one, I am totally fine even without.
And thanks for the explanation about the filters, are you set on hiding the non-fine-tune sliders from the gui, might be useful to have them visible in some cases?
hmm i was hoping to reduce the agonising amount of ui elements. maybe a spot wb tool would remove the need to play with the filters? or a more compact widget specifically for these filter weights? have to think about it. in the mean time, fwiw, here is a patch to un-hide the filters whenever paper printing is involved:
--- a/src/pipe/modules/filmsim/params.ui
+++ b/src/pipe/modules/filmsim/params.ui
@@ -17,7 +17,7 @@ size:slider:0.5:2.0
 uniform:slider:0:1.0
 group:process:0
 enlarge:combo:1x resolution:2x resolution:4x resolution
-group:process:2
+group:process:101
 filter c:slider:0:1
 filter m:slider:0:1
 filter y:slider:0:1
1 Like