I am the maintainer of ART in nixpkgs and I wouldn’t mind having this in there at all ![]()
6 Likes
And just like that you got it! Awesome man!!!
2 Likes
Great addition! The initial implementation here seems to have a rather hard falloff, which creates an obvious dark halo and makes the effect seem less integrated into the photo.
Took a while to find actual analogue references, but from what I see the falloff is super soft:
9 Likes
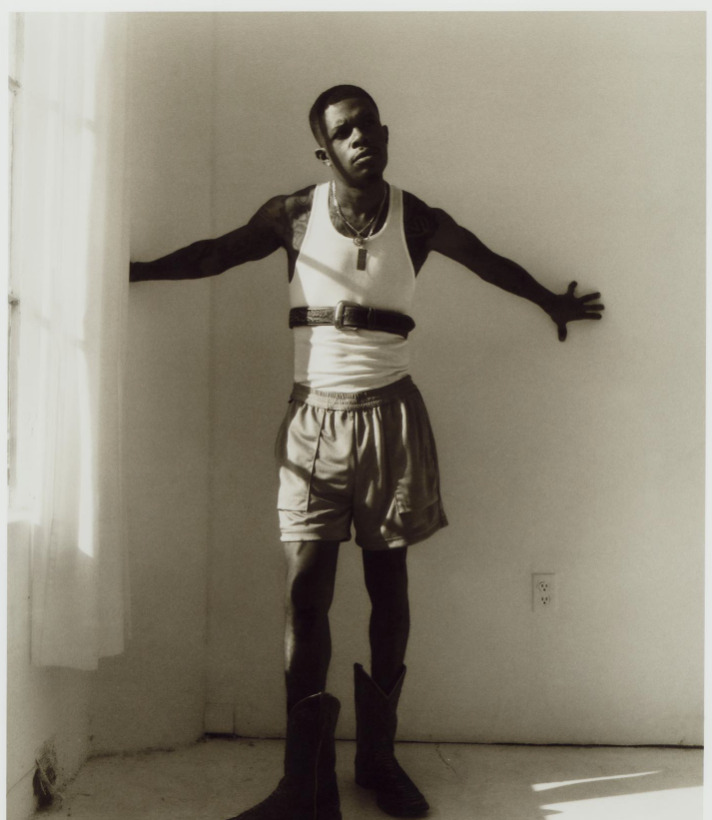
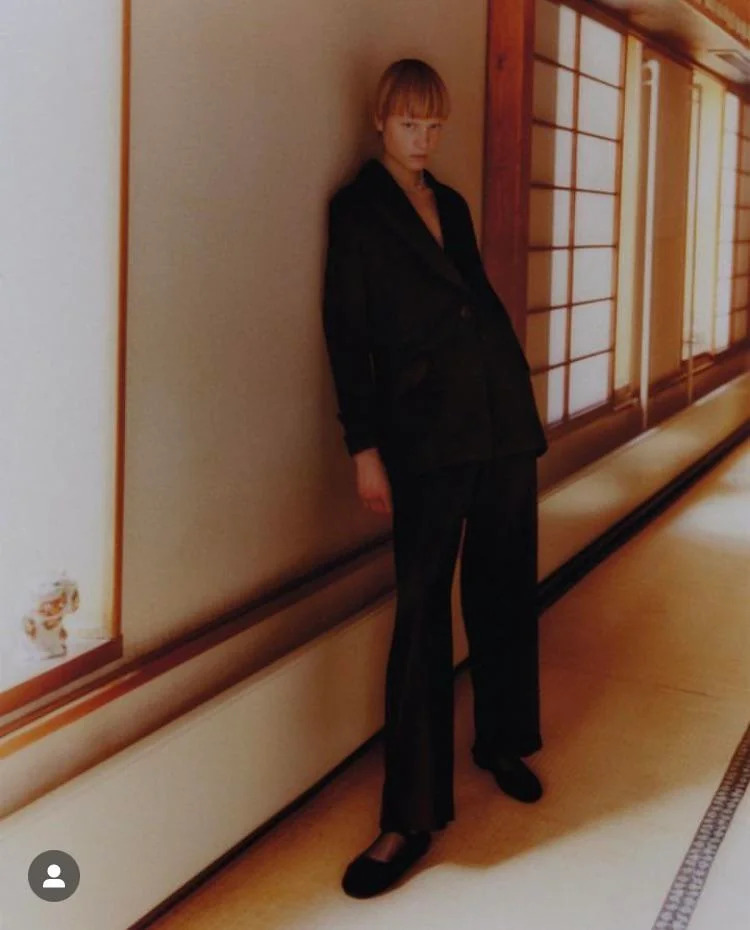
Thank you for the reference photos!
1 Like
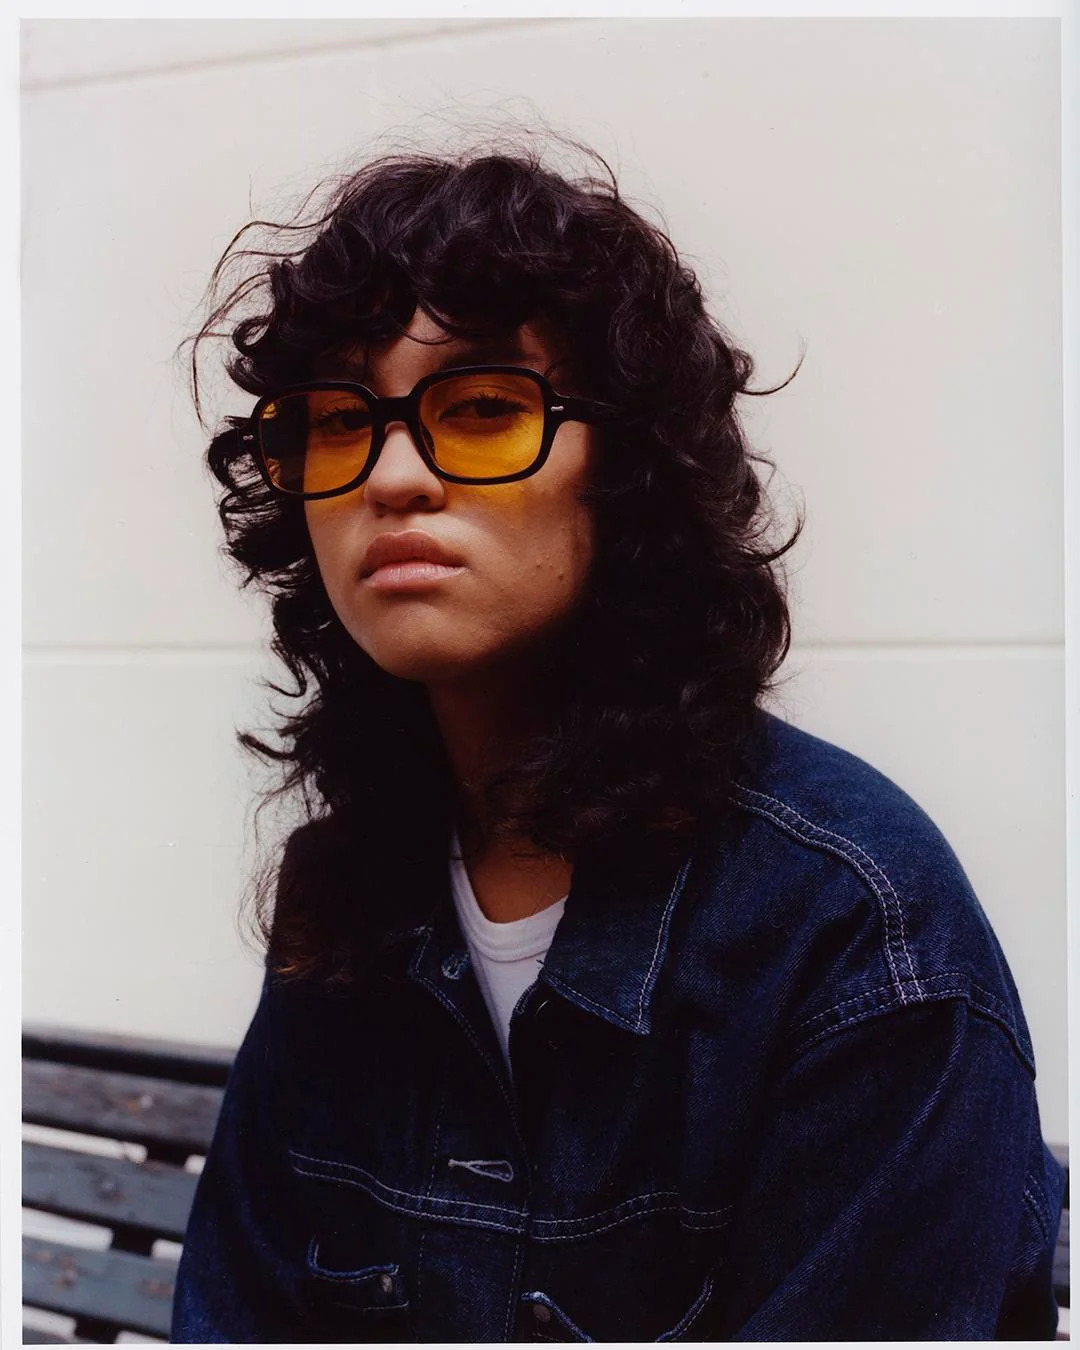
Haha 3rd photo down is one of my images!
Something to note is if an exposure is 4 secs long and i want to add diffusion i have to add more density, about 1/3 a stop if i do 50% diffusion.
Base Print Exposure:
4sec f8
Print Exposure with Diffusion:
2.5sec f8 + 2.5secs with diffusion over lens
(and usually i use like a plastic negative sleeve that my negatives come on when i get them developed)
Idk if this helps andre as printing can be deeply personal quess work.
4 Likes
Nice shot! ![]()
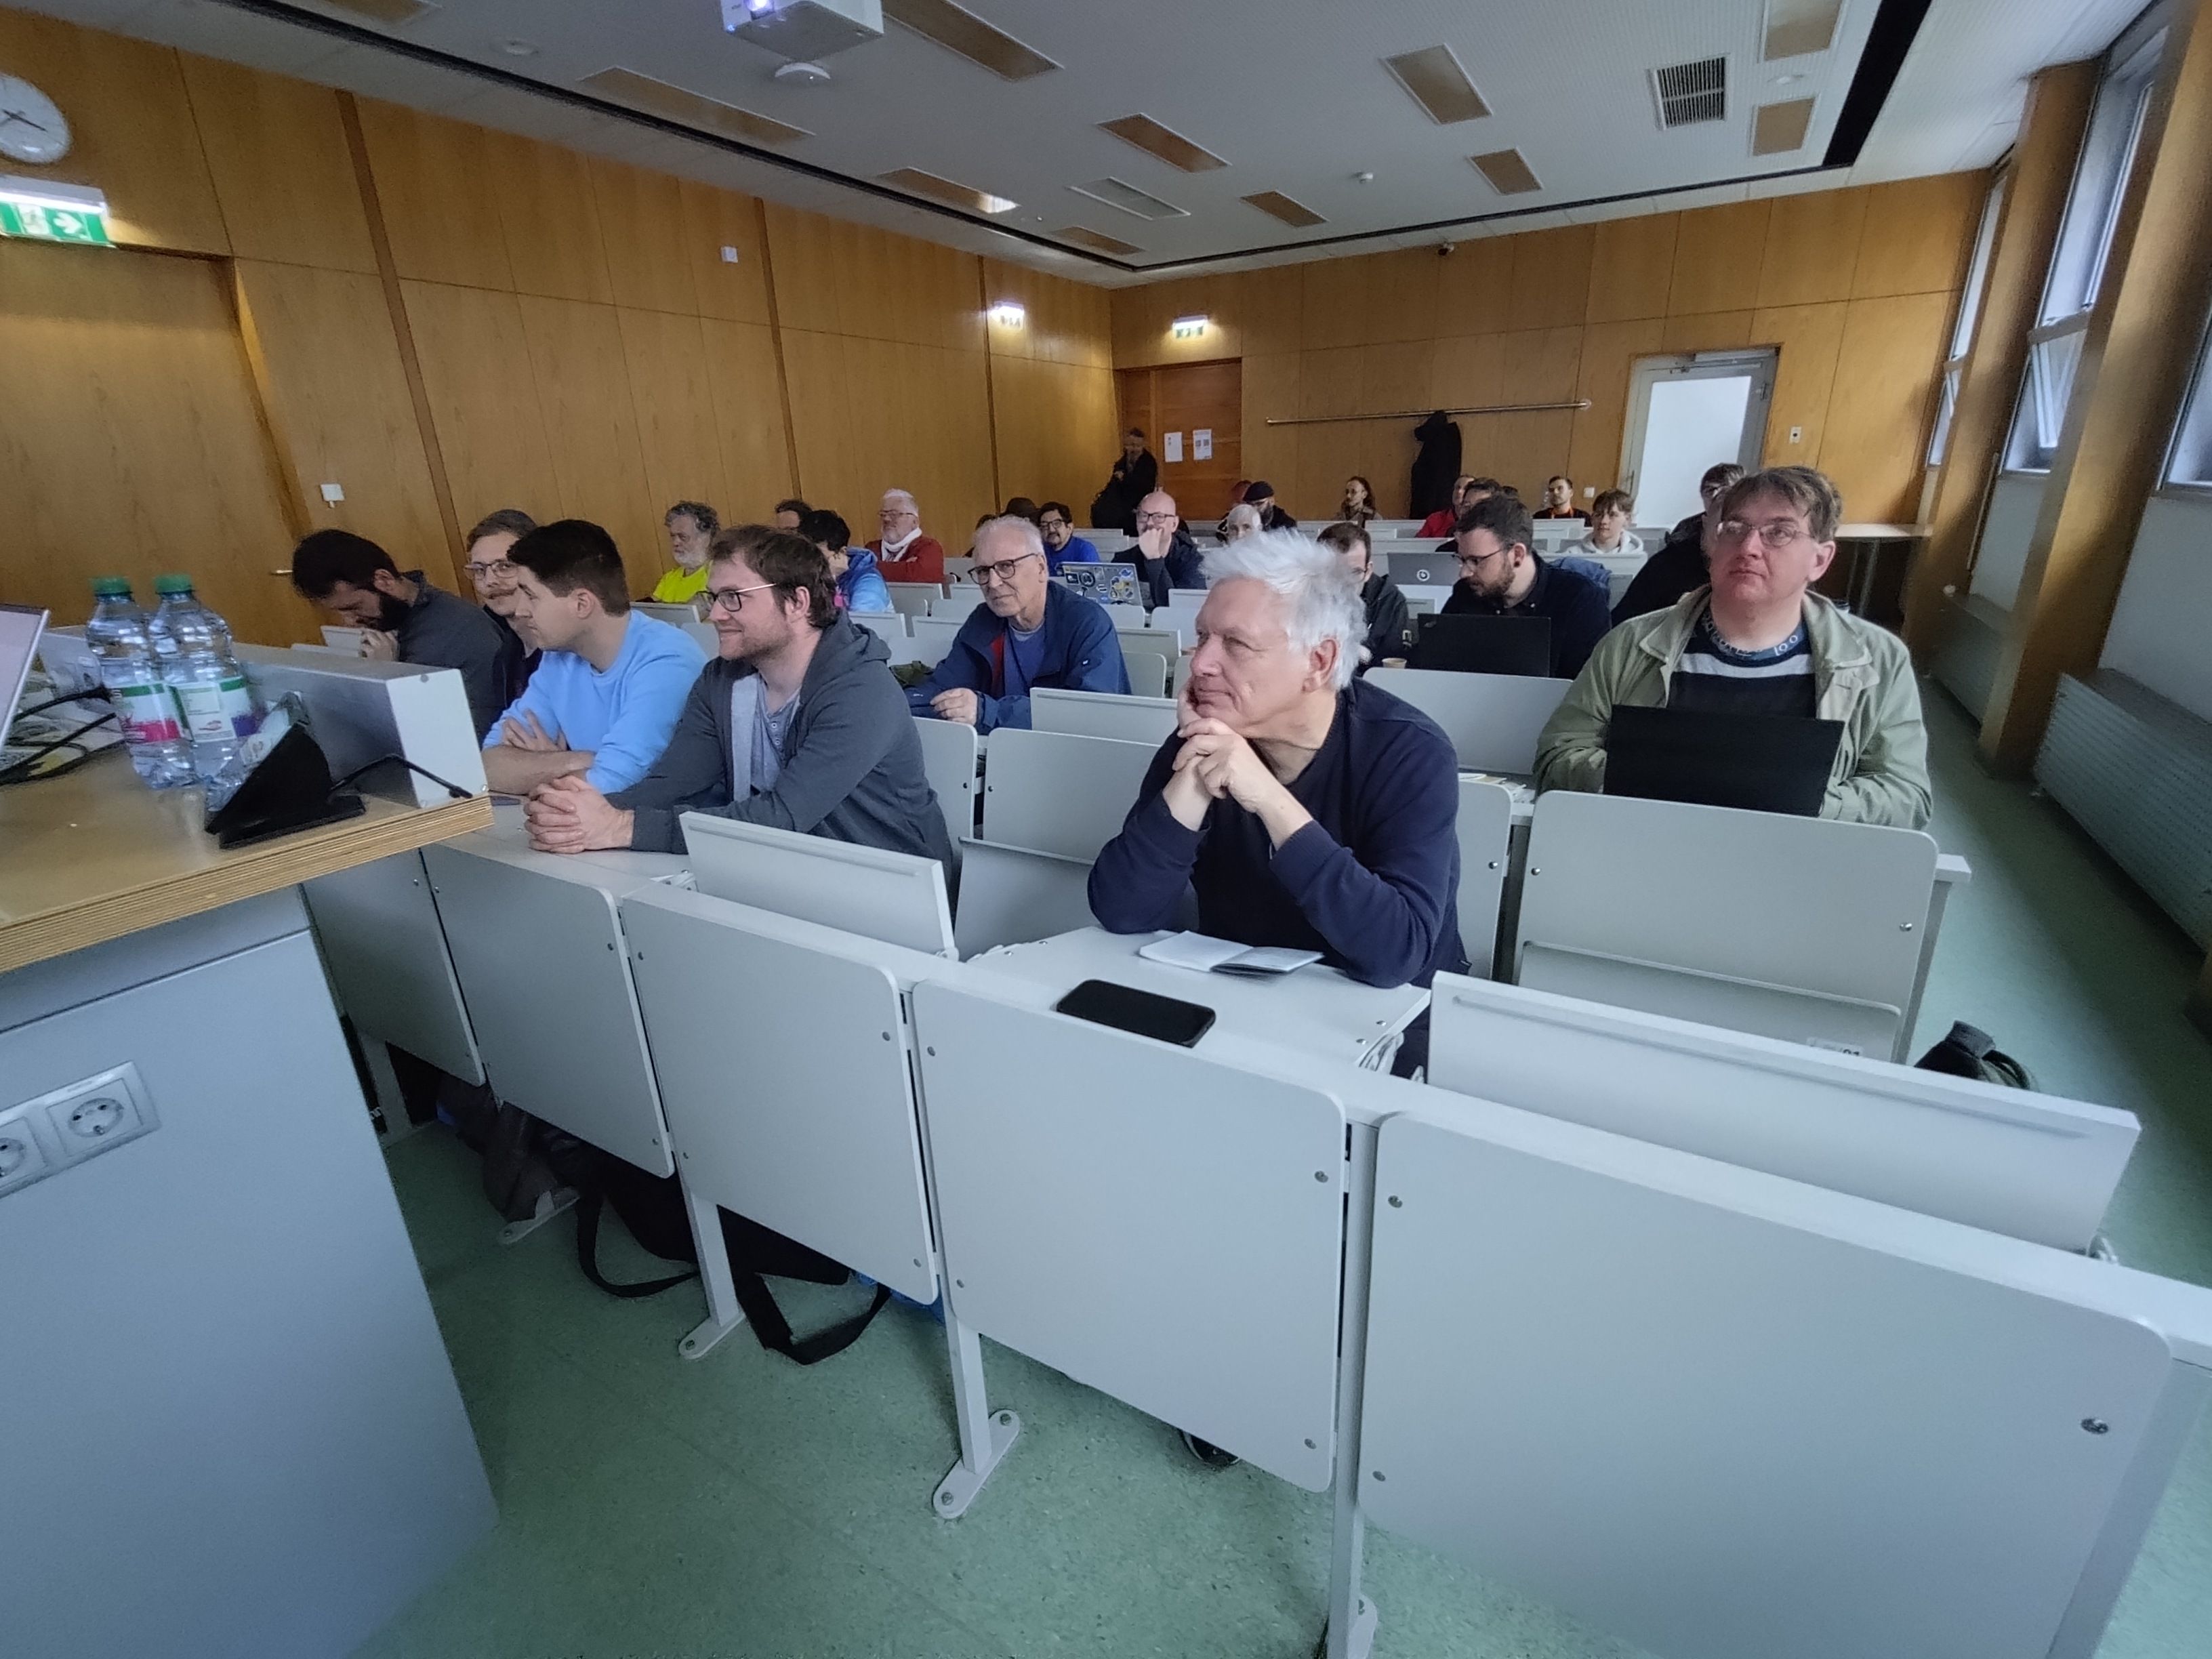
Spektrafilm/ART/vkdt workshop @ Grazer Linuxtage.
@arctic @agriggio @grubernd @hanatos
I hope I/we did not spread too much false info.
Special thanks to @grubernd for participating in the discussion.
10 Likes
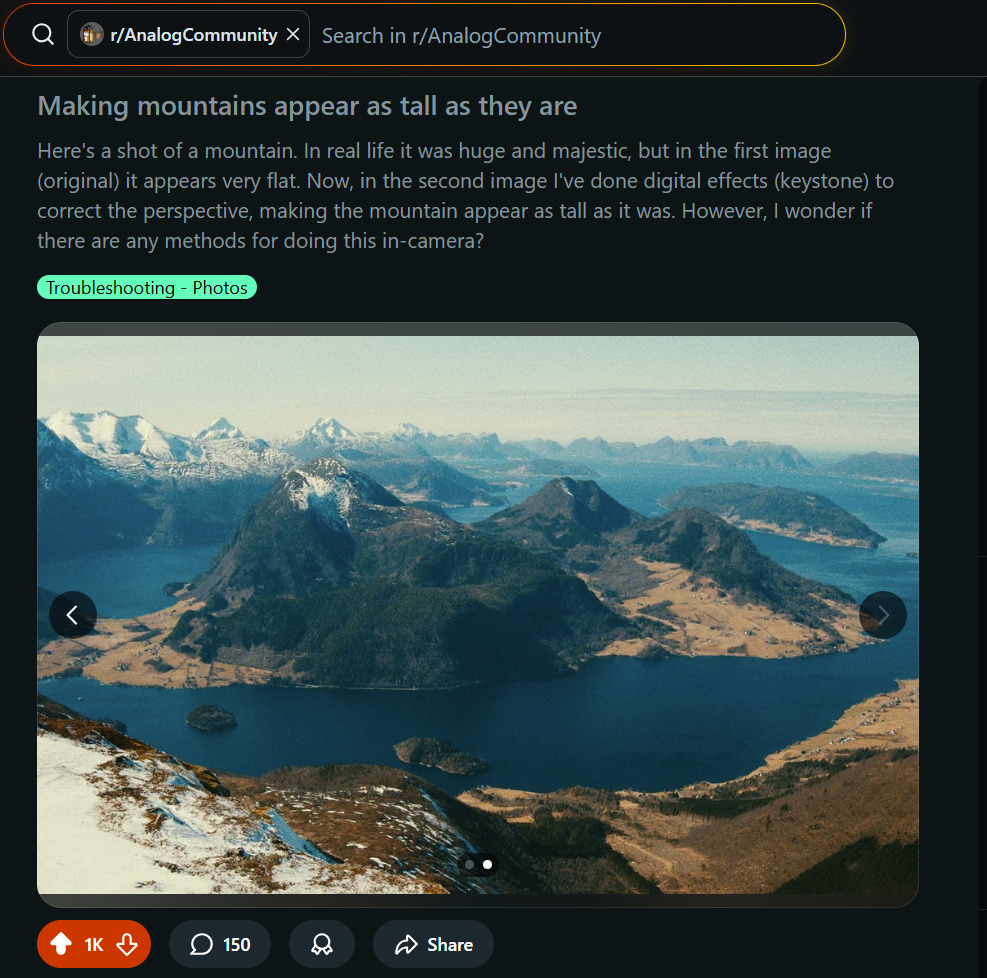
When your digital photo sits at the top of the AnalogComunity on Reddit, you know that the emulation is good ![]()
11 Likes
I was thinking of a way to automatically neutralize the color cast introduced by the film simulation, so not really something in the spirit of this topic but it could be usefull.
The color cast could be removed with rgb curves or with mathematical operator too.
Let’s start with a starting image:
The first step is to apply the film simulation on the original image, we could call this image rgb_film_simulation_cc (pratically every pixels in this image are the rgb film simulation results multiplied by a color cast factor):
The second step is to apply the film simulation on the grayscale version of the original image, we could call this image gray_film_simulation_cc (pratically every pixels in this image are the grayscale film simulation results multiplied by a color cast factor):
The third step is to remove the saturation from the latest image in step 2:

Now we just need to apply the follow expression:
Film simulation without color cast = (rgb_film_simulation_cc / gray_film_simulation_cc) * gray
And this is the result:
How it works?
this part
(rgb_film_simulation_cc / gray_film_simulation_cc)
could be written as follow
(rgb_film_simulation * color_cast) / (gray_film_simulation * color_cast)
the result is now without the color cast
rgb_film_simulation / gray_film_simulation
We just neeed to mutiply this result by the gray_film_simulation image to obtain the rgb_film_simulation without color cast
rgb_film_simulation / gray_film_simulation * gray_film_simulation
1 Like
Hi,
I’ve installed spektrafilm using pip from the dev branch.
The program run just fine but when I try to save the result I have a “segmentation fault” error then crash.
I’ve tried on small size image and different output type of file without any effect.
Do you know what could be the root cause of this ?
Note that I’m testing this on windows 10 not yet tested on Linux also agx-emulsion worked great.
Thanks a lot for this tool, this is something I was looking for for quite a long time !
wow! that’s kind of amazing! How did it go? ![]() would you mind sharing anything about the experience
would you mind sharing anything about the experience
that is a great photo, it deserves all the upvotes!
any additional info to investigate? what python version are you using? have you tried a clean install?
1 Like
hej age, thank you for this! it reminds me to get back to a few aspects that i can improve about the profile creation side. i was not fully satisfied by it.
solving and minimizing the color cast of the simulation is a core challenge when creating the film profiles. indeed one of the core principles is to map neutral gray IN to neutral gray OUT (actually i try to correct a neutral gray ramp by minimally modifying the characteristic density curves). little casts are expected because i do not want to mess to much with the original data. I would expect the cast to be overall neutral, i.e. that shadows and highlights should drifts in opposite ways, while midtones should stay relatively neutral.
one note, if the virtual enlarger is applying a color correction with the yellow and magenta filters, it is expected that a neutral gray input will provide an output with a color cast. if a strong color cast is there for neutral gray it might be unwanted (bug/mistake), or a challenging film stock. do you consistently notice unwanted casts? could you fix them just by optimizing the enlarger filters? in that case the problem would be in the precomputed neutral enlarger filters.
1 Like
Hi!
I can’t open navari:
gustavo@CAURJ004:~/.local/bin$ /home/gustavo/.local/bin/uvx --from git+https://github.com/andreavolpato/spektrafilm.git spektrafilm
An executable named `spektrafilm` is not provided by package `agx-emulsion`.
The following executables are available:
- agx-emulsion
This is Debian 12
NOTE: I had previously installed the version from the main branch successfully. Navari opened the interface, but I couldn’t open an .exr file, so I decided to try the dev branch
try with this command:
uvx --from git+https://github.com/andreavolpato/spektrafilm.git@dev spektrafilm
i updated the readme, too.
should answer the question you also had, @mikae1
2 Likes
I tried a clean install and I have python 3.13 installed. Other than the “segmentation fault” I don’t have much more info.
Maybe I can enable some debug somehow when the program is running, but I don’t know how.
This solved my problem too!
1 Like
I think your examples have more to do with the cinematography style than the film stock used. Lighting is really different from modern movies
Cool, works well! Thanks! Kind of a quantum leap in terms of UX compared to the agx-emulsion days. ![]()
4 Likes
I had the impression that it was a big success. There were approximately 30 participants which is great because at my previous photo editing Workshops at the Libre Graphics Meeting there were 2-5 participants. As far as my „pediagocial method“ is concerned, it was a dream, the participants actually participated and it was not just like s talk, we actually had a fruitful dialogue, especially thanks to @grubernd who is a professional photographer. I think this was my most successful And „pleasant“ workshop at a conference so far. Of course, most listeners were just Linux nerds and had not much experience in photo editing, but they quickly understood what was important and I think I could convince some of them that spektrafilm is a wonderful piece of software. Of course I dont know yet what the actual feedback is. I didnt know many people at the conference and therefore didnt talk with many people. The whole conference consisted of just two days, the workshops were on Friday and the talks on Saturday. Well and even though I am not exactly an award winning actress I was actually able to talk, thanks to the fact that is was more like a dialogue. Just one thing, which was my fault: we only had a projector and not a big screen (i should have asked the organizers for a screen), but it was good enough to show the difference between kodak portra and kodak gold.
7 Likes
it sounds it was a success! i’m very glad! thank you for sharing this insight and congratulations on 30 participants and the nice idea ![]()
1 Like