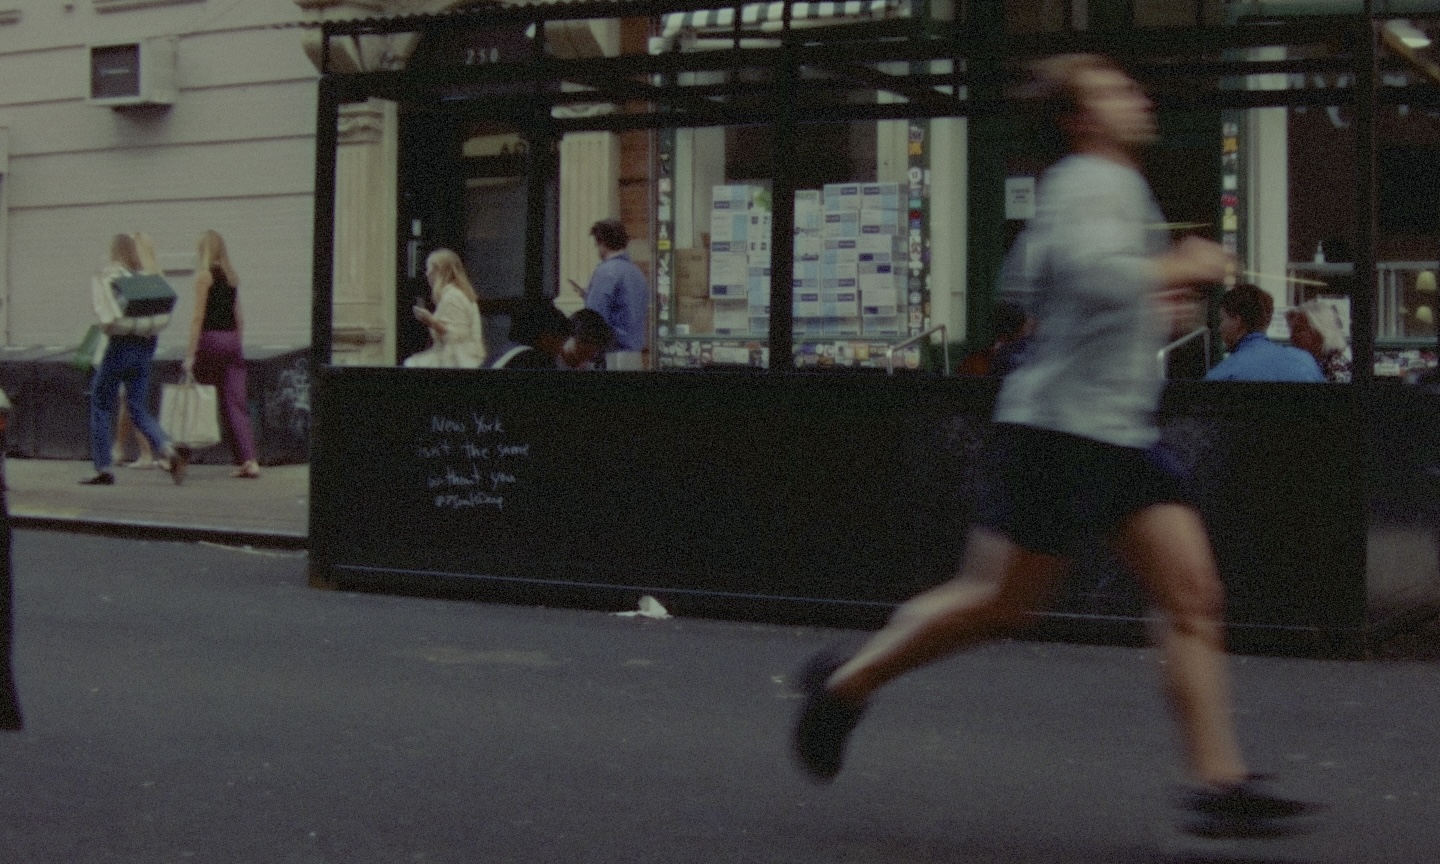
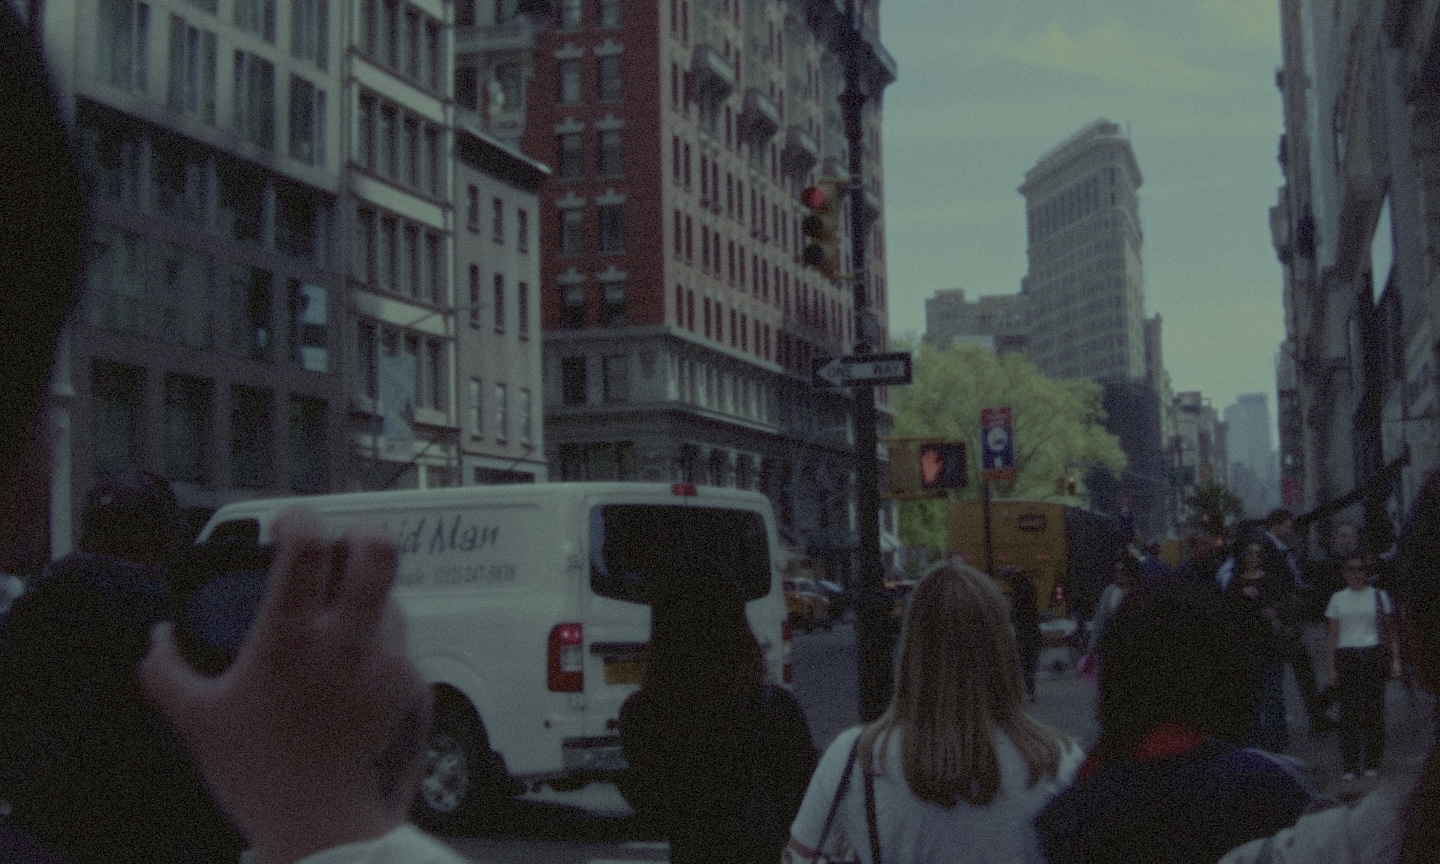
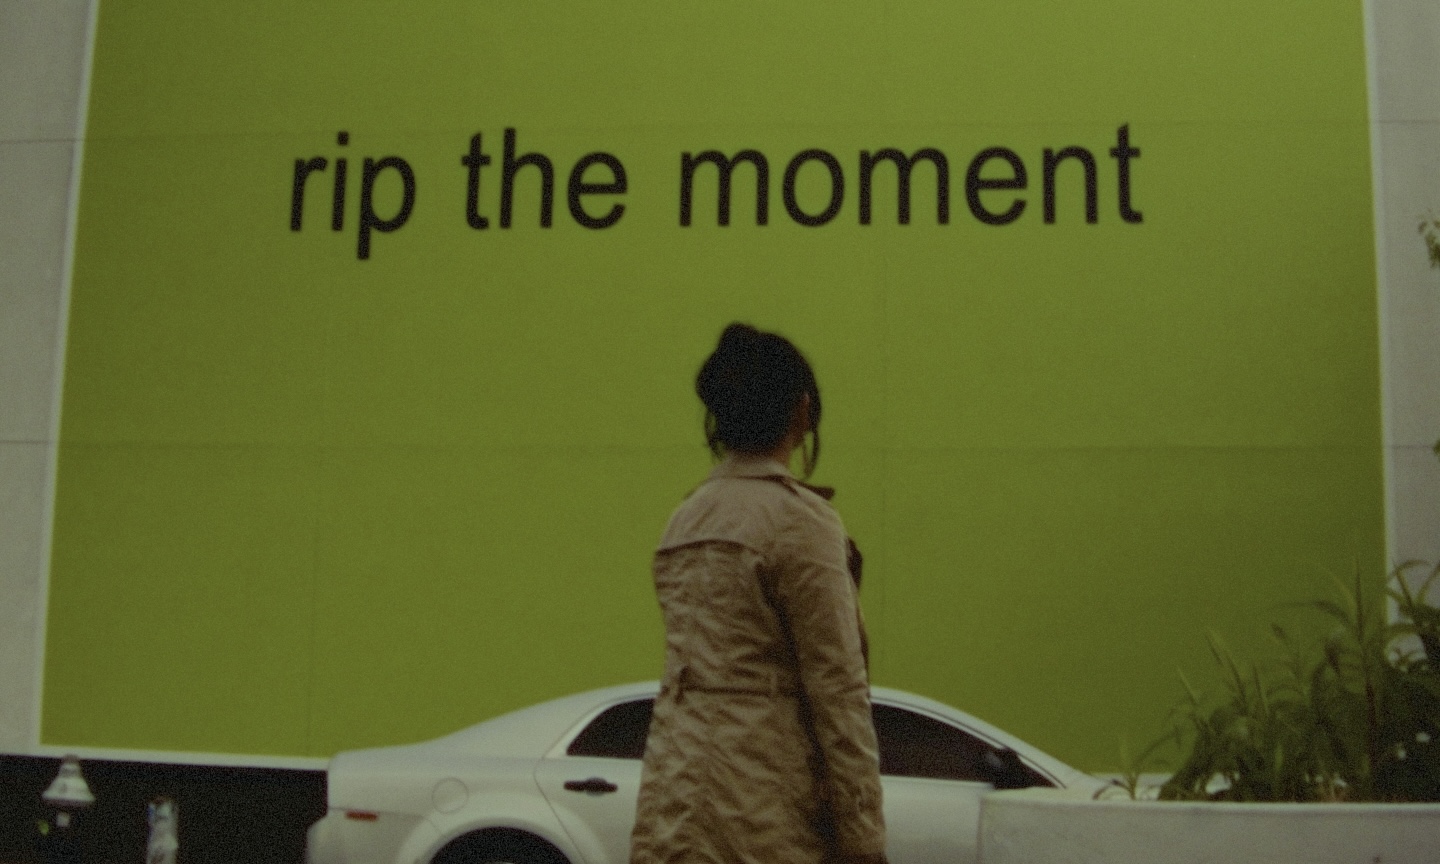
Tried a s16 look and amazed with what a simple wb + exp correction can do. There’s really no better plug in that captures the soul of film like this
4 Likes
Absolutely wonderful! Will watch again on a bigger screen after work 
I am going to Snowdonia in Wales next week and will definitely share every bit of landscape there. Of course fully processed by spektrafilm!
1 Like
Perhaps you want to try vkdt, which has alot of the modules you’d expect.
2 Likes
Thanks for the suggestion, I will try vkdt.
1 Like
@arctic ive got a question regarding these two checkboxes
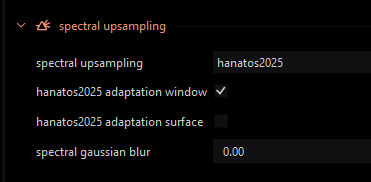
i sort of know what they do (or, i can see what they do :D), but want to be sure - what would the most “realistic film” setting be? both the window+surface checked?
possible absolutely! maybe the current python tech demo does not have the best structure to accept a reach feature set (since it was never designed to). the core structure is really to be a tech demo and expose all the parameters so we can judge if the model.
it can also process images very slowly as a side job. 
vkdt is probably the best solution
i wrote a note, though, i think i can add the feature. i just not need to forget about it.
1 Like
great rendering!
sometimes i feel that i am hunting for hidden pockets of colors inside the LUTs with my s9, while applying wrong white balances. like if there were unexpected renderings when going in different portions of the LUTs.
how did you get all that grain in the blacks? any hack?
they are experimental features, they improve the accuracy of color reproduction (in a filmic sense).
the adaptation window should stay on
the adaptation surface buys you some residual accuracy but at the cost of cooler skin tone rendering, so i would leave it off for now. possibly switch it on for landscape or non-portrait
they are optimized per stock and they are very experimental, they might vanish if a better solution for the up-sampling will be found (stay updated with the spektrafilm tech discussions thread)
(it is part of the experimental and artisanal part of profile generation)
4 Likes
Thank you!
be careful or you’ll just end with with a full raw processor/editor 
5 Likes
A post was split to a new topic: Spektrafilm OFX help
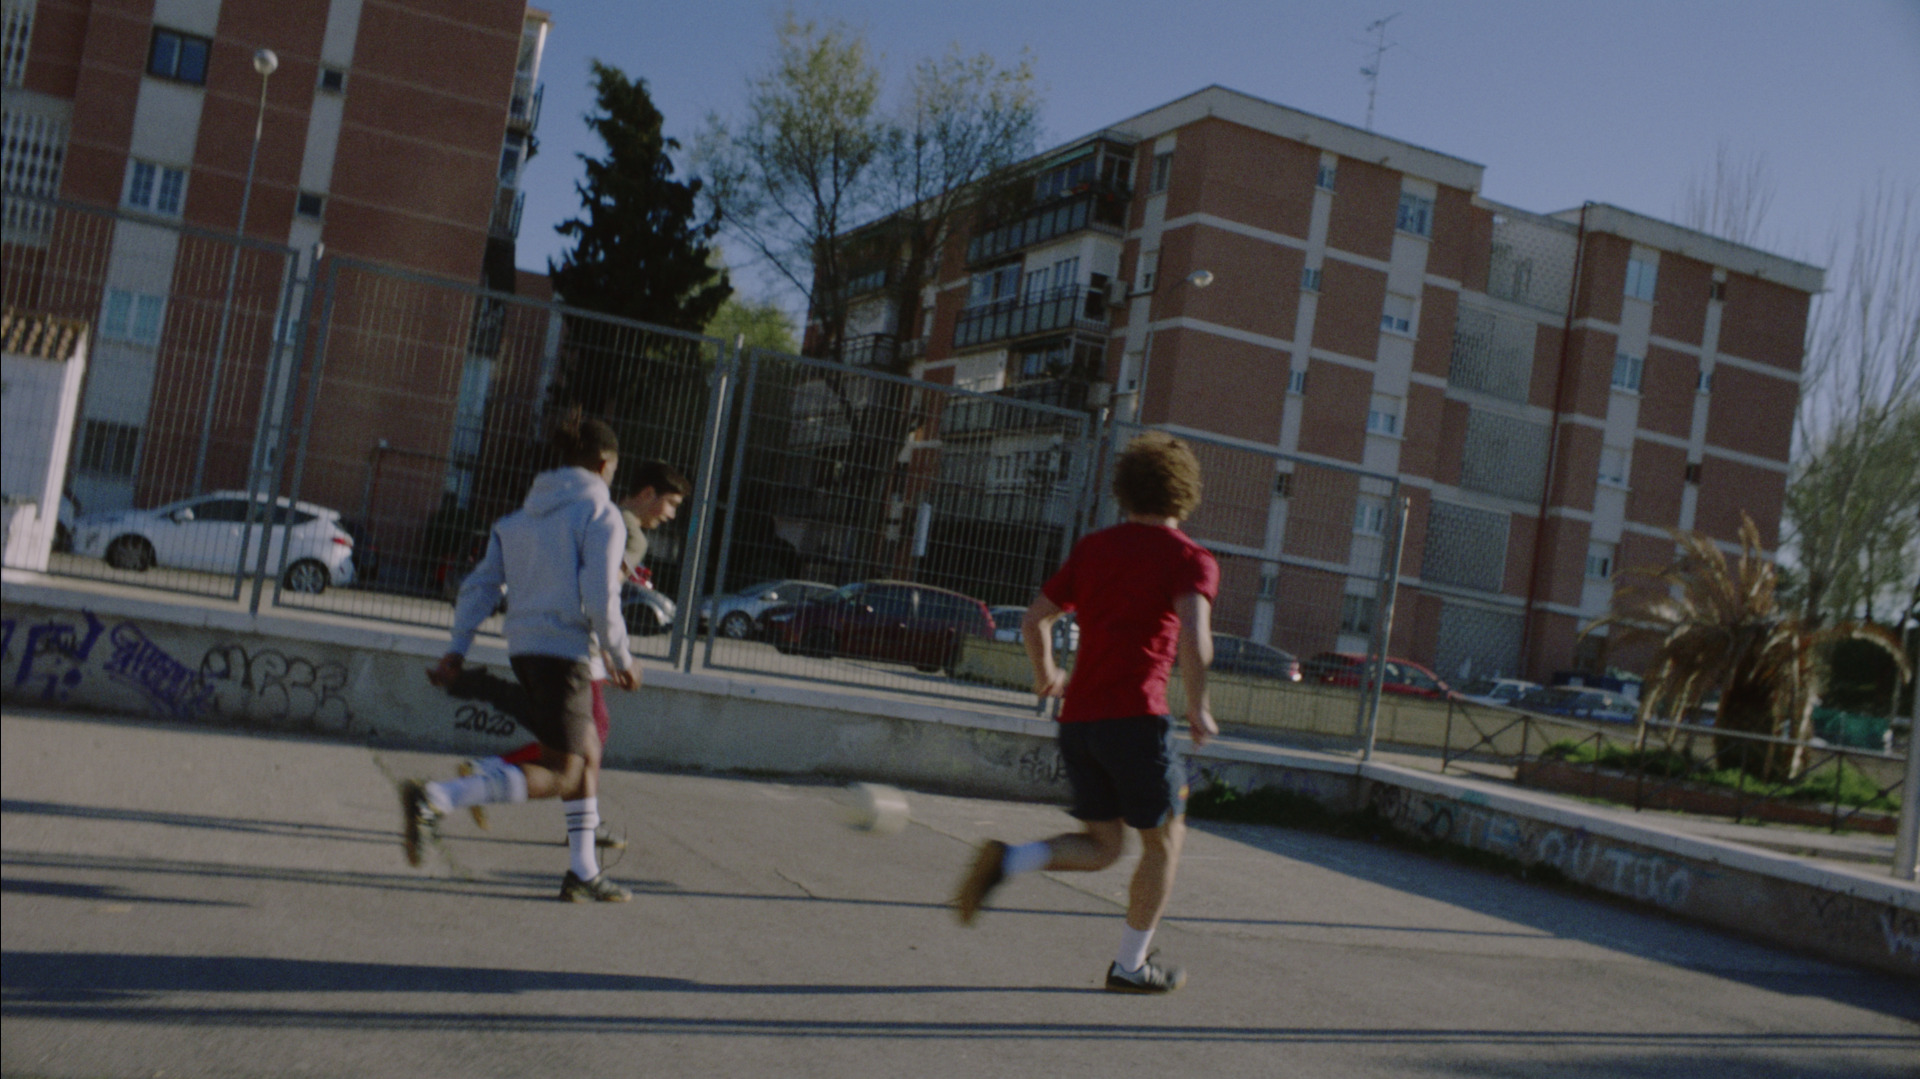
Finally cleaned my hard drive to free up space and found some forgotten, unused before video clips! Decided to re-grade in Spektrafilm OFX.
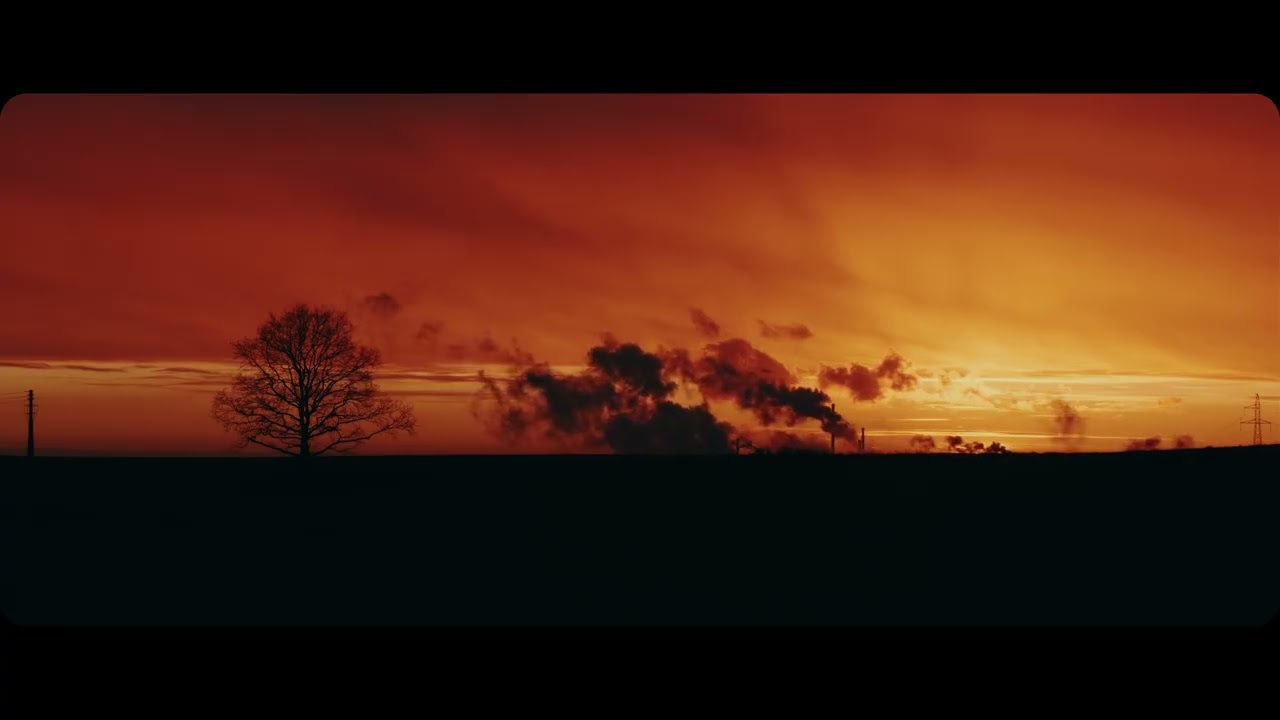
This scene was shot in December 2025.
Fujifilm X-T4, Sirui Nightwalker 55mm T1.2
3 Likes
It is sufficient to ask in one place, no need to repeat yourself. It seems your GPU is out of memory.
Hey, @arctic, Ive got a question regarding the pipeline - I have been playing around with some photos and to me it looks like the halation is “calculated” after the print exposure dial, which would be, if I understand the camera exp comp/print exposure sliders correctly, wrong - is it possible or am I seeing things? Tried to decode the code and came out empty handed.
The only change in spektrafilm was the print exposure dial, its 1.00 for the first one, 0.5 for the second one, 0.3 for the third - exported as tifs.
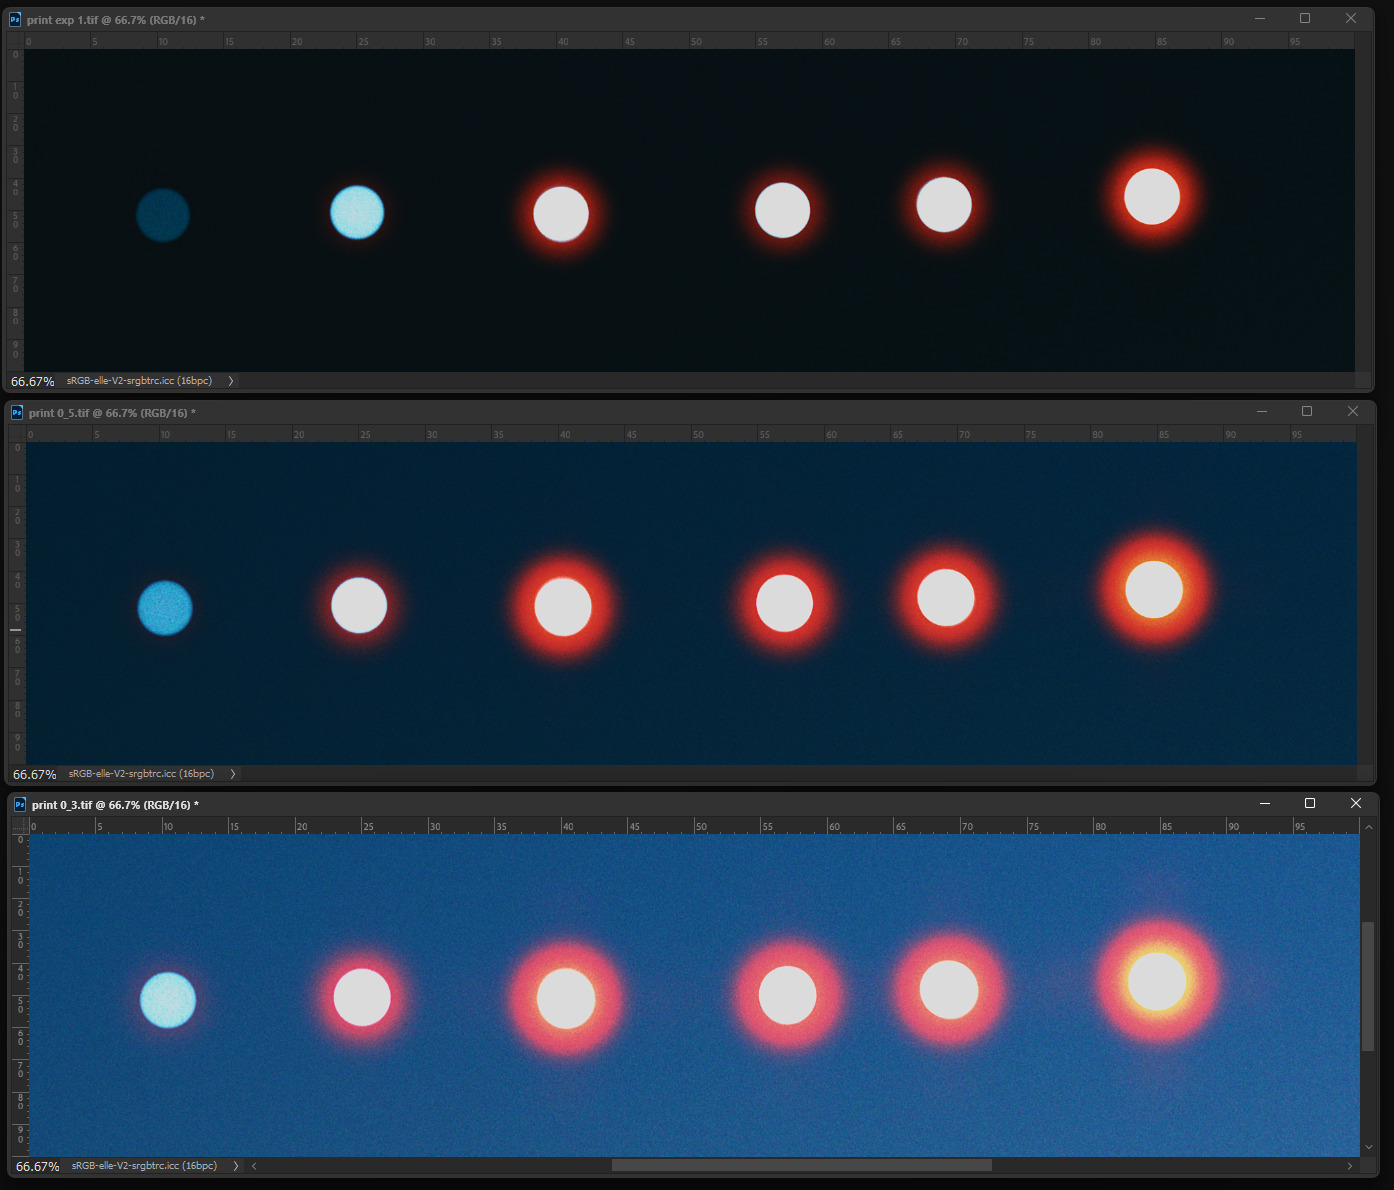
And then, with somewhat adjusted exposure/curve to match in camera raw - the halation looks like it behaves differently?
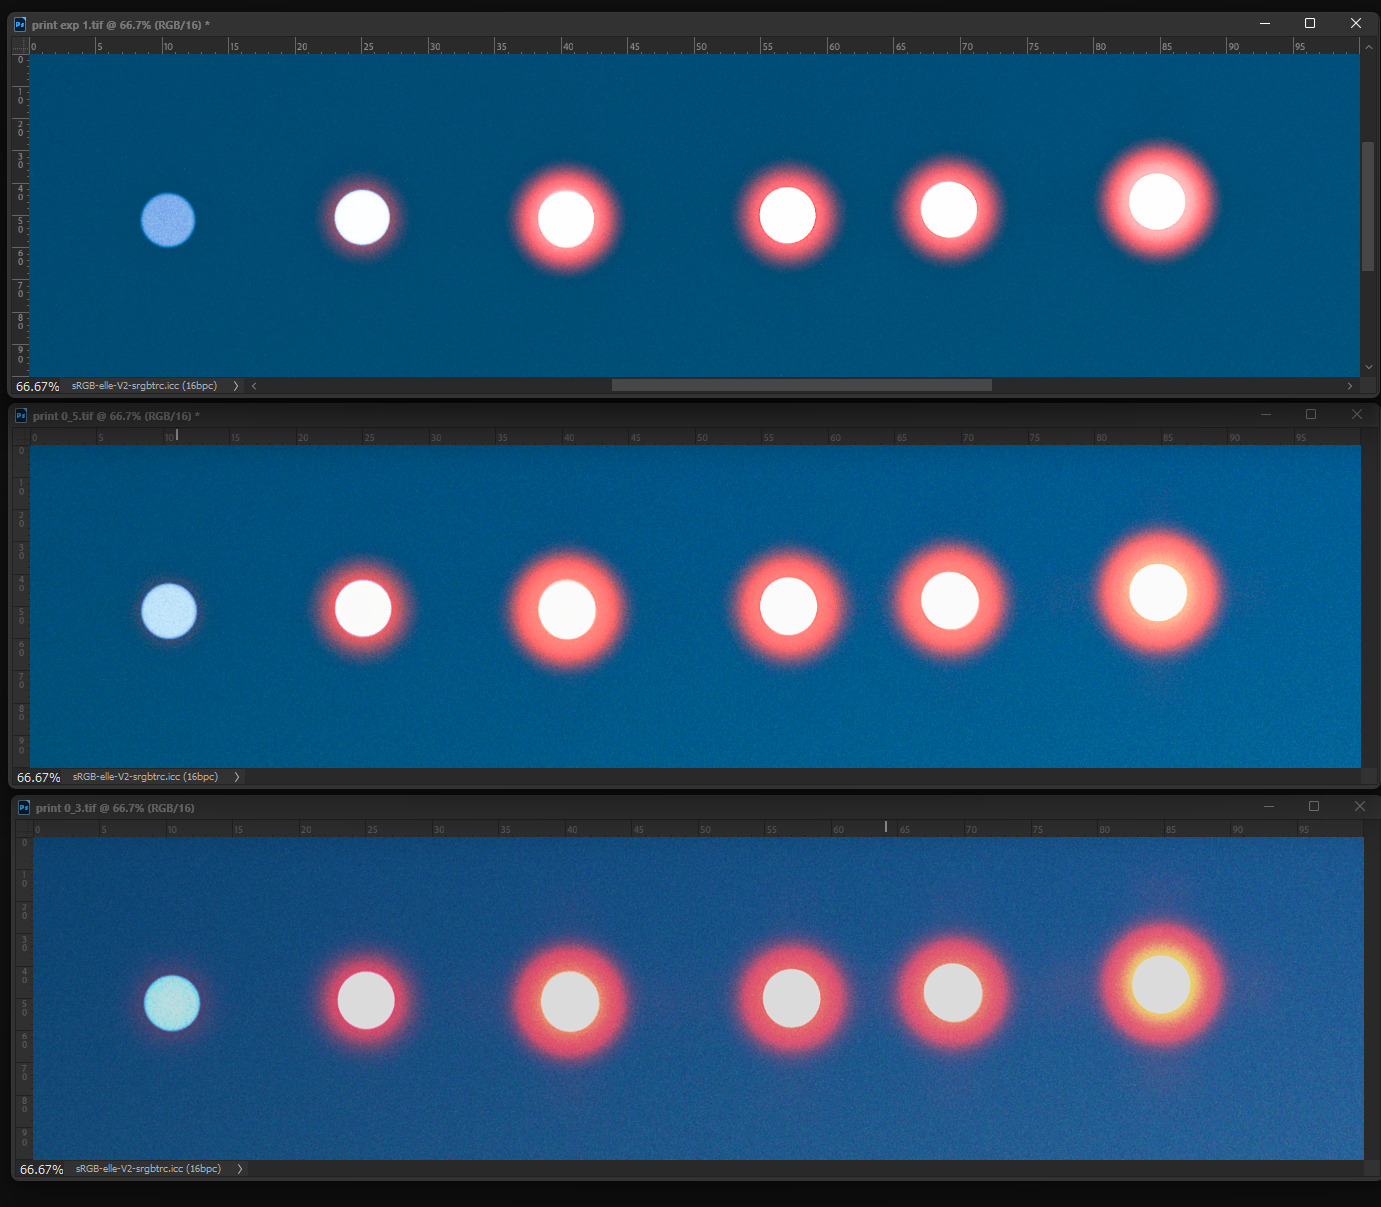
I dont think its just “being lost” in the knee of the paper curve, but… Overthinking the thing as usual 
I still have a lot to learn with vkdt, but to be perfectly honest I prefer using the darktable workflow right now if I want to do something SpektraFilm doesn’t offer (make any needed adjustments in darktable and output a linear tiff with no tone mapper for use in SpektraFilm). It’s slow and not conducive to batch edits, but it gives me a way to use my most familiar tools when I need to make a change.
Right now, even with an every-day act like denoising, I’m struggling pretty badly in vkdt, so I’ll have to find time in the future to figure it out.
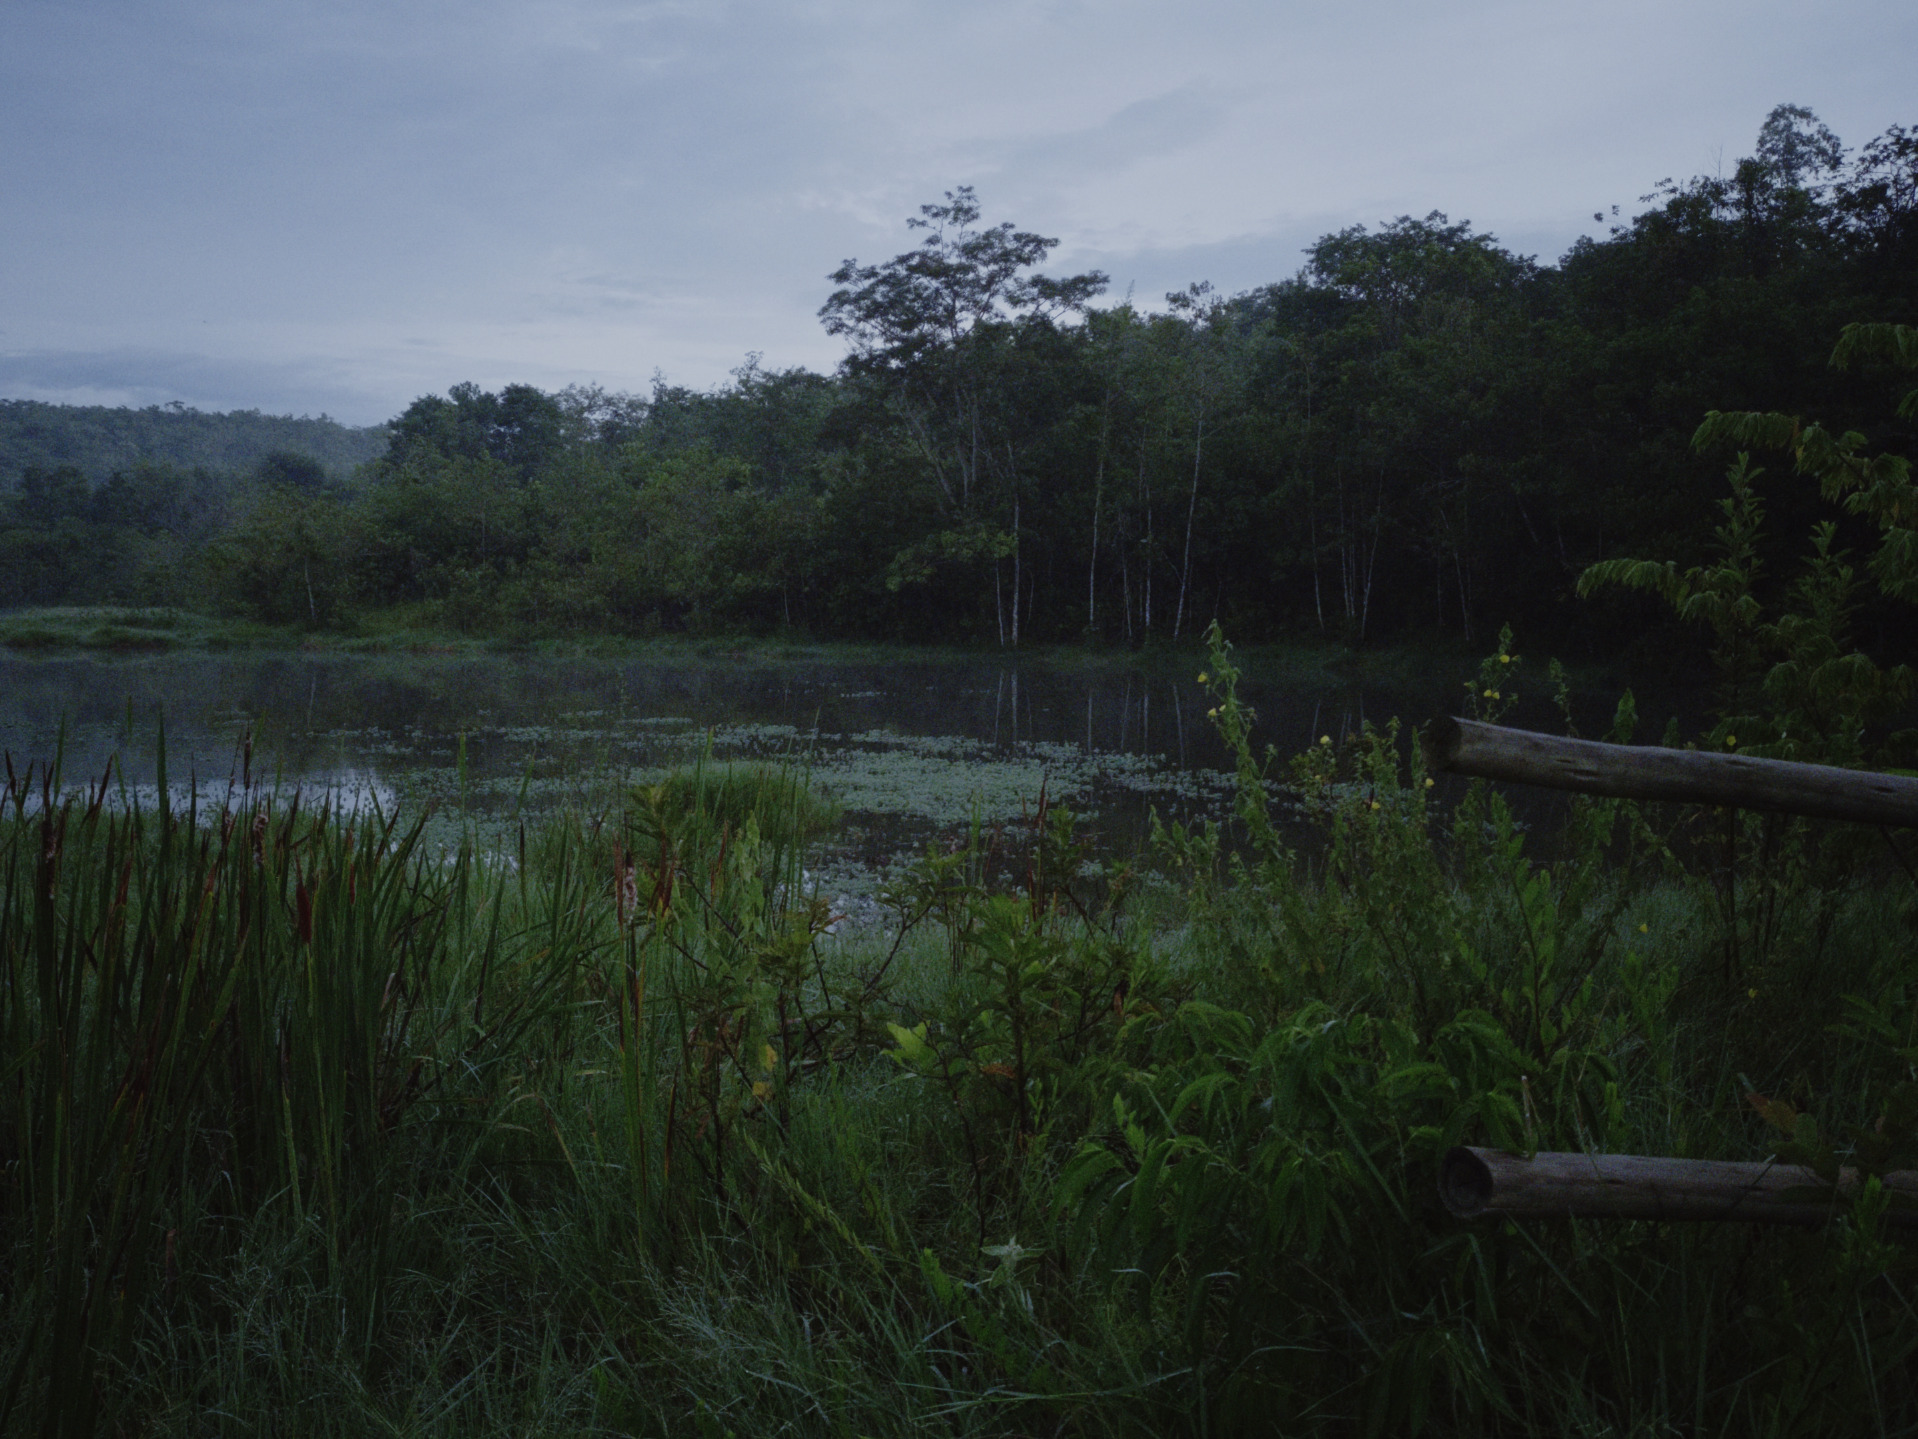
Some random moody evening shots for sharing, enlarger print color settings heavily adjusted:
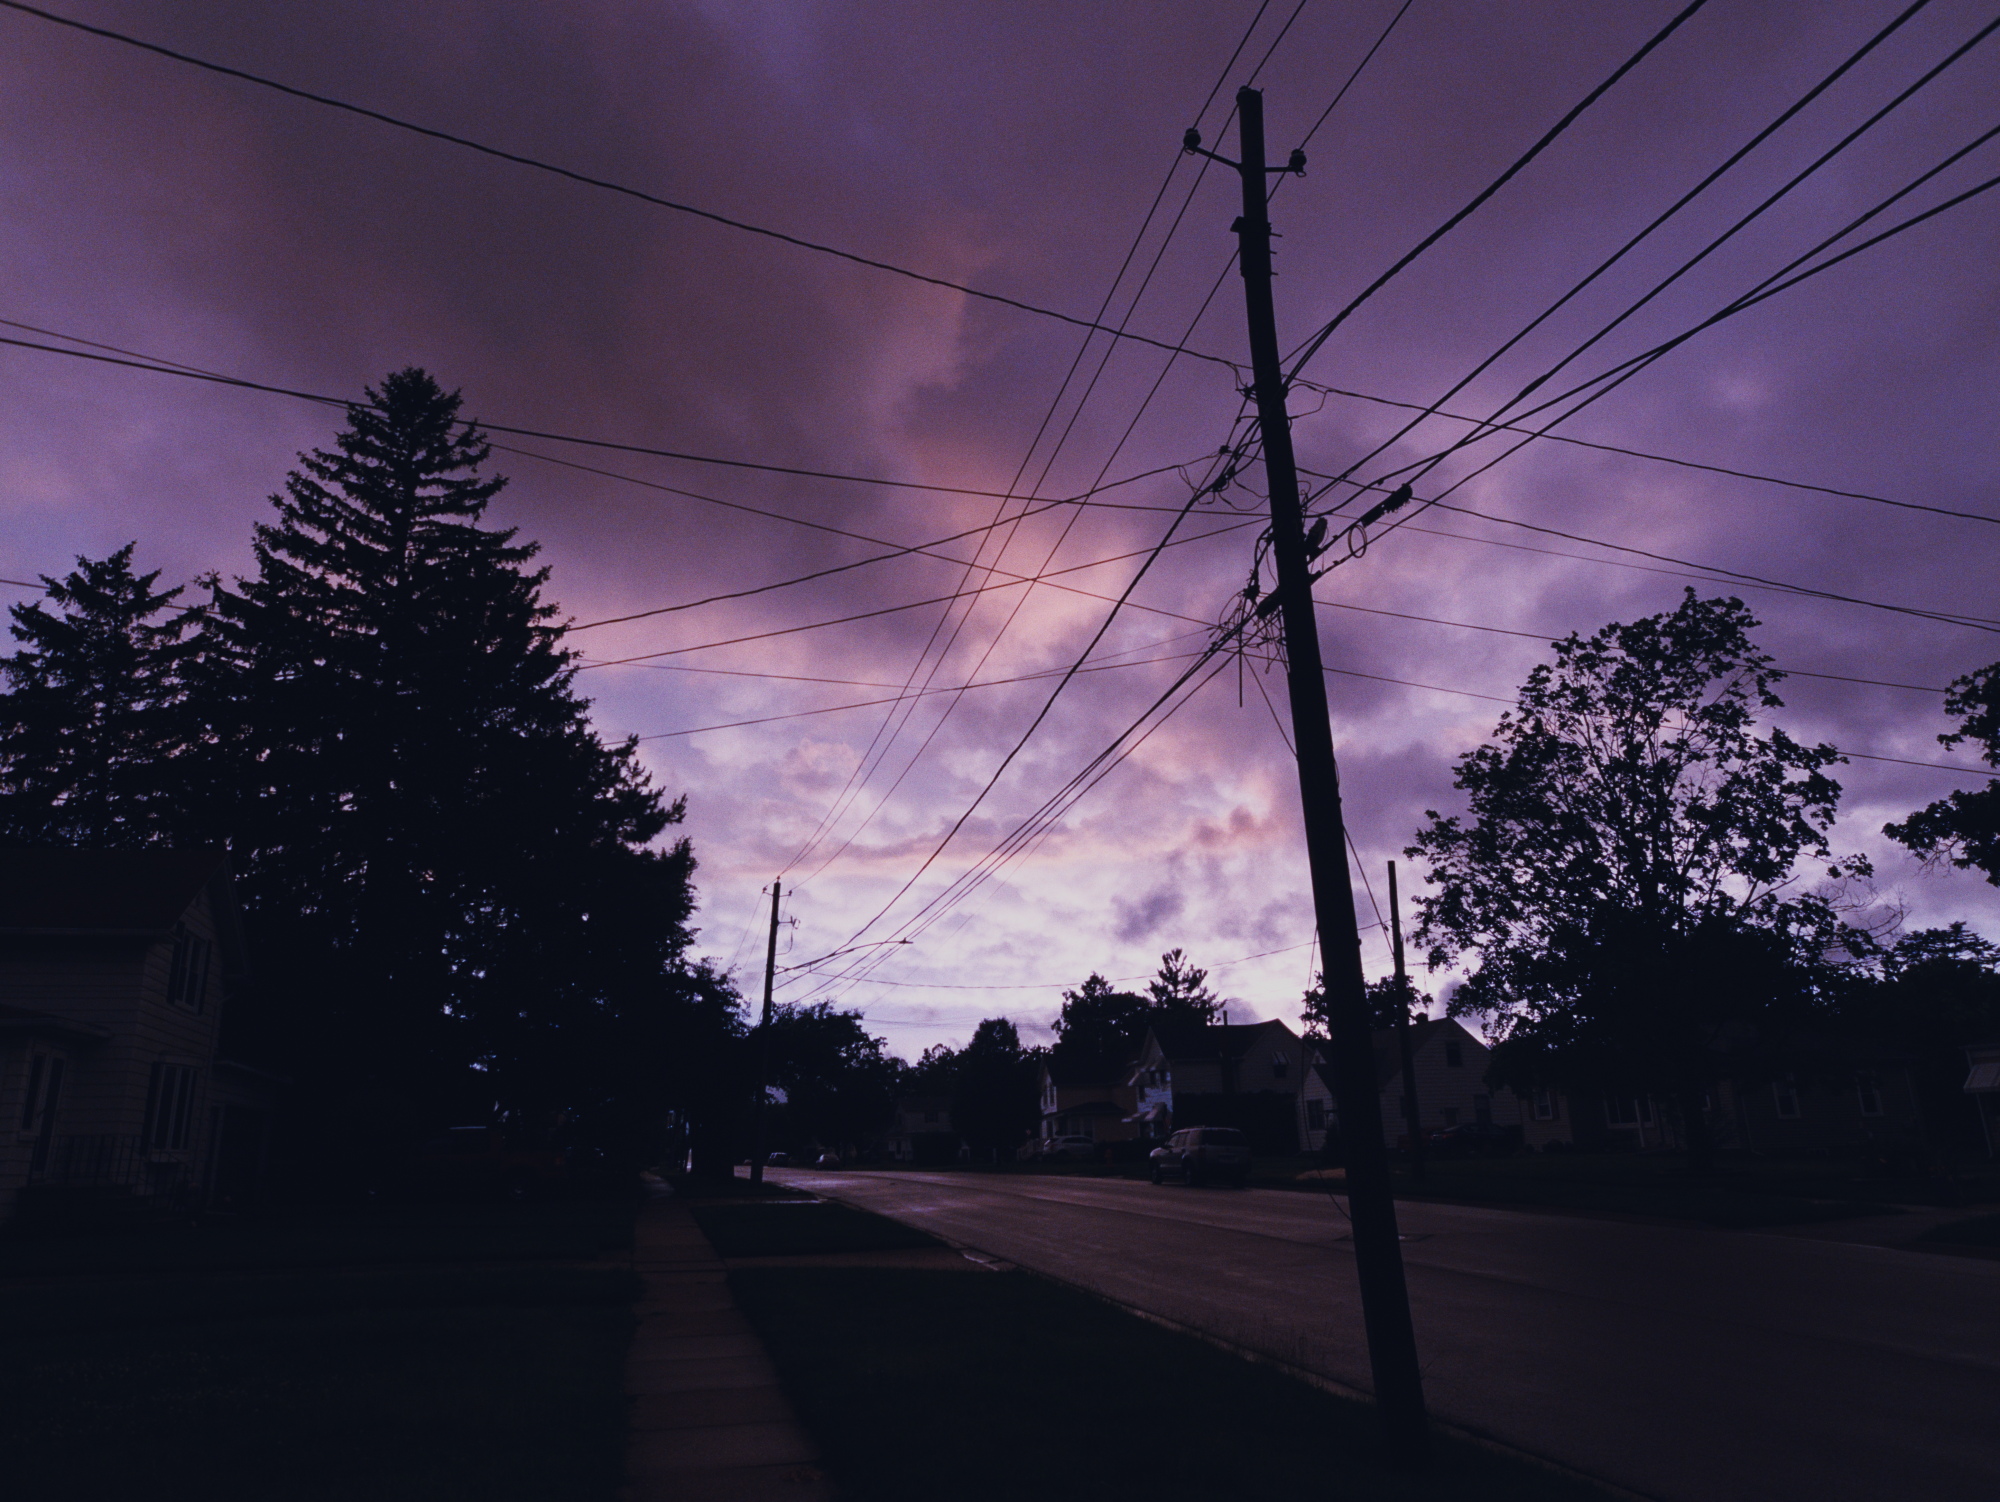
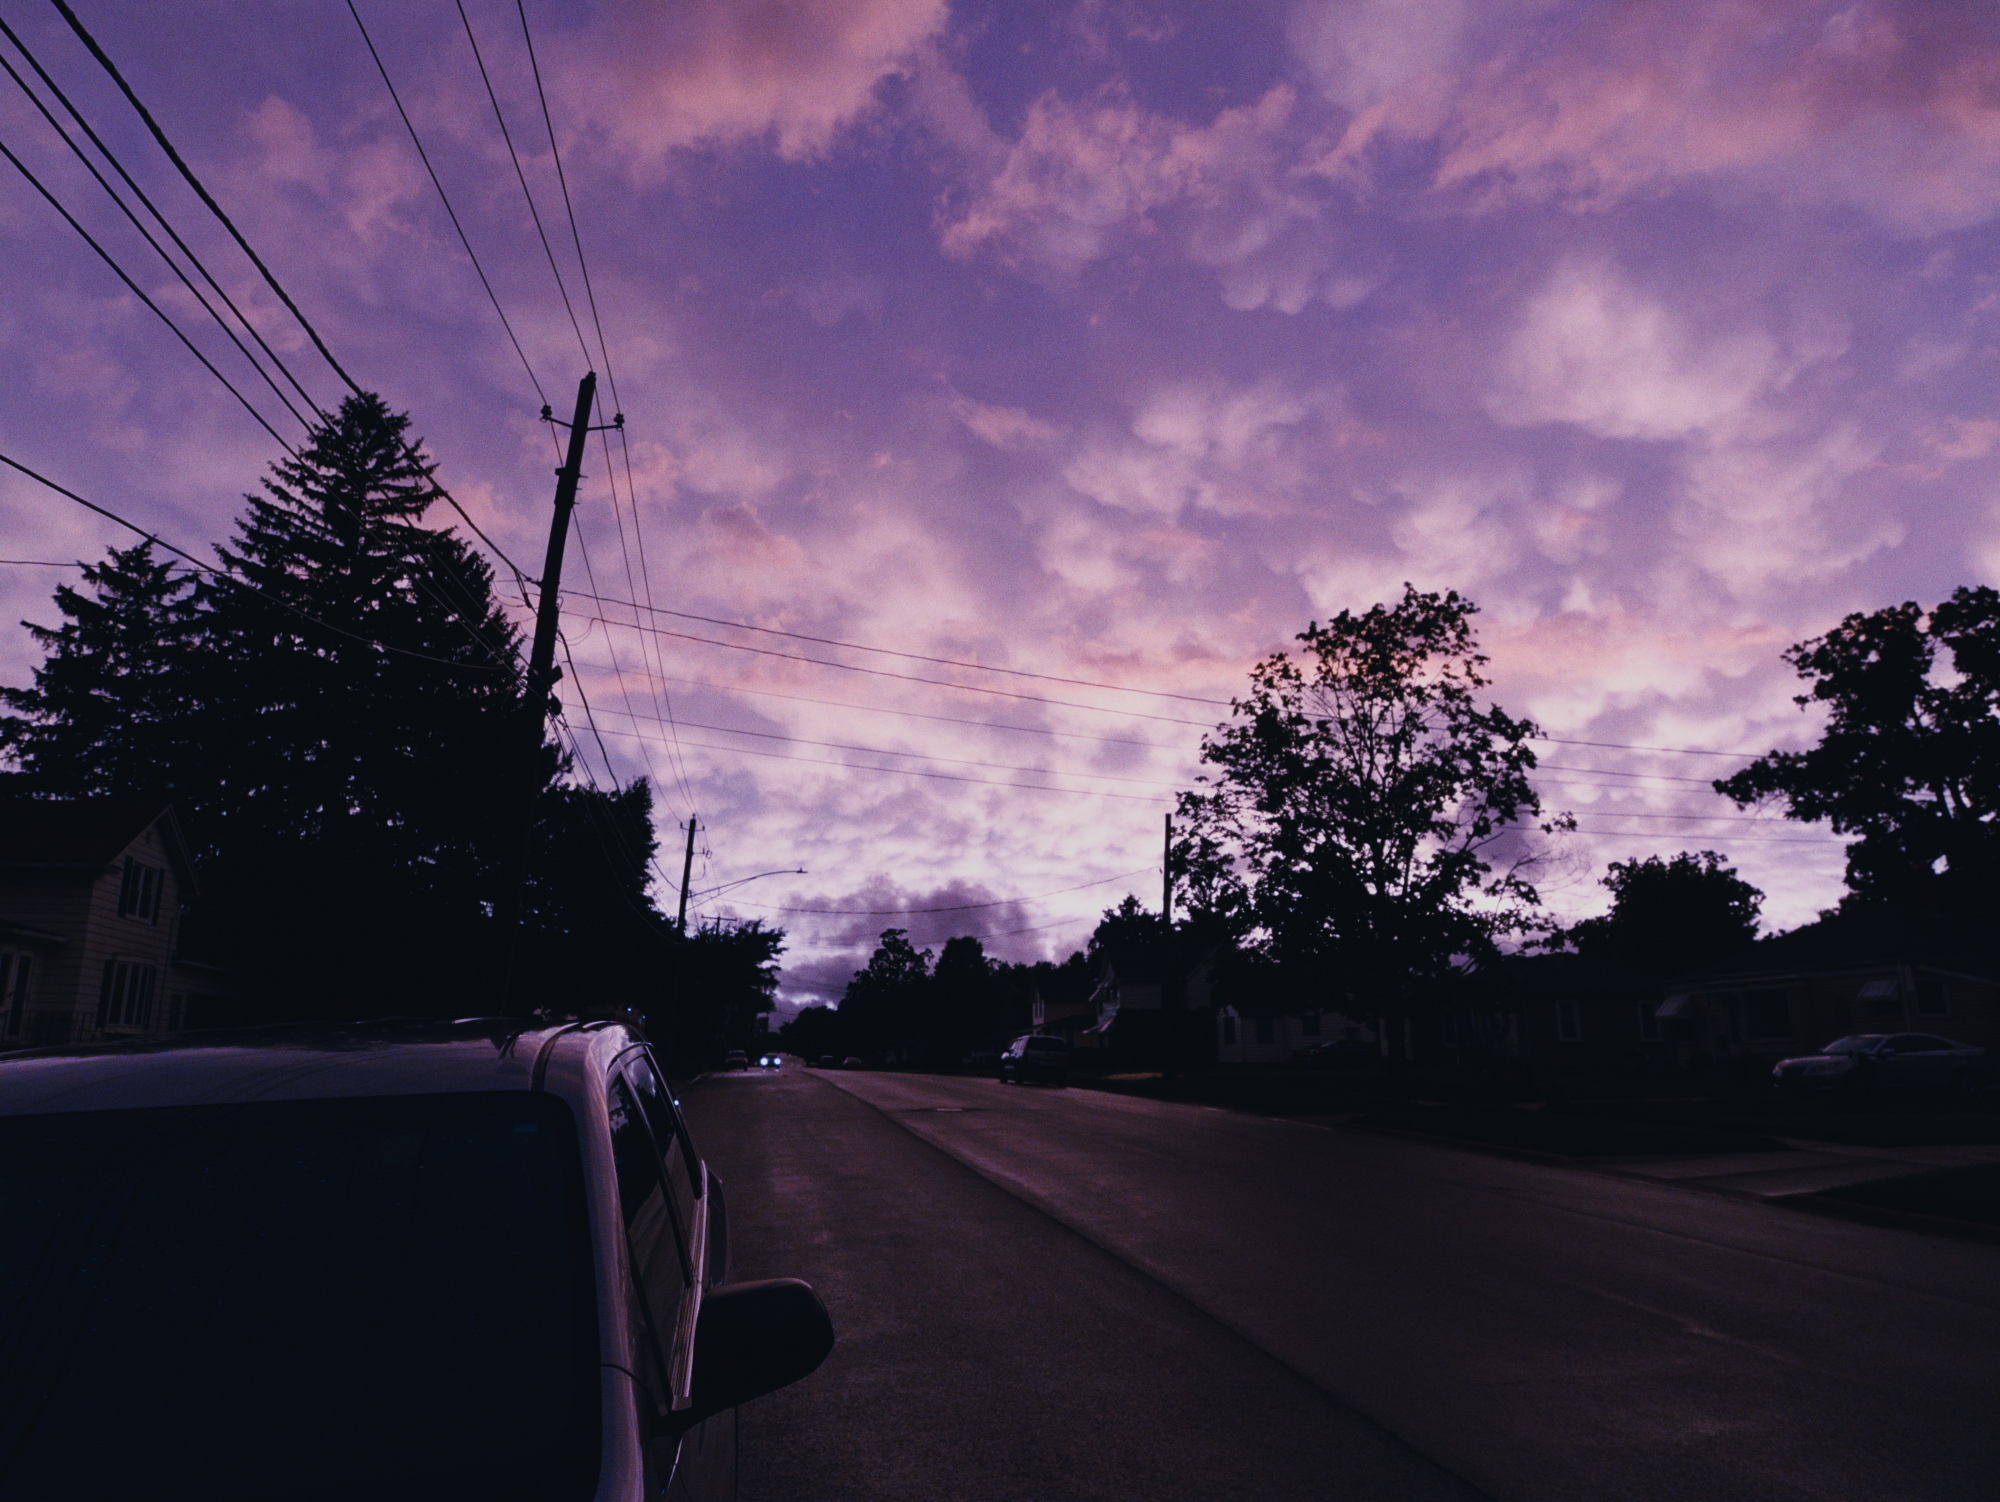
3 Likes
@bazdesh, halation is fully calculated in the “filming” stage
as far as i understand from your experiments, you get some interaction with the knees of the paper, thus the tail or the core of the halation get lost in the toe (dark outer part of halation) or the shoulder (bright core) of the print curves
changing print exposure you can totally interact with the halation appearance even if the halation itself is calculated in the filming stage
1 Like
for fun i reprocessed this image from @Anthonygansauer using the latest changes. i think the color of the t-shirt might have improved a little compared to the last time i saw the comparison.
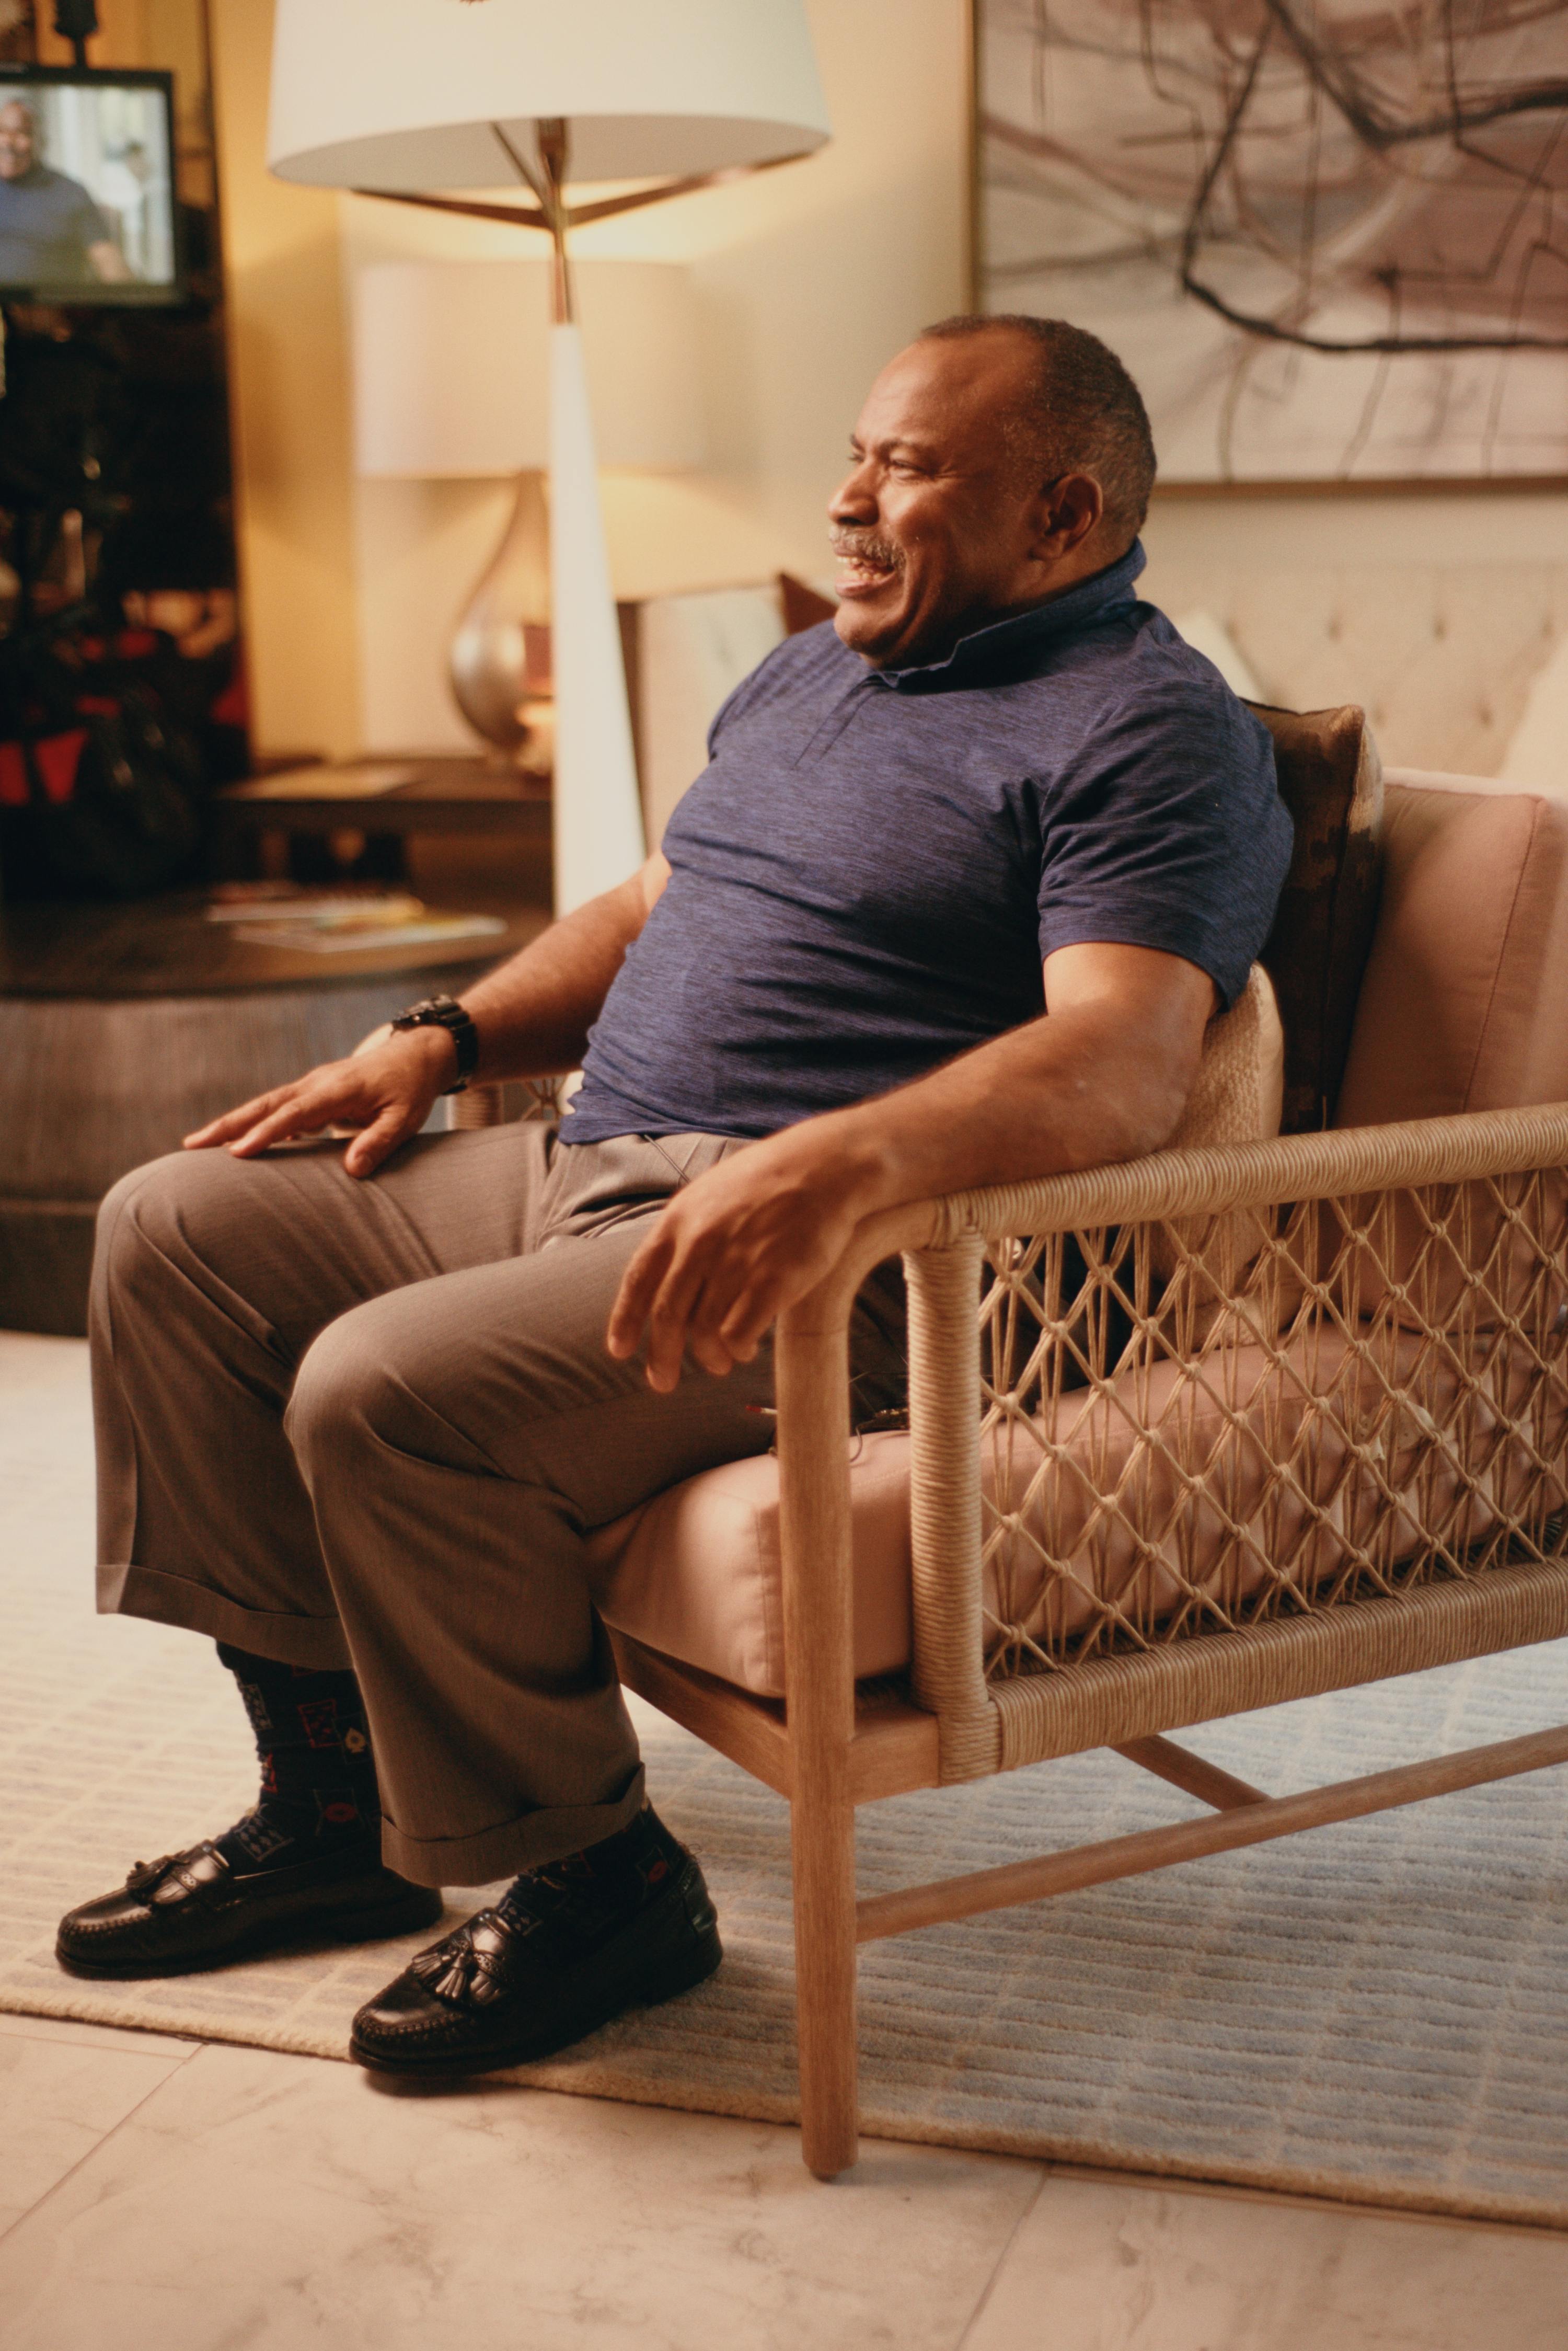
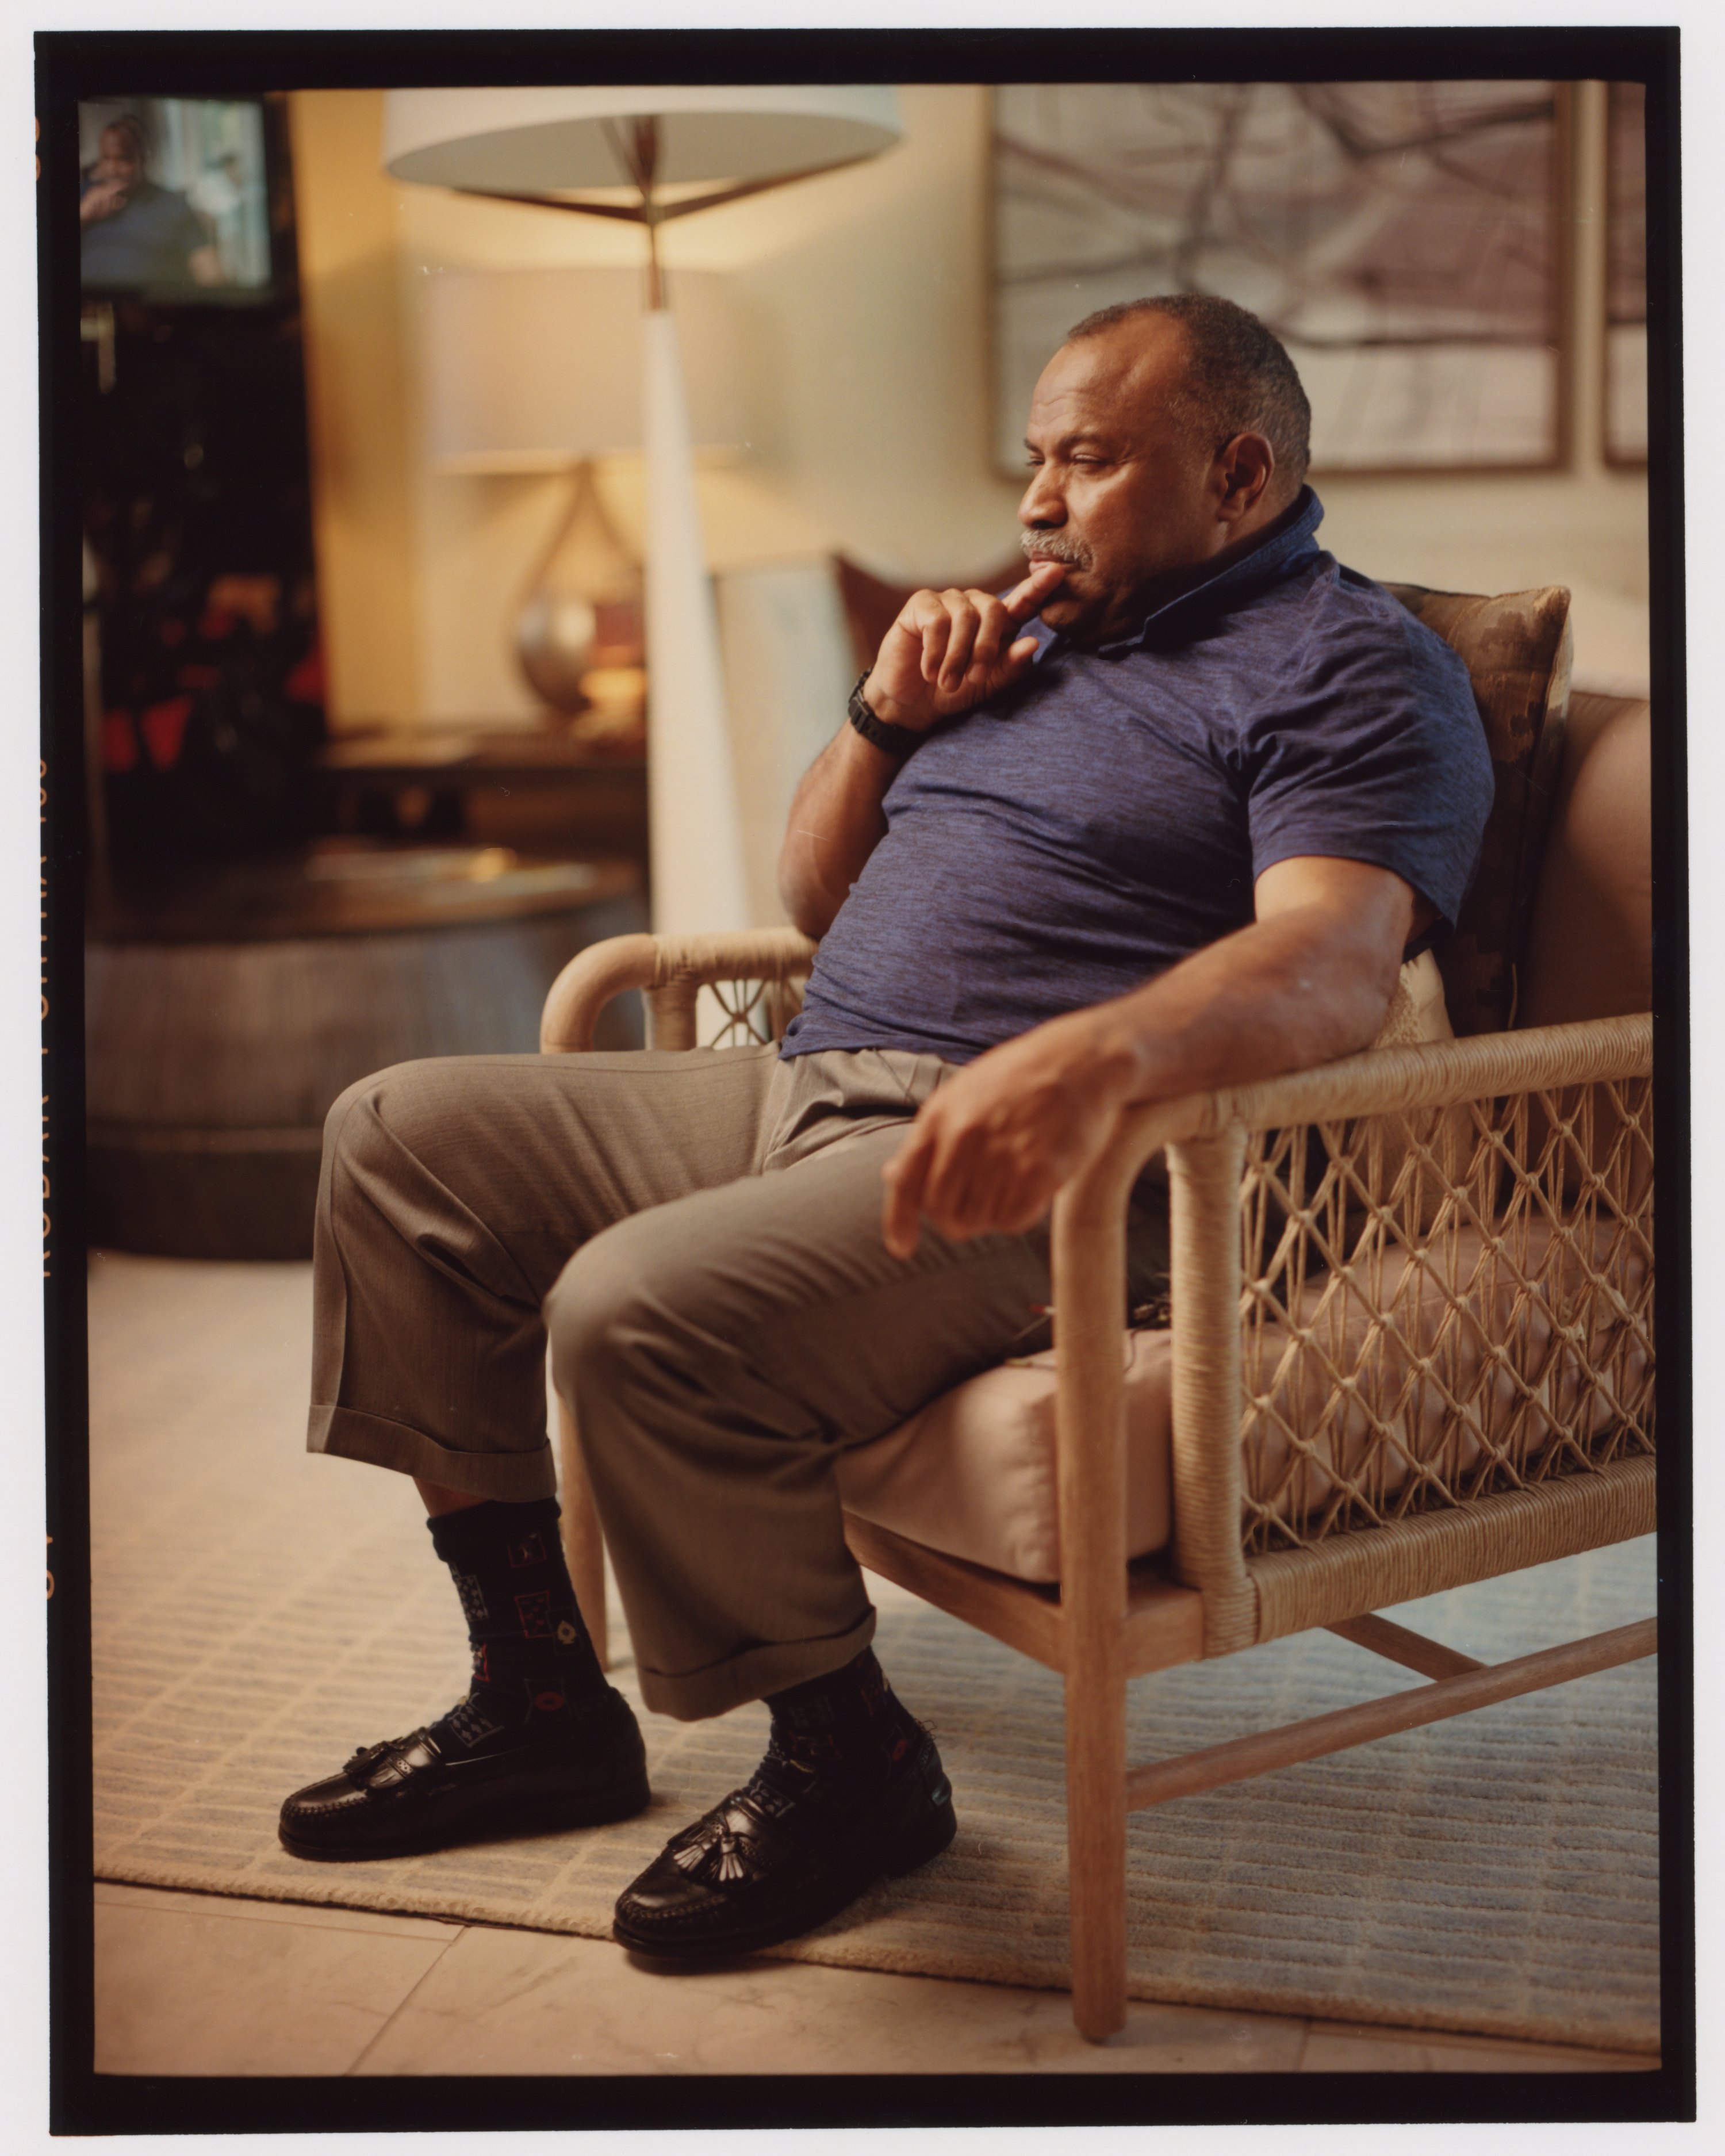
wb daylight
-8Y -7M
print gamma factor 1.05
couplers 0.6
portra + crystal archive
everything default with the latest reflectance-upsampling-methods branch, except the parameters above
4 Likes
Not him, but one thing I’ve been testing with the ofx is to bypass the print than invert it manually (“emulating a telecine style transfer”), it gives more grain in the shadows

4 Likes
Beta02 an improvement on 01, yet still looks quite a bit more red than the ra4 (even if very close). Noticeable on shirt, background artwork, and chair frame. I’m not sure how exact you expect these to become, just an observation.
Only looking on my phone to type this. Will edit post with confirmation shortly after looking on calibrated monitor.
EDIT: Yes same on calibrated monitor.
1 Like
Yup OFX invert
Btw these look amazing