Indeed I was able to set it up just now. Not sure what turned me away the other day, but it does work. The path to the config folder on my machine (macbook pro m3 latest macos) was ~/.config/darktable though. Cheers, I’ll play around with it
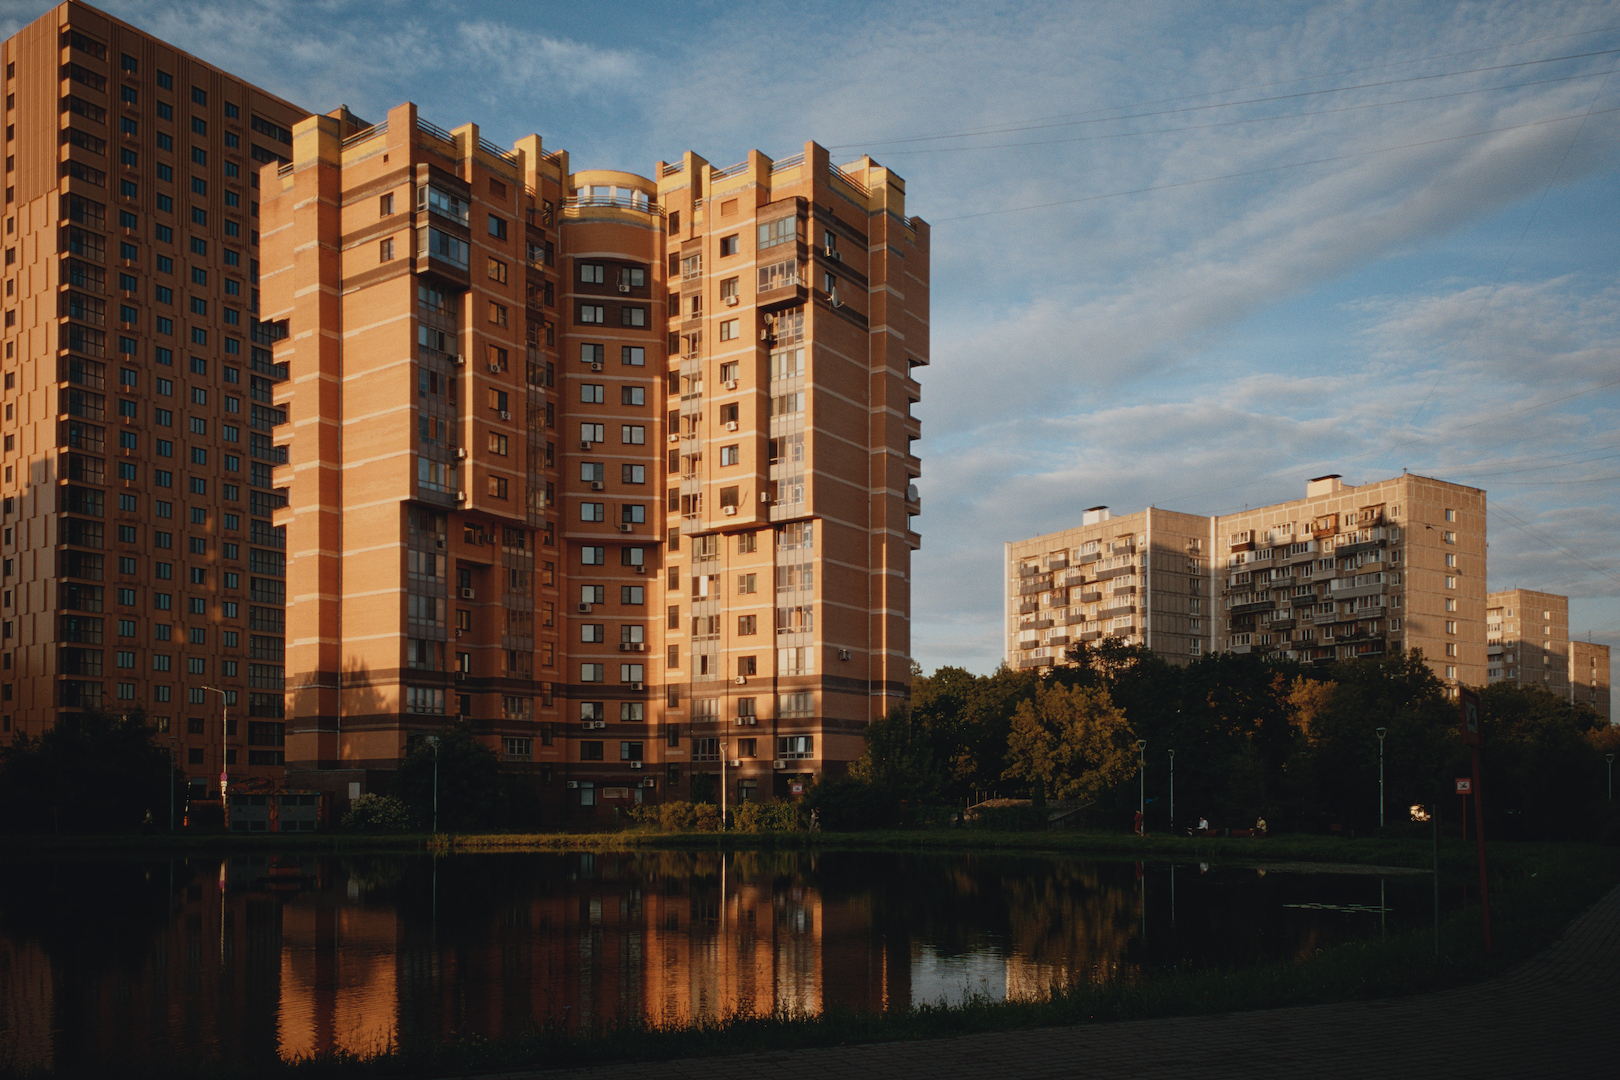
I’m just playing around with this right now, and I’m amazed at how well and quickly you can replicate some analog color grading techniques. 
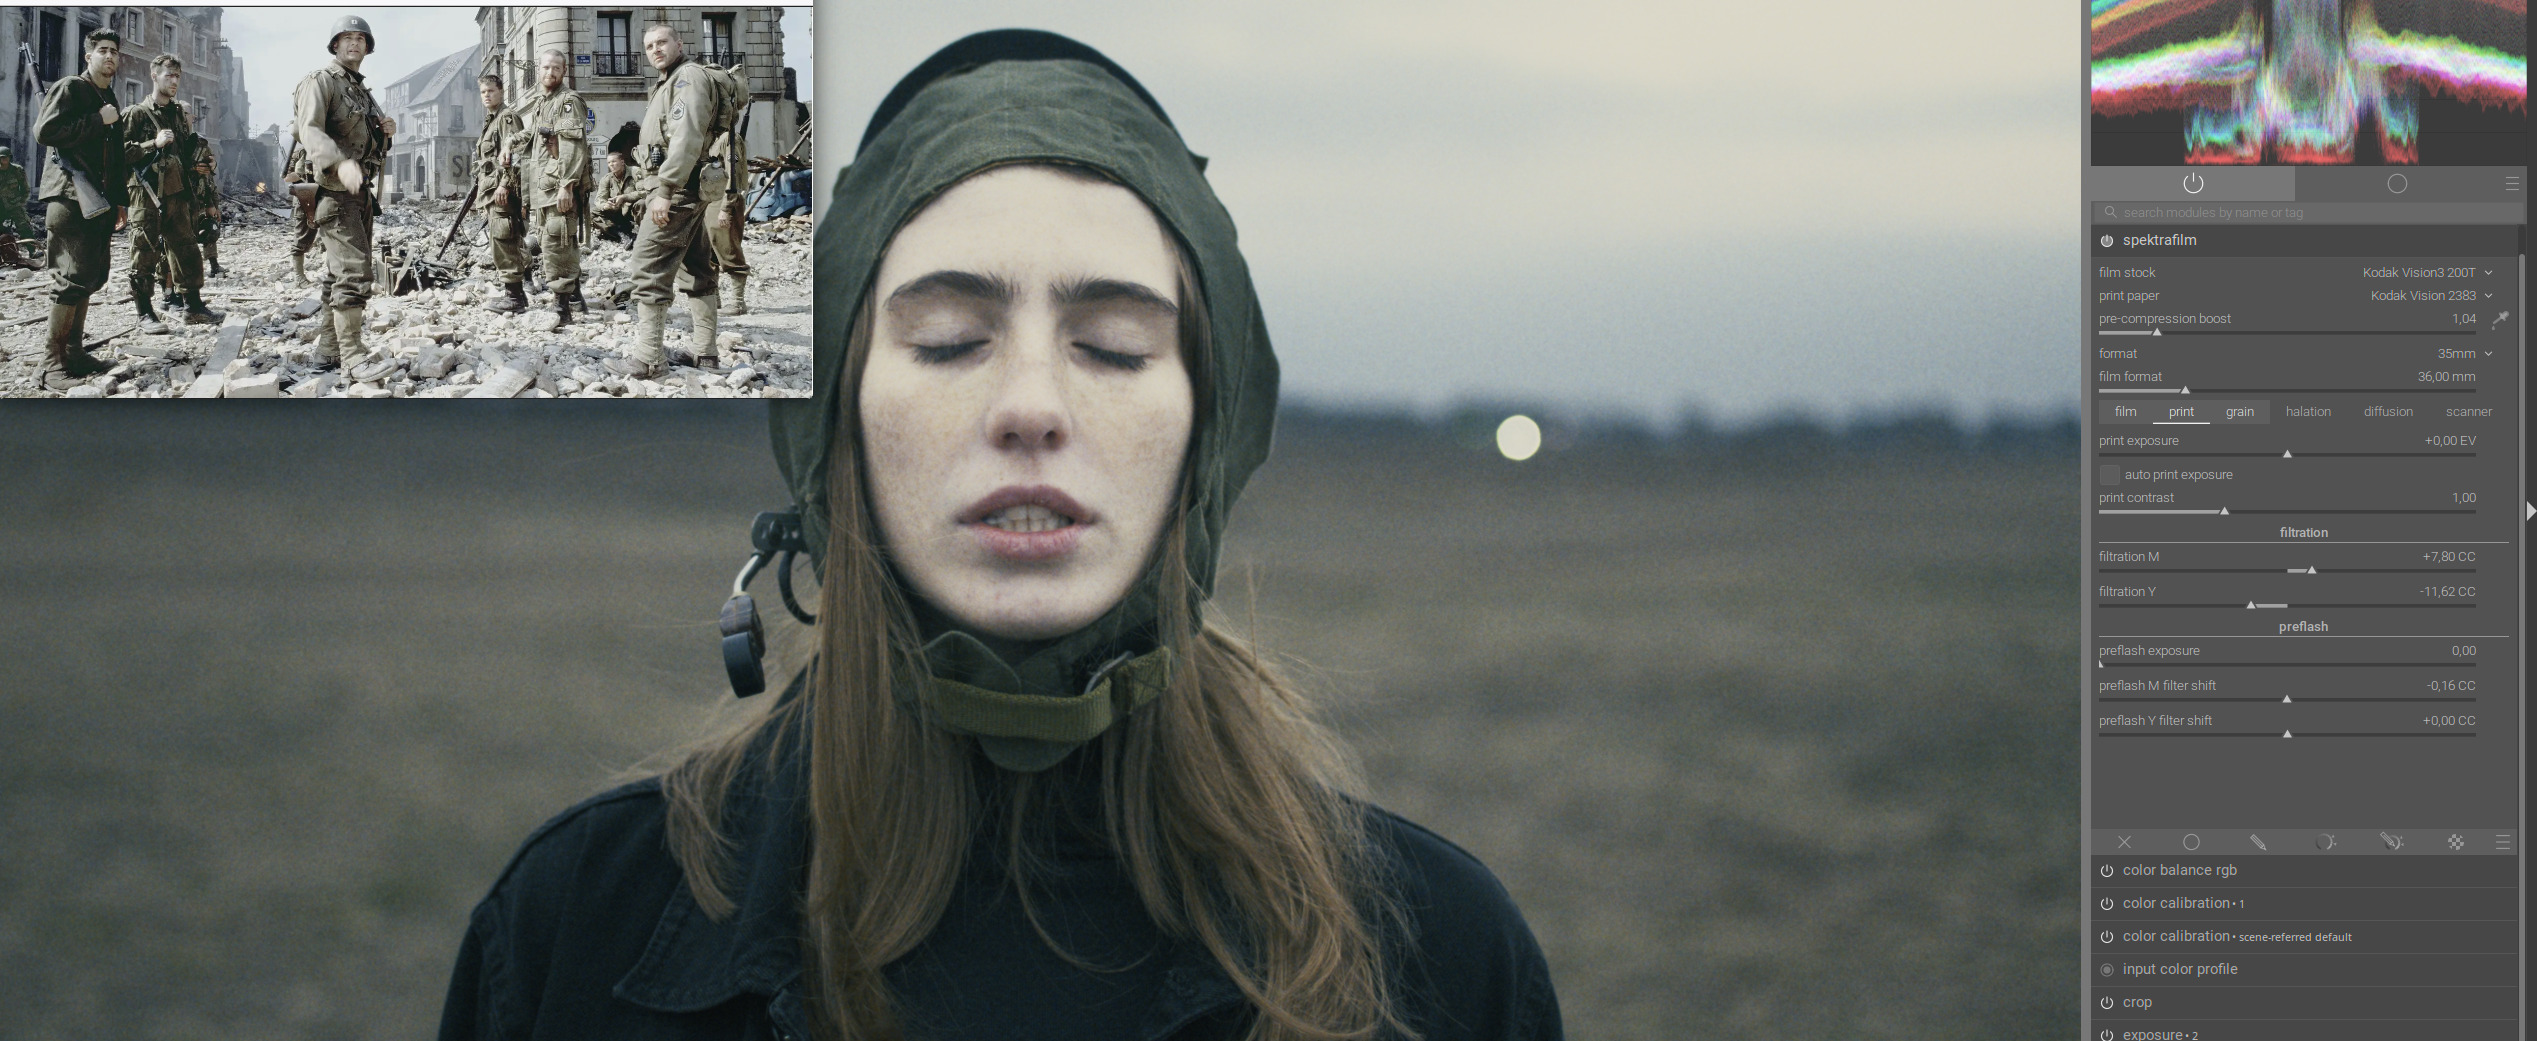
Here’s a bleach bypass effect, just like in the movie Saving Private Ryan:
8 Likes
Could someone give a quick rundown on the film exposure vs push/pull vs print exposure, for someone who has never developed film in real life? Also what’s the intended way of making the image less saturated and less contrasty?
Playing around with it, currently I’m setting the technical exposure to “middle grey” in the beginning of the pipeline, and then use “film exposure” to bring it down to the desired creative exposure. Reducing the contrast and the saturation with color balance rgb appears to be tricky, as if the sliders are no longer acting linear on the image, where after the first 10-15% of a slider in either direction it quickly approaches a very drastic effect.
But yeah the module is very fun to use
4 Likes
I tried the OFX plugin for Resolve yesterday. There is a useful guide on GitHub you may find to be helpful. Features may not be identical with the dev version for darktable, but the general principles should be relevant here.
3 Likes
Agree, some issues should be discussed in the main thread.
What are the latest updates ?
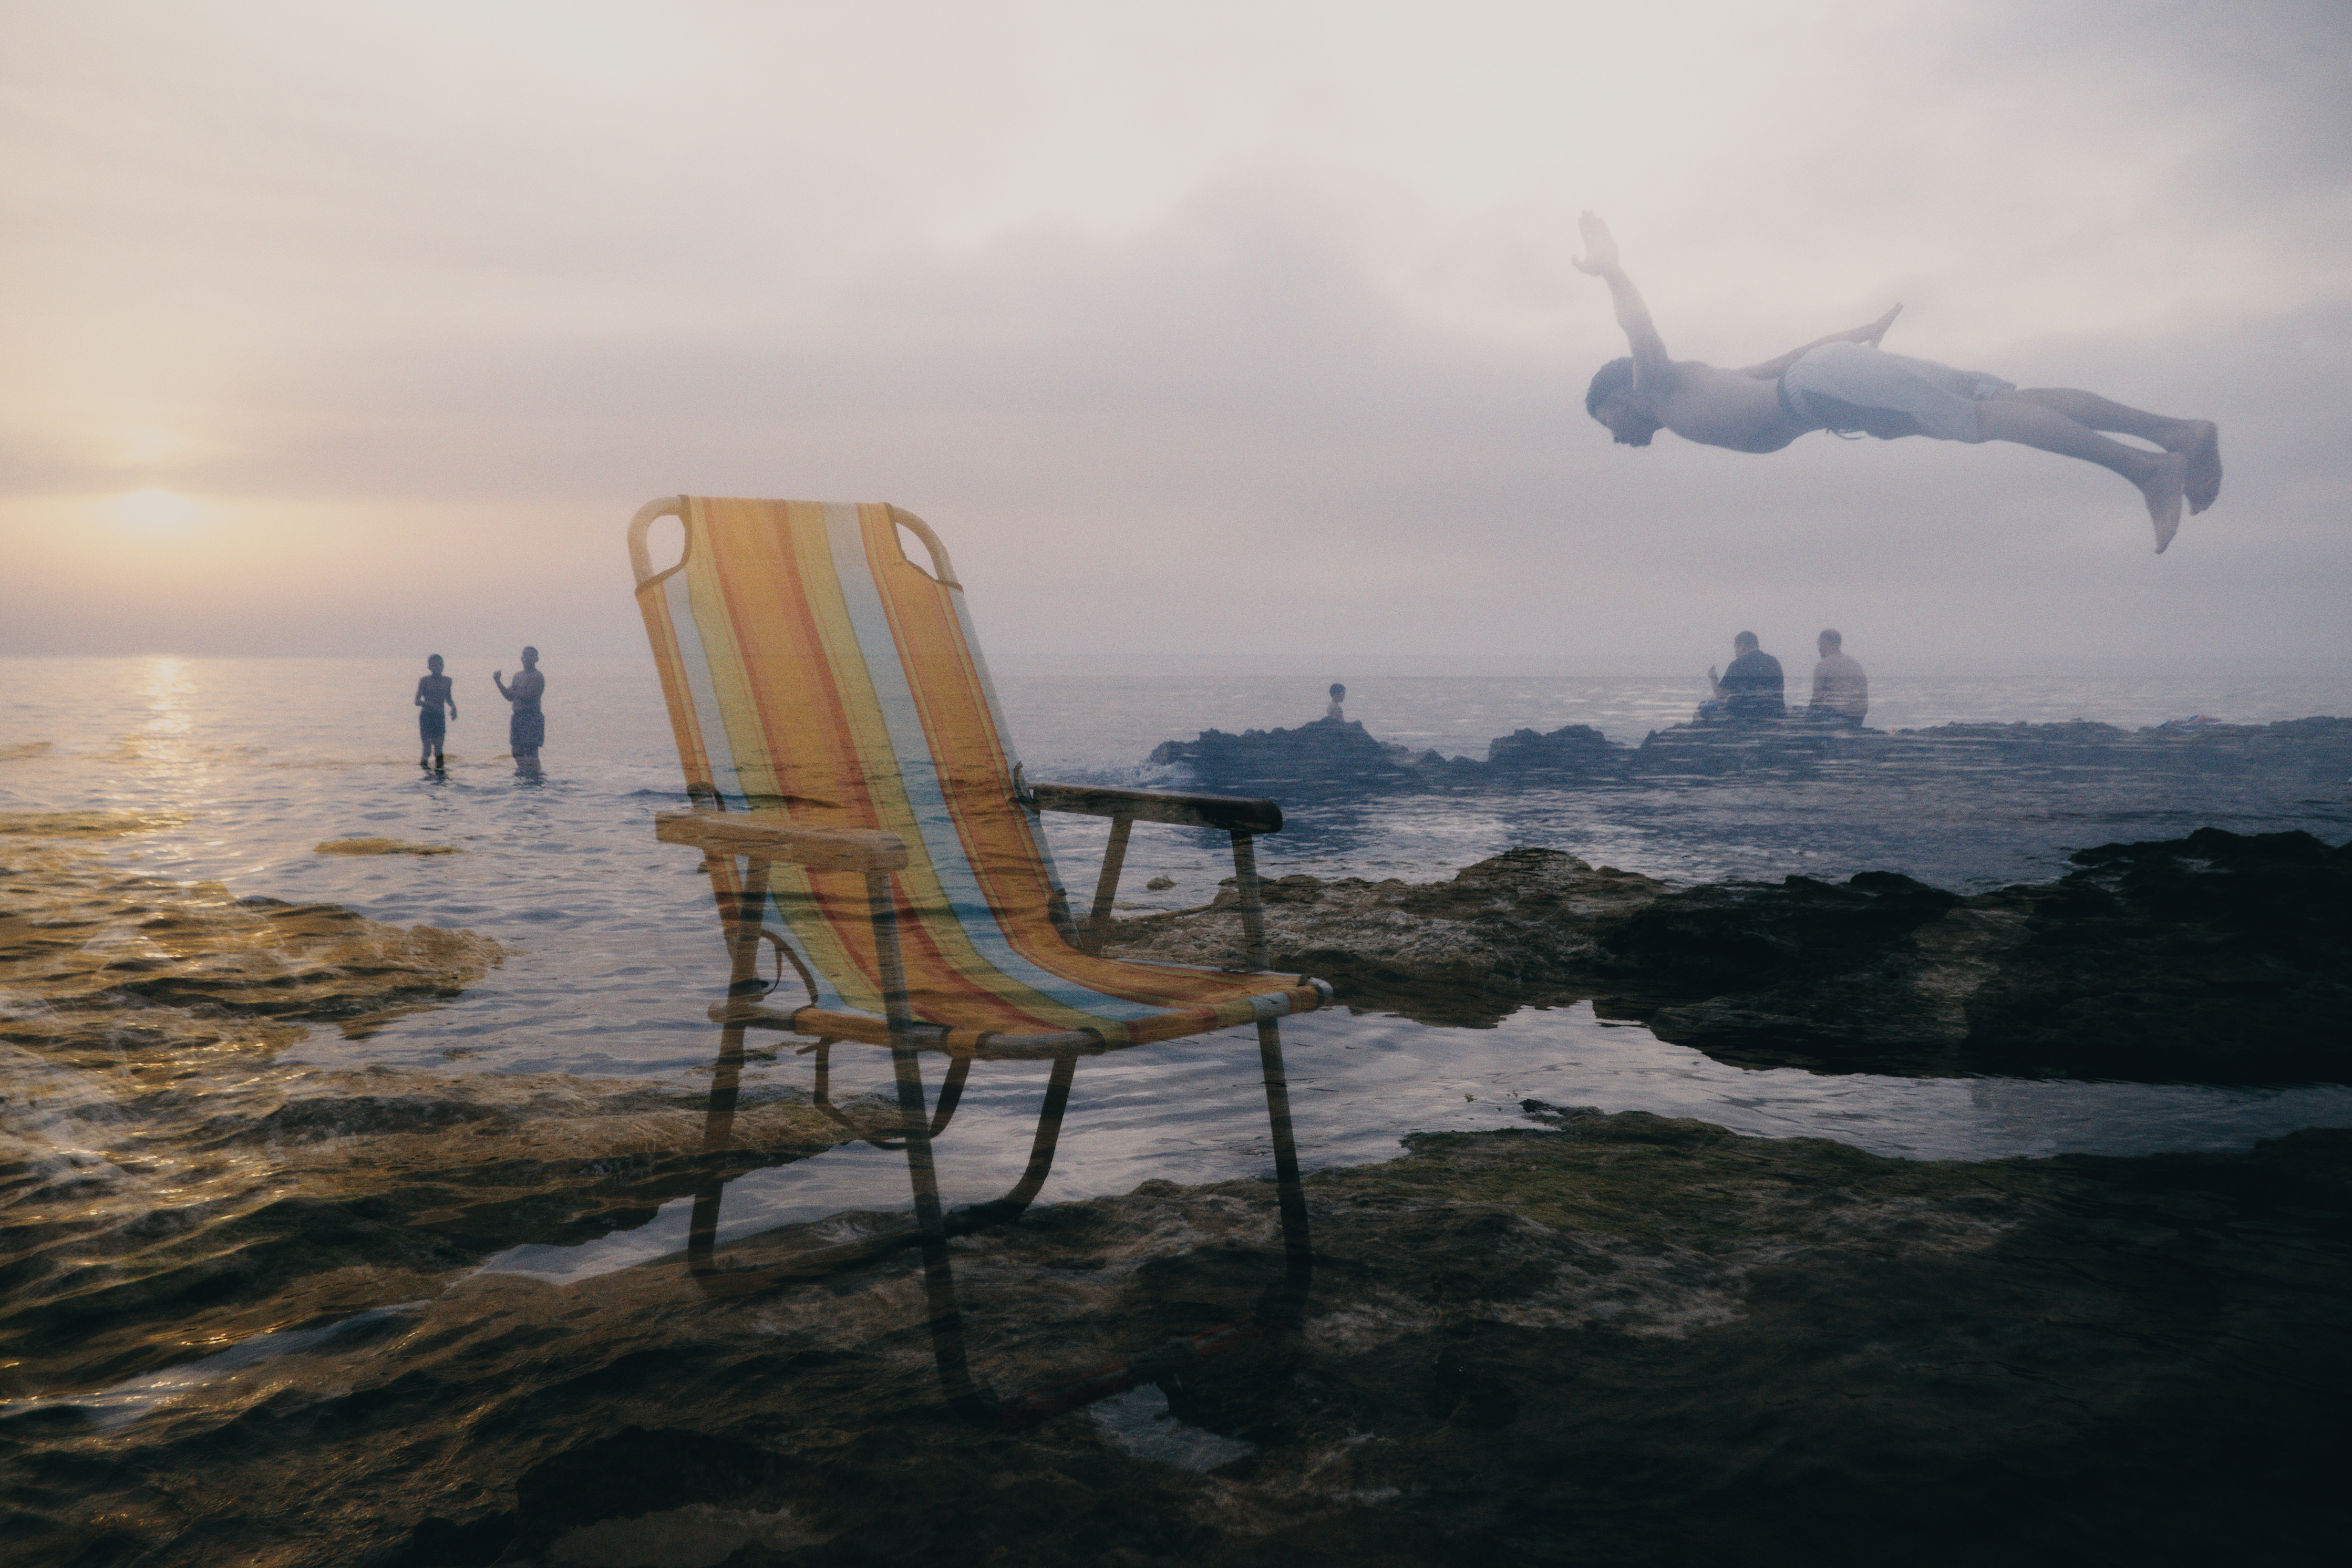
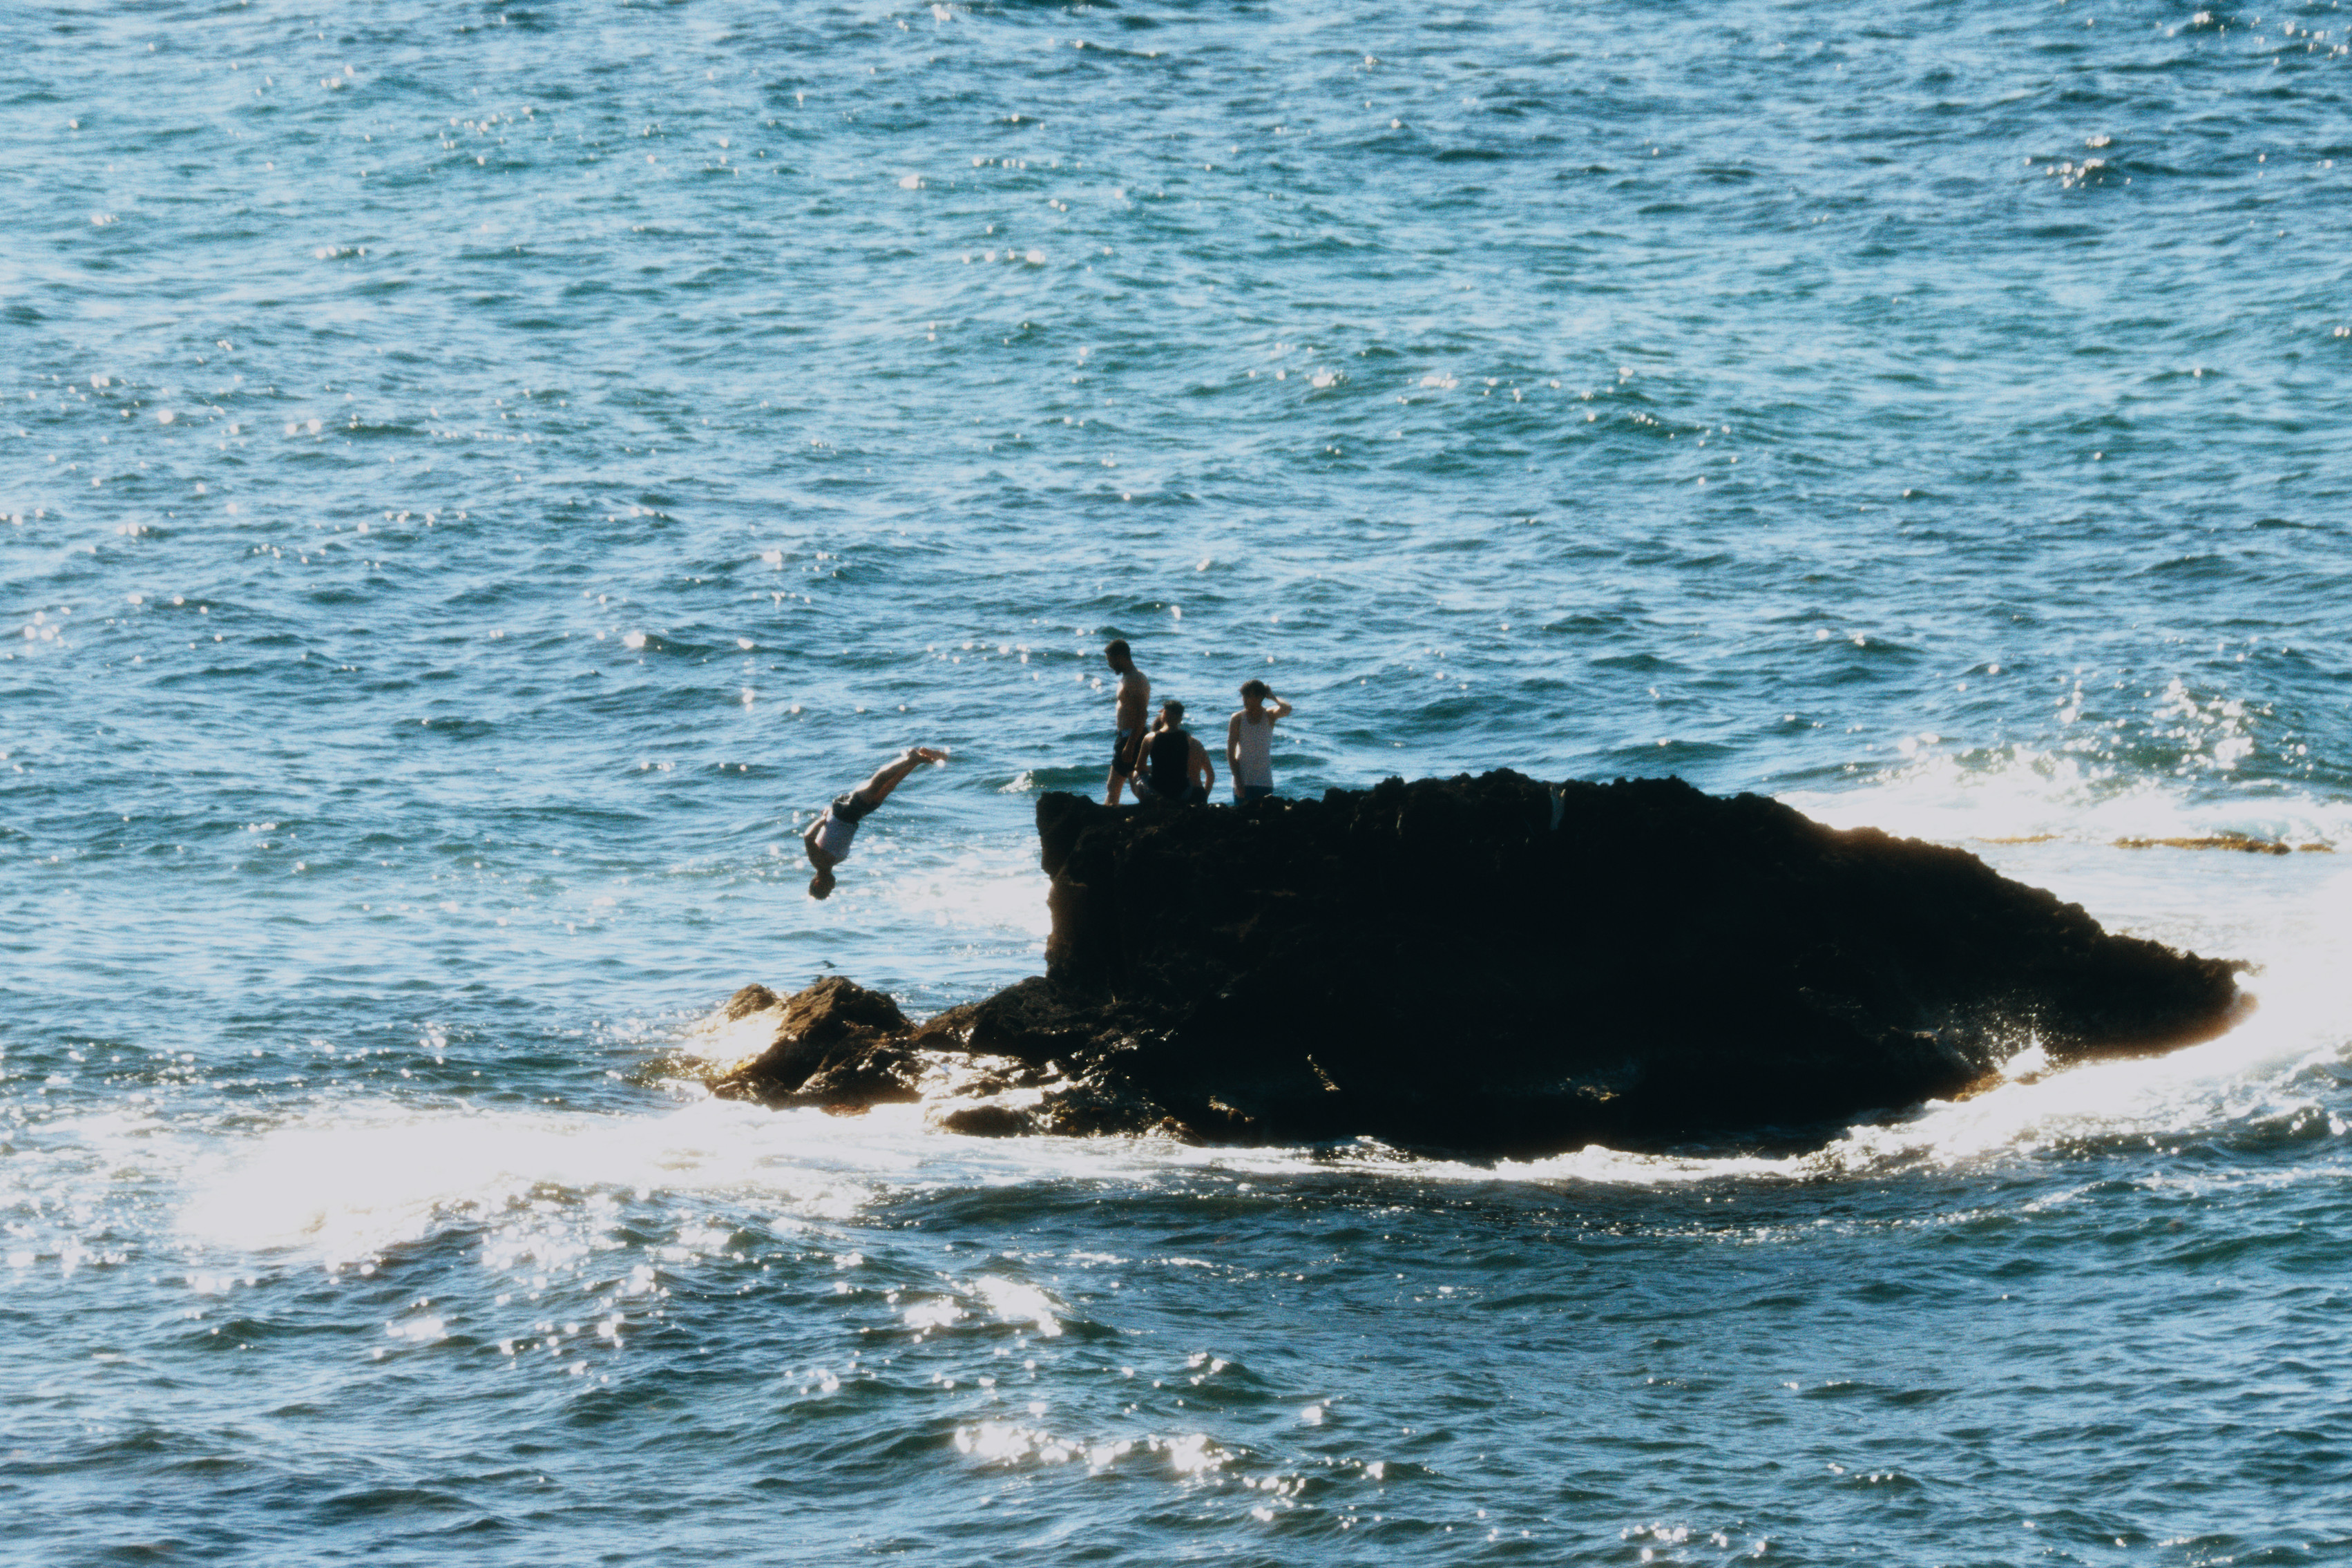
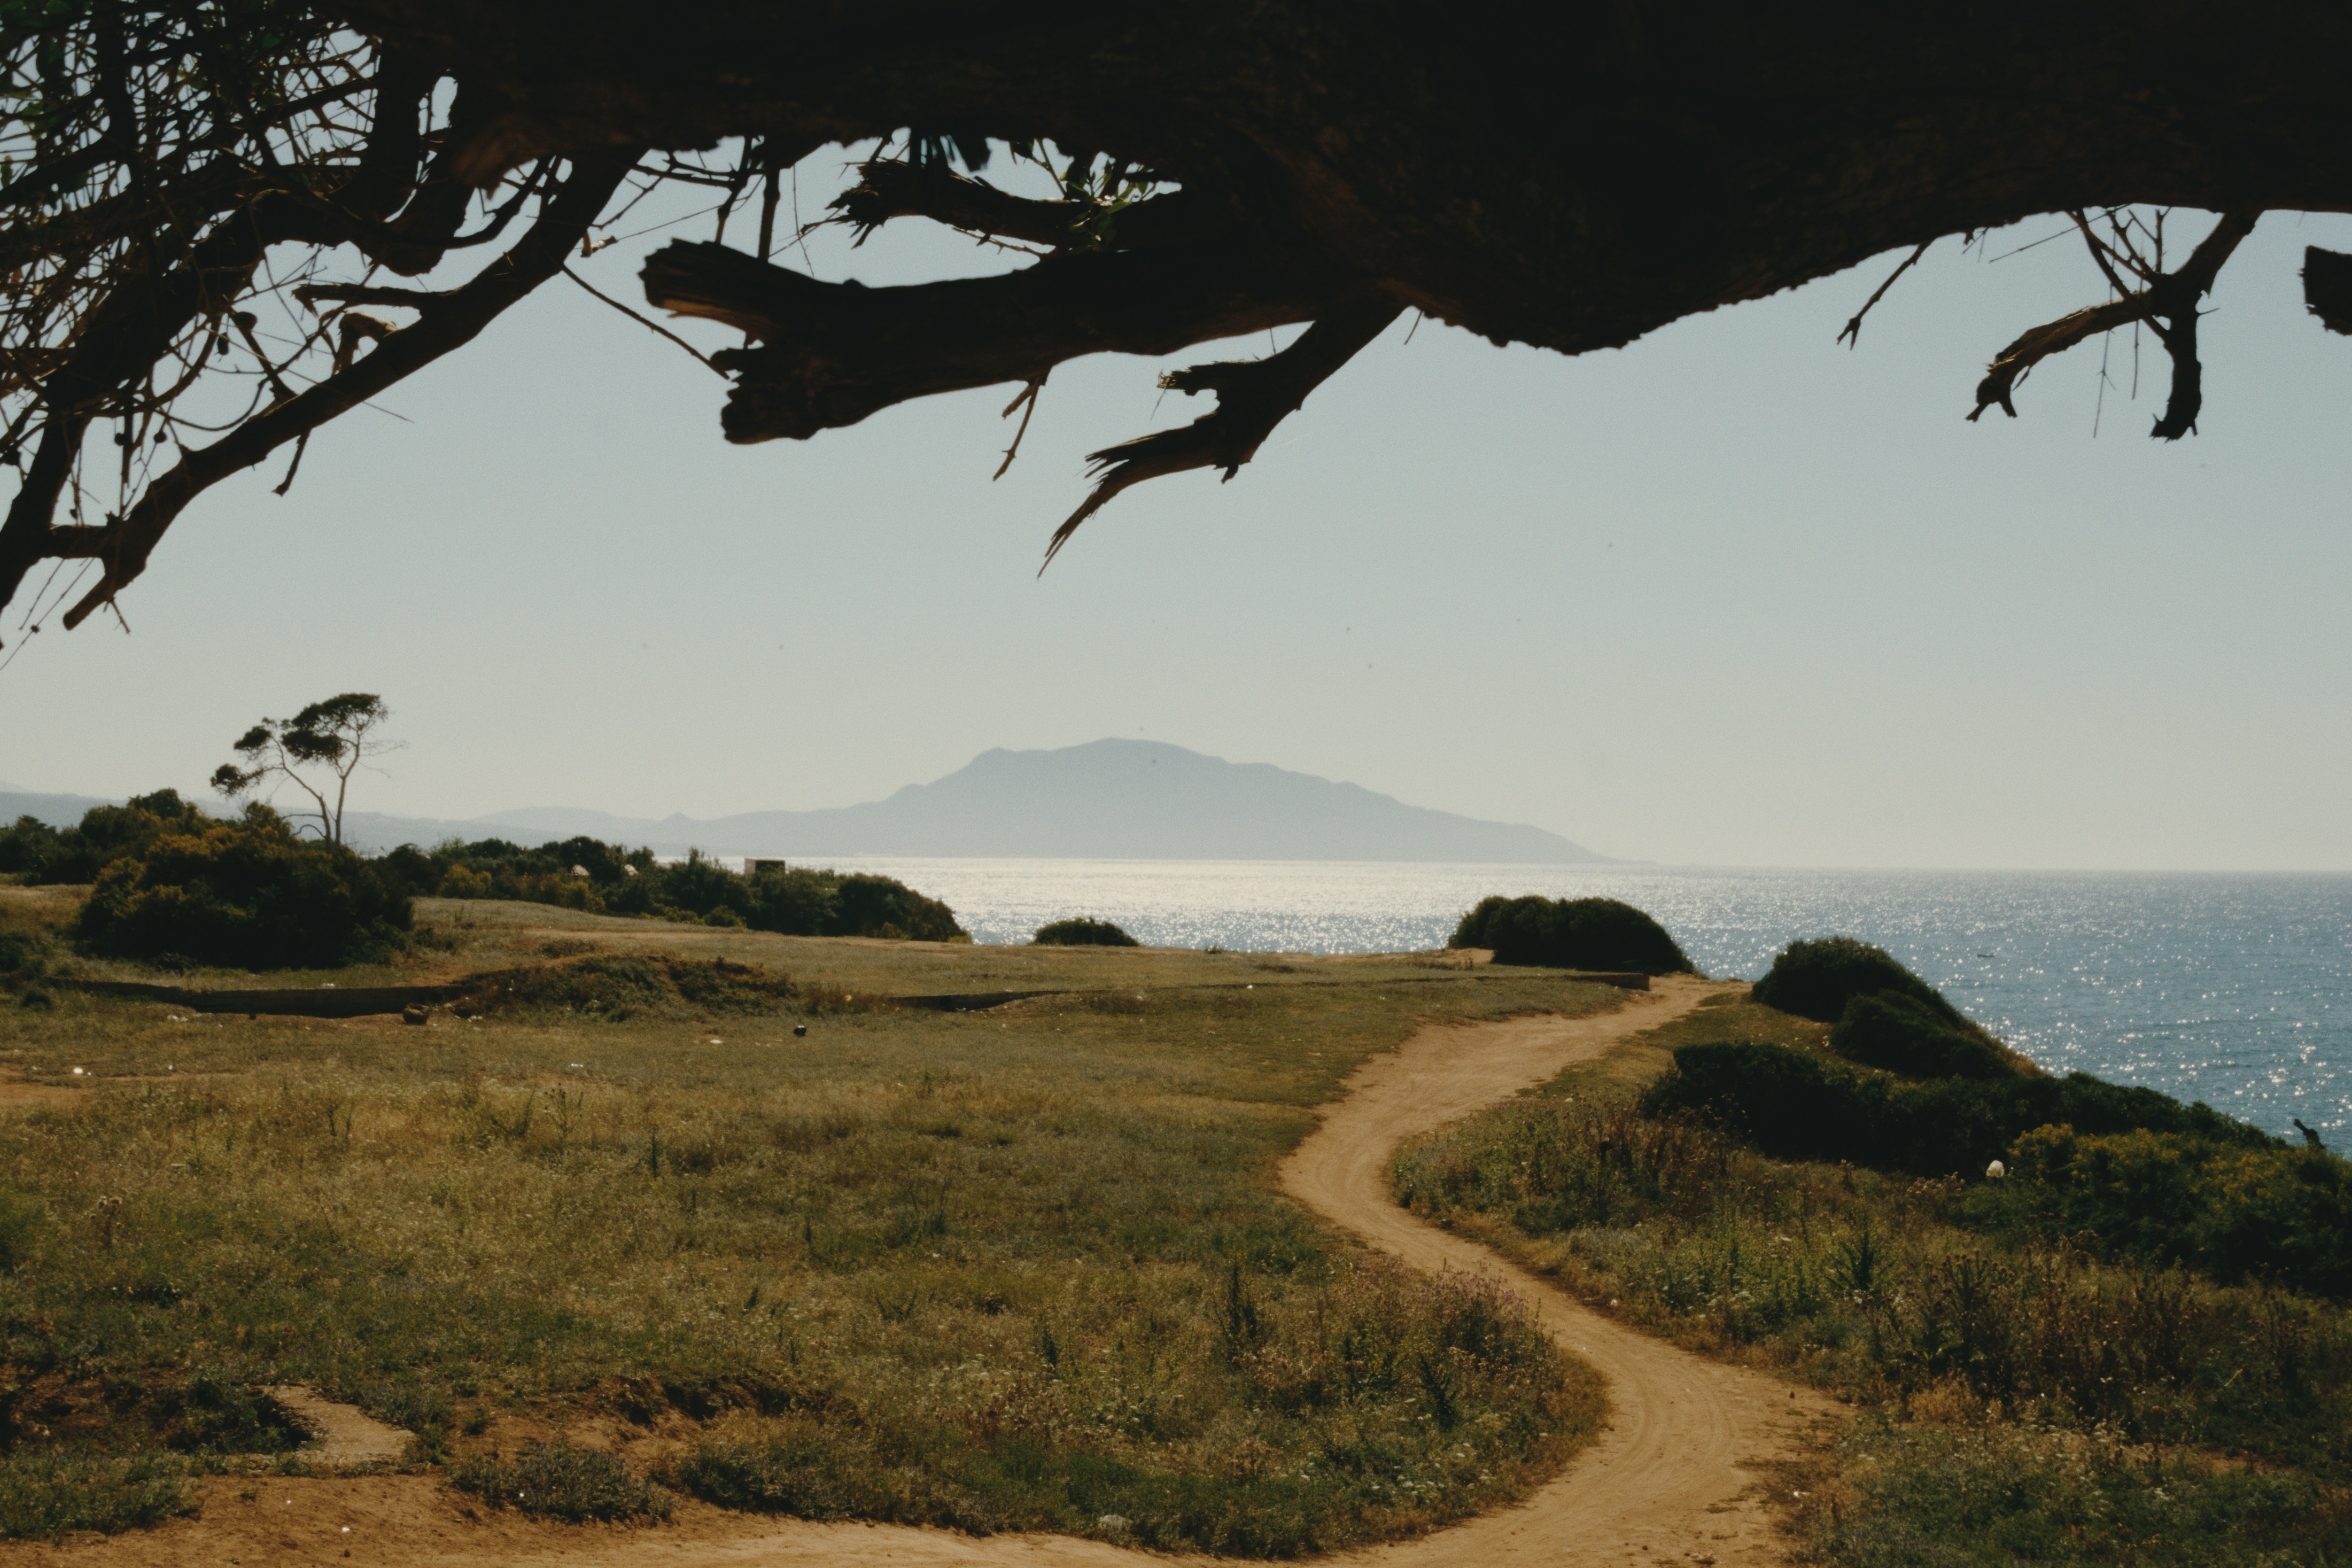
I didn’t try the monochrome profles so far, but I’m exited to follow where is this going… the images are turning great !
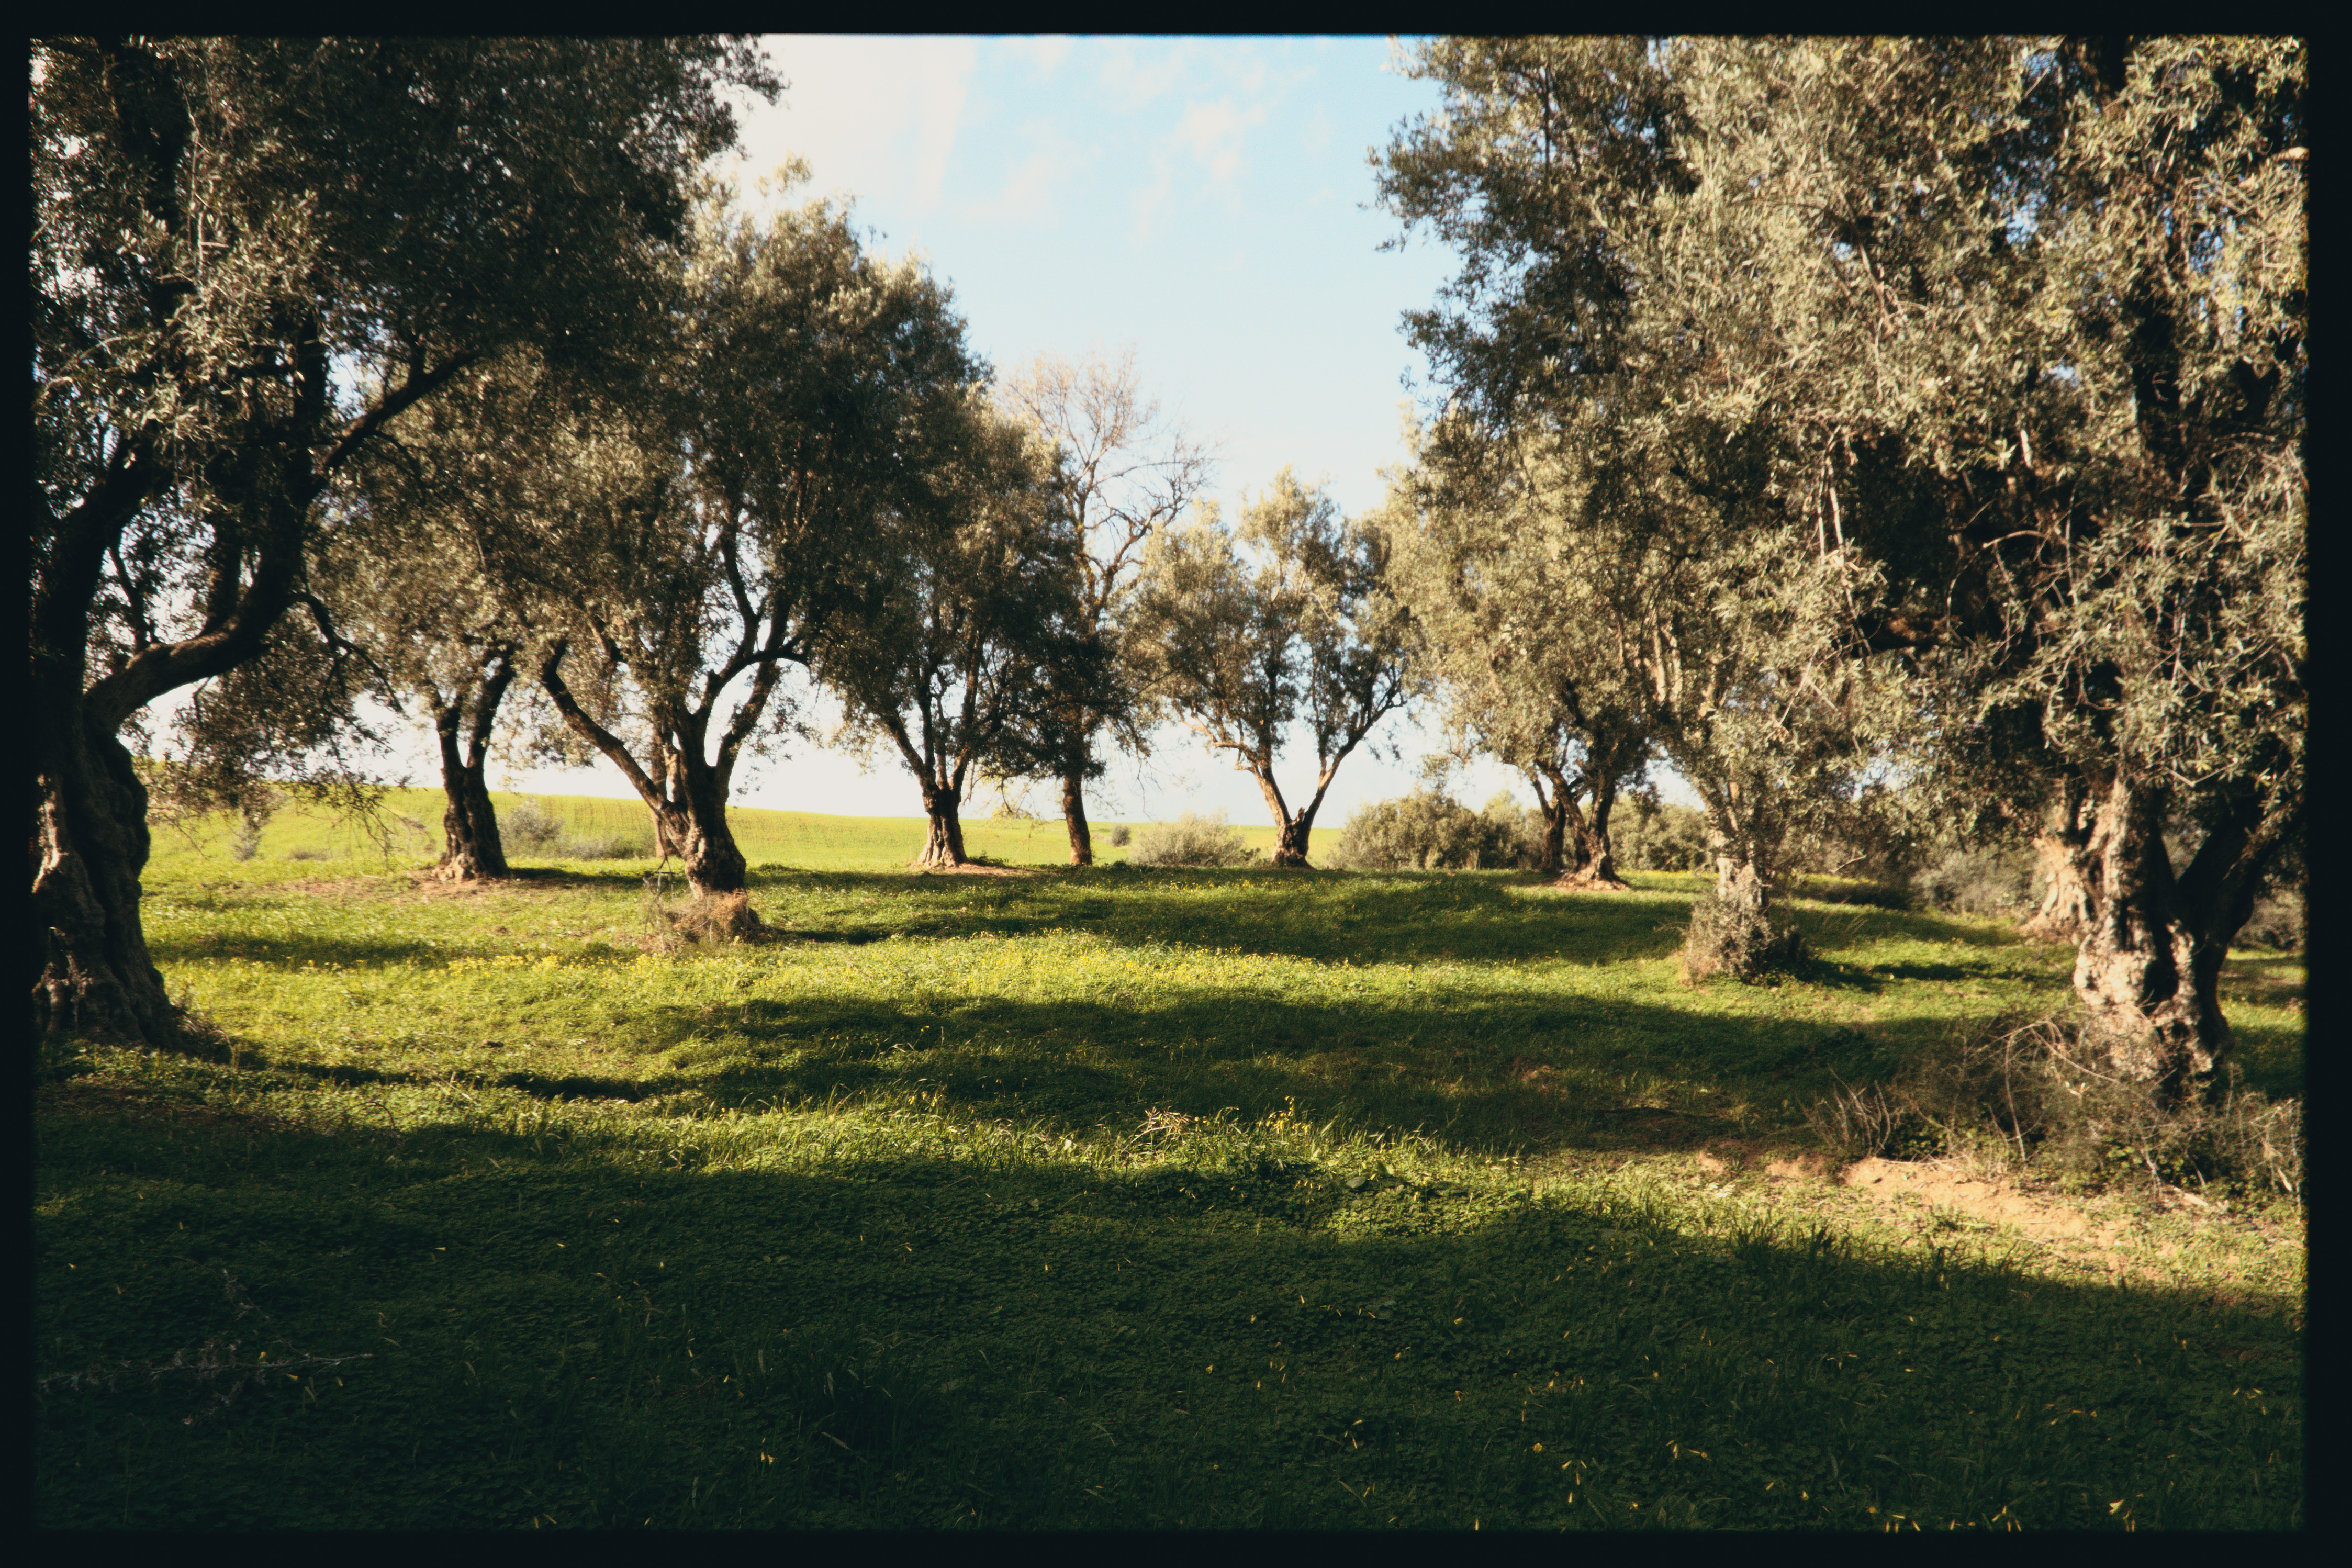
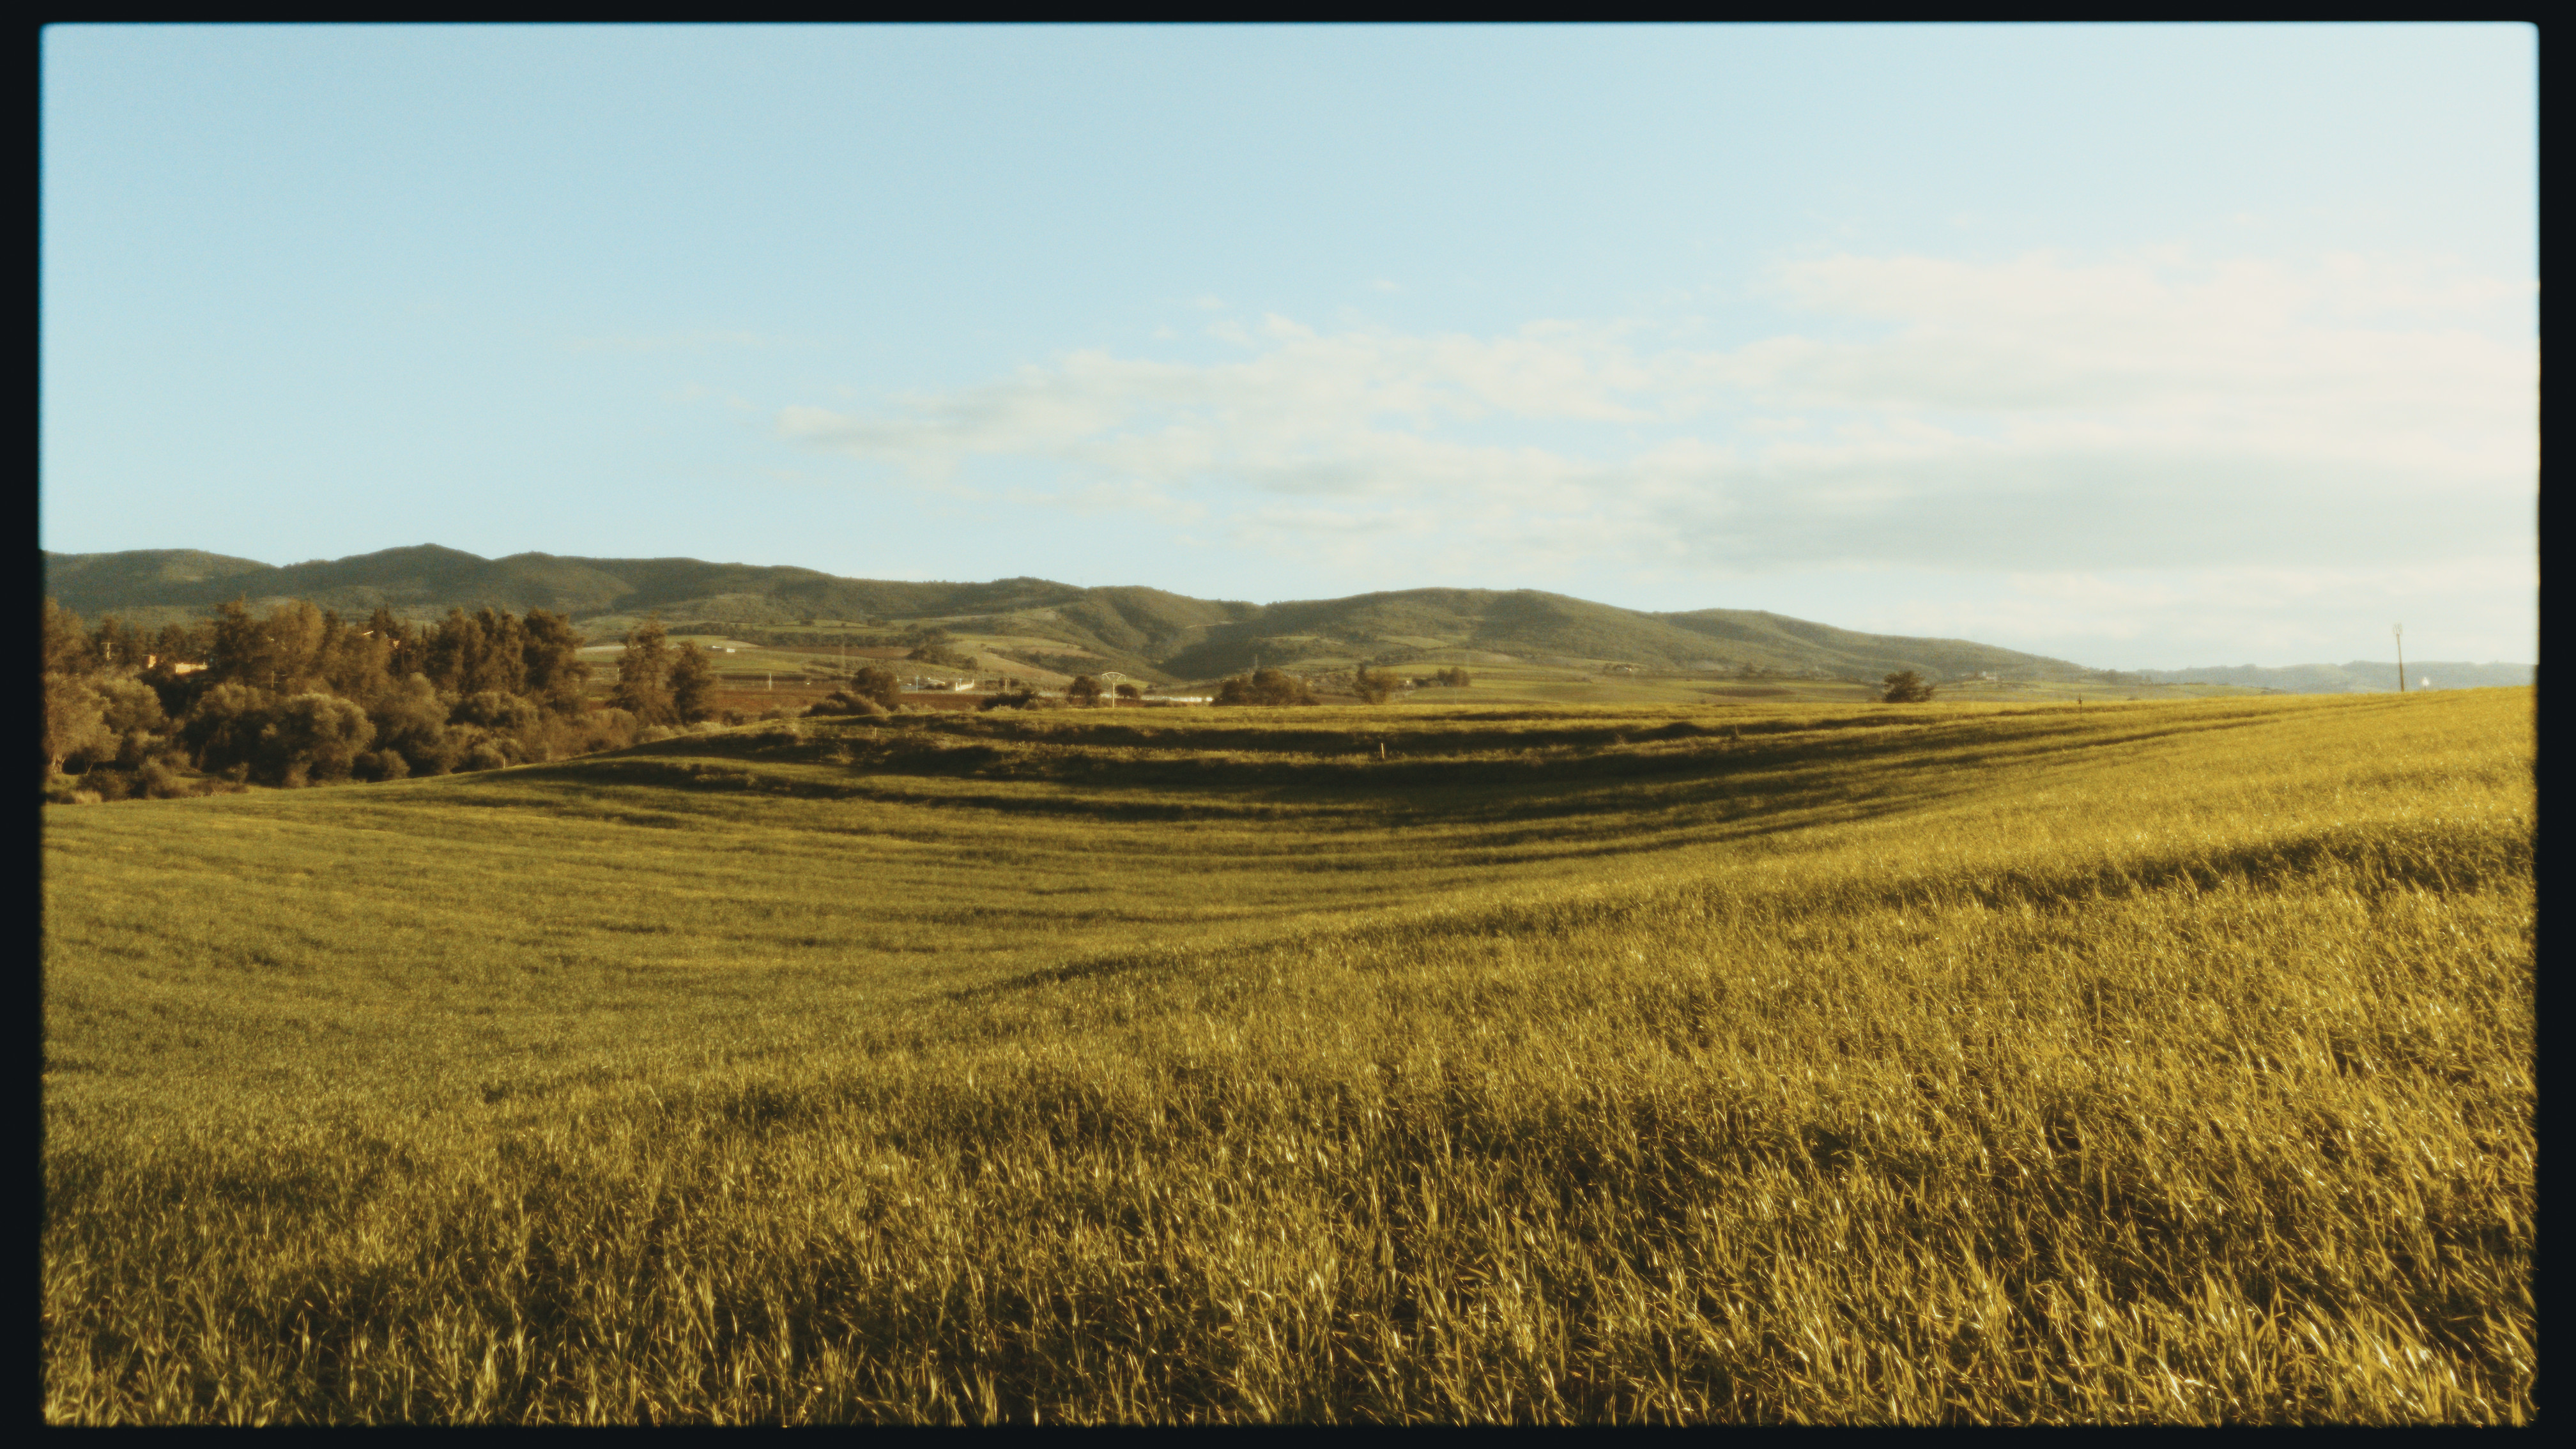
Caution: Latest commits break existing edits as we move to module version v1 for proper inclusion to dt
5 Likes
@arctic pinging you before making any decisions here if you are fine with integrating it under the spektrafilm name
hej benjamin! great work here with the darktable plugin!
i am on vacation and a bit disconnected these days 
as long as the output and the implementation are sound (as they look) i am more than happy that the module borrows the spektrafilm name
i saw that there was a python script to compare outputs
8 Likes
Nice to hear!  Enjoy being disconnected. Should also do this soon
Good that you mention it. It was in need of an update to all the latest developments:
darktable-spektrafilm-compare.py (46.9 KB)
still gives:
pack        /home/panda/.config/darktable/spektrafilm  (spektrafilm 0.3.3)
darktable   darktable 5.7.0+180~gcdf6e035e7-dirty
spektrafilm /home/panda/spektrafilm/src/spektrafilm
lattice     17^3 = 4913 samples   quality=standard
combos      22

OK   fujifilm_xtra_400+fujifilm_crystal_archive_typeii mean   0.199  p95   0.489  max    1.136   worst at rgb(0.25,0.19,0.62)
OK   kodak_portra_800_push2+kodak_portra_endura     mean   0.172  p95   0.467  max    1.071   worst at rgb(0.19,0.12,0.50)
OK   fujifilm_c200+fujifilm_crystal_archive_typeii  mean   0.185  p95   0.427  max    0.776   worst at rgb(0.25,0.19,0.62)
OK   kodak_portra_800_push1+kodak_portra_endura     mean   0.174  p95   0.414  max    0.814   worst at rgb(0.31,0.44,0.81)
OK   kodak_portra_400+kodak_portra_endura           mean   0.176  p95   0.373  max    1.428   worst at rgb(0.00,0.00,0.00)
OK   kodak_vision3_250d+kodak_2383                  mean   0.179  p95   0.368  max    0.712   worst at rgb(0.25,0.44,0.44)
OK   kodak_ektar_100+kodak_portra_endura            mean   0.170  p95   0.368  max    0.717   worst at rgb(0.31,0.38,1.00)
OK   kodak_verita_200d+kodak_2383                   mean   0.177  p95   0.361  max    0.798   worst at rgb(0.06,0.19,0.06)
OK   kodak_vision3_500t+kodak_2383                  mean   0.180  p95   0.359  max    0.717   worst at rgb(0.00,0.00,0.06)
OK   fujifilm_pro_400h+fujifilm_crystal_archive_typeii mean   0.170  p95   0.357  max    0.769   worst at rgb(0.00,0.00,0.38)
OK   kodak_portra_160+kodak_portra_endura           mean   0.171  p95   0.351  max    0.679   worst at rgb(0.00,0.00,0.06)
OK   kodak_portra_800+kodak_portra_endura           mean   0.172  p95   0.351  max    0.761   worst at rgb(0.31,0.44,0.94)
OK   kodak_ultramax_400+kodak_portra_endura         mean   0.173  p95   0.350  max    0.953   worst at rgb(0.00,0.00,0.06)
OK   kodak_vision3_50d+kodak_2383                   mean   0.167  p95   0.349  max    0.655   worst at rgb(0.25,0.44,0.44)
OK   kodak_vision3_200t+kodak_2383                  mean   0.171  p95   0.346  max    0.697   worst at rgb(0.00,0.00,0.31)
OK   kodak_gold_200+kodak_portra_endura             mean   0.155  p95   0.306  max    0.614   worst at rgb(0.25,0.25,0.94)
OK   fujifilm_velvia_100[scan]                      mean   0.175  p95   0.289  max    0.404   worst at rgb(0.25,0.31,0.38)
OK   kodak_ektachrome_100[scan]                     mean   0.137  p95   0.245  max    0.361   worst at rgb(0.69,0.31,0.38)
OK   fujifilm_provia_100f[scan]                     mean   0.137  p95   0.241  max    0.375   worst at rgb(0.69,0.31,0.38)
OK   kodak_kodachrome_64[scan]                      mean   0.138  p95   0.221  max    0.321   worst at rgb(0.75,0.38,0.31)
OK   kodak_trix[scan]                               mean   0.005  p95   0.005  max    0.090   worst at rgb(0.44,0.00,0.00)
OK   kodak_doublex[scan]                            mean   0.002  p95   0.003  max    0.014   worst at rgb(0.12,0.00,0.00)

no divergences above threshold

22 ok, 0 diverging, 0 errors
4 Likes
What kind of settings are you using for these edits if you don’t mind sharing?
You can check the details of the following settings I use and why…
- I don’t use tha embedded matrix, so I choose linear rec709 instead.
- For the working space I use linear ProPhoto RGB, the reason is that I use the old color balance module to push the values since the native rgb integrals are really "pale, the “scene” linear tools for this module work in the ProPhoto color space and I think that it’s designed this way so it minimises the distortion of the wattages relationships, but I’m not exactly sure. Btw, push the saturation to the max !
- Also, I use channel mixing for purer values and rotating them (rgb primaries module). Not too crazy though !
- For the Spektrafilm, I put the DIR couplers at zero and I simply choose whatever profiles I like and just mess with the other available options to my liking.
This is the workflow that I used for quick edits above to test this module and it’s working nicely for me, so I’m not advising or enforcing it as a “better” approach.
3 Likes
Very interesting approach. I watched a few tutorials on this module in Davinci Resolve but for some reason it never occurred to me to switch my darktable to rec709. Reducing the DIR couples also removes that deep fried look that I’ve been trying to get rid of. Seems like it’s coming together quite nicely, but the exposure and scene DR is still tricky to control sometimes

1 Like
Looks nice. Exposure is to control since we have too many options ! I don’t know the exact math operations in Spektrafilm sliders of negative/print exposure sliders, but I don’t find it hard at all.
The trouble with controlling the dynamic range to fit into this module is that even though the module contains the dynamic range quite nicely and with a nice roll off, it also clips away the details in the highlights, which film doesn’t really do this way from what I’ve seen.
Here for example a “zero containment” version where I just exposed for the mid tones as I want to see them, take note of the cloud:
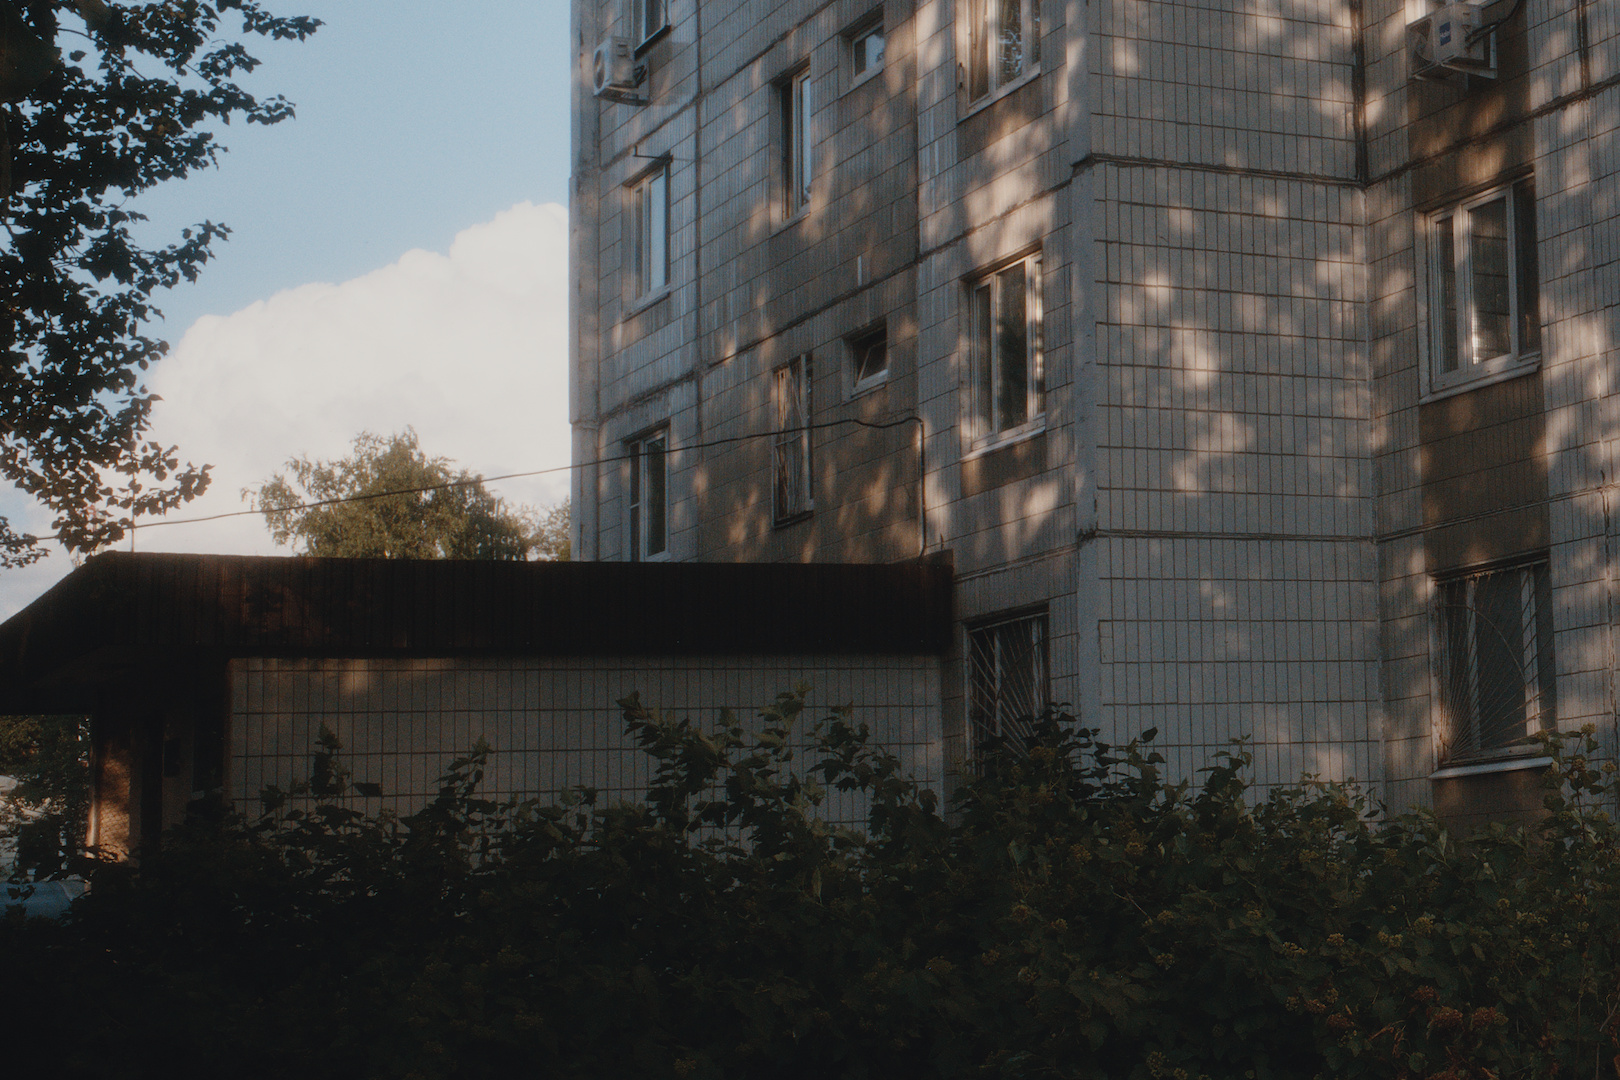
And here’s the version with two tone equalizers pushing down the clouds. In-camera I’ve actually exposed for the detail in the clouds but now it needs careful containment to show up:
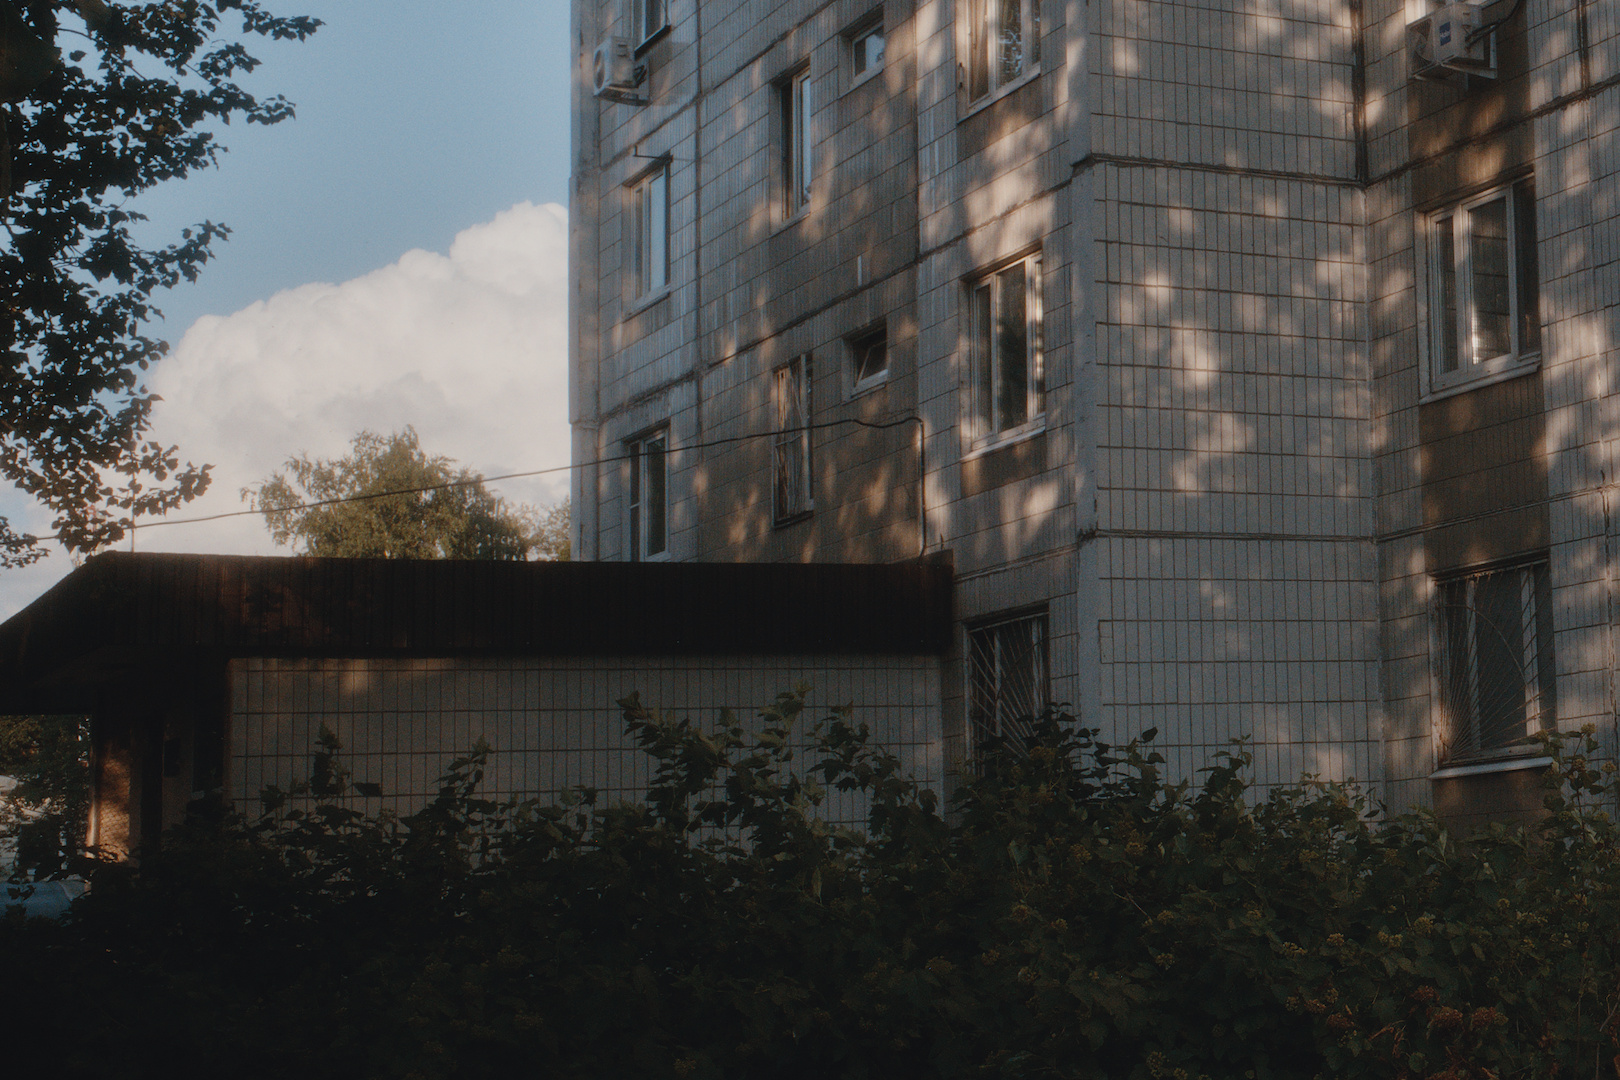
From the plenty of film photos that I’ve seen online, this second rendition is much closer to the way film handles highlights, but I could be wrong about that. Here the highlights are still clipping a lot of detail, but at least some detail still remains there.
Here for example the version where the cloud is the ~midtone, just to show you how much information actually is there:
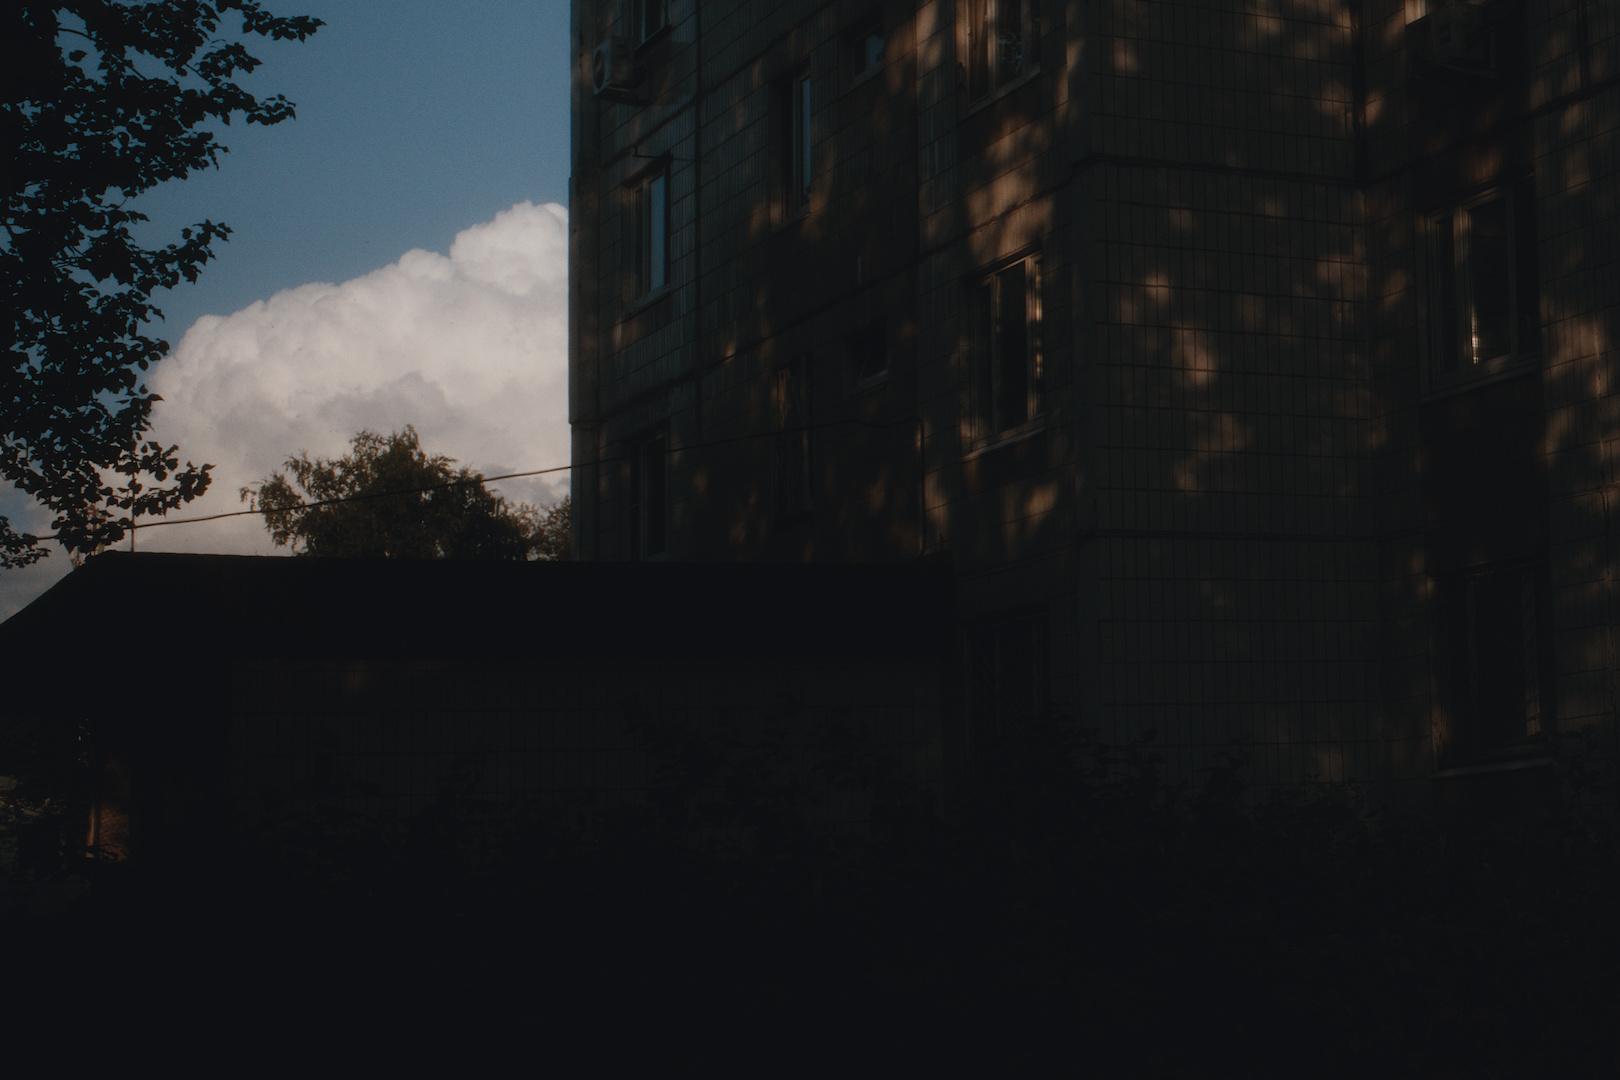
I’ve finally had the opportunity to test the module and I need to begin by saying that what you’ve achieved is amazing.  Porting Spektrafilm to darktable module is huge! Seemed that it was long thought that darktable wouldn’t be able to handle Spektrafilm, but I was quite amazed to find that tweaking the parameters updated the preview image immediately on my 6700 XT.
  Has anybody tried it on recent integrated graphics? I just ordered a laptop with an Intel Ultra 5 Processor 325 and I wonder if it will work.
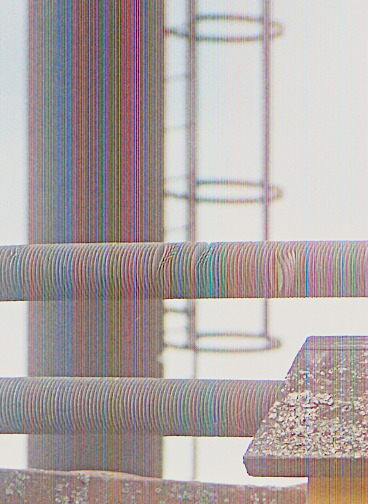
I’ve found a bug, when the cinebloom and pro-mist diffusion filters are enabled in darktable-spektrafilm-20260726-69a1eb6-x86_64.AppImage I get vertical lines in the image:
I’ve also noticed that halation affects the whole image (rather than just high contrast transitions), making it very soft. @Fabio_S asked in another thread “where Spektrafilm applies the blur”:
That was for the Spektrafilm python app, but in the darktable module halation turns the whole image very soft, not sure if that’s true for the Spektrafilm python app too.
EDIT: Sorry, it was the scatter setting under halation that resulted in softening.
I thought about that when I saw the samples from @Fabio_S below in another thread. Look at the details in the clouds. First image is film:
The reasons for this in that example could be many, of course (the Spektrafilm image looks brighter overall).
2 Likes