…and again, I feel obliged to add that upscaling should be done before the Spektrafilm module. Now I’m sitting here editing a job partly shot on an A7S III (12 MP) and I need to upscale. Can’t use the Spektrafilm module for this, which saddens me. But I should spare you all from my thoughts on this and come back in a separate thread with an idea for a solution. 
That doesn’t look like clipping in the cloud, just loss of contrast. It’s a natural result of trying to fit large dynamic range of the scene into small dynamic range of the screen. To do this requires applying a tone curve which prioritises retaining contrast in mid tones, with the consequence of losing it in highlights and shadows, which is why the clouds lose contrast. Happens in all tone mappers, not just spektra film. Using tone eq to bring some of that contrast back is a good way to do it.
2 Likes
Don’t you think an upscale module which can be placed before the spektrafilm one would make more sense than integrating upscale code into this module? For the standalone app I think it makes sense to have this feature but for darktable a separate module would fit better I guess. Let me look into this after the fixes for the above bug.
2 Likes
Latest commits move LUTs to float16 as the reference does and to save space for later dt integration. Unfortunately this makes regeneration necessary again:
spektrafilm_export_data.py (16.2 KB)
Fixes grain opencl yet again and the diffusion bug should also be fixed. I also checked the scatter code. The softness at defaults is faithful. scatter_amount = 1.0 is upstream’s default and its ceiling, and it means complete replacement by the scattered image. On a 24 MP frame that’s an effective σ ≈ 2.4 px everywhere; at 50 MP, ≈ 3.6 px. The reference app does the same. Anyone wanting a sharper result should lower scatter amount
1 Like
Gut feeling is that it would make more sense as its own module as the same, upscale + grain + display transform workflow, can be used with sigmoid and agx as well. Keeps this module a bit simpler which is always a good thing. There is also the case of advanced upscalers in general which might be appealing to users!
Counter argument would be if you internally downscaled in the same module again making it a temporary change only.
2 Likes
upscale-module.patch (18.1 KB)
Currently CPU only but ready to initial testing I guess. Will add an opencl path later as it’s really slow 
1 Like
What’s the intended workflow for scanning without printing in this module? I tried placing negadoctor before or after the module and played around with its settings, but I could never approach anything usable without drastic custom modifications (at that point it’s just rotating hues around to fit the scene)
not implemented yet as upstream doesnt have this functionality (“skip film”) in main or dev yet. Might come in the future
2 Likes
I think I’m starting to understand how to use the module correctly. To put it short, whatever comes before the print stage is your film development, whatever comes after is how the final image will look.
As such, I’m setting a technically neutral exposure before, reducing the dynamic range if needed, and setting the contrast to -20%. Then in the module’s “print” tab (not the “film” tab) I bring back the exposure to where I want it to be. If contrast and saturation is too much or too little, I push and pull as I see fit. Some print paper requires a pull because it’s too contrasty, but after the pull it brings out the colours much better. Some paper requires a push. Also the DIR couples at 0.50, because anything more and the look becomes too acidic.
Technically, I’ve kept the input profiles as default (embedded matrix and linear rec709), because I noticed that switching from the embedded matrix ruins the colours in ways that can only be restored manually afterwards, for example all the foliage was becoming deep orange under all presets and papers.
Daytime photos: in-camera 5600K, kodak gold 200, kodak professional portra endura, pushed half a stop, exposure/contrast in “print”, no other editing
Night time and rainy photos: in-camera 6100K, kodak gold 200, kodak professional supra endura, pulled half a stop, exposure/contrast in “print”, no other editing
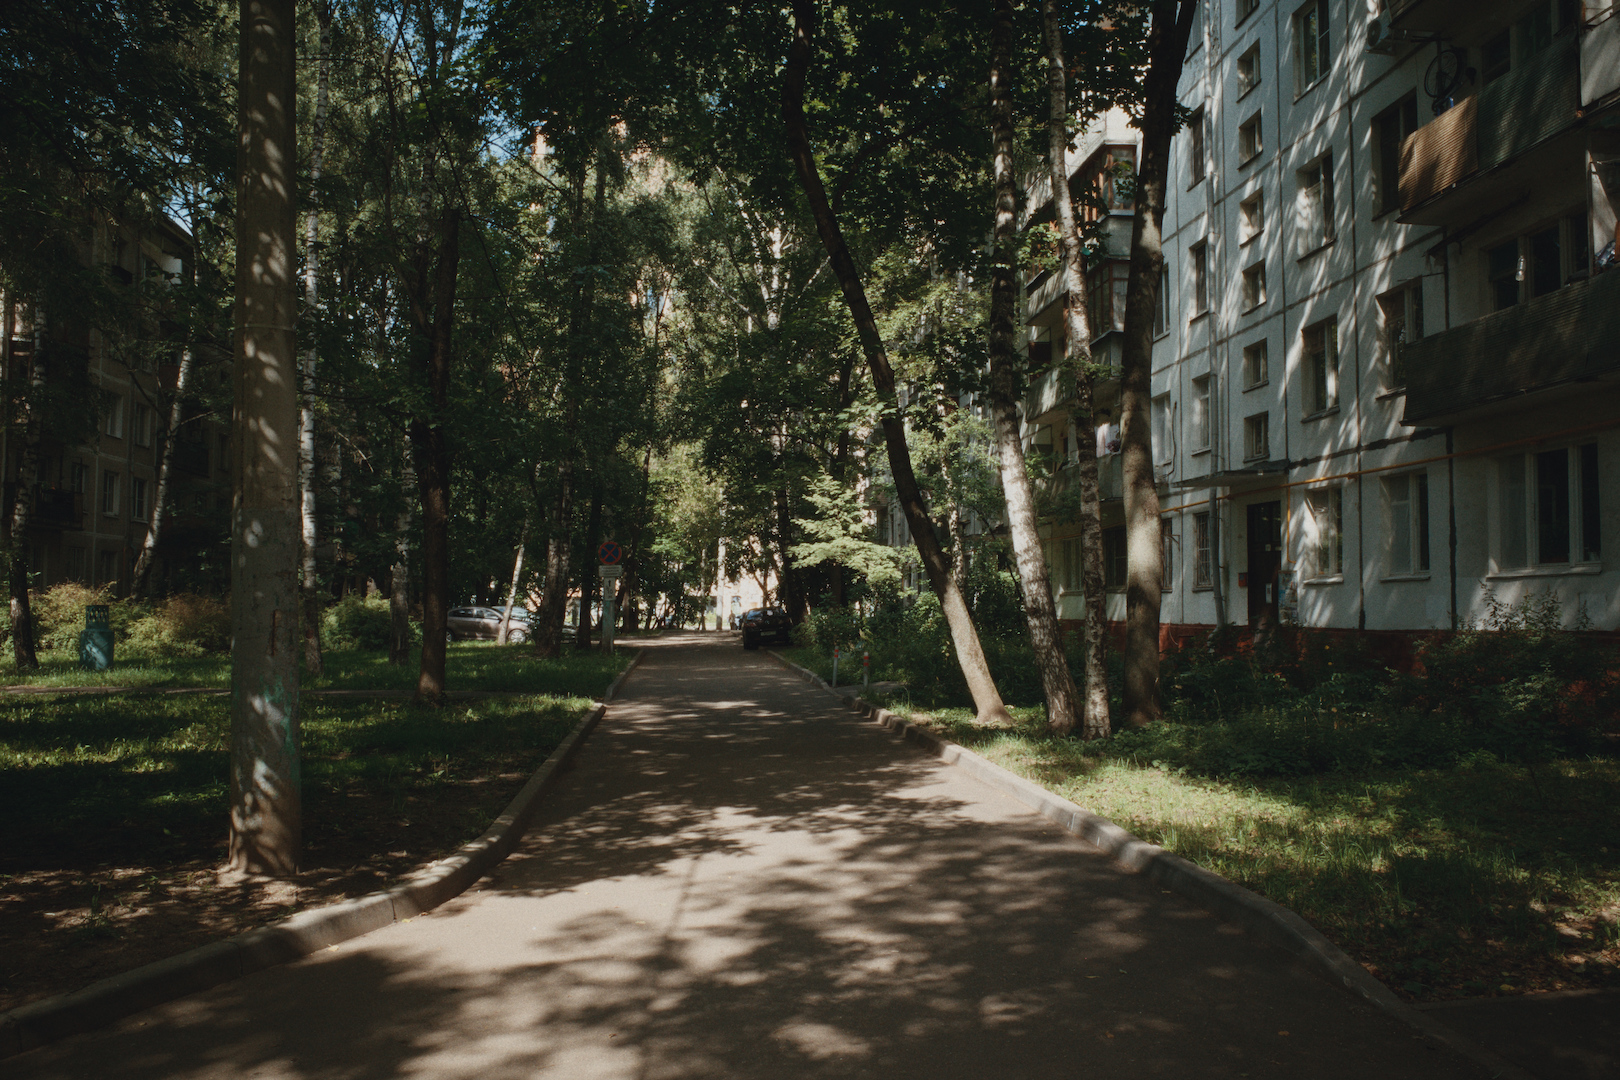
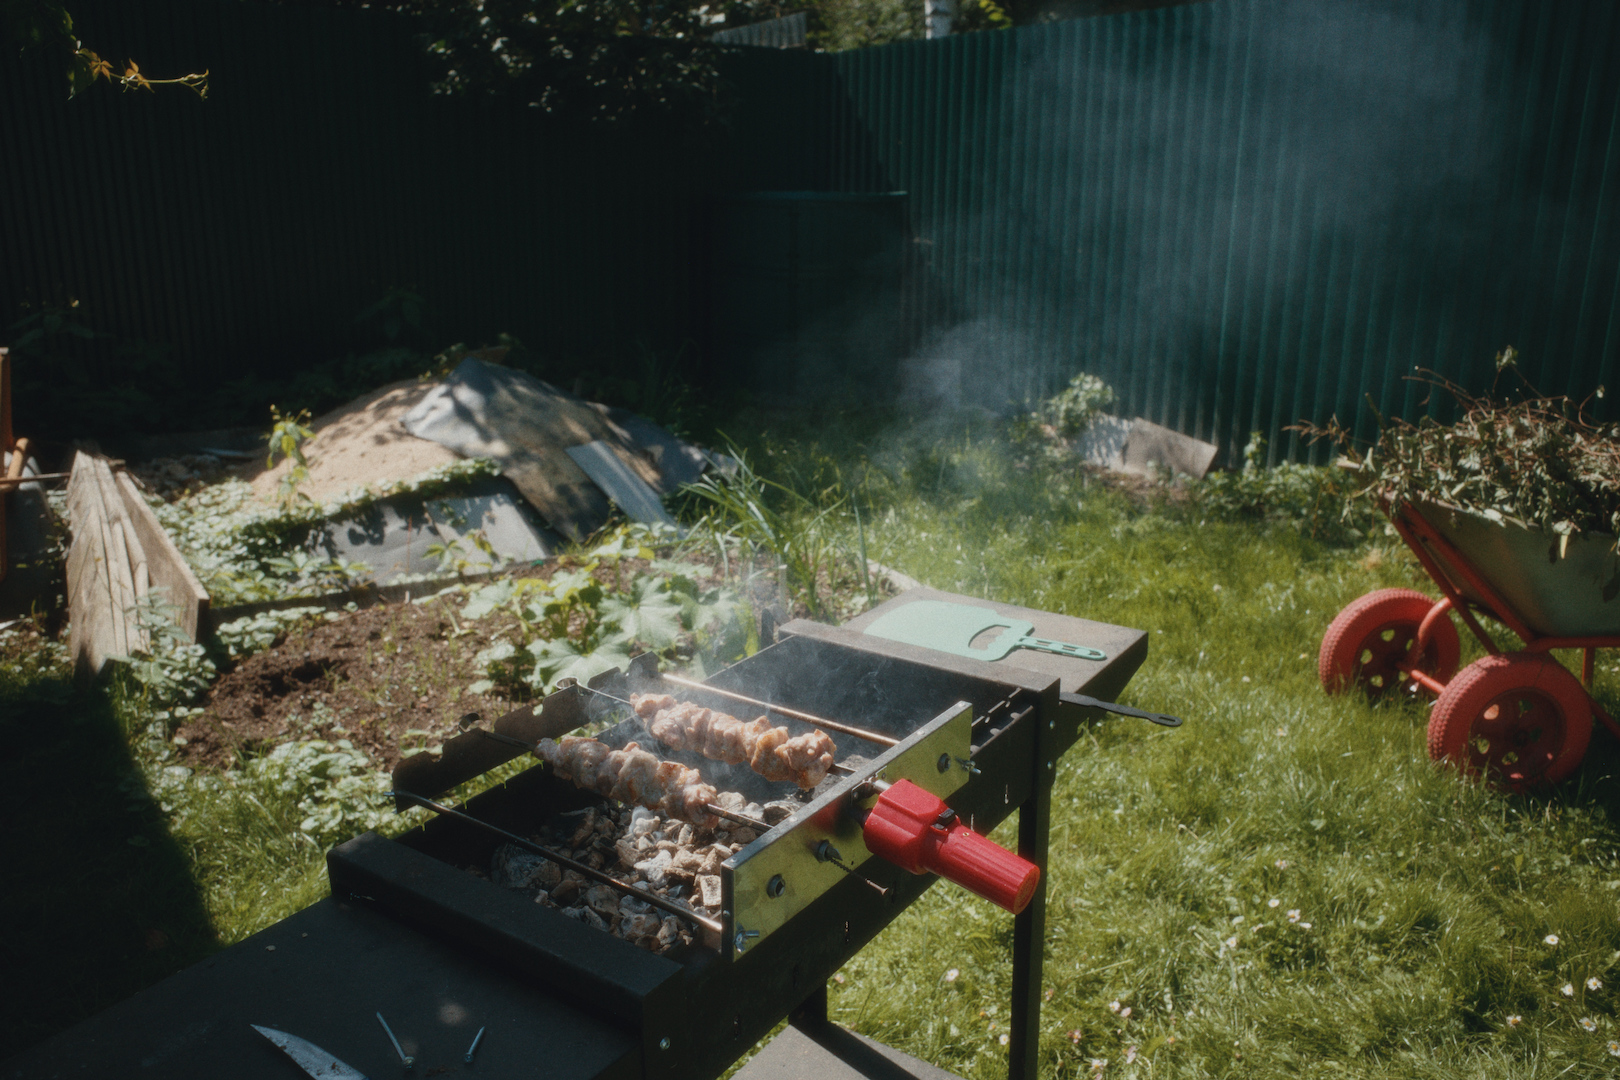
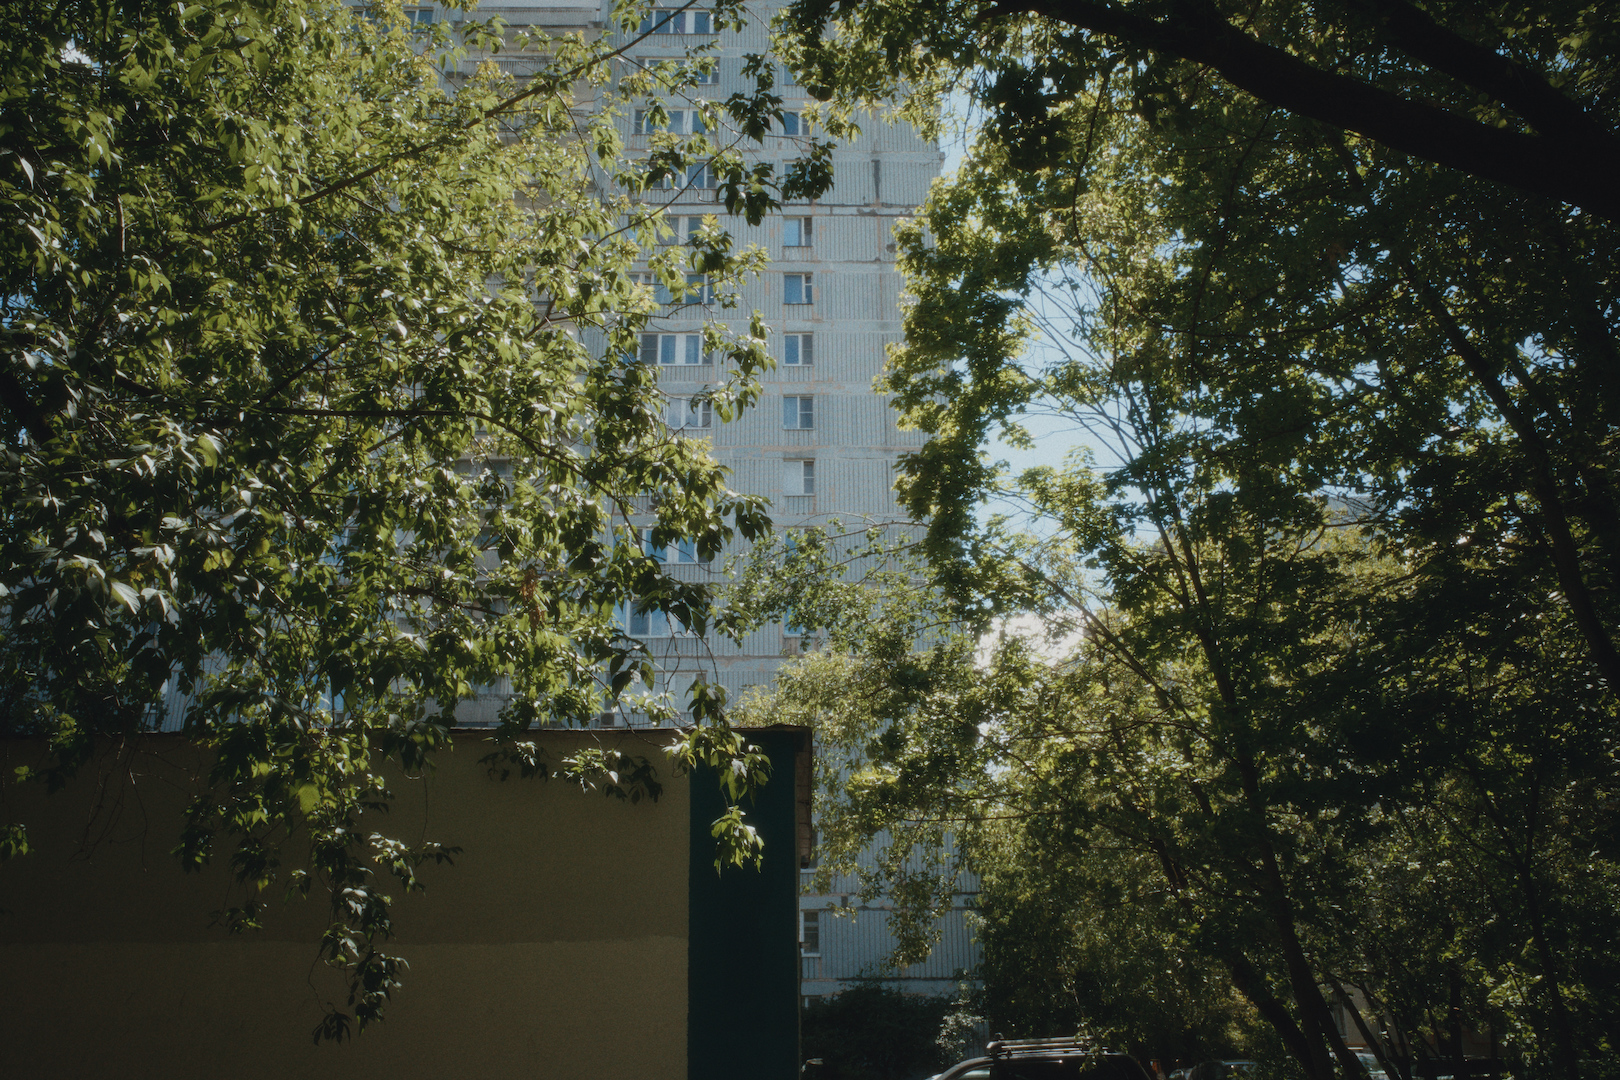
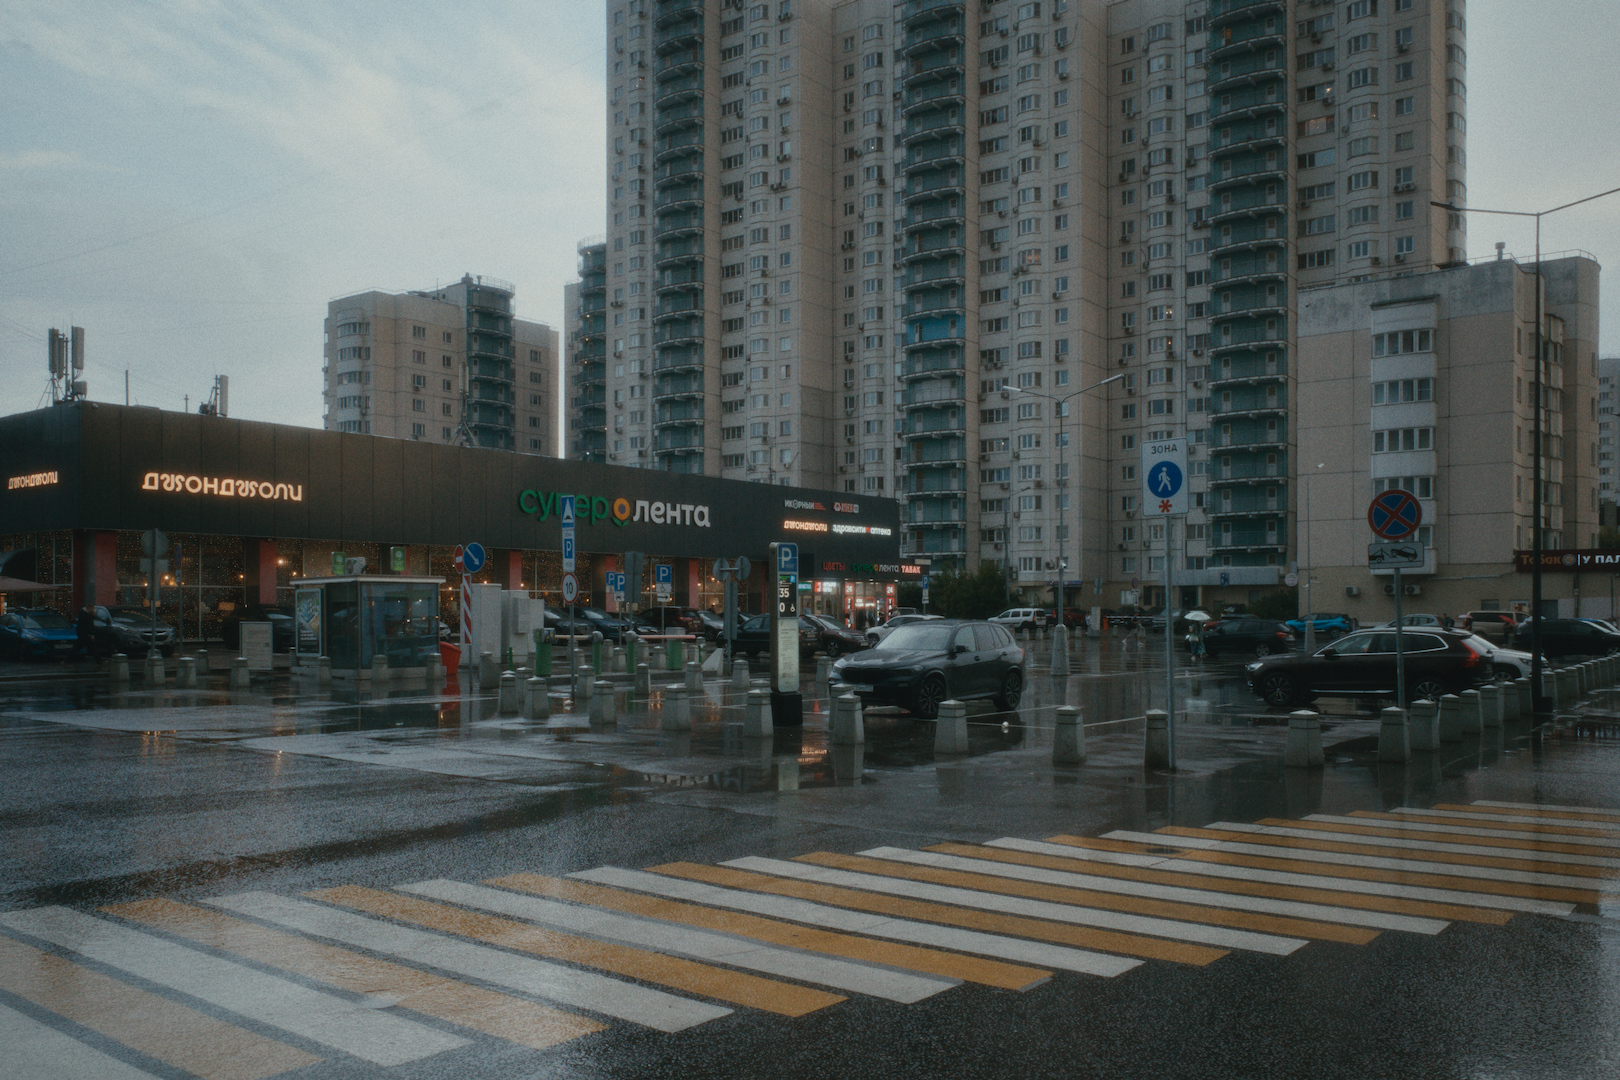
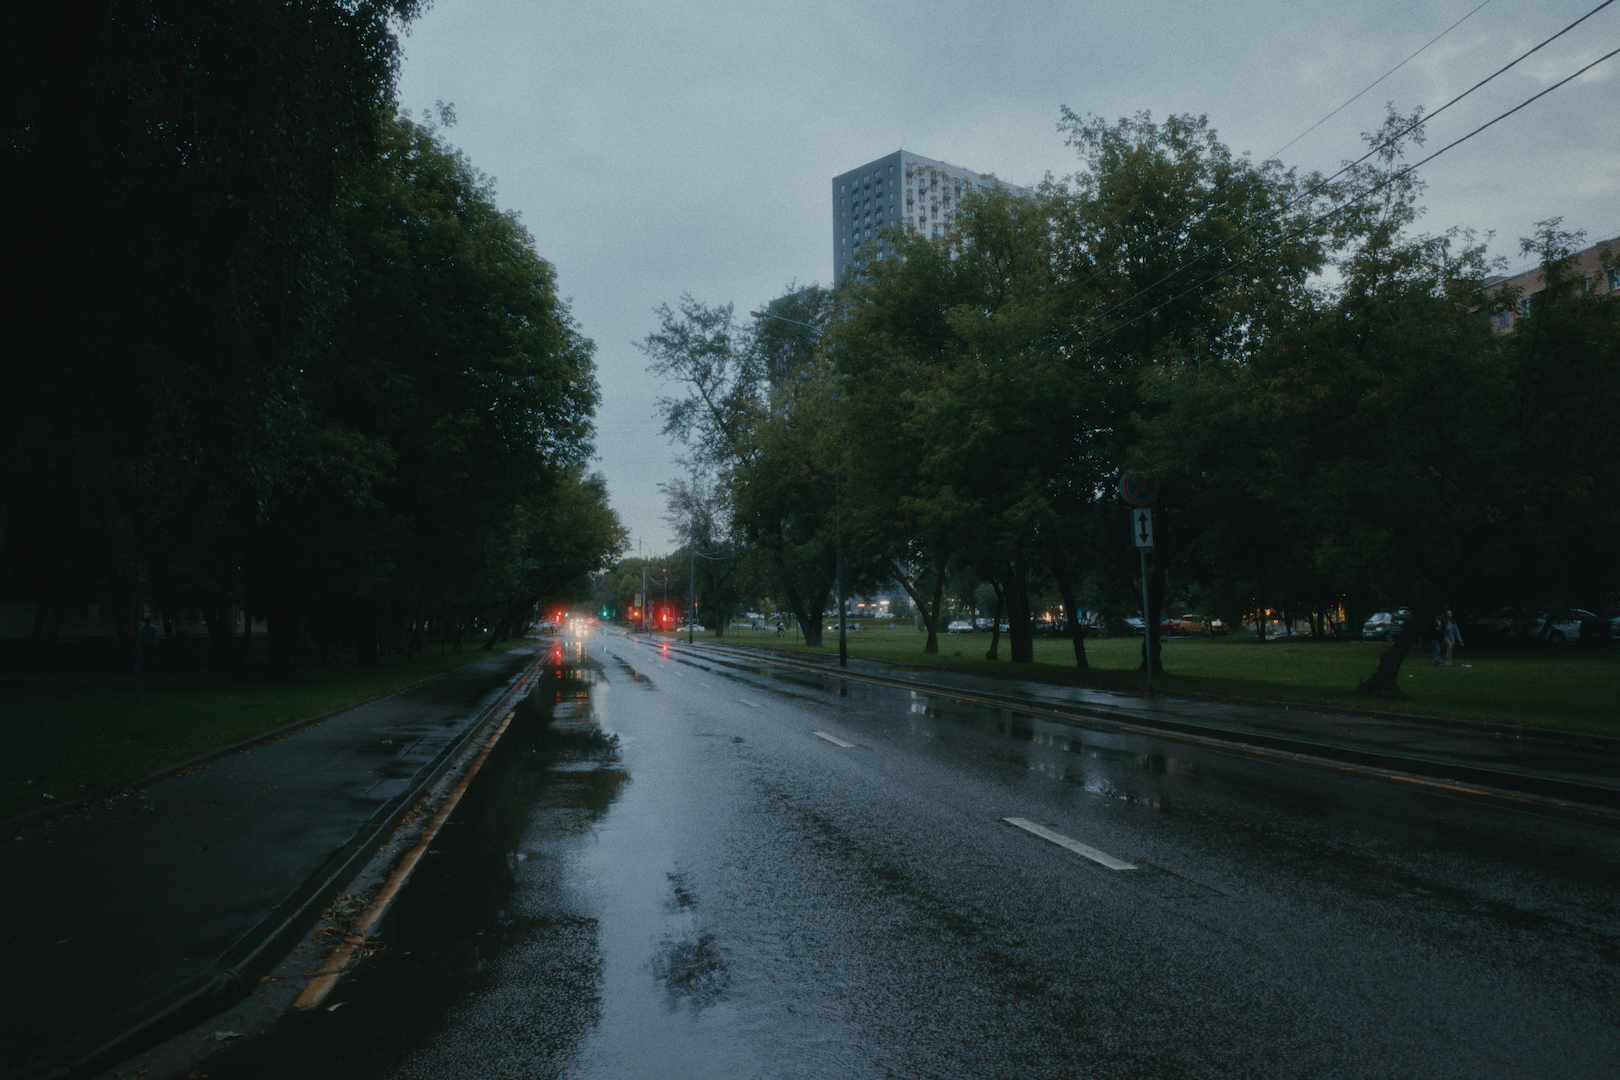
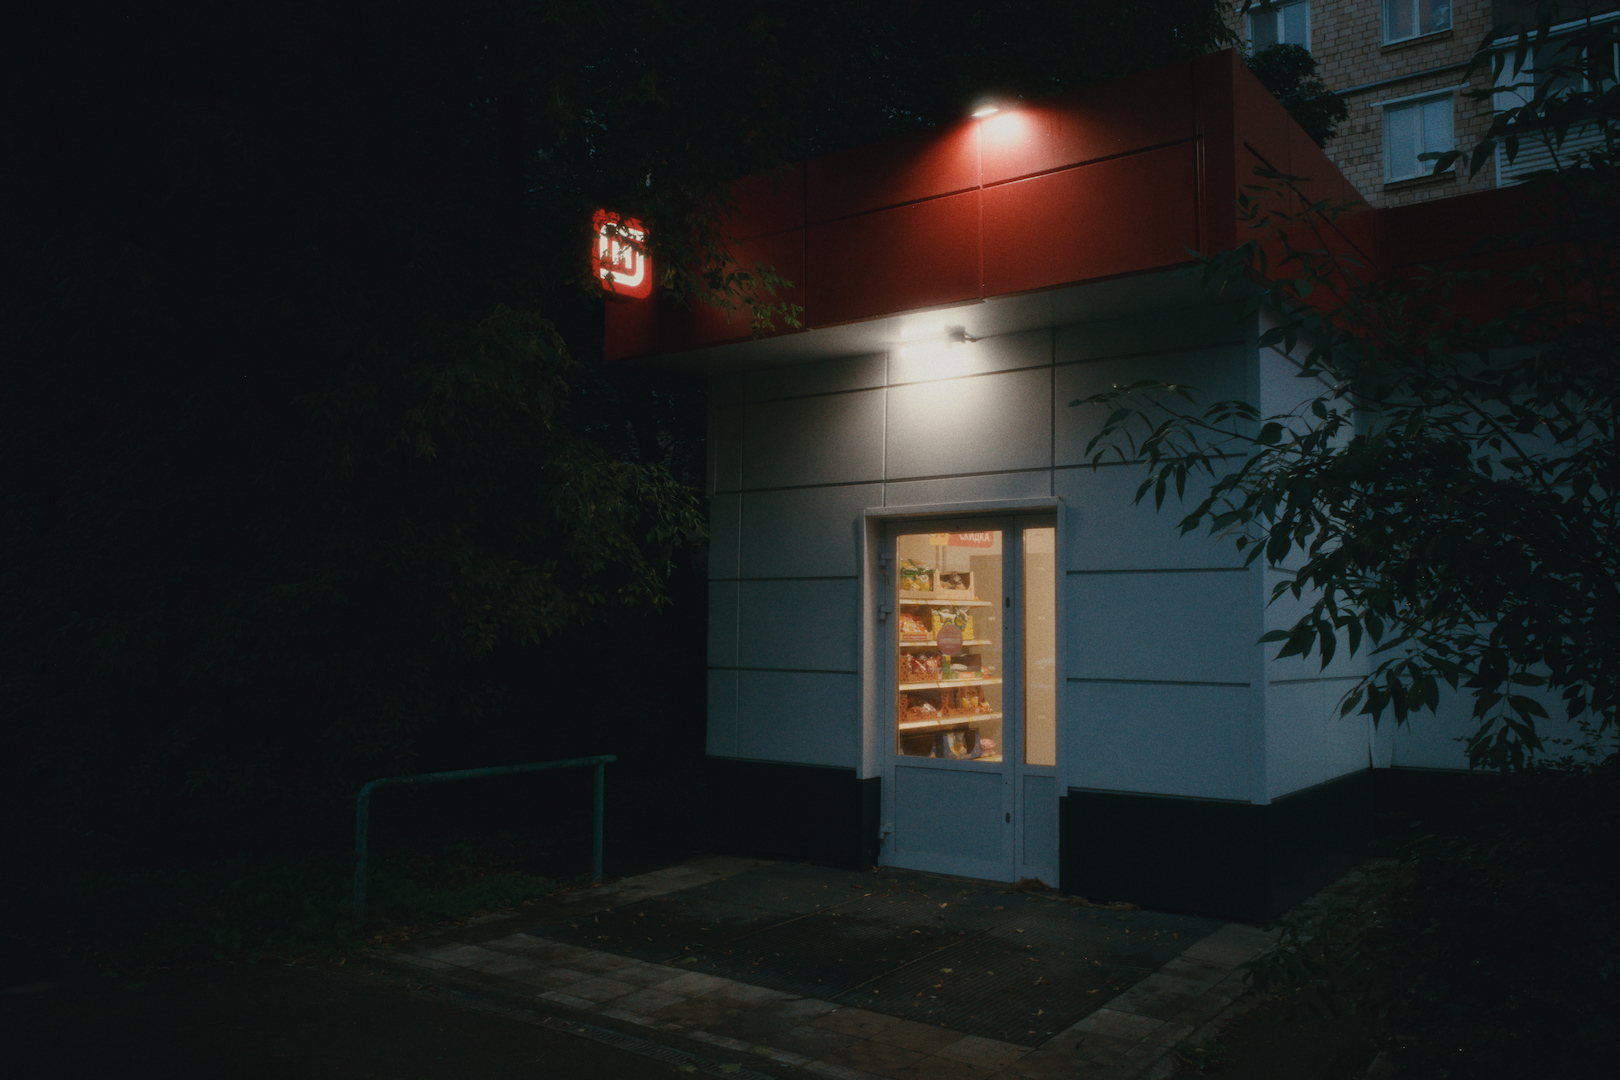
7 Likes
Forgot to mention that the grain thing is still a mystery to me. Disabling the grain alters the scene’s contrast, so I kept it on, but increased its size to the max, which made it essentially invisible but kept the micro contrast and global contrast in tact. Then I applied the darktable’s grain module which looks amazing to me, compared to the spektrafilm’s grain which looks like jpeg artifacts or digital noise
Keep in mind that spektrafilm grain is exactly how a film stock grain behaves (color grain for color film stocks) and the grain from the darktable module is only black and white.
5 Likes
Yes! A “resample” module for the darkroom is exactly where I’ve landed in my own reasoning.
Haha, woot. Move fast and break create things! 
Perhaps it should be named “resample” or “resize” rather than “upscale” so that it can possibly both upscale and downscale? That’d be a more future proof name. Downscaling in darkroom would probably not be interesting to me, but perhaps to someone else.
What would be really really handy is an “resample only at export” toggle (it should probably be toggled by default) in the upscale/resample module. Then one would be editing without performance penalties and the resampling only happens at the export stage. When disabled it would show the upscaled image in the darkroom preview and give you a hint about the amount of upscaling the image can take.
Yeah, I noticed that later  :
Speaking of scatter and upscaling, I think scatter will be a really effective way to mask upscaling.
3 Likes
How about dragging ‘enlarge canvas’ module before lens correction, then setting lens correction ‘scale’ to 2?
You can even create a second lens correction instance and drag them both later in the pixelpipe!
About the usage of the embedded matrix, I agree on what you mentioned. What you noticed was not just about the lack of purity when “bypassing” the matrix, it’s also the angle of the primaries and how they fall towards there peak/sharp angle when for example, plotting a sharp rec709 spectra in a 2d Xy chromaticity diagram… I’ve seen plenty of demos regarding this subject but they’re not mine and I can’t share them without permission; So yeah it’s difficult to control manually… I was just trying to prove a point there about well behaving tristimilus in the context of breakage/overshooting beyond the intended limits (negative values) and how they can cause issues, especially in extreme situations.
You basically can create your own camera specific matrices along other transforms that are simply better alternatives. Alot of efforts have been done in this territory !
But, that’s not our subject in this thread so I would stop here. If you need any help regarding this you are more than welcome to directly message me in private.
Great images btw !
1 Like
Fancy testing again?
resize-module.patch (23.4 KB)
1 Like
If anyone here wants to run this using nix, please look this repo of mine: GitHub - rafaelcgs10/spektrafilm-art-darktable: Spektrafilm and Art bundled together · GitHub
3 Likes
New builds available for macOS, Windows and Linux (AppImage) here based upon latest commits by @piratenpanda! You need to get the new spektrafilm-data-pack.zip also available to download there, based on the new python exporter.
5 Likes
Nifty! Hacky and cumbersome but a temporary solution. Preview is messed up/pixelated with green borders and it upscaling maxes out at 2x.
Yeah, I’ll do my best later today. Have never built darktable.
2 Likes
which OS are you on?
beautiful photos by the way, this module indeed creates lovely images. But also pretty good cinematic eye you got there
1 Like