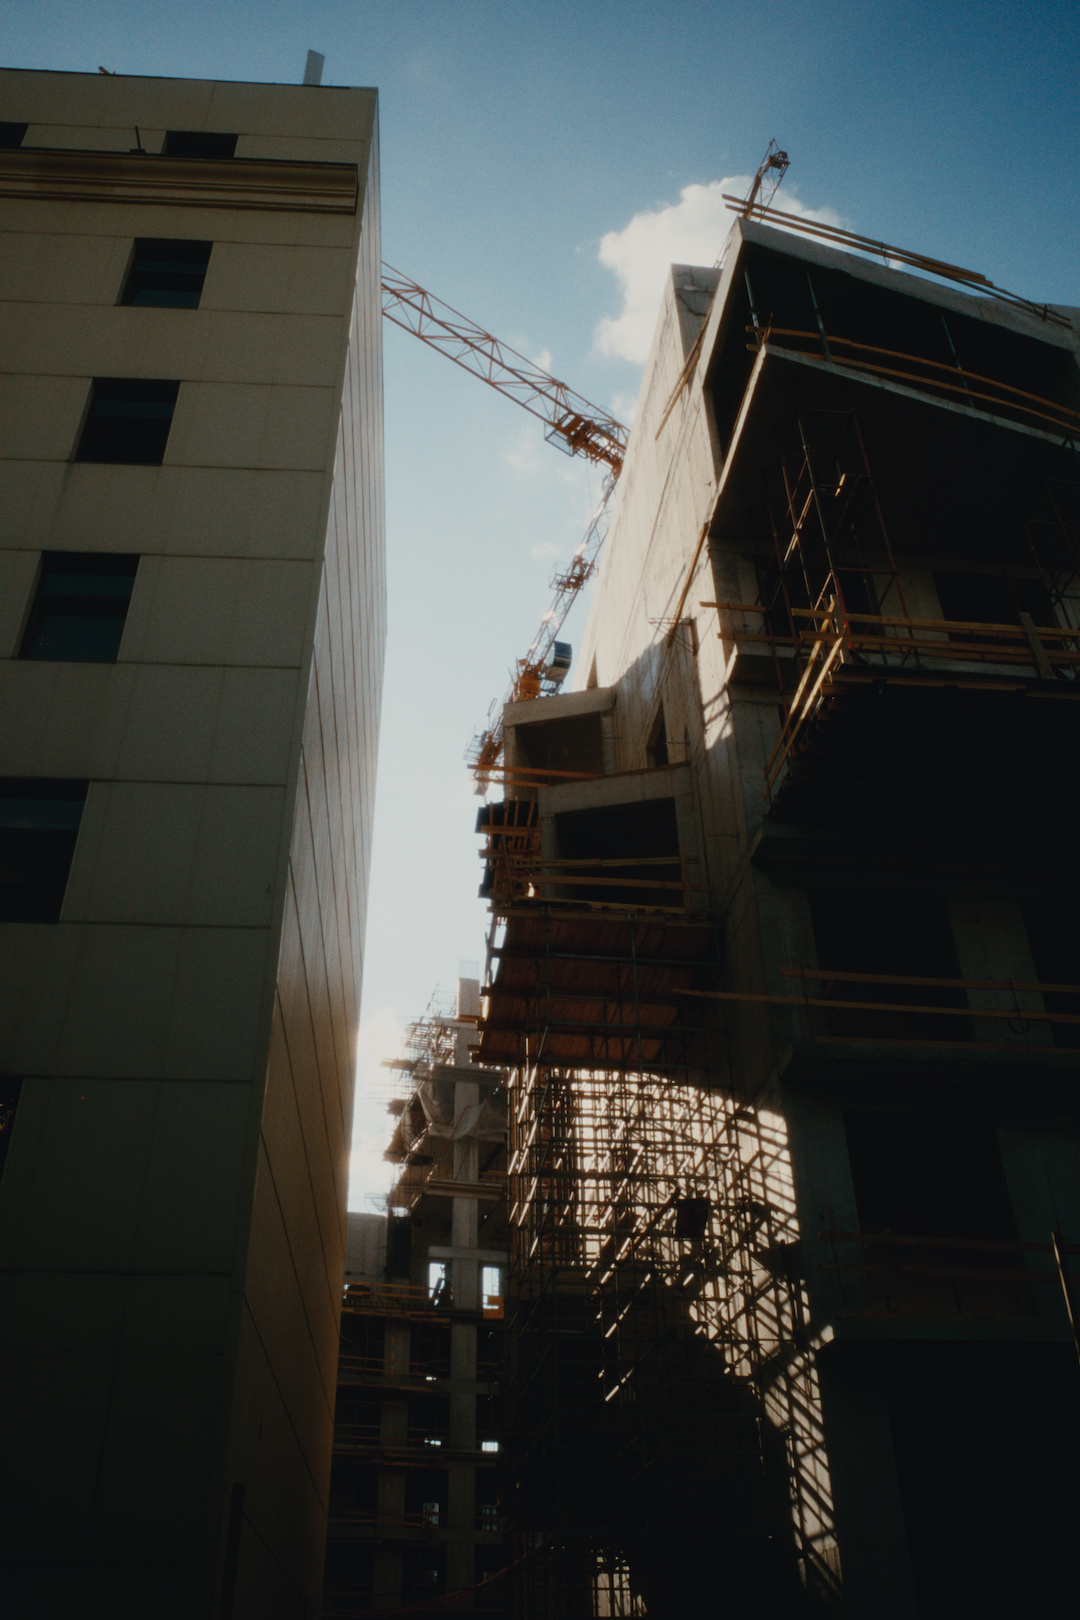
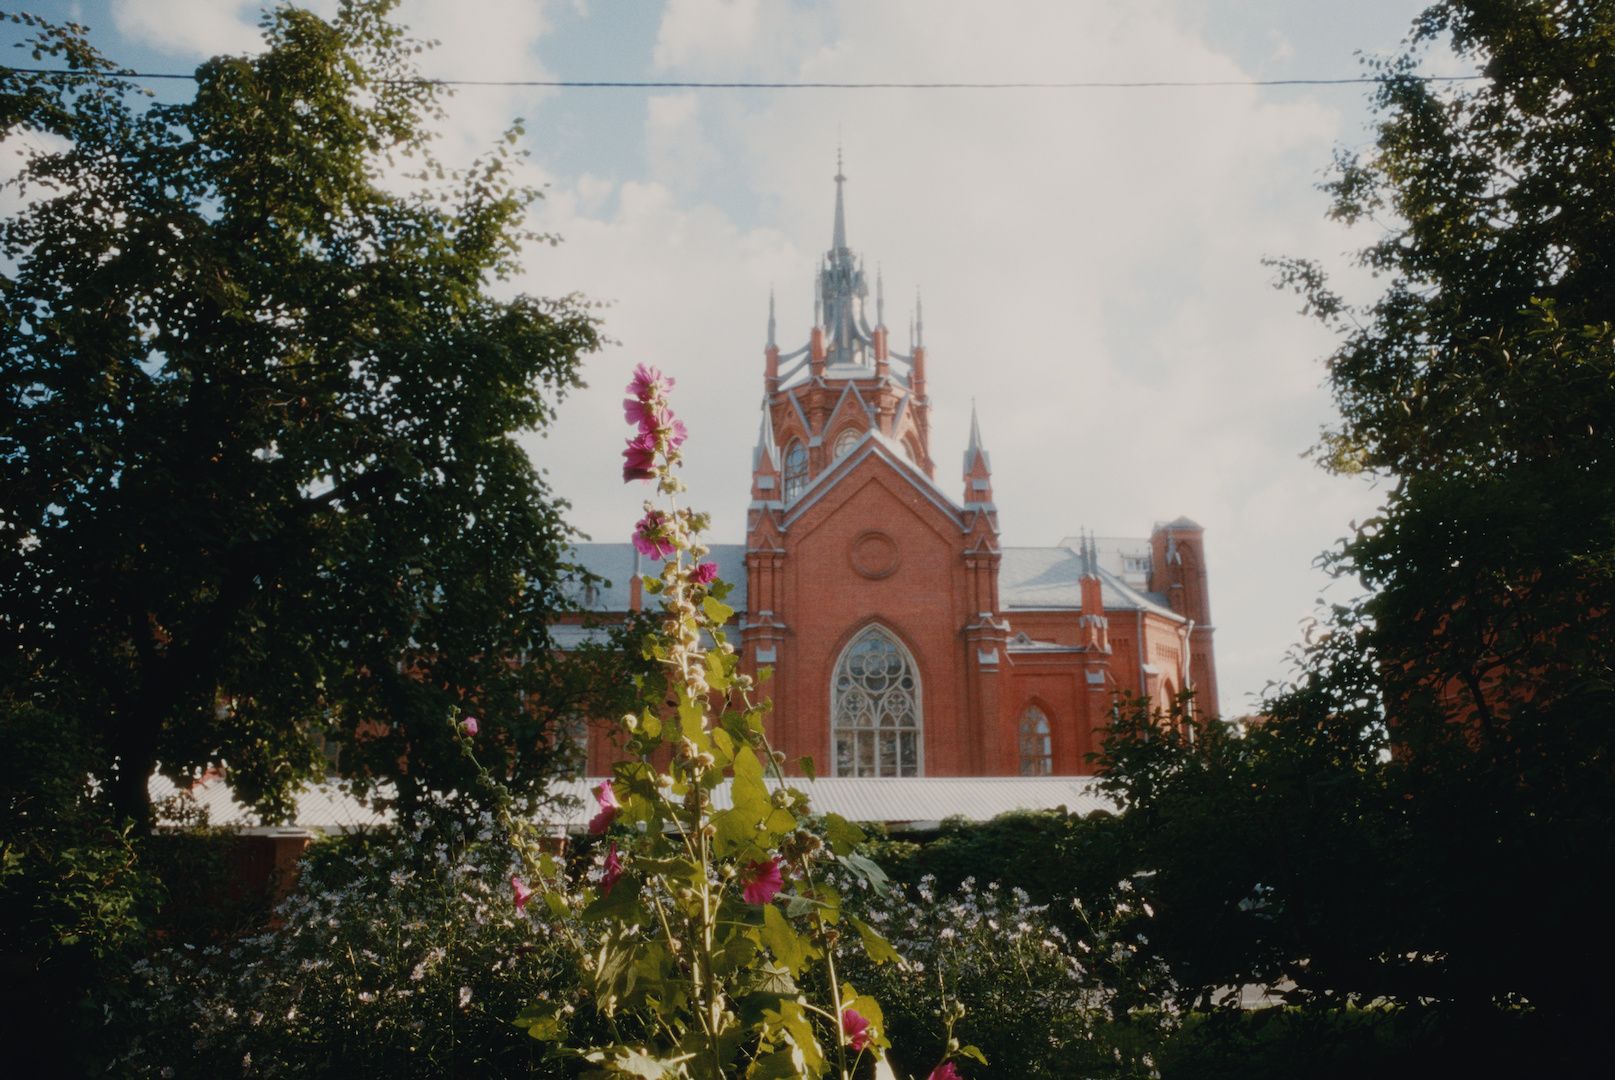
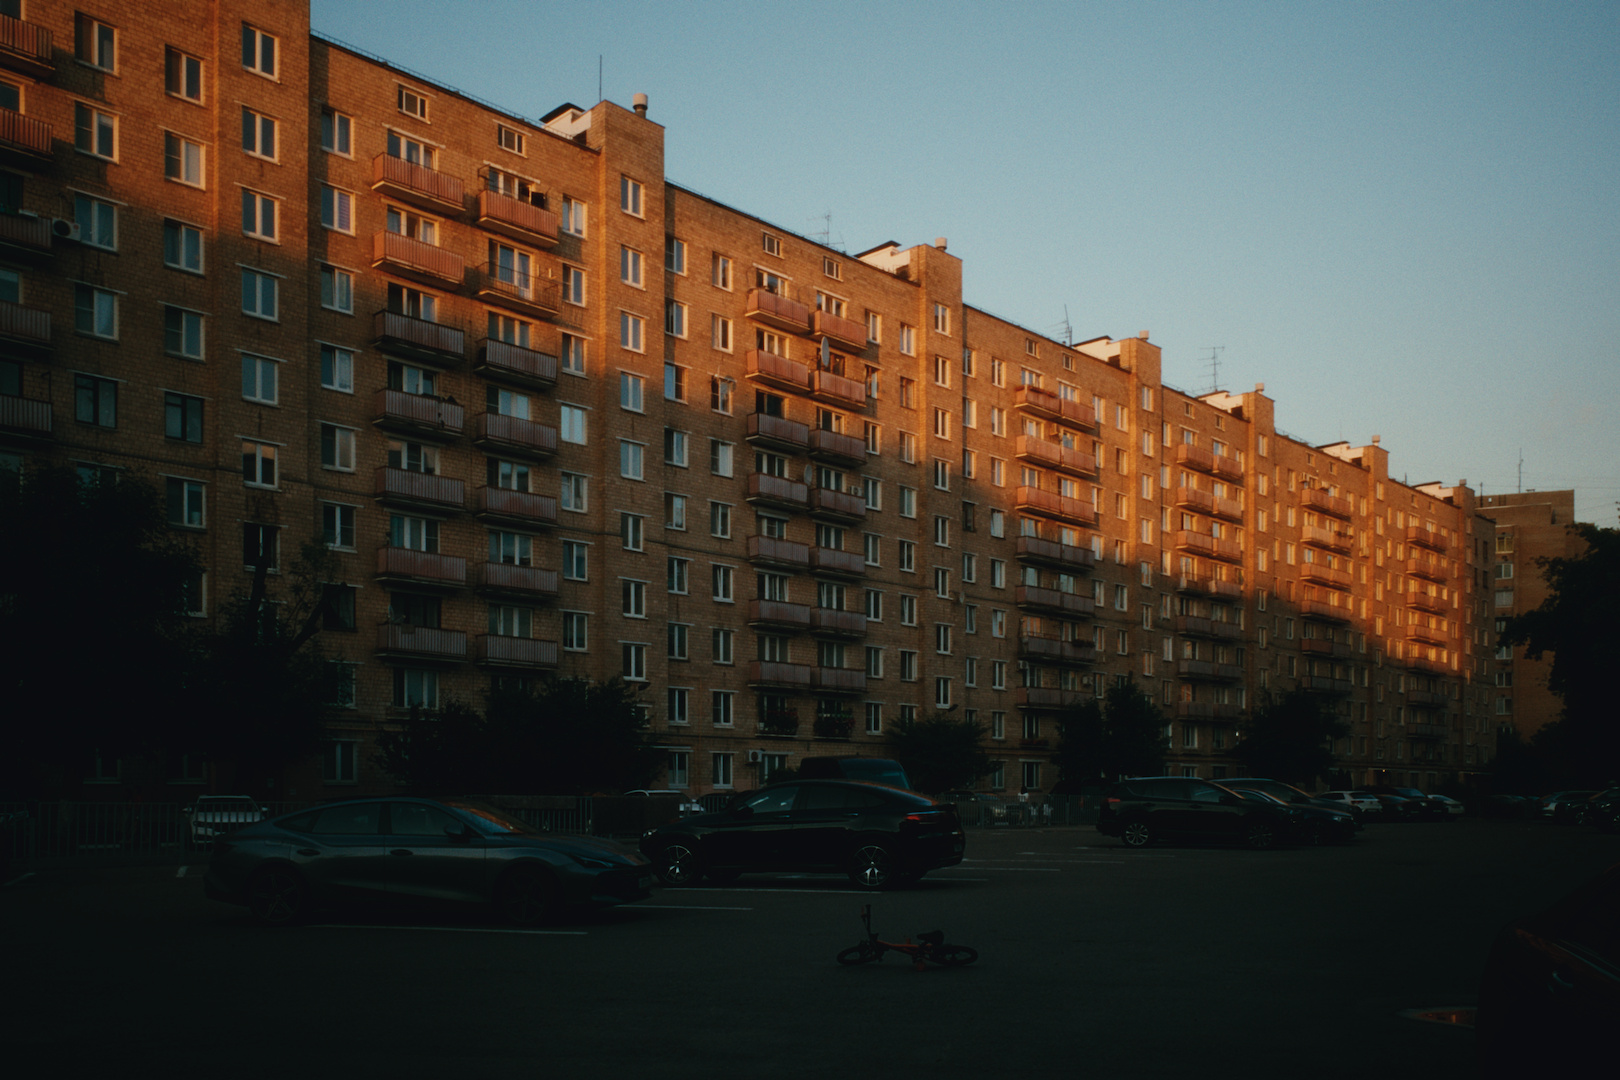
I guess losing grain is totally an intended consequence of choosing a larger format, as this is true for analog photography as well. In fact this was the gist of shooting larger formats back then. It was the version of shooting “high megapixel sensors” of our era. They did it to gain perceivable resolution and details from what they captured. The larger the format you choose, the less visible grain becomes when printed onto the same paper size (as the grain will be smaller due to the negatives/positives being larger).
The grain size slider controls it a bit, but the great changes comes with format changes, which also affects other parameters at the same time like halation.
Try using the default 35mm for instance, or selecting the one next to it (they are ordered, from small at the top, to largest film size at the bottom). The grain sharpness options inside the grain tab should help greatly as well. Keep in mind the grain should be visible towards mid tones, not so much in highlights or shadows, as far as I know.
Photos look lovely as usual, thanks for sharing (:
Play around with halation because it reduces the perceived sharpness by a lot in my opinion. Also in the scanner tab the scanner sharpness is at 0.70 by default. Turning on capture sharpness in “demoisac” (module) will improve the detail before it enters the module and gets softened
I’m really enjoying the Portra 800 pushed film but I’m finding I get some interesting color characteristics by messing with the gamma slow
and fast sliders. Highly recommend sliding them around and seeing how they respond. I still don’t know exactly what I’m doing in the module, just testing all of the sliders until I get used to their behavior.
For my film/paper I like combos of Portra 800 + Supra Endura. I think the red truck is the Kodak 2393. I’m not currently at my computer so I could be wrong about these exact namings.
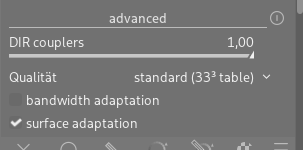
Latest commits make surface adaption a compile time variable and off by default as in original spektrafilm. Also shows paper name now in auto mode and hides paper name for positive film.
Just asking: is surface adaptation have negative effects at times, or what is the reason for permanently switching it off at compile time? For my issue above, it has definitely a positive effect.
In original spektrafilm you can switch it on/off at runtime, and you can save default on/off as you like. Or switch to arctic2026, which performs even better - hopefully it gets out of beta status soon.
Edit: Got it wrong. Latest patch add a checkbox to enable it and it’s off by default to match reference. I’ll also add one for the bandwidth adaptation to play with it
Is there a quick description of those two parameters somewhere…no need to write anything if there is a link or a post in this thread …I did a quick search…but didnt’ land on one…just curious…
I’m not sure I will ever get tired of this module the same way I would usually get tired of fiddling with a new tone mapper and then slap a preset on everything and move on in seconds. The preflash is so deep and I figured out that it’s what made film look like film to me (along with midtone contrast), so I’m tinkering with it more and more
Sometimes I wish I could somehow make a preset for each tab individually but I think it would be stretching what darktable can do. Also I still have no idea what “quality” does at the bottom of the film tab and the description doesn’t help me understand what change am I supposed to look for when I’m changing that control
Currently having a loaded week so maybe sometime later I would try contributing to the github by rewriting the tooltips to be a bit clearer
Seems to work well now, no blur when darkroom preview fits to screen!
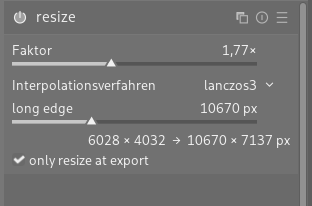
I assume there’s a performance reason why size is set using multipliers? I let Claude go through the codebase (sorry, not a programmer) and that’s what it told me (not by any means conclusive, I know). If it’s using multipliers for performance reasons, then I really think we should stick with multipliers and, if possible (without performance penalties), preview the output size in pixels. Say input image is 6000×4000 (in and we set factor to 2x), could we somewhere display “12000×8000 pixels”?. Now I find myself using trial and error to reach the needed size for print.
If we could control size by setting “pixels on the longest side” without performance penalties that would be even better. The added bonus of this would be to have access to output sharpening. Now, when resizing in the export module is used we can’t apply any sharpening after its resampling has taken place (resampling should ideally be followed by output sharpening). If we could set output size in pixels using the resize module then we could set it to desired output size and put output sharpening as one of the last modules in among the darkroom.
Other reflections from building latest draft today
Data packs or film & paper packs
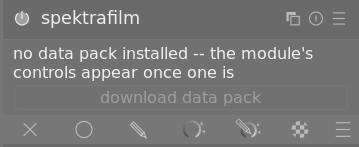
Going to preferences and enabling downloads “allow spektrafilm to download data packs” worked, but the I searched like a mad man to find it! I eventually found it under “security”. Having it there gives the unassuming user the impression that spektrafilm is a security risk which I guess is not intended. Perhaps it has been discussed, but is this control really needed at all for downloading packs?
I don’t think hovering over “download data pack” said anything about the setting being under security.
From the perspective of a non-programmer, I think it would make more sense to call the “data packs” “film & paper packs” instead. Regarding the message here:
I’d just write “download film and paper packs to use this module” with a “download” button.
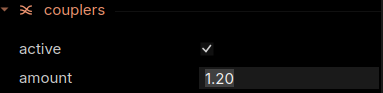
Higher DIR coupler values than 1
In the Spektrafilm app I could set higher than 1 coupler amount to achieve higher saturation:
In the module I only decrease the value. Is there a reason why this?
Lens correction resize hack
Cool hack but far from intuitive. Has no interpolation algorithm option and the preview is garbled. I don’t think this workaround invalidates the resize module.
Spektrafilm doesn’t limit it. We do. Spektrafilm should do the same as values above one don’t make sense and only confuse people that’s why I hard limited it. Also different films break at different values above one so I’d rather not explain to the users why their values break the edits.