I can’t seem to wrap my head around the preflash corrections, does anyone have an explanation for these?
So far I understand that the base corrections rely on the film exposure, and preflash introduces another metric of exposure that can even exceed that of the film exposure. For example, turning preflash up to 0.10 (and adjusting film/print exposure accordingly) will make it so that the base corrections don’t do almost anything at all, while the preflash corrections will have a very strong effect.
I understand about this much of this interaction but I can’t understand how to apply it. Since the preflash exposure is linear and the scene is non-linear, I figured it would raise darker areas more than it would raise brighter areas. As such, I’m currently using preflash corrections (with preflash values <=0.05) to correct the shadows and the midtones, leaving the main corrections for the highlights.
This is probably not the correct workflow. You should use preflash to reduce contrast and highlights - in the print stage - here you are just fighting it with more exposure. You should adjust the film exposure in a way that makes you happy with the amount of general mid/shadow information, and if that means youve blown the highlights, then you can introduce some preflashing - the preflash will often change the tone of the image, so thats when you use the preflash corrections to adjust the “cast”, mainly of the highlights, though it of course goes beyond. I would say to stick to less than 0.05.
I’m a fan of preflash but I don’t use it to correct anything, I use it for creative effect, for giving the photo a mood because preflash can give you those beautiful creamy highlights as I call it. You can give a color cast to the photo but it’s not harsh but rather subtle and beautiful. I can’t give you the tehnical explanation but I told you how I use it. @bazdesh explanation is also very good.
Love the new module. One piece of feedback:
The hover-docs for the gamut compression checkbox say to leave it on for an image I want to keep, and to push highlights by using the boost sliders.
This is a fine recommendation in theory, but the looks are very different. One is disabling the rolloff (increasing dynamic range) and the other is just linearly(?) boosting brightness after all the highlights have been crushed. This results in (e.g.) skies and faces being the same luminance.
My experience shooting real film is that there is a large dynamic range in the highlights, and faces and skies can easily be multiple zones apart. This is, AFAICT, not possible with spektrafilm in its current state?
I suppose I wish for an agx-style highlights dynamic range slider, to adjust where the rolloff curve starts.
There are changes to this in the experimental branch of spektrafilm. I don’t want to stray off too much from the stable/dev branch. So let’s see when @arctic is done with this 
small bug: When film stock is set to “none” the “auto” option vanishes.
thanks. fix in Spektrafilm fixes by piratenpanda · Pull Request #23075 · darktable-org/darktable · GitHub
Since were talking about the auto switch - would it possible to make it so that if I manually change to “(none) scan the film”, switching the film stock wouldnt kick me out into the auto option? I know that the negadoctor way is a bit outside the usual scope. Though this also applies to the normal use - if I manually choose a print stock, I dont want the film change to switch it.
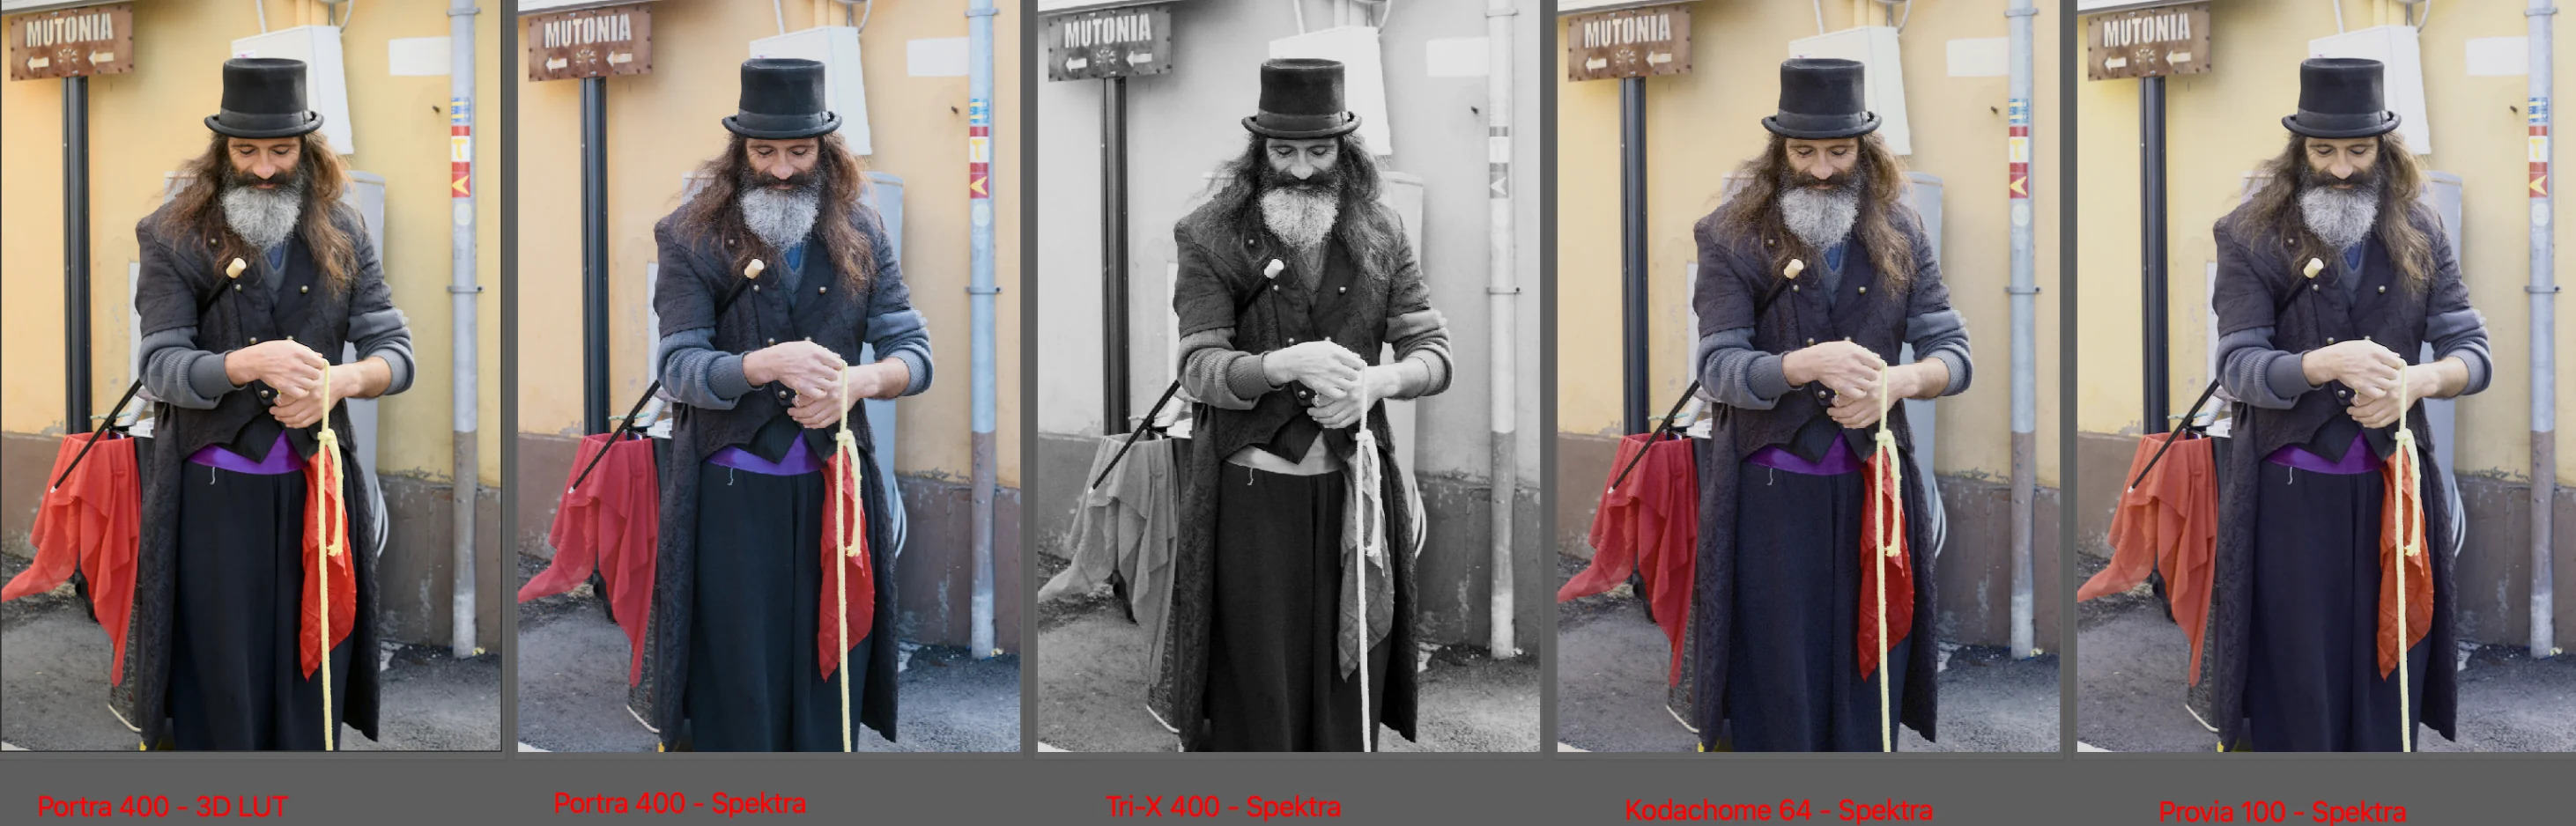
Hi all,
first post here and first of all I would like to thanks @arctic for the awesome job!
What I am posting here is the same image with same settings but different tone mapper / tone mapper settings.
First image is AGX+3D LUT using t3mujinpack luts, all the rest is Spektrafilm.
I am having trouble with positive film simulation like Provia and Velvia and less so with Kodachrome: there is a quite strong yellow cast on mid-tones while dark tones are towards blue which I was not expecting.
It is not clear to me how this should be corrected within Spektrafilm module or if behavior is expected.
Does anyone have any comment to make?
implemented with spektrafilm: keep a manual "none (scan the film)" across a film switch by piratenpanda · Pull Request #23085 · darktable-org/darktable · GitHub
Hey, welcome to the board! You posted this to the spektrafilm darktable module thread, this is perhaps a question that should go directly to Spectral film simulations from scratch - I suppose this also affects the “reference” - as in the original python spektrafilm models.
I used to experiment with the slide sims a lot and my solution was to just push through the warm/yellow cast with a colder white balanced image before going into spektrafilm, though if youre finding the shadows also turn cold/blue, you might not like that. 
I’ve had my first play with Spektrafilm in darktable yesterday. My goodness, that’s crazy impressive!
I noticed that the smaller film sizes introduce a pleasing “sharpening” effect. So does Spektrafilm include a developer diffusion implementation?
thanks for your feedback, will do!
The module has come a long way indeed
I think what you are seeing as local contrast enhancements are the effect of the couplers.
And yeah: It’s incredible
Do you remember fixing the “black holes”? I noticed they are back - I guess you clamp the negative values quite early in the pipeline, but if you push the black level slider way down, which happens quite late in the pipeline, they can appear again.
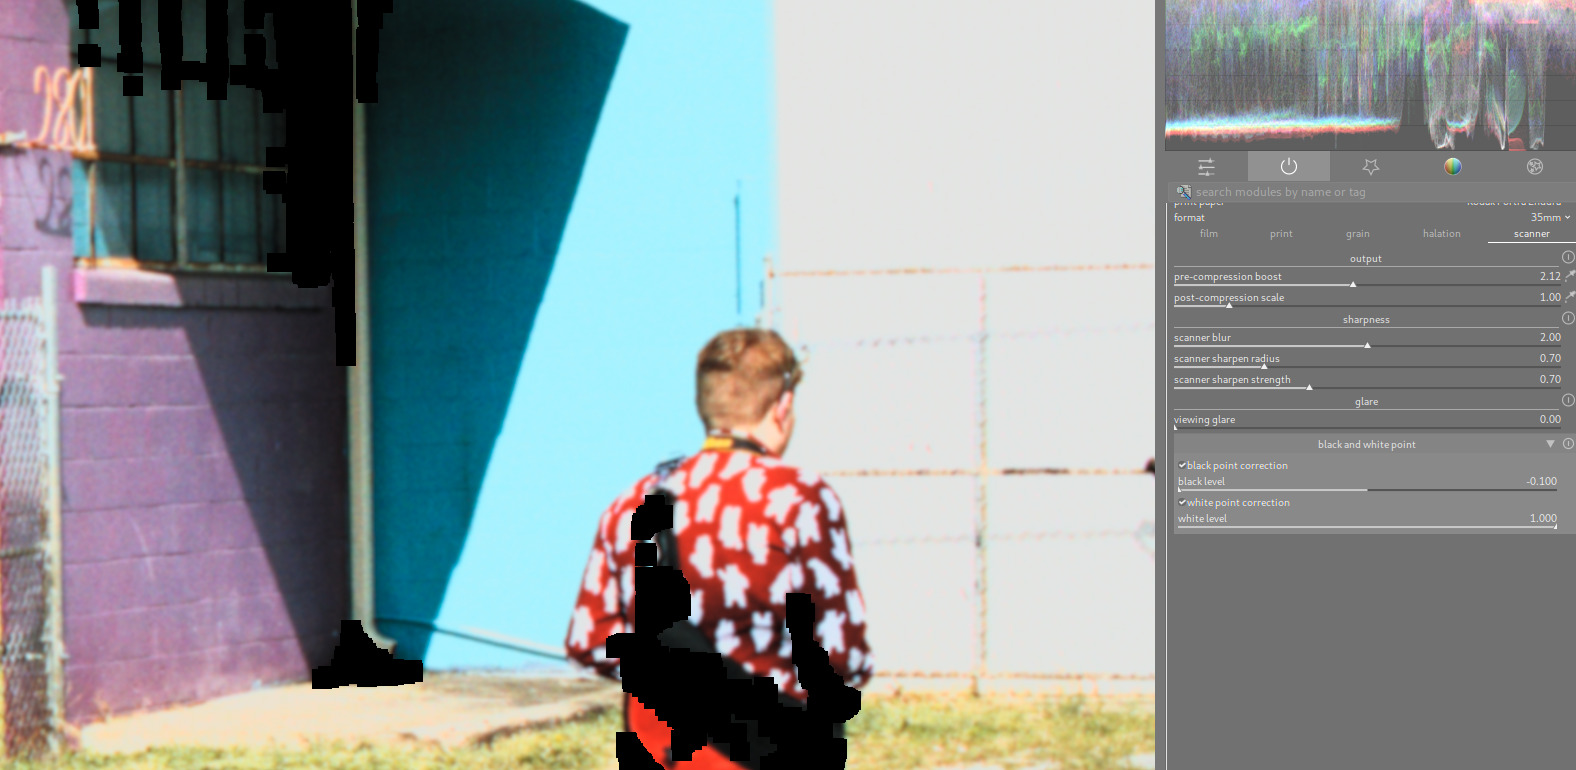
vs
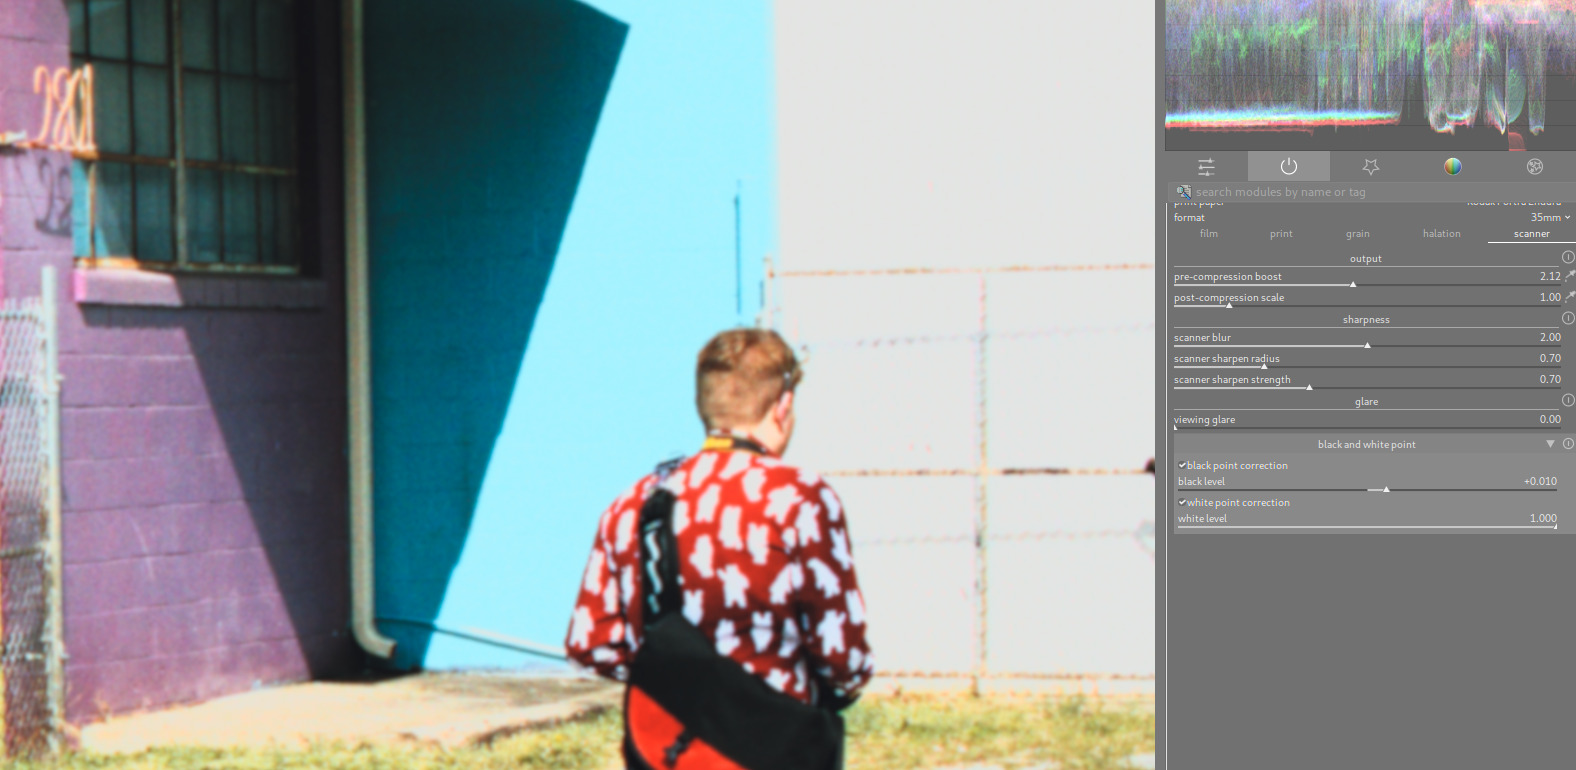
spektrafilm_test_black holes.dtpreset (1.3 KB)
Edit: these ones are different, they are tied to the scanner blur + black point correction. With 0 scanner blur, the effect is invisible, but if youre doing max black level correction (-0.100) and apply scanner blur, the black spots appear.
I noticed that Spektrafilm adds a very pleasant and natural local contrast effect, especially at smaller film sizes. Does anyone know the mechanism behind this?
Its gonna be the DIR couplers - inhibitor spread/tail. Its calculated/measured in um, so changing the size to smaller format changes the proportional amount to… more
It’s the DIR Couplers.
Fascinating, thank you!
From the documentation, it reads like every film is modeled as a three-layer RGB system. But I seem to remember that some film stocks had several more layers, at least an additional Cyan layer and various non-colored layers. Does Spektrafilm model these?