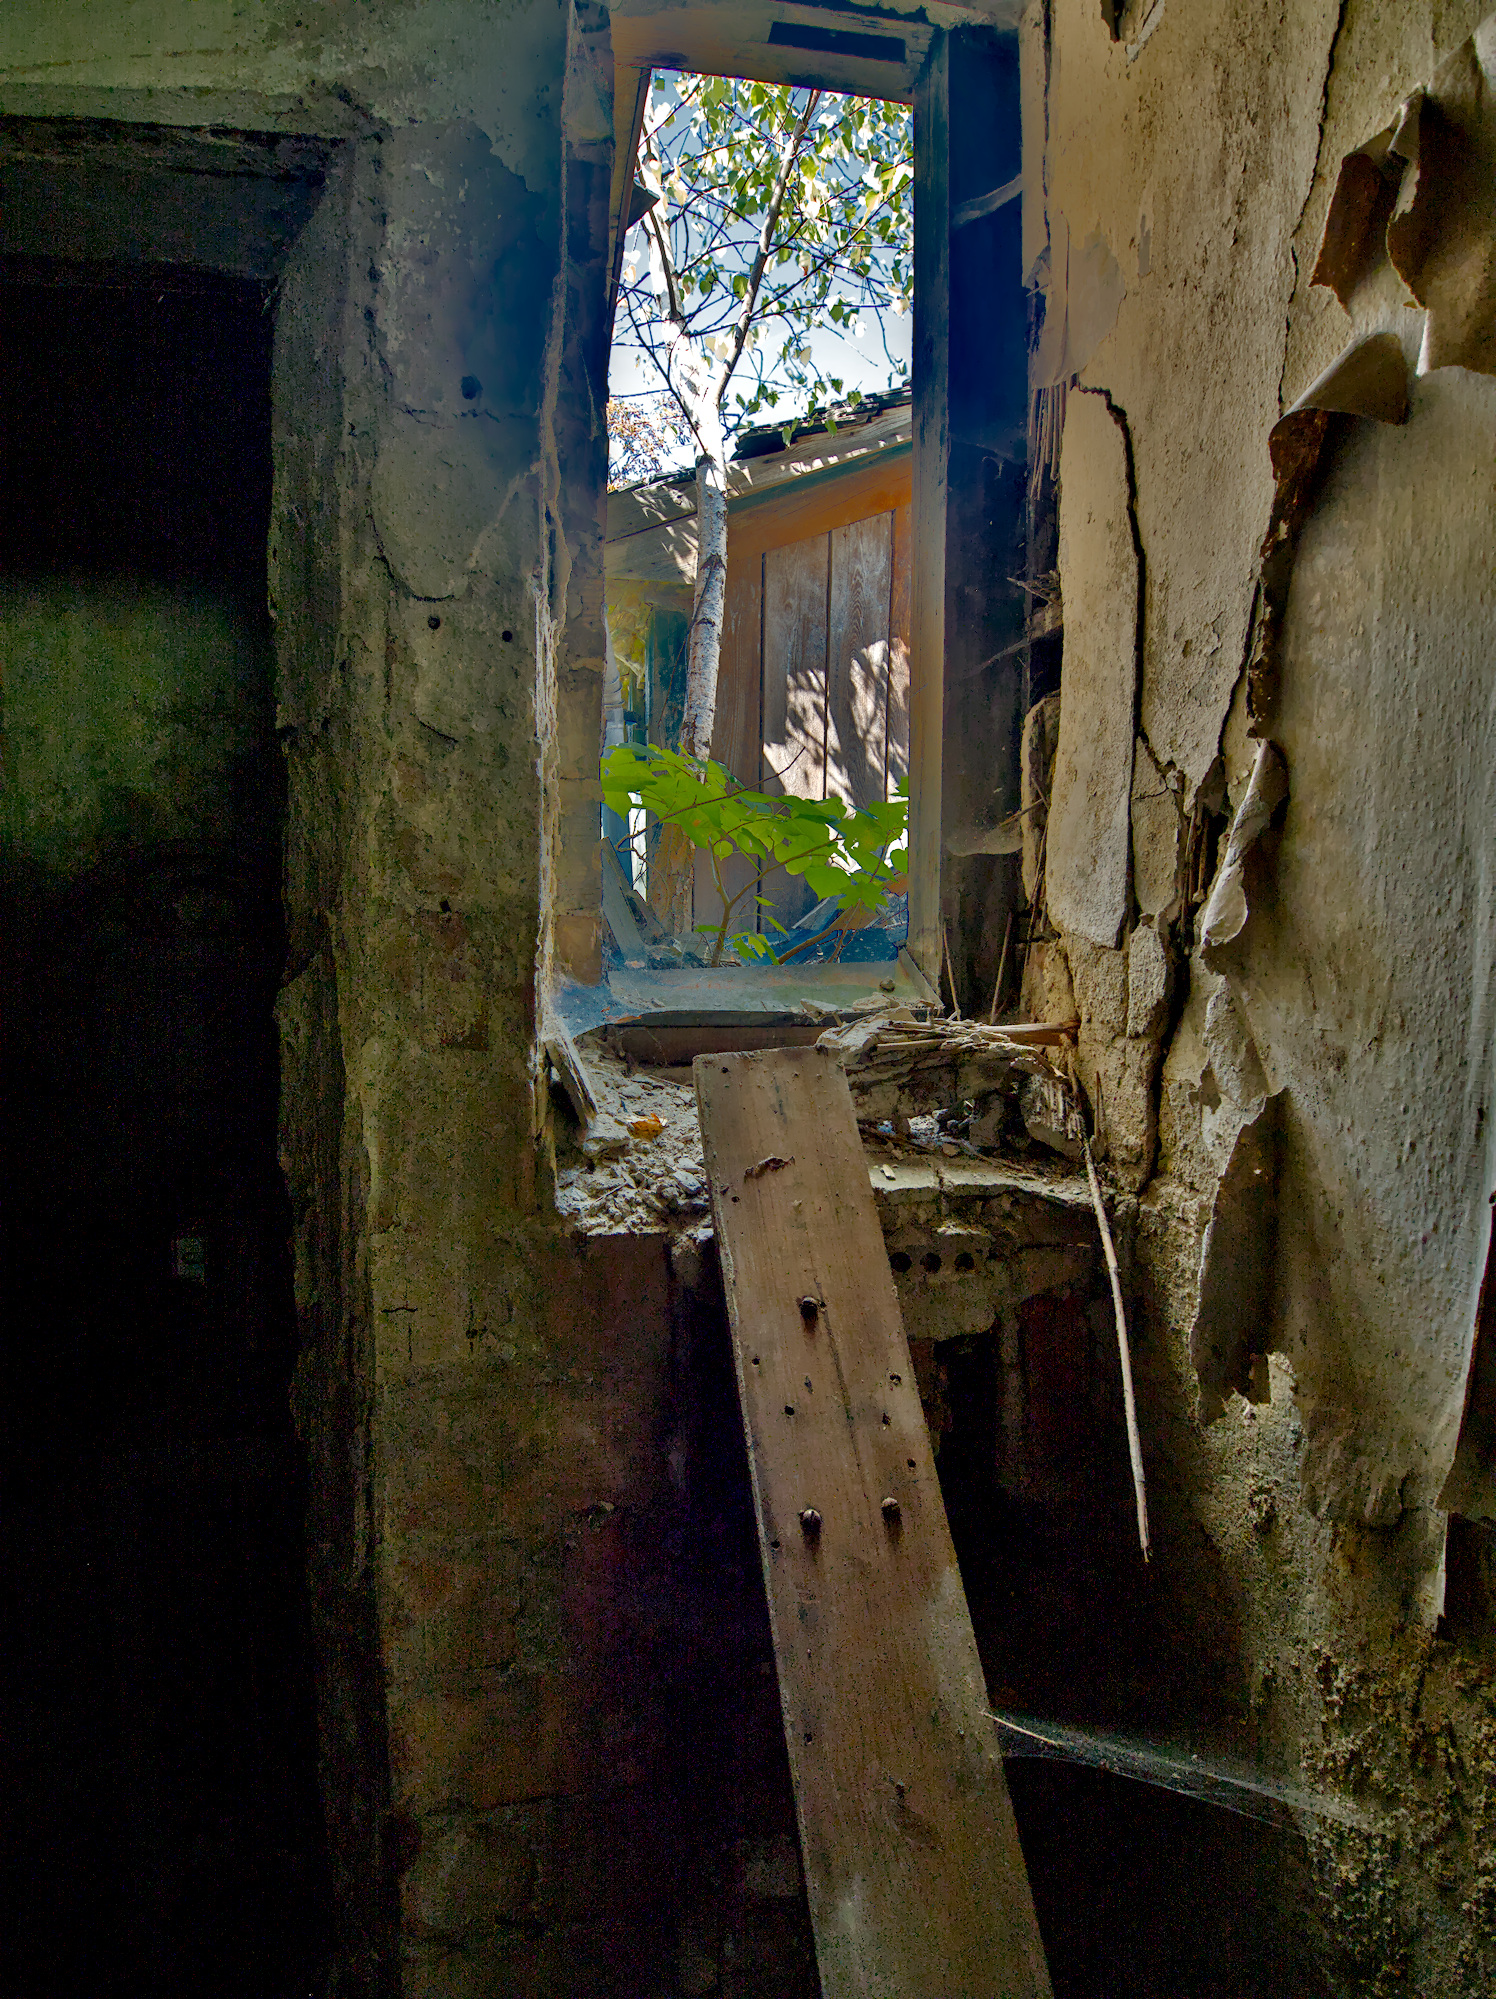
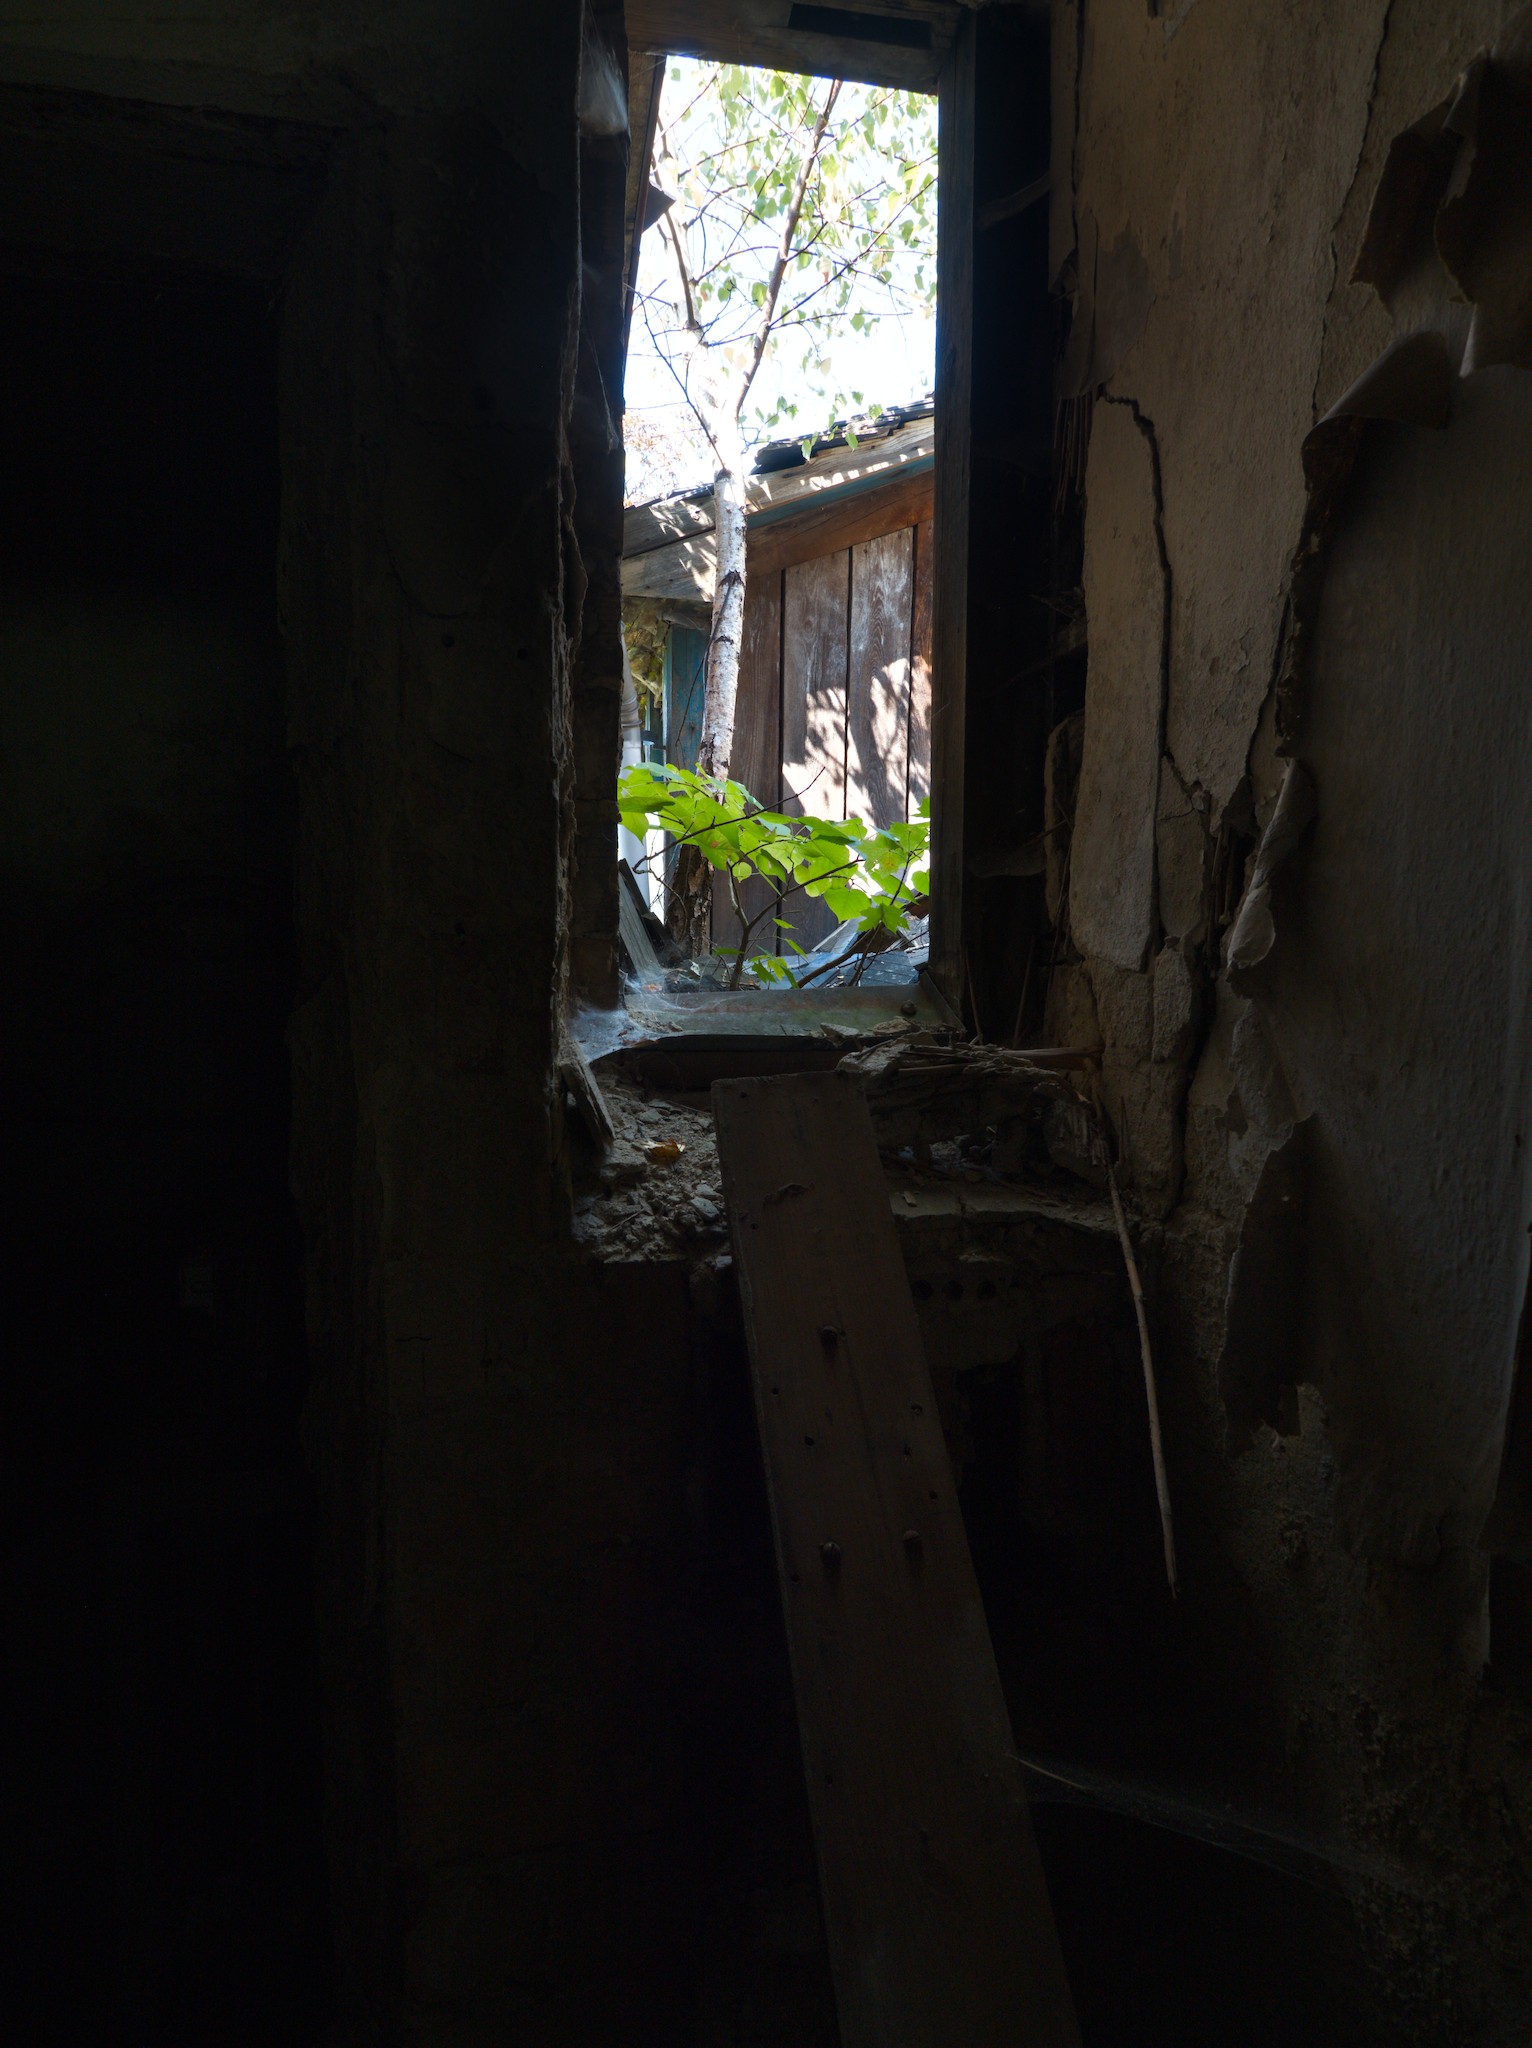
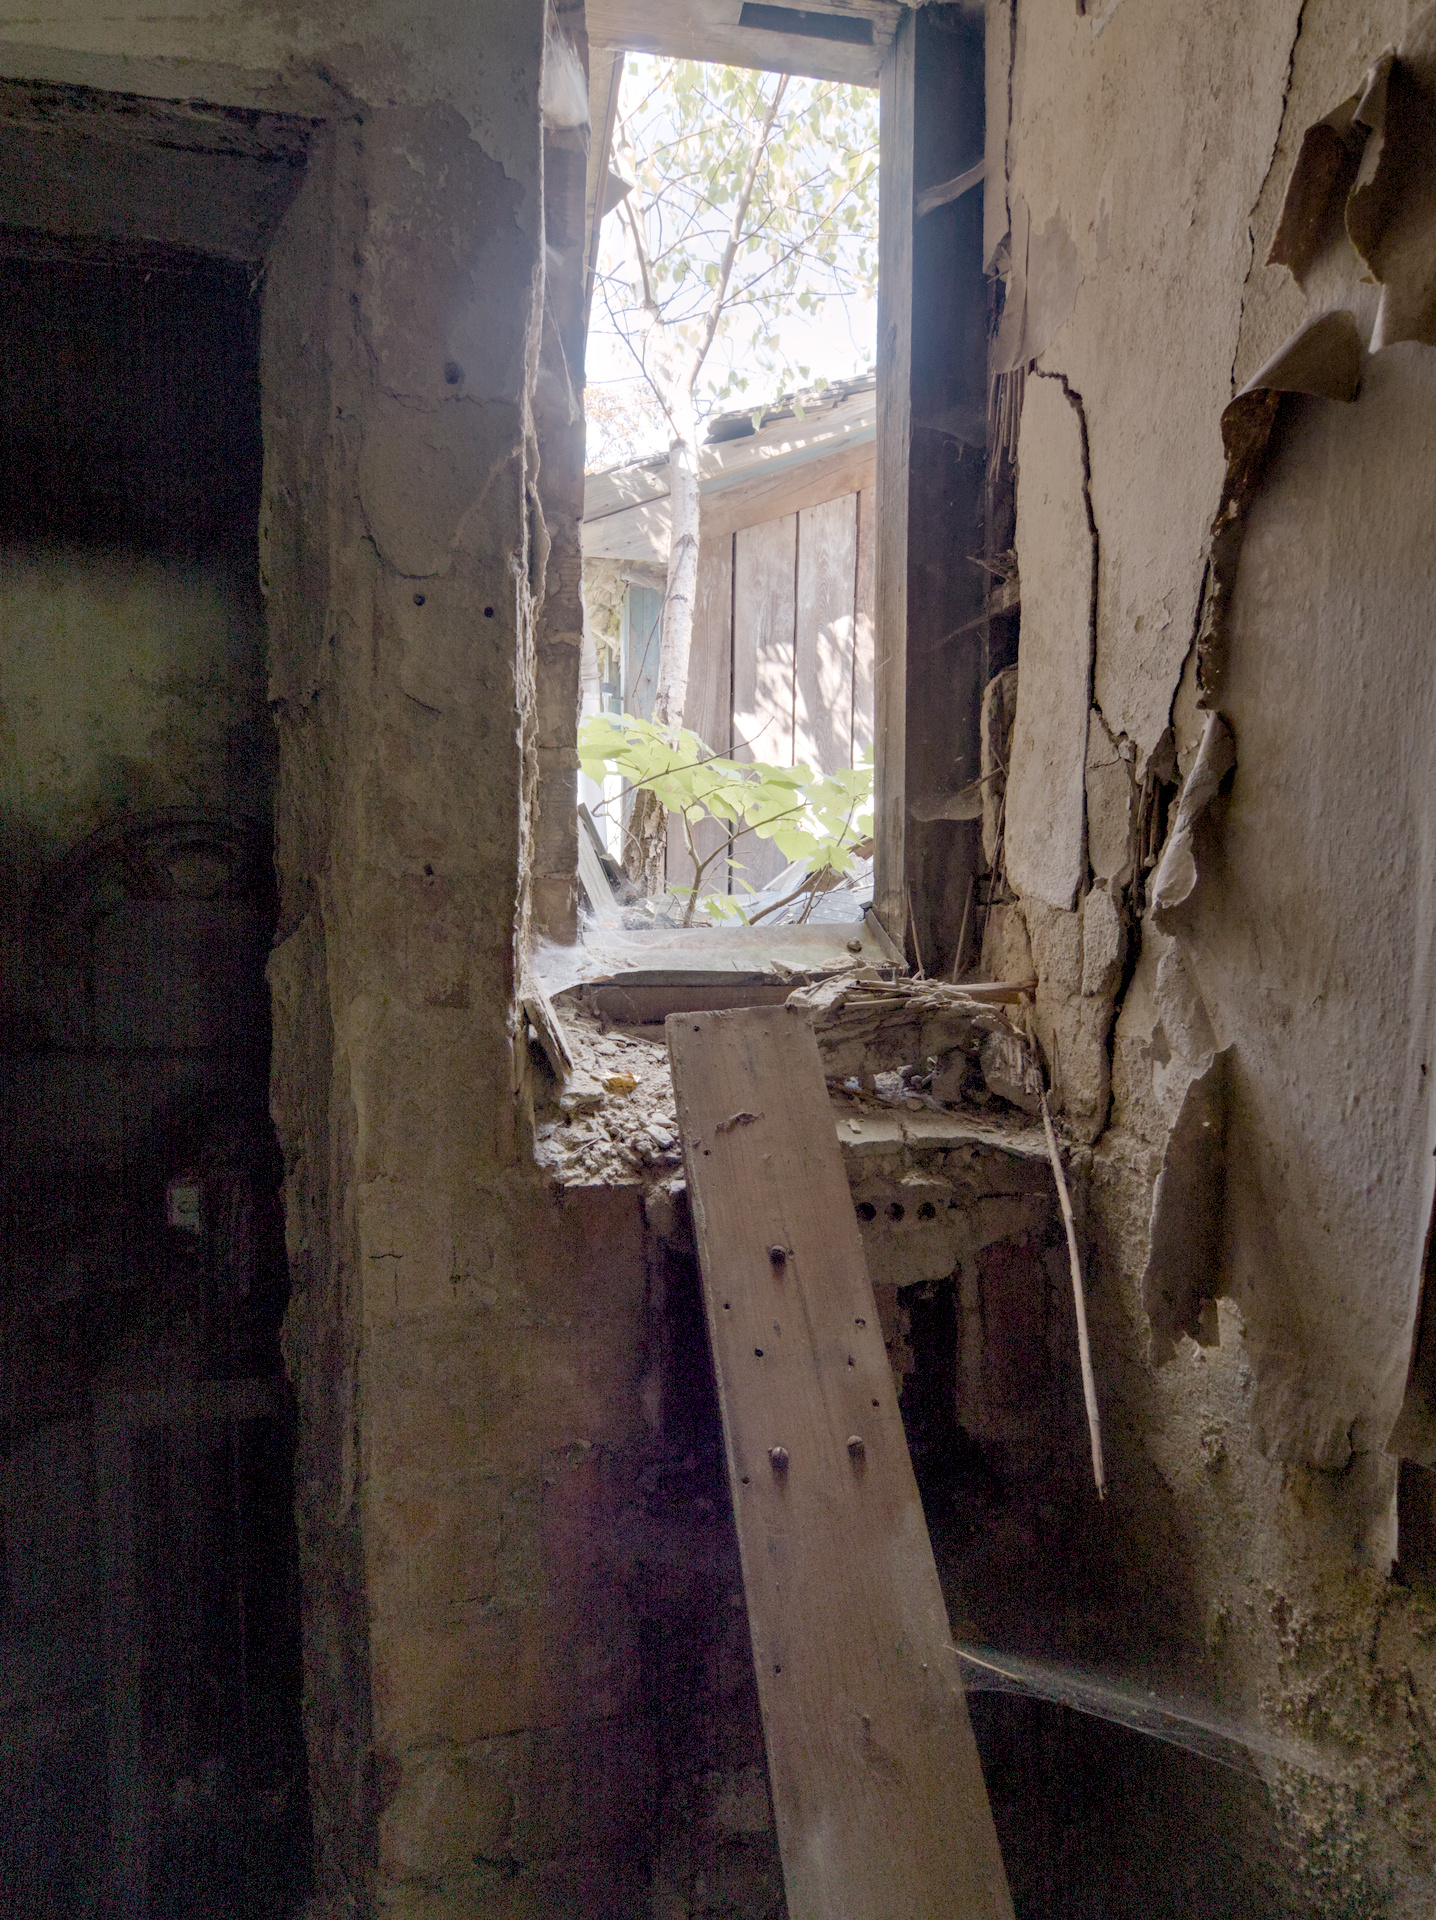
Beelitz_043.ORF (13.4 MB)
Hello, after all the work checking topics, articles and videos I still not have a practical guideline for recovering highlights.
With the Beelitz photo and the AGX workflow also in DT 5.5 I#m not so happy with the results.
Is there a step by step way anybody can suggest with this photo, or the xmp file from anybody here has solved the workflow of highlight recovery.
Thanks in advance
Your photo tries to capture an enormous dynamic range. More than a normal sensor can depicture. So some parts are already blown and some parts will remain in darkness forever. This isn’t necessarily bad. Recover as much as you can and try to make the transistions smooth and the overall look believable.
No, I didn’t, sorry. But the others did, and confirmed my guess: your photo has large blown areas. Data is missing, there are no details there. You need to underexpose to protect the highlights.
I did play with this picture, but this is one of the very few times I would say either a fill light in the darkness or a composite of exposures (HDR merge) would be required for the capture. I am defeated with this image.
It’s your picture, but I wouldn’t do what you did!
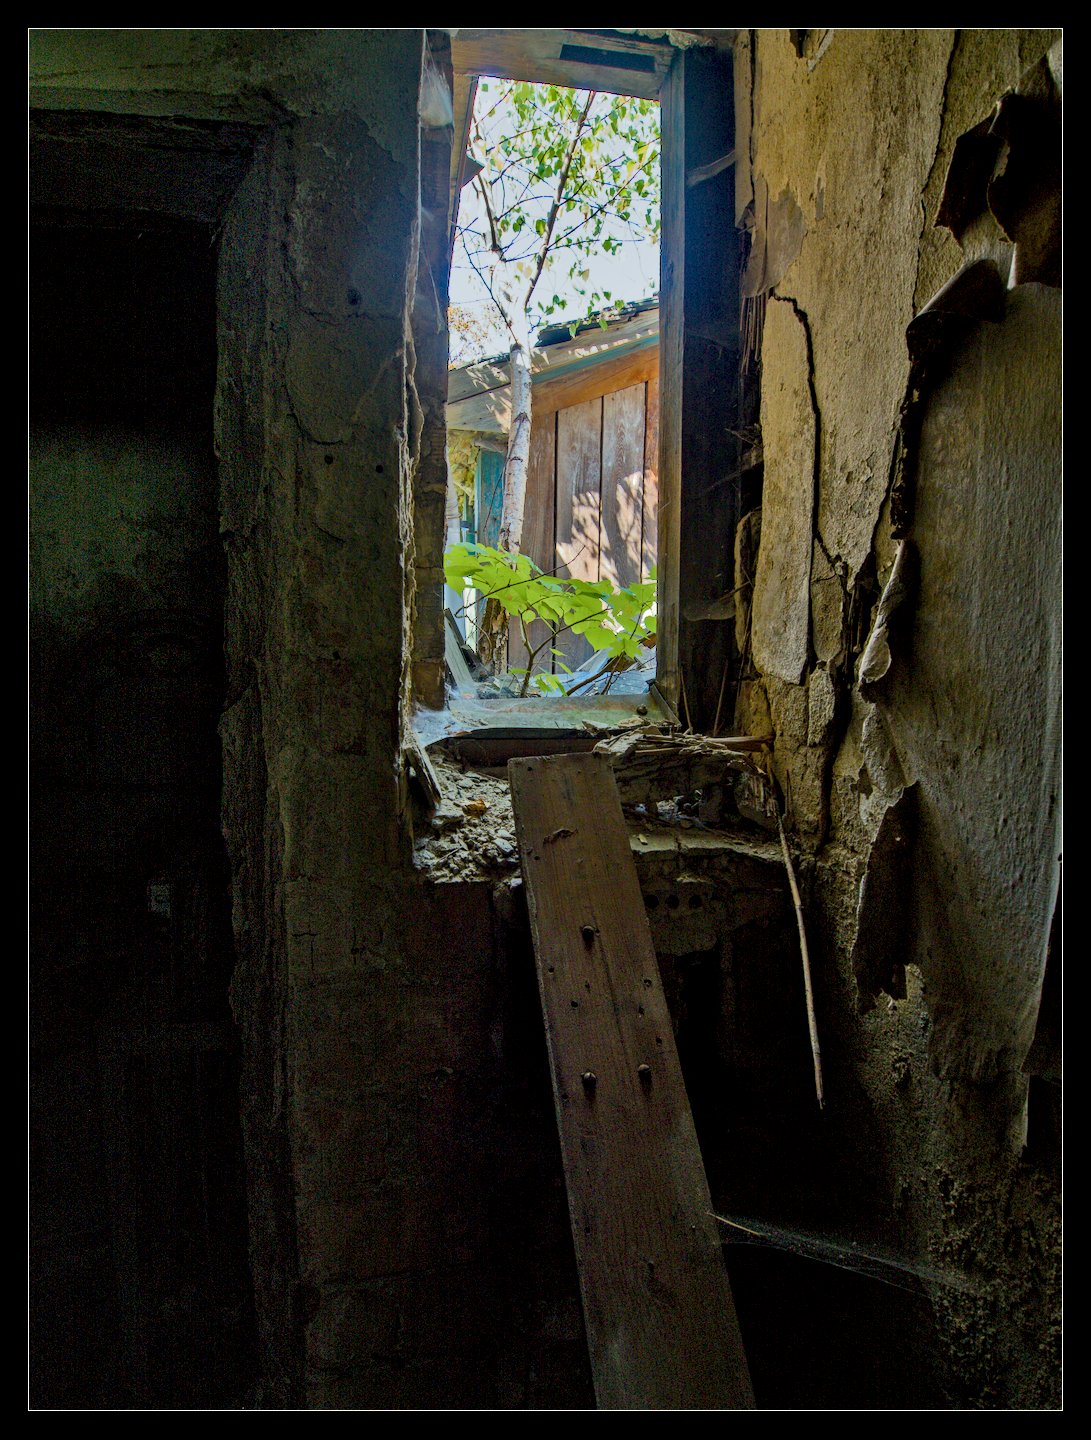
You raised the shadows (with a not very well adjusted mask), to a point, which results in artefacts, noise and an unnatural overall look. partly now the deepest shadows are brighter than normal shadows.
If you want to show more things in the shadows, learn to adjust your mask properly or use modules which do the masking for you. Here the colour balance module: Beelitz_043_01.ORF.xmp (15,5 KB)
You asked as well questions per PM.
Most of these questions I have already answered in other threads.
I know, that these answers are probably hard to find, so I have no problem to give them more than just once. But if I have to answer them multiple times, it makes sense, that others can profit from those questions as well.
Answering any question to my edits privatly would probably on the long term lead to the loss of joy on Play RAW, which I definitely want to avoid.
I hope that this doesn’t sound harsh. Rest asure, it isn’t ment like that. Ask your questions publicly and I will be happy to answer them as good as I can.
Unfortunately a good example why I’m not that convinced of tone equalizer. It has to be handled with care:
The whole area around the bright sky is ruined. The sky turns from a dark blue into nearly white nearly immediately. And much worse: the areas left and right from the bright sky are unnaturally darkened.
I’m aware that it was just for showing how far it is possible though.
Anyway, editing a picture has more than just a technical aspect. There is well an aesthetical one. On this photo in my honest opinion the message of the picture get lost with brighening the shadows too far. There is nothing really intersting to show there. A clever crop and a careful editing will give you much more content.
This is no critics or direct answer to @Terry even though I’m answering his post. This is just because he used tone equalizer, for his demonstration purpose.
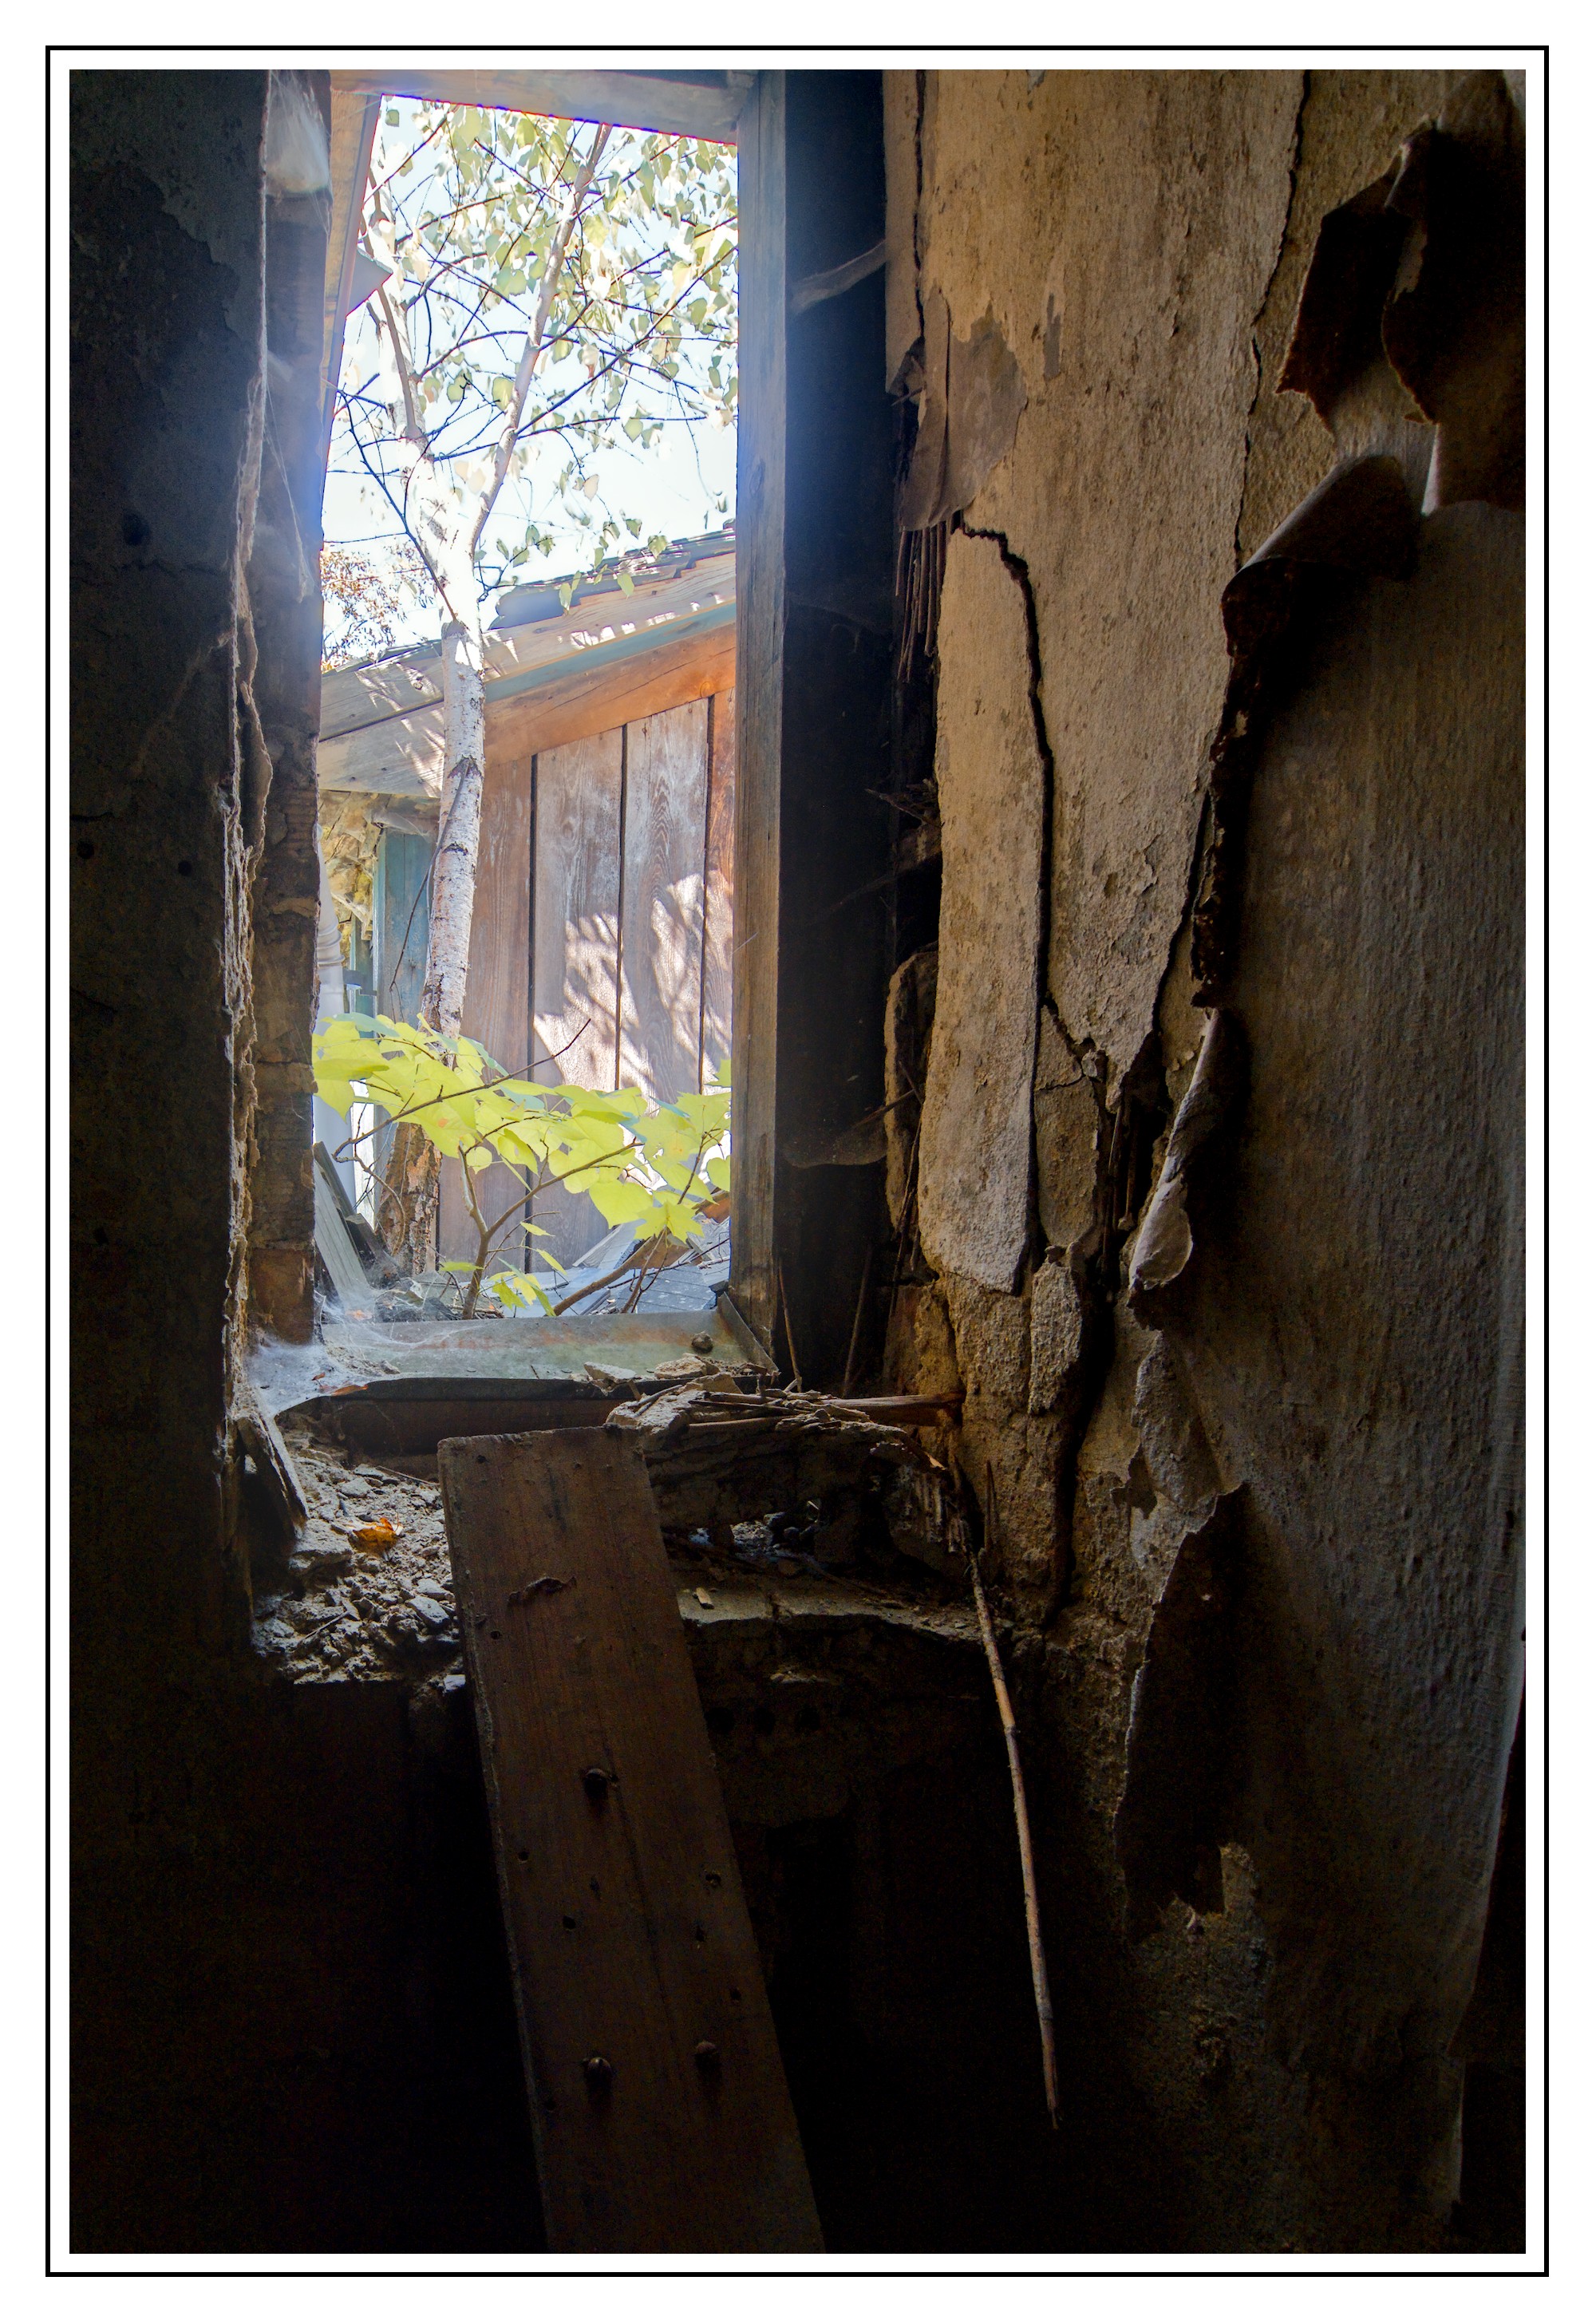
Played a bit with the ‘highlight recovery’ module
Lowered the exposure a lot
3x tone equalizer…
colored the sky a bit with color equalizer
lost of color balance rgb and local contrast
frame
My workflow for over exposed, or even very high dynamic range, images is to turn off the tone mapper and reduce the exposure until I can see what’s in the highlights.
Once you know what you have then you figure out how to “attack” it. Maybe you keep the highlights and raise the darker parts. Maybe the highlights aren’t important (or there) so you let them go and focus on other parts of the image.
The tone mappers crush the highlights and the darks so if you want to use the tone mapper and have highlights you need to adjust the highlight exposure so that they are caught in the tone mapper curve compression.
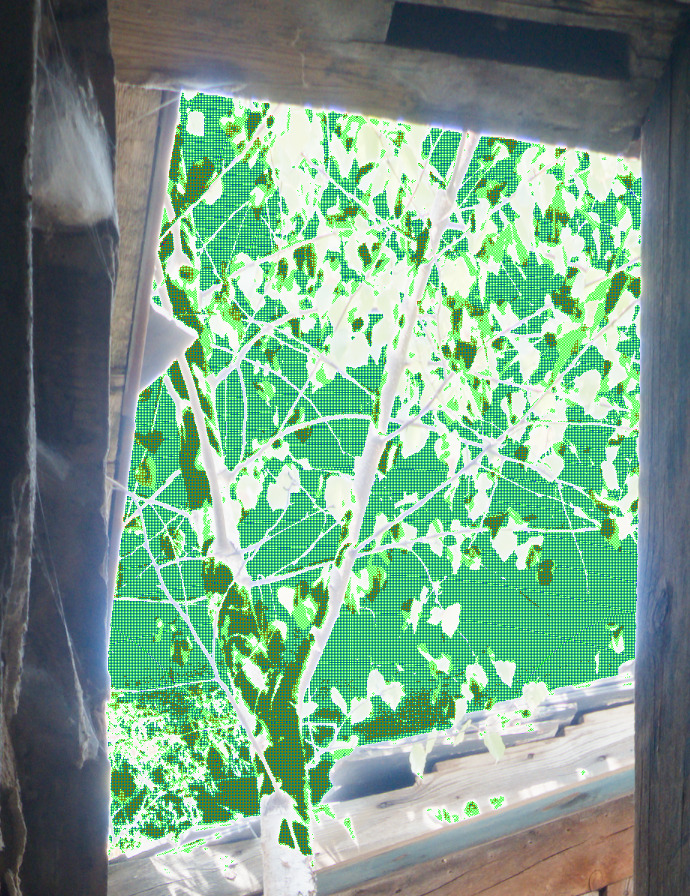
So, this is where your photo has blown (clipped) pixels – where it was brighter than what the sensor could handle, and where data was irrevocably lost:
If you want to see more from the inside you can also lower Agx contrast to the extremes and add the contrast back using diffuse or sharpen and local contrast. It does not make your sky more blue but looks a bit more natural.
I’m really very grateful for all the implementations and ideas.
But the research, checking all your settings, and so on, is too time-consuming for my purposes.
Following Uli’s suggestion, I took another look at my latest attempt on a larger screen, and he’s obviously right in his criticism.
I’ll certainly continue to use and experiment with DT, but after watching this YouTube video https://youtu.be/ijfNufEtFOA, I generated an image using different software that’s perfectly adequate for my purposes. And I did it in 10 minutes.
DT is certainly good for those with a technical interest, but for me it’s simply too overloaded, too complex, and so on.
I hope you continue to have fun and enjoy great discussions here in the forum
My edit took my less than a minute.
Yes, dt has a steeper learning curve. But it’s worth. The secret for being quick is to create your own starting point and concentrate on the modules you really need.
Sure hope you’ll do as lots of us discovered something which at first uses can not be experienced. Dt gives you something which is hard to describe, I name it ‘editorial freedom’. And it sure made me happy plenty of times.
But first steps have as @Popanz says ‘a steep learning curve’. After that it’s a lot of joy to use.
Whatever choice you make, it will be yours. But maybe you’ll have a look here, this site is oriented towards dt beginners: darktable.info – Mastering Darktable
Thanks a lot, and yes the Darktable.info by Chris was a good starting point, and also gave me a good first feeling. And also the DTPro preset makes a clearer look to the important and necessary modules.
I followed the workflow from Chris, but with my special problem of the Beelitz photo I’m again in front of what module, which setting, masking or not and so on. I believe that people have the time over years to learn DT will enjoy working with.
So thanks again, but…