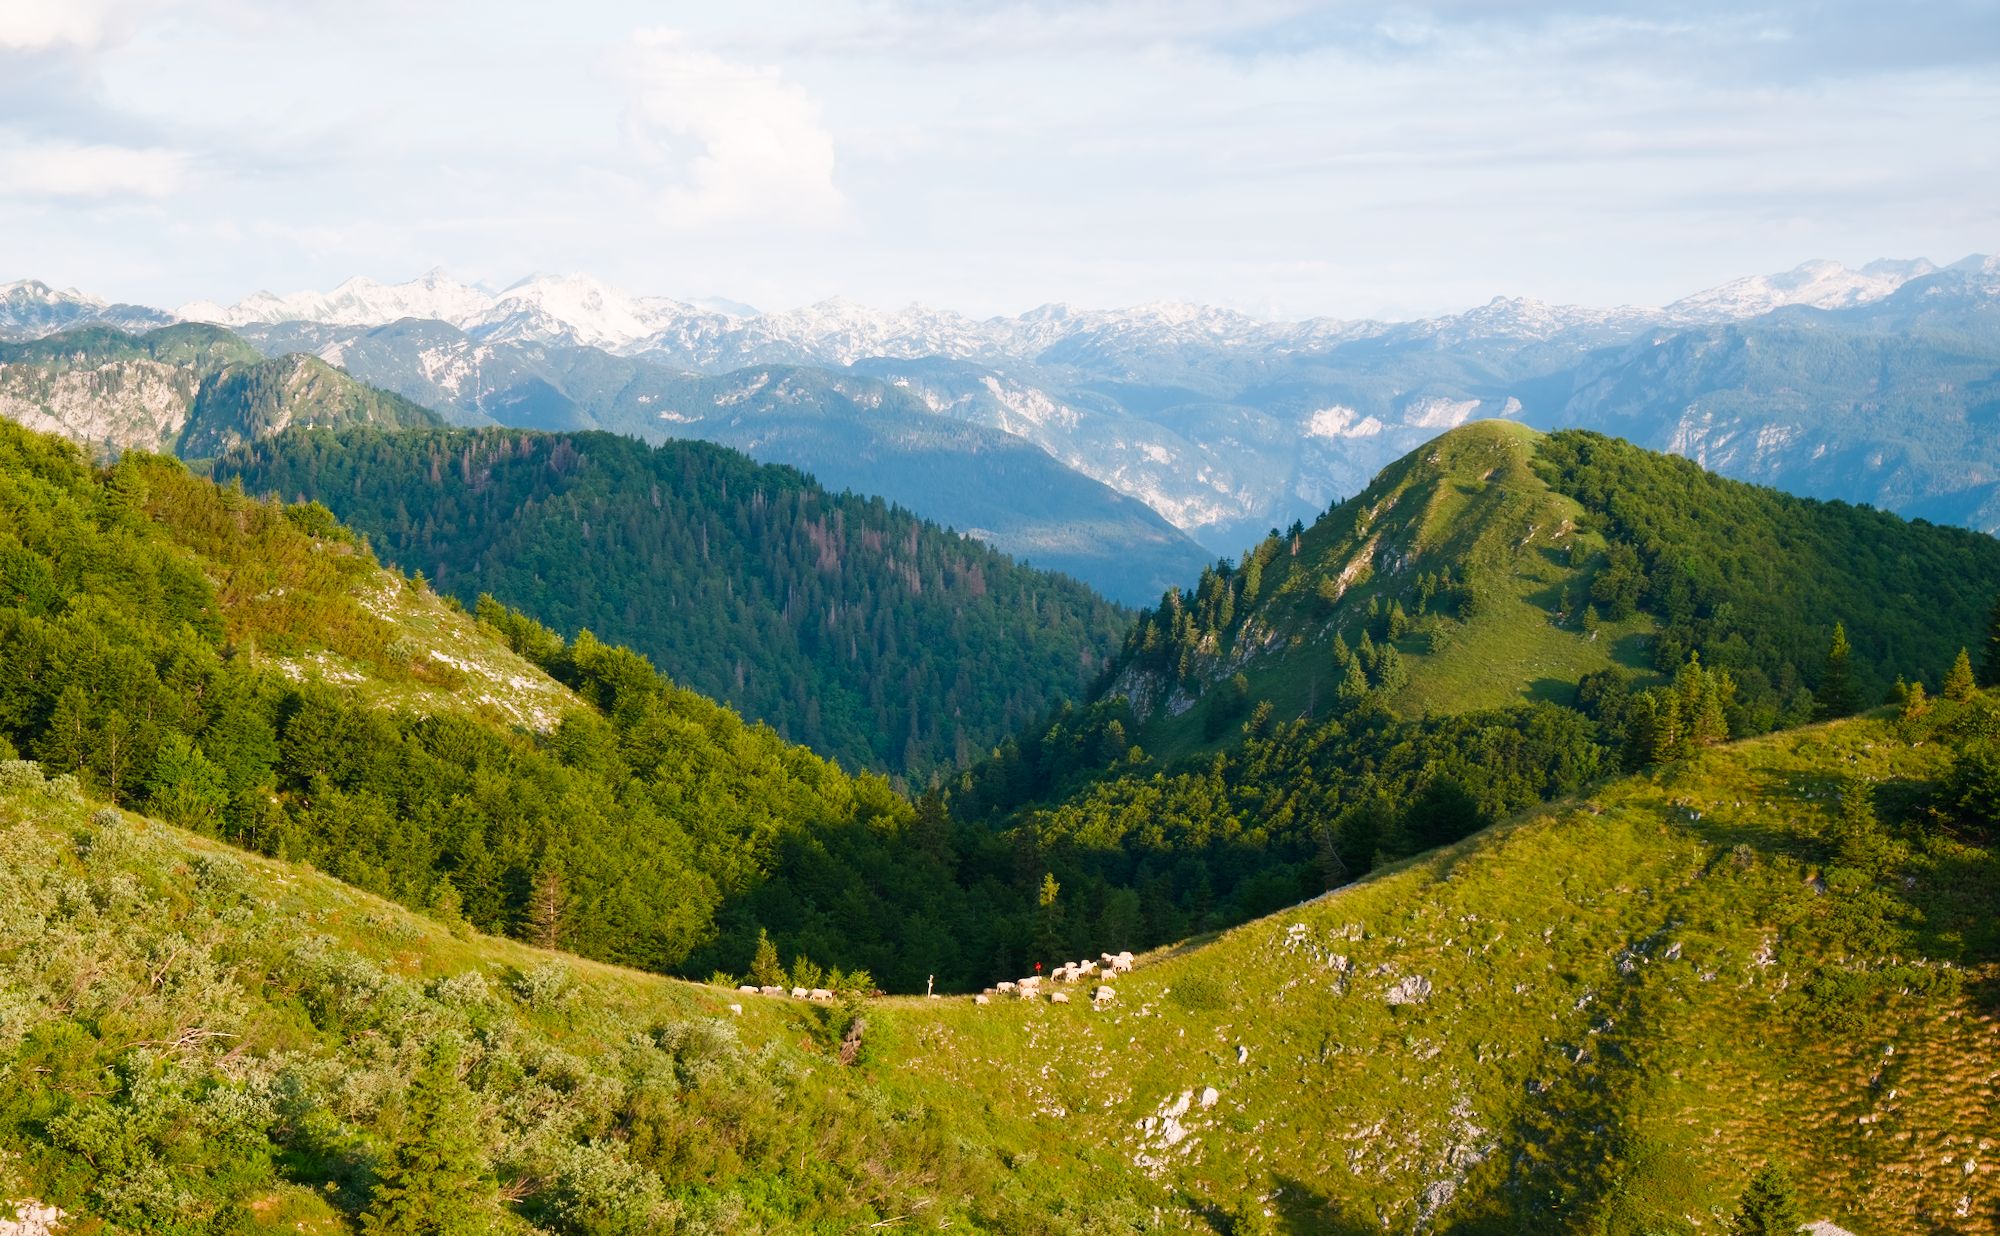
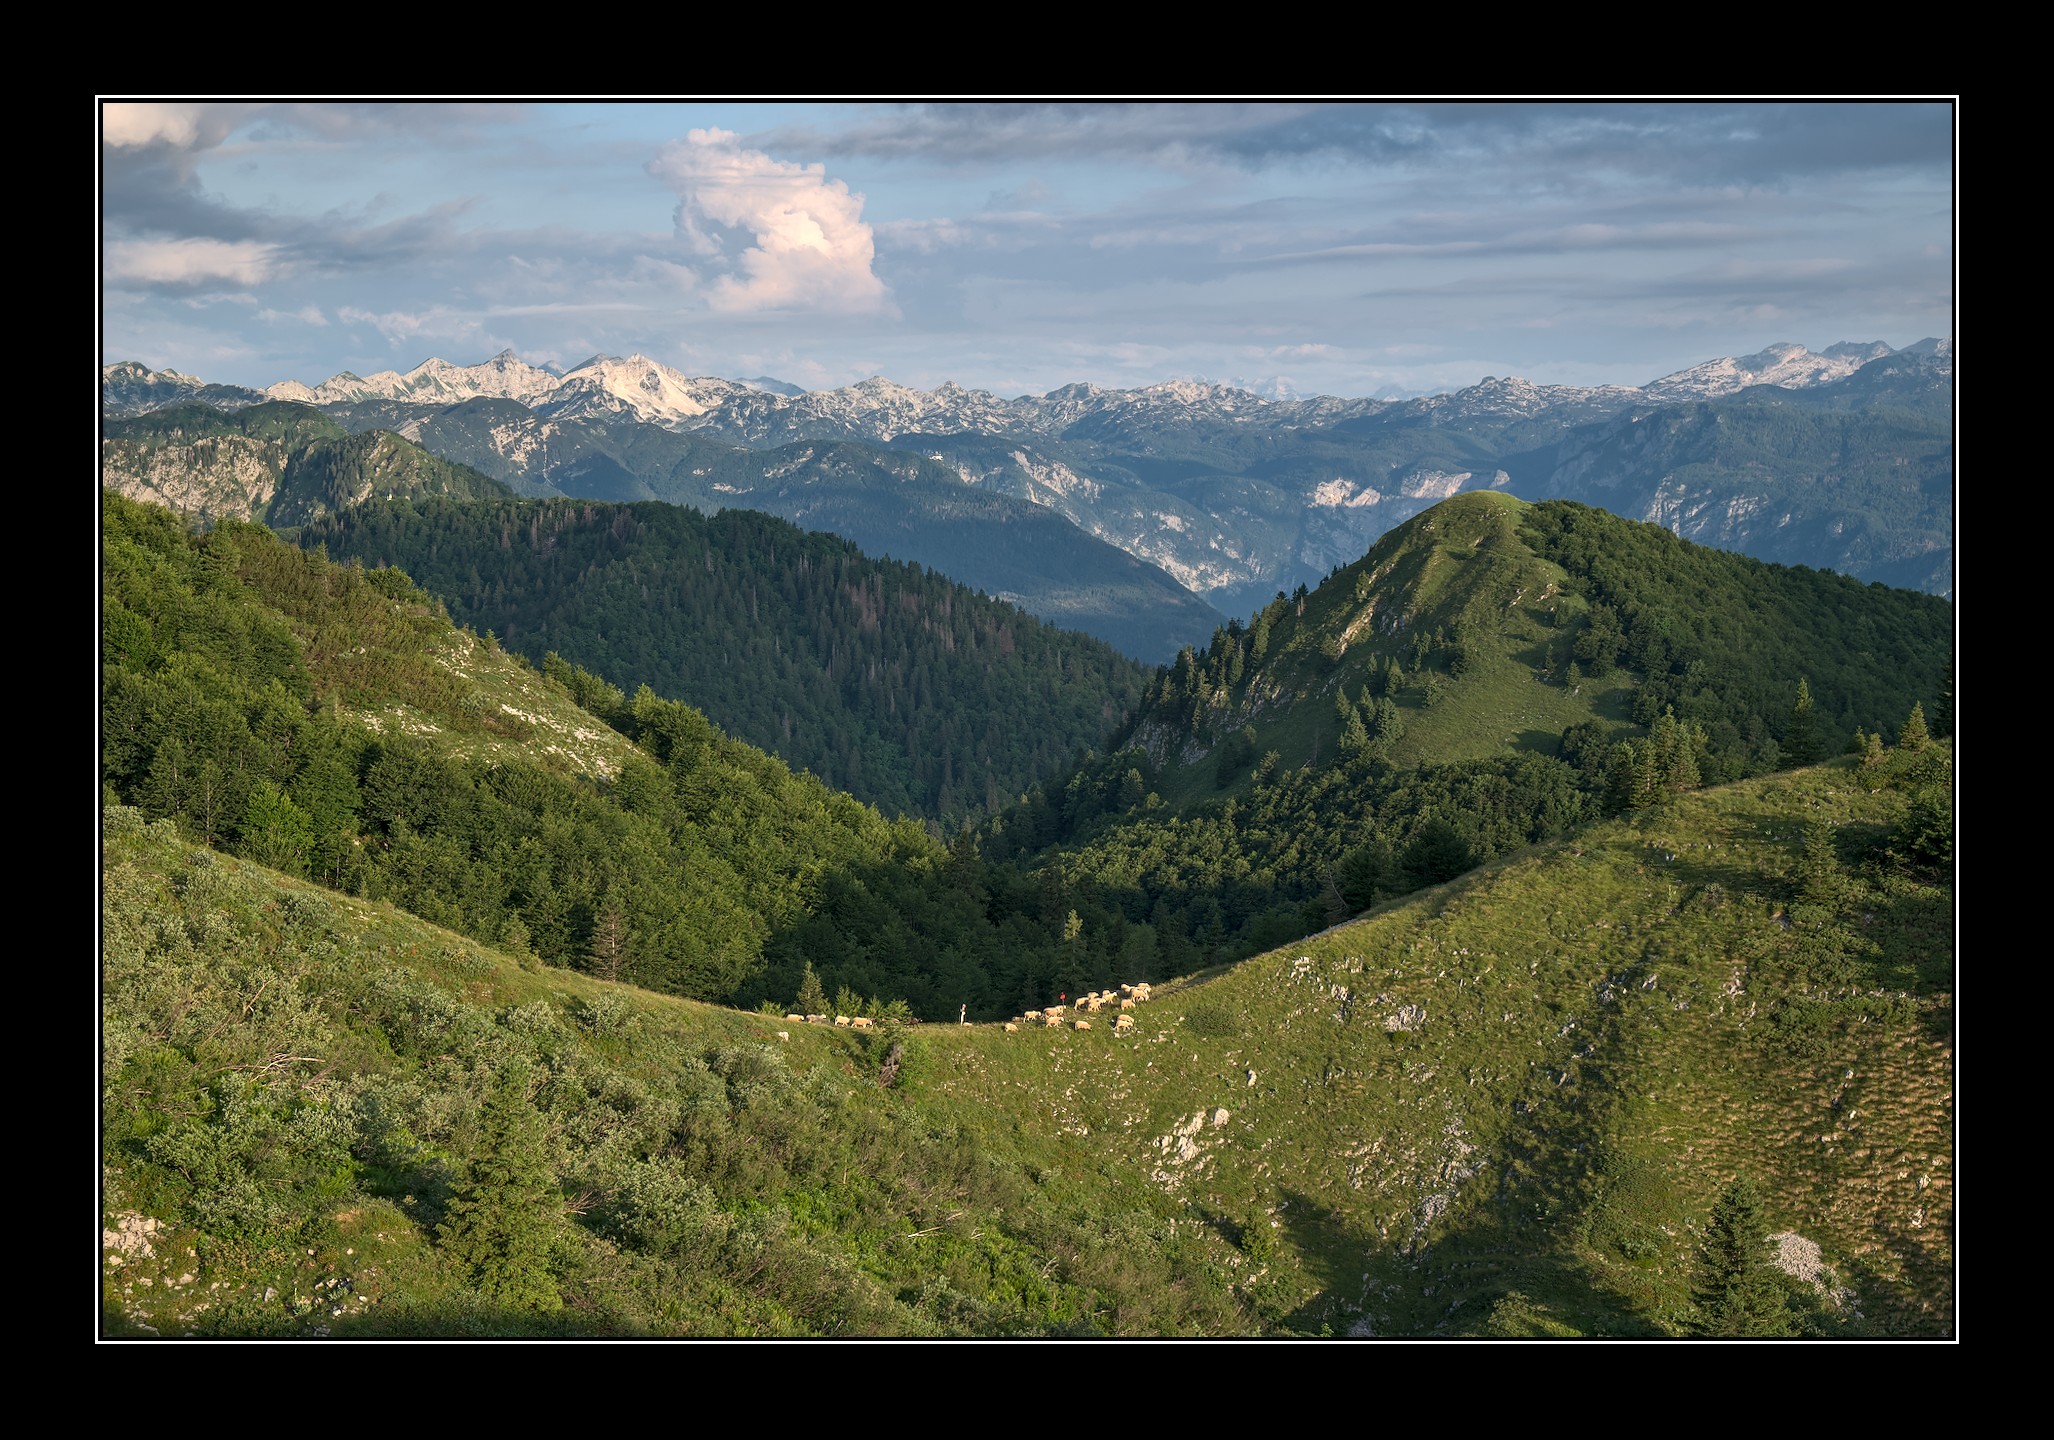
Hi, I think my biggest issue in photography is getting the white balance right, especially when I edit photos long after taking them and no longer remember what the actual light and colors looked like. What are your approaches to getting the white balance right in situations like this?
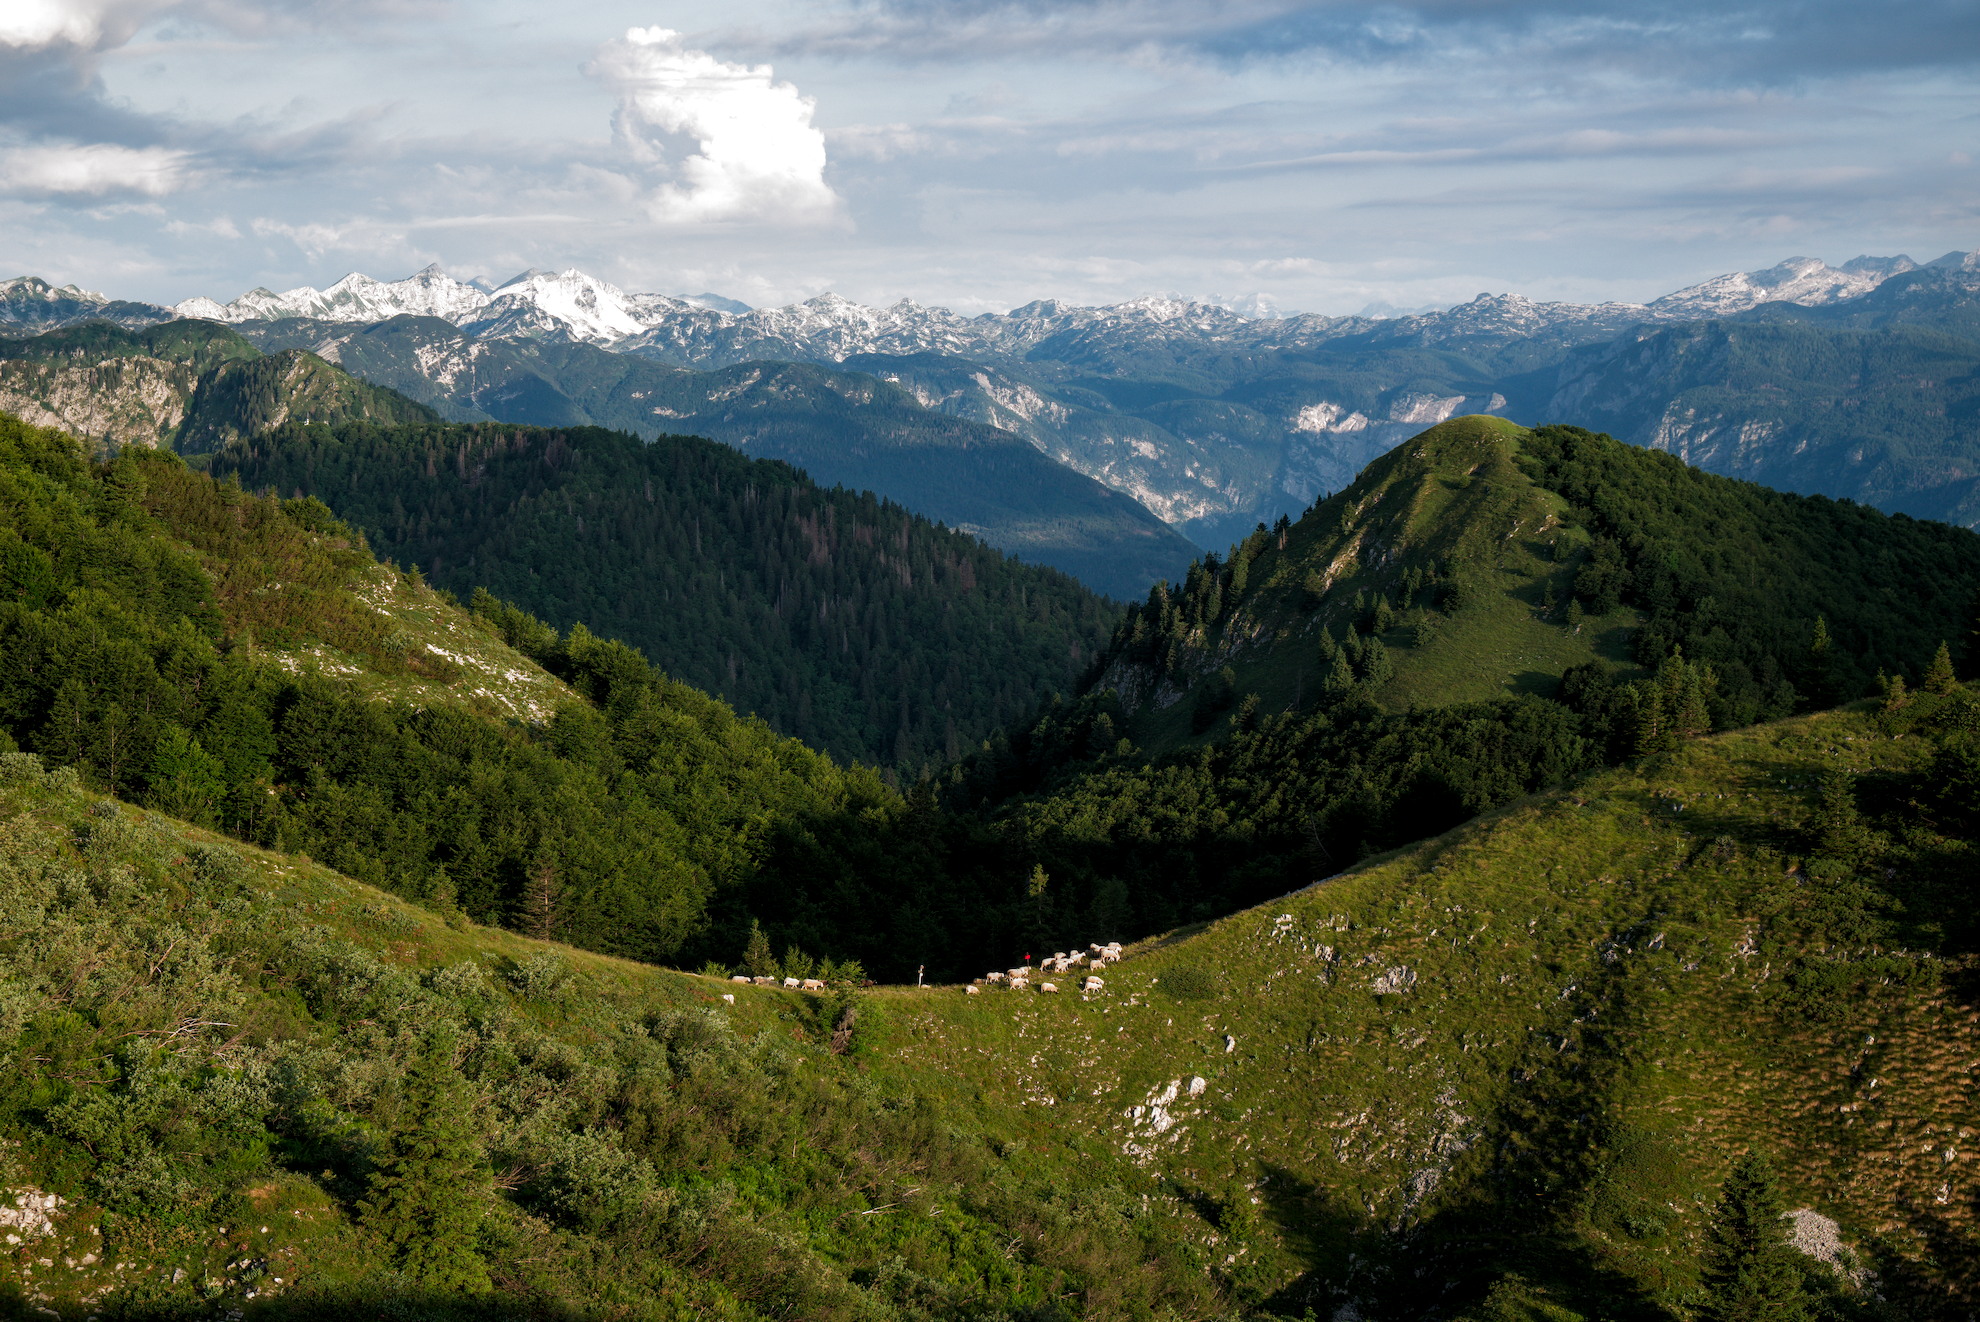
With a shot like this my answer is simple. The lighting is daylight. A WB of daylight should be correct unless there is something like a bushfire or some other particle in the atmosphere affecting the light.
I have a Canon and find auto WB set in camera for many shots works perfectly fine. So my default setting is as shot. I change it if necessary in editing.
I have my camera (Nikon) on auto-white balance. In daylight the camera is almost always right. So I set most of the time set it from camera, works almost always.
I rare case I add a second color calibration module or some even the color correct tool.
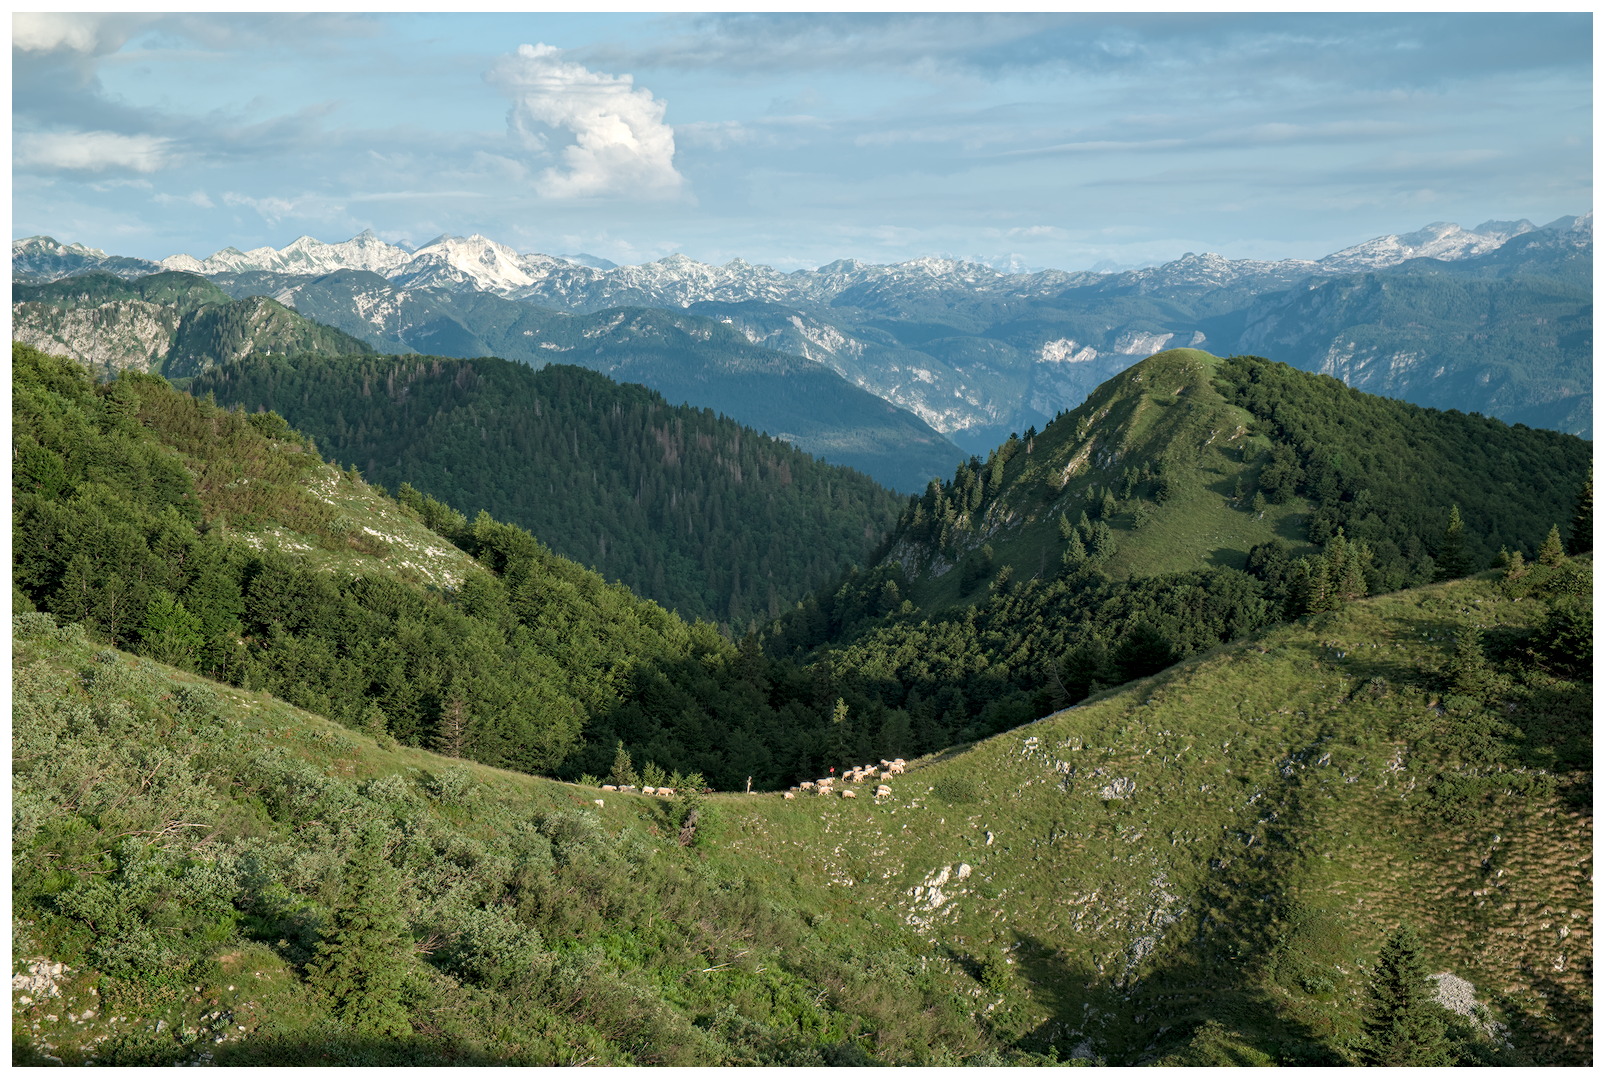
I think you did a great job with the colours here!
My approach for WB/Color grading is that I don’t care how my eyes perceived it. I either opt to make the photo look pleasing to me or to try to convey the mood of the moment.
There is no obligation to stick to the illusion of objective truthful colours .
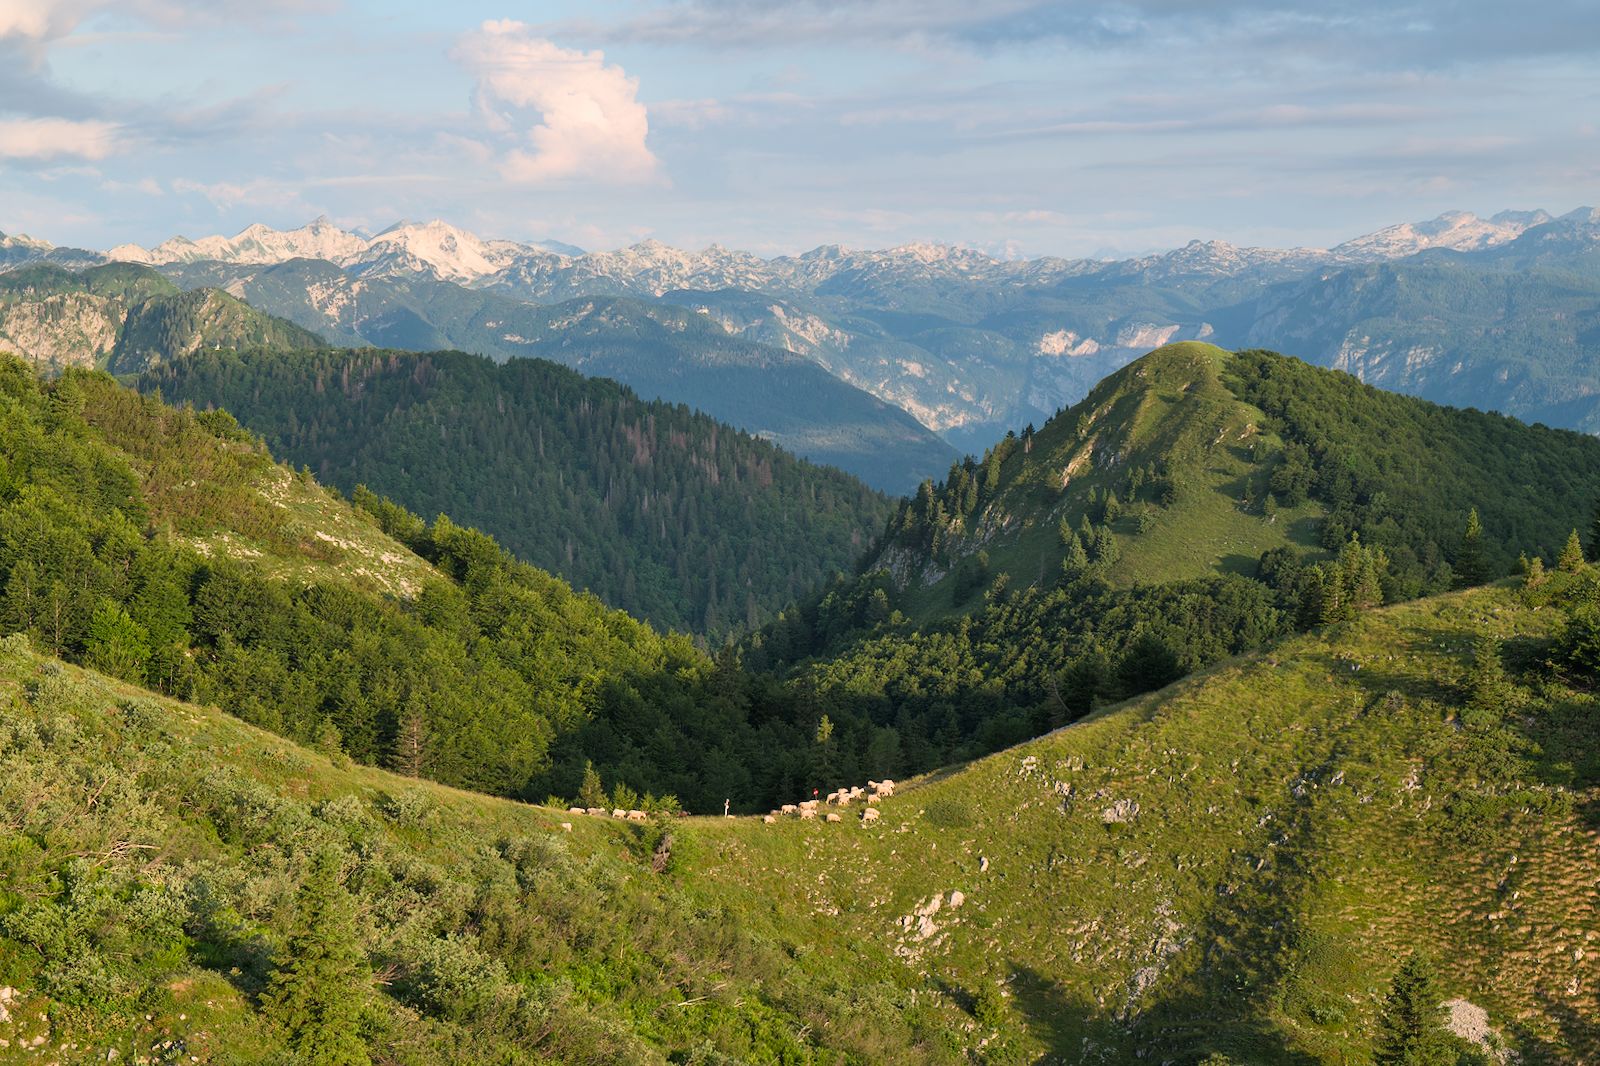
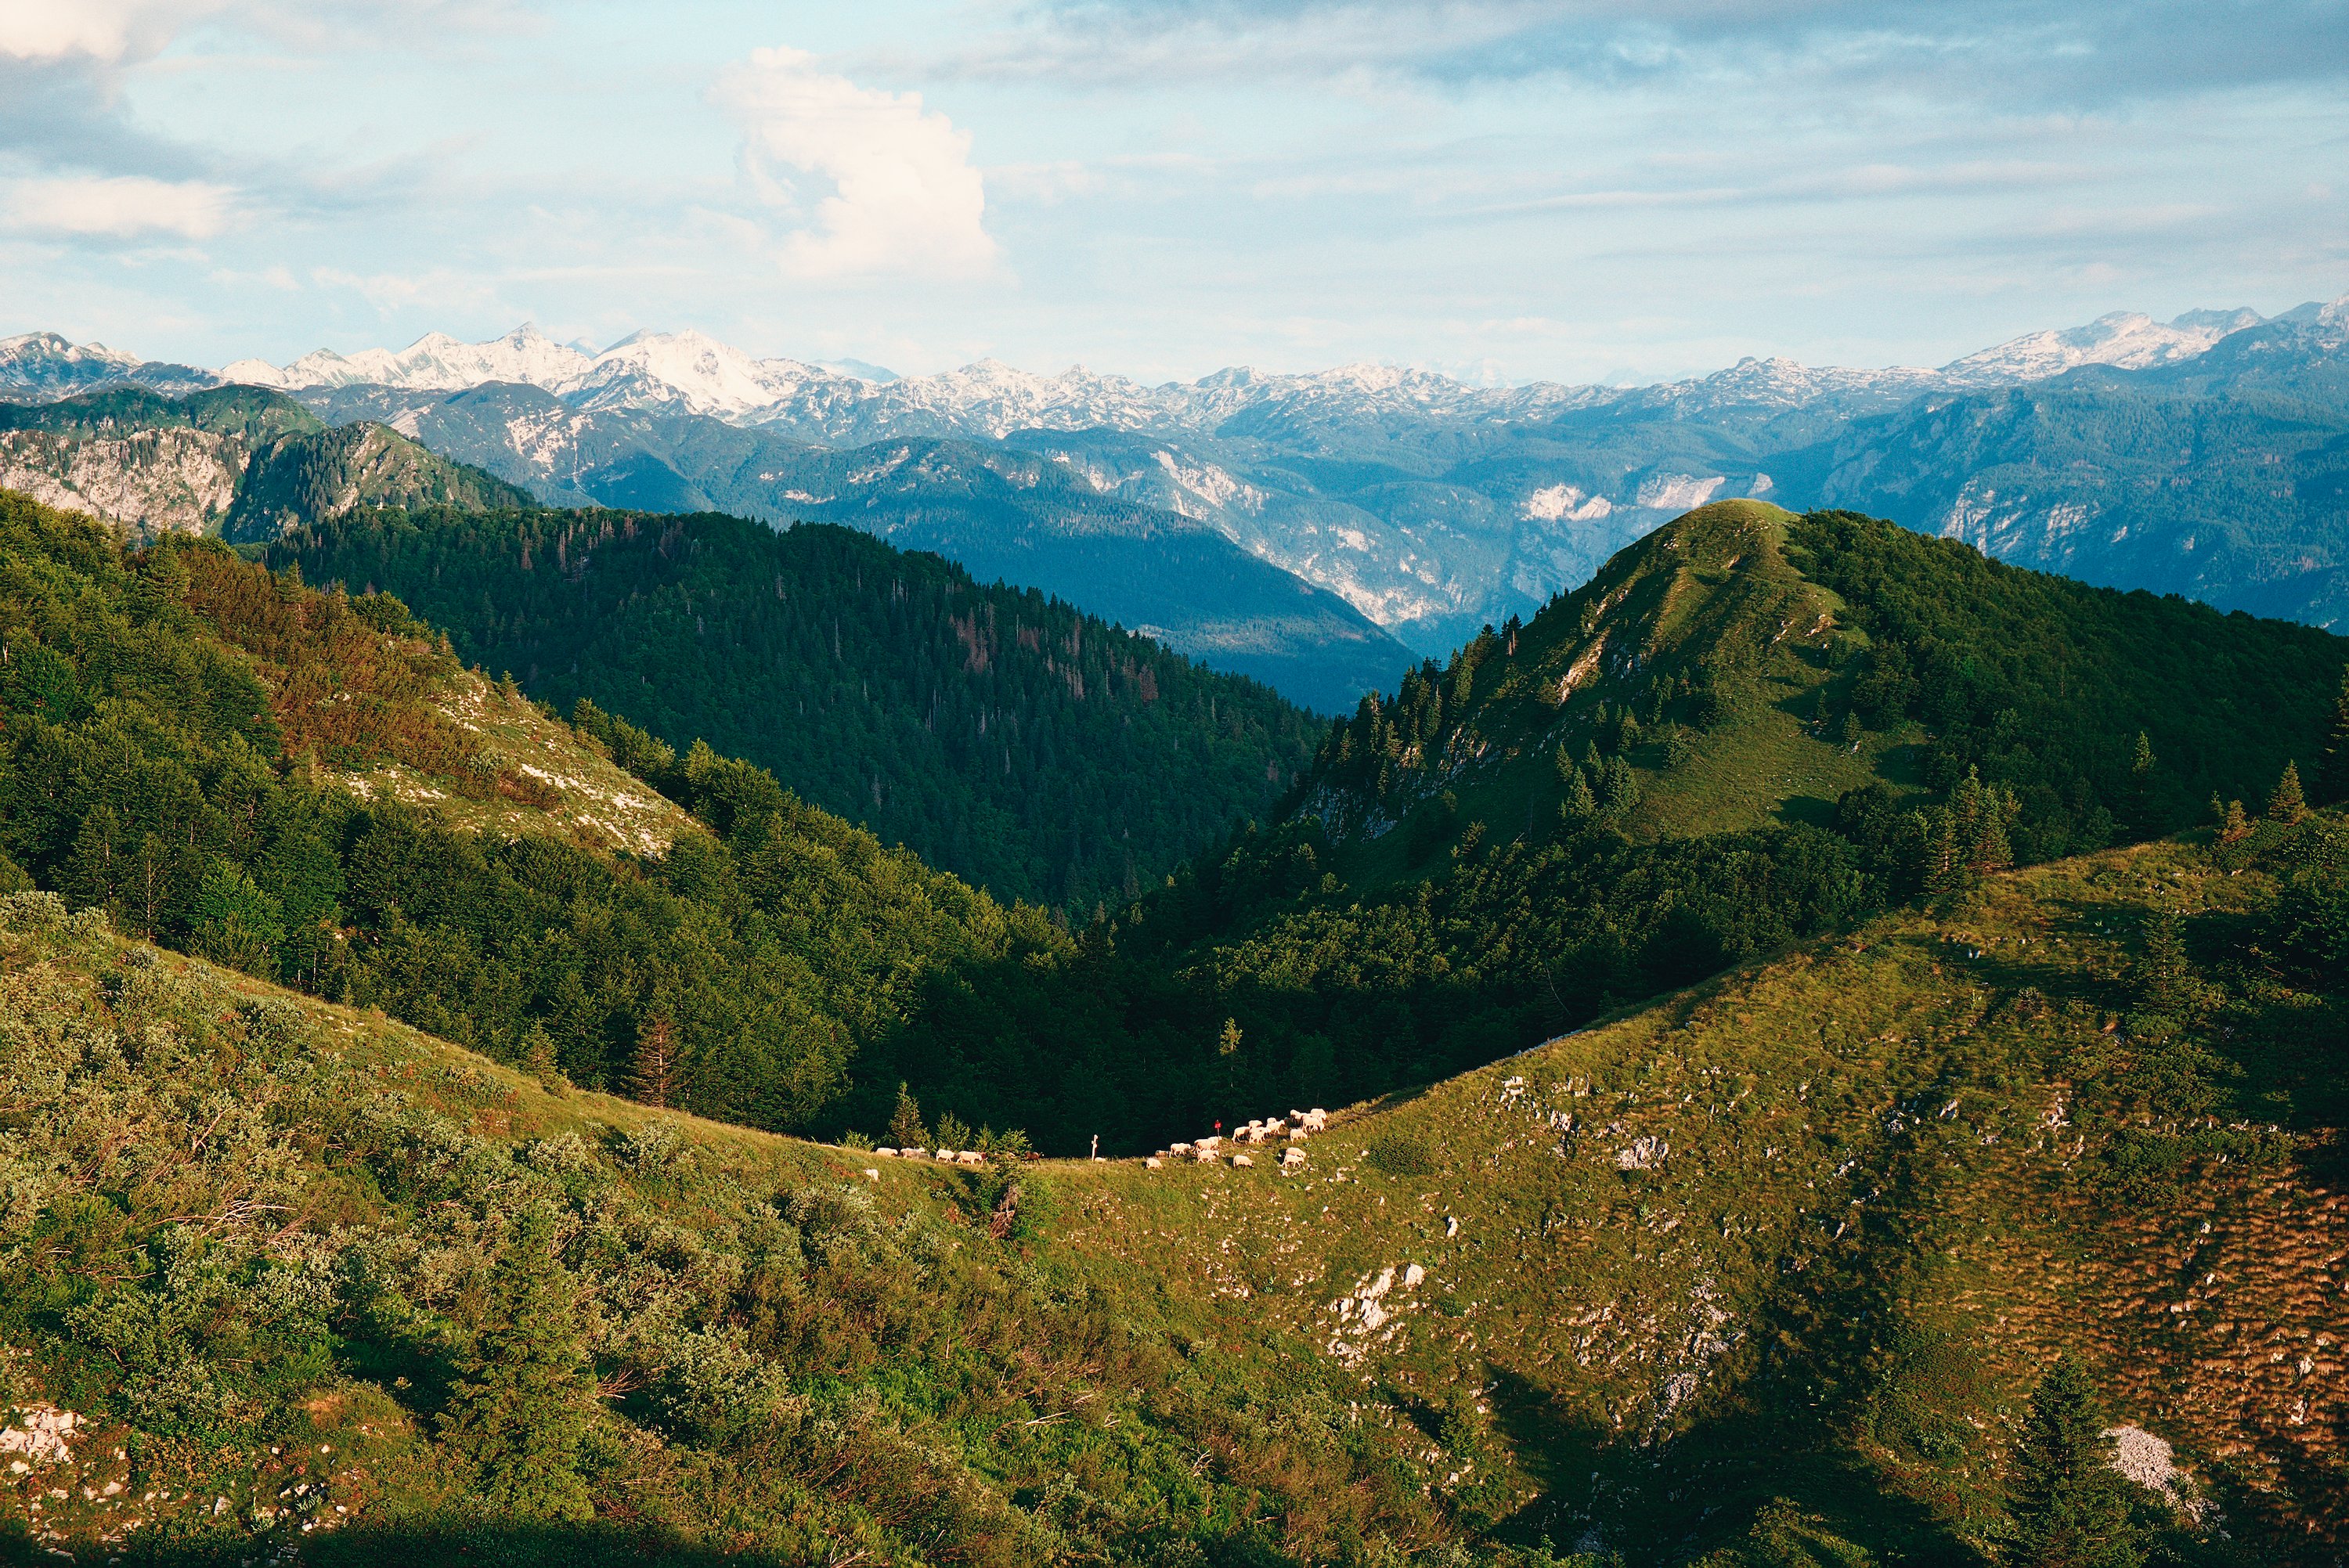
My edit from pixelpipe bottom to top:
Enabled capture sharpen (works wonders for this photo), much better result then D&S IMHO
Added a slight vignette with the exposure module
you did a fine job with the TE to get the contrast right so I kept that
Used CC in daylight mode because this scene was truly lit by daylight; no contaminations of the light from foliage etc.
Second instance of CC to darken the sky (AgX made this necessary compared to your filmic approach)
And for fun with dt-spektrafilm (which blows my AgX Edit straight out of the water): Gold 200/Fuji Crystal paper, slight push, some print contrast, reduced halation and some lift from the tone curve).
Btw.: After resetting the history stack for spektrafilm-dt I notice that this photo IMHO benefits from the full crop. The smidge of shadow to the lower left helps focus the attention to the center.
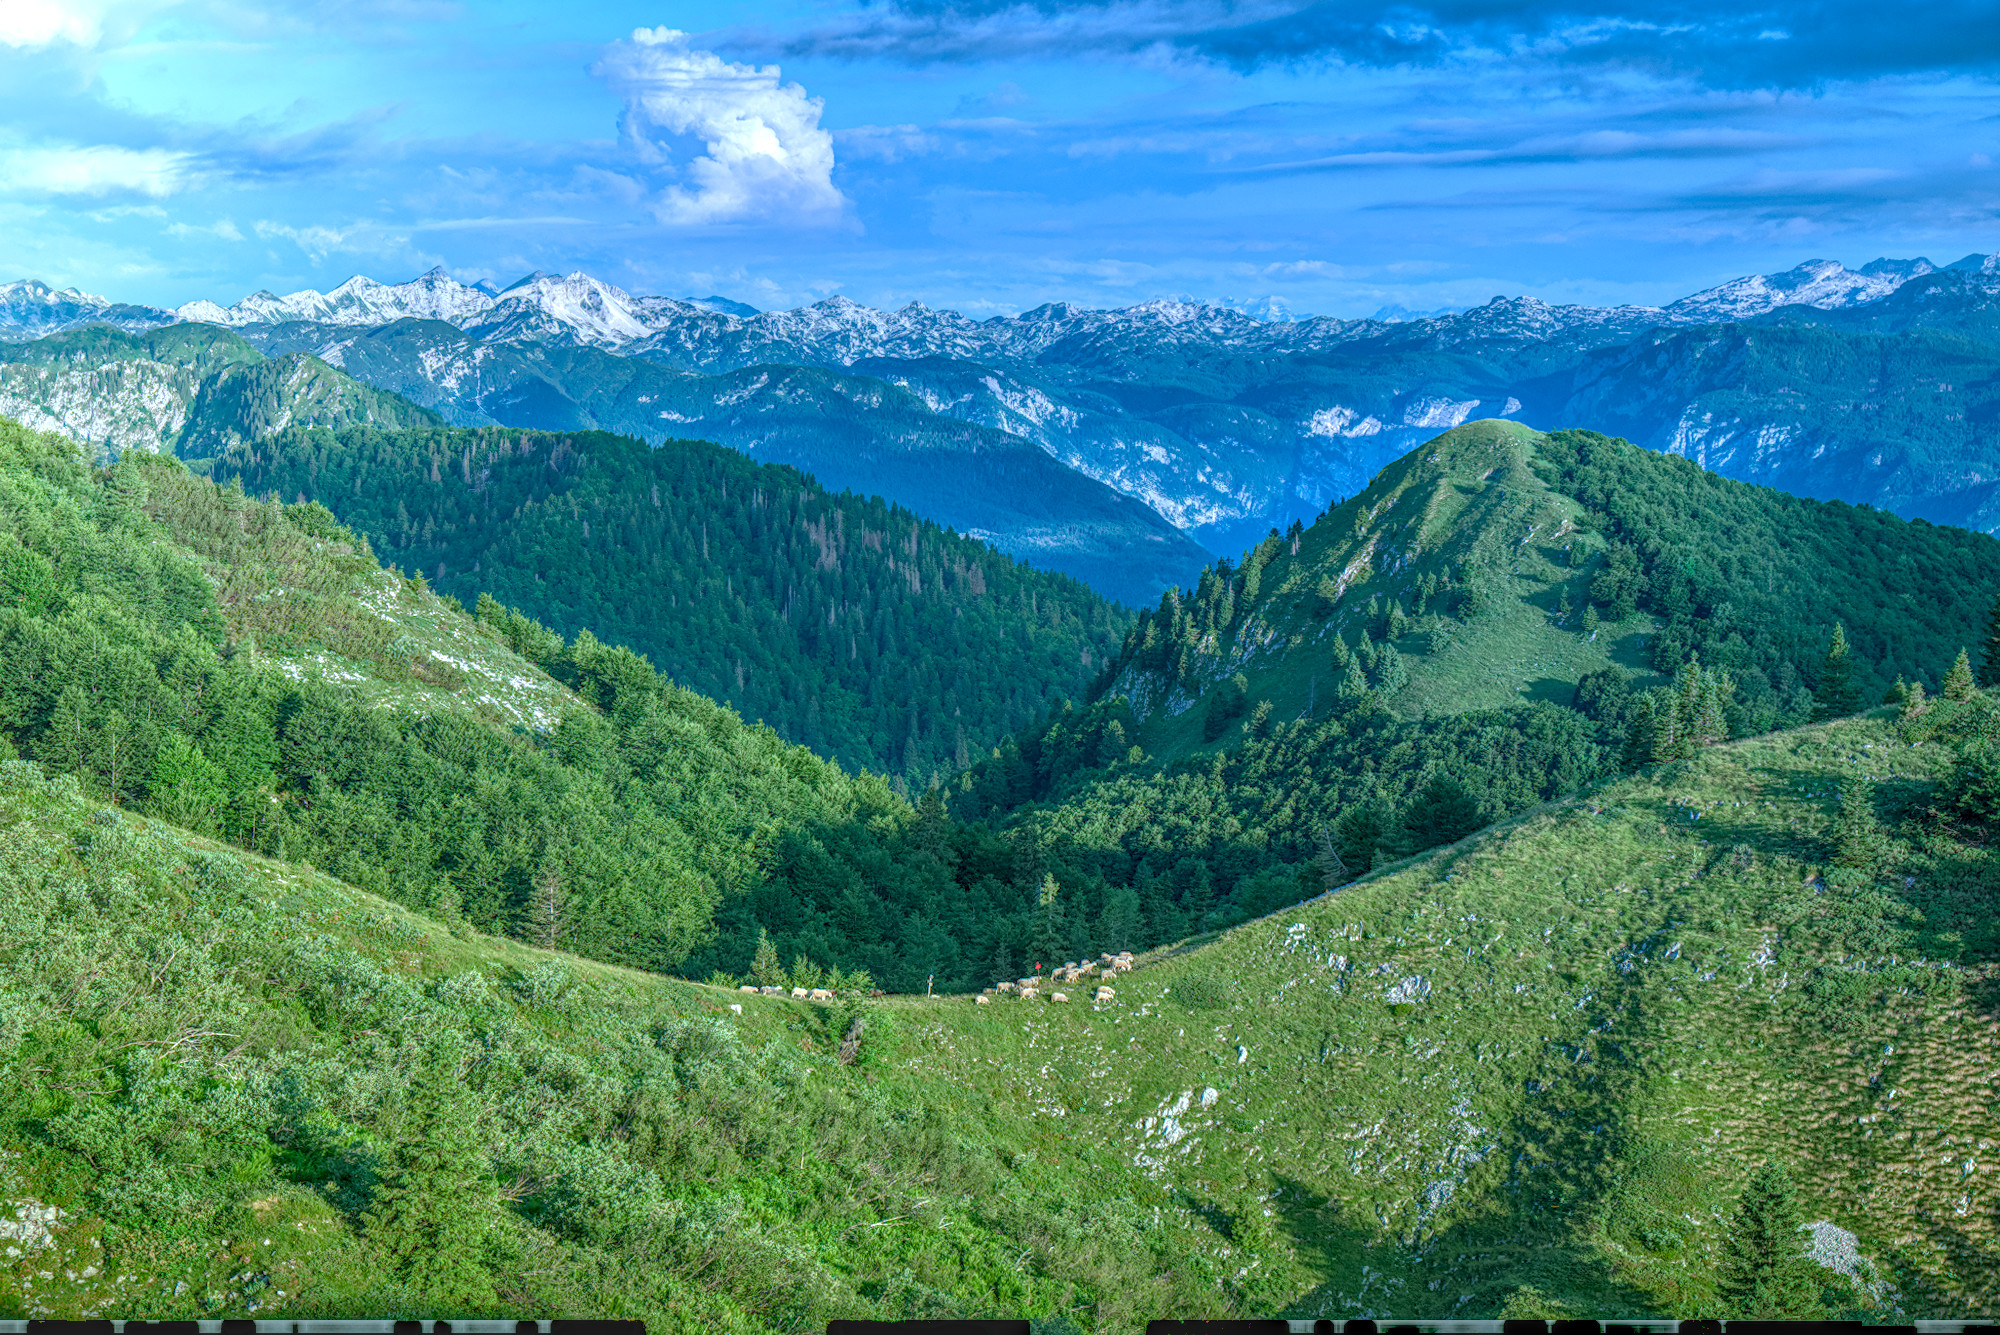
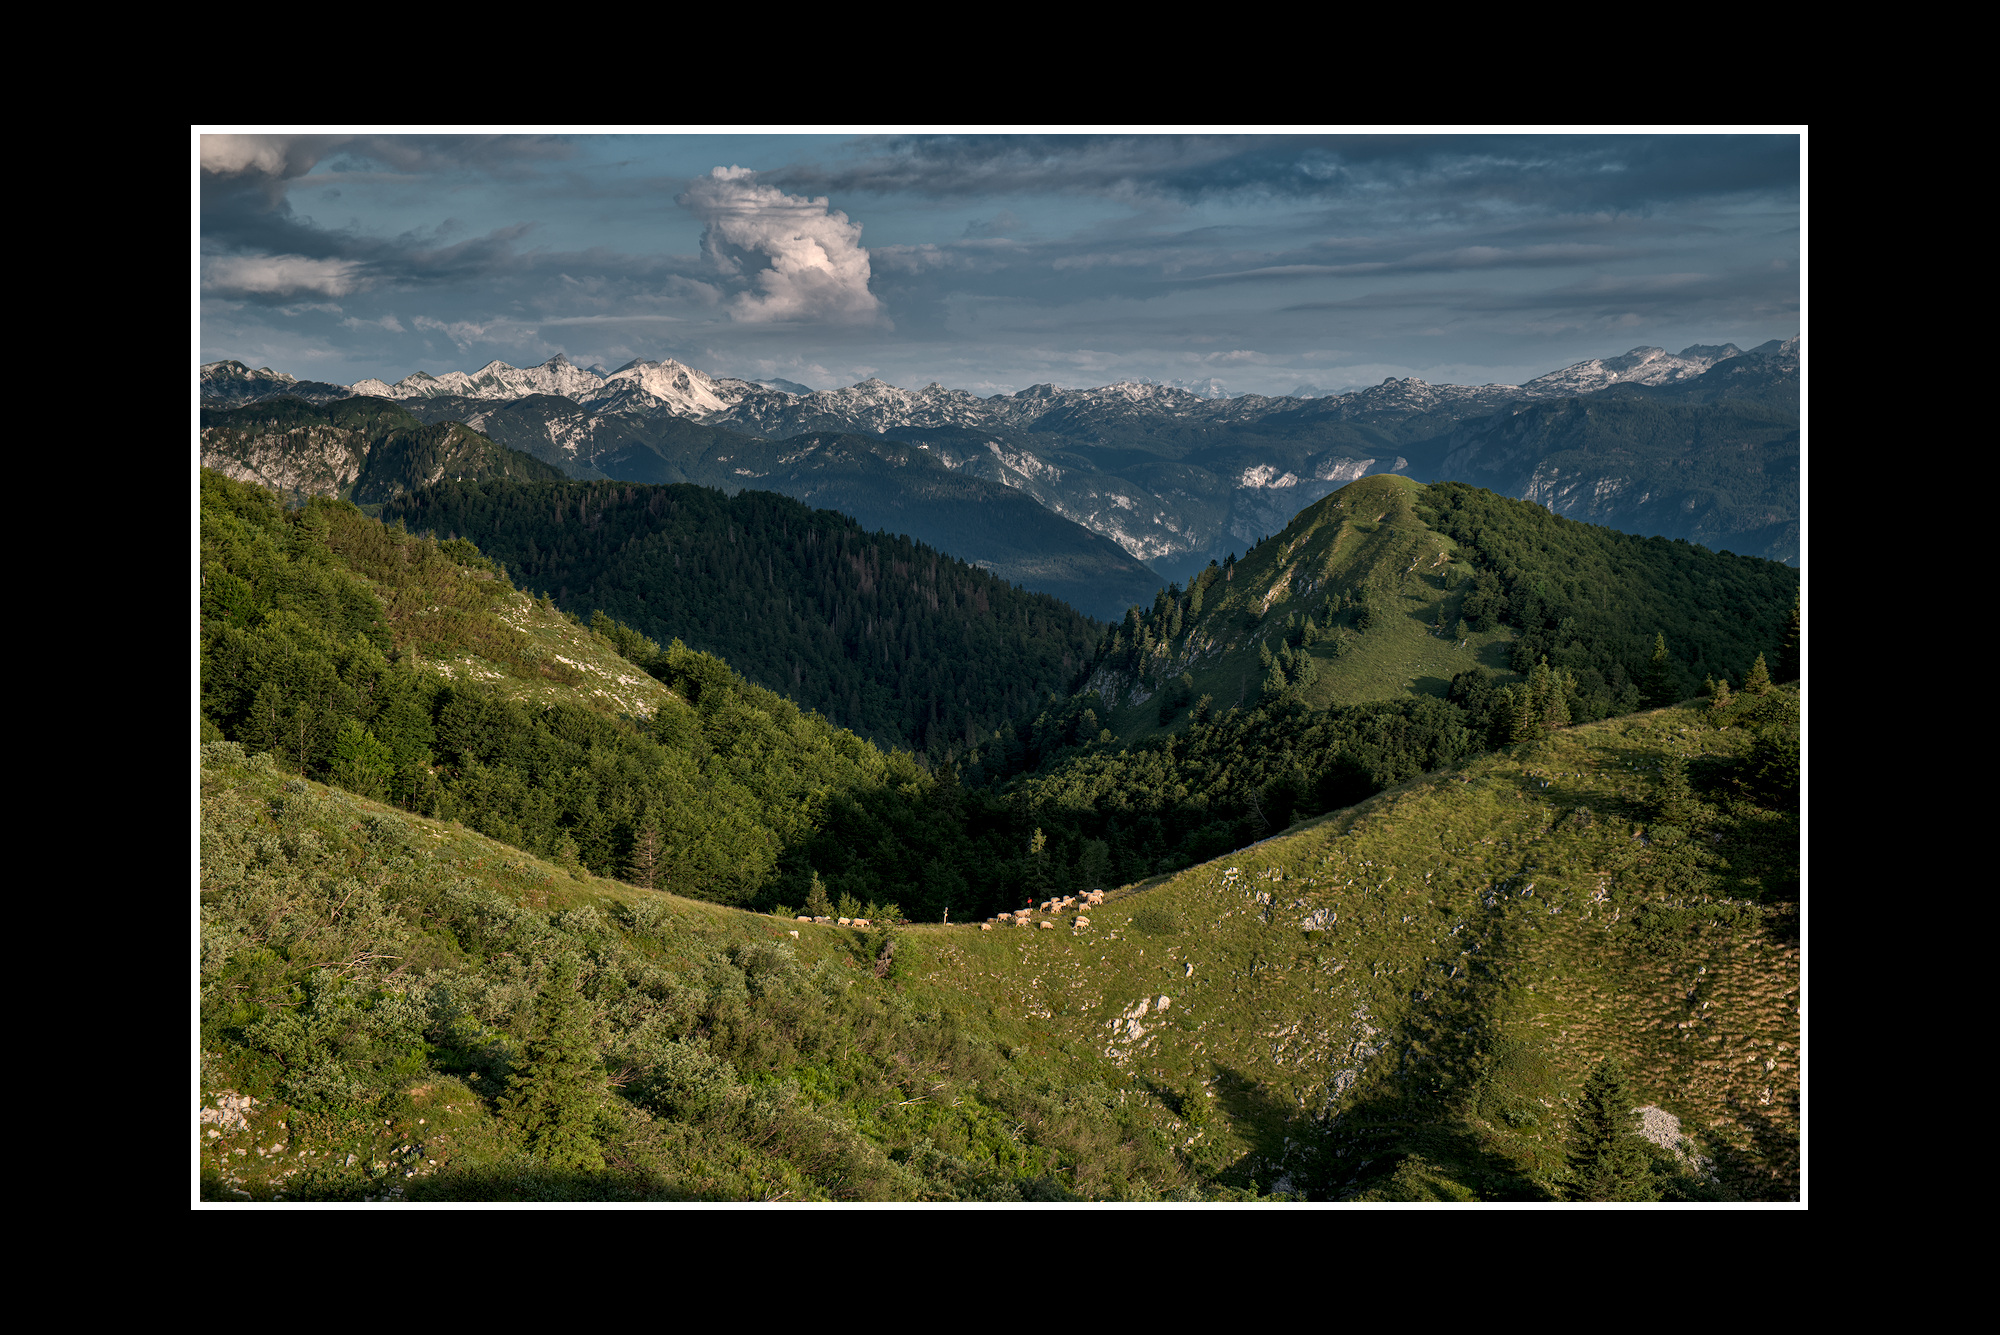
I tried several methods with pretty widely varying results. For picking an area in the White Balance, I got the “best” results by selecting the area of the largest snow capped mountain. But in the end, I decided the best course was to go with “As shot to reference” plus the Color Calibration module.
I probably overcooked my final image with FilmicRGB.
I follow a similar approach as @mino. WB & CC just have to give me a good starting point but then I go for a pleasing result even if colors do not represent the perceived ‘reality’.
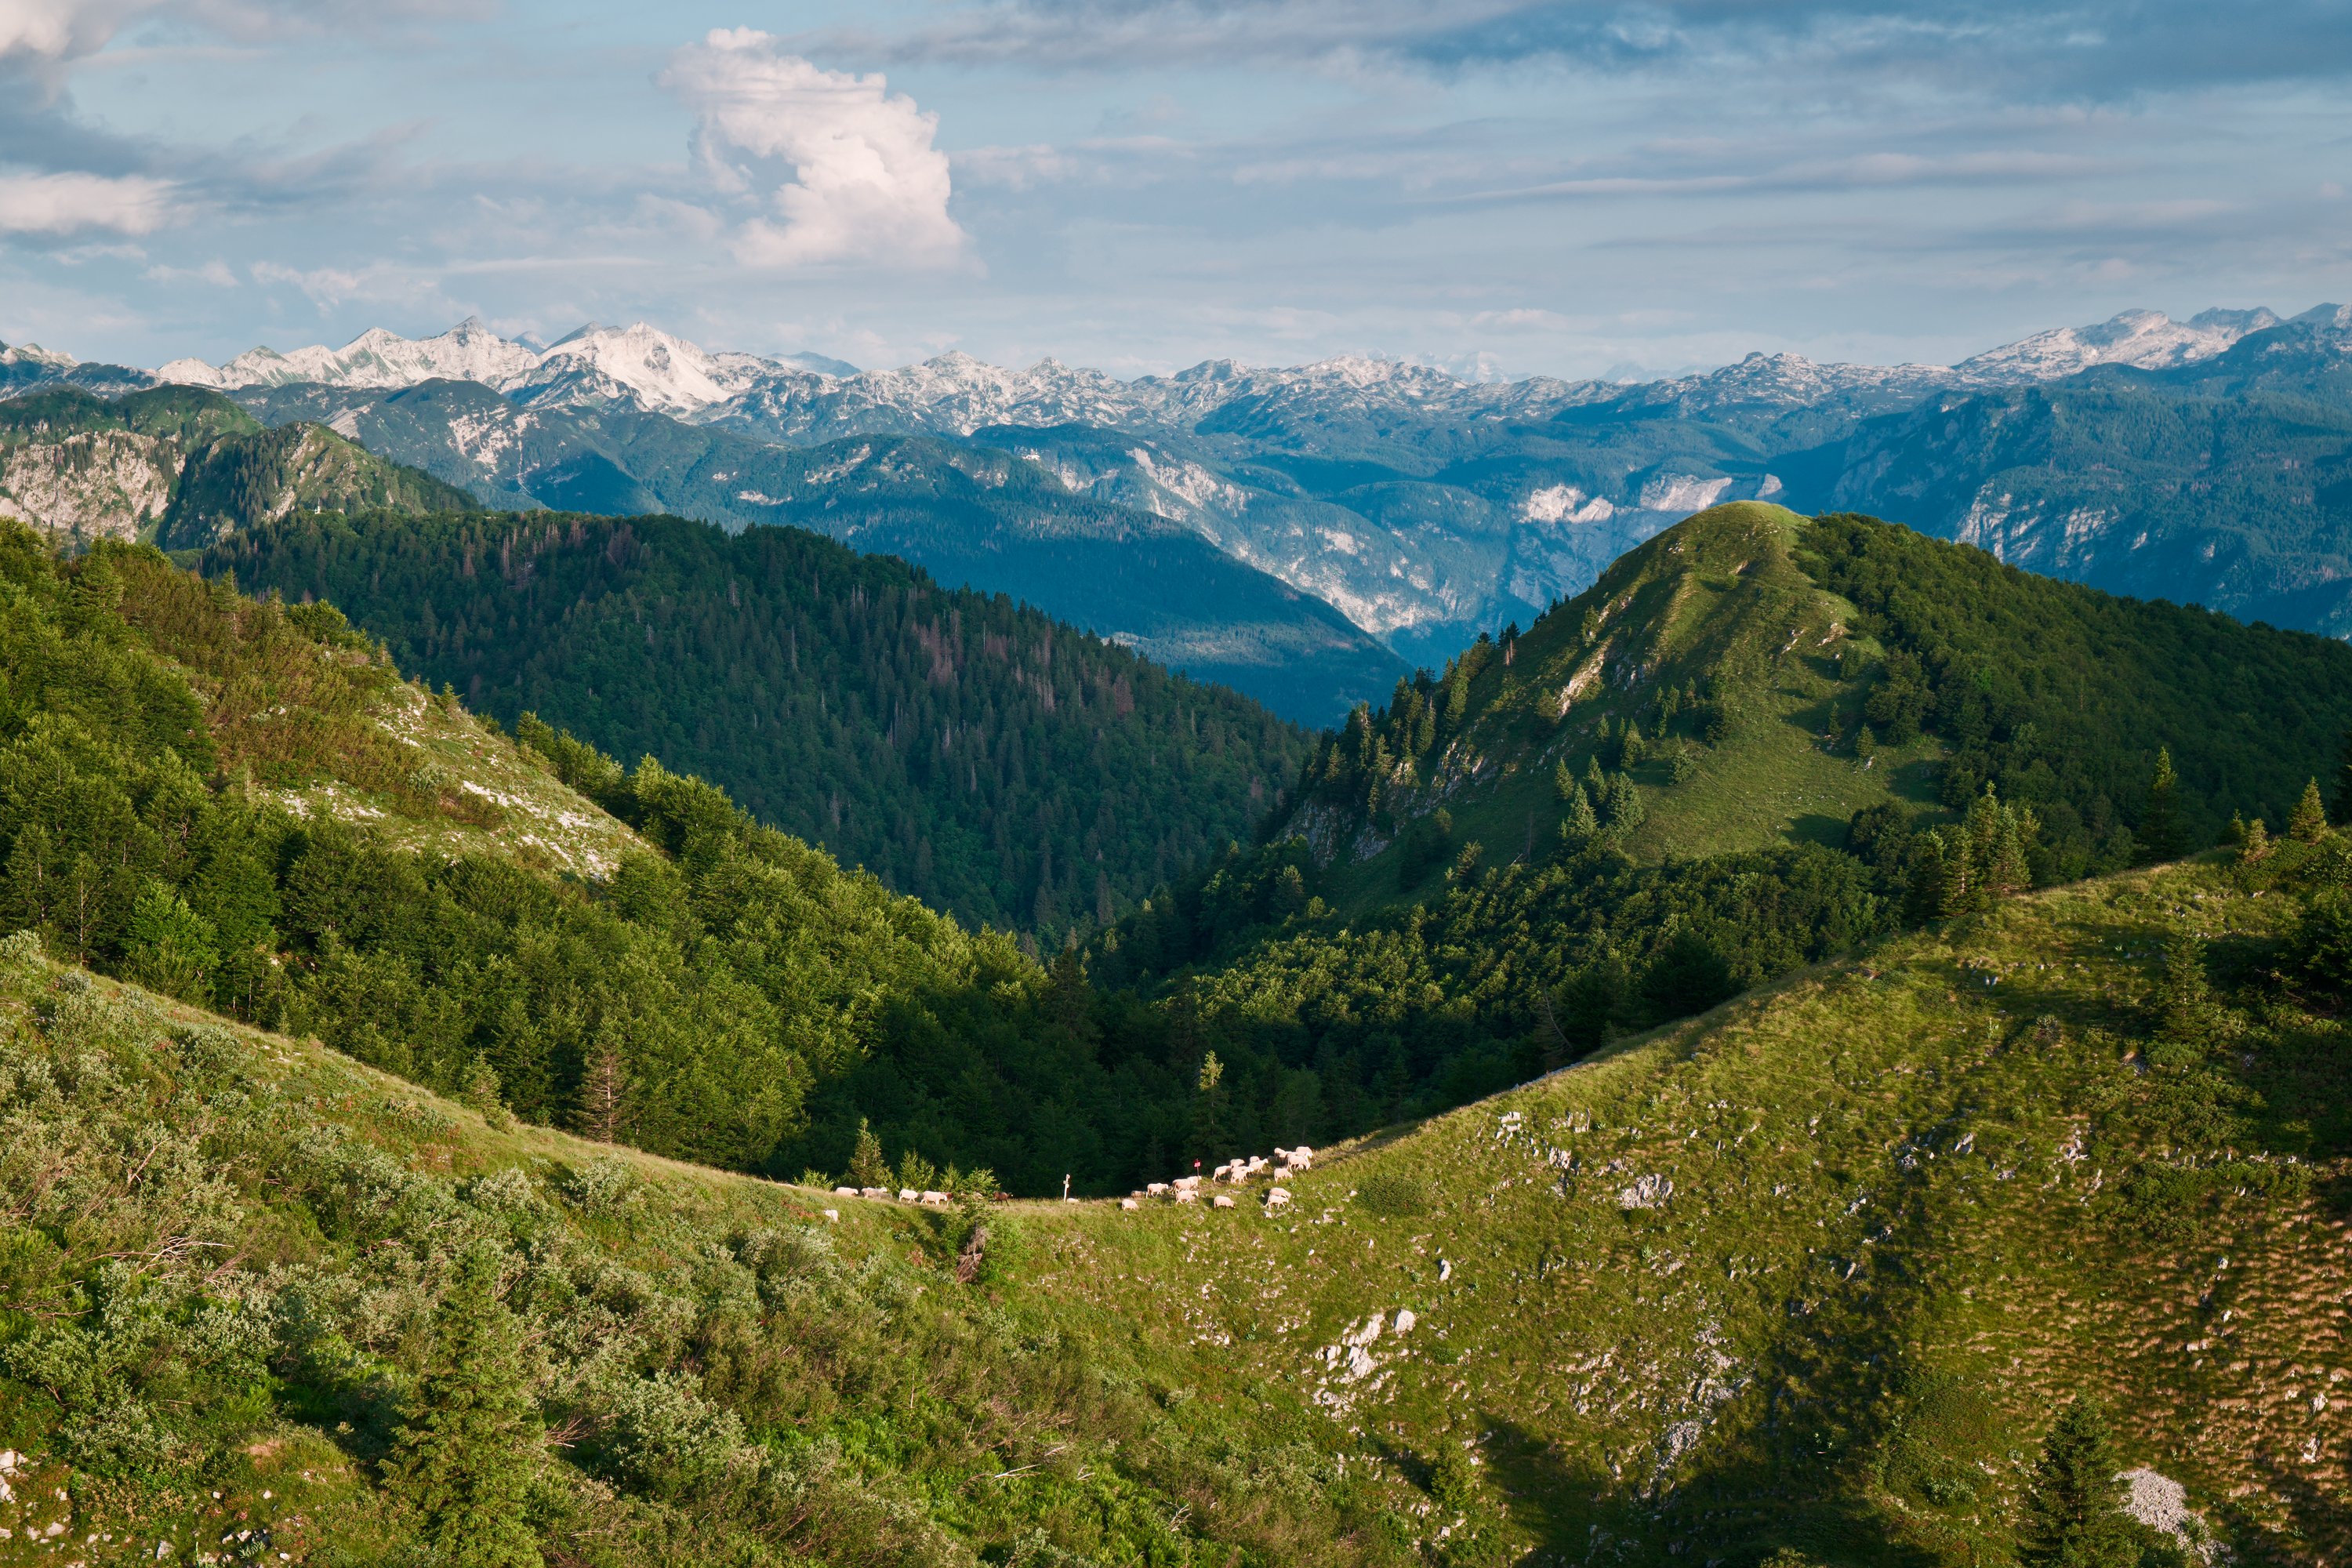
Here I
activated capture sharpening but increased the contrast sensitivity to avoid sharpening grain in the sky
left WB at as shot to reference
used the picker in CC
in AgX used the auto tune level picker and increased contrast slightly
added some local contrast with the new contrast & texture module
to add some ‘drama’ to the sky, I made a gradient mask with multiply blending mode and reduced opacity.
lifted mid tones a bit with TE
I didn’t feel that any further color grading is needed.
If it’s late-ish afternoon (as the longish shadows and the pinkish tint in the OP seem to suggest), then I would expect the clouds and the mountain tops to be, indeed, pinkish. I.e., the shot in the OP seems close to right to me.
OTOH, if it’s the middle of the day, both the clouds and the snow capped mountain tops should be blue-ish, as they would reflect the sky, rather than completely white/neutral.
Tried for fun this thing I saw on a recent video about cranking up saturation initially to expose the main color cast and correct that …then take away the saturation and color grade from there…so I sort of tried to follow this…
Also only used the tone eq as I didn’t like what the other tone mappers did to the sky…
I often do not remember the color of the scene when returning home. Even worse when years have passed me by.
At the moment I have a simple workflow - which by no means is good or better. I have no tone mapper active, switch of CC and set WB to ‘as shot’. And work on from there. Why I do so? Because I found myself bad at colors and wanted to experiment.
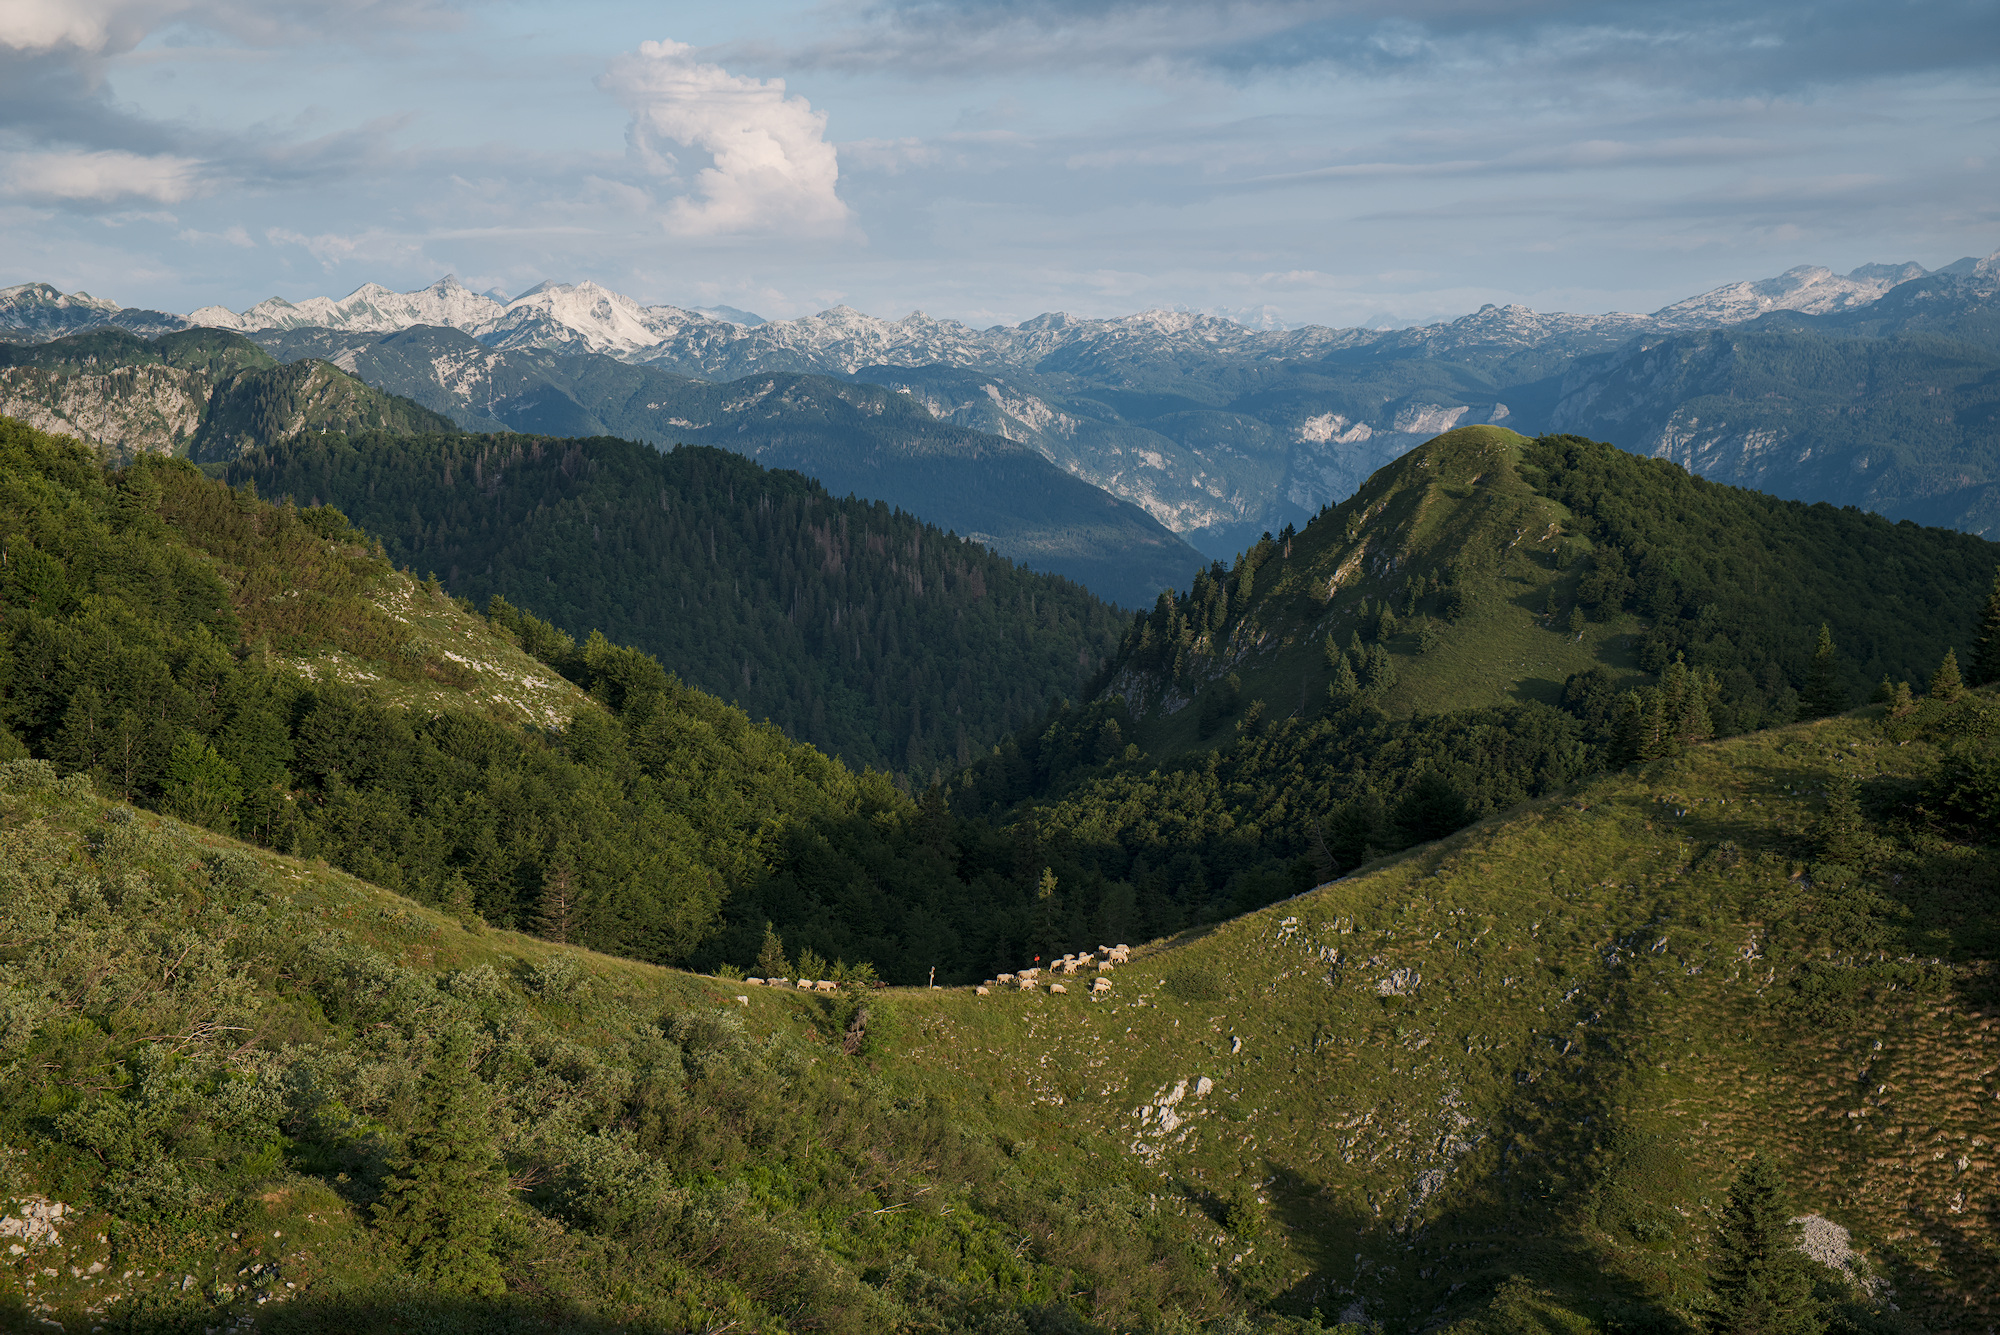
For this picture I did not change anything in the WB nor in CC. In de-mosaic I set capture sharpening on. De-noise + lens correction. Bit extra exposure.
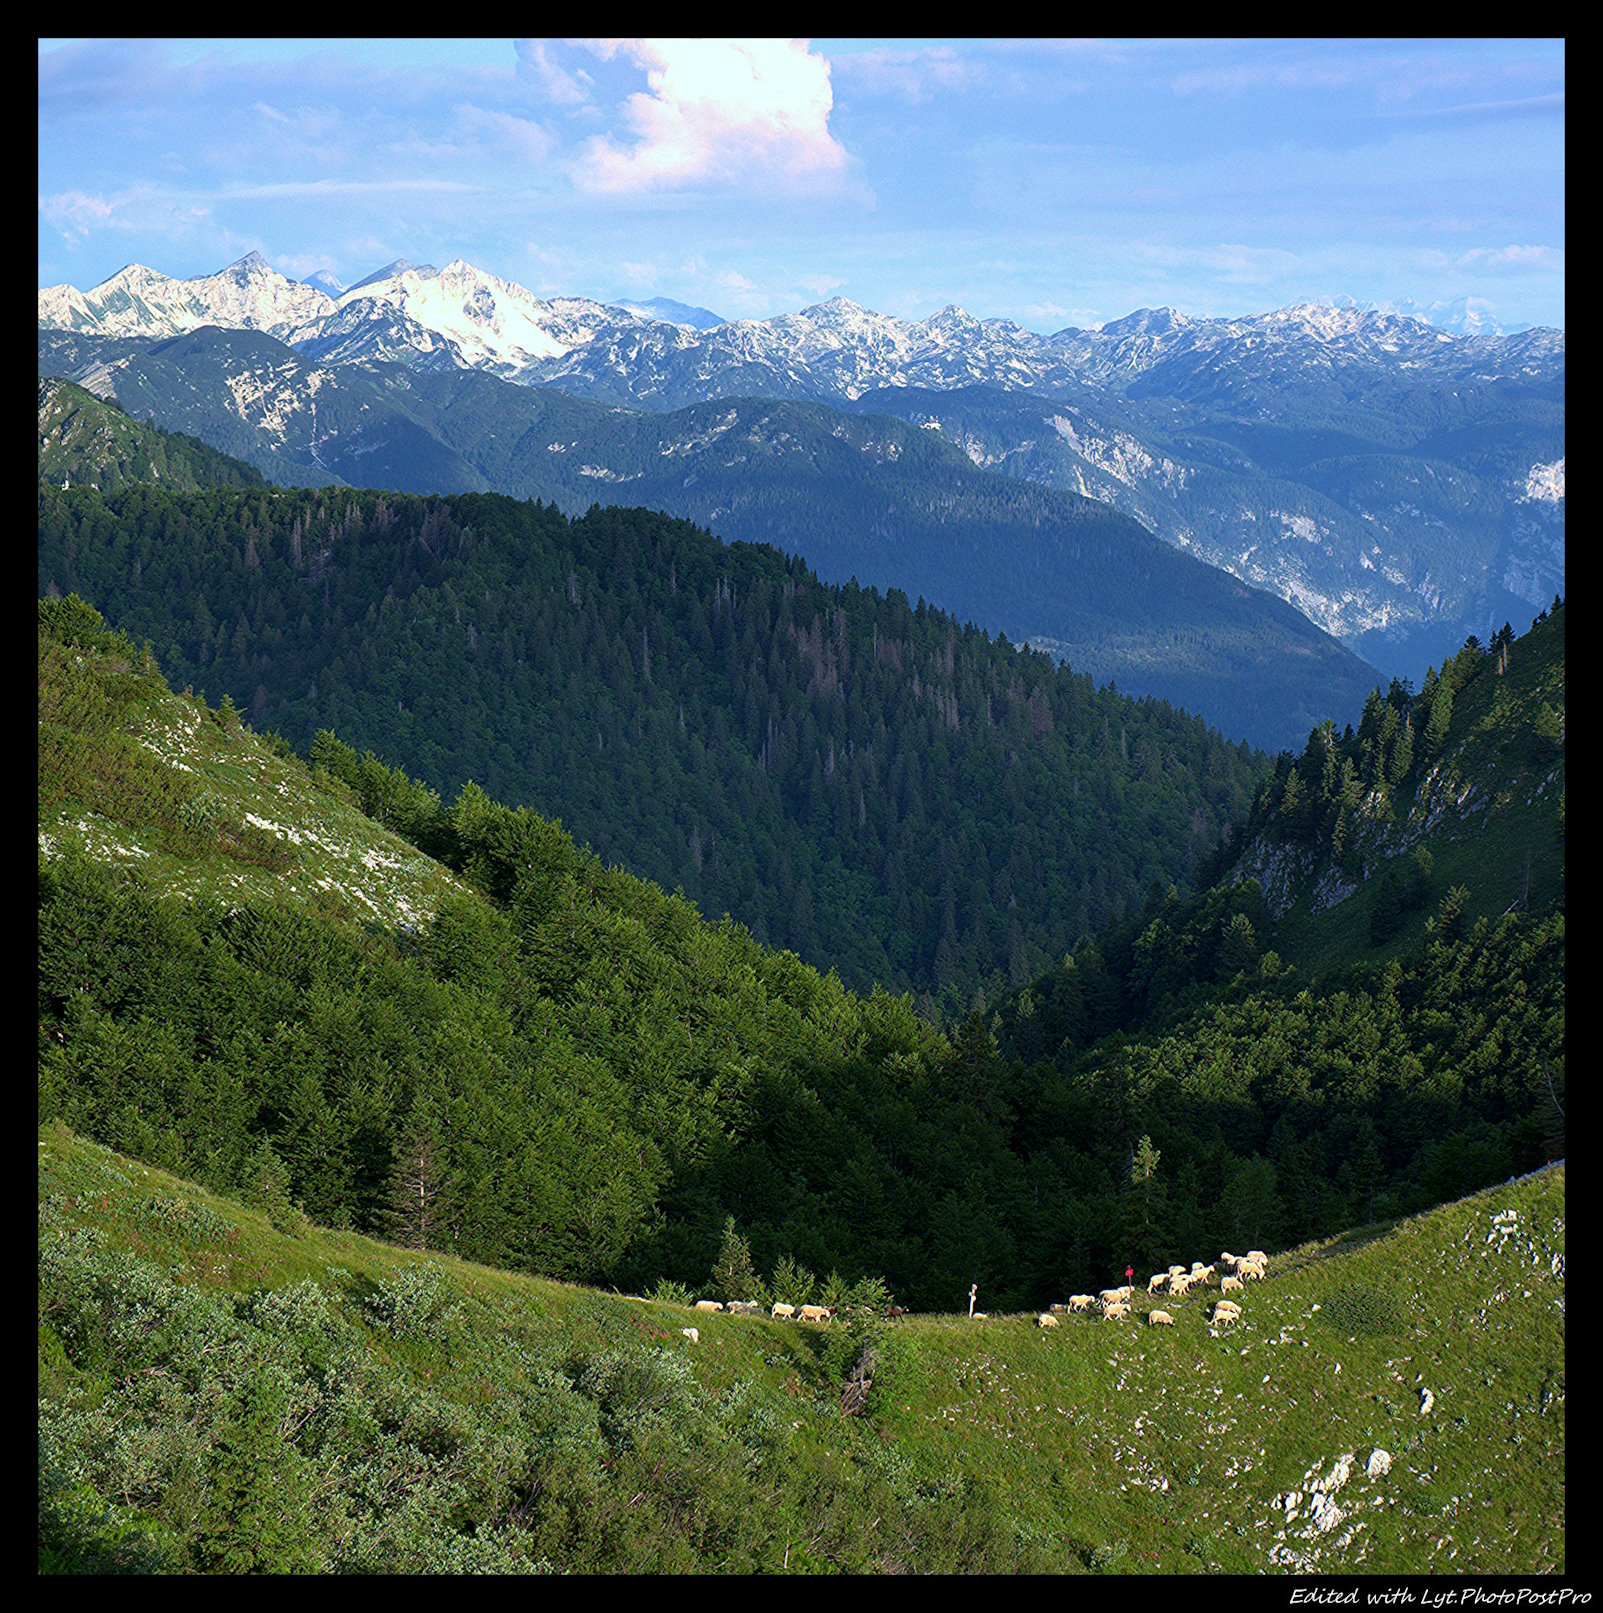
I pulled down the brightest spot in de cloud + upped shades with tone equalizer. Some sharpening (sharpen+ contrast equalizer) and local contrast are applied. Then a simple color balance rgb. A frame. That’s it. When needed you may work from there. It was just a couple of minutes leading to… (not much different from your interpretation and others before)
I don’t trust my memory of how things looked like even hours later. If I really care about a picture I either shoot a grey card, or take a picture with my phone in pro mode and fiddle with white balance right then and there. Otherwise, it’s going to be picking a few objects and deciding which ones make the picture look the most normal.

 .
.
 !
!