The “How to Create DCP Color Profiles” RawPedia page says:
Position the target so that it fills the center-third of your frame - not more, not less. The center of the frame has the best optics and lowest vignetting.
That seems clear enough but do people have an opinion on whether that still holds if you’re using a circular fisheye lens? These obviously have very different optics from more commonly used lenses.
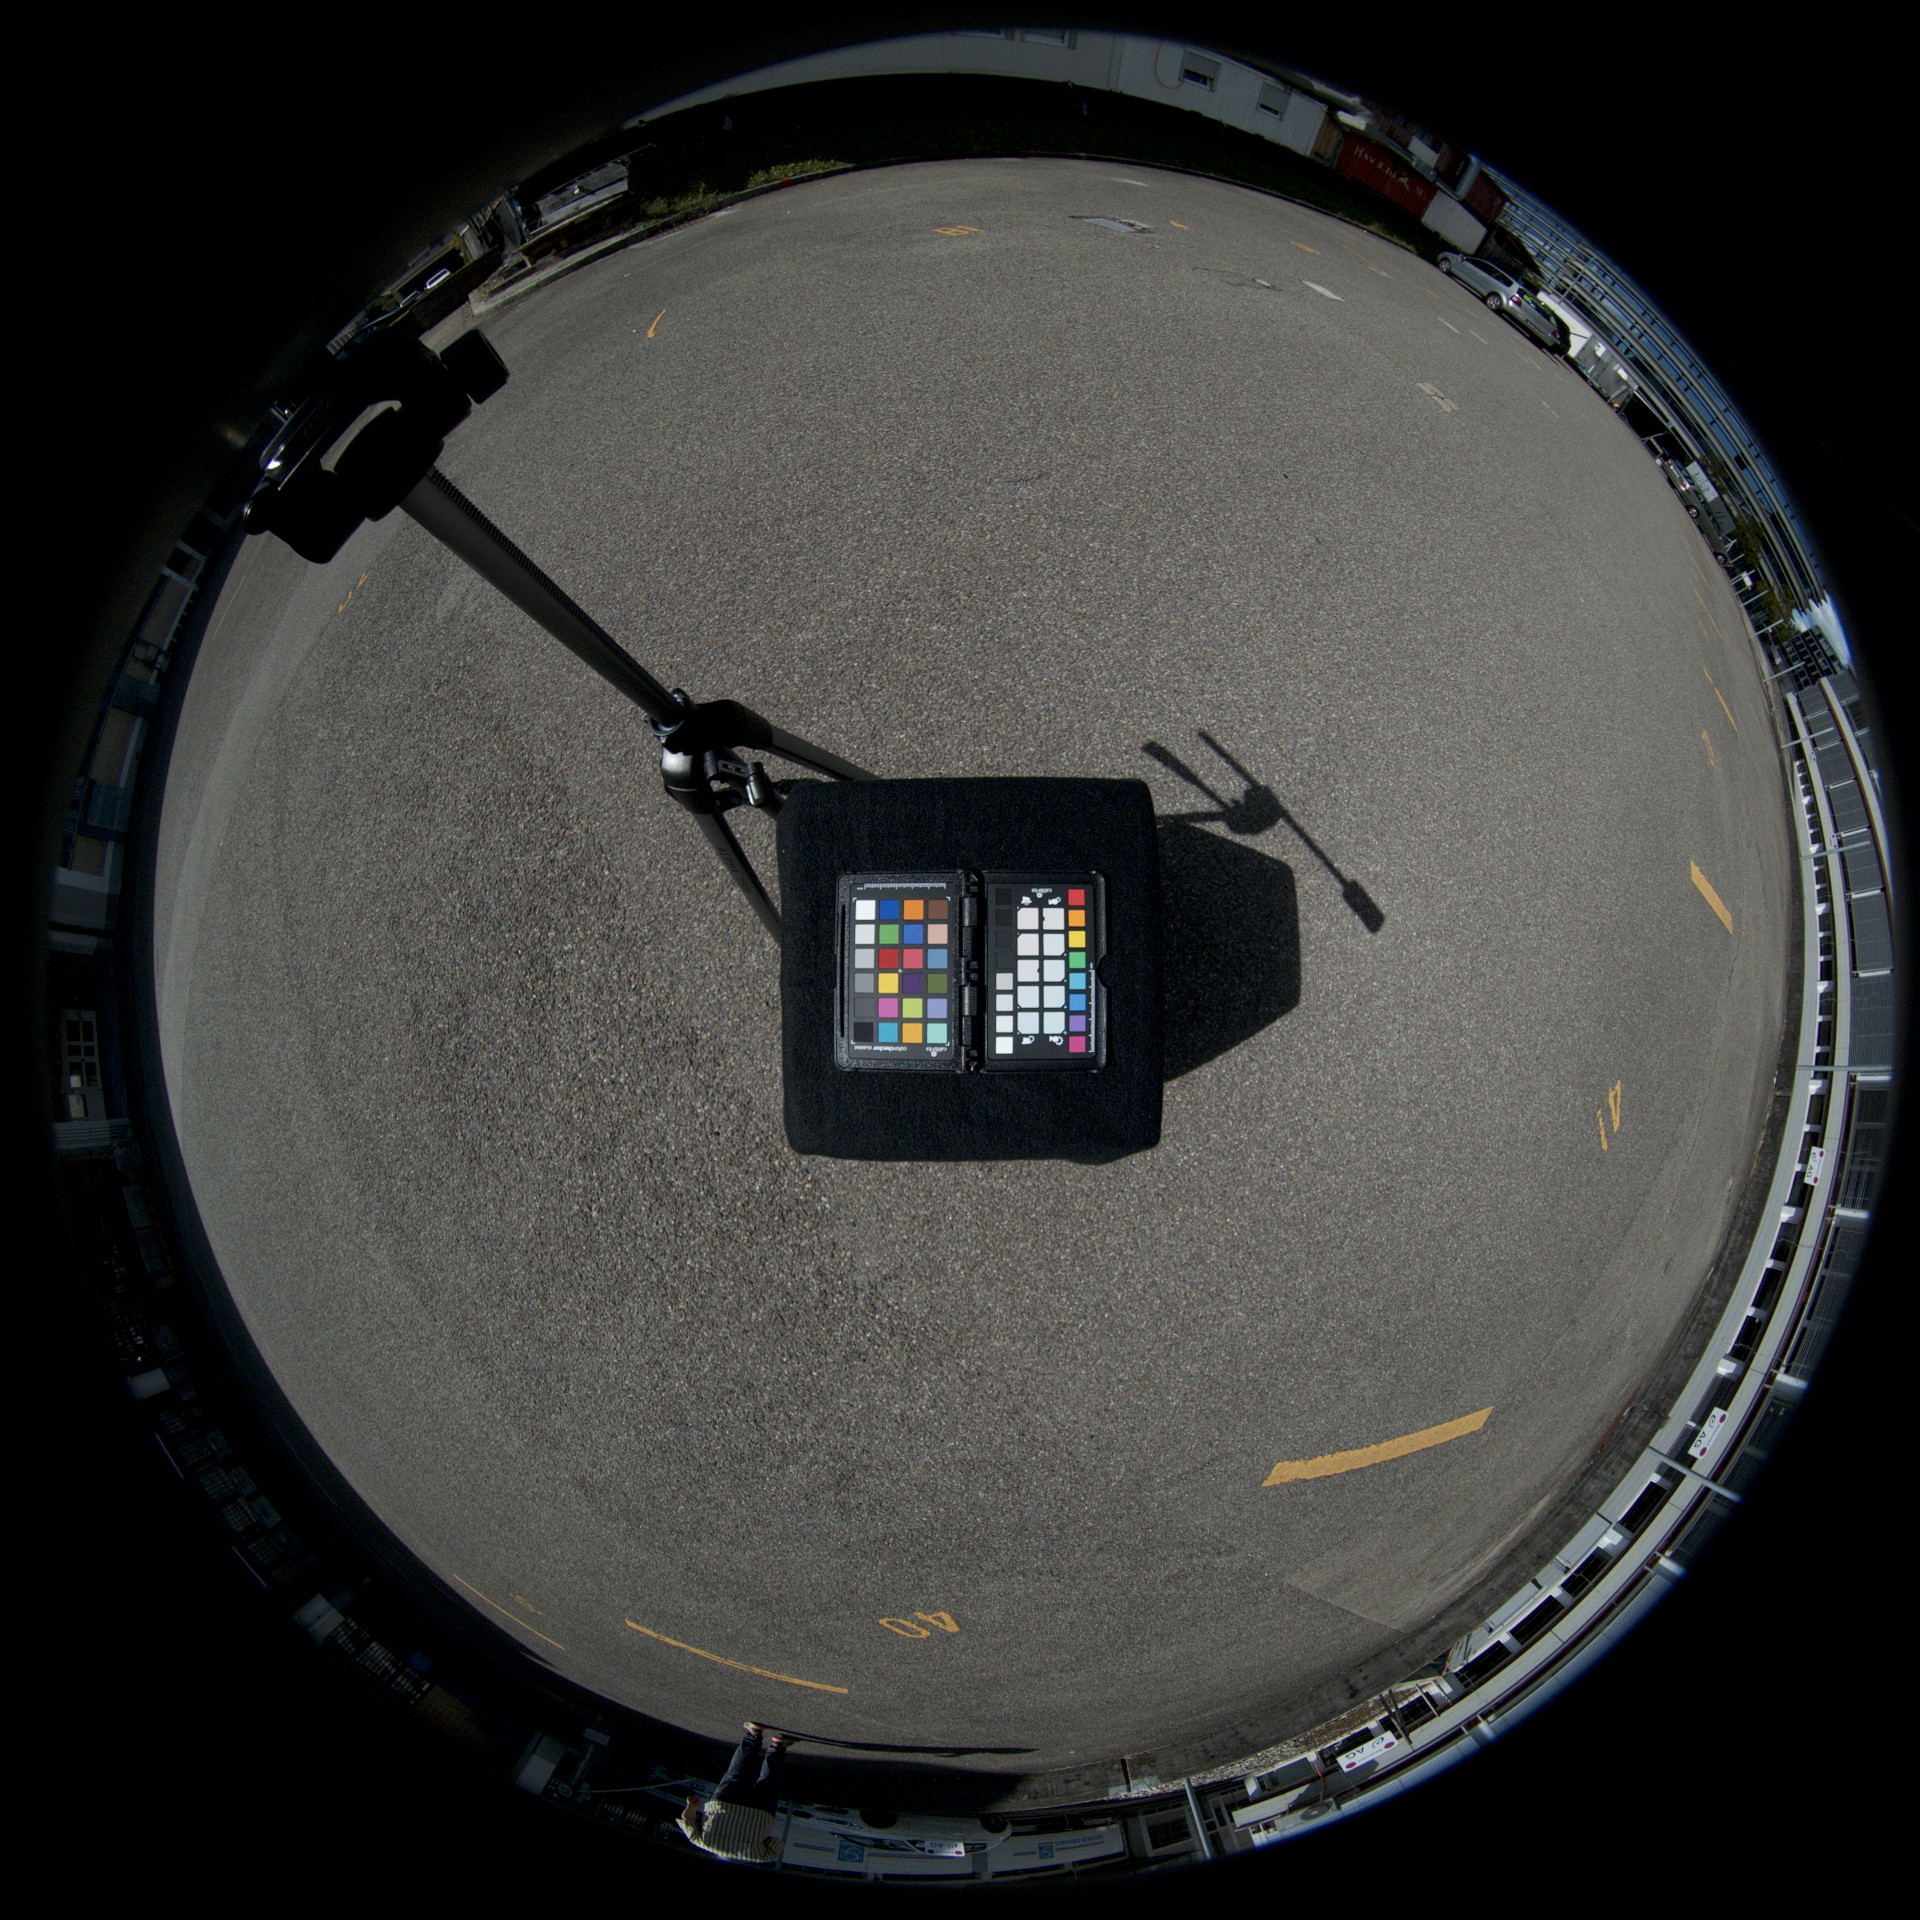
I’ve included 3 shots below taken with an Insta360 One X2. In the first, taken at just 15cm from the target, the target takes up somewhere around one-third of the circular portion of the image but it’s noticeably distorted. The second is taken at 25cm and the target looks less distorted. The third is taken at 35cm and the target is now looking very rectangular but isn’t taking up very much of the image.
If I use the 15cm image then the ColorChecker software fails to find the target but I can still easily manually place its grid of green outlines such that they’re all safely within the actual color squares of the target (apologies for the rather strange clipping at the corners):
So, I’m inclined to use the 15cm image, despite the distortion, as the ColorChecker software seems to be able to live with it and it results in a reasonable number of pixels per square (whereas at 35cm the squares are just 18x18 pixels).
Does anyone have any input as to why the distorted but large target may not be the most appropriate and why I should perhaps go with the images where the target is smaller but less distorted?
Here’s the resulting DCP profile if people are interested:
I make profiles from the DPReview studio scene shots, where the colorchecker is but a small part of the image. In processing, I crop it to remove all but the colorchecker. The target recognition software is making an average from the available pixels of the patch, so I’d surmise breaking past 30 samples will be sufficient.
It would seem the X-Rite software is a bit more tolerant of alignment foo than Argyll’s scanin…
Don’t use ColorChecker software (despite it being a little more misalignment-tolerable), use dcamprof and work around its alignment tolerance issues. Since dcamprof can work with images that have had geometry correction applied to them and X-Rite’s software can only work with raw images themselves, it winds up that you have more flexibility with dcamprof once you’re willing to fire up Hugin.