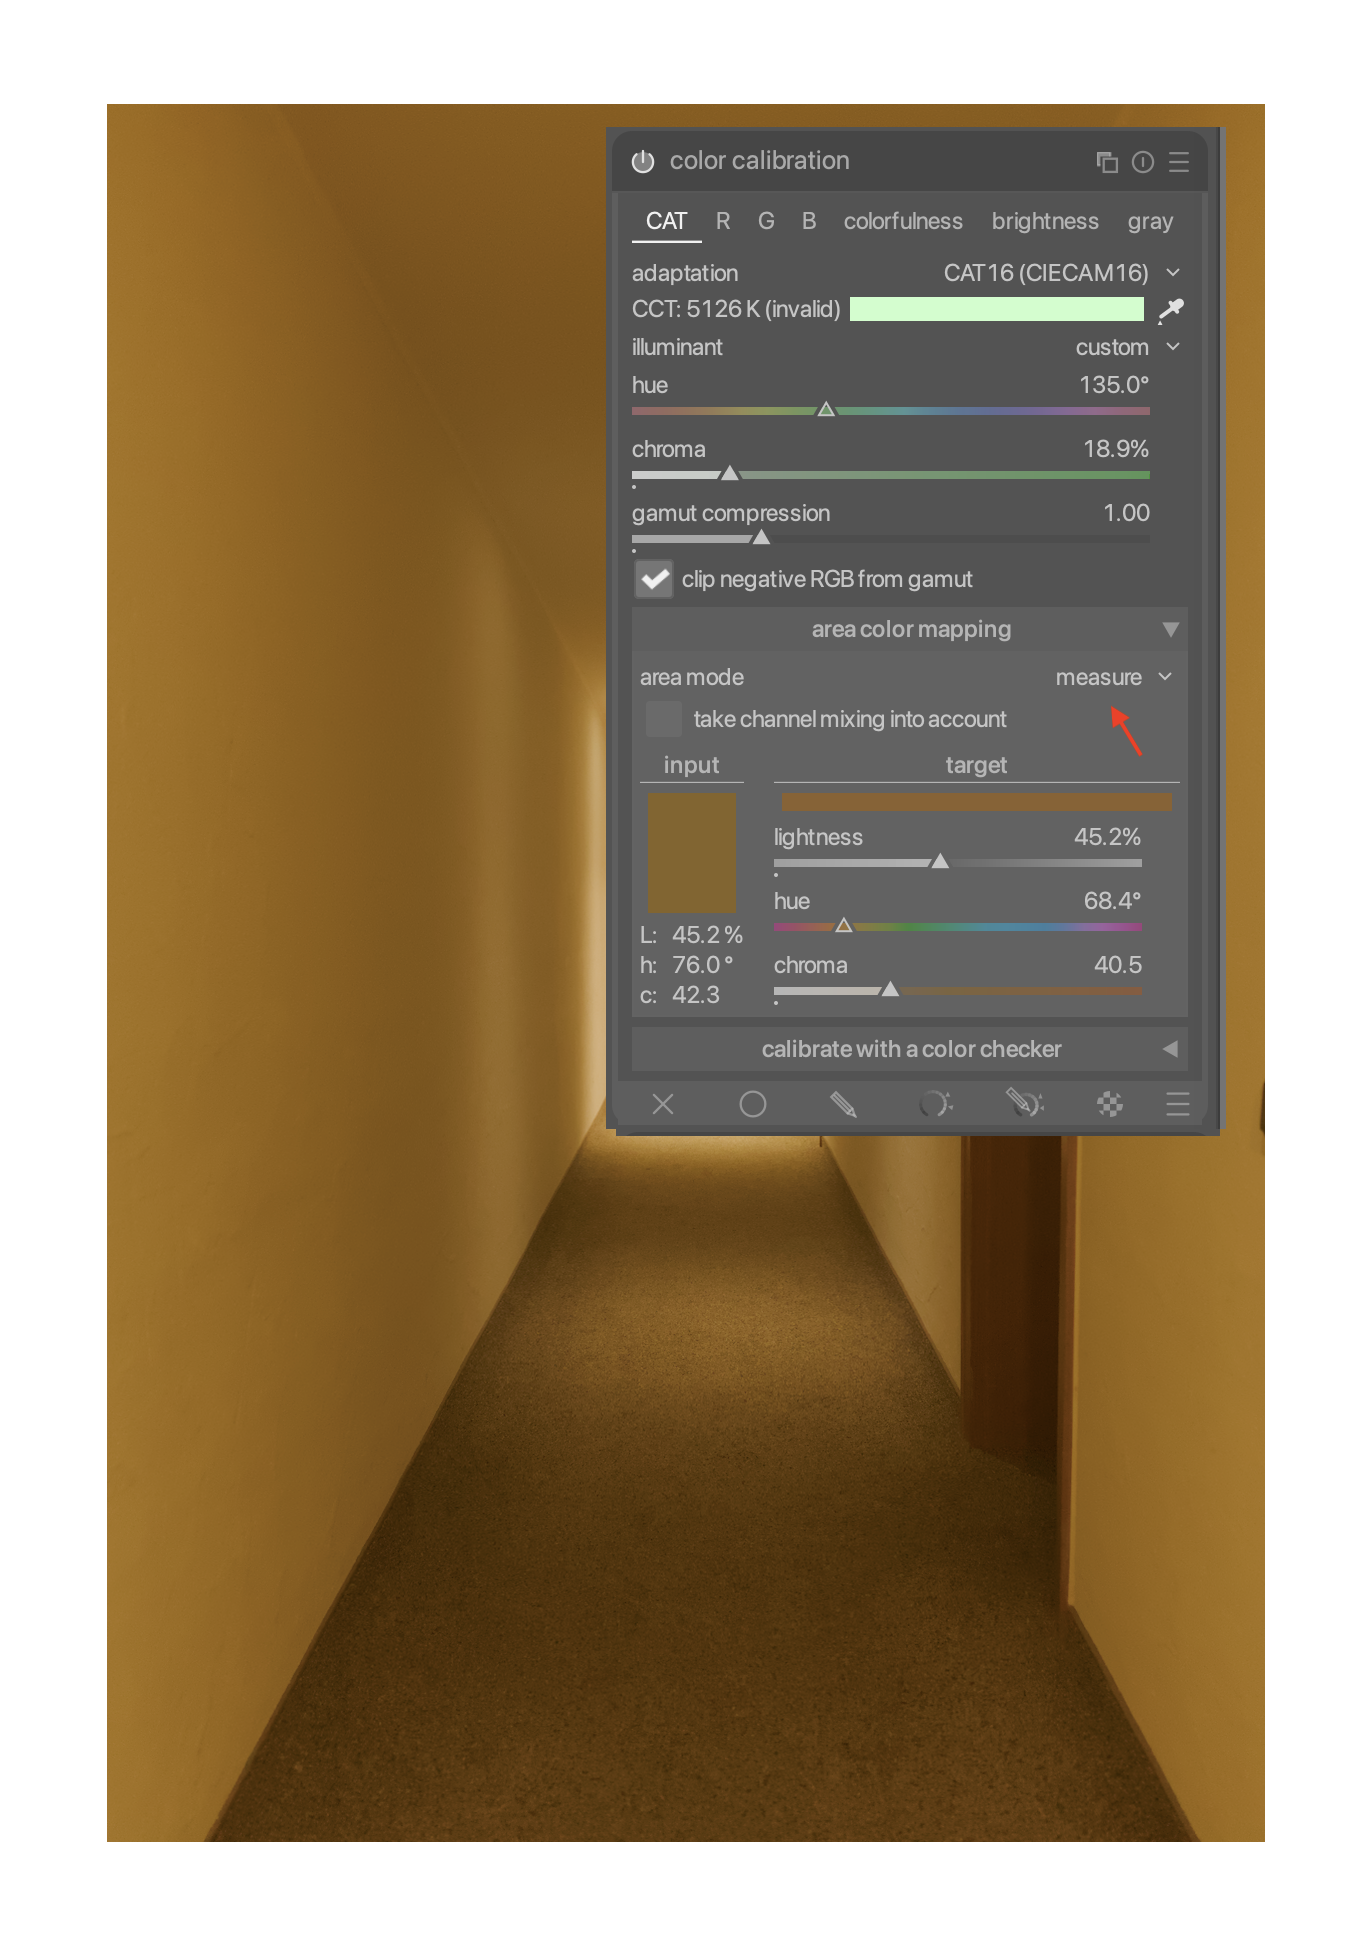
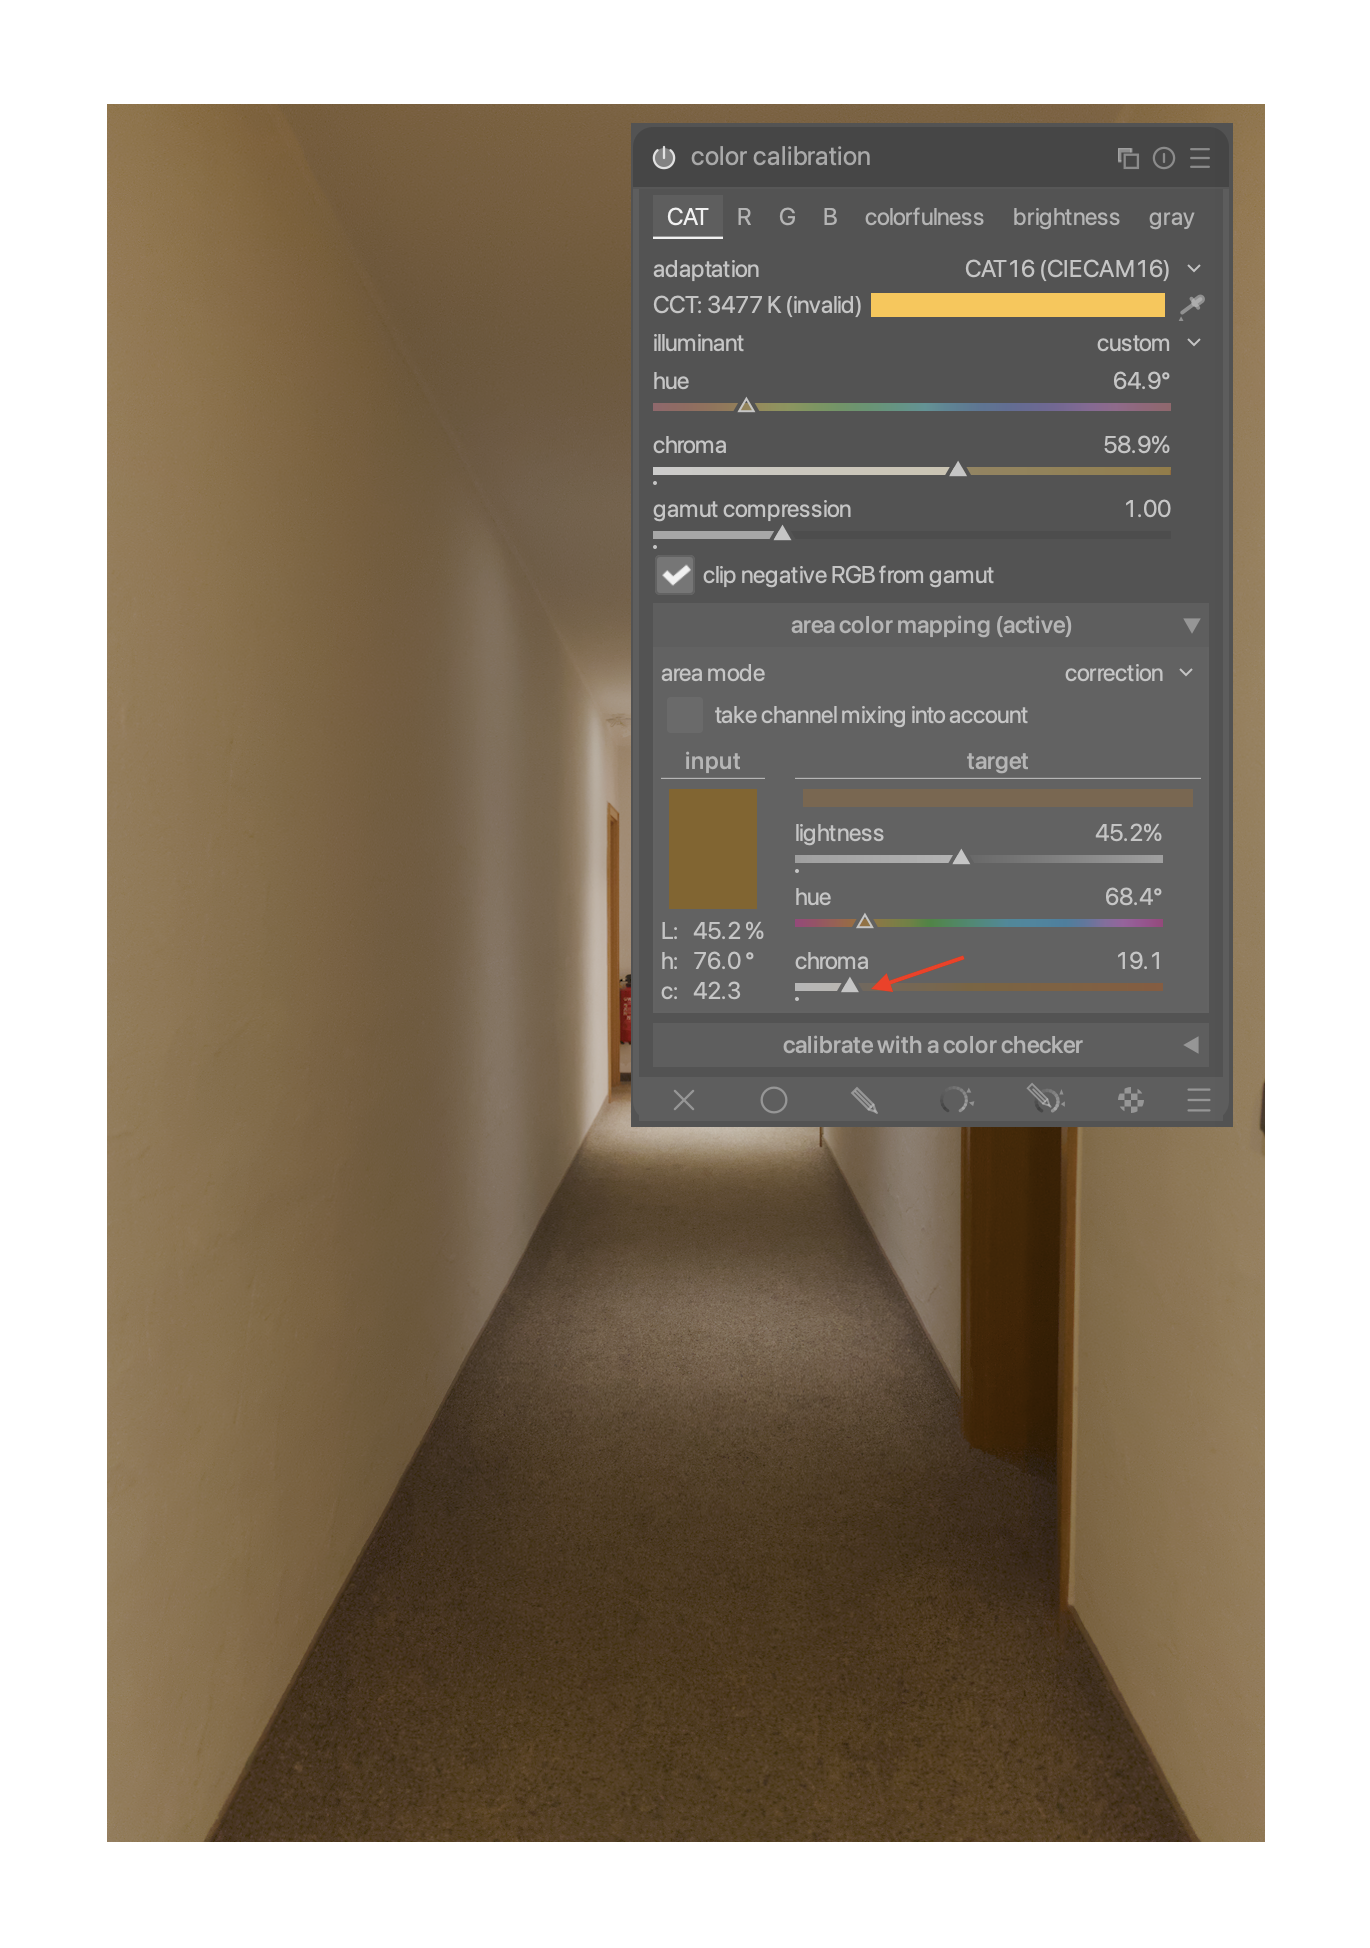
Set area mode to “measure”, then use the CCT eye dropper to define a new target. From now on, Color Calibration will no longer try to make the image neutral grey, but try to make it the color you picked instead.
Now reset are mode to “correction”. At this point, I reduce the target color chroma until I see a good compromise between the color cast I want to keep, and neutral color.
To reset, set chroma to zero. Now Color Calibration once again tries to neutralize all color.
Since default chroma is zero, hue shouldn’t matter. I don’t quite understand why there’s a luma at all, since Color Calibration is theoretically only adjusting hues. But it’s probably prudent to reset it as well. (I haven’t seen any ill effects as long is it’s somewhere middling, though)
I’d have to check if it matters … not at my computer… I just know it’s been the source of numerous complaints about CC ie that stocky setting causing weird output and for some reason most people don’t even know they have changed it…
A bit of a different thing. I usually start from a daylight white balance, and then try to find a compromise between daylight and scene-neutral (something not entirely unlike incandescent, but arbitrarily wonky).
Reducing layer opacity would compromise between camera-neutral and scene-neutral, i.e. it presupposes that White Balance did a good job already.
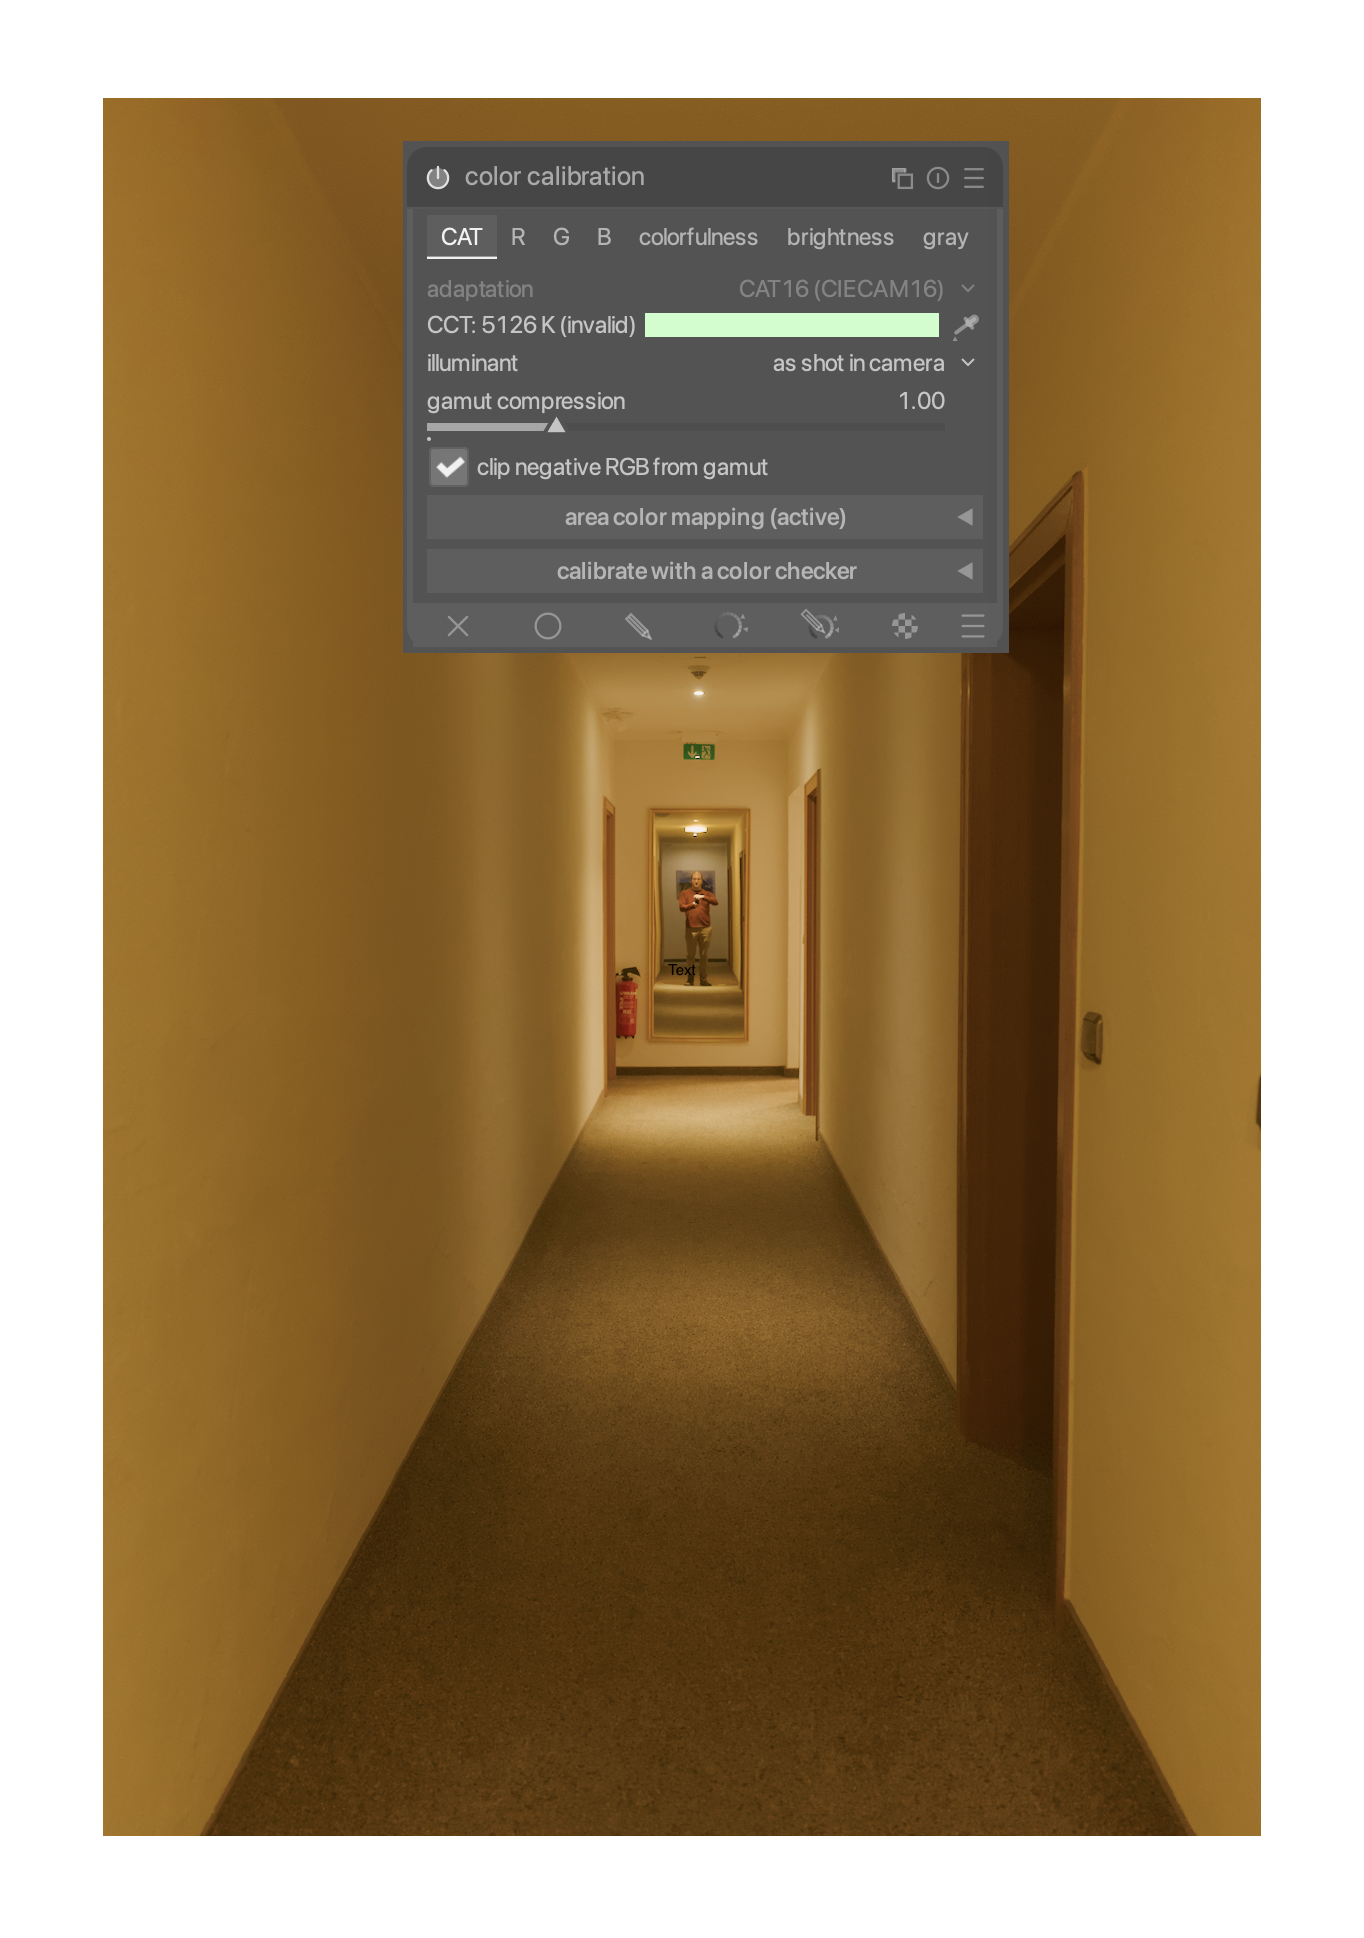
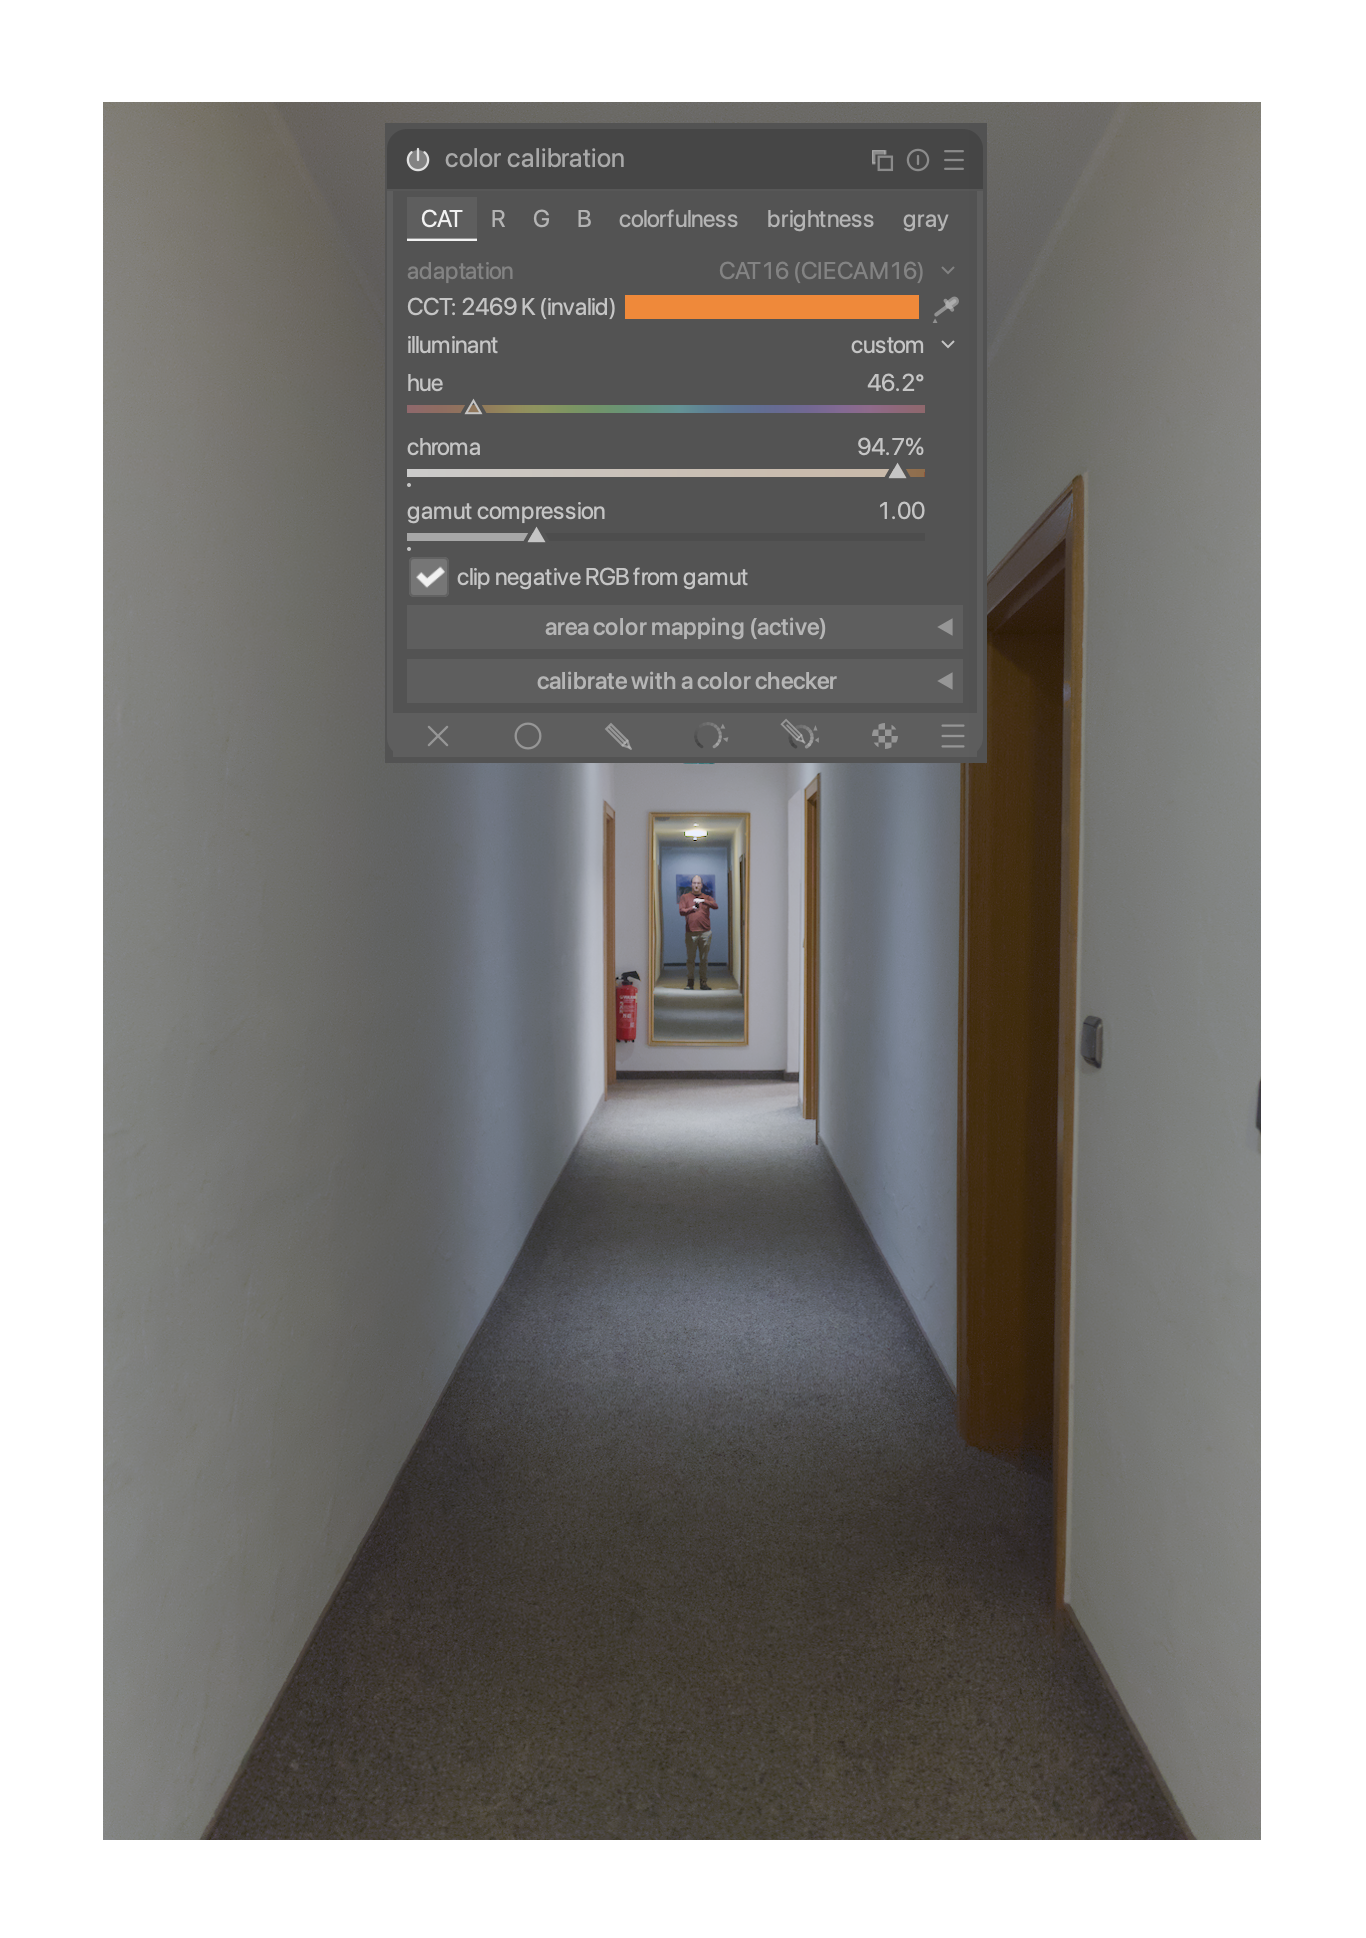
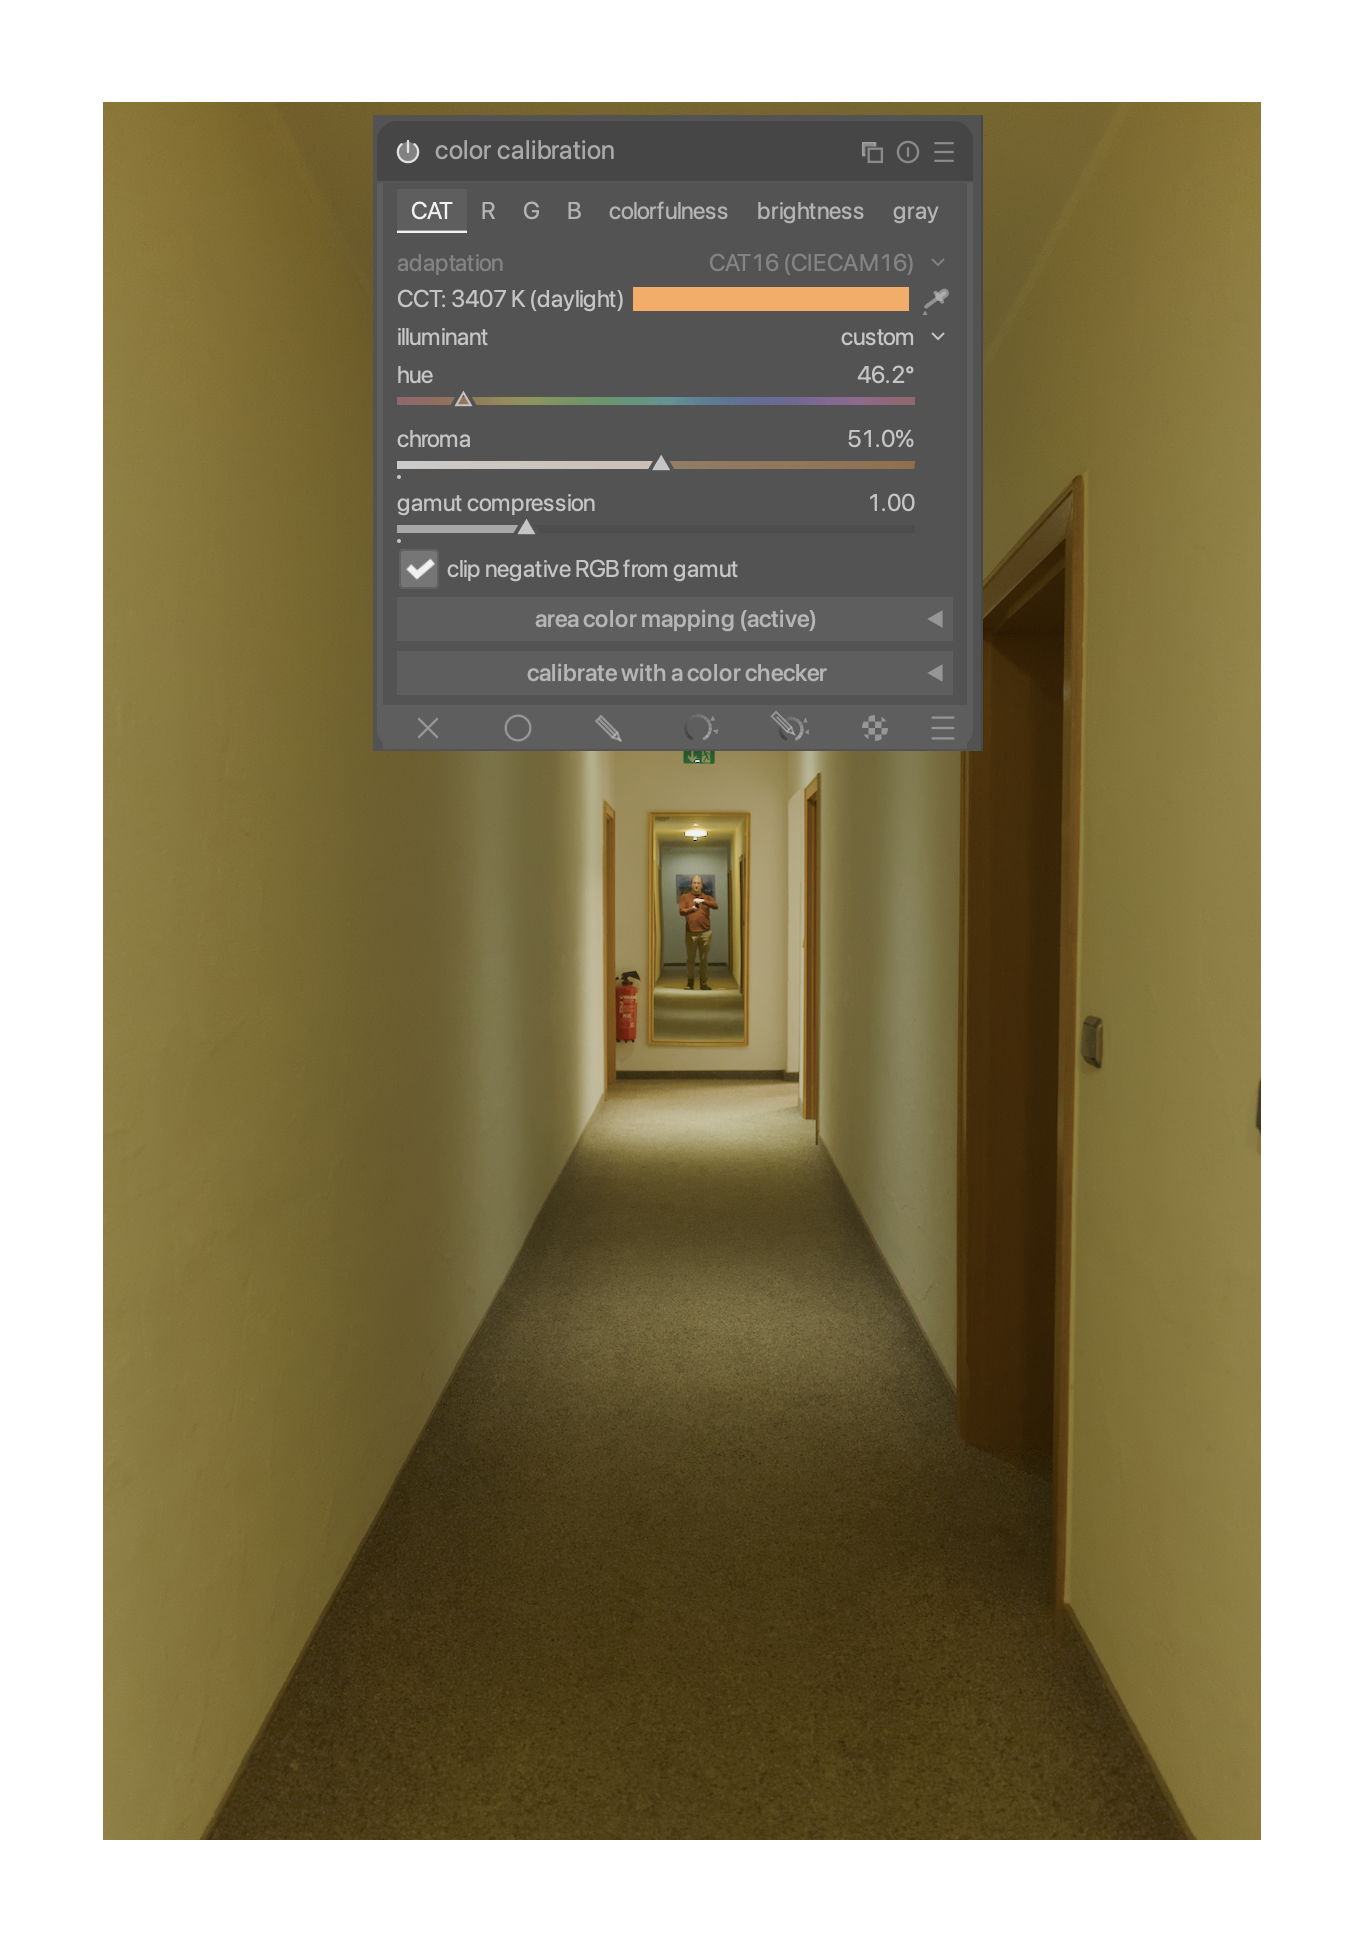
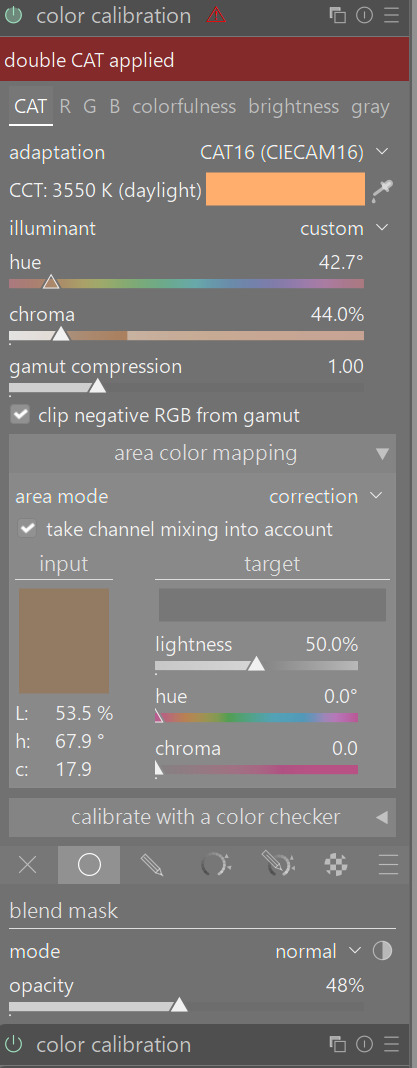
One method that sometimes works for me when I am struggling with color correction is to use two instances of color calibration module. The first instances is usually set to as shot in camera. Then the second instance uses the color picker aiming for a neutral grey default value. But the trick for me is to then pick a uniformly mask and adjust the opacity slider to get an nice color balance. I am not saying this is a superior method but it is a similar approach and works nicely for some images.
I tried your method @bastibe . Adding to your idea: I find it sometimes easier to manually dial in the colour tint with the area colour mapping instead of using the picker in measurement-mode. This whole method comes with the risk of forgetting to reset area colour mapping between images though…