Do you know this one resize_as_image ?
That’s the center of rotation. When specifying a center of rotation, your rotated image keeps the same size, so depending on the angle, you might end up with a crop indeed.
Do you know this one resize_as_image ?
That’s the center of rotation. When specifying a center of rotation, your rotated image keeps the same size, so depending on the angle, you might end up with a crop indeed.
Obviously not ![]() But it looks different from what i have in mind, since the duck ends up deformed. Unless ax,ay,… can prevent that? It’s not explained.
But it looks different from what i have in mind, since the duck ends up deformed. Unless ax,ay,… can prevent that? It’s not explained.
I just want to:
With expand you just tell it how many pixels or % you want to add to each side, you can’t say “i want the final image to have the same size as this one, please just add the needed borders, thank you”.
Well anyway, don’t worry about it, i’ll just test if it’s useful. It should be easy enough.
Can’t help but think that it’s a strange behaviour. Makes it tricky to use. (I wish there was 2 modes for this pivot point : expand or crop).
So one solution would be to expand it first, then rotate with a different center of rotation? That’s what i did first, but then i dropped the center of rotation completely so the image would be expanded, and then i autocrop it (it’s mostly tranparent).
EDIT :
Testing :
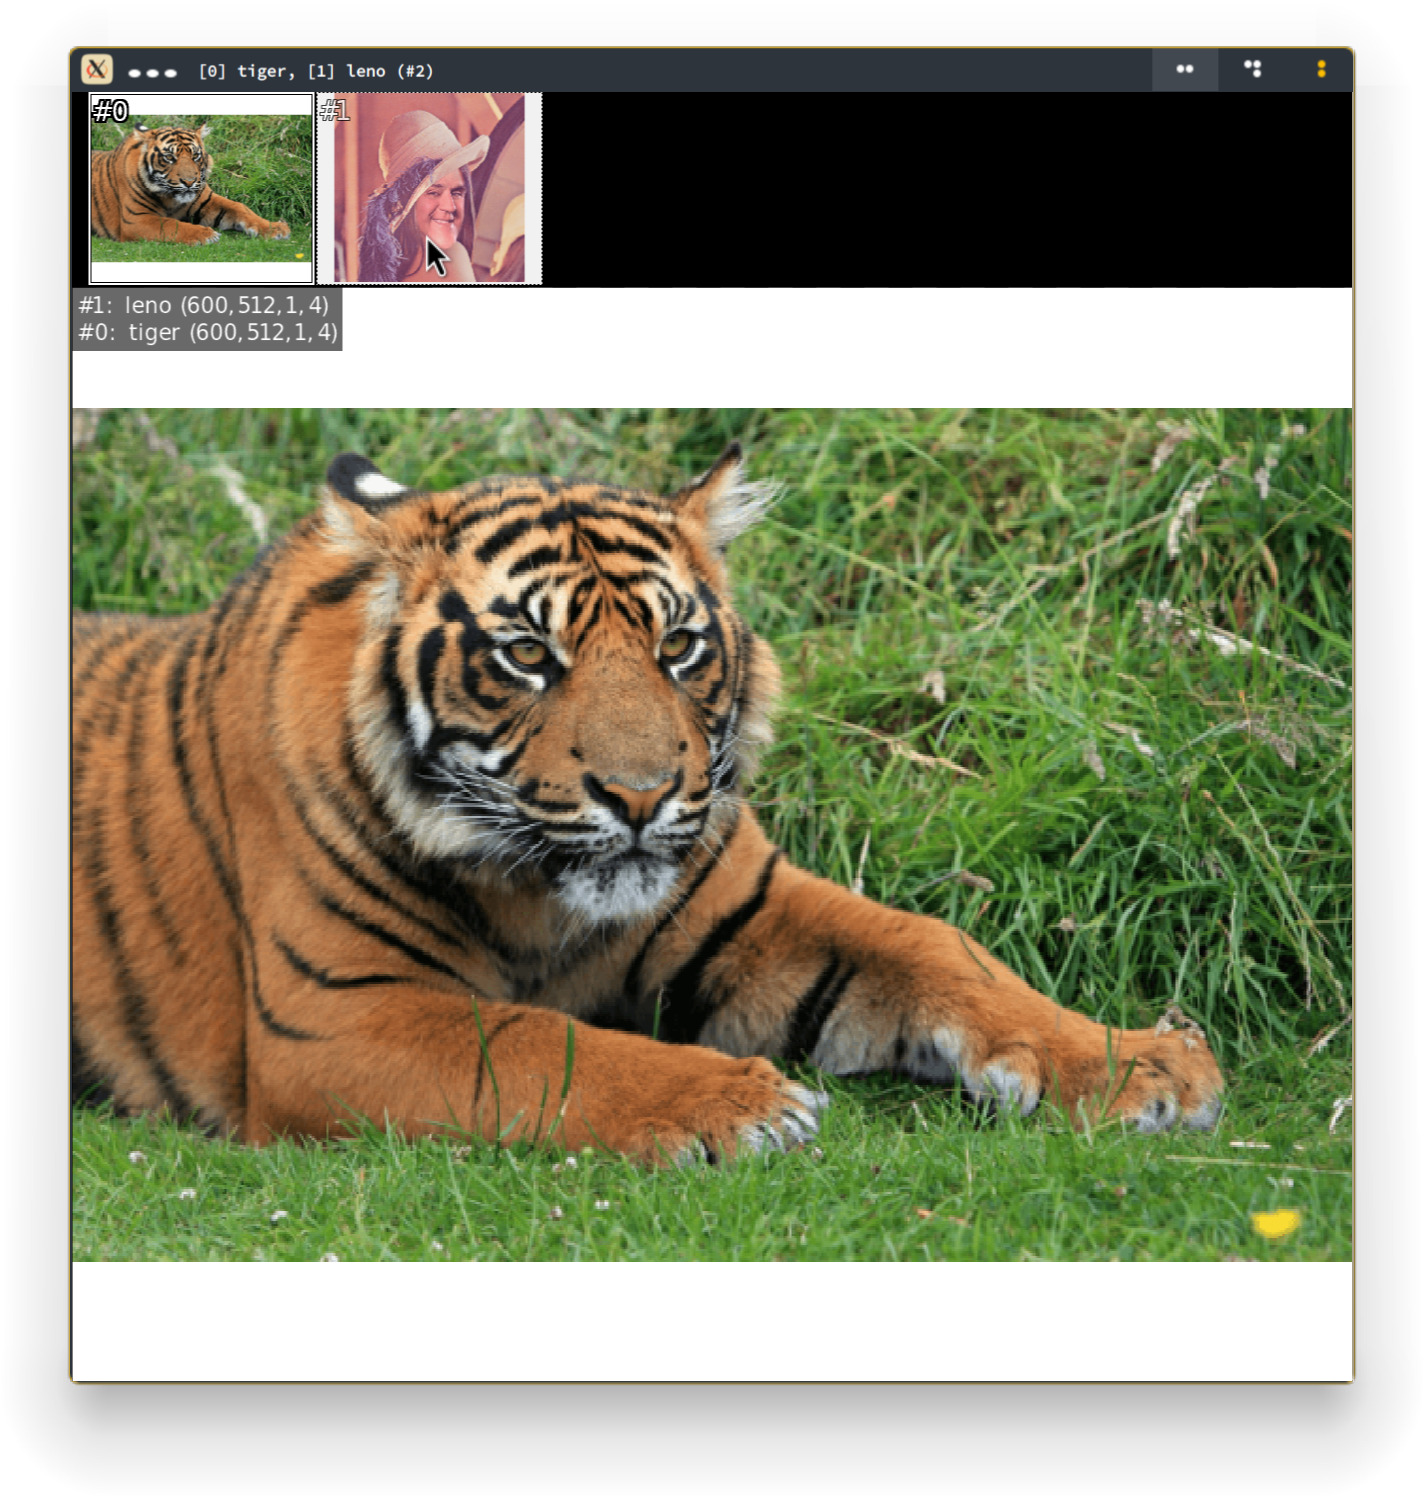
gmic run 'sp tiger,512 sp lena,300 +resize_as_image. ..,0,0,.5,.5 '
This, above, seems to do what i’m talking about when “resized” image is smaller than the reference.
The one below enlarges, pads and crops the image when the resized image is close or the same size as reference.
gmic run 'sp tiger,512 sp lena,500 +resize_as_image. ..,0,0,.5,.5'
So it’s still not a “just expand” (or do nothing to h if same height, or to w if same width) solution.
Something as ri[1] [0],0,0,0.5,0.5.
Try negative cropping (that is, cropping can also pad).
gmic run '50,75,1,3,[255,0,0] crop. -1,-3,52,77,0'
puts a 1 pixel border on the left and 3 pixel borders on right, top and bottom.

mx0 is your desired left margin
my0 is your desired top margin
mx1 is your desired right margin
my1 is your desired bottom margin
Then crop:
-mx0,-my0,w+(mx1-1),h+(my1-1)
where w and h are the original image dimensions.
Well, it’s actually something like that (again, not sure about the syntax with all the {}. Well, it seems to work:
gmic run 'sp tiger,1200 sp lena,512 expand_x. {({0,w}-{1,w})/2},0 expand_y. {({0,h}-{1,h})/2},0'
abs() maybe.
I see, just as negative resizing is like mirroring.
You can use w#ind instead of {ind,w} to make it more readable, and use less {}.
So now i have this little useless tool that pads 2 images with alpha (here displayed in white) so they get the same dimensions :
pr_expand_as_img:
to_rgba
w0,w1,h0,h1:=w#0,w#1,h#0,h#1
pad_x:=($w0-$w1)/2
pad_y:=($h0-$h1)/2
if $pad_x>0 expand_x. $pad_x,0 else expand_x.. {abs($pad_x)},0 fi
if $pad_y>0 expand_y. $pad_y,0 else expand_y.. {abs($pad_y)},0 fi
Now where can i go from here?
Maybe it’ll be more useful if i expand it to expand a whole list of images to the largest one? Not sure i can handle this. But maybe it already exists? ![]()
But maybe i’ve already overlooked something in this little one ![]()
I have to use it that way for now :
repeat 2 { sp , } pr_expand_as_img[0,1]
Using this will not work right:
repeat 2 { sp , } pr_expand_as_img ..,.
It would be simpler to create an image based on the max dimensions of all input images then image the said images on it.
Yes. Basically,
rescale2d ${-max_w},${-max_h},5,1
Disclaimer: I have not tested this.
That’s what I wanted to do at first.
Nvm, let’s flush the toilet
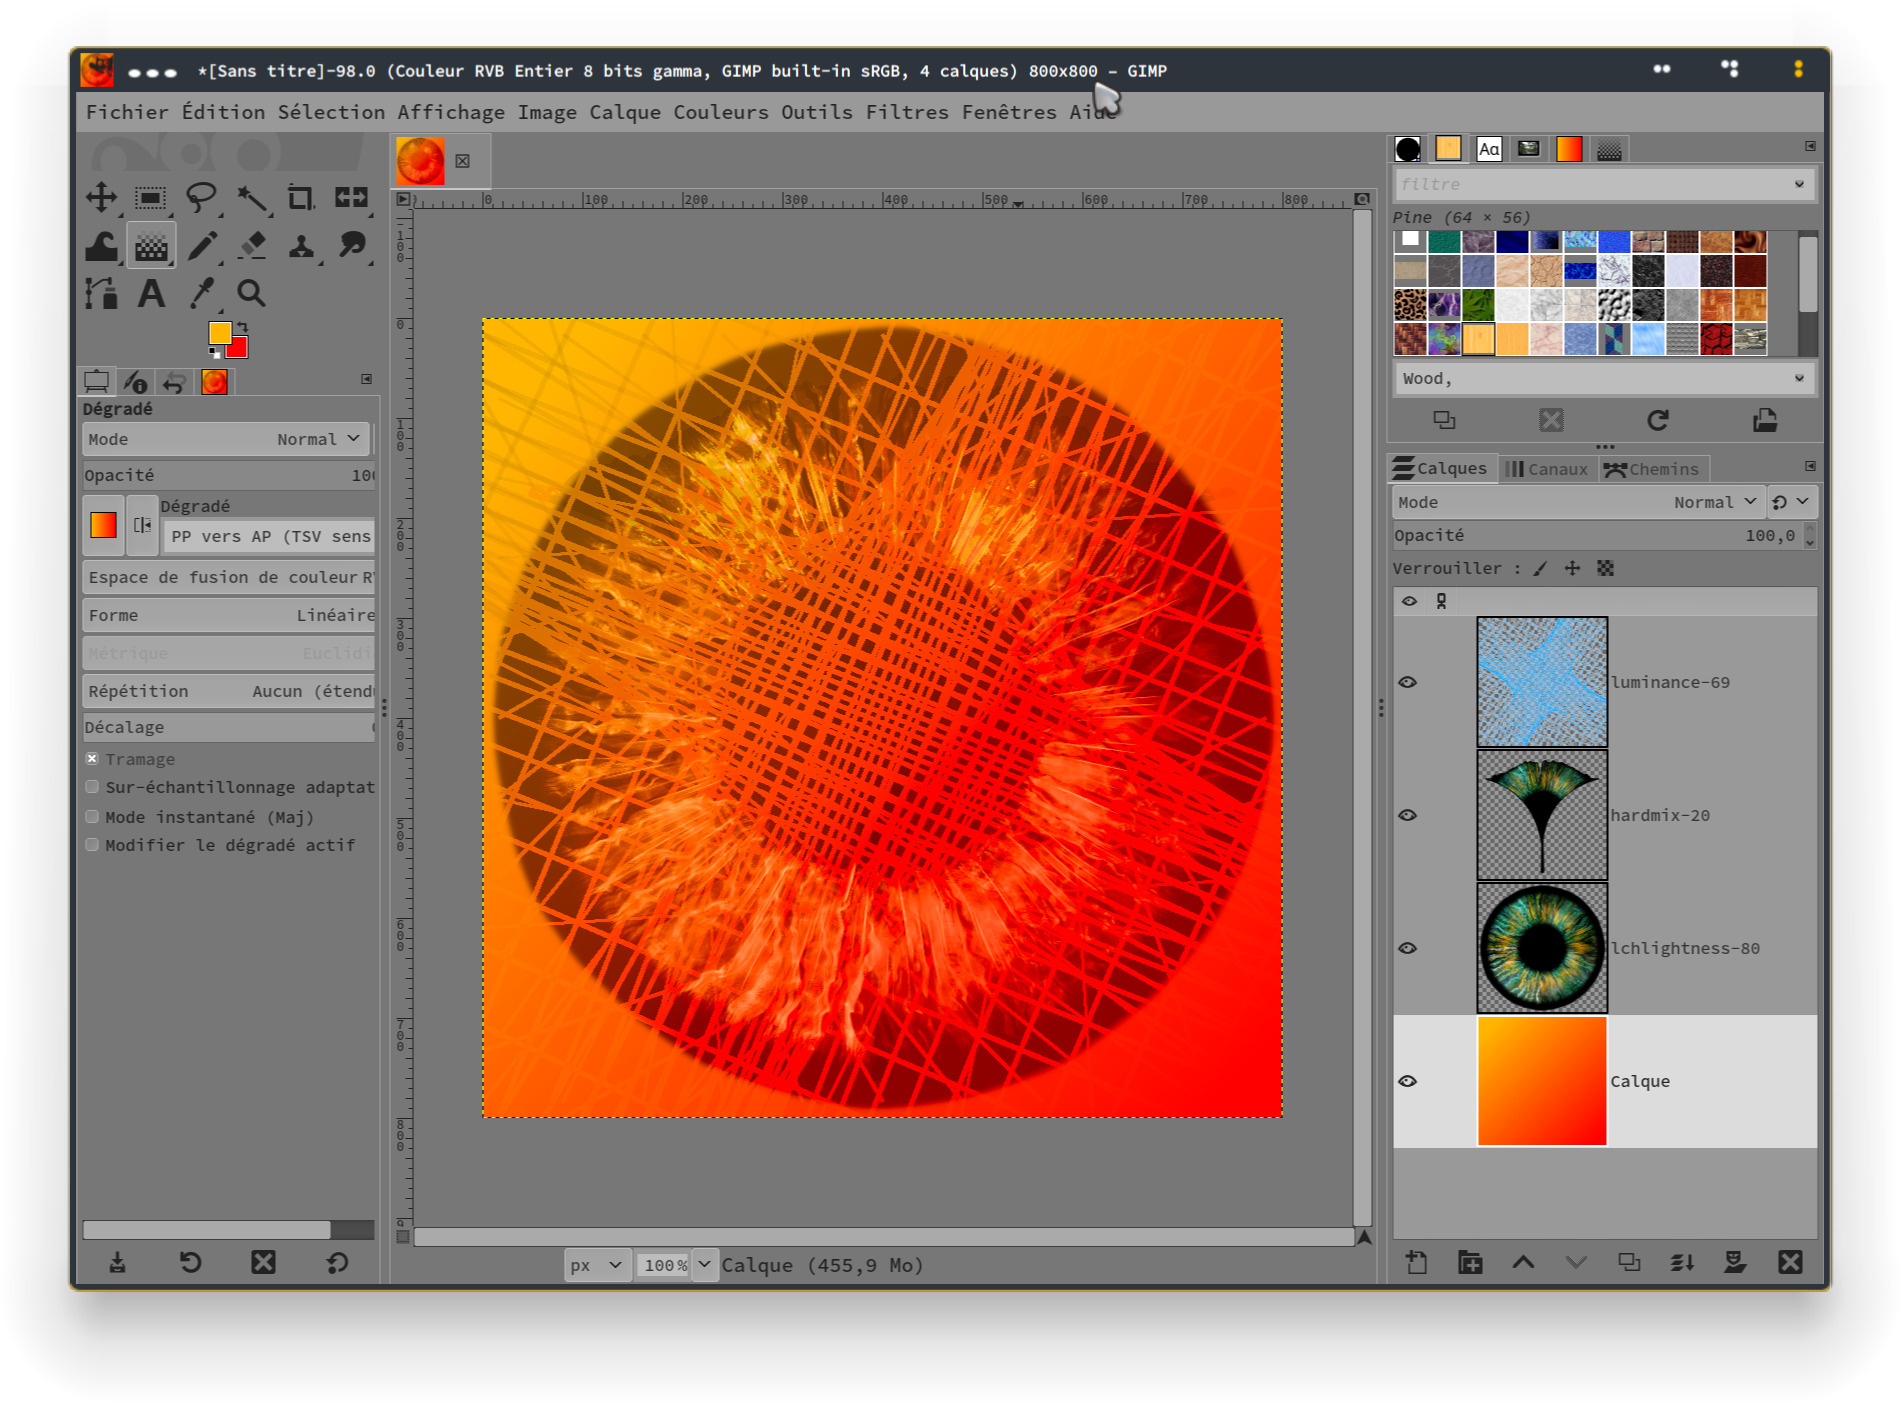
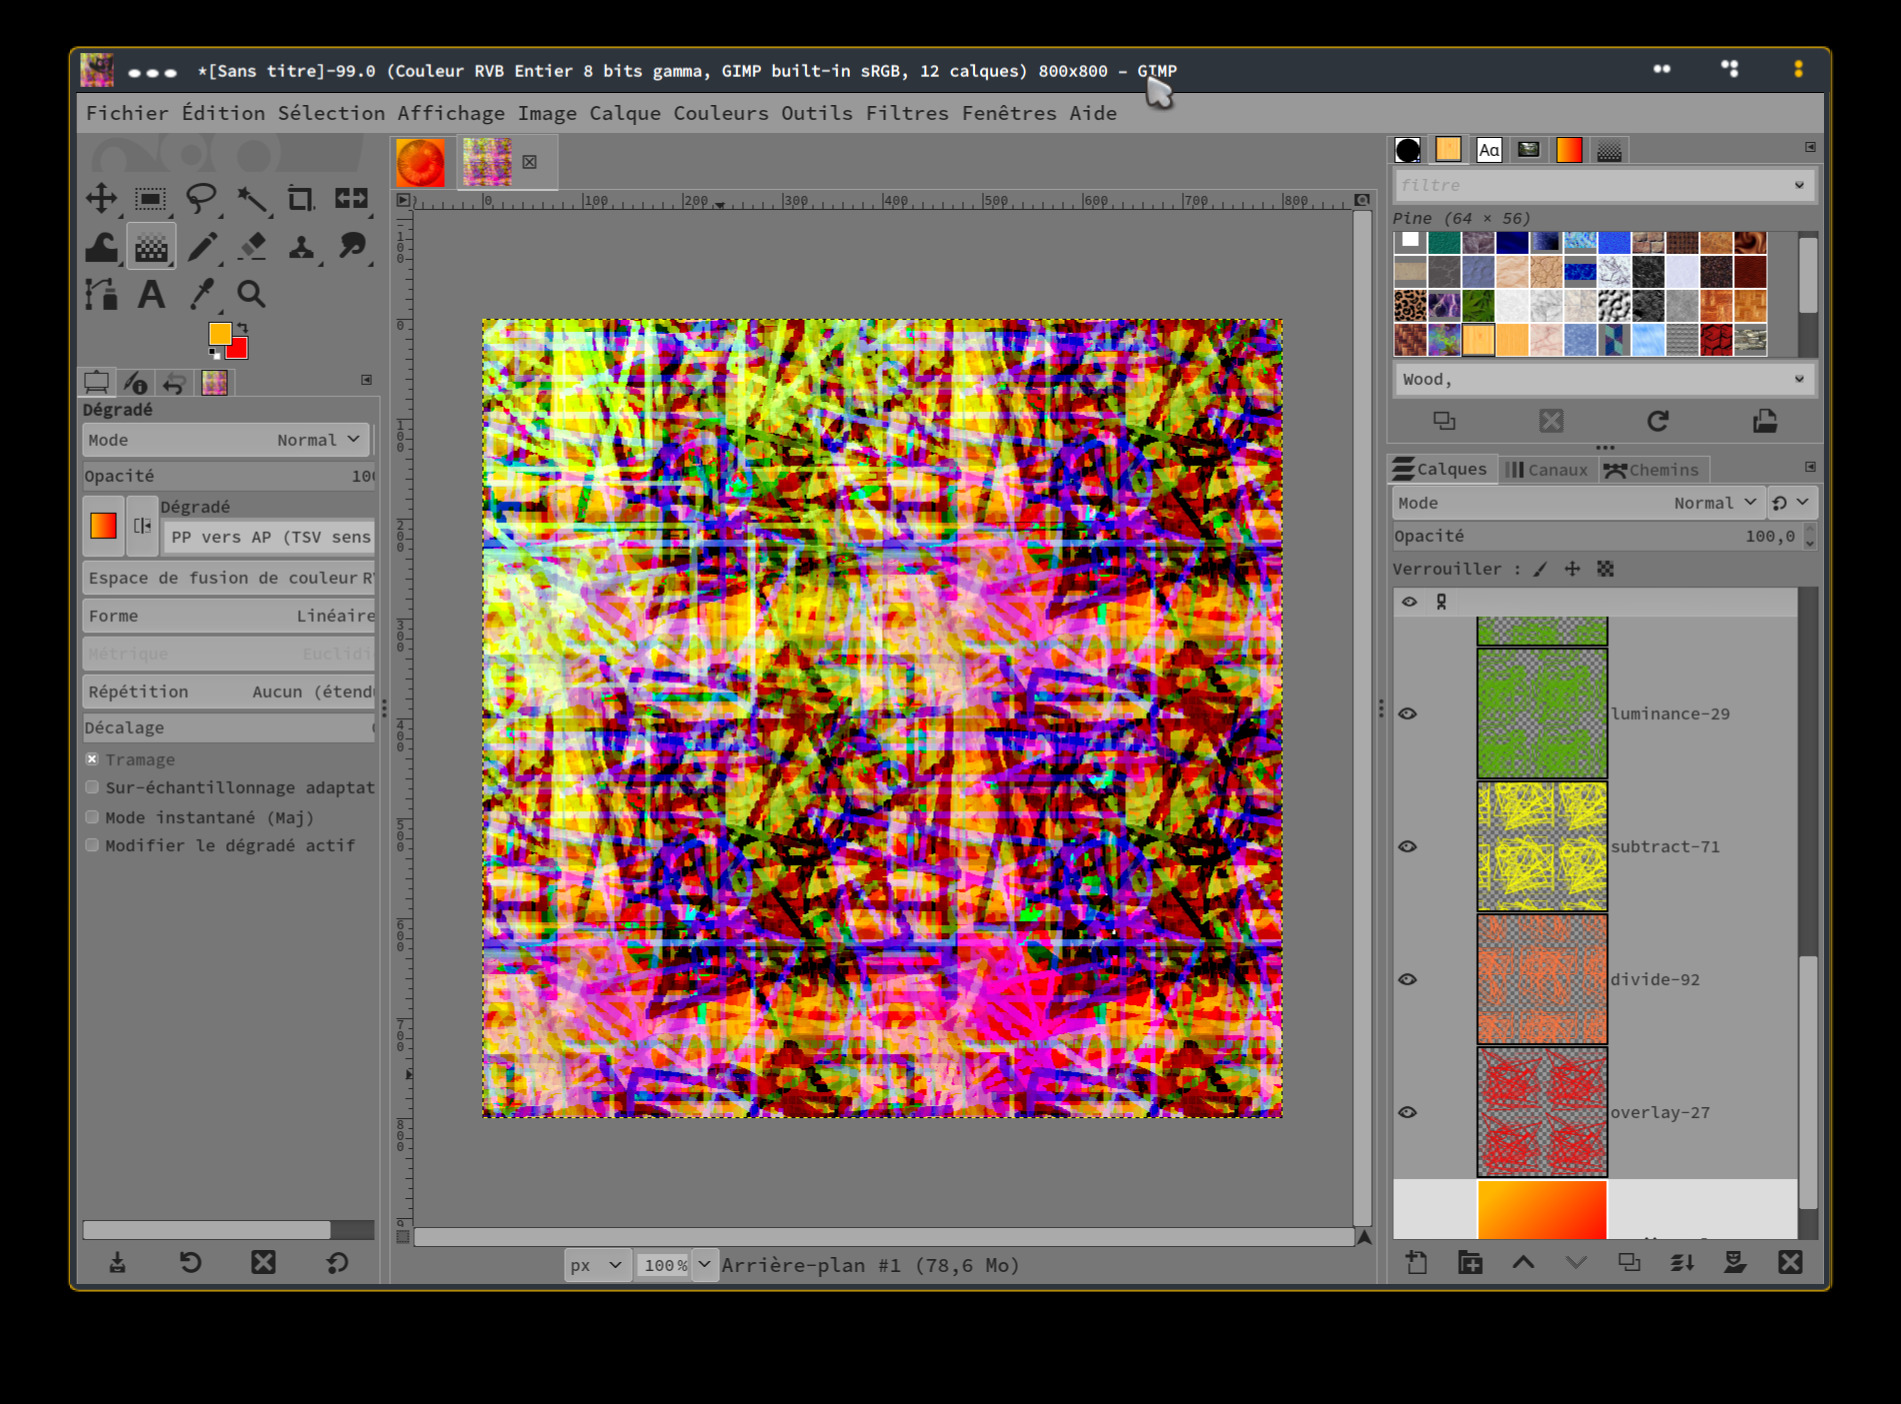
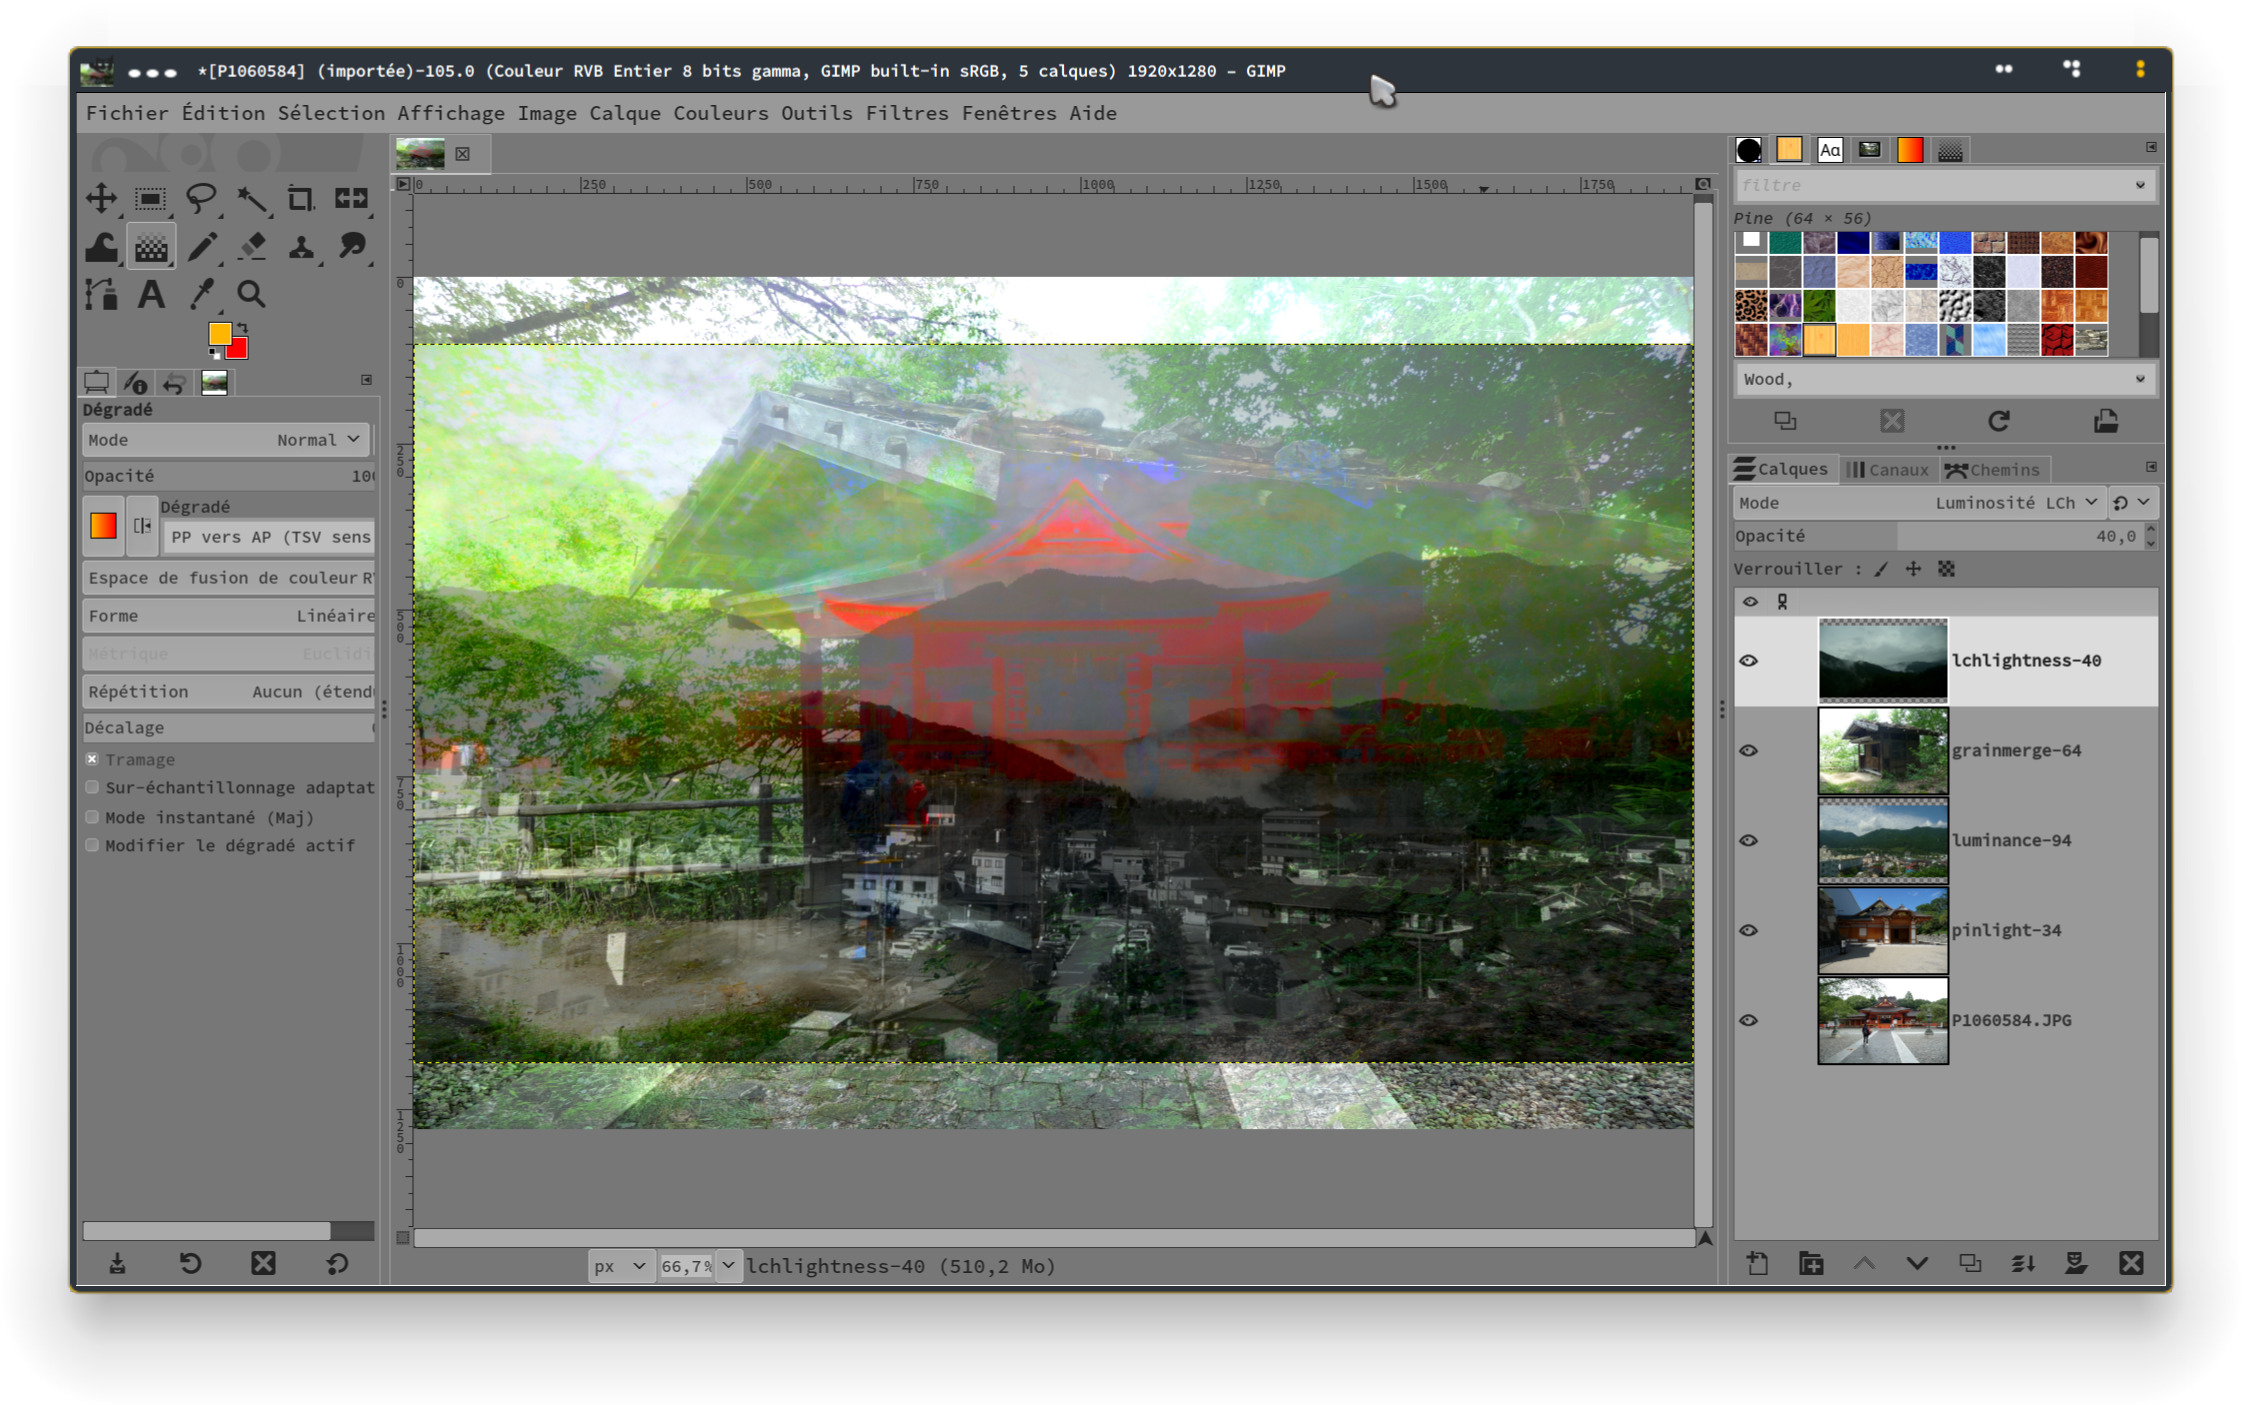
Just started playing with another useless idea…
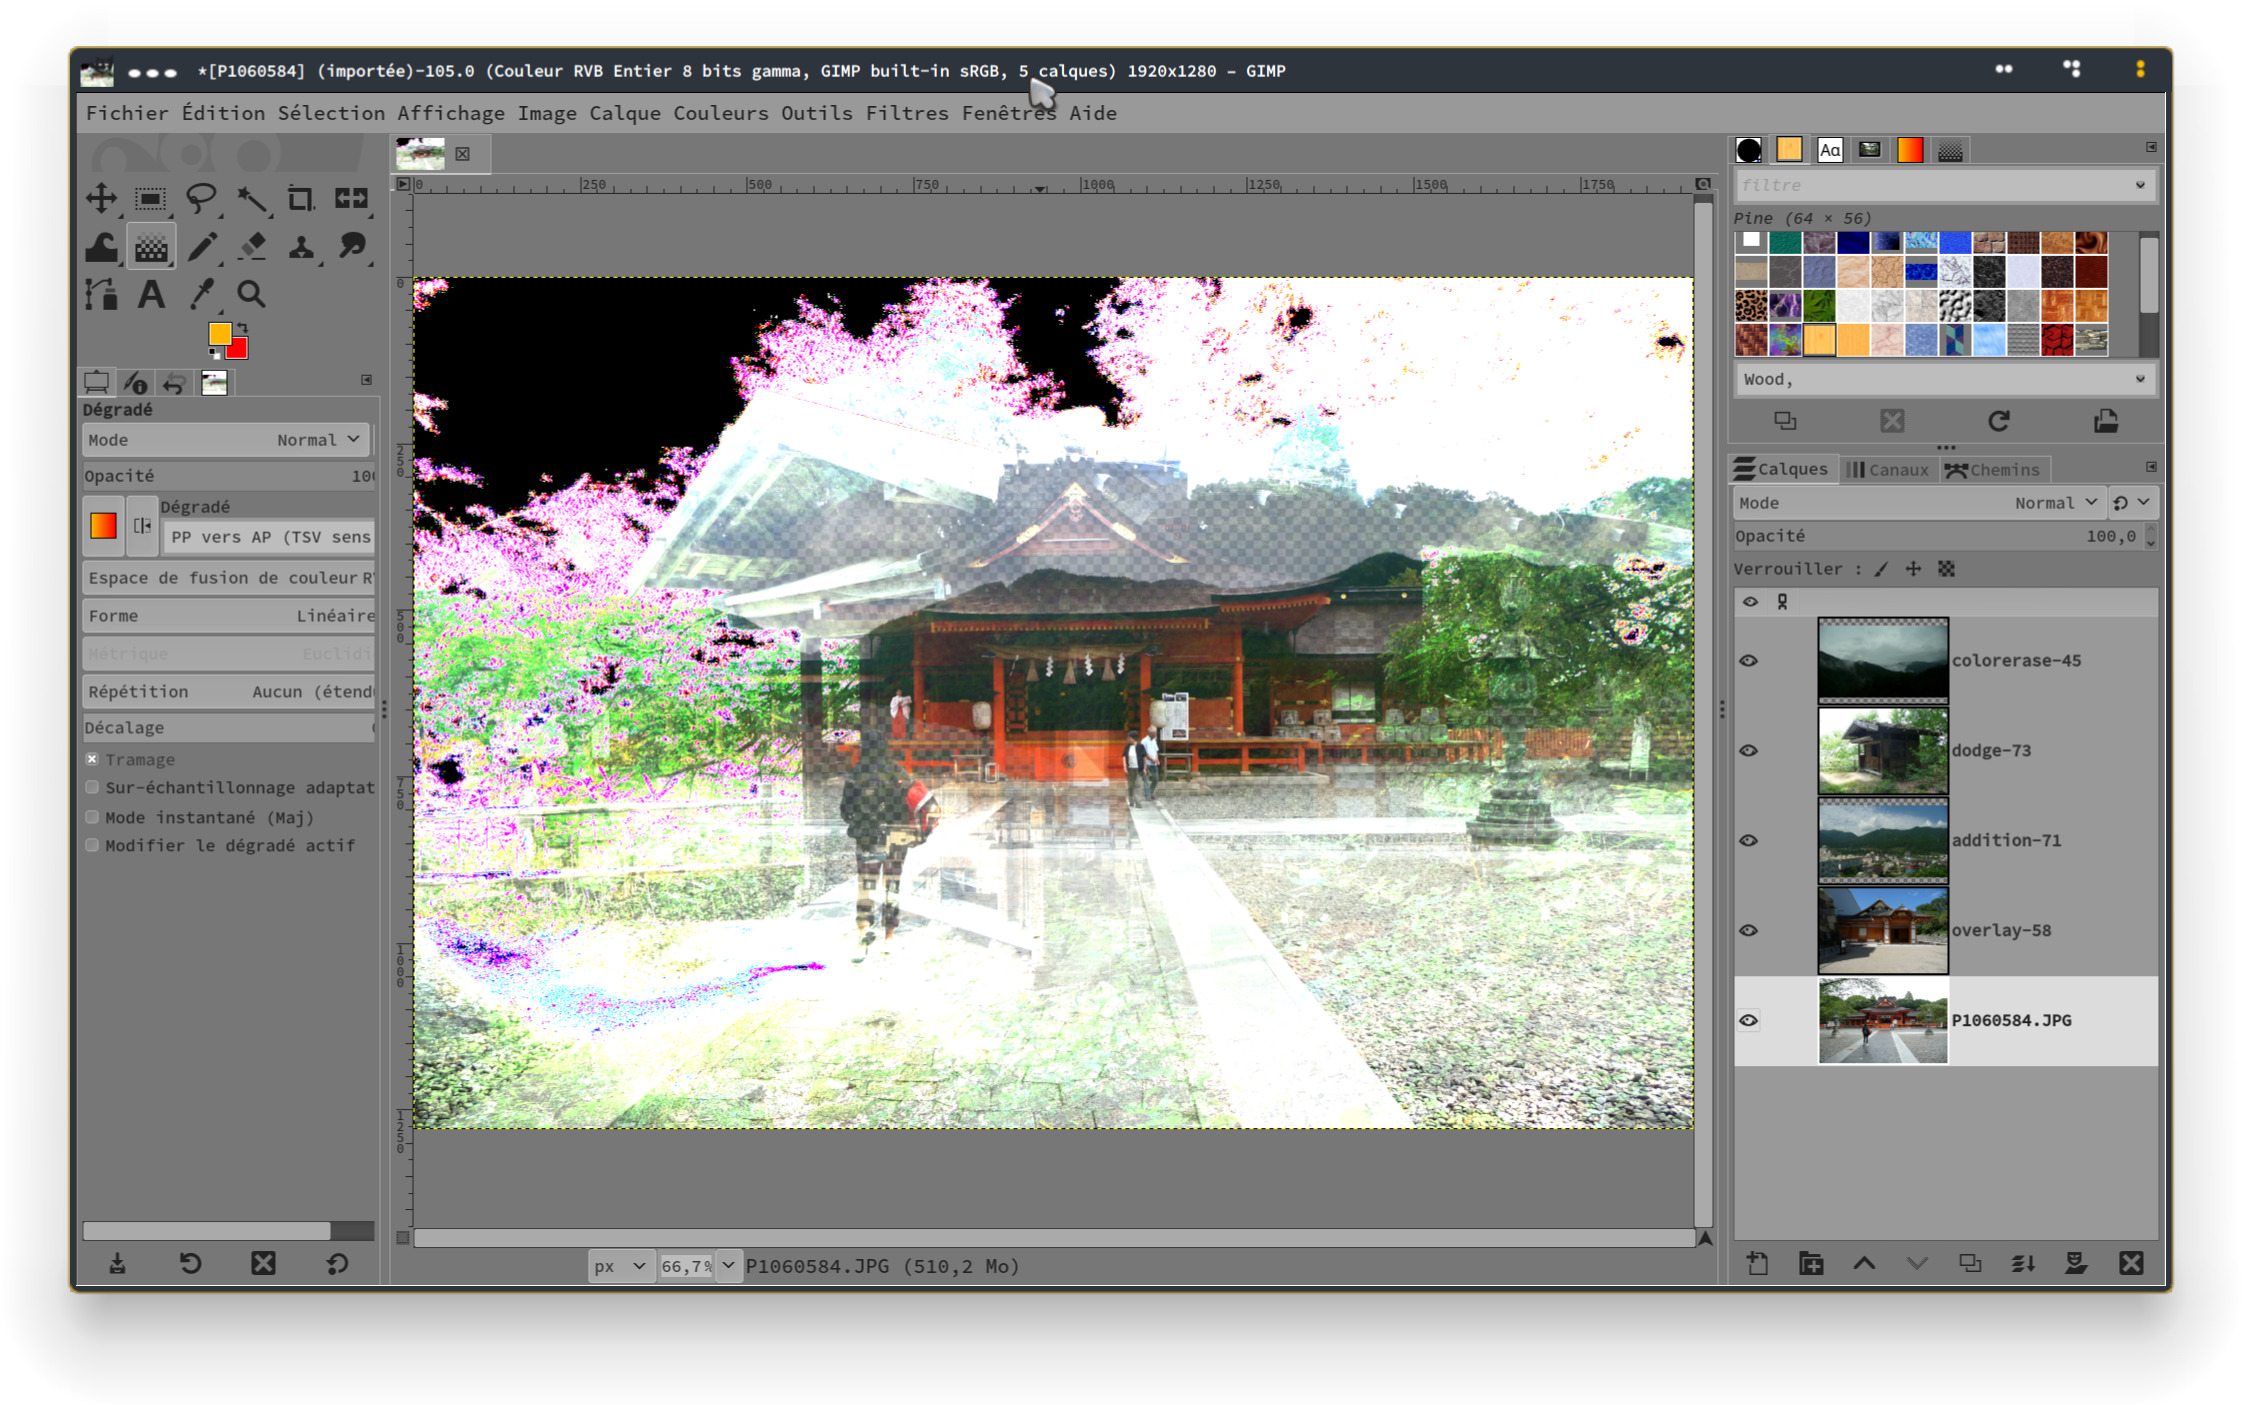
Randomly setting layers modes and opacity in GIMP via G’MIC :
I’ve removed G’MiC’s blending modes that GIMP doesn’t understand and started to add Gimp layer modes like “color erase”, etc. Will probably add some tick boxes to choose which layer modes to activate. Who knows. It’s fun to do useless things ;O
BTW it would be cool if G’MIC had “TSL color” or “LCH color” blending modes. Or whatever color mode anyway.
If it were feasible at this time, I’d love to see more blending modes found in GIMP and Krita within G’MIC. There’s a lot of blending modes within Krita (Over 100!).
Well, it looks lke G’MIC is not installed with Krita on Fedora.
How can i build it for Krita?
G’MIC has been a built-in thing in Krita. Unfortunately, the maintainer doesn’t seem to be there, so we’re stuck with old versions for it.
The flathub version 5.2.2 has G’MIC 3.2.4 :
Is it the same for the appimage?
Likely so. It always some versions behind.
@prawnsushi Do you maintain a personal user.gmic or use custom *.gmic files? The downside is that you cannot use new core features, but the benefit is that you can copy and port new filters to work with older versions.
Another note is that Krita interacts with G’MIC differently than GIMP in a few ways. I vaguely recall noticing at least three: canvas resizing, layer copying and alpha.
One of the best way to test your G’MIC filter in GUI is to use to_automode and use several images of different color space. This is neutral to developing environment.
I have only 2 gmic files, prawnsushi.gmic which is the main file and a dummy.gmic which is like a sketchbook I guess. Anyway I’ll just make this toy work in Gimp for now. Krita doesn’t even recognize my jpg files. I think it’s looking for jpeg instead… :0 That’s strange. Fedora’s version doesn’t have gmic but can find my jpgs, flathub’s has gmic but no jpgs… I’ll try the appimage maybe… But I need an arm64 build.
Yes, I have to find out how to create and save lab, cmyk ( and others) files though.
Perhaps use G’MIC to read in the files.