Tiny LBB build Question

do you think I need to force the 32 oled to work using this:

The Adafruit examples assume you have a 128×32 screen. They still run with a 128×64 pixel screen but it is better to change them before you move onto anything more complicated. To do this simply edit the scripts and disable the 128×32 config line by placing a # character at the front, and enable the 128×64 line by deleting the # character from the front. The section in the script should now look like this :

I2C OLED Display Python Examples

This step becomes essential if you want to start creating your own images to display on the screen.

where would I find this to adjust???

in an odd twist, LBB is happy to mount anything thru the zero4U ‘hub’ when connected too the RPI4, but just not when bolted to the zero…very odd…

OK, all WORKING, < I had the ZERO in OTG mode, if your HUB won’t mount, go to config.txt and check if you have dtoverlay=dwc2 and comment it out with a “#”. Also check cmdline.txt for modules-load=dwc2,g_ether after rootwait and remove it.

still need to FORCE the OLED to 32 mode… working on case now…

Quick case of the PIOLED build, w zero4U hub. (more of a test case, till I make a better one)
some GPIO pins exposted for more playing.
Re-mouted the ACT LED to front GPIO (3.3v pin) w blue LED.
Blanked off unsed ports.

1 Like

This look absolutely fantastic. Good job! Is it a 3D-printed case? Would you mind sharing 3D files? Thanks!

I too would be interested in the 3D printer file. Looks amazing.

What’s the large LED for.

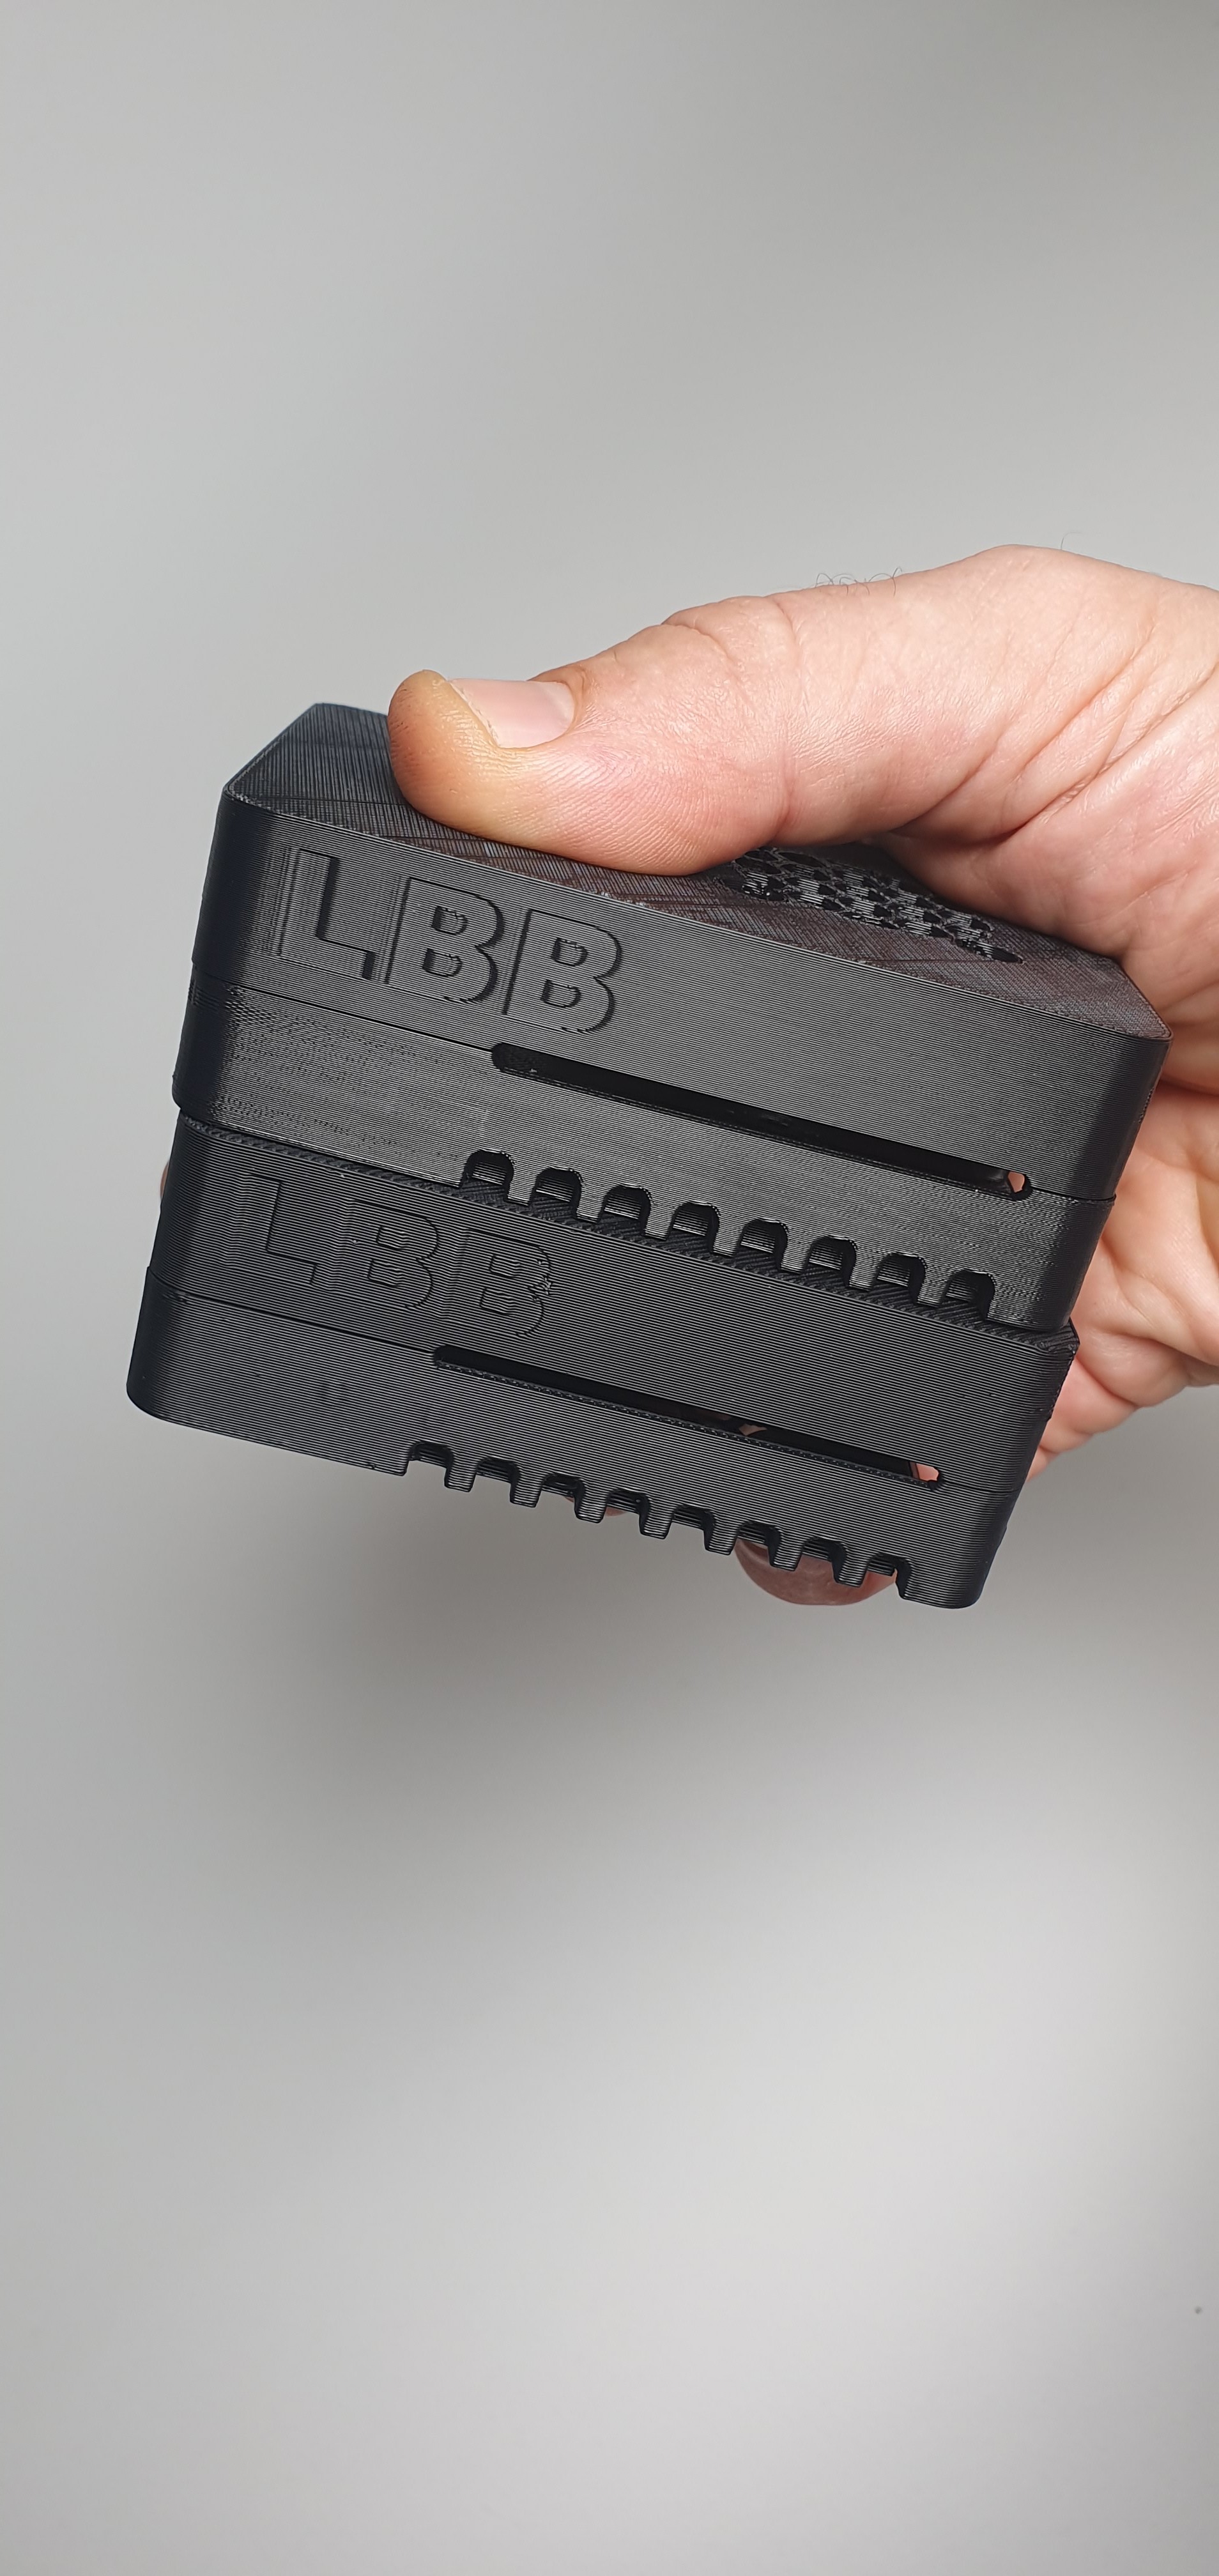
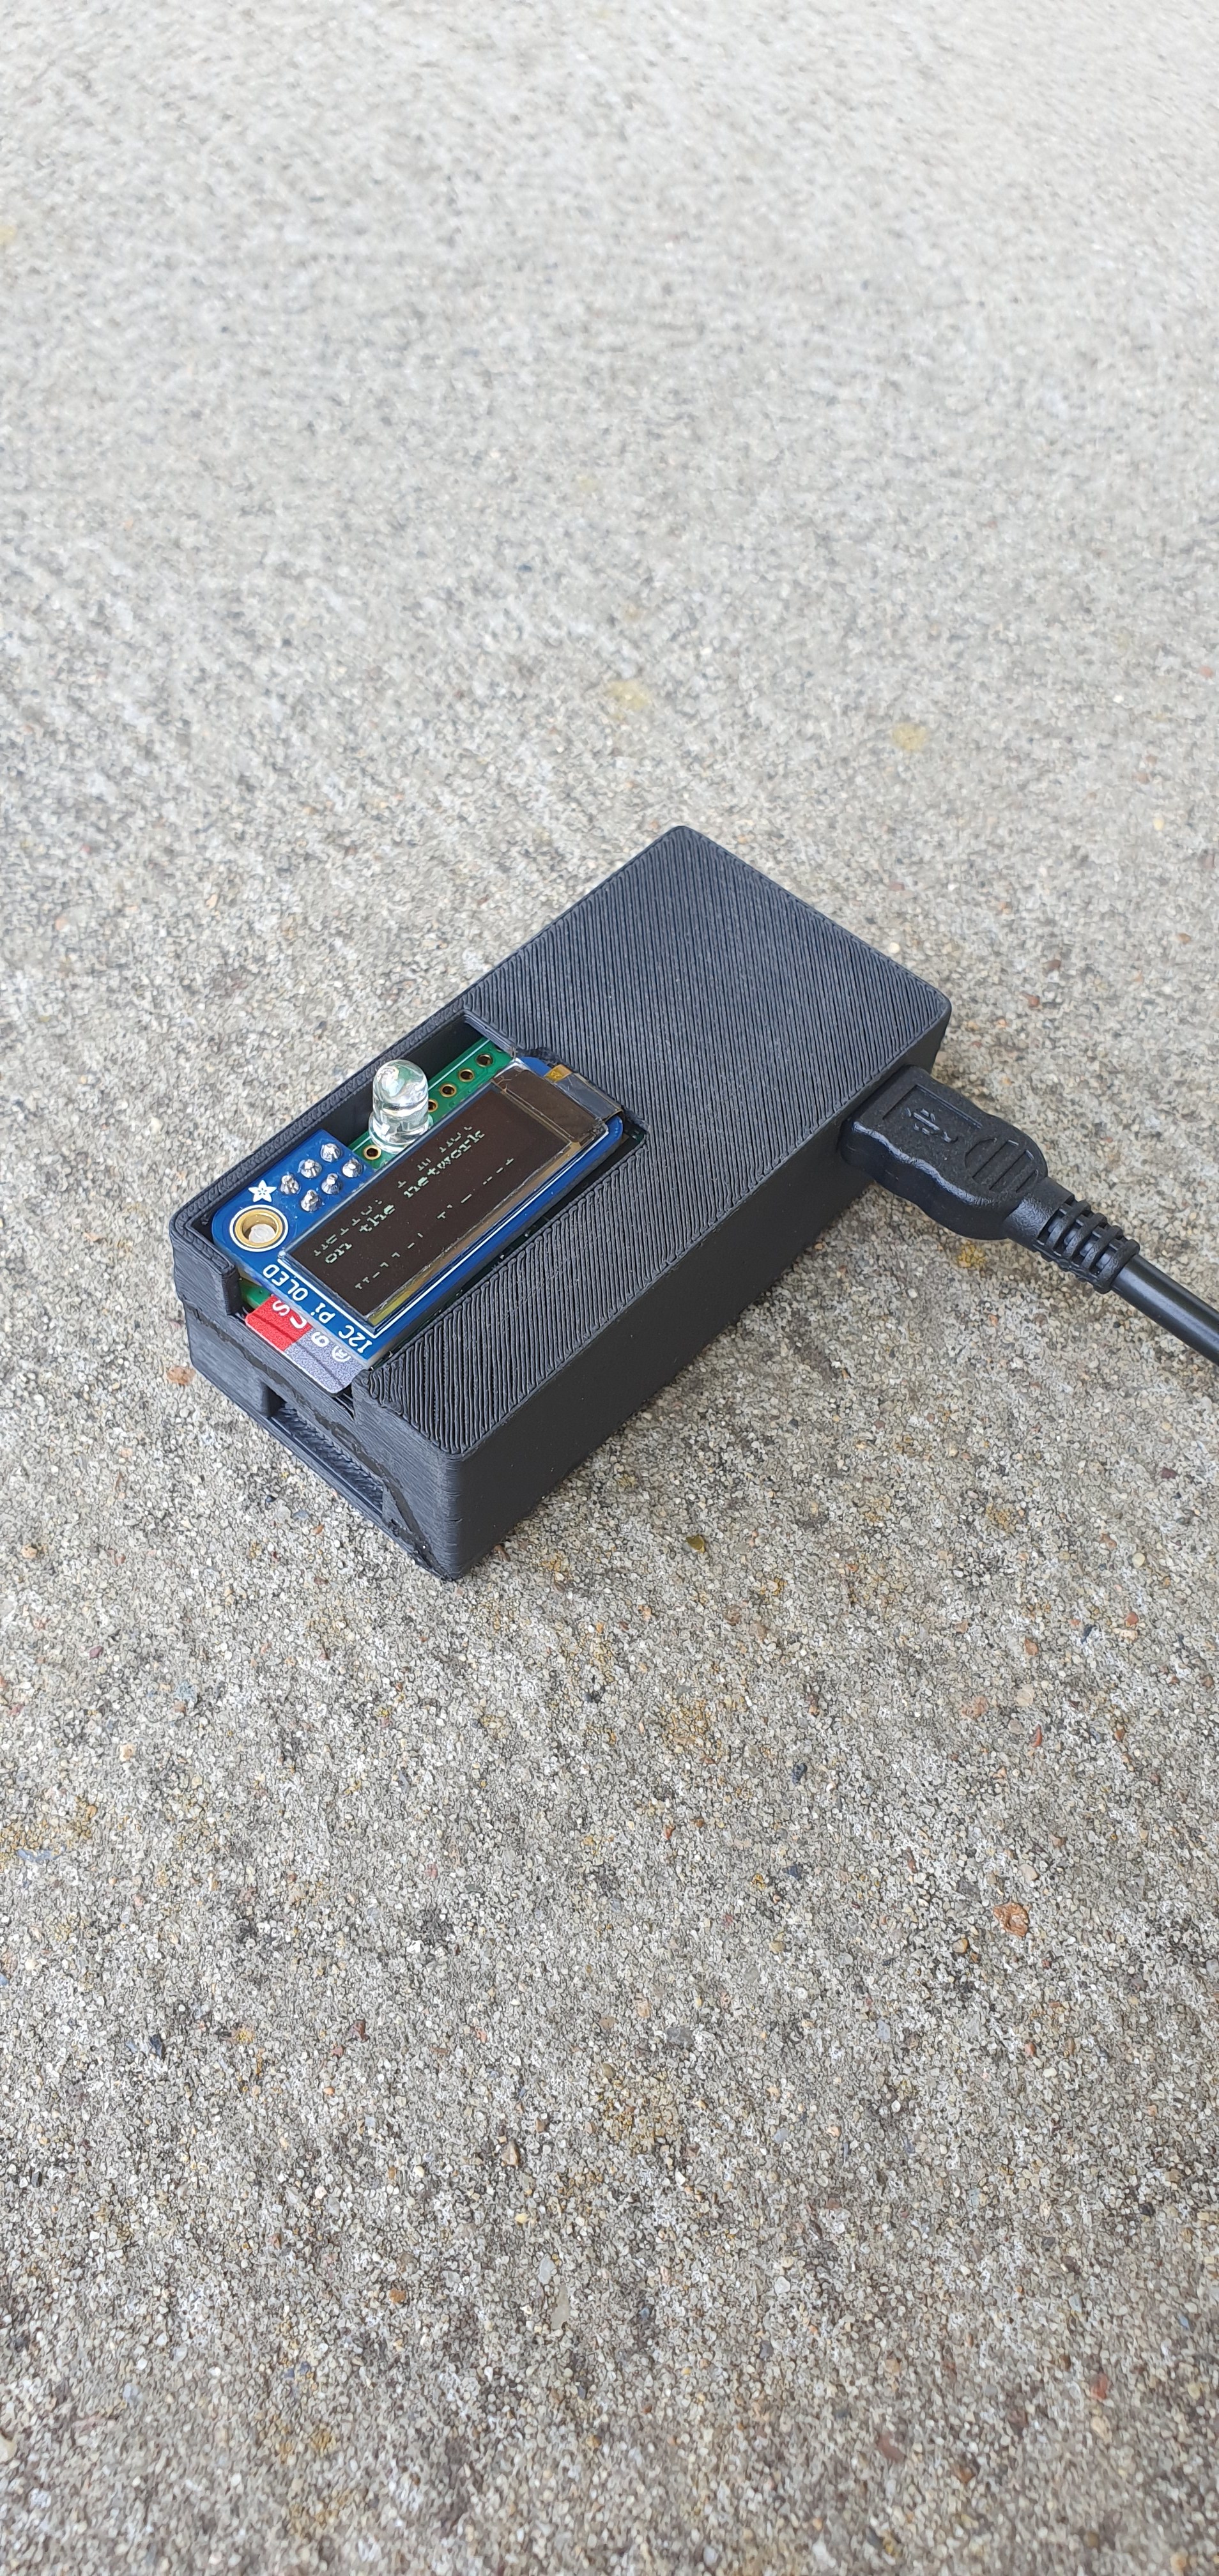
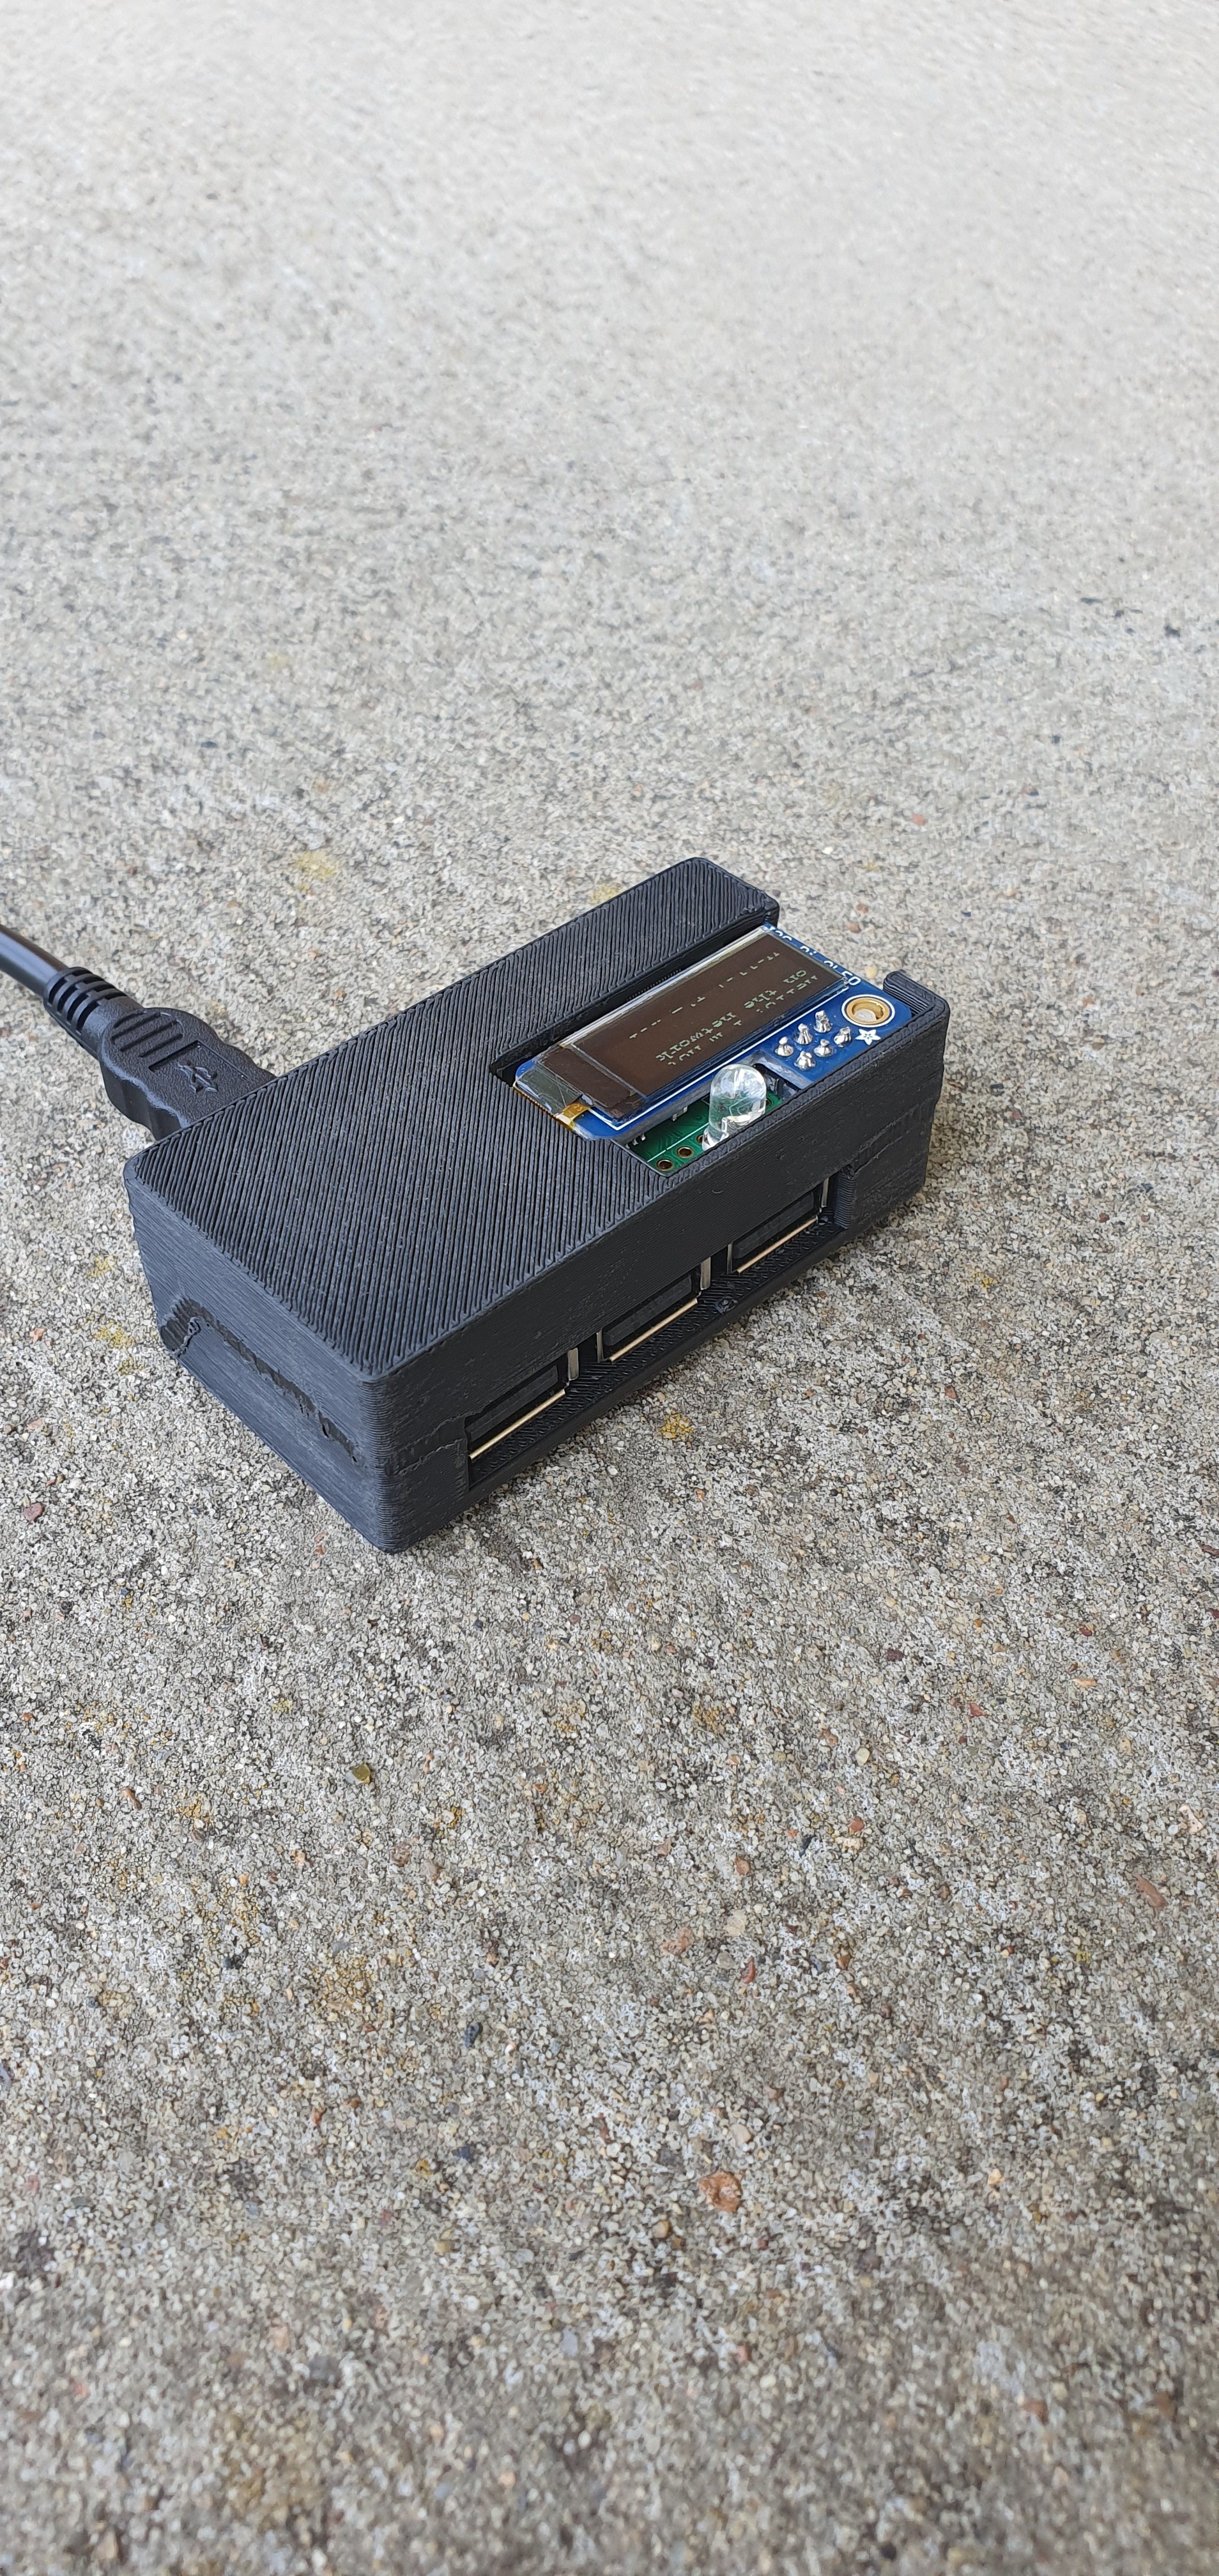
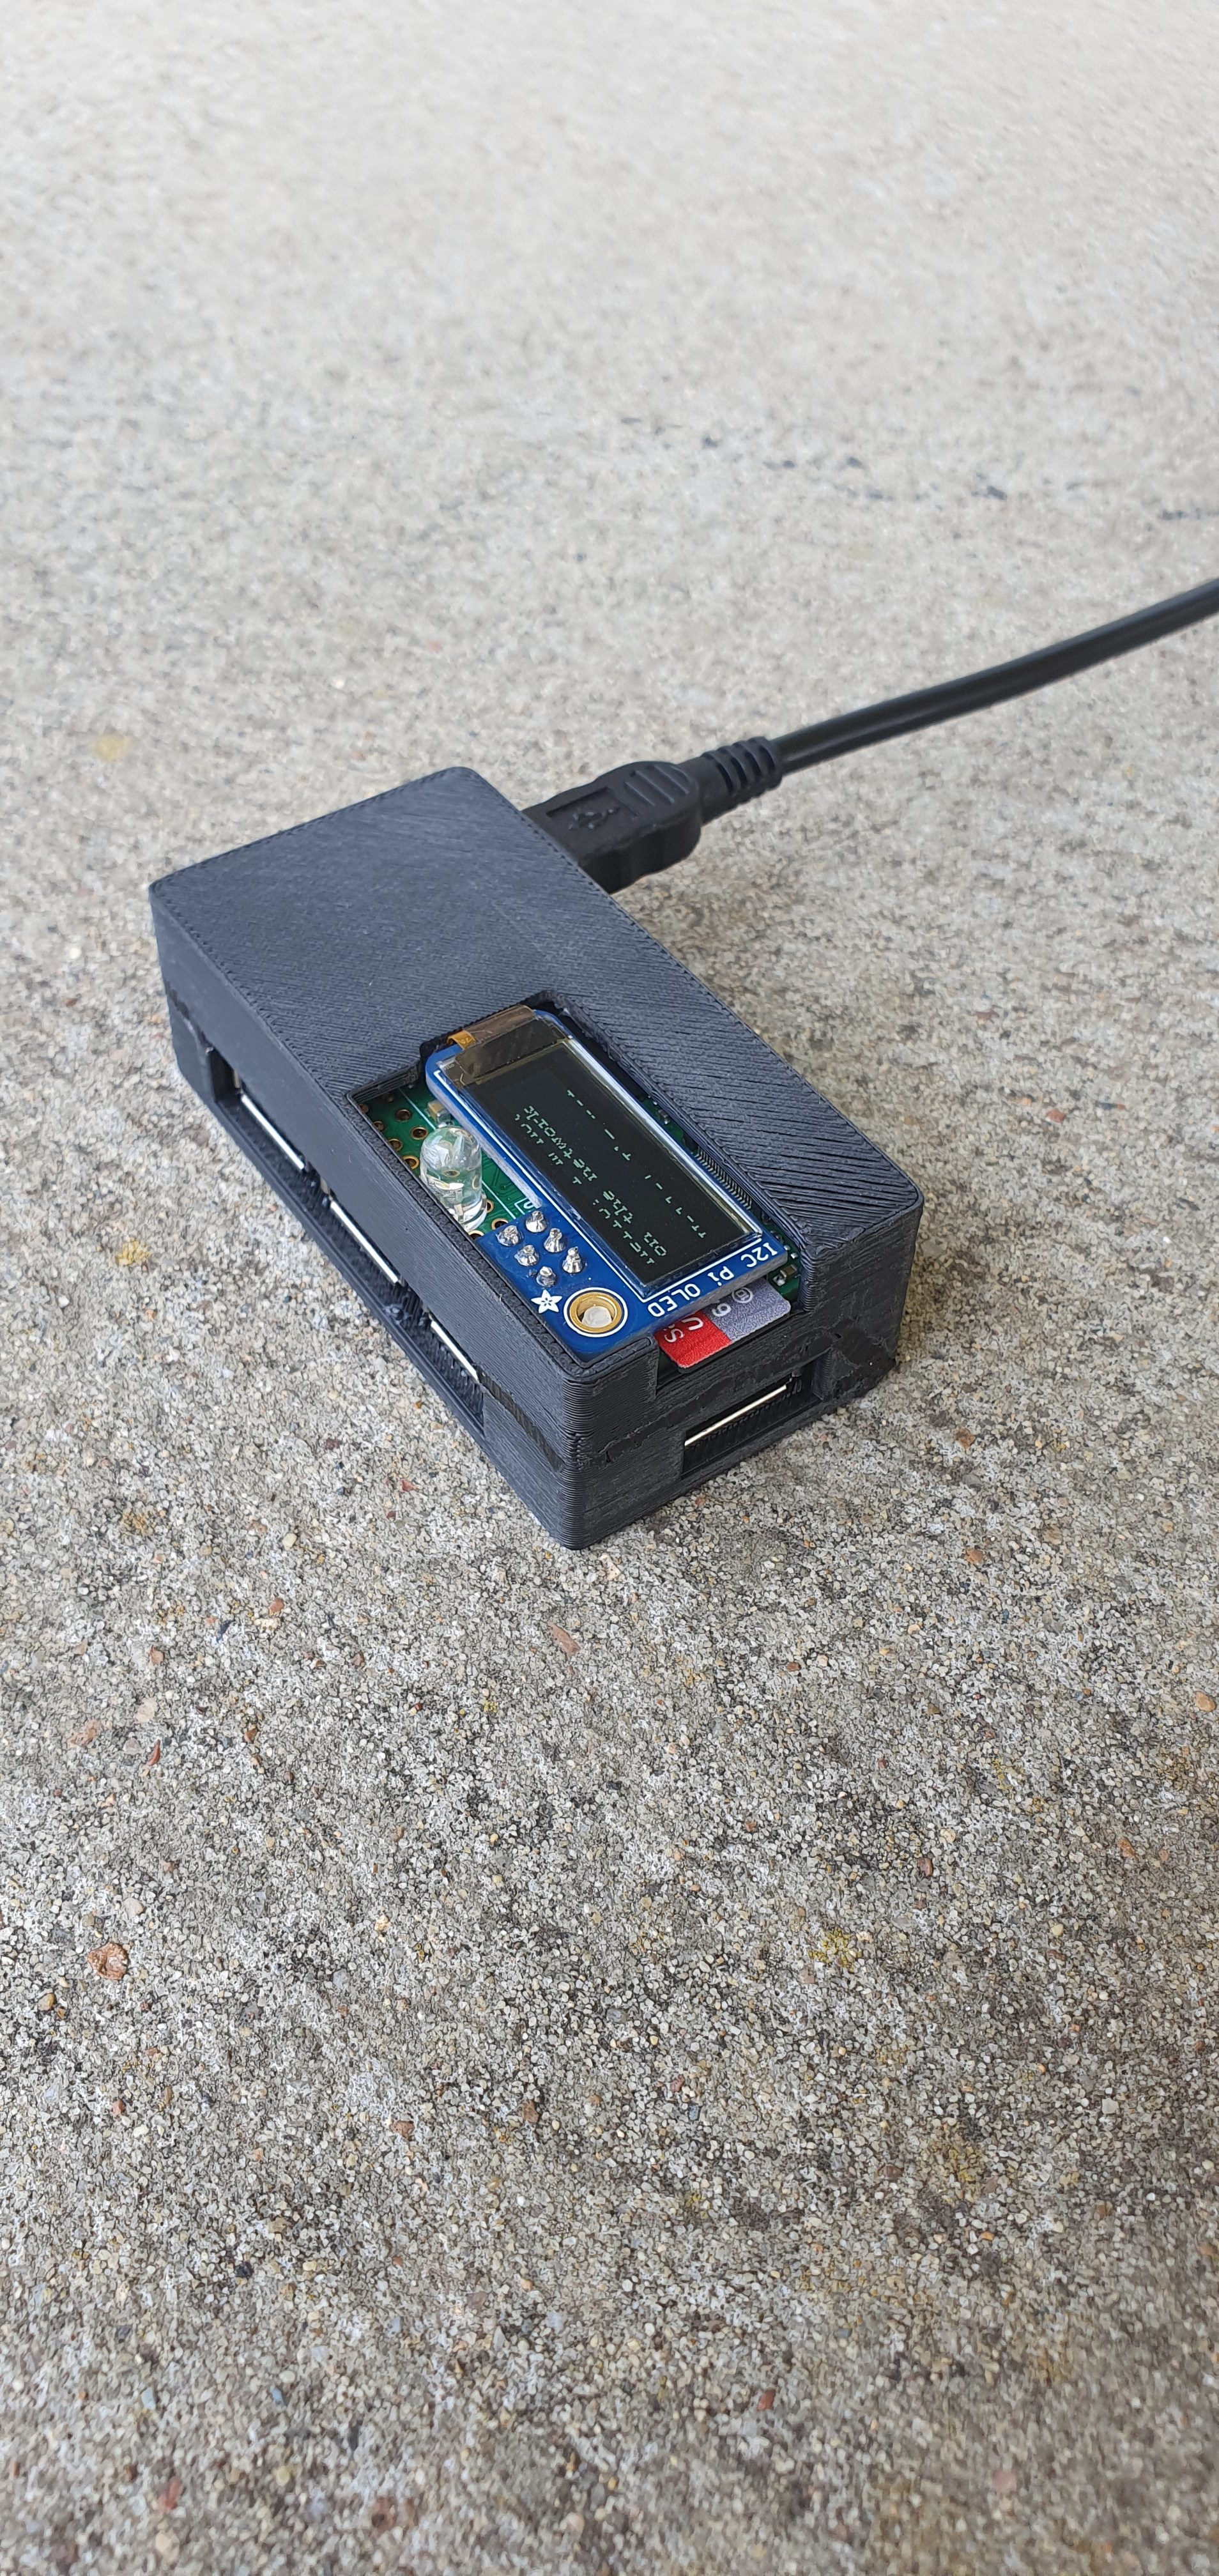
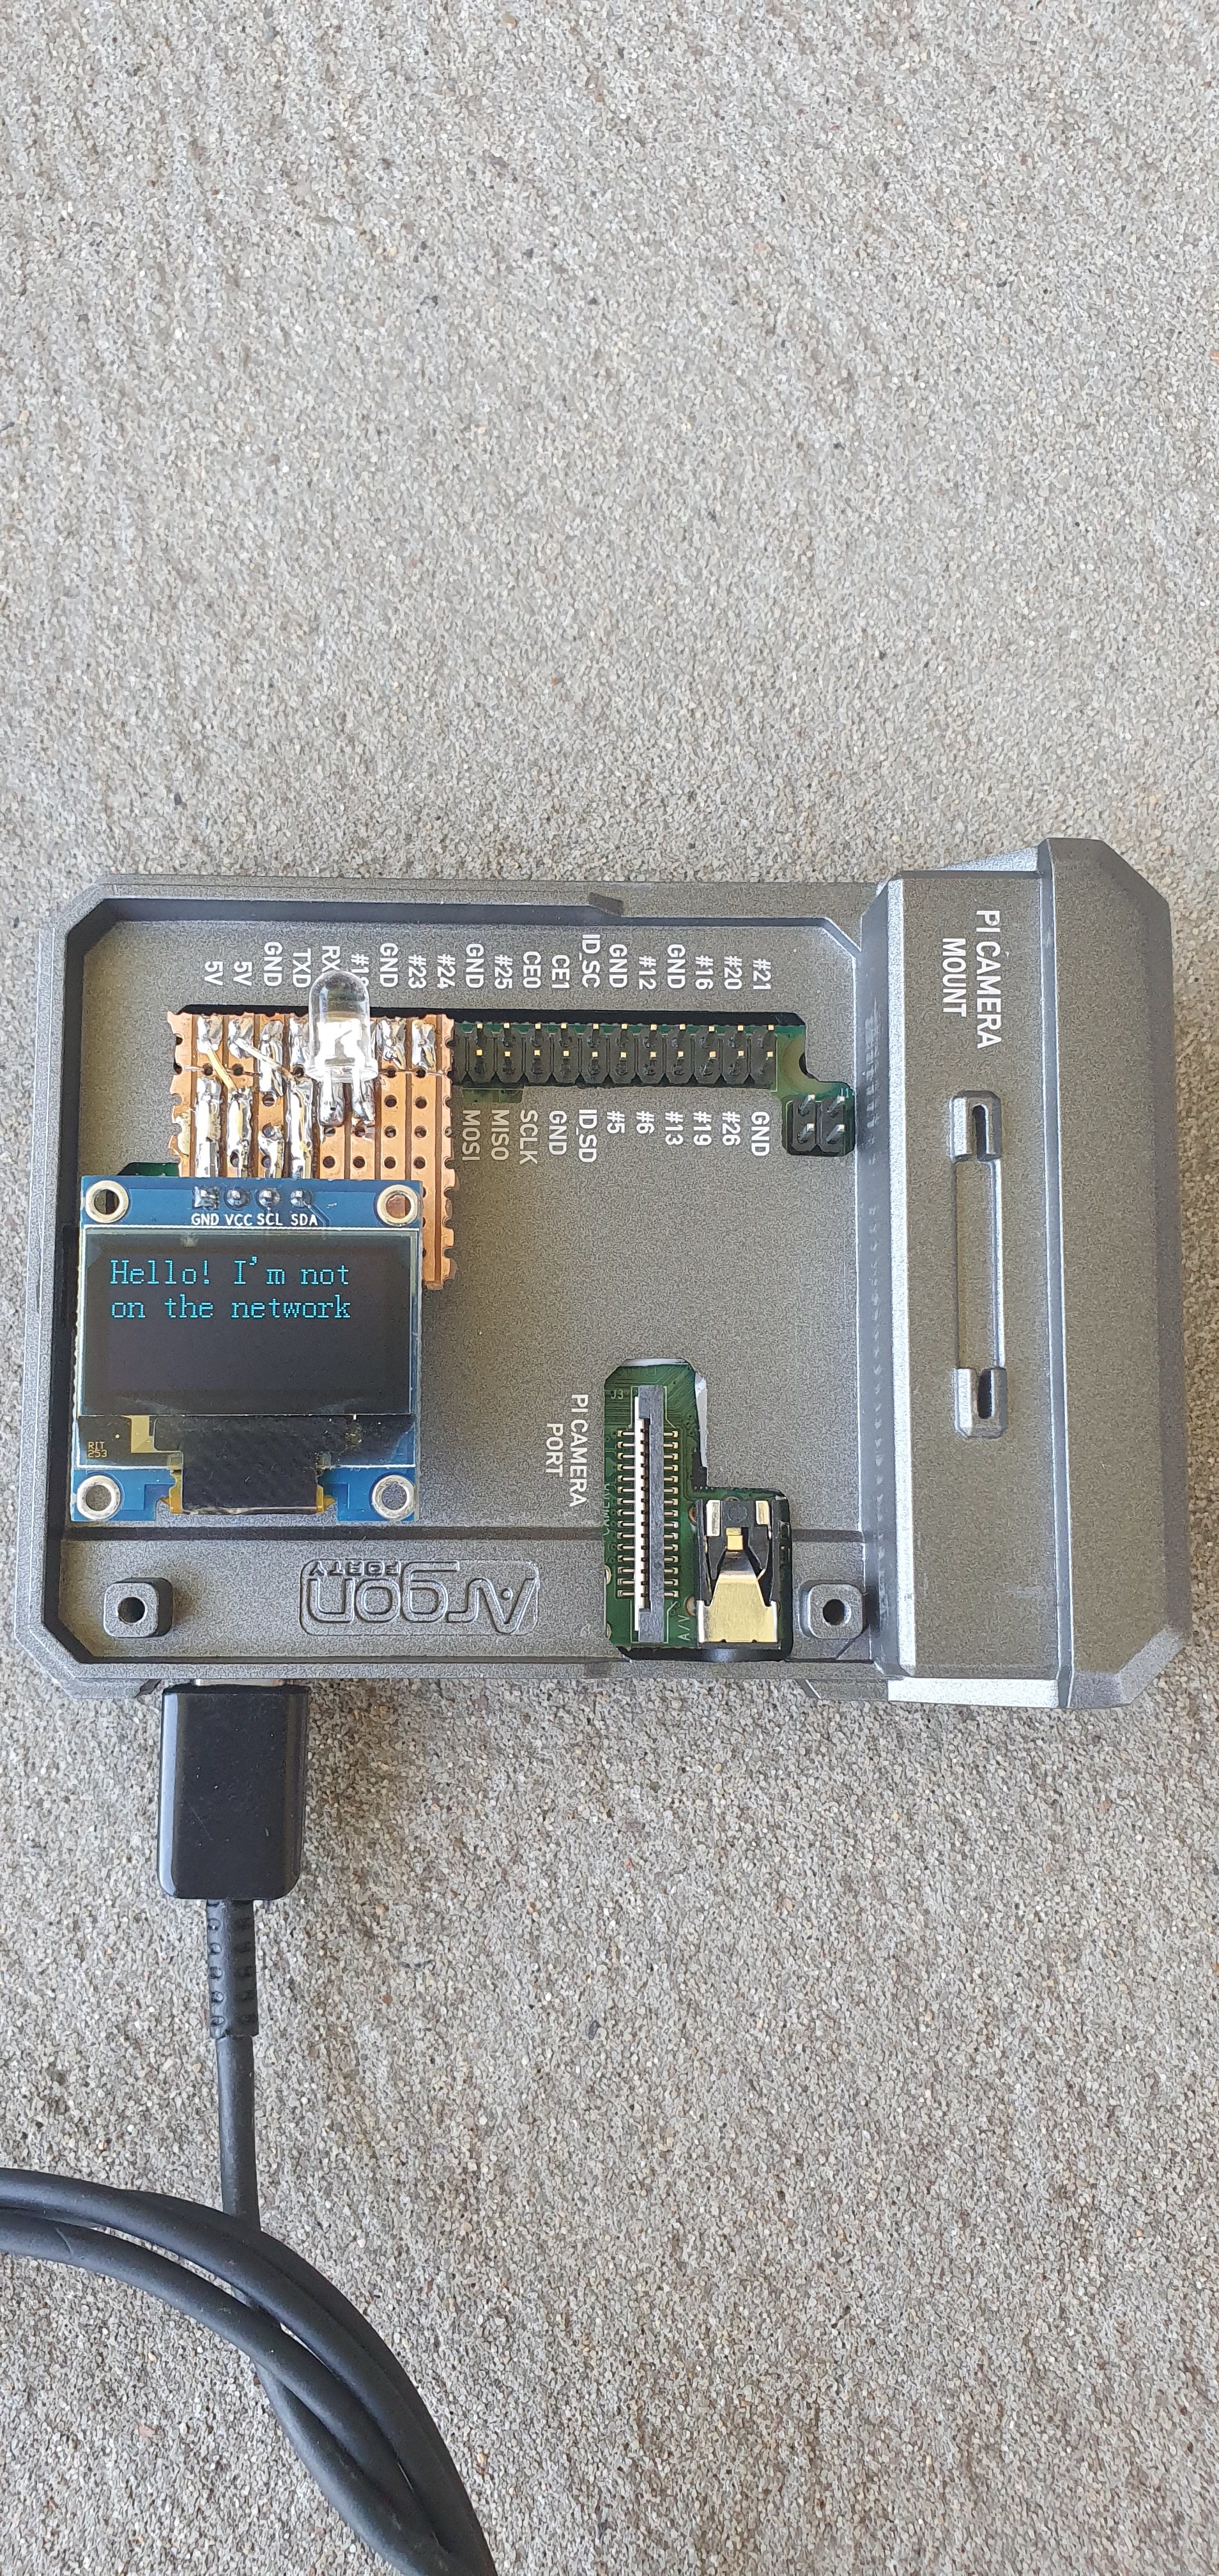
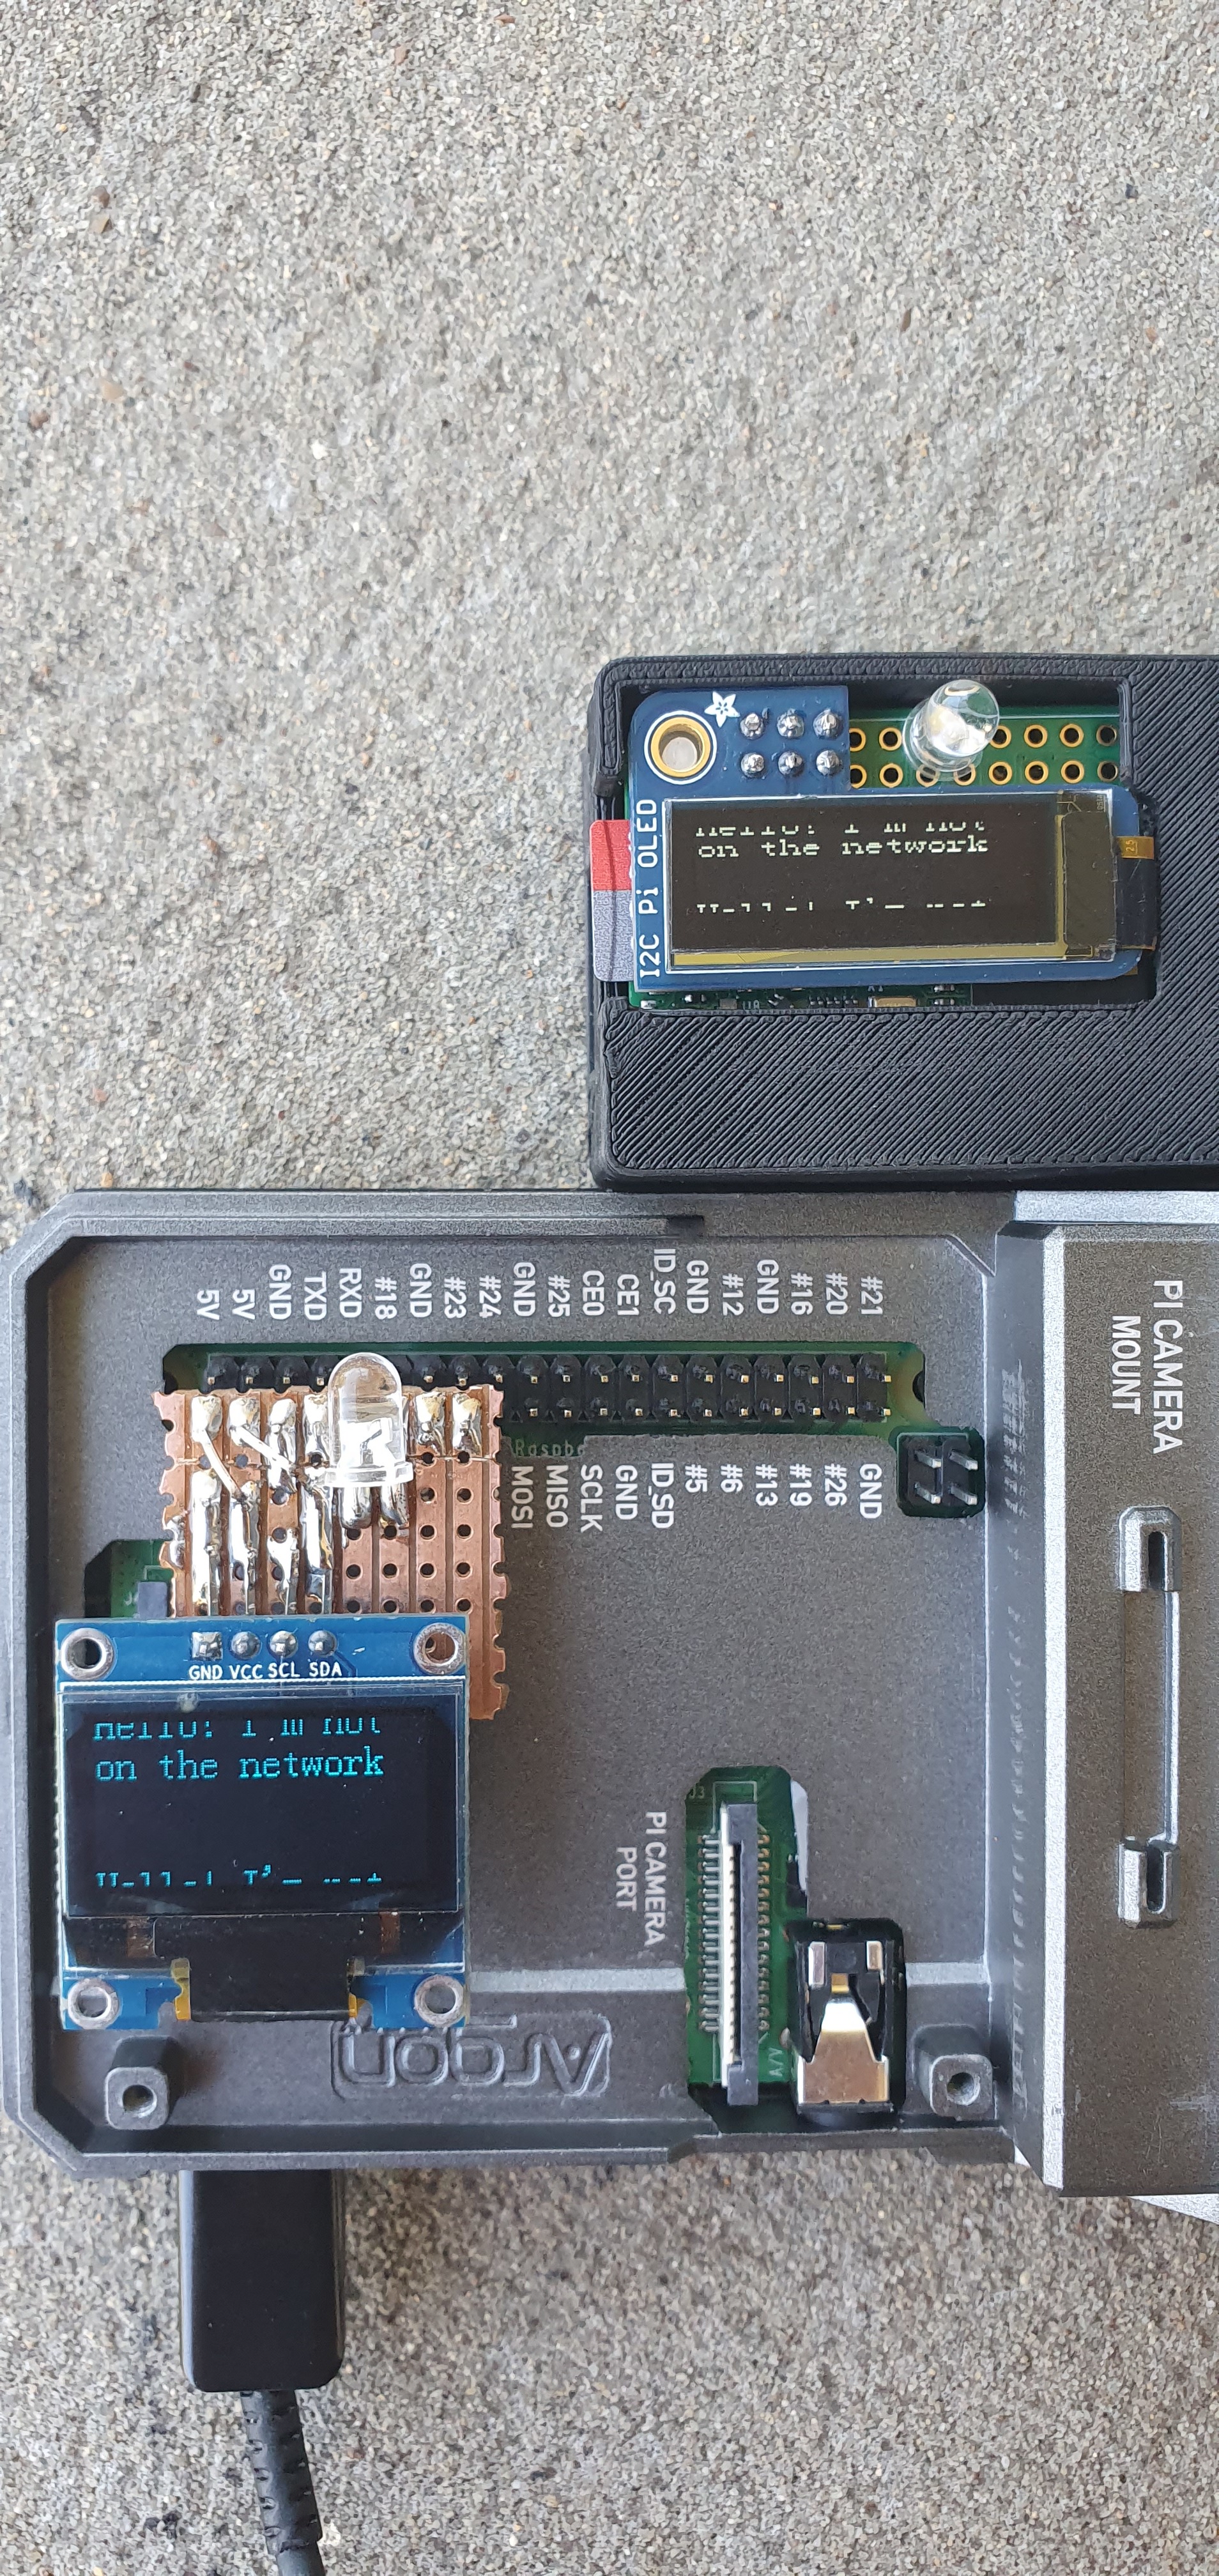
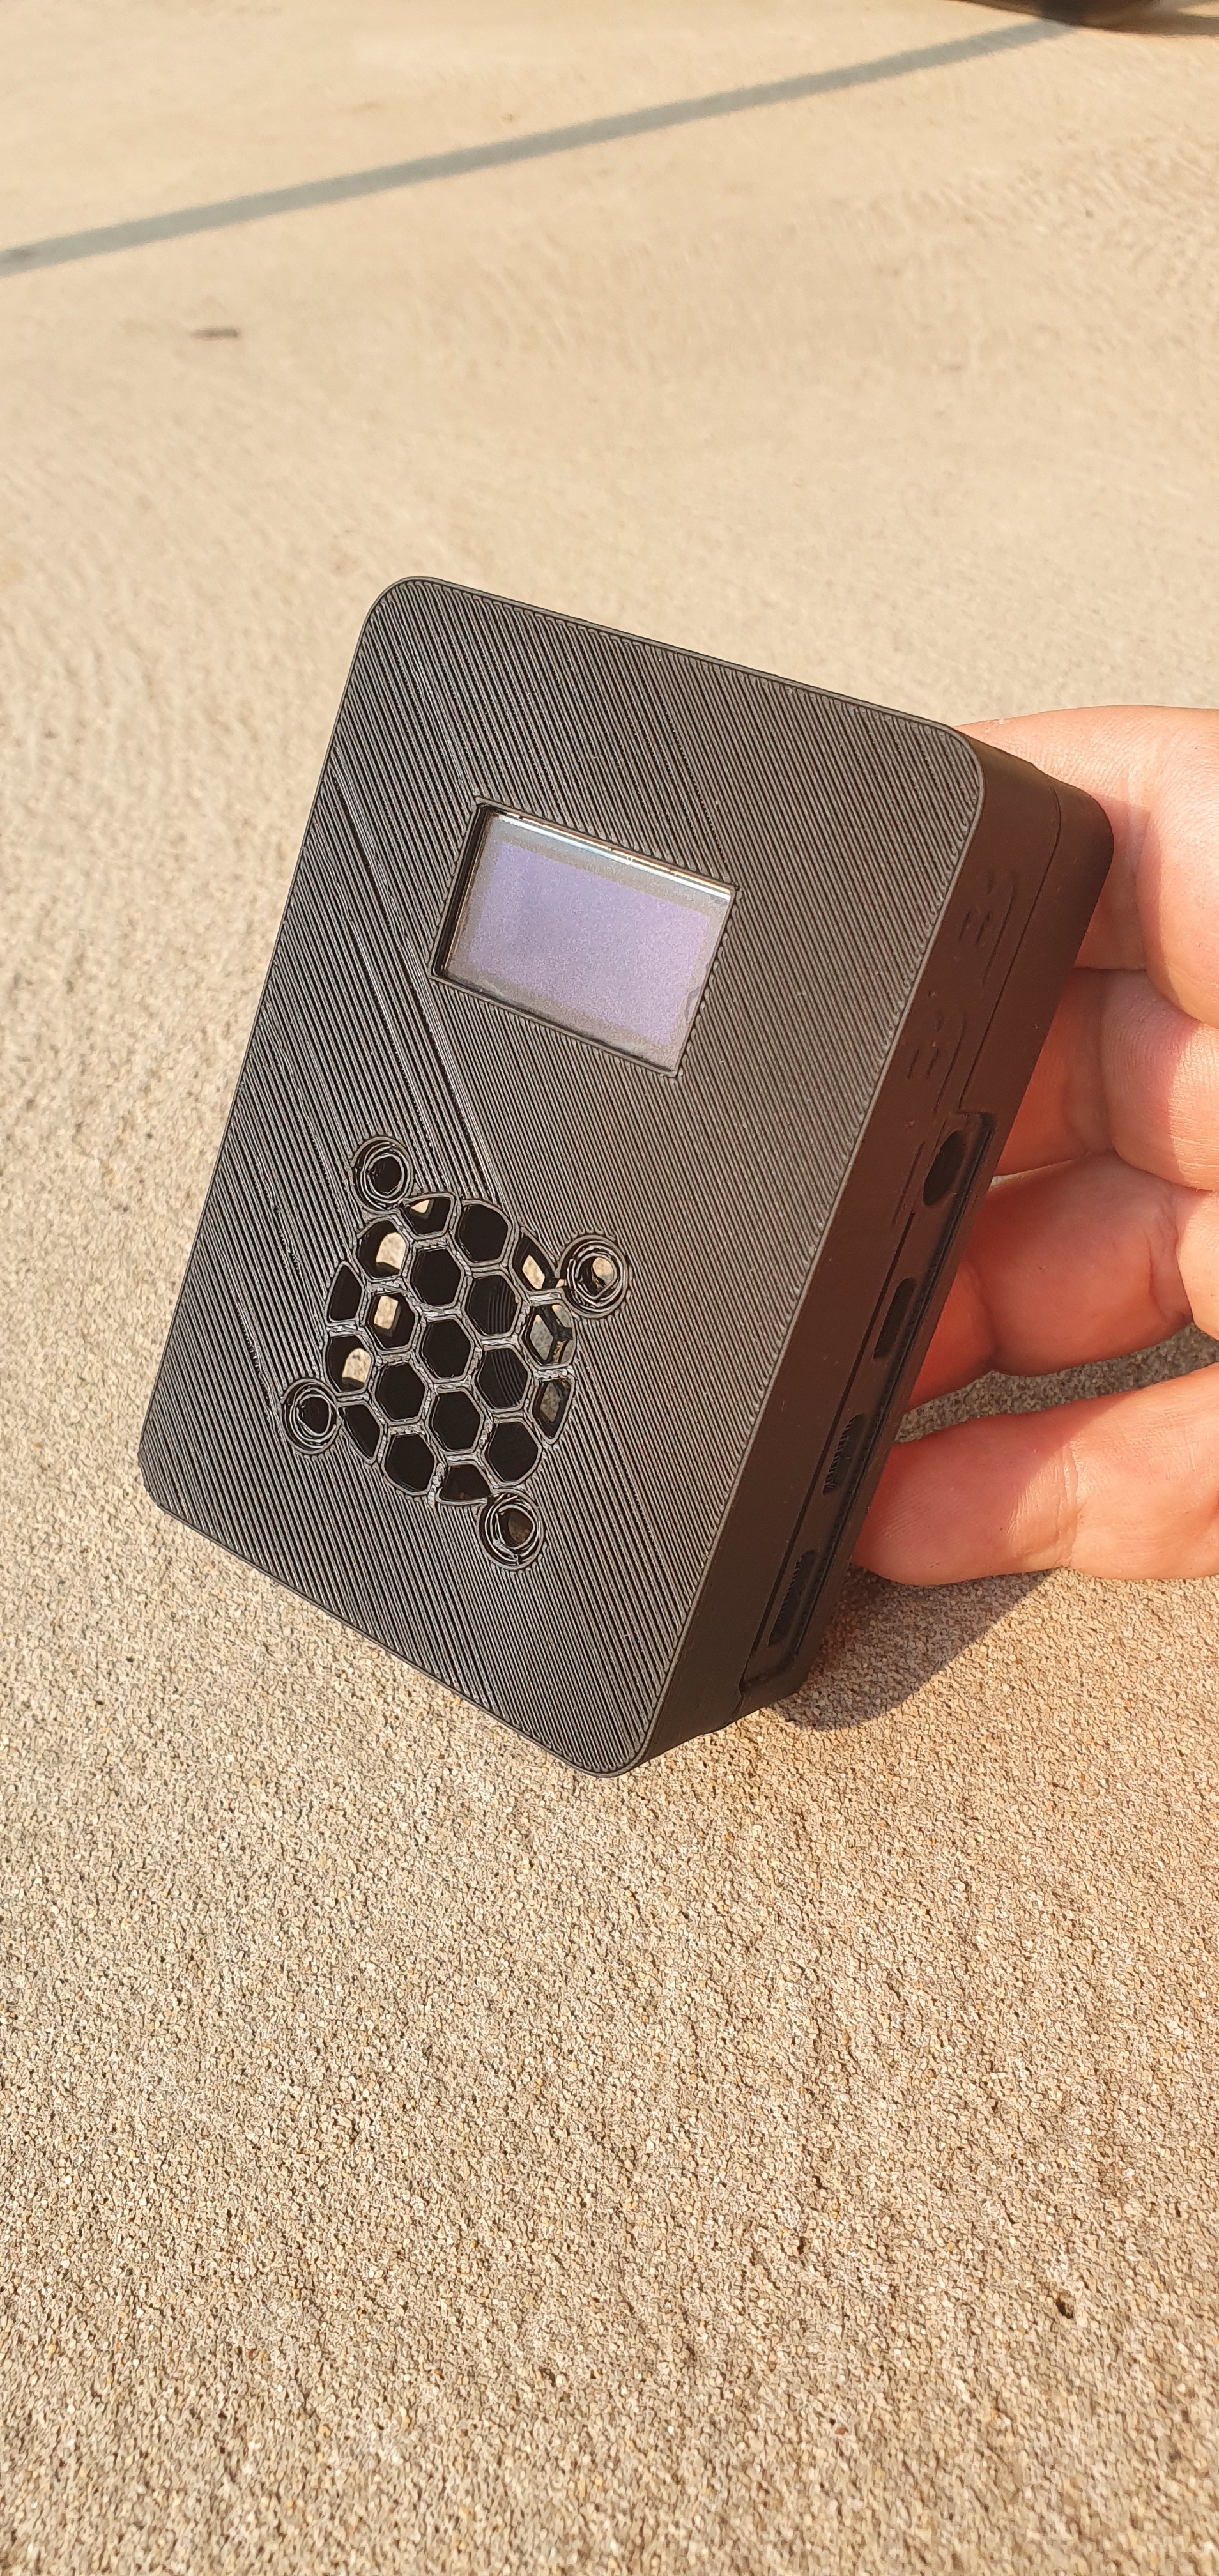
Sure very happy to offer these 3D print files, however this is only the test version…its a bit AV, I had to weld it closed…and its not as robust as I would have liked, I am still working on the final version, not sure if we should stick to this easier mounted 32 line display or do I fit the new 64 line OLED I just got. THOUGHTS???

I work as a hardware product designer…I bring designs to production for factorys.

My GOAL is to bring this project to a ‘cased’ format, on a few different builds. (zero and RPi4) Create a Thingiverse account for these builds, so they can then generate TIPS back into your account for all work you have done creating this.

I am happy to give to this team any work I do.

I will like some help on CODE, on some of these builds, if possable, I will detail help needed below.

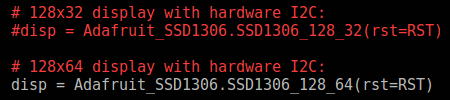
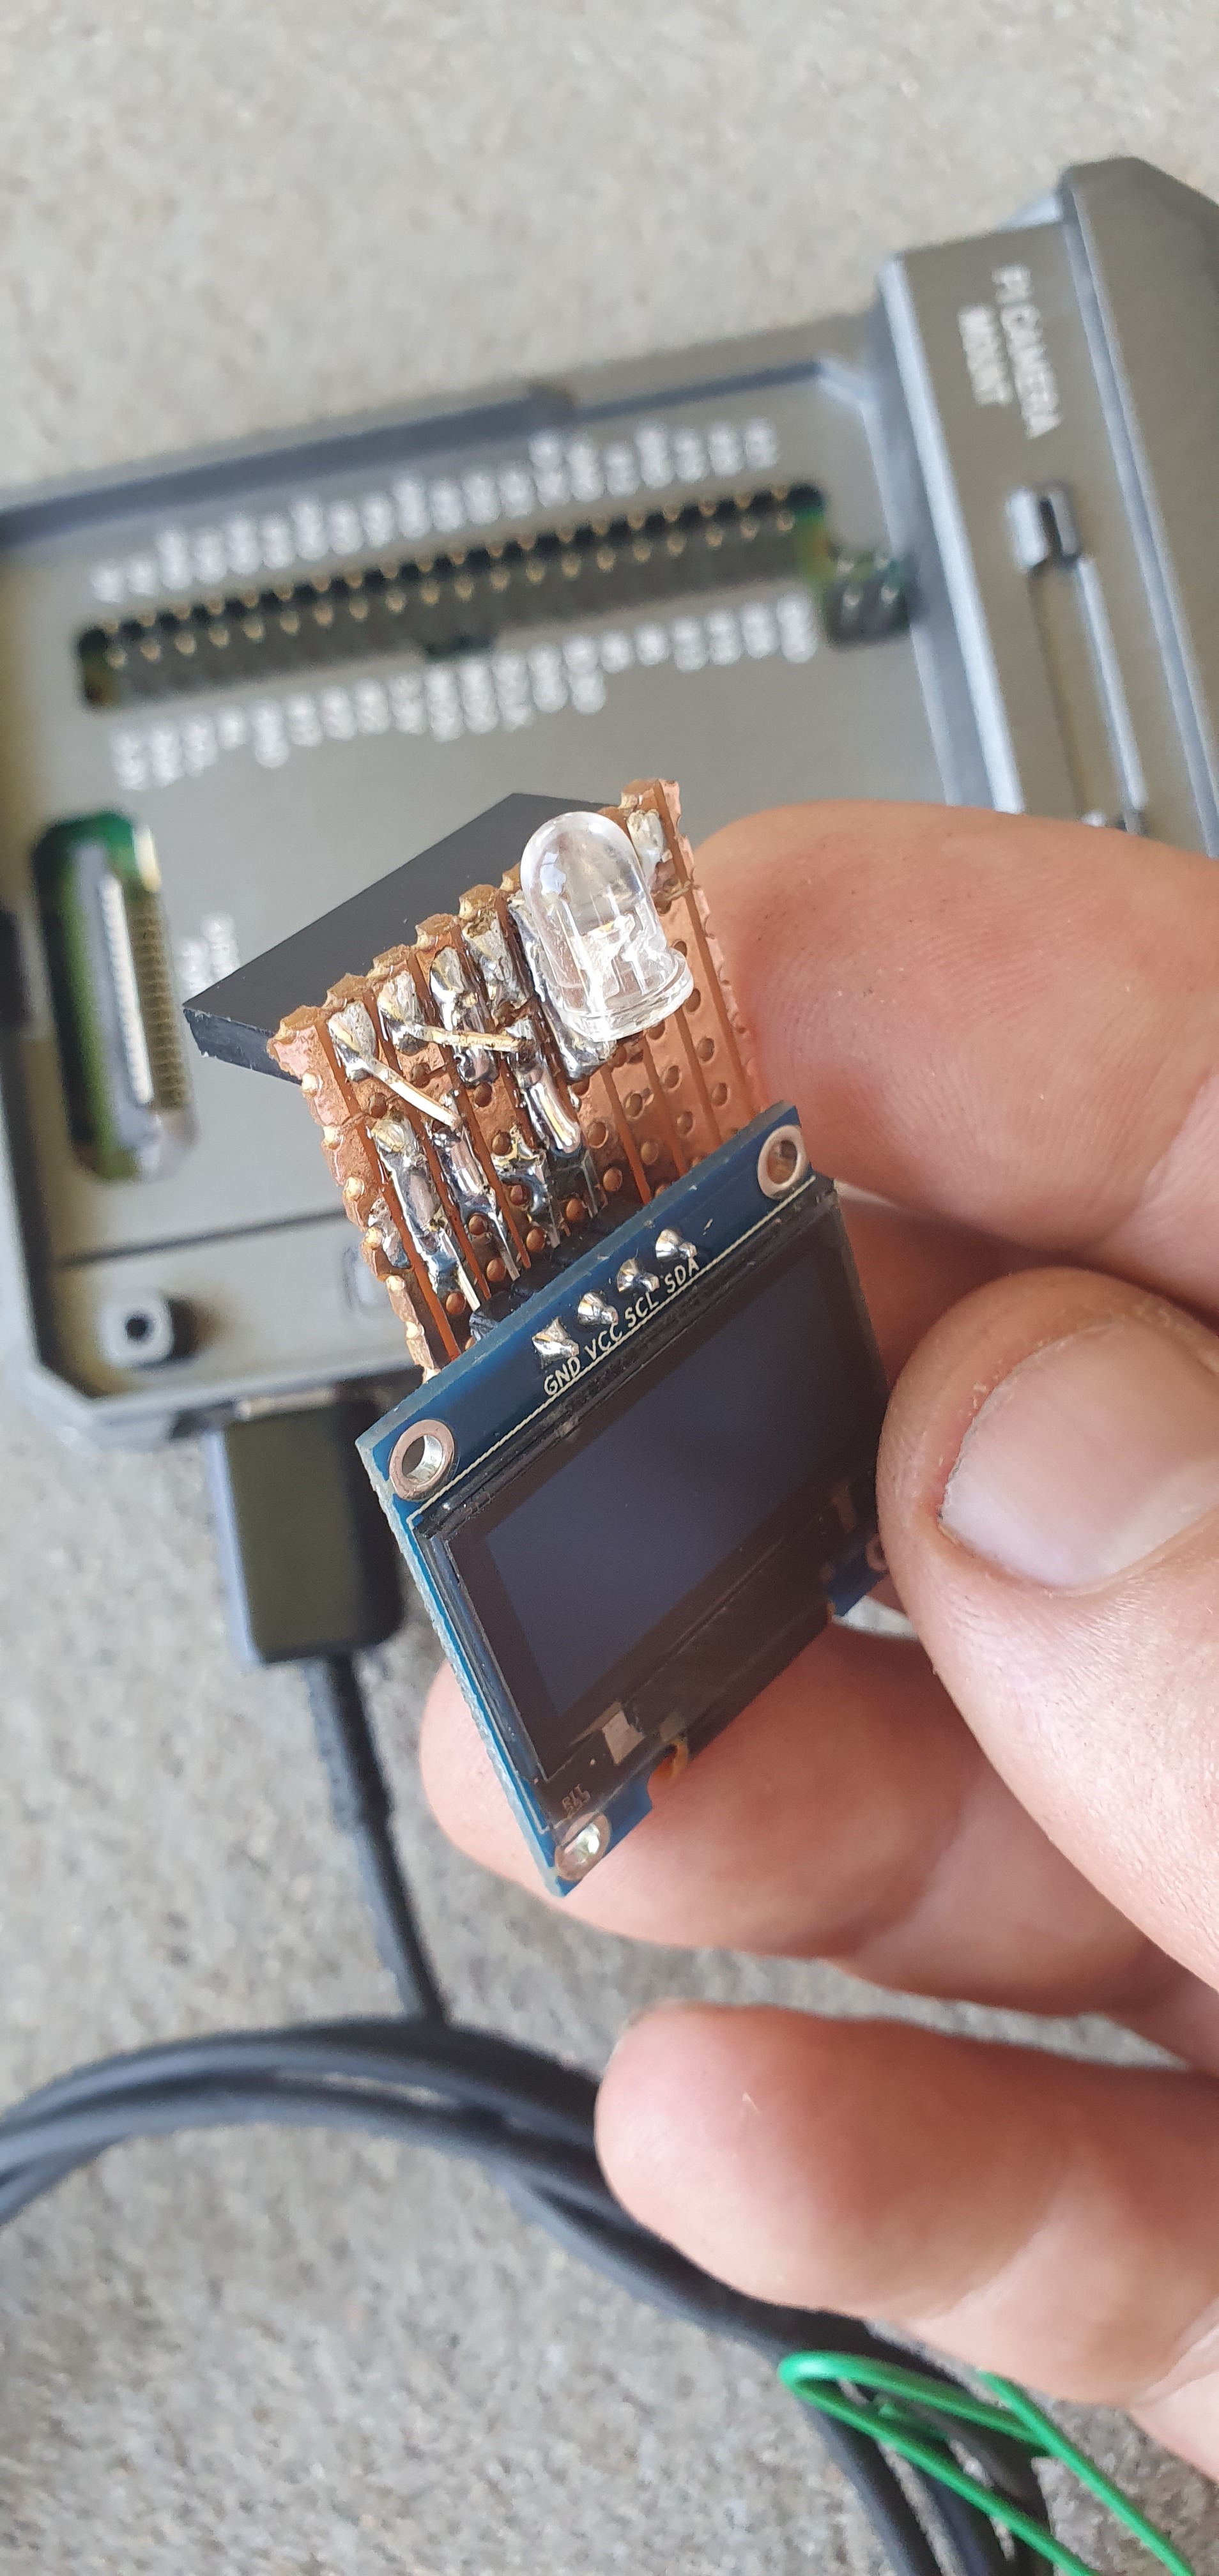
1: i2C OLED, my 128x32 keeps reverting to 64 line mode. I need to # out the 64 line mode, so it stays on 32 line mode. (if we keep this 32 line build)

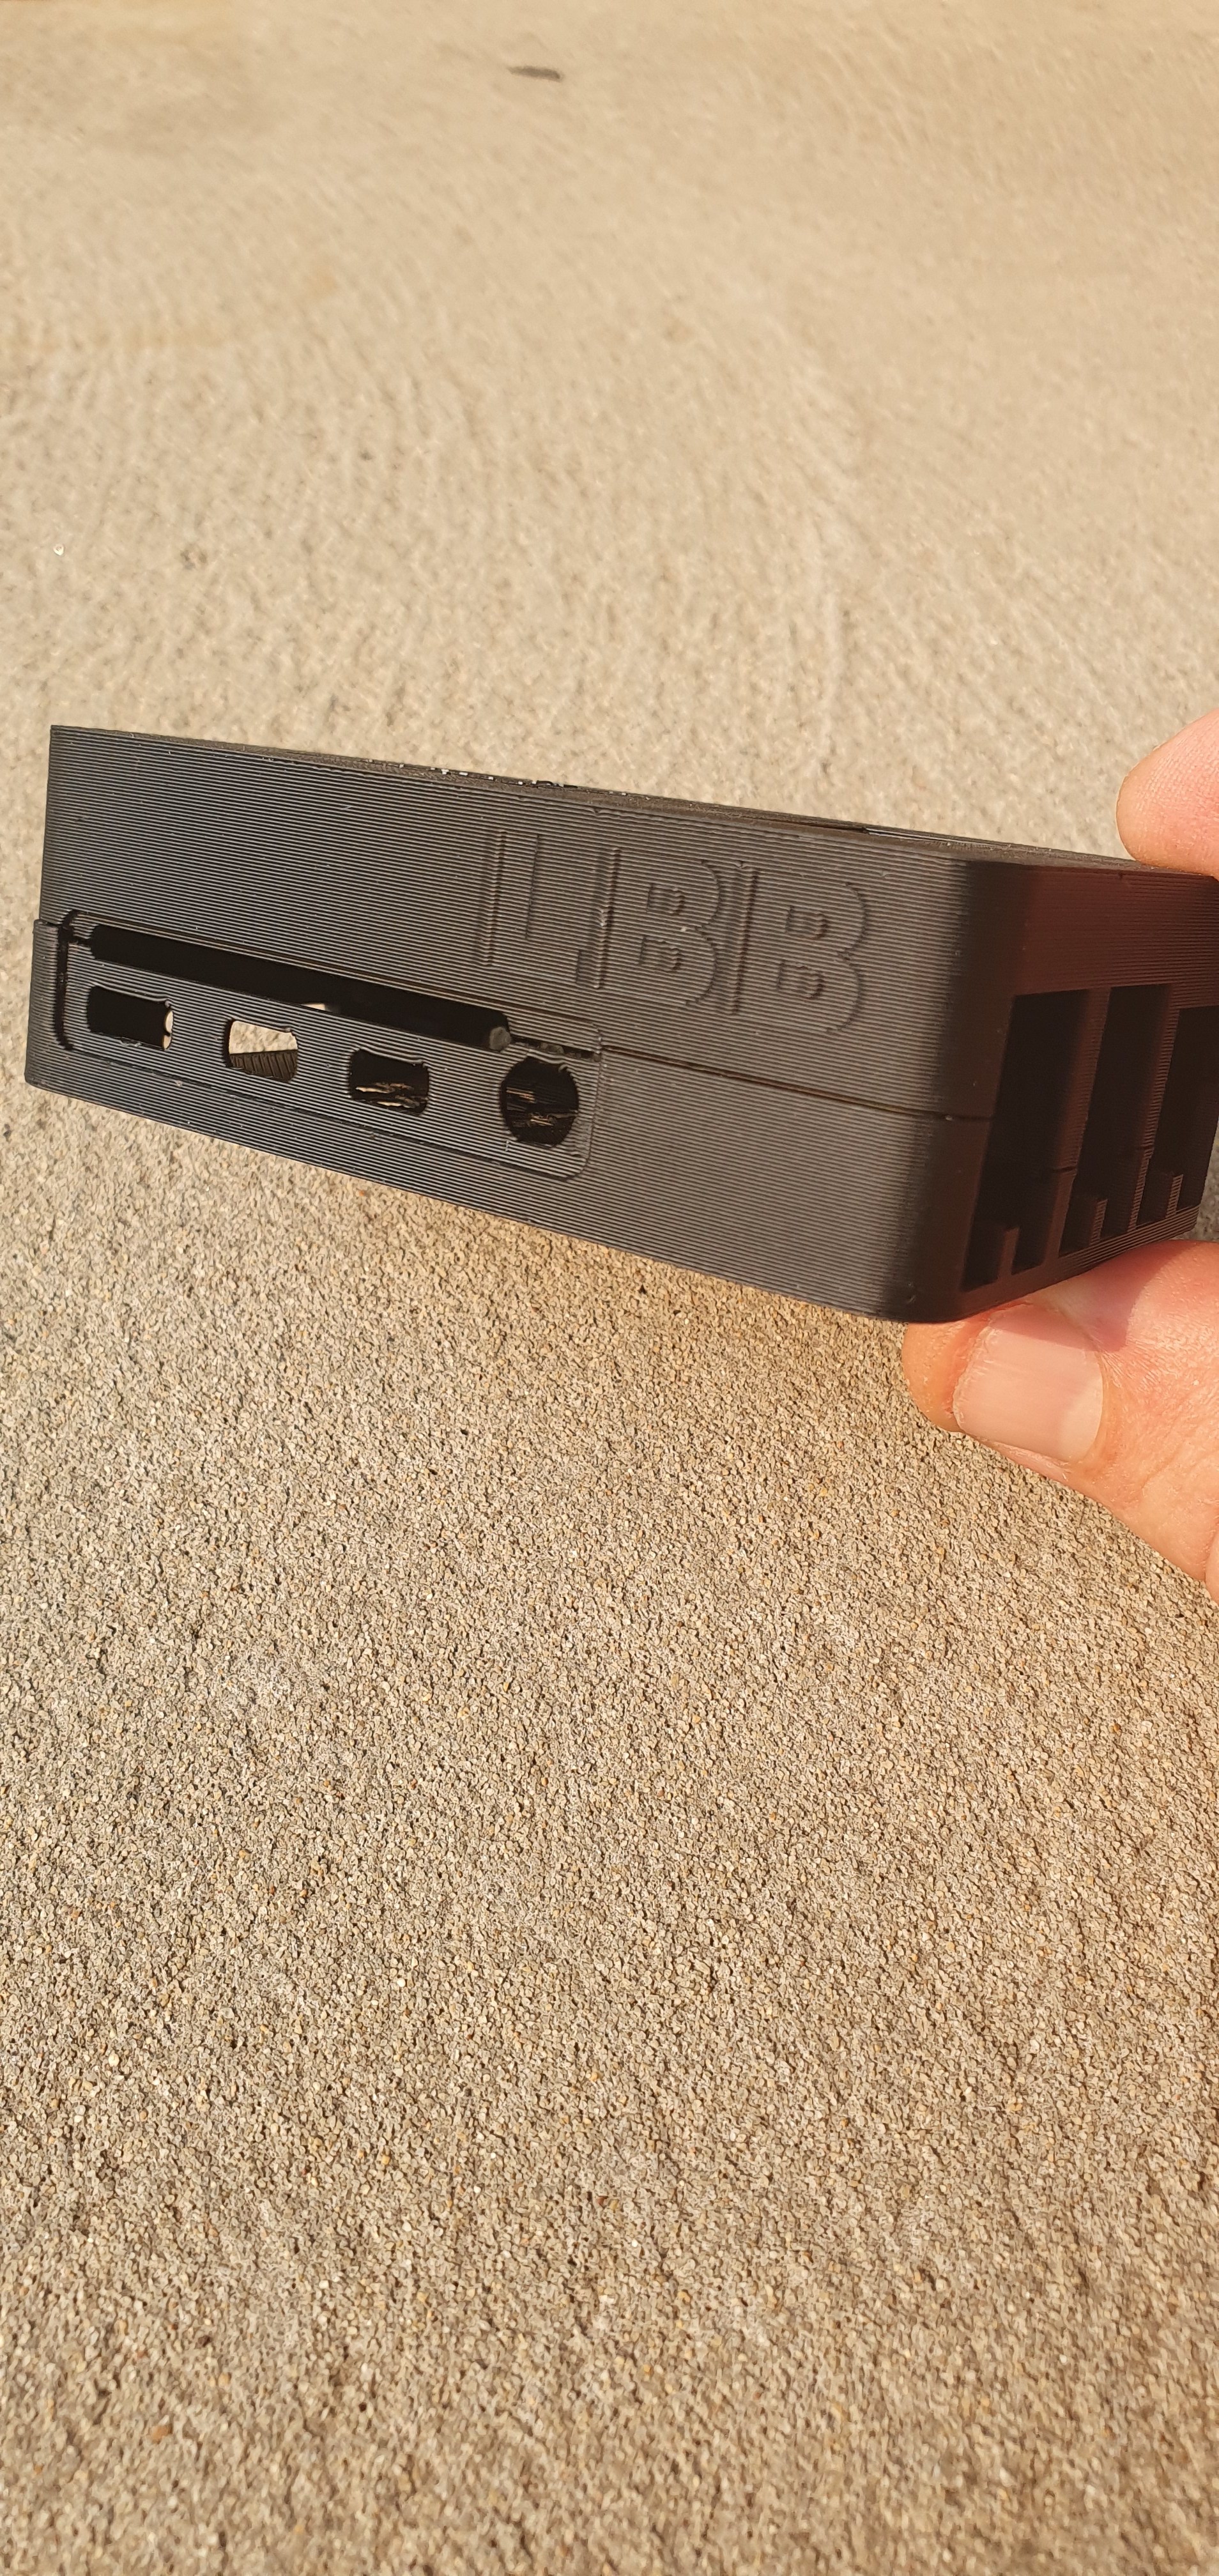
2: I have put a second readout via way of a extra LED, that reflects the ACT or HHD LED, as I now can’t see the onboard SMD LED. this flashes like heartbeat…when drive is NOT mounted…
now, after I mount a storage drive…its flashes slowly…and after card readers is inserted, faster, but NOT much faster…what would be very handy is, if it flashed faster…so I can easy see that all drives are mounted, and files are coppying…via faster flashing…

look its a very small issue, but bigger difference in flash rates of MOUNTED and COPYING would make it easier to see, if NOT using OLED as readout.

I will then finish off the 32line build, w STAT LED, so its fullly blanked off

I would love to also add the 2 extra LEDs for STORAGE FULL>

but really having trouble editing files inside the SSH…coding is my weak side, I have engineers for this :slight_smile:

its all good fun and have 1 more week off, before I go back to work.

thx again to DOMPOP for all this amazing work!!

1 Like

I have put a second readout via way of a extra LED, that reflects the ACT or HHD LED, as I now can’t see the onboard SMD LED. this flashes slowly…when drive is NOT mounted…
now, after I mount a drive…its flashes faster…but not much…what would be very handy is, if it flashed faster…so I can easy see that drive is mounted…and after card reader is mounted, it flashers lots faster…

Last time I checked, this was a compile time option for the OLED driver.

Could it be that the install script needs changing to build a 32 line version? (You can probably build a 32 line version and over-write the one built during install)

sometimes it does work…but most of the time, its in 64line mode…now I do think 64 line would be better, however this 32 line is easier to mount, as its got a header build it…the 64 line…would be slightly harder, and would need fixing in case…rather than too GPIO’s

I think 64 line is our GOAL, thoughts???

just now looking at the work TREVOR is doing on the 64line OLED, I feel this is direction we need to head in…

I will move to doing a case and build for the 64 line version, next…

K

I made a proto Display HAT for the RPI, OLED and ACT LED STAT Light

if needed this can be made in to a little PCB for docking, using what ever OLED is cheapest / best.

Both 32 line and 64 line seem to do this same thing most of the time…less however on the 64 line, almost always on the 32.

here is a PIC

looking at it again, I can see its 2 of the same message, in this case, “hello I am not on the network” its just starting in a odd spot.

Started on a RPI4 case w 128x64 line OLED.

this is a proto test case…will print nicer one soon…

1 Like

This is absolutely fantastic! I’d be really grateful if you could share the 3D printer files for this case when they are ready. I’d like to make it the official case for Little Backup Box. Pretty please?

Could we have one for the Pi zero with USB add-on too?

:+1: from me

Yes of course, here is the newly printed ASA version, this is nicer looking then reg ABS, as you can see,

more pics soon of the finished version

K

1 Like

sorry mate, what you after???

K

I can add what ever words or graphics to case, please let me know, if want something special.

I will need to do a test build, to confirm fittings, but so far it feels pretty good and solid in ABS and ASA

K