Someone posted a set of (french) tone equalizer presets on there.
Since they come up regularily, I think are used in some of @s7habo s videos and I wanted to have them nicely integrated for myself I translated them to english and german and cleaned up the naming/setup.
I unfortunately cannot manage to find the original post/creator to reference them here. If you know tell me .
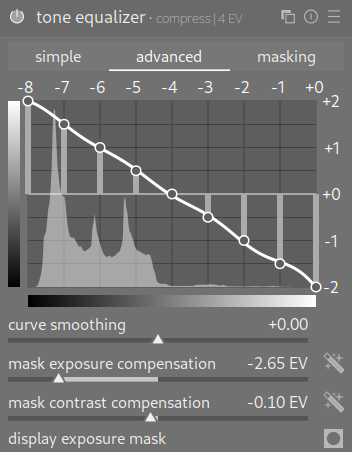
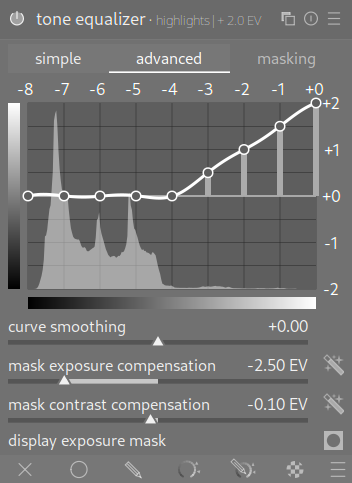
I make these settings by setting the mask exposure and mask contrast compensations settings. I don’t use a preset but I use this type of instance of tone equalizer to tame wide dynamic range shots. I then restore lost contrast by using the AgX modules. I don’t have a preset as such
I’m glad you posted and translated my presets. I don’t remember when I originally posted them on the forum.
These presets are the result of several ideas from the forum and videos. Indeed, many contributors to this forum work with straight lines, but the main focus of these different presets is the masks used to preserve as much local contrast as possible. And to give credit where credit is due, this method of determining them comes from a Belgian professional photographer, “Luc Viatour,” and from this video at the 21-minute mark (in French), as well as Boris’s invaluable videos.
These presets were designed for scene workflow (with a 0.7 EV exposure boost).
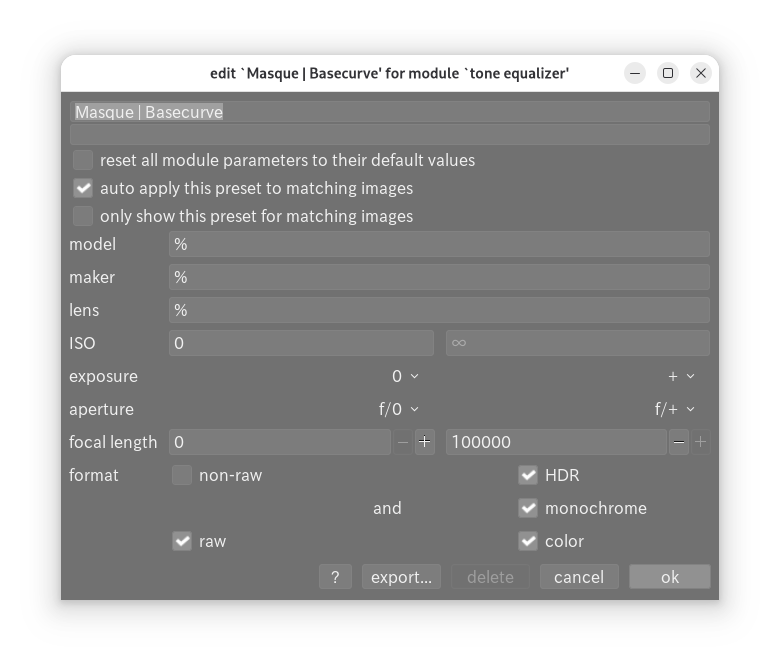
It’s a great idea to gather all the presets on a GitHub page; I see you’re missing the masks. toneequal_Masque.zip (2.1 KB)
And why not do the same for other modules?
greetings from the Luberon
Christian
As explained in Luc Viatour’s video, I always start by adjusting the exposure and use the histogram as a guide. Then, if necessary, I use the curve to fine-tune the exposure or apply one or more presets.
Thanks I recall having a quick look at them an on the surface it just looked like it selected what mask blending option was used but maybe there was another difference I didn’t notice…
Do you have a reference for that? And a reason for that advice?
Keeping the extremes at 0 basically removes the option of modifying the dynamic range of the image. (And note that some of the default presets do not follow that advice…)
I don’t think you really need to make sure those are in neutral position. If you want to reduce an extreme tonal range, like -12 EV to +8 EV, and you leave blacks and whites in place, you’ll only shift the ranges up and down, you won’t compress the global tonal range. E.g. you may bring a +5 EV bright region down to +4 EV, but that +8 EV remains where it was. (In the tone EQ, compression of the mask will map the -12…+8 EV range to -8…0 EV, but the darkest/brightest regions will still be unaffected).