I didn’t find an answer or discussion in the manual. The answer might be obvious but just in case…
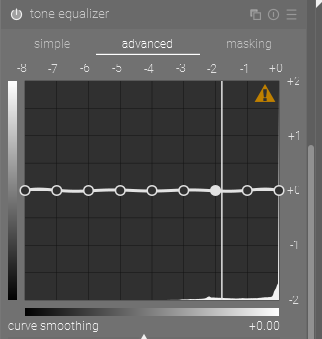
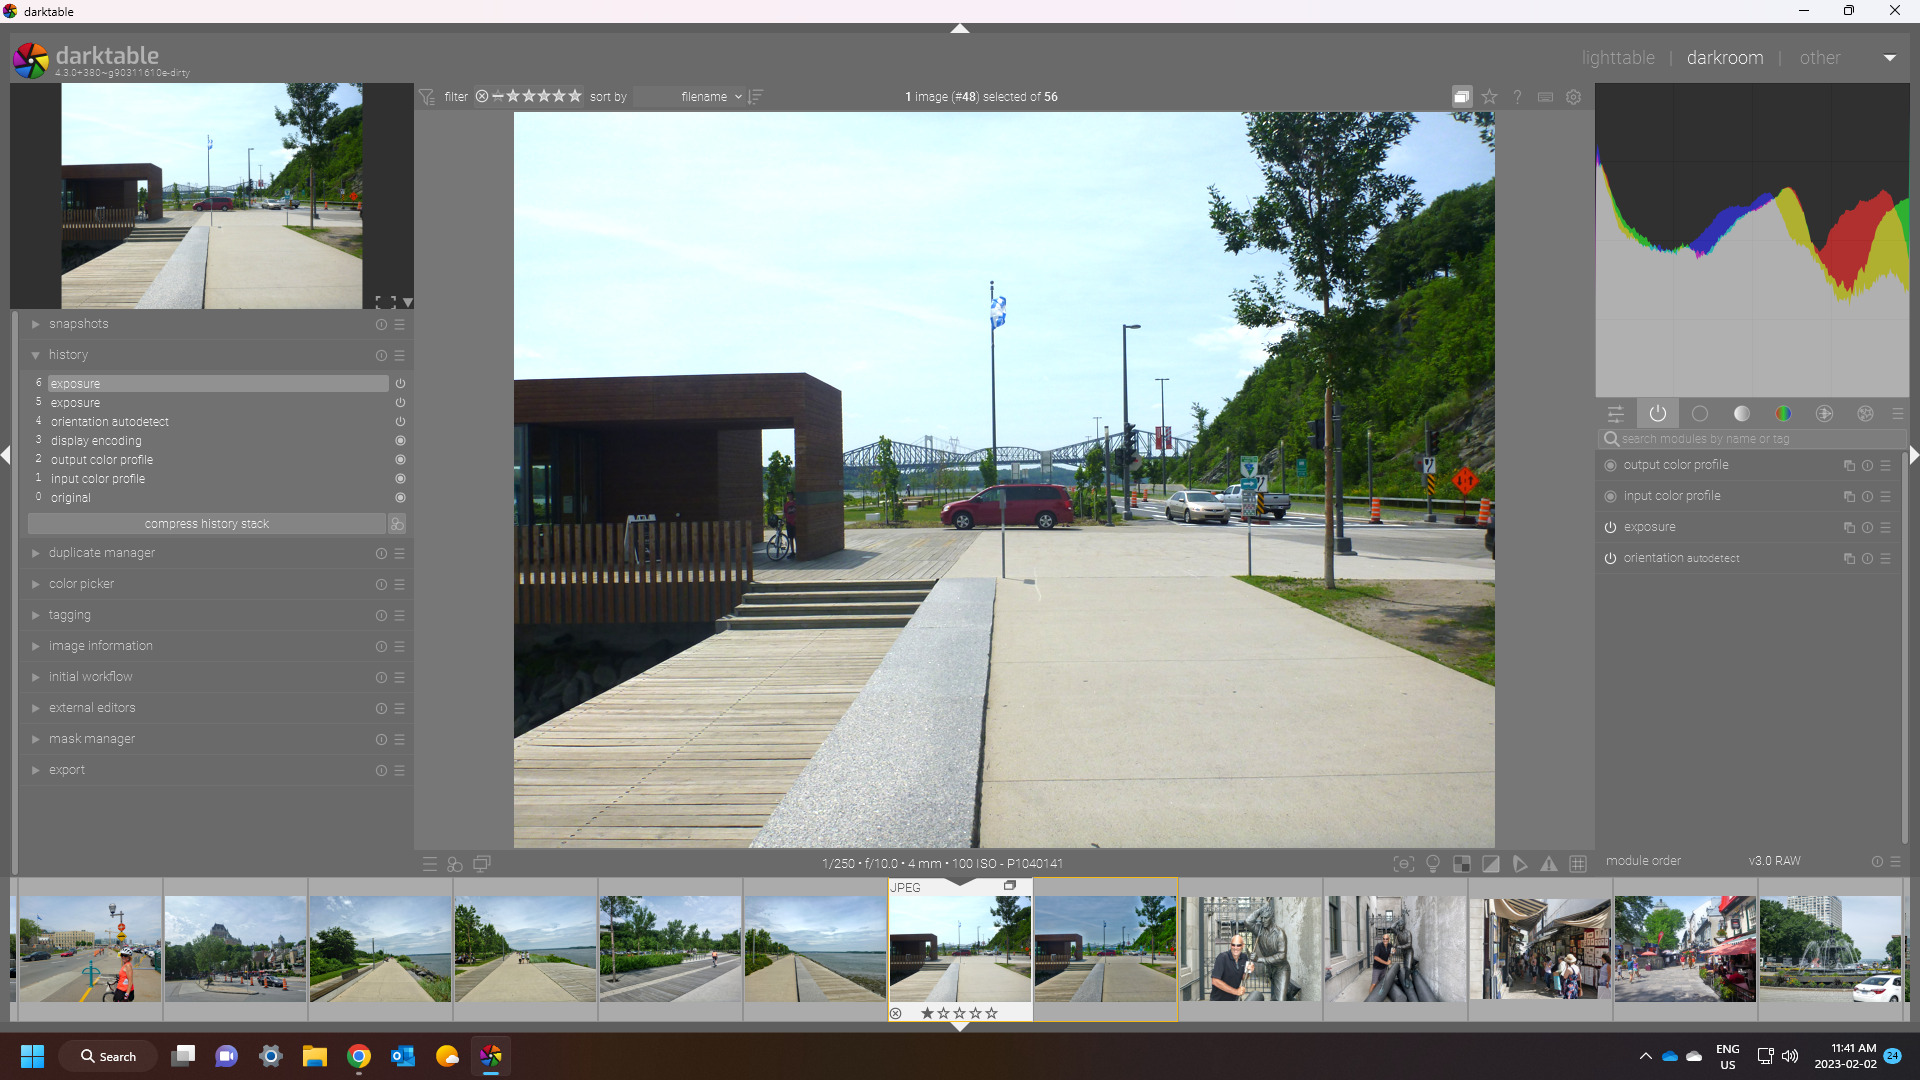
For a RAW image: the Simple and Advanced tabs in Tone Eq module work i.e., in either of them if I move or hover the mouse over the image I get to see the EV, etc.
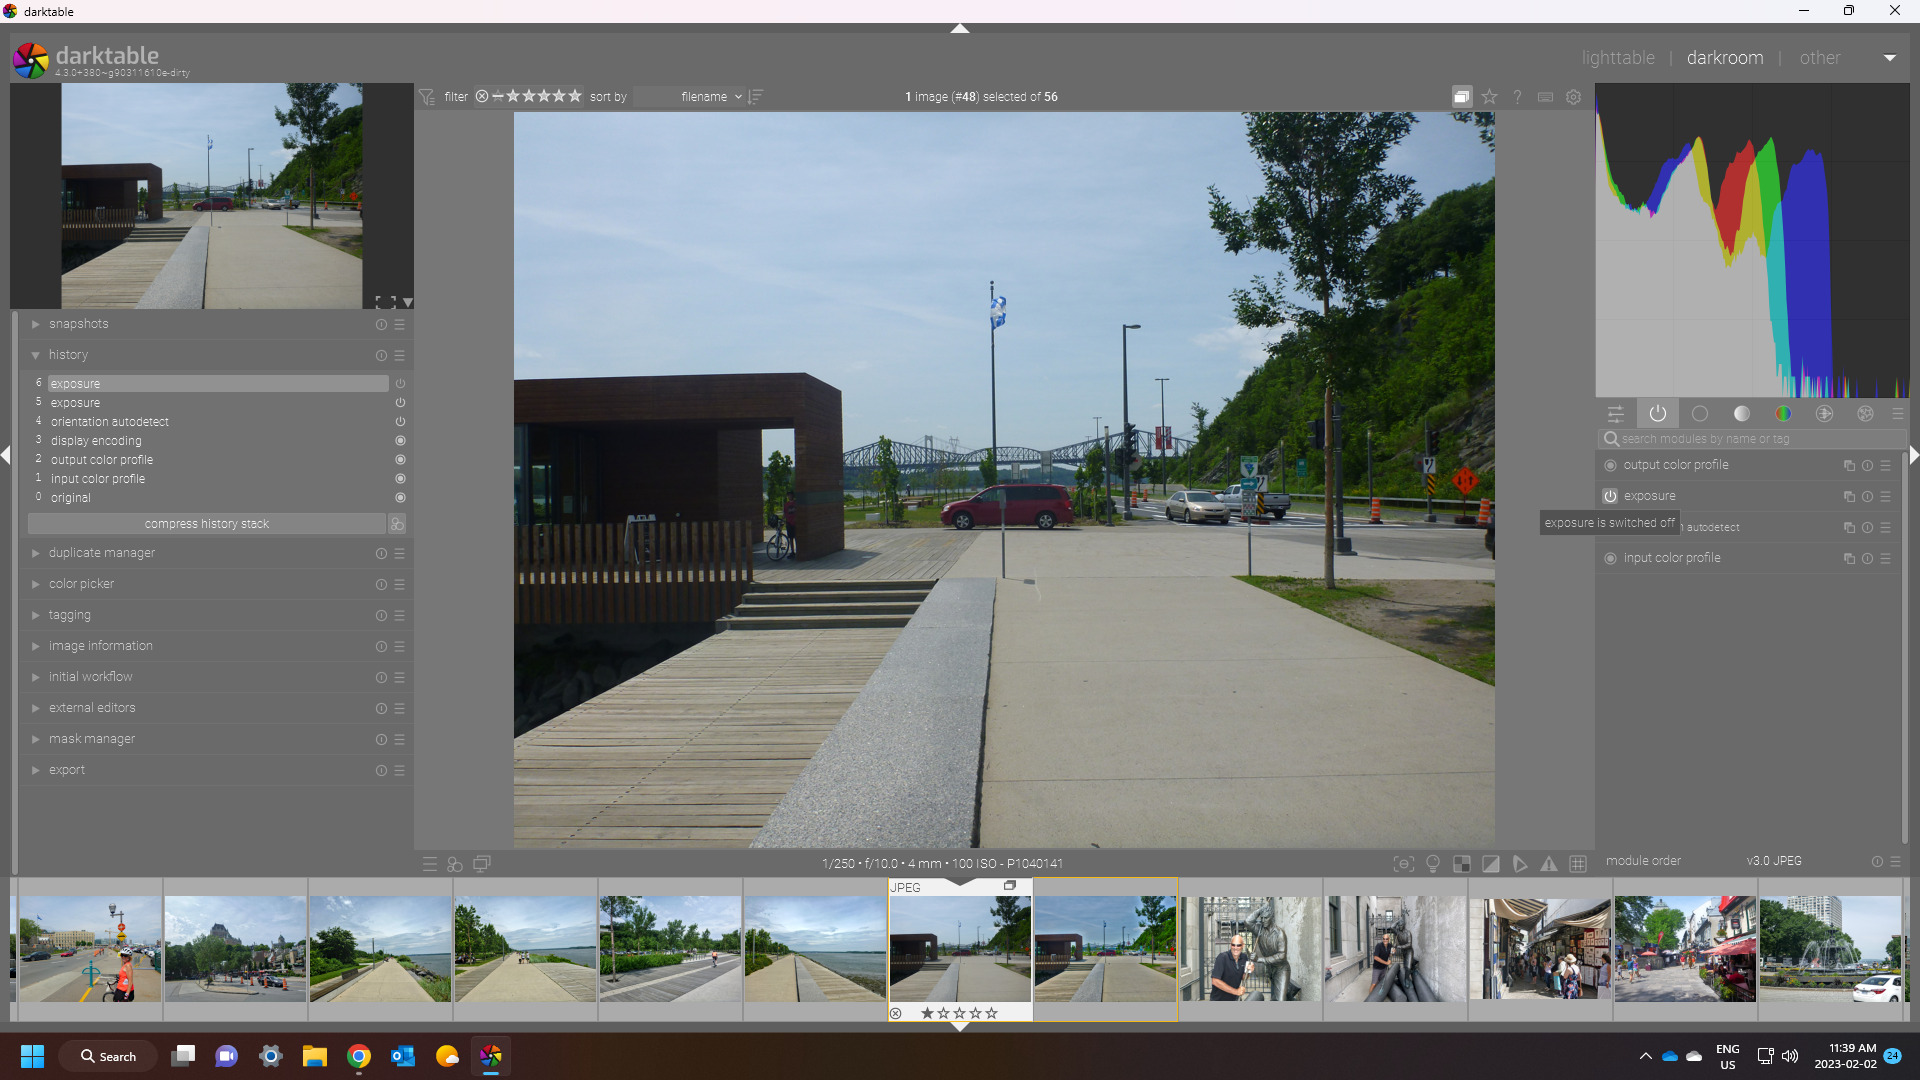
For a JPEG image: the EVs are displayed only in Simple Tab. In Advanced I get the triangle with the exclamation mark at top RHS of the graph.
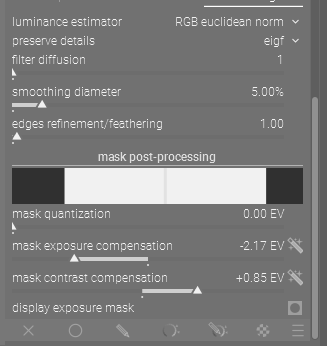
You might have to adjust the settings in masking first. Anyhow, the tone equalizer is intended to deal with high dynamic range. JPEG images using only 8 bit depth and do not require this module.
A few follow up Qs:
a) does this mean I cannot/must not use Tone Eq with JPEGs? After all the Simple Tab seems to work fine, thus suggesting the Tone Eq module can be used with JPEGs (although best used with RAW).
b) if I have to adjust the mask settings first to use the Advanced features with JPEGs: the manual (and the software) can mention them. Pending confirmation I shall note this down for the feedback I’m collecting for the team behind DT.
You can use what ever you like and what works. But I think the module was not designed with JPEGs in mind.
I don’t know what is happening when you use darktable. It was only a guess on my side. If you want more detailed information you could provide a sample image and state what darktable version and operating system you use.
Also note that I find DT by default often does not set the module order correctly…
THere is a module order for jpg…you can set that in the lower right… this moves many modules after the input profile whereas for raw they come before. The tone eq is one of those and it can make a significant difference to the outcome…
Todd, again, my appreciation for your detailed response with examples that explain what’s beyond words.
Could you clarify what you meant re the module order, please? In my pixel pipe (and a Style I use for B&W Conversion) I have Tone Eq right above Exposure… I also have a second instance at the very end (my intent: a final dodge/burn on the image being converted to B&W). I have not used either of the Tone Eq instances yet. So my Qs:
a) is that order problematic? or good to work with?
b) how would that order change for processing JPEG vs RAW images?
Note the last screen shot…in the lower right you have 3 possible selections for a pipeline order of module processing…it will show a 4th is you move modules yourself it will say custom…
There is a legacy one that had the basecurve in it original position ie early in the pipeline …now it is back at the same position as filmic roughly…
For jpg as I said many module get moved to come after the input profile. You can just select it in the drop down and see how it looks…you should do it though before you edit as the mask will need to be updated as the input to the tone eq will not be the same when it comes after the input profile…
Ye, I noticed and understood what you were saying after looking at that last screen shot again.
Ahhh, now I see how I was messing things around…applying my Style on all images, irrespective of whether it was a JPEG or RAW image. If I understood you right, what I should be doing is:
a) bring in the image into darkroom
b) choose the pipeline order depending on type of image.
c) apply Style.
d) begin editing.
Or, should I do (c) before (b)?
p.s. a bigger problem of my own making: I never exercised (b) so far. So I guess the order of modules in my Style applied uniformly for both JPEG and RAW images being processed (which I understand now is problematic).
Module order can be set in the style…the problem with just changing it might be the outcome as you would get one look for the style prepared with one module order and another with the other one… I guess you just have to experiment and see if there is any benefit to you??
So, if I understood you right, what I should be doing is:
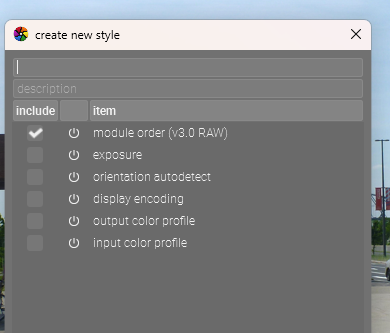
a) I create two Styles: one for JPEG and another for RAW. The pipeline order of modules would thus correspond to the type of image.
b) in processing an image I pay attention to whether it is a RAW or JPEG image and apply the corresponding Style. This will apply the modules in the order appropriate (as defined and set in the Style alread).
c) begin processing.
So, for converting a JPEG to B&W I’d apply the “Convert JPEG to B&W” Style I created in (a). Likewise for converting RAW to B&W.
If you find using that order helpful… If you are setting up your edit in color and then converting to BW you likely have other modules at play for raw that don’t or wont be used on the jpg so you will have two styles…but again I don’t know your process…
What I currently have in my Style to convert an image to B&W:
Denoise->Lens Correction->Exposure->Tone Equalizer #1->Crop->Color Contrast (to prep color image for conversion)->Color Balance RGB #1 (to increase chroma; make colors more vibrant, if necessary, and prep image for conversion)->Color Calibration (to convert to B&W)->Color Balance RGB #2 (for adjusting converted B&W image using Perceptual Brilliance/shadows, mid tones, etc. )->Sigmoid (if dyn range too high; seldom used for portraits)->Local Contrast->Tone Equalizer #2 (dodge/burn B&W image before exporting).
When I apply that style on a RAW image I find in list of active modules I have White Balance, Highlight Reconstruction get inserted first (i…e, below denoise), Orientation gets inserted between Lens Correction and Exposure,
Applying same style on a JEPG image only Orientation gets inserted (as above).
Perhaps I can use this Style on both JPEG and RAW? or should I create two Styles–one for RAW, the other for JPEG–and apply them depending on the image being processed?
Well you don’t want likely sigmoid on your jpg I image they are also brighter more saturated in color than your raw files etc so I think maybe even if you use some of the same modules likely the strength of the settings or the need for some might not be the same…Tone eq settings will be different everytime etc so I guess you just have to muck about and see what works best for you… I am not so much about styles I find they really are not widely applicable and you end up tweaking a lot of stuff anyway… I usually edit more from a key image and get the image the way I like and then use that as a sort of temp style and paste it on the image I like. If I come up with a nice look sometimes I save that as a style but again I find that it might work on some images and not on others…
A) Yes, use of sigmoid seems best with RAW. For my JPEGs sigmoid seems largely unnecessary.
B) My use of Style is not to auto-apply certain modules and their settings. In my Style I have certain modules I know I’d need to use every time I convert to B&W. In creating the Style I reset their settings to neutral and turn them off, leaving only Exposure on and with a small +EV. Upon application of the Style I find the modules in place, in the order I’d need to use them, I can then turn them on and adjust, one by one, as I work my way up the pixel pipe.
Perhaps I’m being naive, misunderstood the fundamentals, and am using DT/Styles in a manner counterproductive to my intent: take a color image (JPEG/RAW), quickly efficiently convert to B&W by first prepping the image, converting, touching up.