If you load the raw without any curve applied you can see all the “shading/shadow” depth is there. One of the ways I did it before was to apply the base curve and raise it while masking out the brighter parts. This effectively raised the shadows (and subject) while leaving the snow intact. But I was trying to do it without the base curve module since it was my understanding it’s not part of the 3.0 rgb workflow.
My try (though RT, not dt)
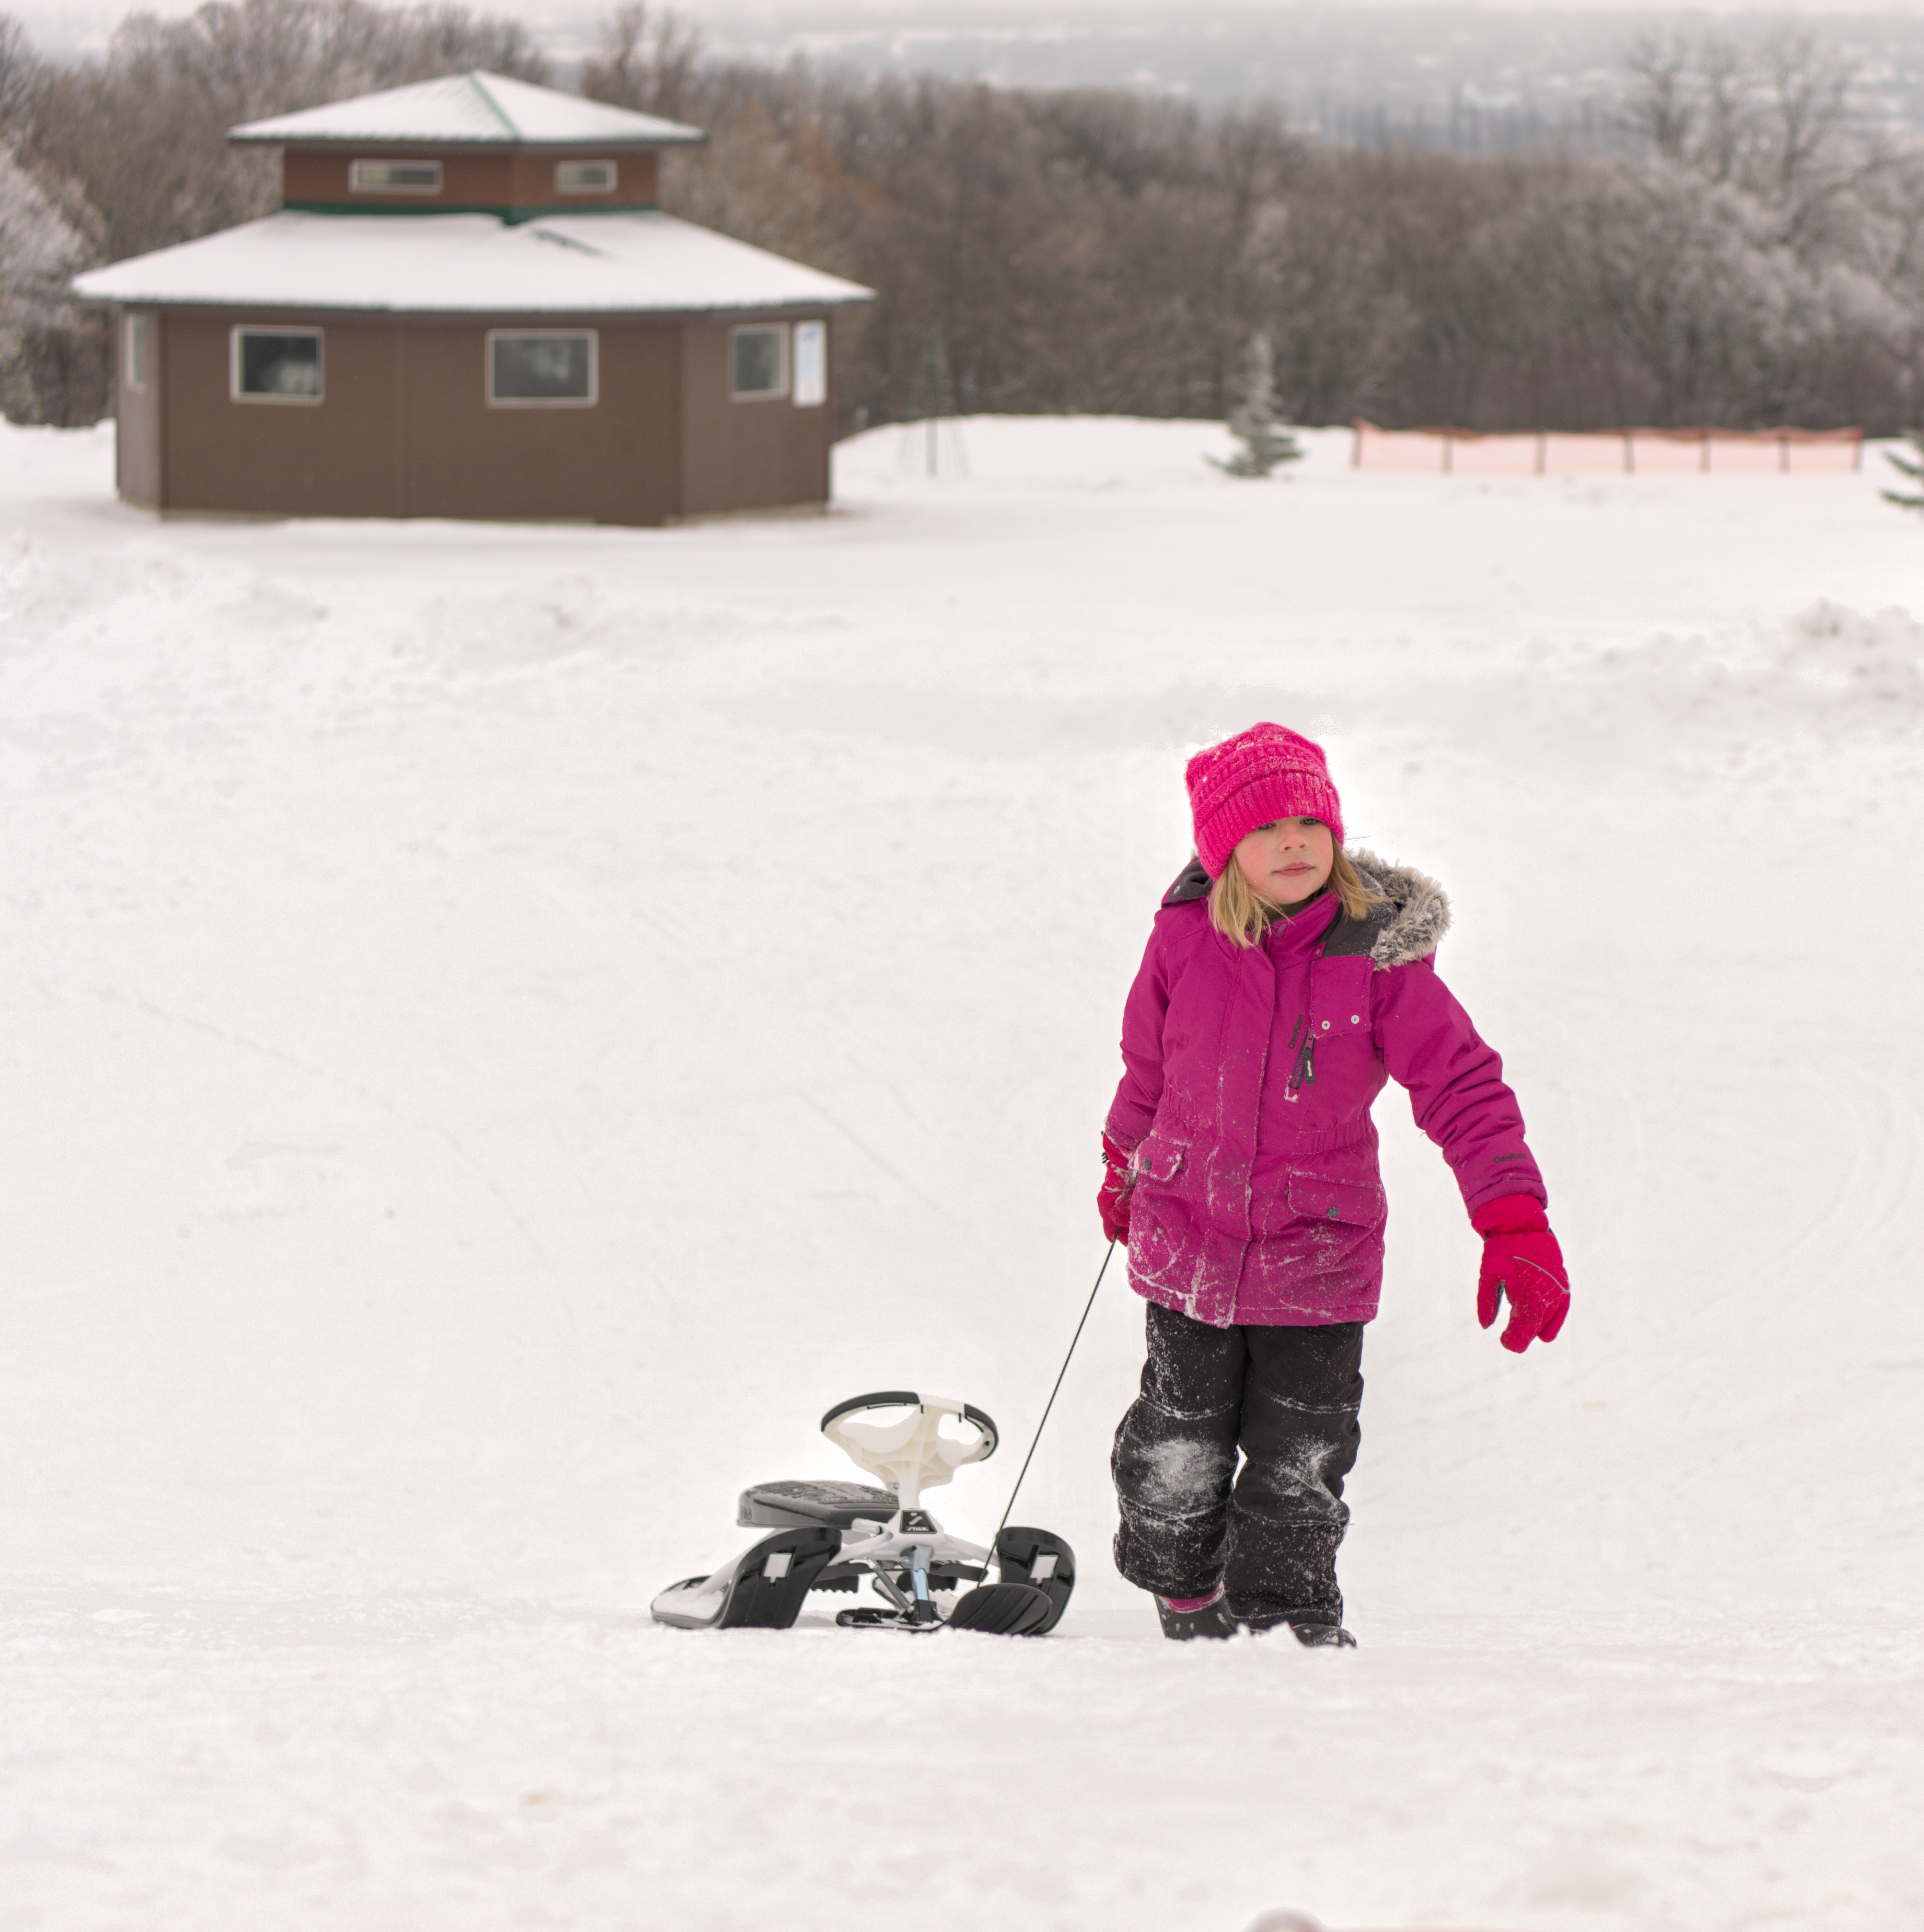
left using neutral profile, right with some simple processing steps. I didn’t care about the snow being blown…

1 Like
As @anon41087856 stated, it seems like a heavy dose of local contrast is required to differentiate the snow details, since they’re packed into such a small DN range. That’s what I suspect is happening in the LR result.
Here’s an example, where I used the contrast equalizer along with a parametric mask to crank up the local contrast in the high luminosty regions (along with a drawn mask to exclude the background region).
Edit: Note that this is a dt 3.1 Git sidecar file.
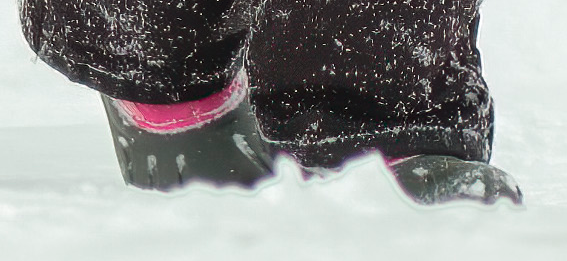
Looking closer at the original image produced by Lightroom, notice that there are some pretty severe artifacts in some regions between the main subject and the snow, especially near the boots.
I get a similar result with my contrast equalizer mask if I feather or blur the parametric mask.
2 Likes

2 Likes
It is worse at the toque.
PS That said, I think LR could do better with a few more tweaks. Could be user oversight or inexperience. (Mean no disrespect; we are all learning.)
1 Like
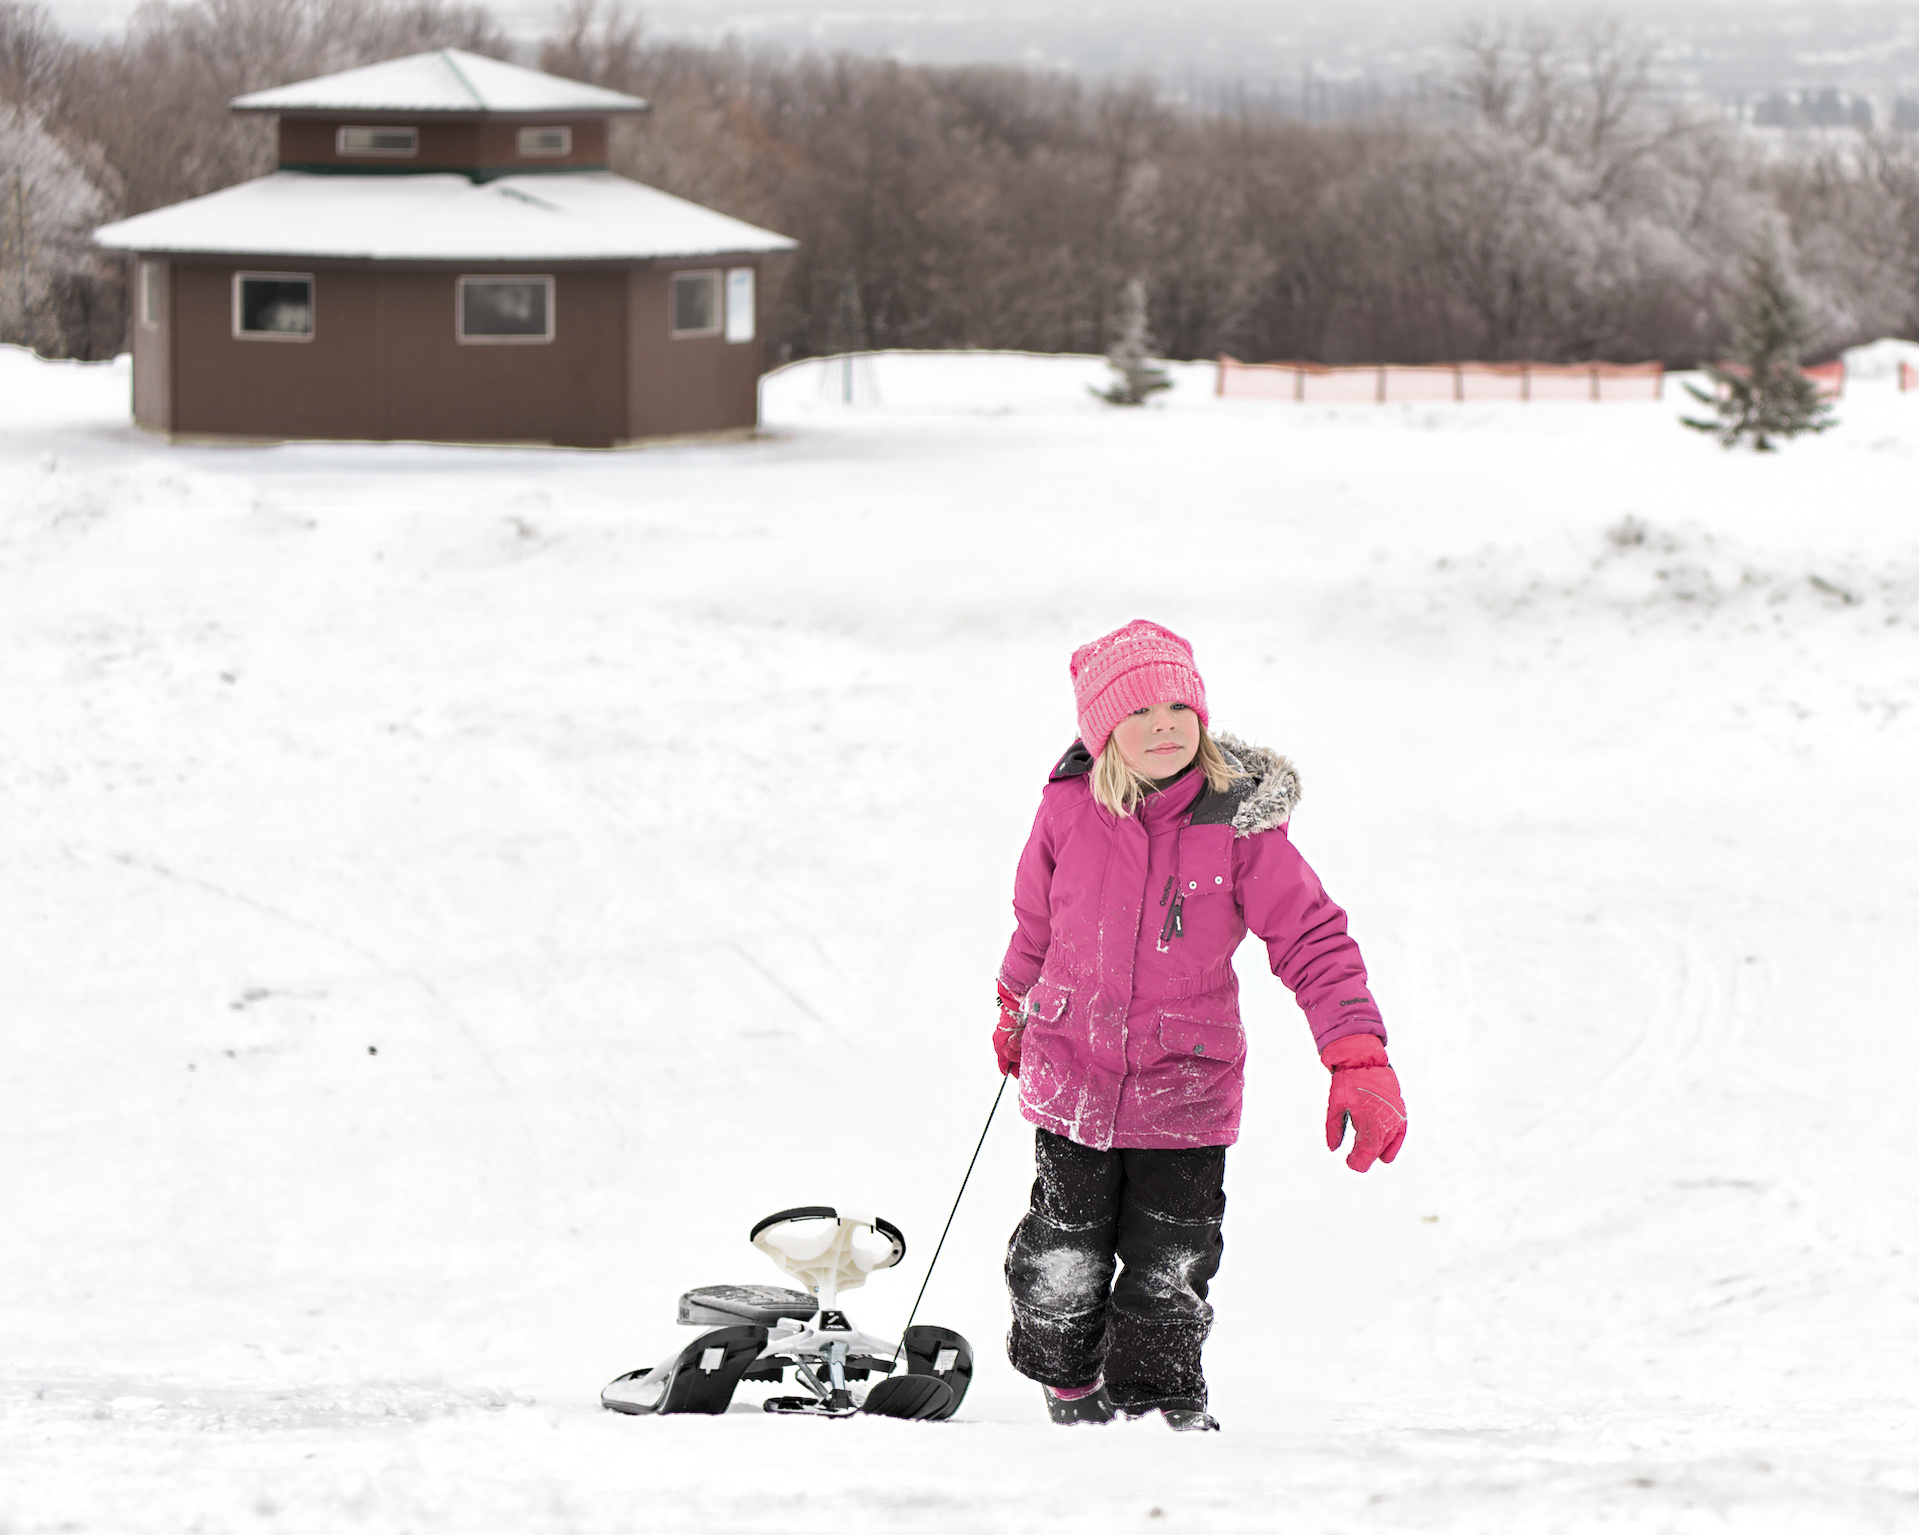
Thanks everyone. I know there are some issues with LR image. It’s not a final product. I just posted it to show that I know the detail is there for the snow.
When I posted the image over at dpreview most people just said it was over exposed and couldn’t be recovered. Despite what the raw histogram shows.
I just posted this to hopefully avoid that scenario.
Thanks again to everyone posting there ideas. I’ll try some of them out. I thought I wasn’t understanding something about filmic (since I thought it was specifically meant to handle images with a high dynamic range). But I think from the responses is that this is not a good image for filmic. So I will stop trying to pound a round peg into a square hole. Note I’m not complaining about filmic, I was happy with some earlier images I ran through it. Clearly this was a case of me not understanding.
On another note it I’ve been applying some luts in order to emulate Fuji’s sims. But those luts obviously have a curve baked in. So is it bad idea to try to apply filmic to these images as well? If so does anyone have a recommendation of how to simulate Fuji colours and use filmic? Thanks again to everyone who has taken the time to respond.
1 Like
filmic and film emulation are two entirely different things. The former is about bringing the raw into perceptual range of a new medium (the screen) while preserving energy (the math); the latter is about conveying a certain appearance or “look” (artistic expression).
As long as you use the former to give the raw image healthy distribution of intensities (histogram), it will make the rest of the workflow reasonable to manage. The misconception is to use filmic as basecurve. Unfortunately, the latter muddles the two categories described above, so the filmic approach is recommended.
2 Likes
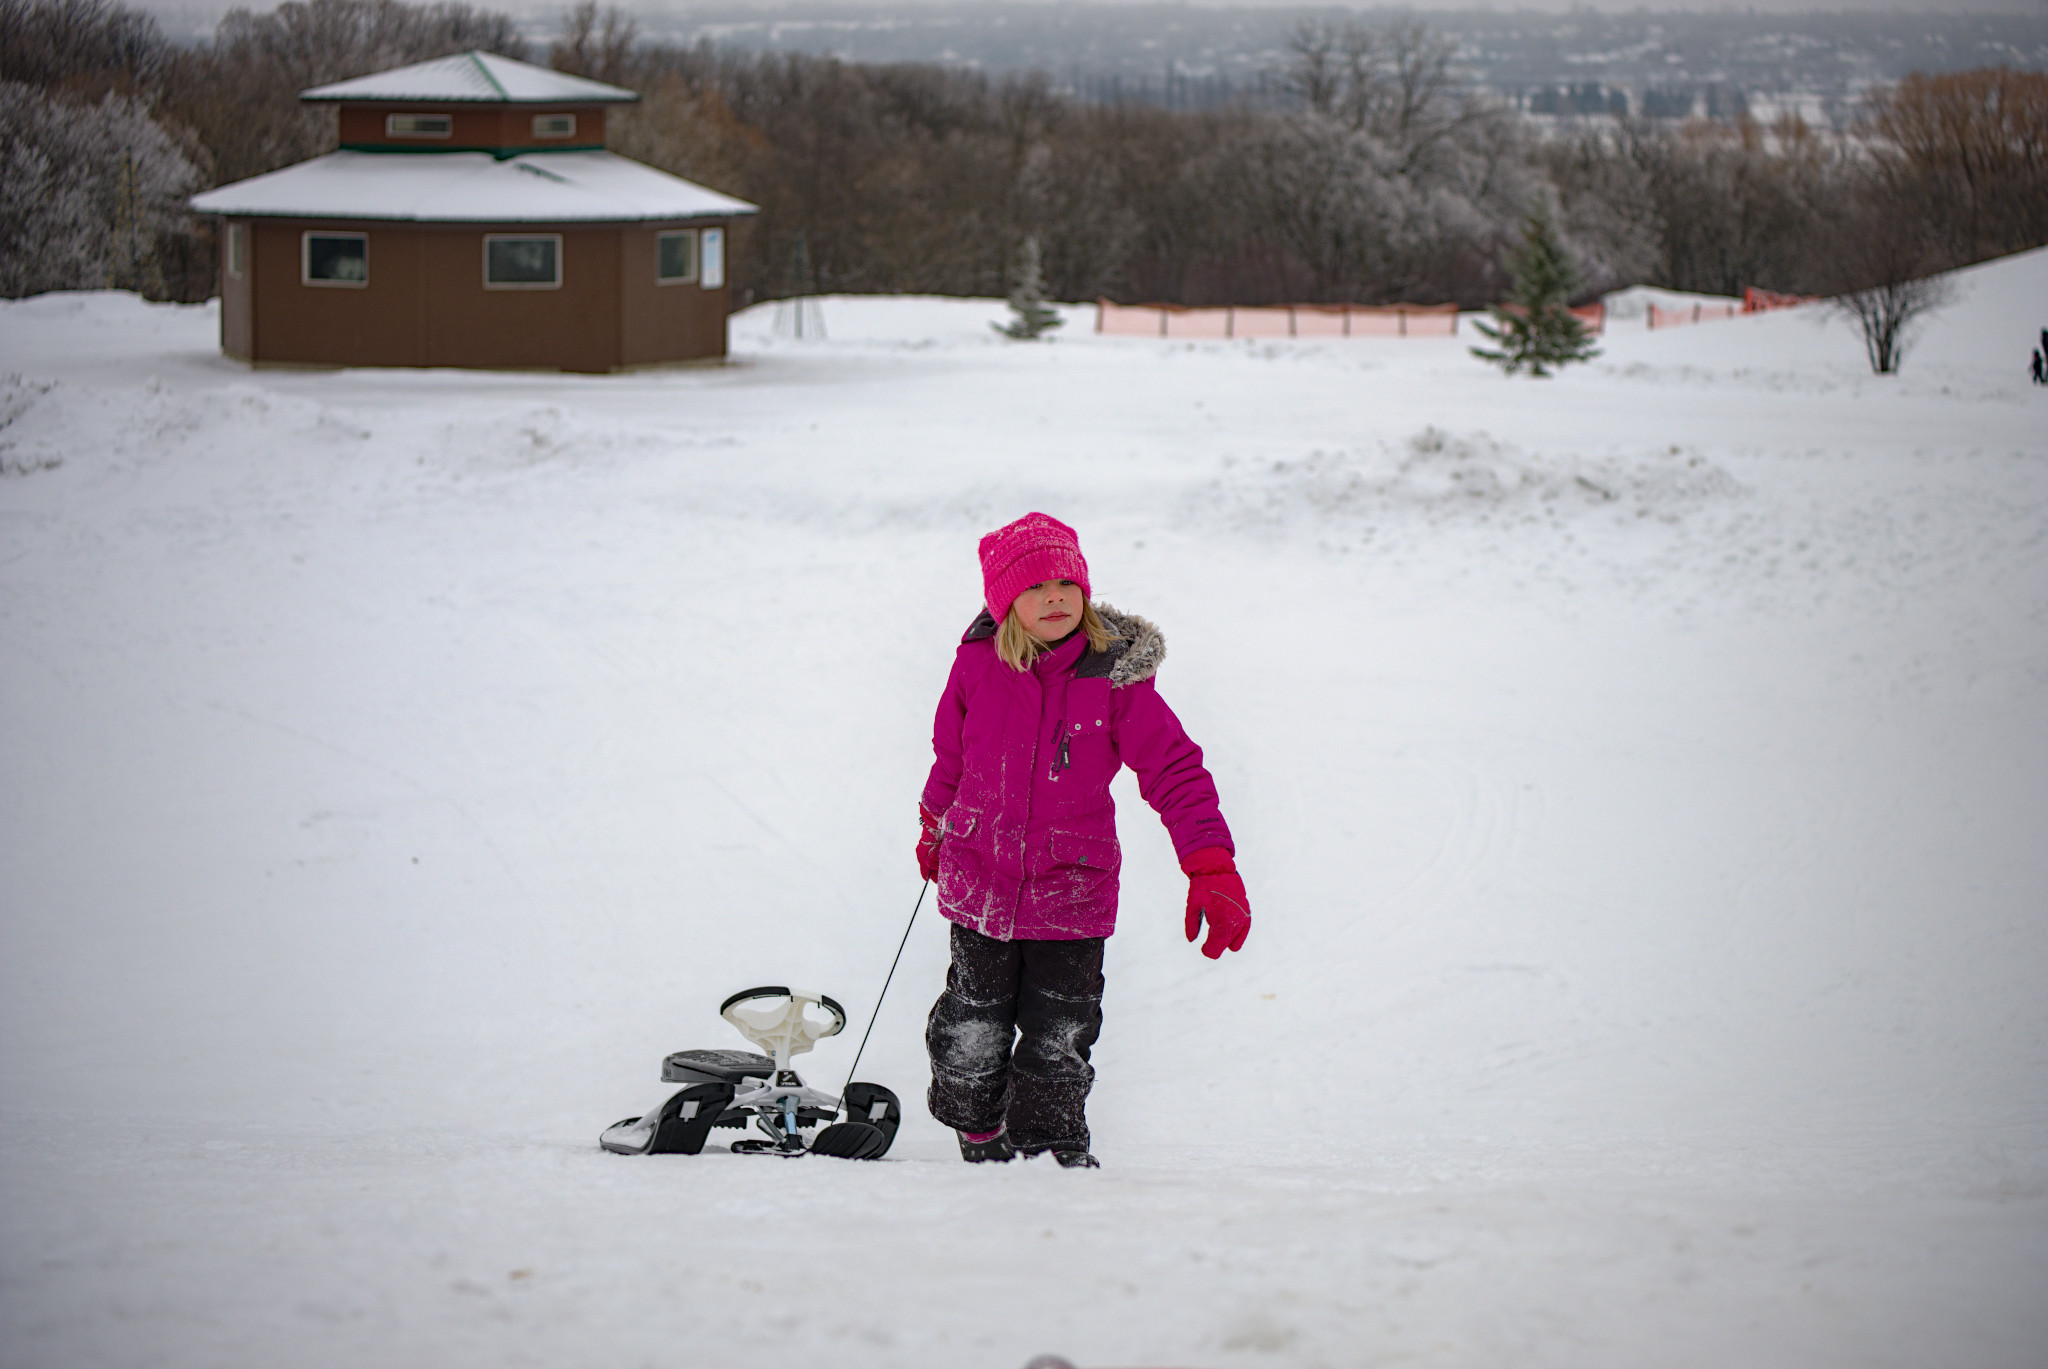
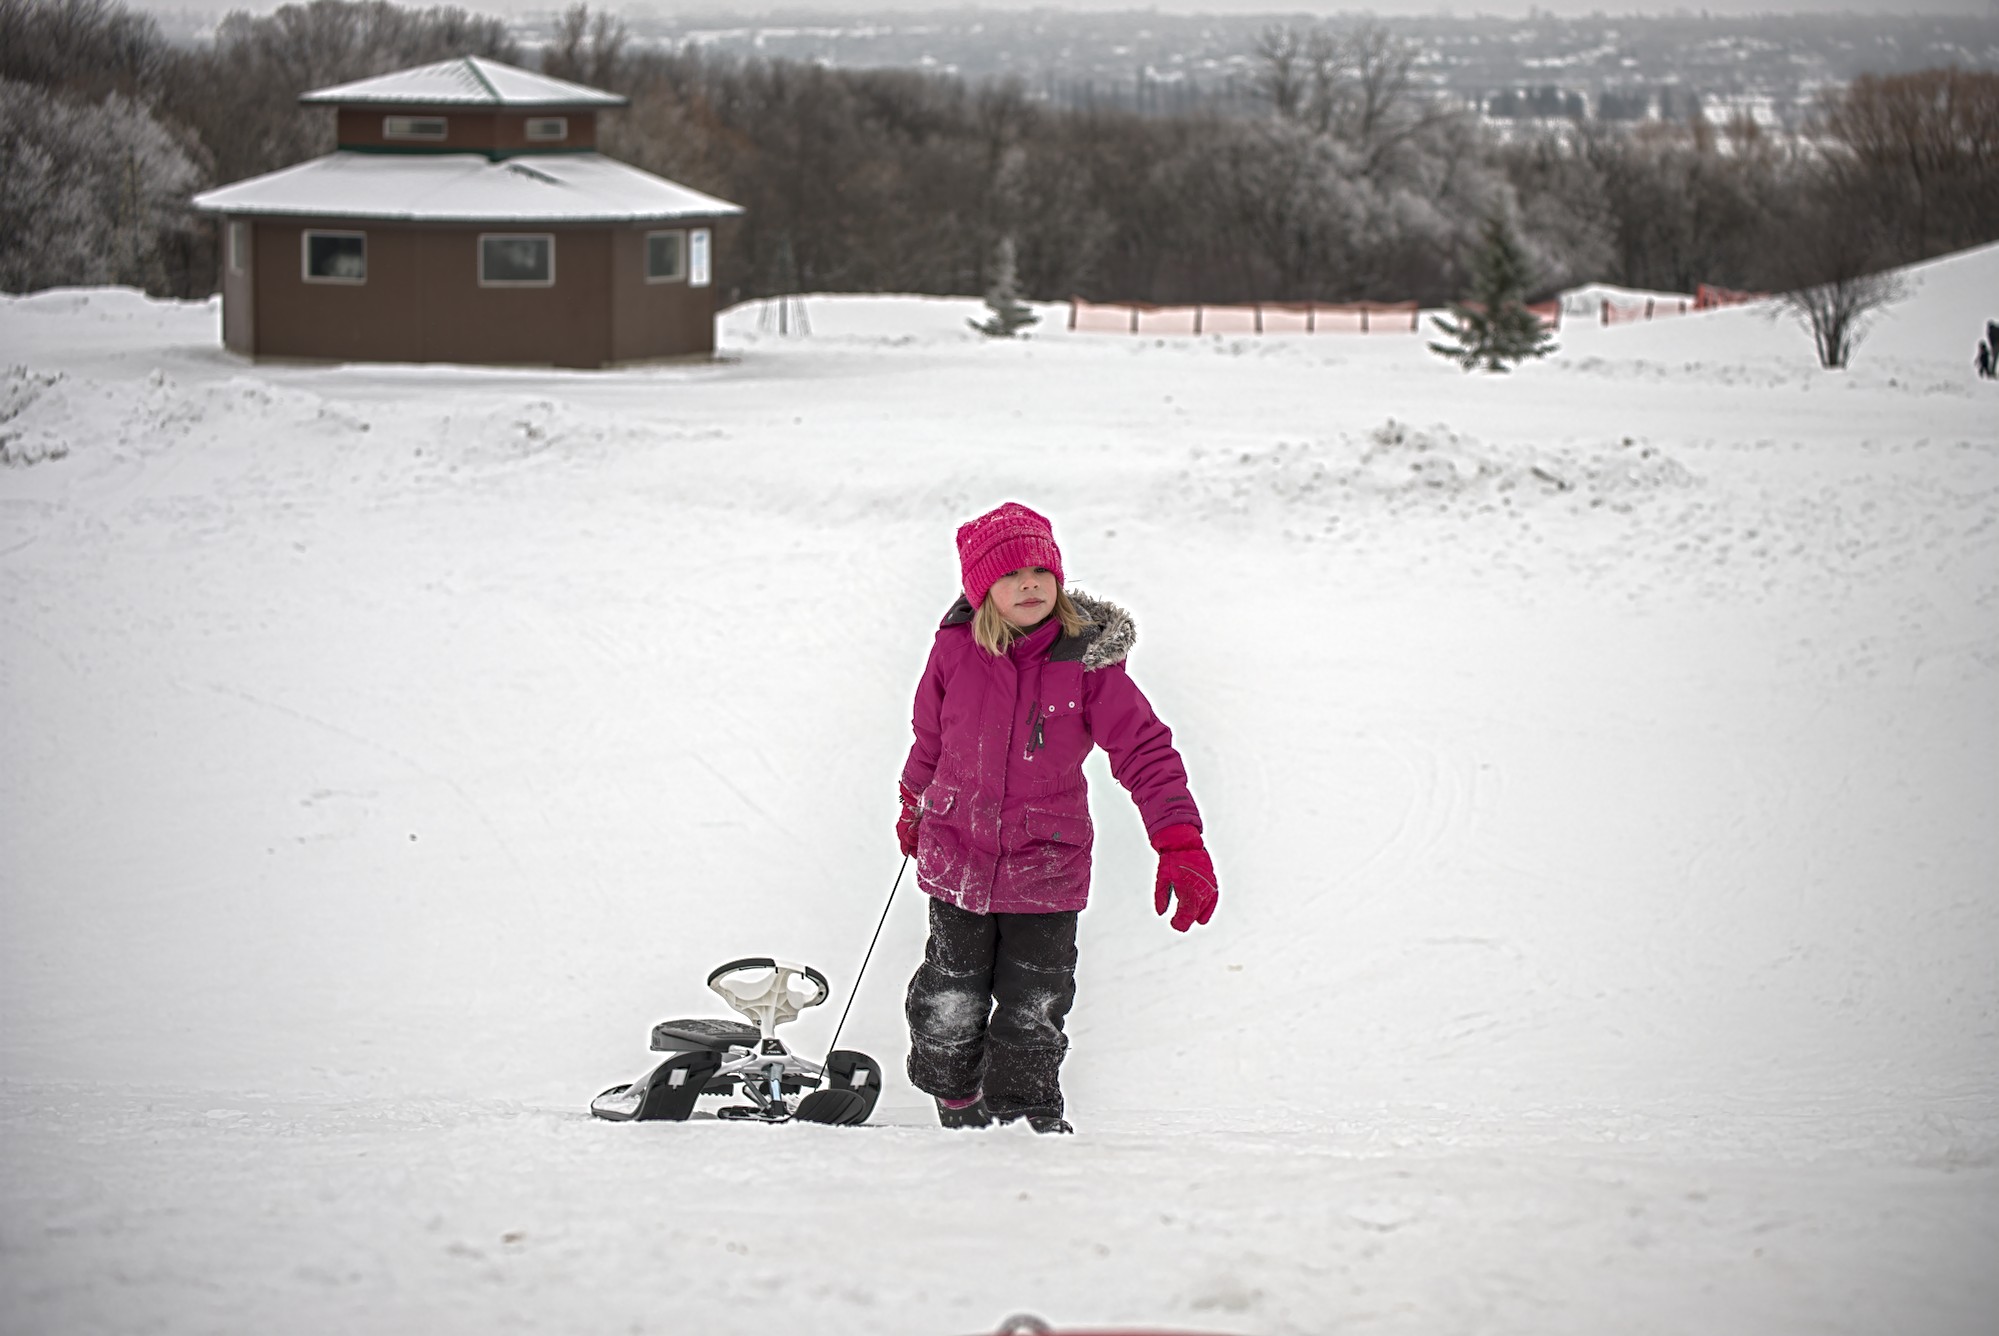
I just wanted to do a quick update. Just turning off filmic RGB gets me most of the way to where I want to be. I don’t mind this edit except for the hideous masking around the tree line, but I will work on that.
I need to bring up the mid’s a bit more and correct the colour a touch. But I have enough detail in the snow to give depth and distance info.
1 Like
I have a few images that don’t really need a tone curve. I think it depends on the exposure and the DR of the scene.
2 Likes
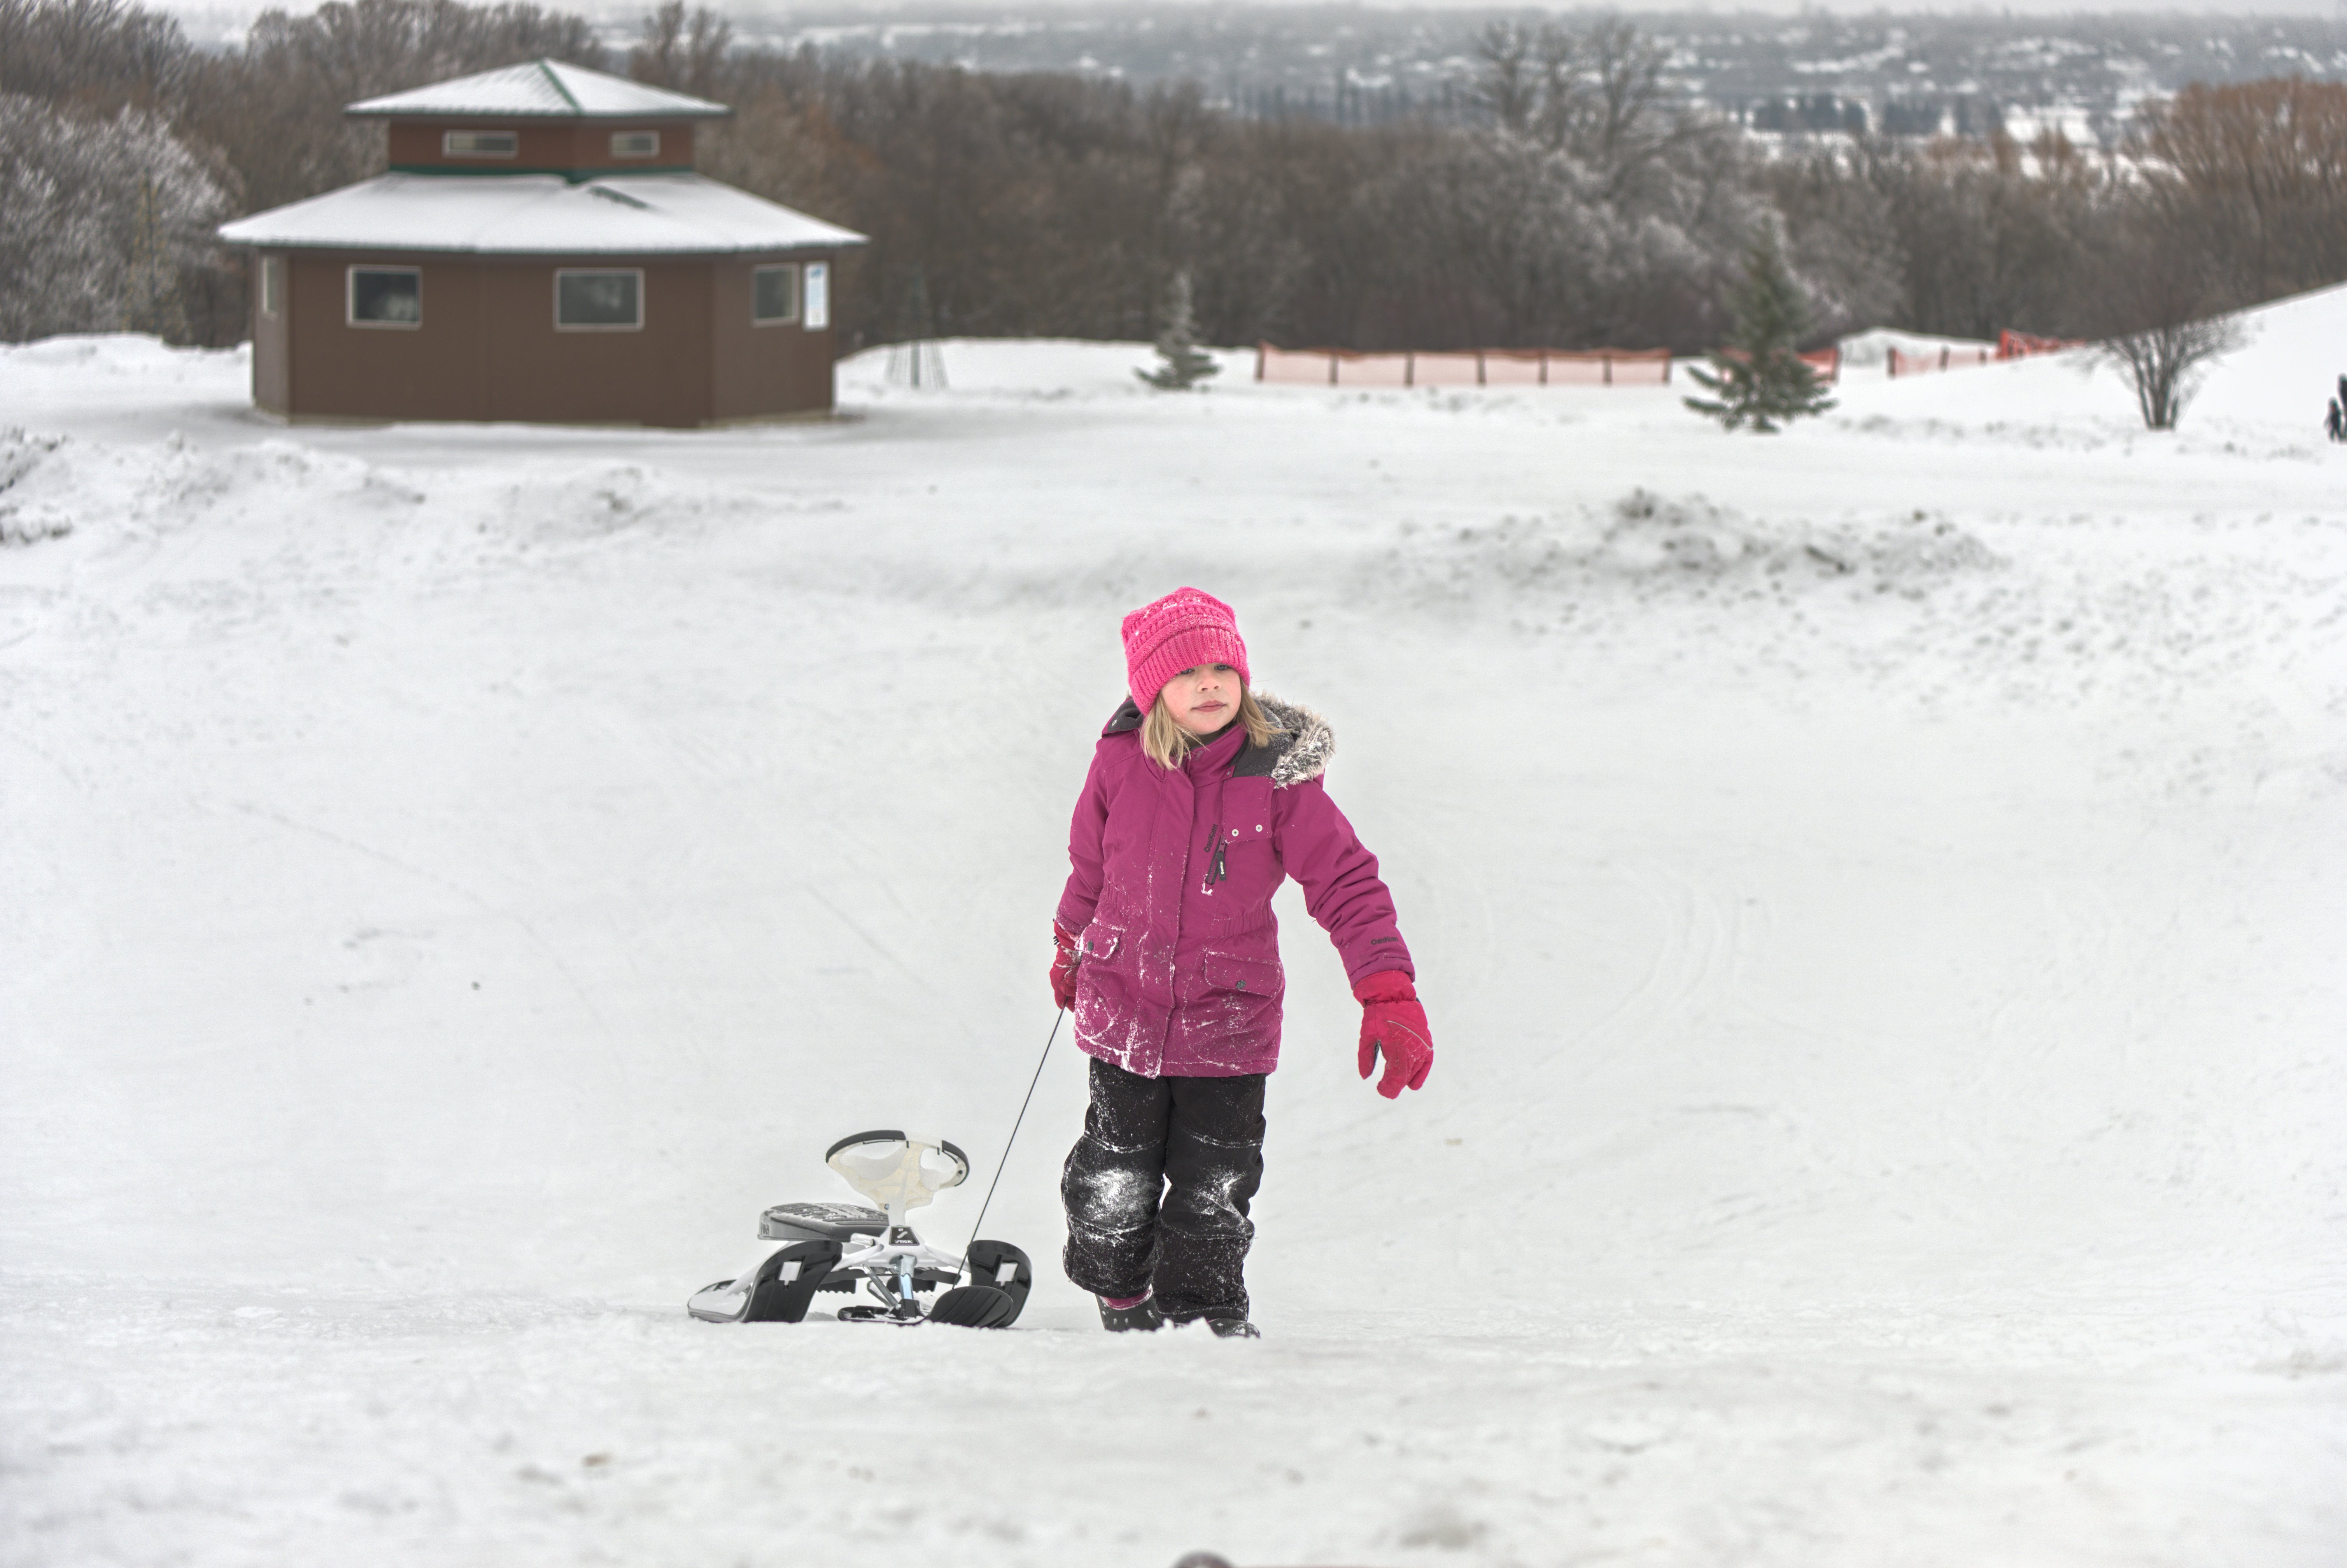
This is an attempt at pulling out the details of the snow using mostly the contrast equalizer and local contrast, with some masking.
The details in the snow are all in the upper 1-2% of the histogram, so there’s not a lot to work on.
DSCF8284_01.RAF.xmp (6.0 KB)
4 Likes
@seindal There is a noticeable halo around the subject.
1 Like
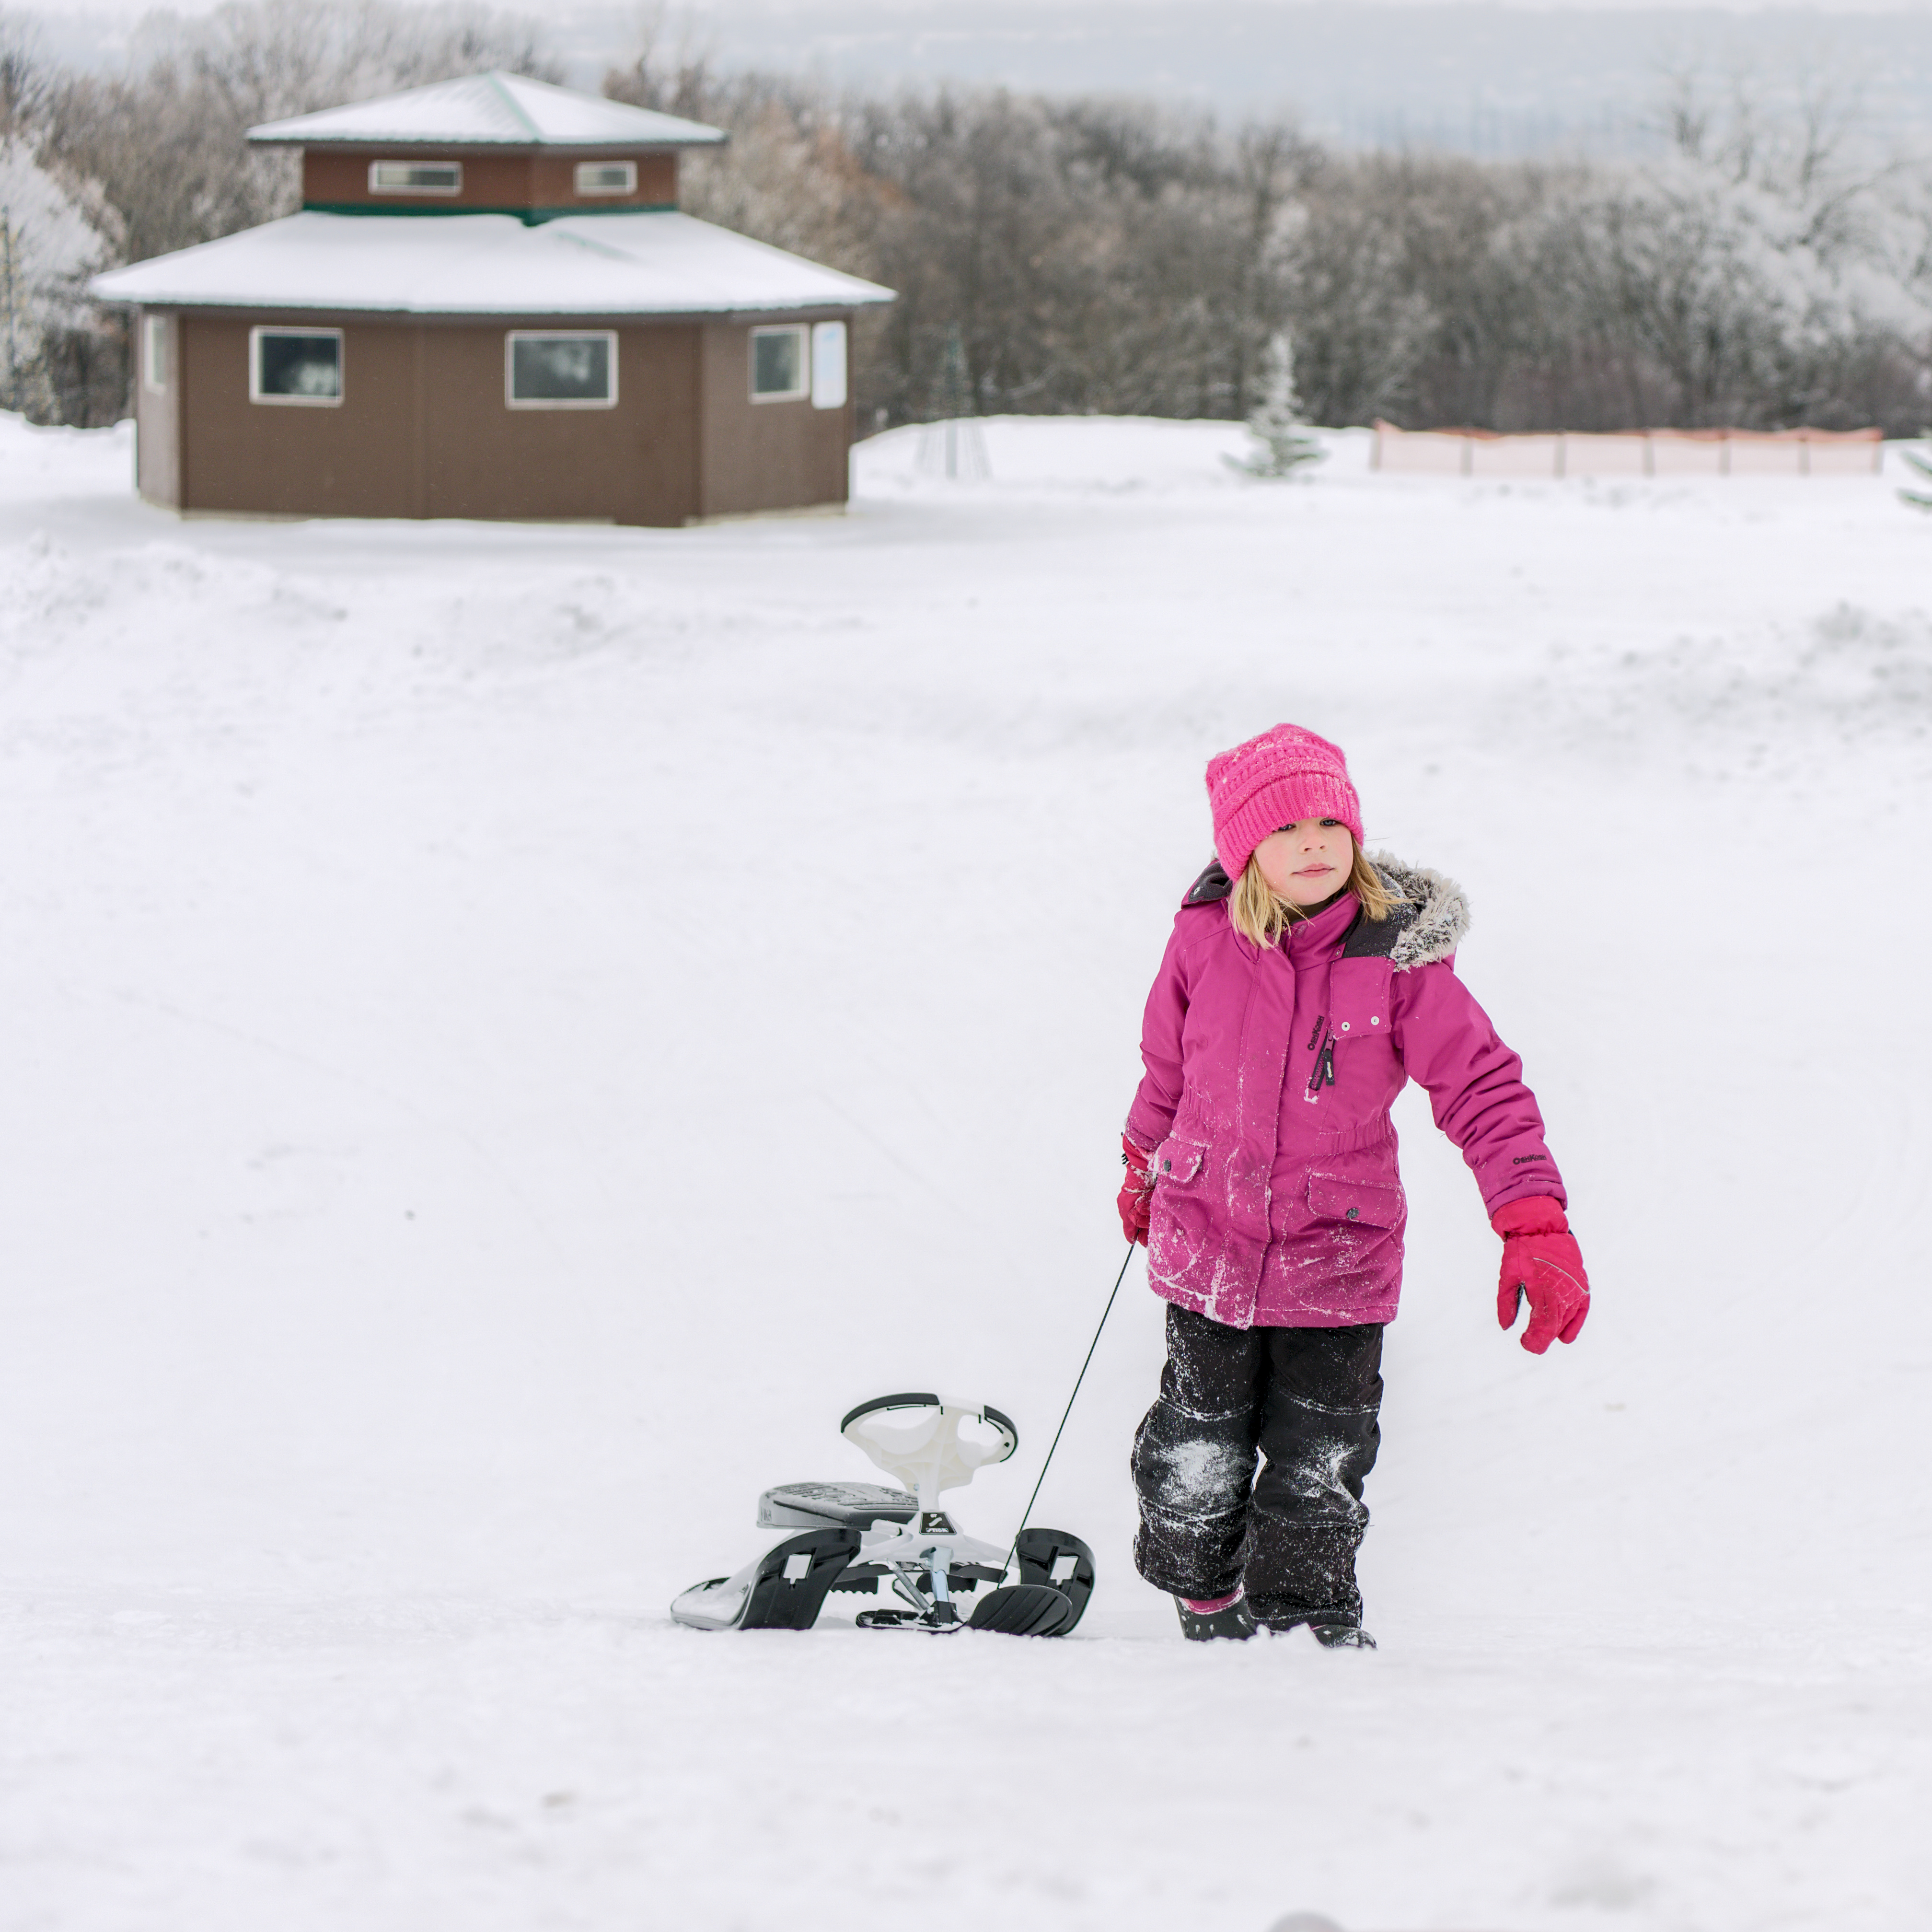
I just tried this image but it has not gone well! -

The only modules active are input profile (std. color matrix), output profile, white balance on DAYLIGHT, and demosaic, which dt has set to markesteijn 1 pass. The raw clipping indicator is on, giving the sensor-like pattern in blue-ish. Why the green…?
I started out applying my “standard” style, it looked wrong, so turned things off, and ended up with the above.
If I go back to lighttable and discard history, the image becomes normal.
This raw is probably the first RAF I’ve used. Can Styles be sensor-specific? dt seemed to work out it was a different demosaic process automatically so why could that be a problem? Modules in general are not sensor-specific surely? Is my build messed up perhaps? I’m curious about what’s happening here…
Also should I have that black stripe down the right side?
I have a new version I was going to upload, but for some reason lighttable is not reflecting what darkroom shows. It’s like Lighttable is 4 edits behind. And when I export I get the incorrect looking version (ie not what it looks like in darkroom). Anyone have any ideas how to fix this issue?
Also for some reason it seems to randomly reset WB from spot to camera when I double click on the image in lighttable to get it to open in darkroom…
This is my shot:
DSCF8284_02.RAF.xmp (10,1 KB)
Here it really makes no sense to use Filmic, because the highlights with important information are compressed additionally.
Fortunately darktable offers very sophisticated masking possibilities that can be used and also the possibility to arrange the modules yourself becomes here very handy.
As for the details in highlights, I have found that the haze removal module gives very good results. But you have to take care that it comes only at the end of the pixelpipe, otherwise you can expect unwanted effects.
By the way, this is the only thing I still miss in the darktable - especially after using Filmic RGB - a module that can improve and enhance the contrast and details in highlights. This can also be achieved by combining local contrast, contrast equalizer and haze removal, but it is very tedious and not always satisfying.
3 Likes
I suspect that’s the cause of green. Try spot to see if white balance will look correct. By default, I would leave it on camera.
Apparently your style is no longer compatible with the darktable version you’re using right now.
I find it strange that you apply tone equalizer automatically, although it needs manual masking and subsequent exposure corrections first.
Also, you are also using the contrast, brightness saturisation module that should not be combined with Filmic RGB as it works in the LAB colour space:
In GUI options for lighttable should “don’t use embedded preview JPEG but half size RAW” be activated.
This indicates wrong settings for color profiles. The input color profile should contain standard color matrix as input and Linear Rec2020 RGB as working profile. The output color profile should be sRGB (web-safe)
3 Likes
So… a kind of hightlights-stretcher with highlight reconstruction? I think @anon41087856 mentioned that highlight reconstrustion in dt is rather dated and needs work/improvements.
I didn’t mean reconstructing highlights. It refers to reconstruction of overexposed areas. What I miss is the ability to increase contrast and bring out details in highlights that are already there.
That’s what I meant with additional work put into hightlight reconstruction - I mean, look at the snow, it’s in top 1% of histogram and clips in blue in many places. So in order to increase contrast, bring out details etc you’d need to have a bit more room to work with so you’d have to get it at least partially reconstructed (IMO).
1 Like
Yes. I tried to limit it, but I don’t think it can be avoided completely with that approach.