Logically, looking at the histogram, what we need is to expand those 1-2% of the dynamic range to something more, and compress the rest to something less.
That is what the ‘zone system’ module does. Here I’ve activated ‘zone system’, put in as many zones as the module allows, and them I’ve widened the right-most zones, causing a slight compression of the others. Then I’ve added a bit of shapening with the contrast equalizer.
I’ve been reading up on filmic rgb and watching videos so I can understand the new workflow and the challenges it’s designed to overcome as I’m new to the whole “don’t just dabble with controls but understand what you’re trying to achieve, and how” thing. My question about filmic is:
I remind readers here that filmic RGB is a dynamic range compressor, from the high dynamic range of the camera to the low dynamic range of the screen. It is not a tone curve intended to apply an artistic correction, but a mapping of tones to force fit the sensor data into the the available screen space. filmic RGB tries to protect the details as much as possible (which we assume a priori are in the middle tones) and to keep a certain optical readability in the image.
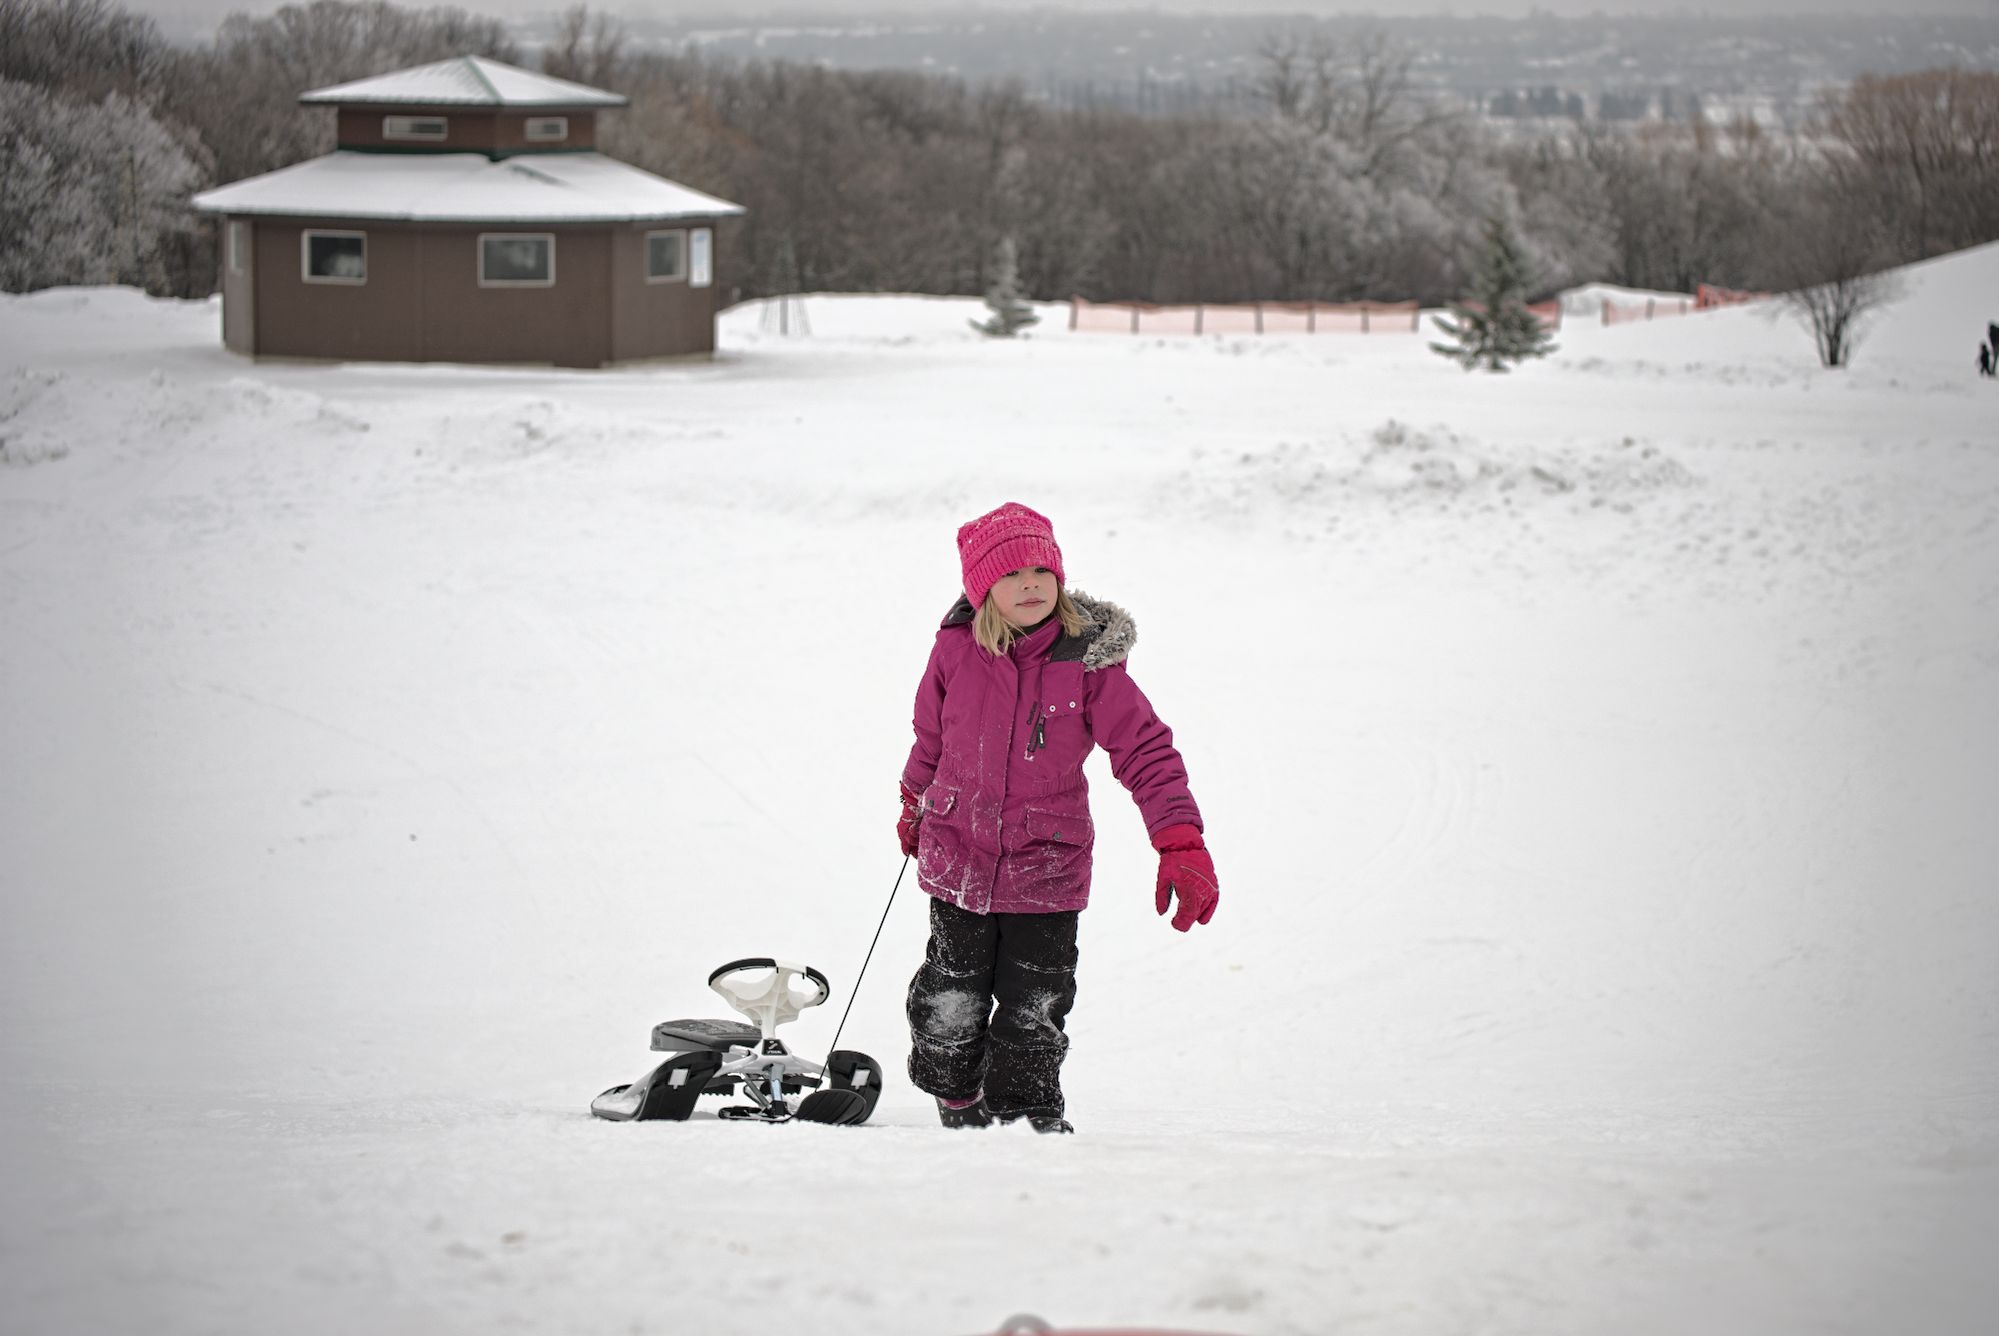
In the case of this image (the “girl on snow”), people seem to want to bring out more detail from the snow. filmic rgb seems to be saying “here’s the mid-tones - we’ll keep them linear and we’ll lose DR at the extremes (shadows/highlights)”. And it’s as if people want to say “actually, in this image I’m as concerned about the highlights as the mid-tones. This isn’t a portrait - can I keep them (the highlights) linear at the expense of a bit of mid-tone compression”?
If you’re trying to map 100% of DR onto a smaller range (that’s, say, 80% as wide) why is it necessarily a contiguous range of mid-tones that’s being maintained? Why can’t we “spend” the linear mapping range how we like? Imagine the filmic rgb graph but with - instead of a single straight line of latitude - a number of smaller lines of latitude? Is the problem that the maths becomes horrendously hard, or am I talking nonsense and this just isn’t possible even in theory?
mid-tones are, 90% of the time, the range that contains all the subject’s details (for starters: skin tones)
it is consistent with physiology: look at a bright cloudy sky without solar glasses, how much details do you see ? Not much, you are mostly blinded. Now put on polarized solar glasses. These babies got shapes, right ?
that’s what film does, and film has built our standard expectations towards what “good pictures” should look like over the past century.
That would look sooooo bad. You don’t want to break the continuity of the slope and curvature of your spline, that will result in some ugly gradients in the picture. Also, at some point, yes, the spline will become overconstrained and it’s possible that it becomes unsolvable.
If you want a filmic curve that ditches the “S” shape to keep the highlights linear, you could set it up like that (decrease the contrast to almost 1):
Then decrease a bit the display → target power transfer function (by default, it is auto-adjusted to have the log grey on the identity line):
@s7habo Boris, thanks for the comments. I hadn’t read that article. So whilst I’ve only been using contrast, brightness saturation to increase saturation a little, I will go to color balance instead.
I’m not using tone equalizer “automatically”. It’s in my Style but switched off. I haven’t got into this module yet but I think I read it was a good partner for filmicRGB. Rightly or wrongly I’m using a Style as the first step in my processing to set up a given bunch of modules with given settings (along with the use of Favourites).
You say my style is no longer compatible with the darktable version, but I’ve only ever used V3 with filmicRGB, so I don’t think that explains the green issue. I tried other white balance settings including spot but none worked. “Camera” is not a good default for me because I usually do uniWB!
Have you tried the “Log tone mapping” in ART? I really don’t know what it does and how it compares to filmic, ping @agriggio, but in my (limited experience) it’s an amazingly intuitive way of compressing dynamic range that gives very good results.
It lacks the excellent black/white desaturation tool of filmic but managing dynamic range is a breeze. In ART the curve isn’t part of the tone mapping but you can use the normal tone curve to push contrast around more flexibly than in filmic where the curve part is a bit “stiff”. The example photo is probably still hard work but I’ve found the ART way more flexible.
I use Blender filmic for my renders at work (not the core of what I do so only occasionally). And find the results great out of the box. For some reason I need more flexibilty with my photographs.
IFAIK, @agriggio is a fan of my work and the log tone mapping is essentially dt’s filmic with a simplified UI.
Filmic Blender and Filmic OCIO are actually a collection of fixed LUTs that are produced with an algo very similar to dt’s one. They come from Troy Sobotka, who has been my pen buddy for 1.5 year. darktable filmic is very much the same, but with a parametric UI instead of the pre-computed LUTs.
Thing is that it’s simpler but arguably more powerful thanks to the freeing of the tone curve. (tie in with complexity thread) My mentioning of Blender filmic was because I don’t feel I need the tone curve control in the renders where I have complete control of the light. Much of my photography is outdoors with narrow time slots so no control of light. In such situations more tone curve control is very useful because i have to expose for dynamic range not subject.
Somehow the splitting of tools and tone curve freedom of ART also radically reduced my roundtrips between tonemapping and curve/look. I felt, admittedly beeing a noob, that the tonemap/look entanglement was more complex and unpredictable in dt resulting in a lot of back and forth between the tabs. Please know that I spend a limited time and maybe 20 odd difficult photos trying out filmic so I was a bit lazy.
Nonetheless, the curve is still there. It’s just that someone with skills baked that curve for you in the LUTs so you don’t need to bother about it.
Hmm… The scene tab (black/grey/white) is supposed to be absolute and solely dependent on the scene lighting. Then the look tab is supposed to be completely free from technical lighting considerations (until you clip the curve) and relative to the scene. So it makes no sense to have to go back and forth between scene and look.
It was mainly clipping I had issue with. The look caused clipping (according to warnings) which meant I had to go back to tweak tone mapping. I now know you you can equalize some of that back. A flexible tone curve can avoid it immediately.
If the curve is clipping, then you have been adding too much contrast in look. The scene parameters shouldn’t be used to unclip the filmic curve. White means white, and black means black, no matter how you want to tweak the contrast. The scene parameters are the bounds of the curve. I’m not sure what a “flexible curve” means here, a spline is still a spline.
I certainly like many of the things you have done in darktable.
and the log tone mapping is essentially dt’s filmic with a simplified UI.
yes and no. I think they use the same tone mapping formula (that comes from ACES), but the implementations are independent. I am also not using splines at all, but a simple remapping to linear. In ART there is also the “regularisation” slider that tries to preserve some local contrast.
In my view, that is part of the look, and therefore left to the tone curve:
Yes, but the image tended to become to flat otherwise. Tone eq can fix that but initially I attempted to get all tone control from filmic.
With flexible curve I just mean that it can be tweaked to be completely asymmetrical for example with a huge soft curve for the highlights and a near linear toe. It’s an easy way of having most contrast where you need it regardless of where it falls in the tonal range. I have a preference for global adjustments. Imho you need to be very observant when doing local adjustments. Things can get odd in ways you don’t notice when you are working on the file.
I think@agriggio is talking about the log tonemap module here but the tone curve which does the look work is a spline as far as I understand.
I forgot that I actually figured out the saturation curve.
Quite new to this forum, quite new to Darktable and quite late in this topic, I still try to contribute.
Hope this is OK.
I am also impressed and challenged at the same time by filmic RGB. Improved contrast in all dark and higlighted areas of an image is always a compromise. This because when someehere expansion (contrast improvment) is created with filmic RGB, it is inevitable that elsewhere compression is the result. So filmic is not the primary tool to “improve” the dark or bright areas of a photo.
Please find attached my trial to get some snow details. Not really good (vignetting!) and only a proof, that something can be recovered in the snow areas.
Basically I think, that it is a good idea to test and learn really ALL tools in Darktable with not only real world photos, but with PNG test images. Especially filmic RGB can be understood very good with adequate test images.
Please find attached one of my test images. With such image you can clearly see, what happens in most (at least a lot of) Darktable modules.
Yes Herbert, that is a nice idea. The alternative to generate raw files directly or convert them from png would go far over my my capabilities, if that is even possible. For basic understanding (e.g. sharpening) the png files can be ok, but of course not for the sophisticated raw modules in Darktable.
During understanding the linear and nonlinear encoding and color processing, I have generated not only test images, but also detailed transfer curves. They might be useful for others:
Photographed png’s will still be bounded data, i.e. zero to one data.
A better approach is to generate openexr images and open them if you are testing things after the demosiacing step. These are true scene-referred files in float. I have generated them both using Python and as renders in Blender.
What do you mean by that? If you mean that the input image probably has some ‘gamma’ applied (is not a linear representation), the input profile takes care of that. If used with the v3.0 JPEG module order, the input profile will come before exposure:
Then, increasing exposure by 1 EV will multiply linear data by 2 (check the color picker values in the screenshot):


 way of compressing dynamic range that gives very good results.


