I’m using w11 with gimp 3.04. While I’m creating still images with gimp, the images will ultimately be used in video.
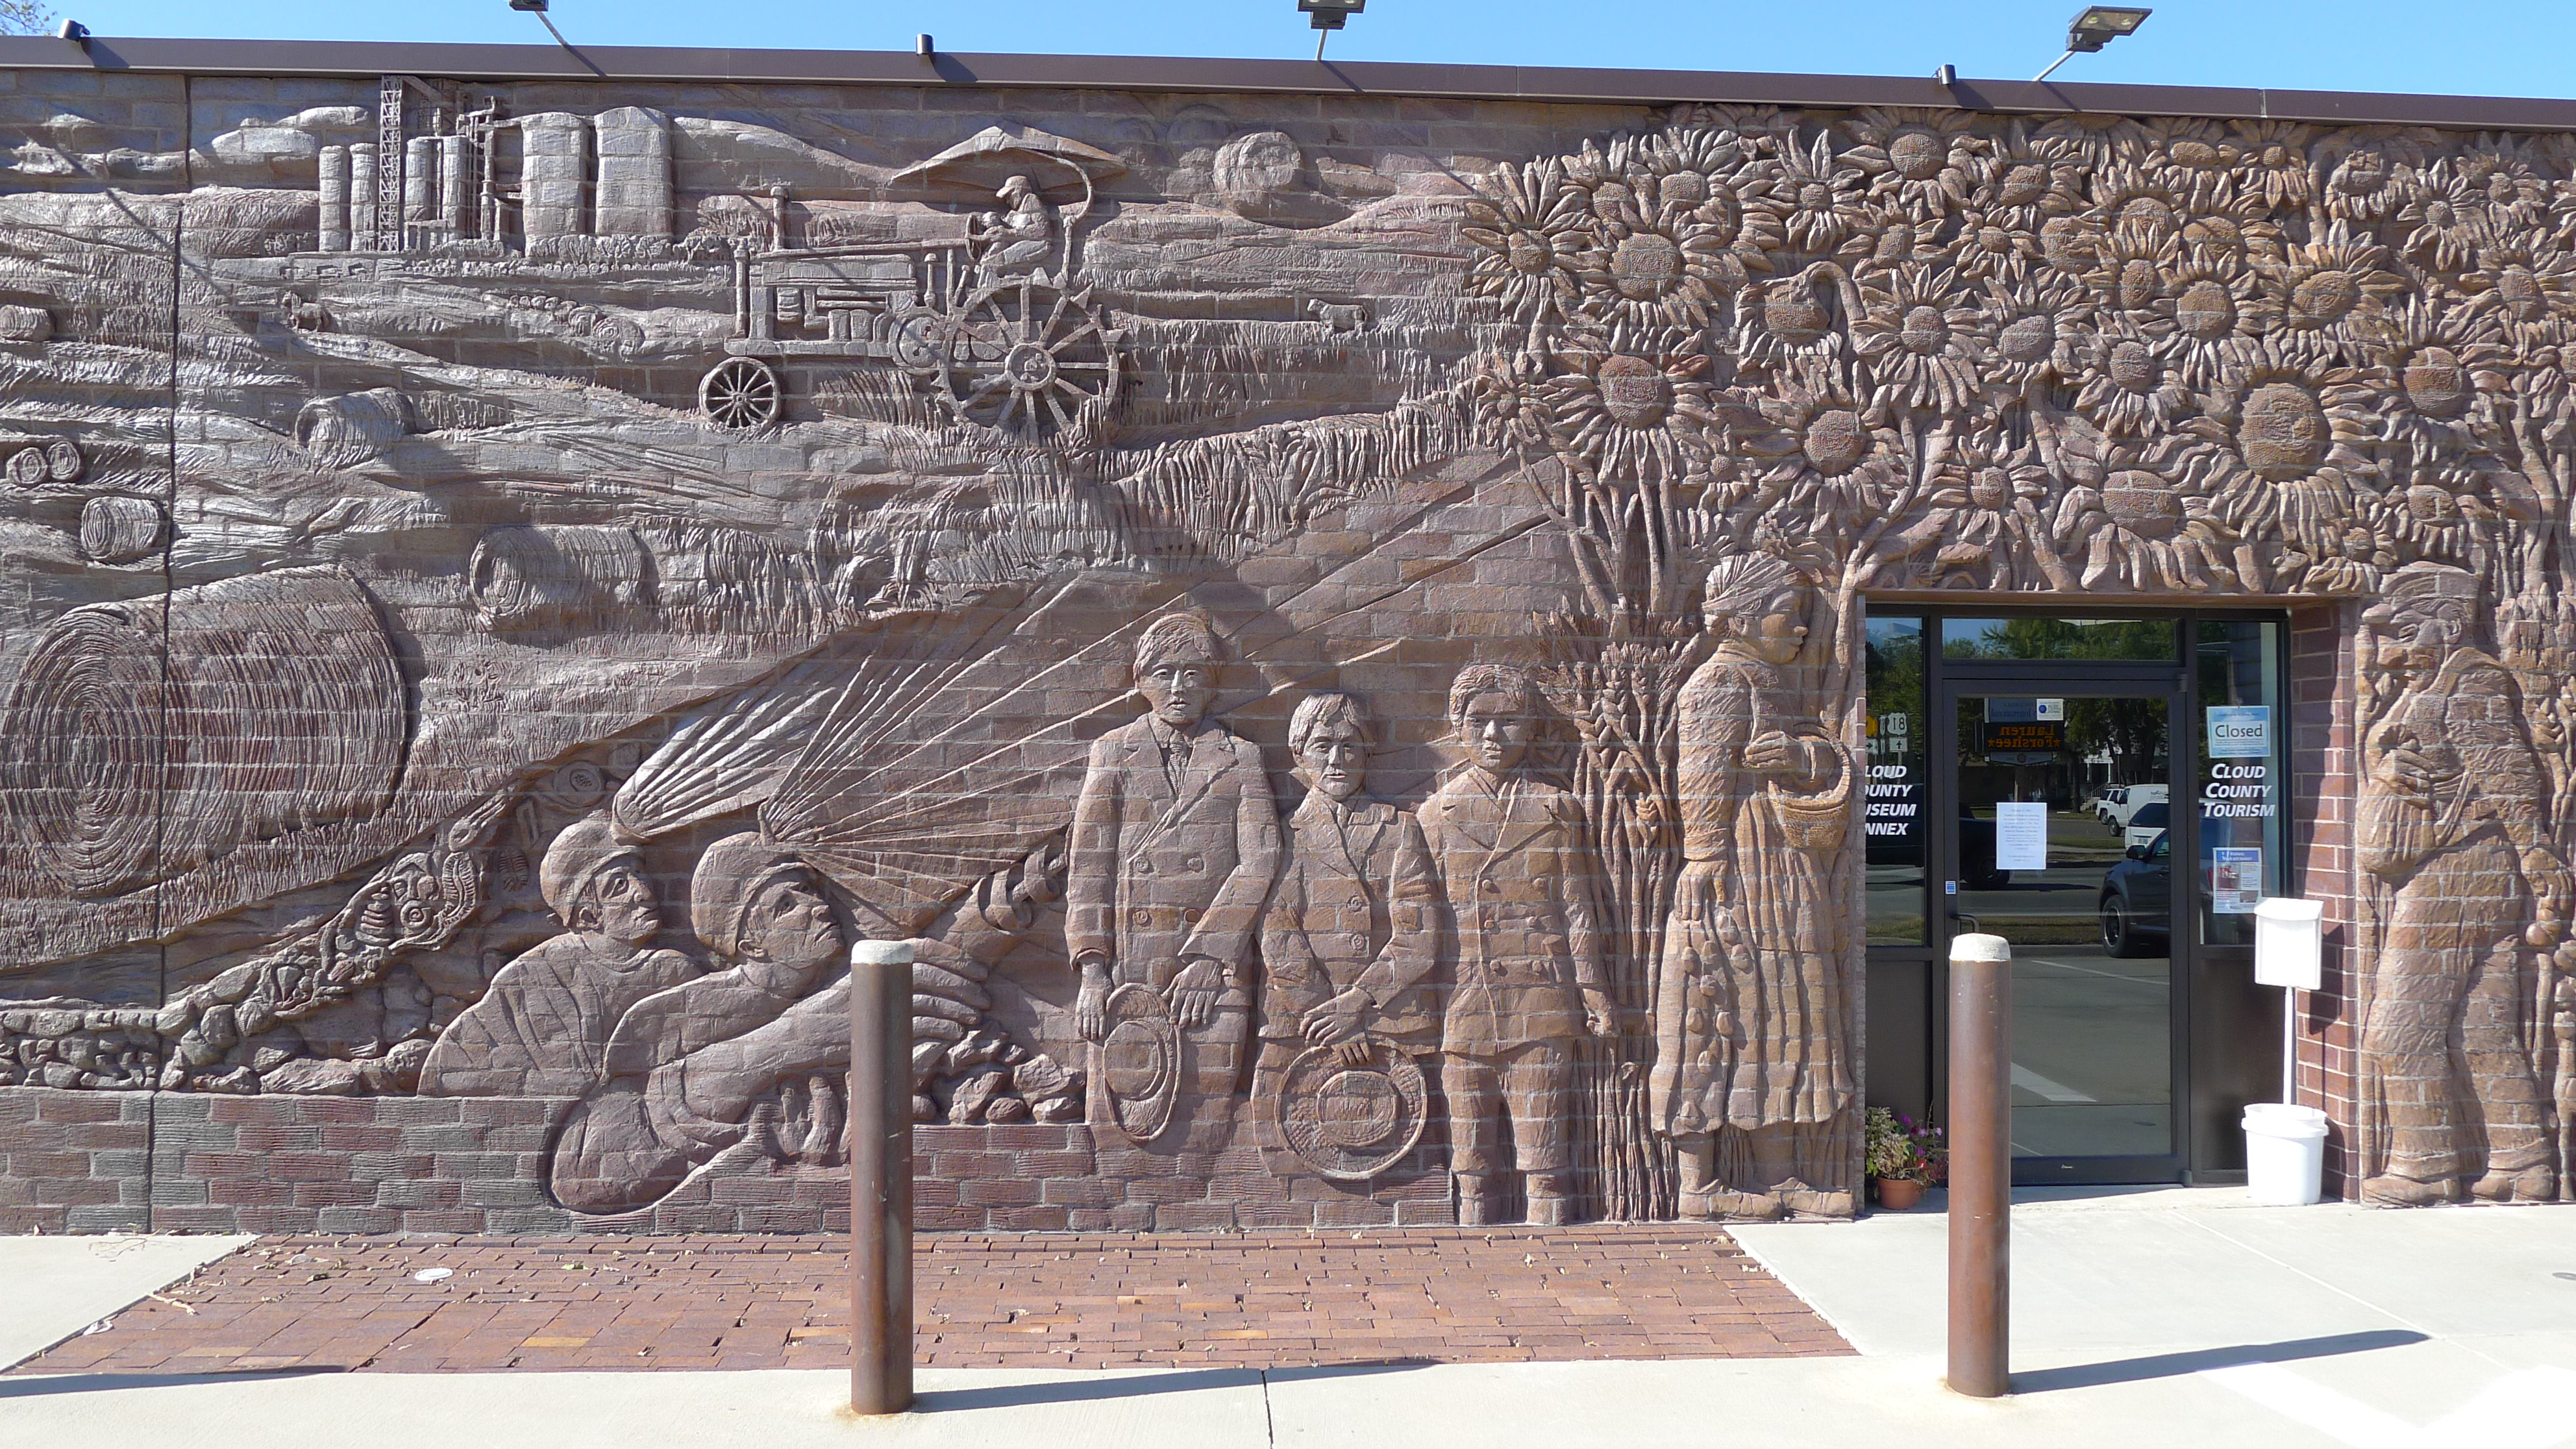
Perhaps you’ve seen a brick wall at a library or train station that features images in relief constructed onto the wall, such as shown in the attached photo. That is the effect I’m trying to achieve.
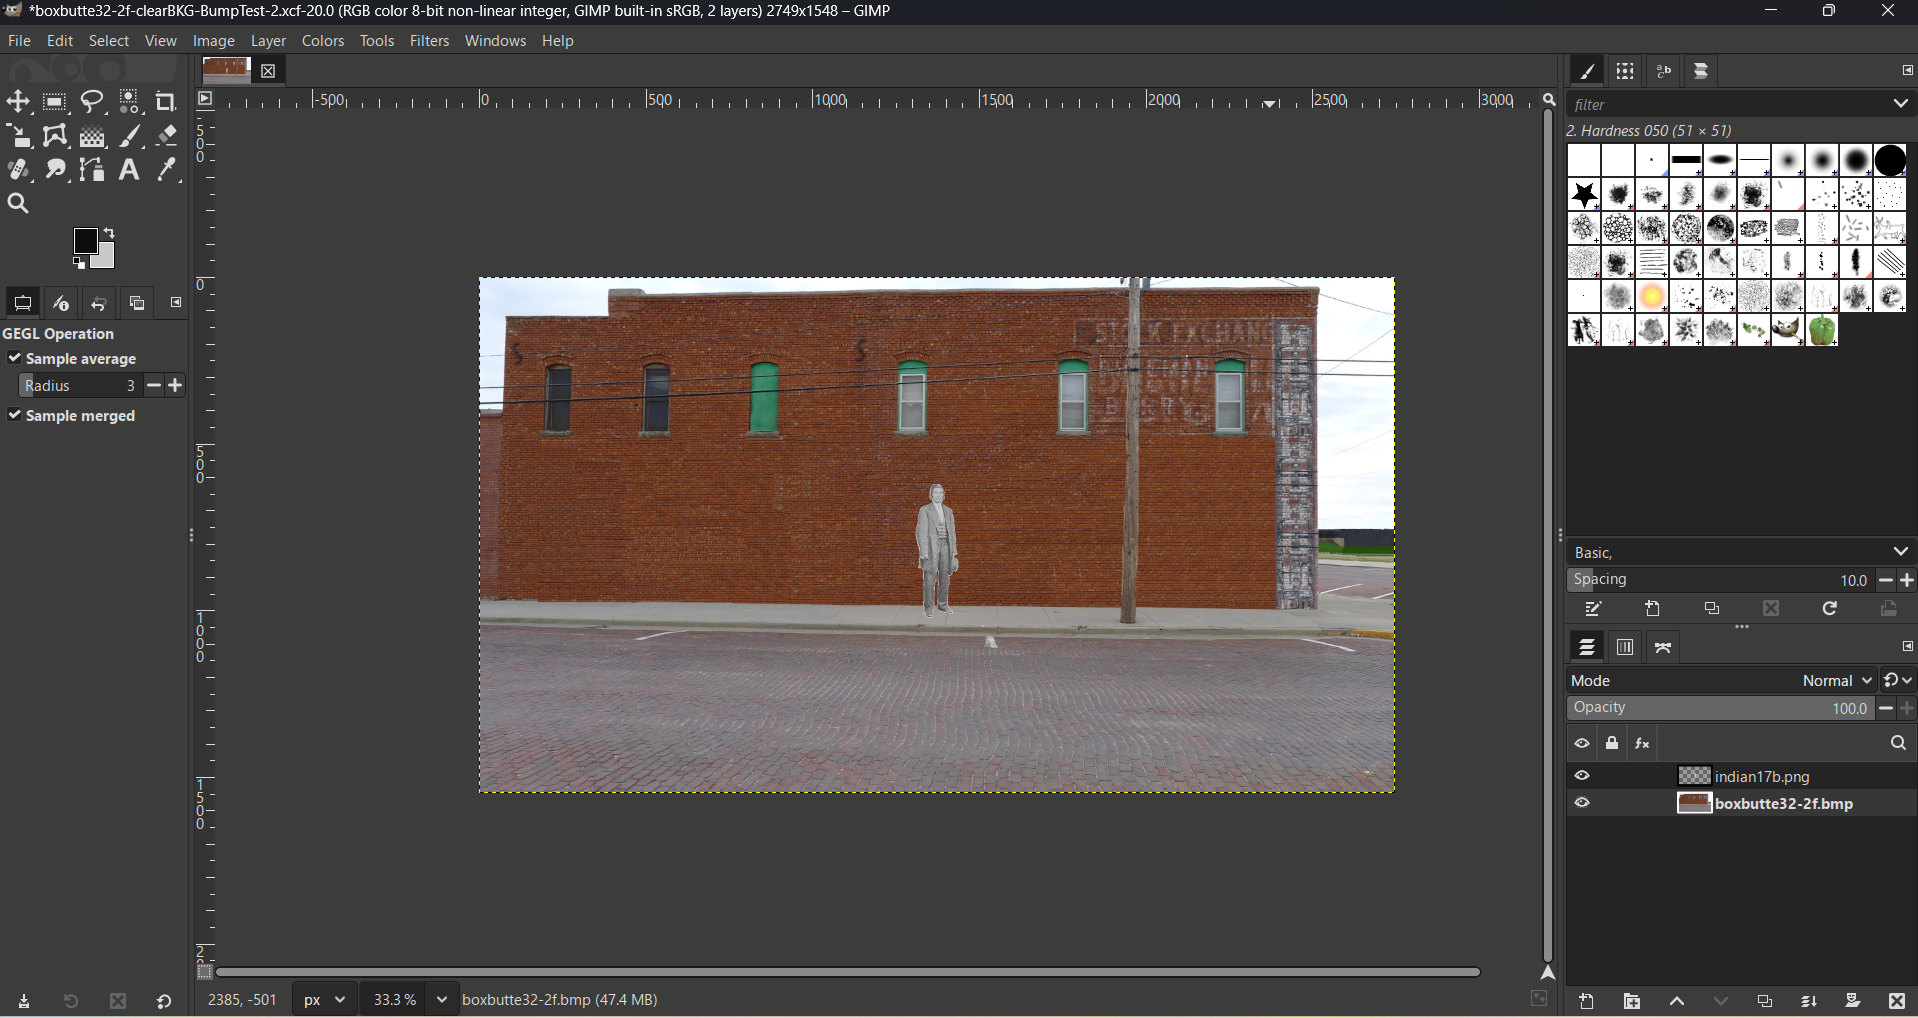
I have an .jpg/.bmp of the side of the building (called “wall) I’m trying to modify with several b&w images to be bumpmapped (called bumpedimage”) into/onto its side. The bumpedimages are .png.
- To get the placement and size of the b&w bumpedimages correct, I have first made the wall and bumpedimgages the same size (pixelwize) with the bumpedimages occupying an area that is largely transparent. The bumpedimage is proportionally correct and placed in a predetermined x/y location. This placement is shown in the following attachment with the b&w layer on top. In the final application, which is video, the entire scene is zoomed into so that the bumpedimages coming out of the brick wall are more easily seen. I believe that in this setup, the placement of the layers is incorrect as the bumpedimage layer is to be placed under the background image.
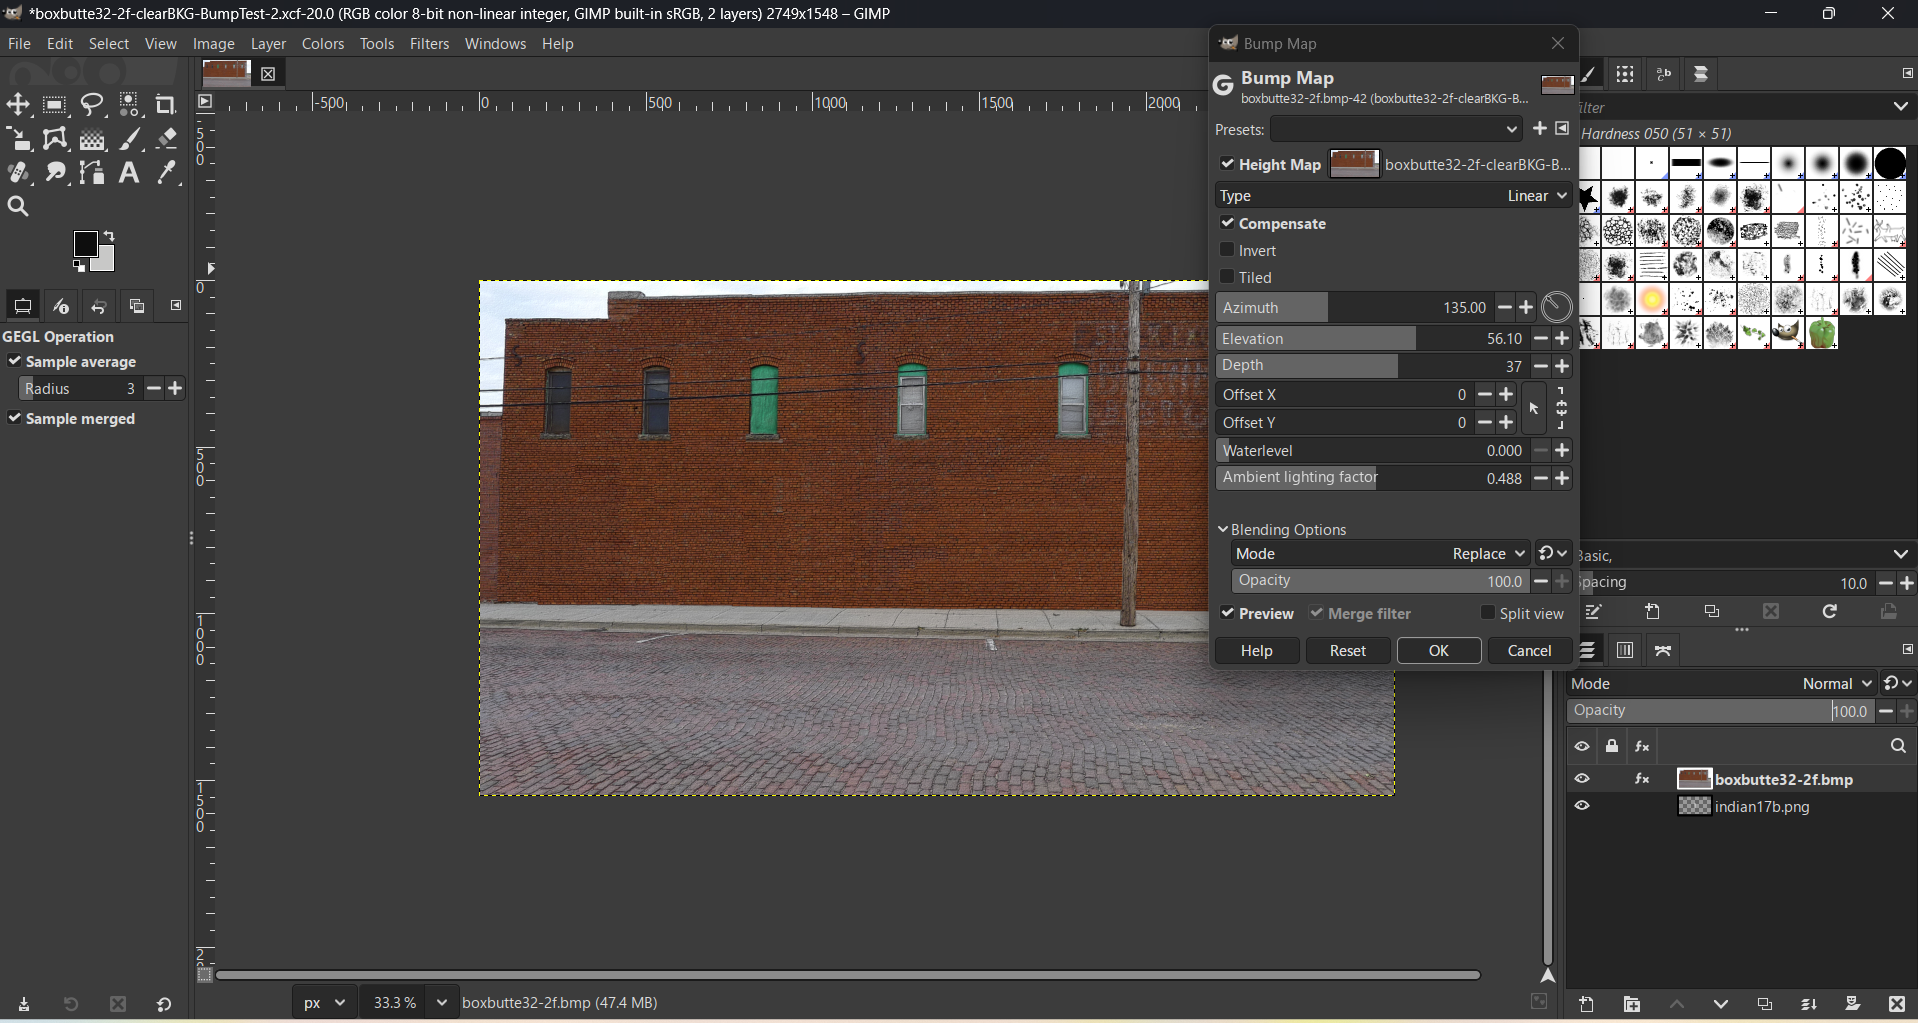
- Even when I place the bumpedimage layer under the background layer and add the bump map filter to the background image (as shown in the attached file, I cannot get the desired effect no matter how extremely I vary the controls such as depth/elevation, etc.
- In the video, the background wall remains constant and does not move while different b&w images fade in and out (bump in and out) of the wall representing different historical figures attached to that location. Bumpedimages are of different sizes and located at different positions along the wall.
Any suggestions to make this effect work would be appreciated. Should the b&w images themselves be individually bumpmapped first, just to emphasize their contrast in shading or luminance?