vkdt is a vulkan implementation of an image processing graph, similar in spirit to darktable. it addresses some of the issues i have with maintaining my old code there. started as a proof-of-concept to evaluate the viability of gpu only core + gui code, now i think it’s becoming close to actually useful.
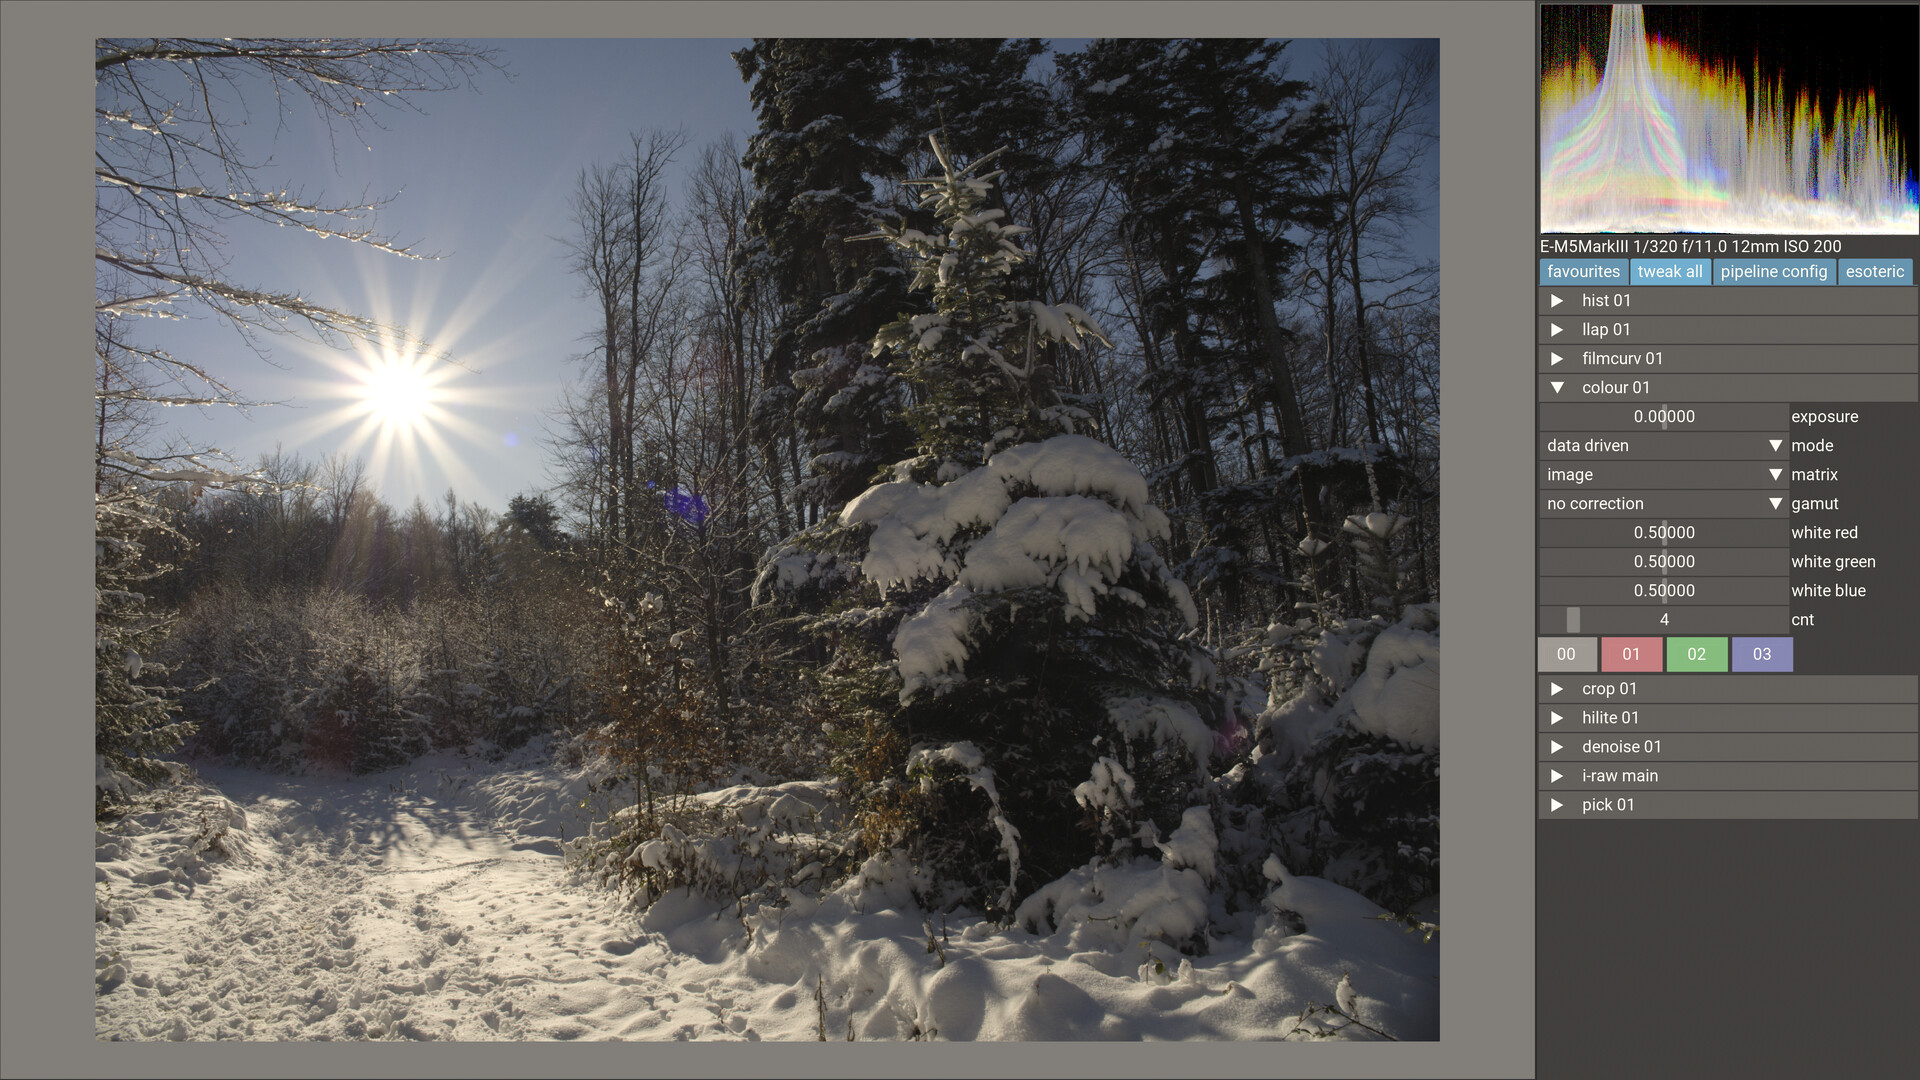
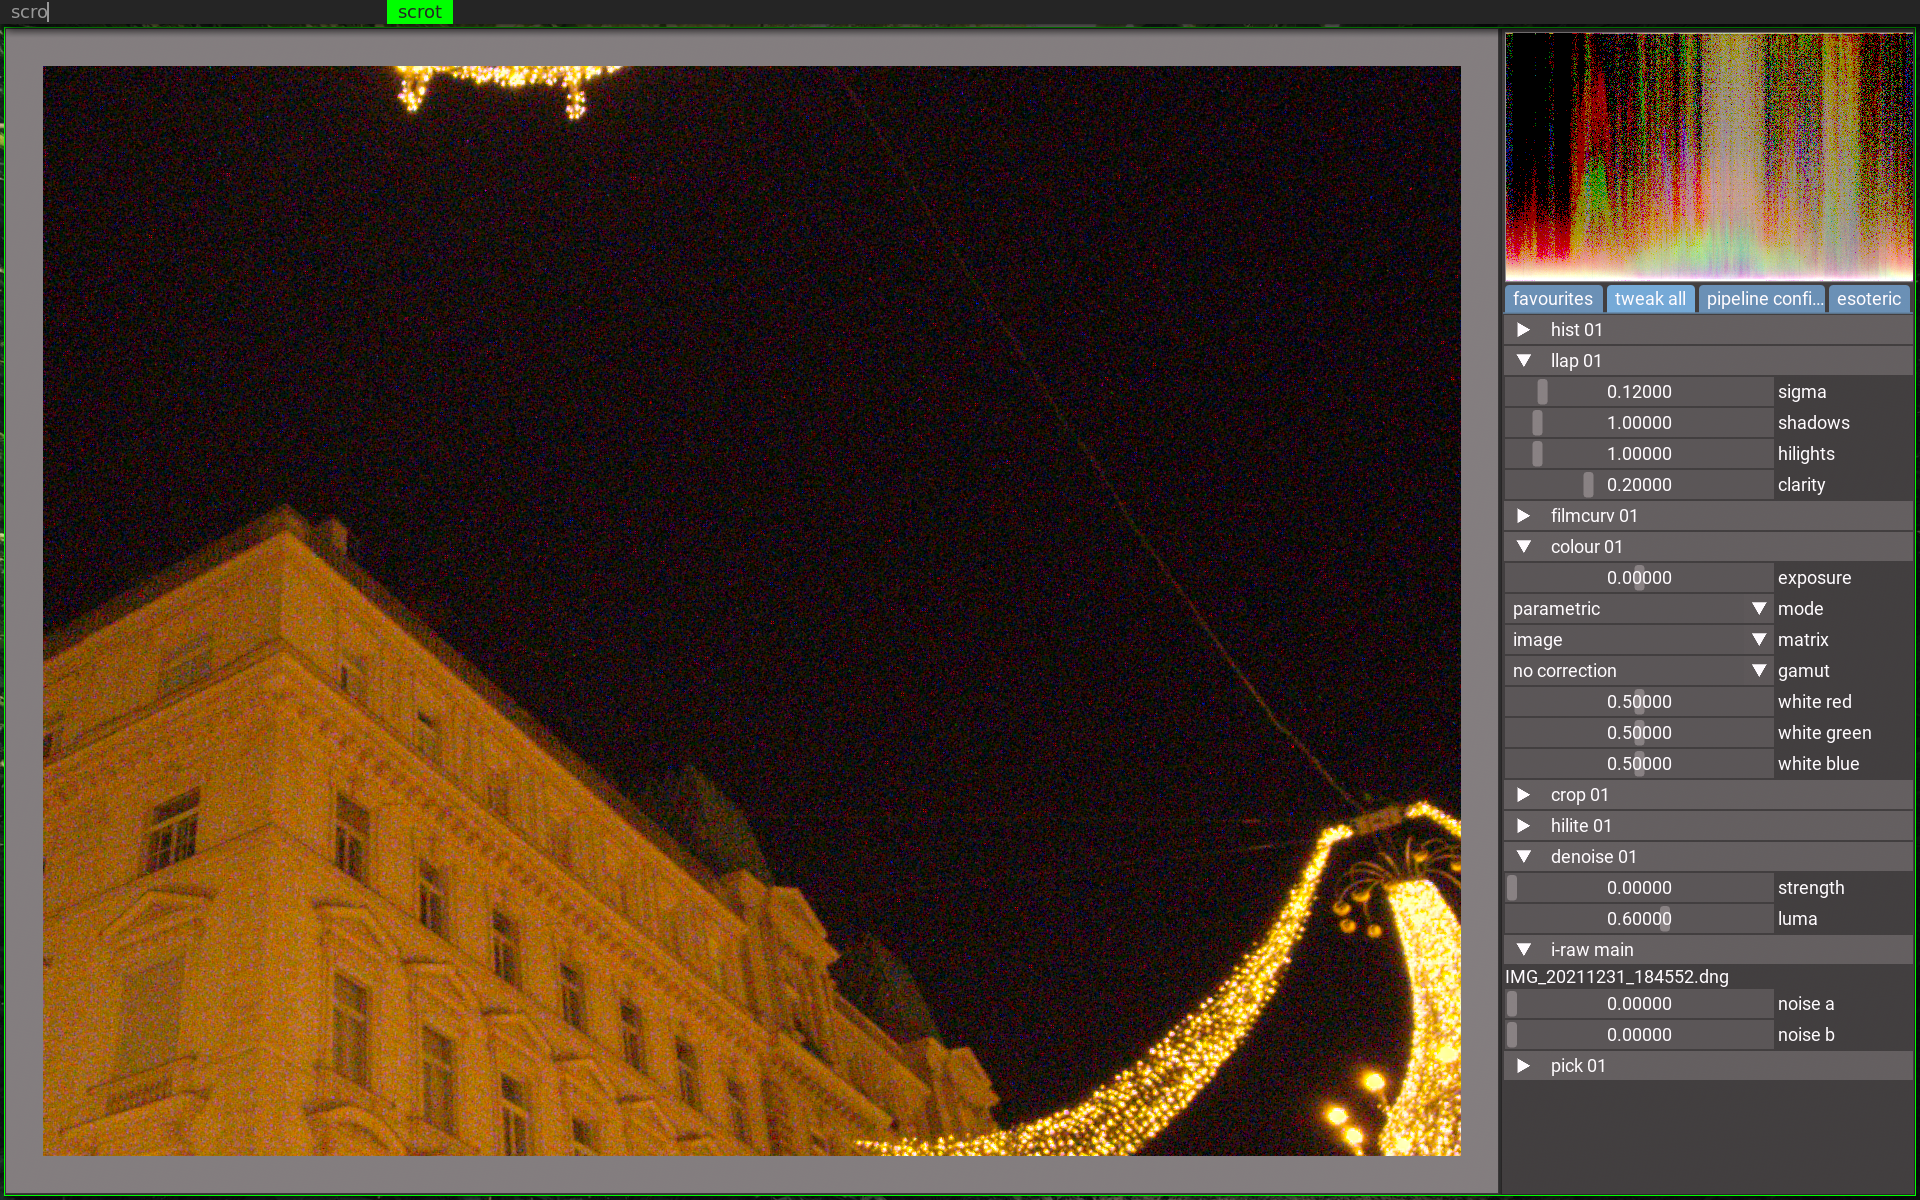
first entry in the new log, same topic as last time. colour transforms. this time the ui side of things, to make it actually possible to use. i took anna’s image here because it came up as an example of sky darkening:
if you select “data driven” mode in the colour module, it’ll by default show four colours (white, pastel red, green, blue). these are anchored as identity transform, so the image didn’t change. if you now click on either of these, you can adjust the red and blue components (green will follow) in sliders that are appearing below the patches. the source and destination colours of the underlying radial basis function node point are visualised as center and frame around the button, respectively:
if you want slightly more accurate interaction, there’s a preset for colorchecker24 coordinates. it’s shipped as bin/data/colourcc.pst and you’ll need to copy it to ~/.config/vkdt/presets/ first. i’ll do that during make install at some point, or pick it up from where it is too. the preset menu opens via ctrl-p:
next, i’d like to wire a colour picker for the input colour. so far you can only change the destination. i figured that’s likely enough for a few more artistic use cases. for calibration with a test target shot you’d likely need the cc24 presets for the colour picker and maybe a setup that doesn’t need casual ui interaction so much. that’ll be some more generic colour picker interaction that would work with more modules though.
Thanks for sharing your work…I am sure this is something on my end or the way my security settings are but I got this trying to visit your webpage to look at the documentation…not sure if this will happen to others or deter them but just wanted to let you know…
Hey no issue…its a bit like bypassing the MS warning when installing software…Just wanted to let you know how it was presenting…very interesting stuff you are working on…
thanks. and sorry again about the certificates… it’s a long and embarrassing story i don’t want to tell here, but i’m kinda aware of it. it’s just let’s encrypt and the auto update script doesn’t work. so it’s more stupid than dangerous i would say.
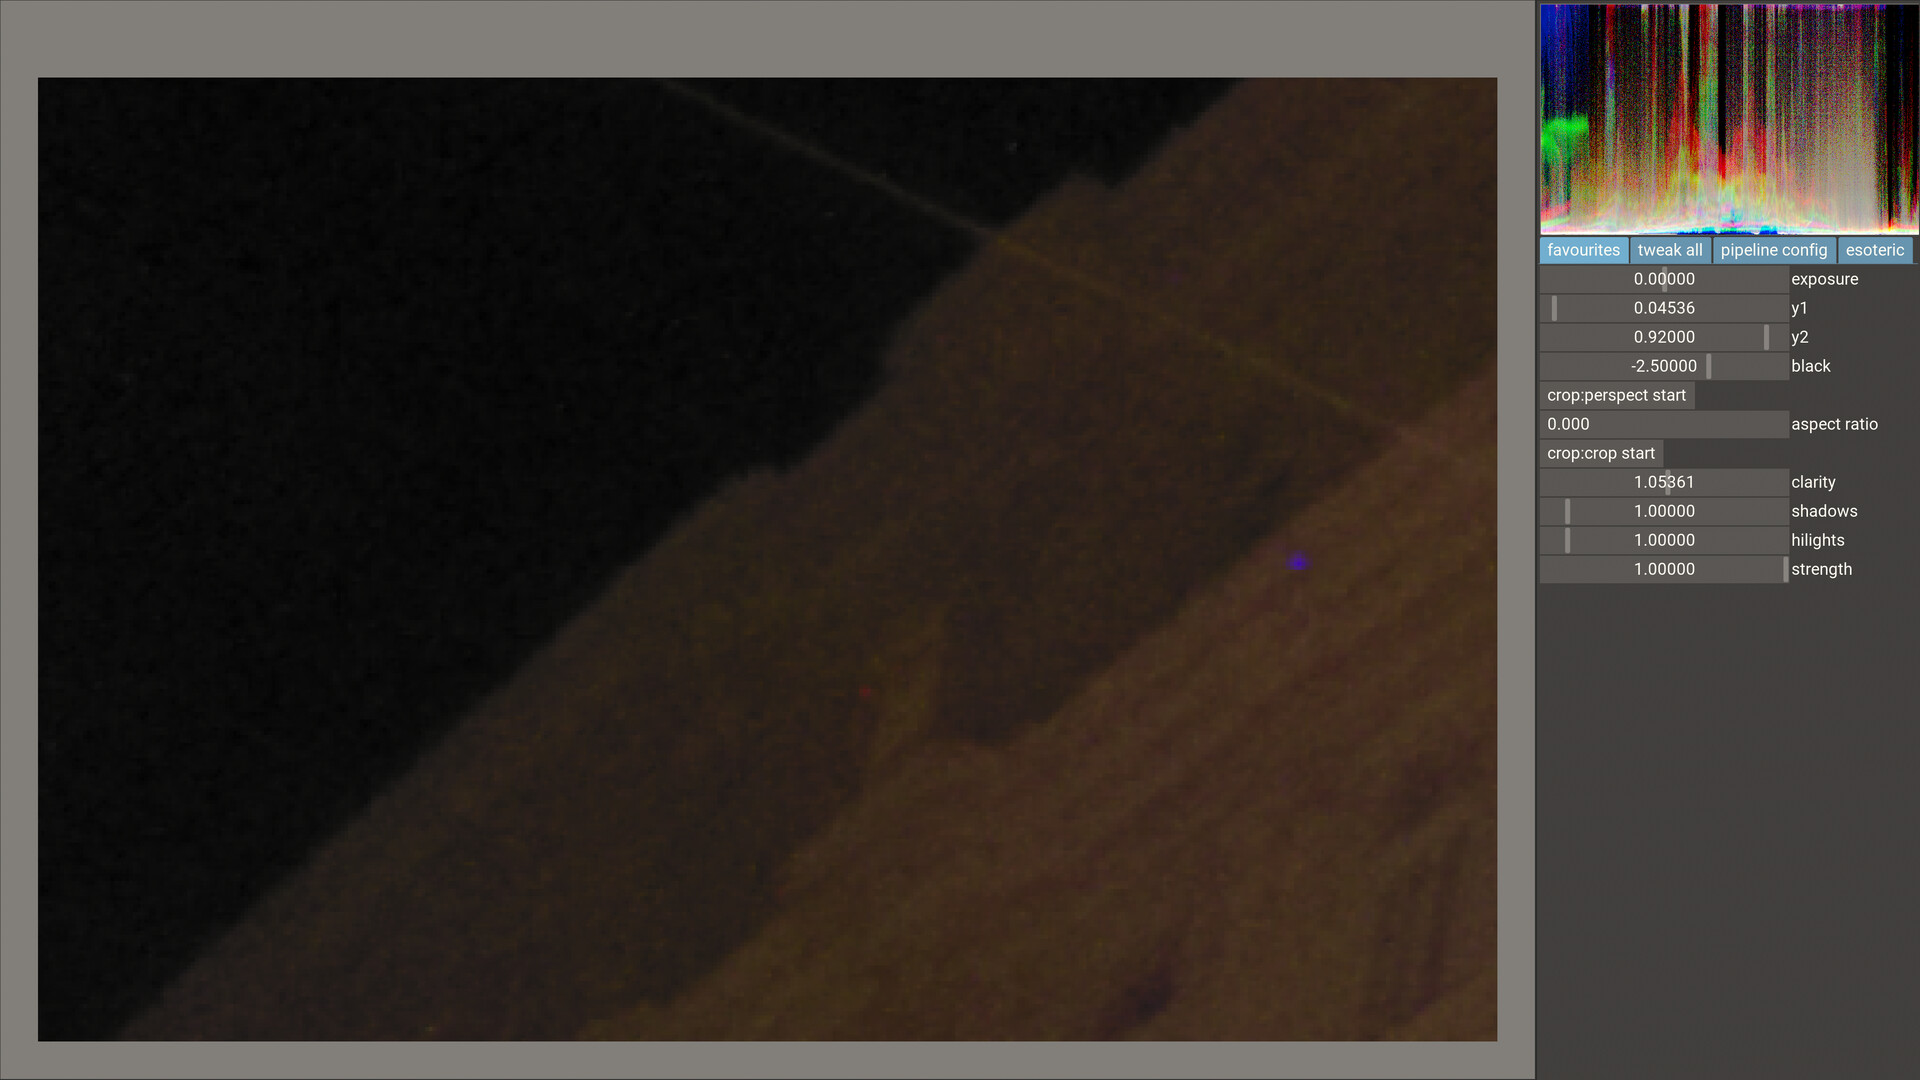
… in case you’d like me to take a look yes please. it’ll require a noise profile etc. also your image looks like it didn’t attempt to remove any luma noise pretty much at all.
Here I don’t know how to remove the hot/dead pixels. They do go away if I push luma denoise to the maximum but that also means that the picture is quite blurred.
I don’t understand. How can noise-profile.sh work if there is no Exif data (i.e. no ISO value)? So is it necessary to create a noise profile for every photo from this camera?
I found open camera dng were a bit different at least when used on my pixel. they are much larger and have no preview.
.they appeared to be an uncompressed tiff essentially…I found that they seemed to come out quite a bit differently wrt WB and colors as well…I never looked at noise …maybe I will go back and check them…
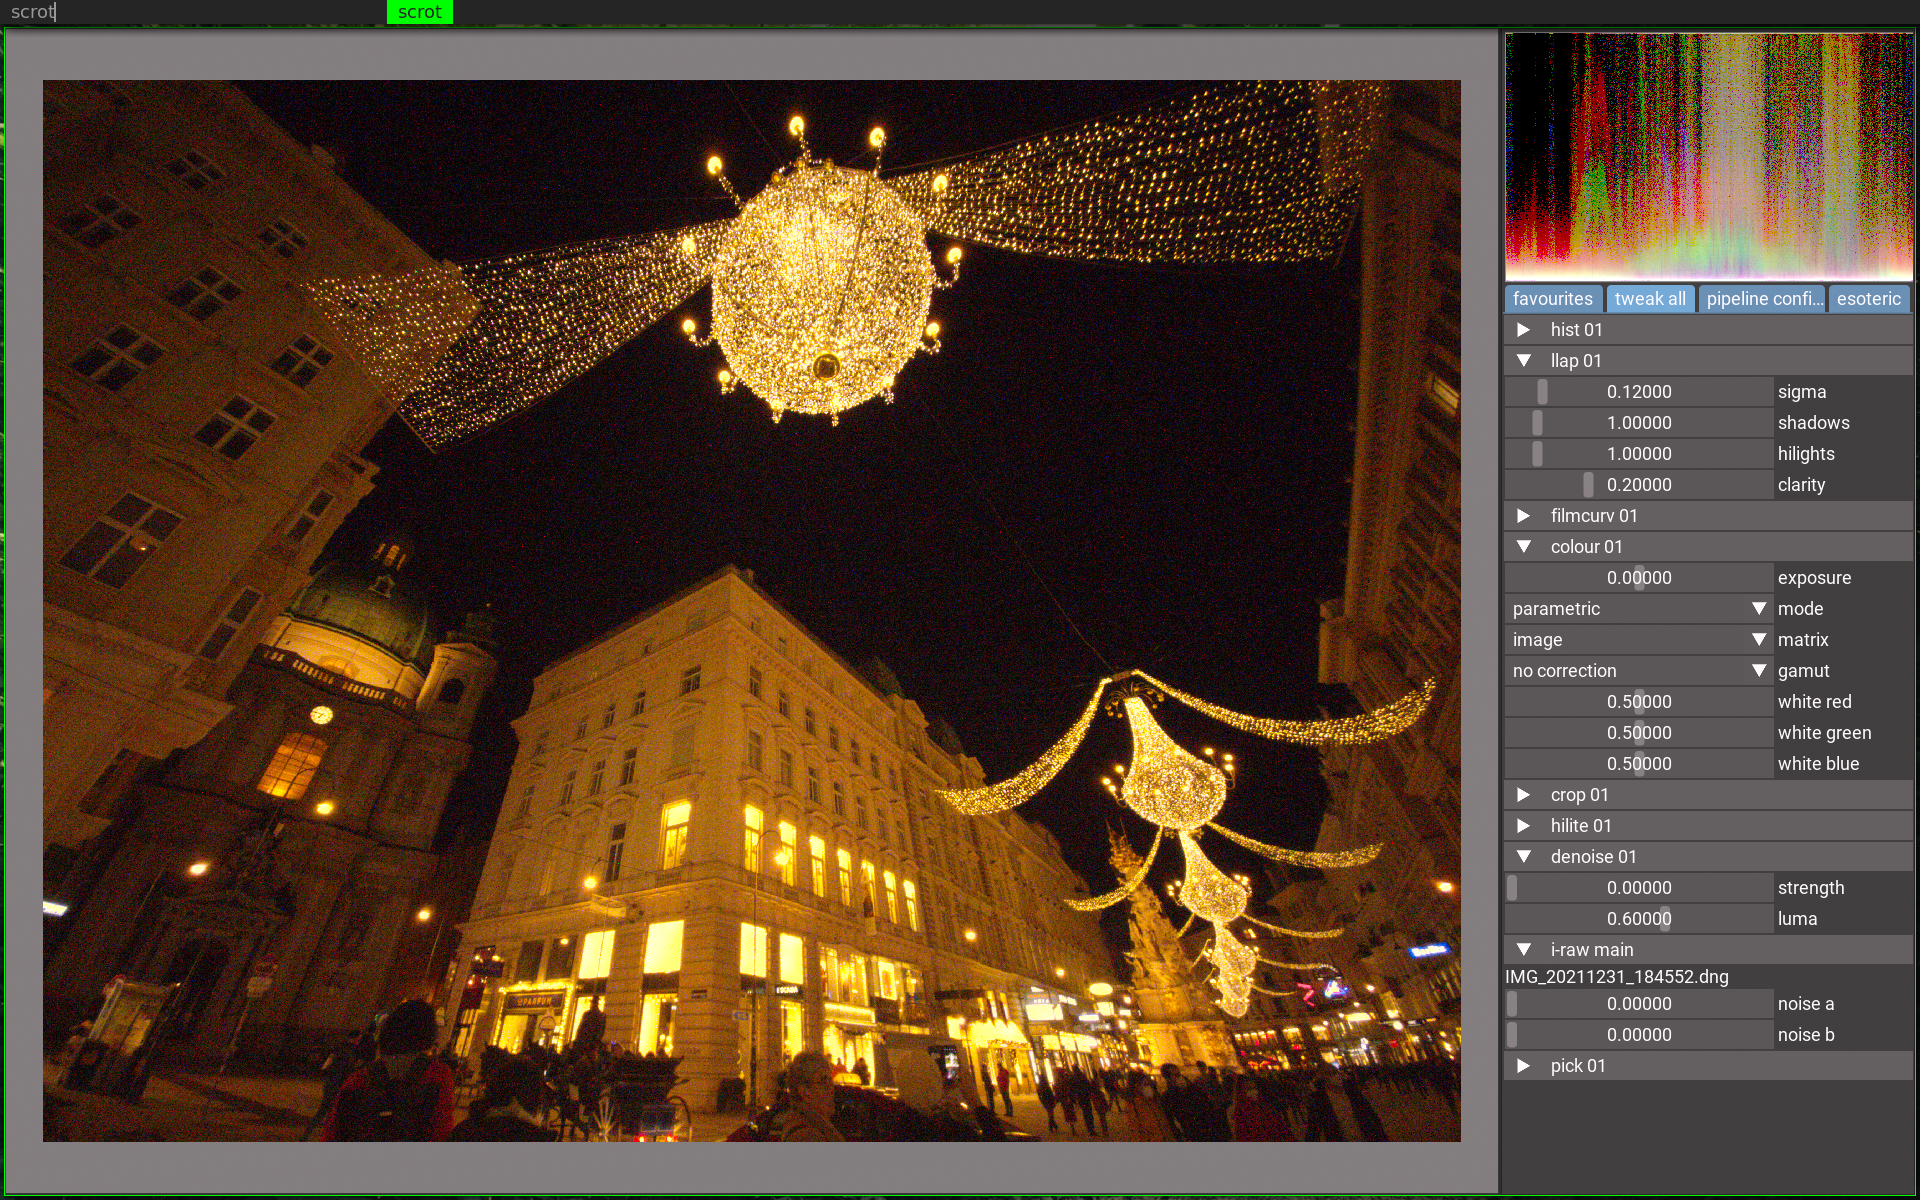
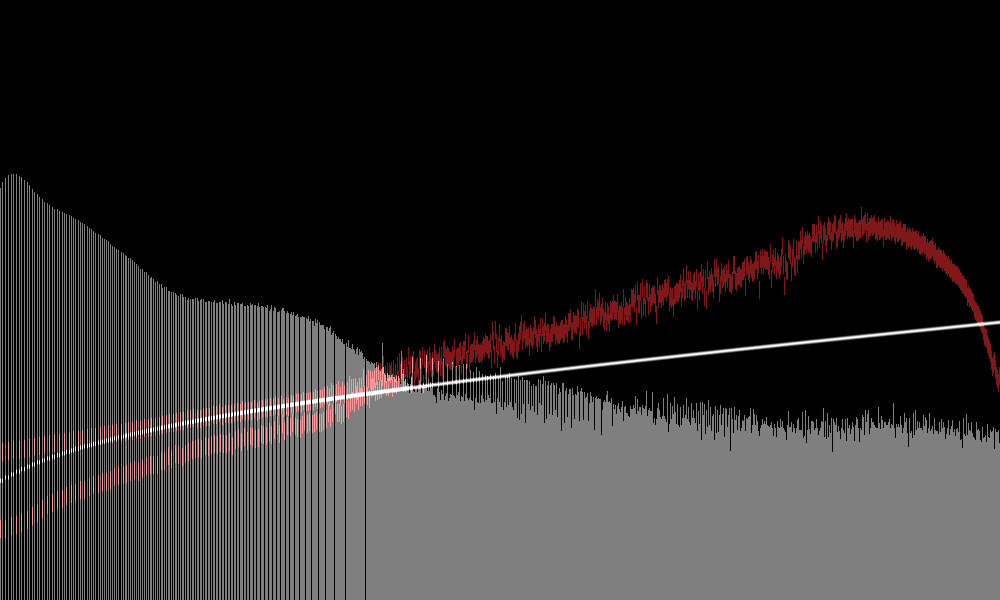
ah, that: the exif data is just a gui/convenience thing to pull out previously profiled values by camera and iso value. you can of course generate a profile just fine without exif data (just not automatically load it for an image). you can always connect i-raw → rawhist → display as i have done in the screenshot above to check the red spots (variance measurements) against the white curve (noise model from the two values).