Welcome @MetalMick99! Seems to be one of the more pleasing results. Can you upload your xmp file so that we can see what you did?
Hah, that was a smart strategy, the engineer in me is embarrassed I didn’t think to “debug” where the artifact is coming from like this.
Thanks everyone for your replies! I’m happy to at least be validated that my shooting method is probably not too far gone… I’m about to grab a flight just now and I’d be stressed the whole trip about if I need to change the method otherwise!
Hi,
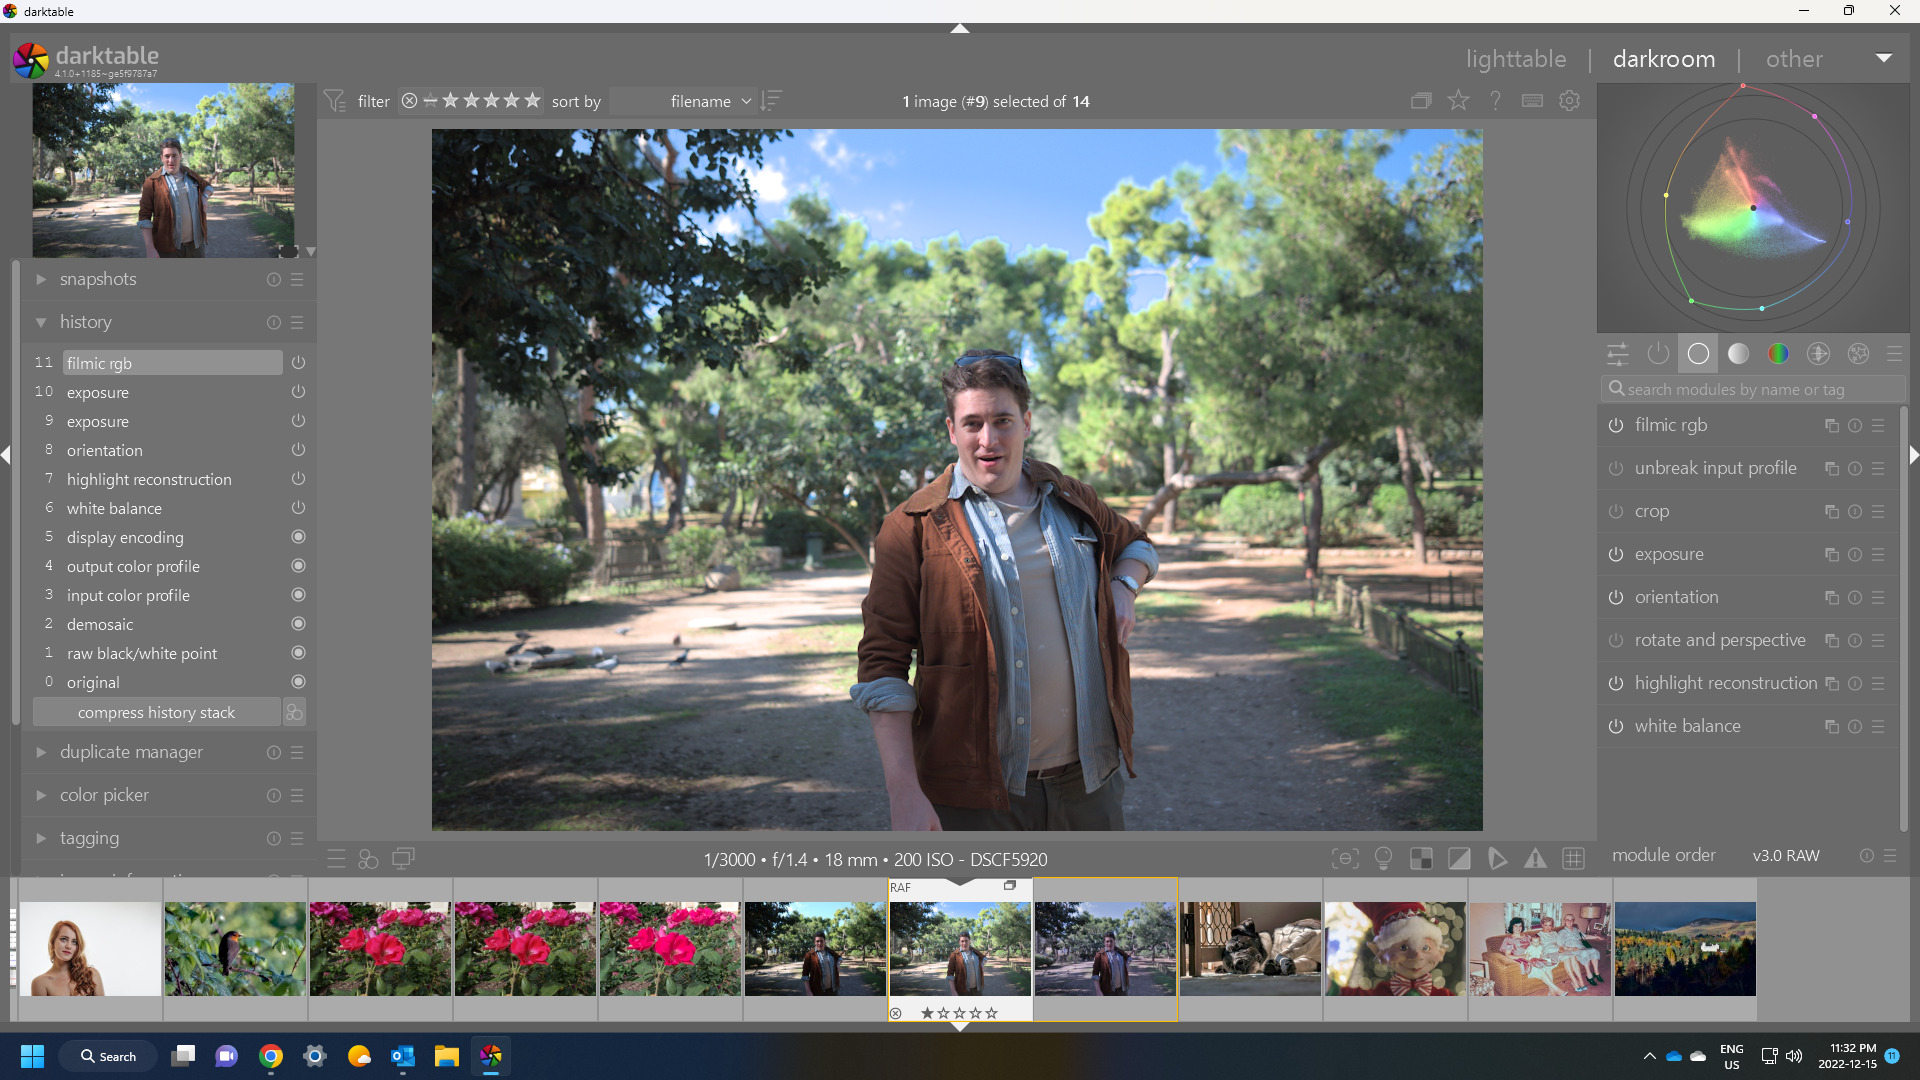
sure. I didn’t do an import of the RAW file, just opened it in DT and only saved the history stack as a preset. But I shall go through the importation process and apply the preset, so that ought to be in the sidecar file once I apply the preset, and I’ll upload that.
I have a few things going on at the moment so please bear with me.
One thing of note: I date back a fair way with DT and at one stage I recall it being mentioned by one of the creators that DT only supported cameras with Bayer sensors so Fujifilm cameras (with X-Trans sensors) were not supported and some of the modules - when you try to use them - have a pop-up saying “only Bayer sensors supported” or similar.
Not the case anymore. Camera support is model by model
I’m aware. You will find, if you try using RAW Chromatic Aberration for example, a message pop up saying it is only for Bayer RAW files.
As promised, here is the sidecar file:
DSCF5920.RAF.xmp (5.3 KB)
I imported the image and then went through what I think is the same process I followed before. The thing that helped most - to my eye at least - was ticking the box marked “very large chromatic…” in the module.
Cheers,
Michael P.
Hi all,
I thought I’d try something that Boris did a while back: the diffuse and sharpen module. I think it gave even better results on the pesky sky-greenery border. It sounds like it shouldn’t work, but it does. I didn’t push the sharpening setting too much. It’s improved the bokeh, to my eye, and made that bright green foliage at 2 o’clock less eye-catching.
The sidecar file is attached.
DSCF5920.RAF.xmp (5.0 KB)
DSCF5920.RAF.xmp (17.8 KB)
Welcome nice edit … perhaps realistic but a bit too shadowed unless that is the look you desire. I always think if you have a subject then you try to paint them in the best light…no pun intended… The skin tones seem a bit off too but this can just be a monitor/export thing… just a couple of comments based on my taste for the pic…nothing to take to heart…
Here is a second try from me…tried to work on that sky and foliage fringe effect…

Thank you! I wasn’t paying much attention to the skin tones, but I have to agree that in the picture Caleb looks a little grey in my edit. I think that can be lifted easily enough, but it’s a worthwhile point to make.
Cheers,
Michael P.
I find often if you get nice skin tones it can influence the rest of the image and in a good way providing a pleasing overall look… again what do I know just comments from a first impression… 
1 Like
Fringing avoided by using tone eq instead of filmic for contrast.

what-can-i-do-DSCF5920.RAF.xmp (18.4 KB)
dt 4.0.1
You still have a bit of that nuisance area that seems to show up in the transition from the blue to the leaves…


2 Likes
I opened the image in Rawtherapee and saw similar issue around trees. I suspect the artefact is from the camera, but processing is accentuating it. Try changing preserve chrominance option in Filmic V6 to max RGB and see if that solution works for you. Using preserve chrominance set to no resolves the problem but then you lose the blue color of the sky. However, I just opened the image in the latest weekly windows build which represents what DT V4.2 will be like. I feel the fringing is not obvious here. There has been no editing on the image besides the defaults applied when the image is open in the latest version.

Remembering some comments that AP made with respect to smoothing edge transisitons when the feature to have the enable/disable checkbox introduced for filmic highlight reconstruction… I tried that… It was quite effective… I found it could be tweaked to ease the transition… I think I was on my other PC when I was playing around …will post the settings later… Going from memory I cranked the transition all the way up to 6 and then the threshold to like -0.5 and then full structure, left bloom alone and took color out of the reconstruction… I think that one I tweaked back and forth to dial in… at one point I have extreme lum saturation tweaked a bit too… but the filmic HLR was very effective at transitioning away from the foliage…
I am slightly confused (not hard to do to me on a Friday afternoon). I don’t see any clipped highlights in the sky and in latest windows weekly build I don’t see any significant problem of fringing. However, if I push hard on the exposure slider to really brighten the picture I get fringing, but this goes away when I use filmic auto levels to correct the white and black sliders. I only get fringing with inappropriate placement of the white slider too far to the left. I nearly always use the auto tune levels in Filmic V6 and for most images it does a great job.
Its not about clipped highlights but more to use it by lowering the threshold to manage the transition… Image 1 is with legacy wb and no filmic or exposure

So then just say +2EV or what ever is pleasing to taste

Filmic v6 defaults
Then autopicker for rel white and black…

Zoomed in

Using flimic HLR

This loses some of the blue and if you just use a touch of tone eq it seem to come back and no halo or white fringe…
Even easier is to just use lum Y and then the tone eq to bring back the blue that is lost in that mode… its seems much better for the fringe on the leaves.

3 Likes
Yes a bit more obvious now I’m seeing it in daytime, but still much more subtle than most in this thread, whilst retaining a nice blue sky.
Here is a pretty minimal edit, no filmic, no sigmoid - just two tone eq. + a bit color and local contrast.

DSCF5920.RAF.xmp (31.8 KB)
3 Likes
I often see what I can get out of using tone eq , color balance, diff and sharpen and I have some local contrast presets I use… sans filmic/sigmoid… Often this seems to avoid loss of detail and need deal with other issues introduced when you apply it… I open my images in legacy wb and that is it. I like to see what the base is before it starts change with editing… then if I do introduce filmic its very clear what it does to the image…
The last week or so, I tried to edit without filmic or sigmoid at the end of the pipeline. Just to compare the workflow. I’m compensation with one tone eq (eigf or guided filter) right after exposure to compress the dynamic range and one tone eq (no preserve) at the end to create the contrasts (exactly where I want them, also multiple contrast ranges possible).
And while it is probably slower overall (more time to edit), I’m getting much better control over the contrasts I want to emphasize.
And to support your statement, I feel that I have a better understanding, what I am actually doing to the picture.
3 Likes