working with AGX, “searching” for the workflowß
IMG_4878.CR3 (28.9 MB)
IMG_4878.CR3.xmp (20.0 KB)
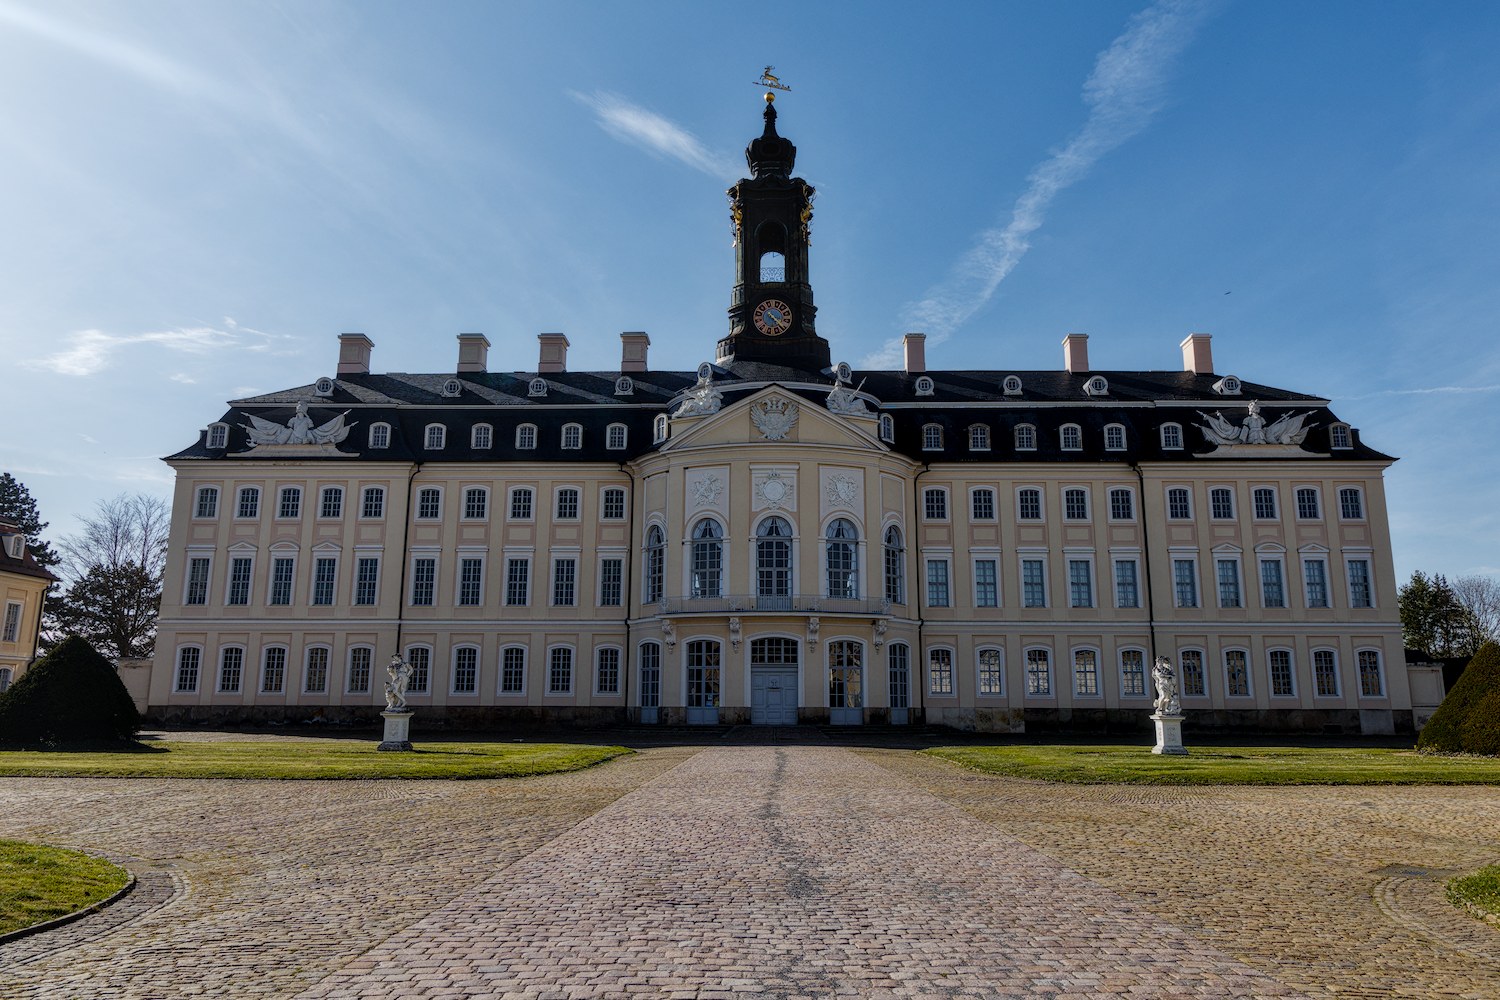
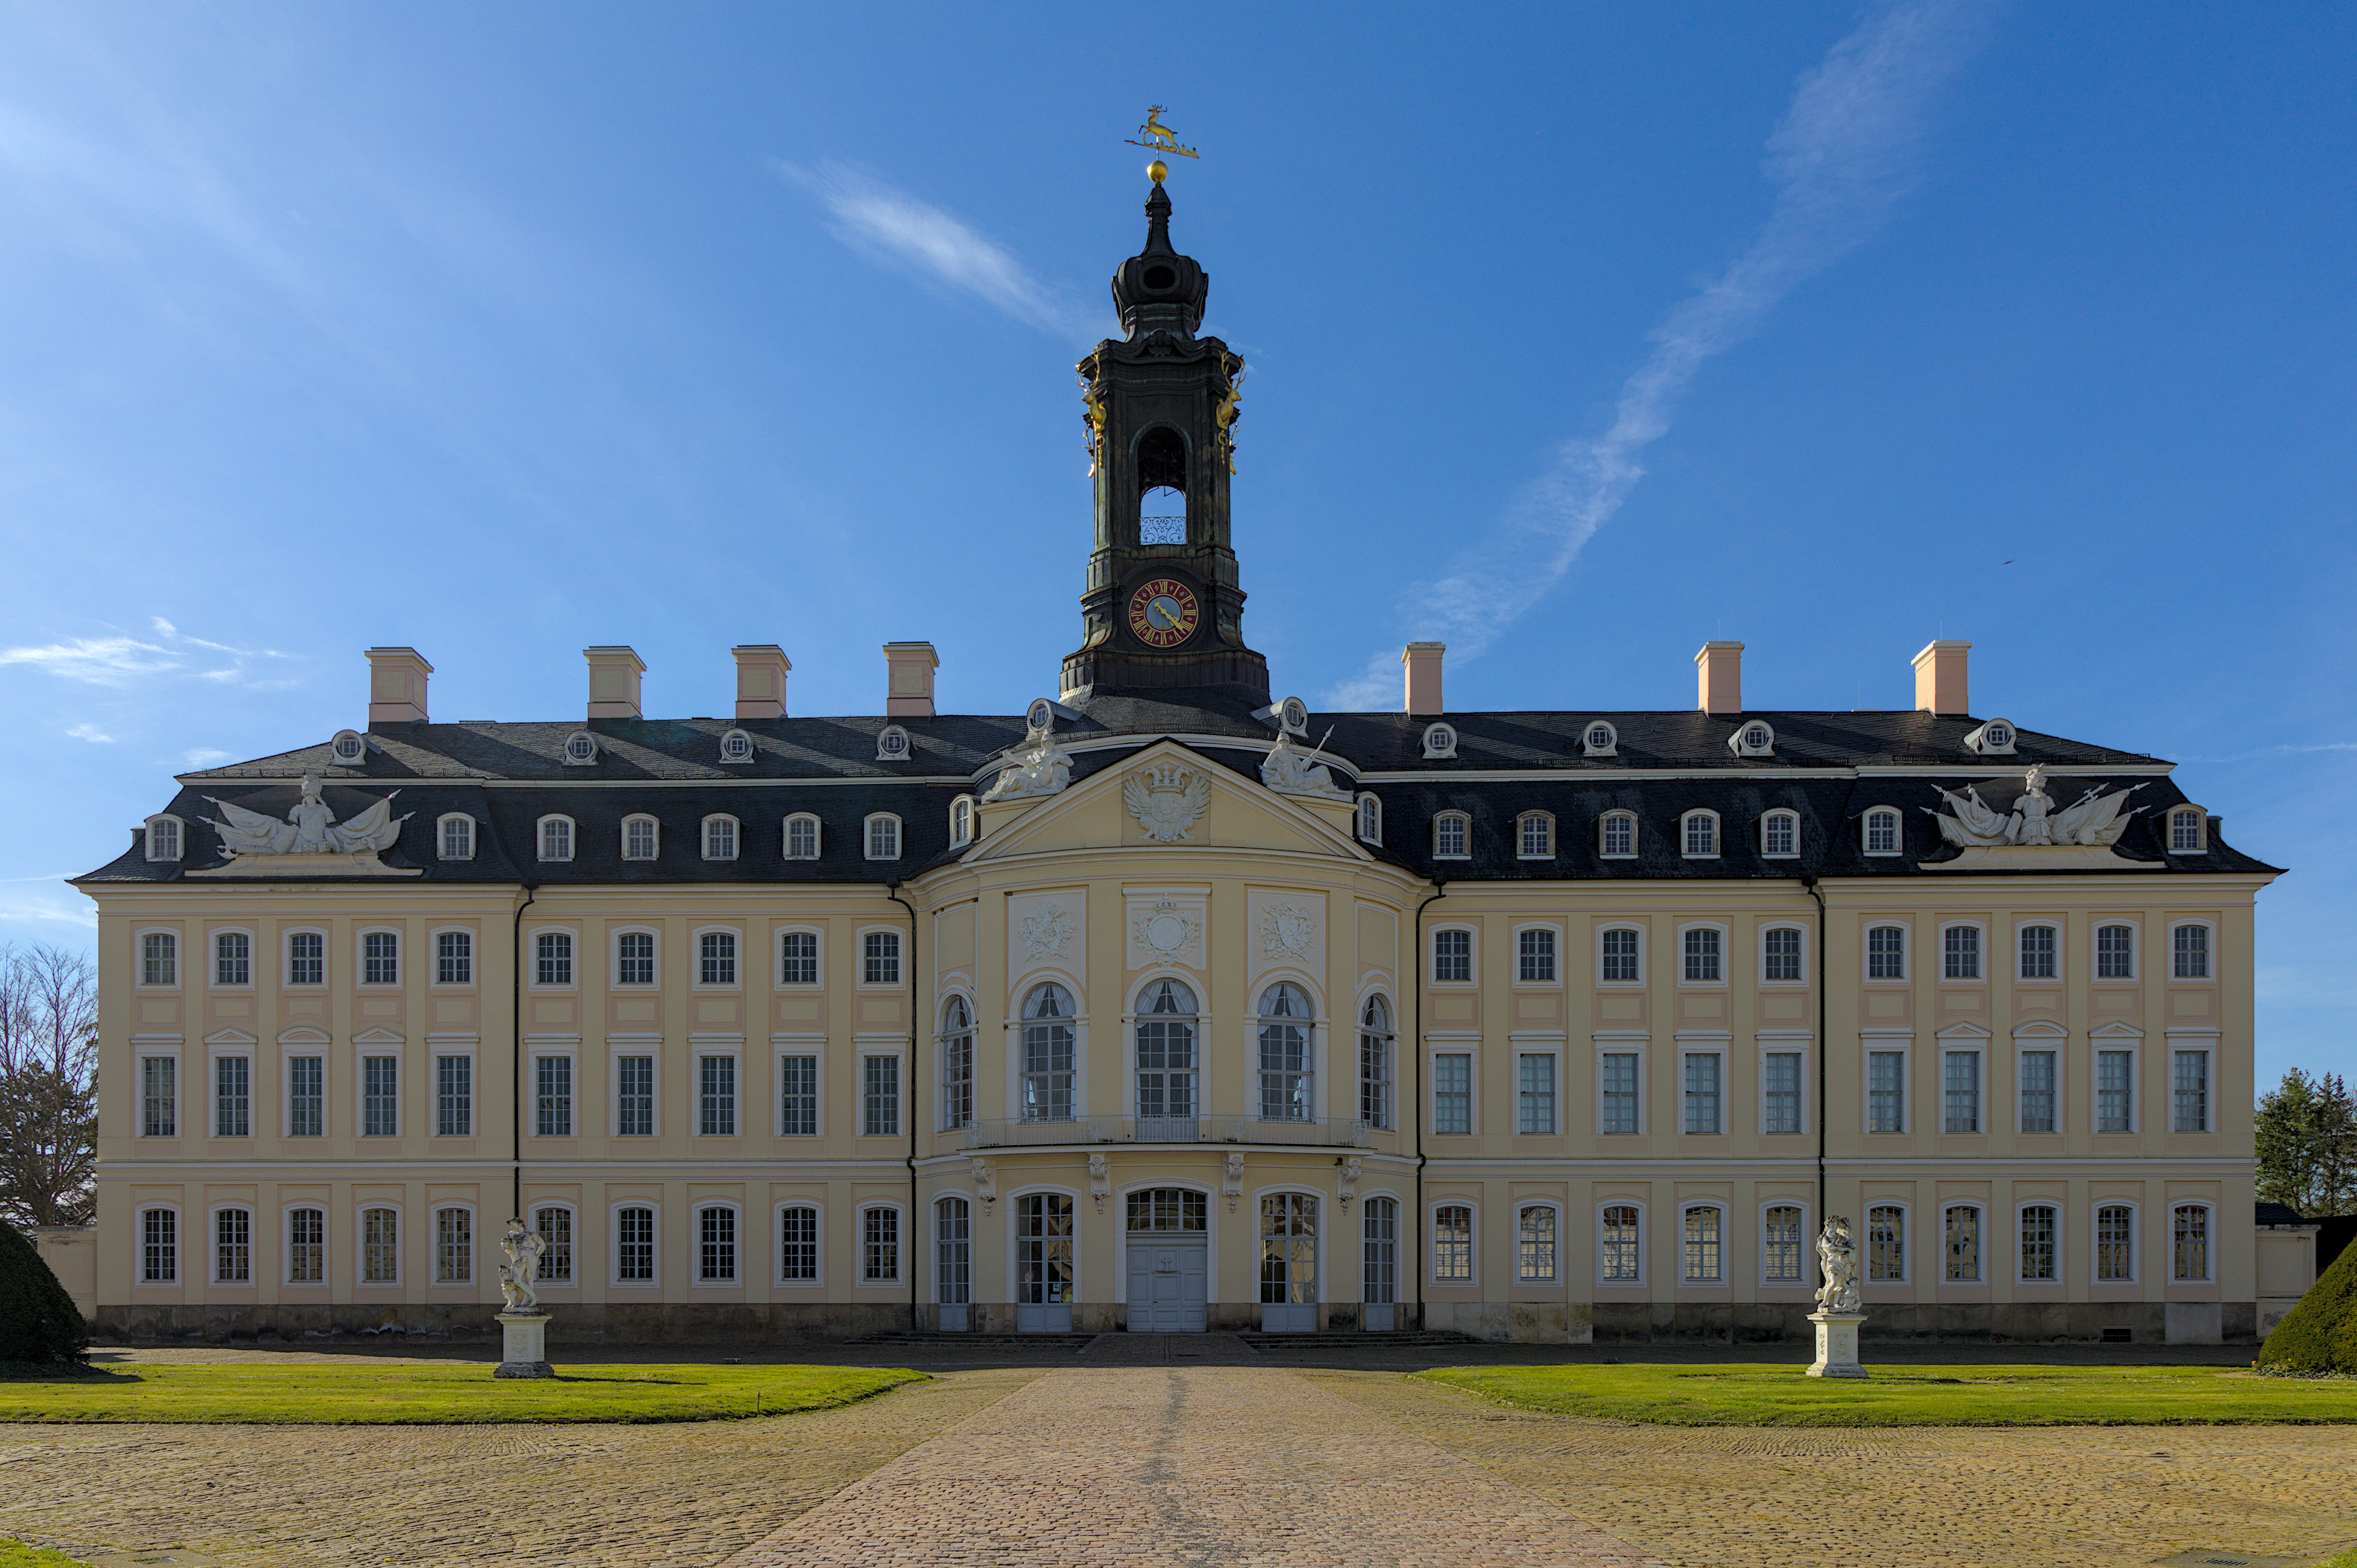
Because you are trying to understand the AgX workflow I decided to list my editing steps here.
1. Used the auto picker in the exposure module to set initial exposures
2. In AgX
i. use auto tune levels for initial setting
ii. use eyedropper to set pivot target output
iii. in primaries tab set blue purity boost (after tone mapping) to 30% to recover blue sky.
3. Activate local contrast module keeping the defaults but setting the detail slider to 150% for overall contrast look.
4. In the rotate and perspective module I did a line analysis and an automatic vertical fit.
5. I then did a freehand crop
6. I then activated the shadow and highlights module with highlights set to zero and shadows set to +50.
7. I initiated capture sharpening in the demosaic module
8. I initiated denoise (profiled) to default values.
9. I activated the diffuse or sharpen module using the sharpen demosaic AA filter preset, but any preferred sharpening method could be selected for this step.
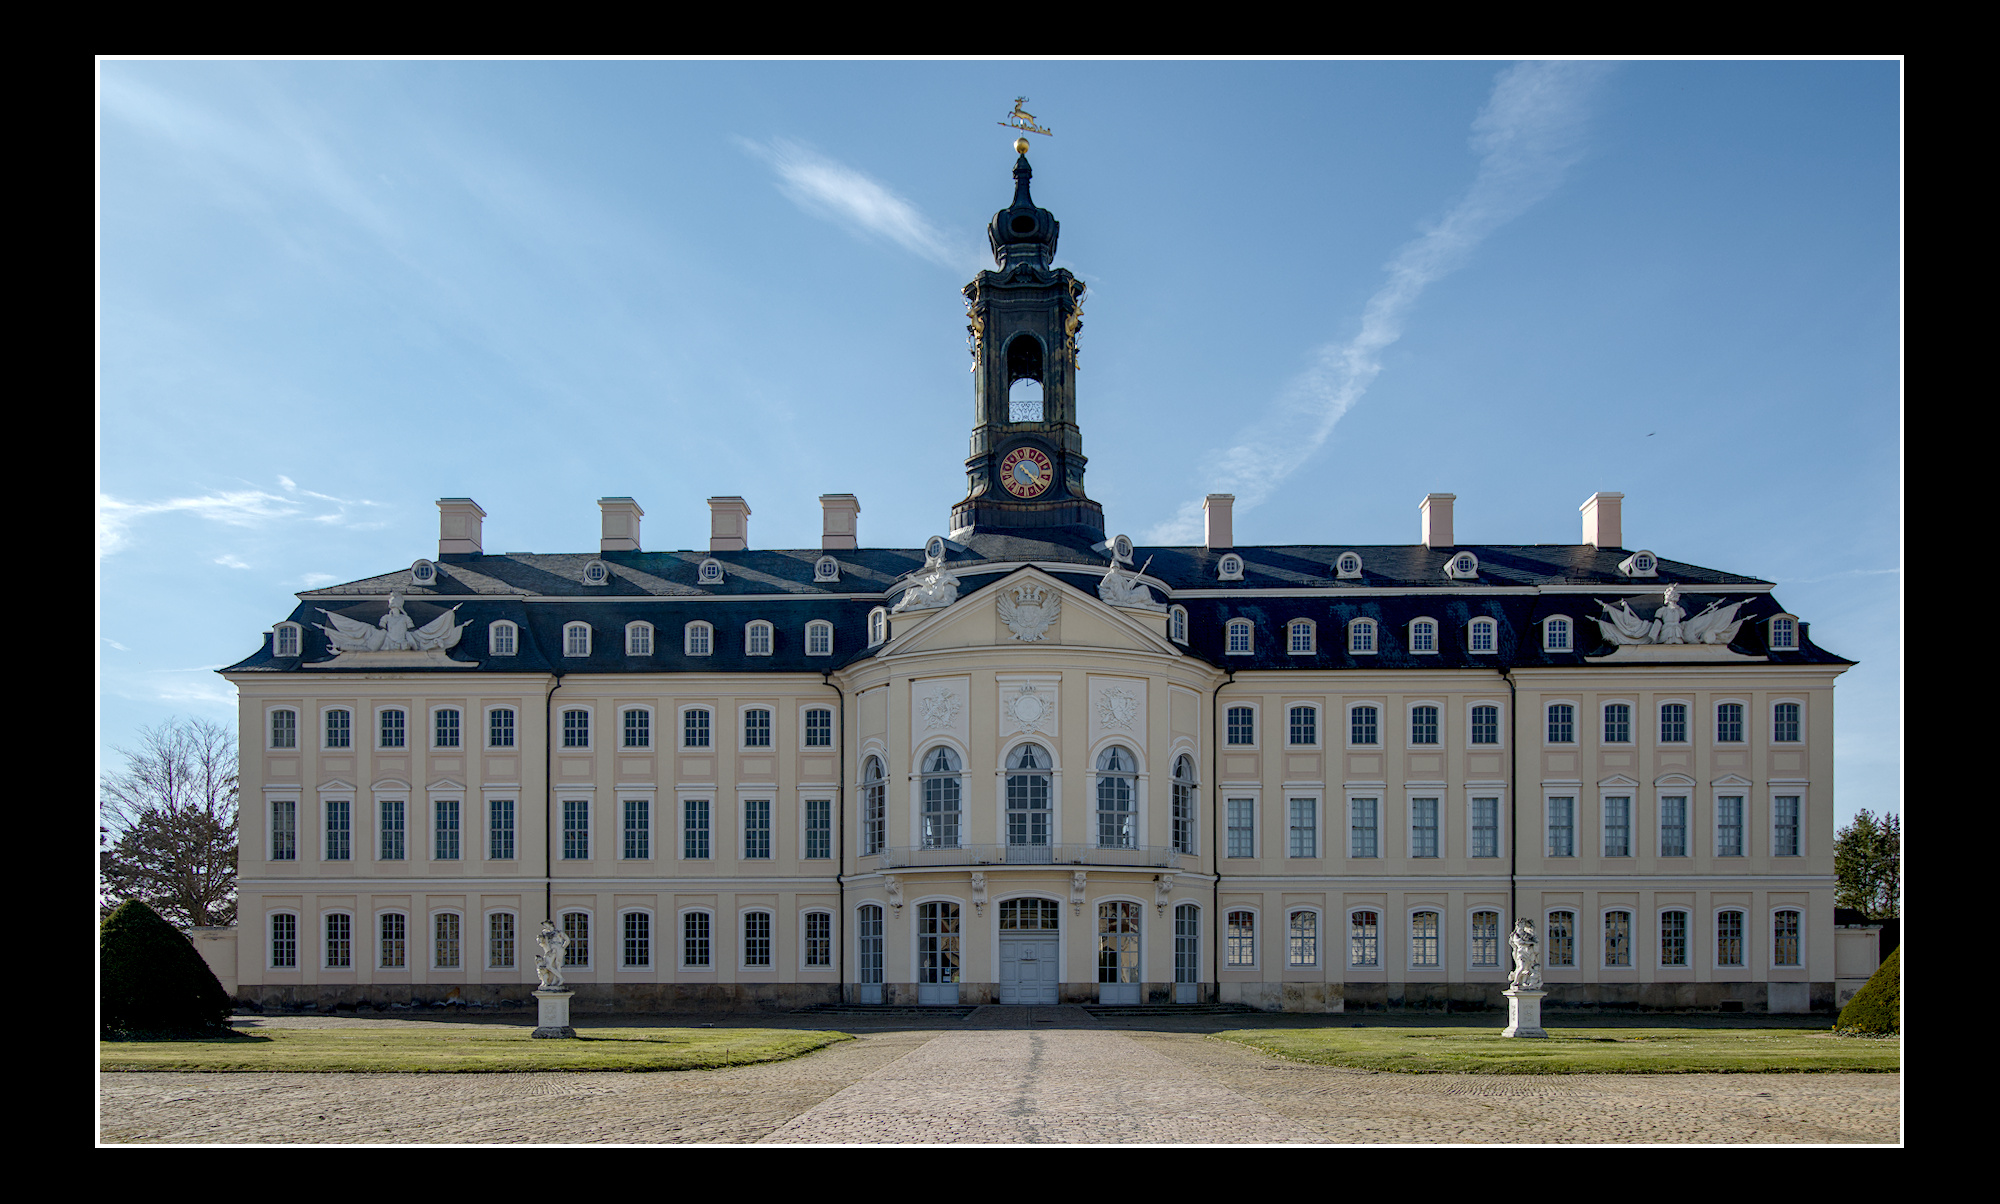
10. I placed a black border around the image.
11. I returned to the AgX module for final adjustments
i. I increased toe power to add contrast to the shadows.
ii. I raised the pivot target output to increase the brightness of the final image.
12. The next step is hard to explain, but I used the color equalizer module to darken the blue sky and increase the saturation of blue. Using a drawn mask and a gradient mask the effect was limited to the sky and was strongest on the left side of the image to balance the blue sky better.
IMG_4878.CR3.xmp (20.4 KB)
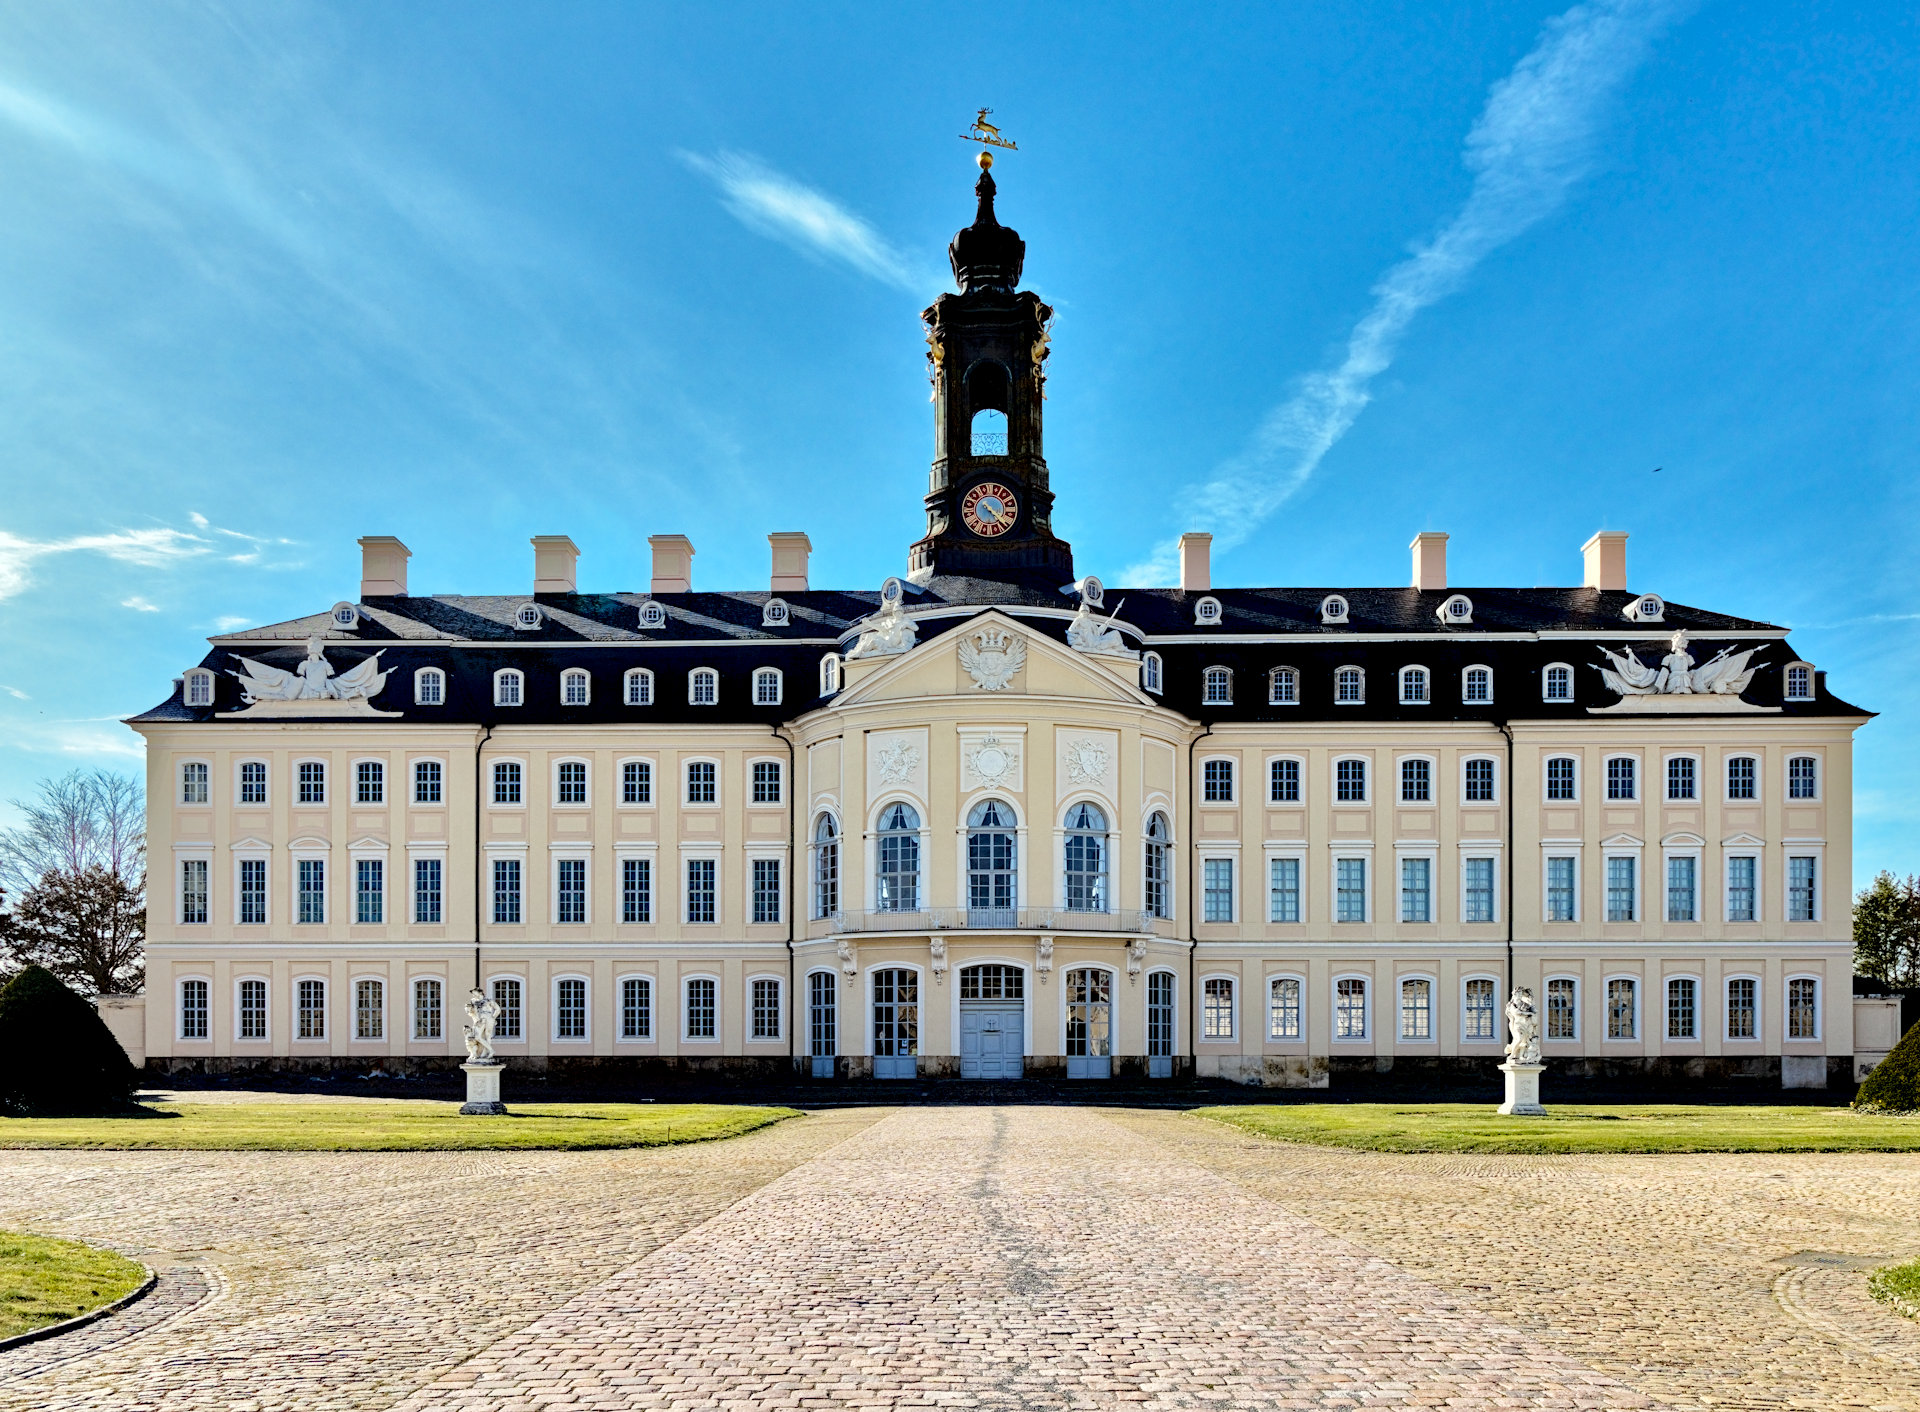
AgX with Kofa’s recommended workflow, tweaks in the look section and some tone eq and a few other modules…
I like bright colorful images …when I go back sometimes the next day I often feel like some changes are necessary but for now…