I am relatively new and have a problem with RawTherapee 5.8 regarding colors.
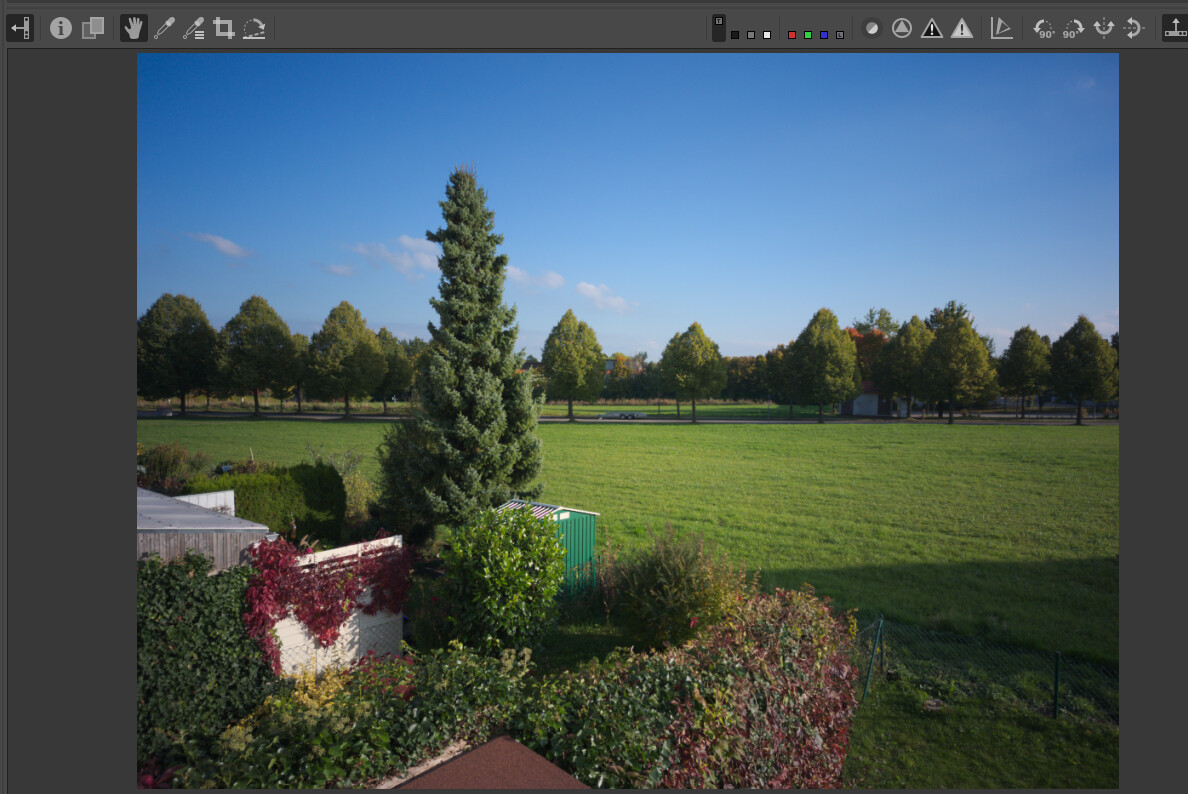
If I want to edit a DNG photo from my smartphone (Galaxy A52s 5G), I will get a result with not the correct colors and exposure - especially in the corners - even with a dcp color profile.
I don’t know why – with my Panasonic GX80 I never had such a problem.
The problem is that the image contains GainMaps: vignetting correction that is specific to each color channel. If the GainMaps are not applied, the colors will be incorrect, especially in the corners.
Currently the only open source raw developer that supports the GainMaps is ART. To apply the GainMaps in ART, go to the Raw section, enable Flat-Field module, and select ‘Embedded in metadata’.
I am working on adding support for the GainMaps to darktable, but I’m not sure when that will be ready for use.
The only way to use RawTherapee for this image is to apply the GainMaps to the image before editing it. I wrote a script to do this using the Adobe DNG SDK, instructions for building and running it on Linux are posted in this thread. It takes the dng from the phone, applies the GainMap, and writes out a new dng that RawTherapee can use.
Hi,
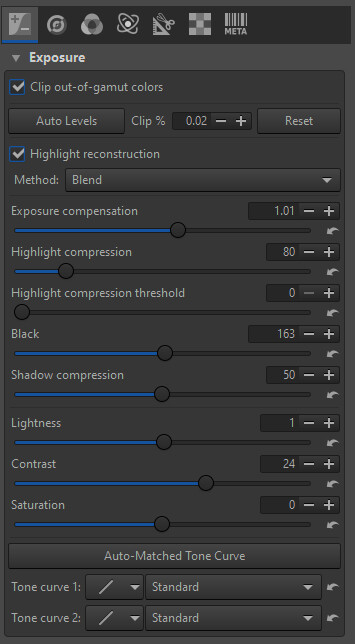
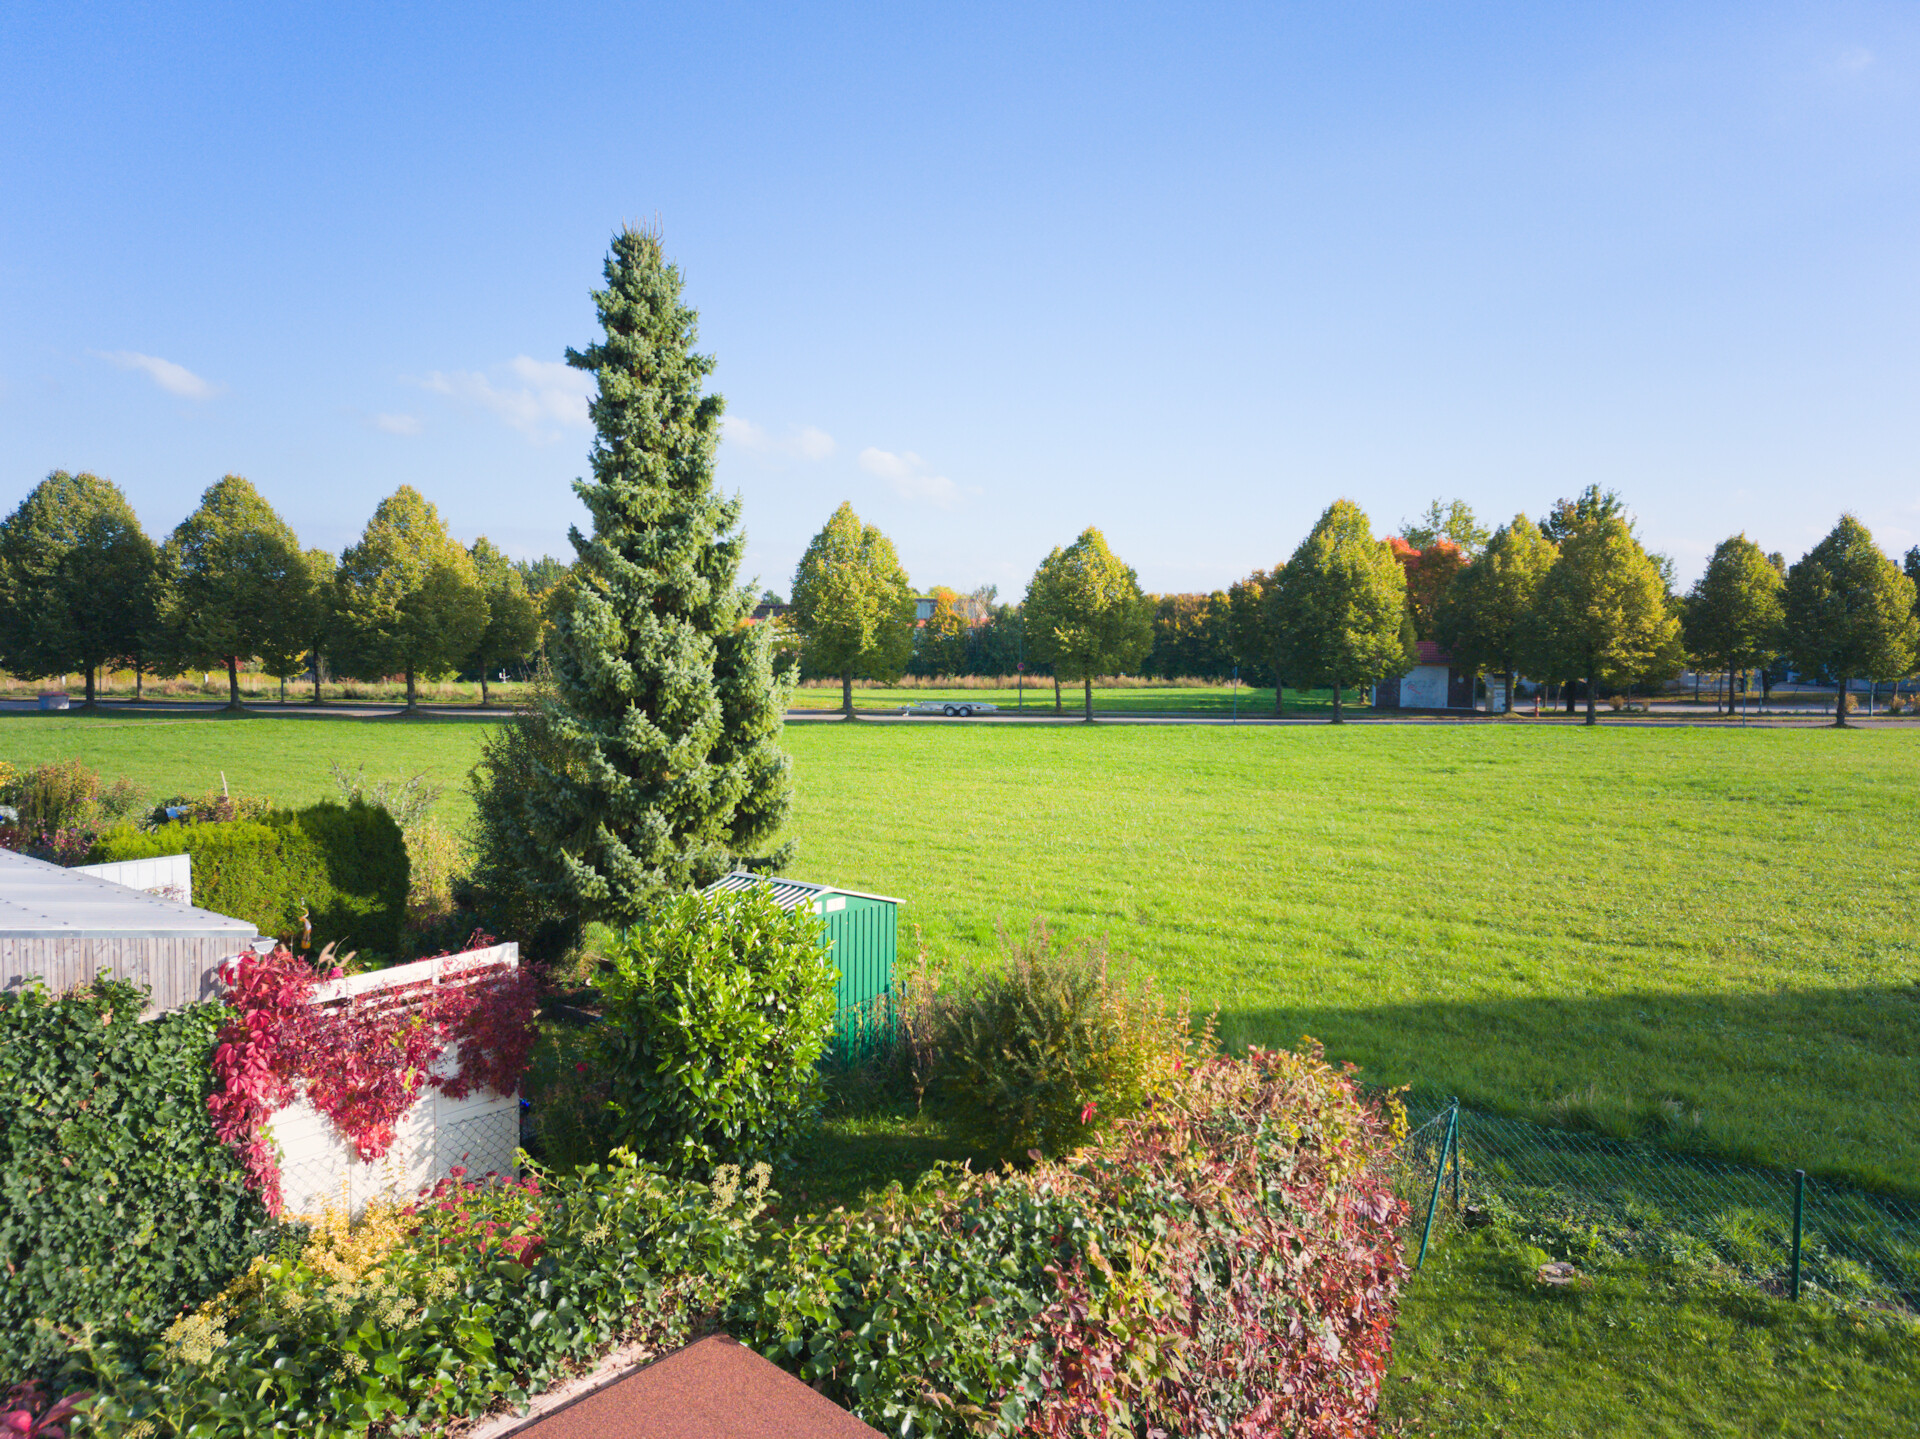
playing with your file i realized that it cannot be found in Lensfun, thus there is no correction for vignette available. changing those parameters i got this:
The difference between the vignetting correction and the GainMaps is that the vignetting correction applies to all pixels equally, while there are separate GainMaps for R G and B pixels. For this particular phone camera the differences between the R G and B are relatively small so the vignetting correction works well, but for other phones like my Pixel 4a the difference is much more obvious.
@ paolod: Thank you for the script. I also could found an app called raw2dng (https://play.google.com/store/apps/details?id=com.fimagena.raw2dng) which seems to be the same but for Android.
If I convert the dng to dng I get the same result in RawTherapee but if I convert it to TIFF or JPG I get the right colors.
Do I have to adjust something in RawTherapee or the app?
The original raw2dng app from https://github.com/Fimagena/raw2dng and the Android version does not do what we need here, only my dngpreprocess app applies the GainMap and writes out a dng with them applied.
To make the dngpreprocess app, I made a copy of the raw2dng project and added my script to it. I was just using that project as a sort of template since it was already set up as a command line utility that used the Adobe DNG SDK.
Are you checking in RT what parts of the DCP are applied…I have seen often only the base table is applied…you can also apply the tone curve and look table…the look table will alter the colors consiserably…so just check what you have set in color management…
dngpreprocess only handles a single file, you need a script to process a whole directory. I have been using this script, I run it from within the directory containing the images and it converts only the Pixel images leaving other raws alone. It uses GNU Parallel to run more than one conversion at once, and moves the original dngs into a subdirectory. The only problem with this script is that when it adds _pp to the name, darktable no longer groups the PXL_xxx_pp.dng file with PXL_xxx.jpg, as it would if it was named PXL_xxx.dng.
You can either copy the dngpreprocess executable to somewhere in your PATH, or change the script to ./dngpreprocess $1 so that it finds the executable in the current directory.
Thanks I did get it working…not as elegant as you have provided…thanks so much this is really nice to have…in a way I got around it for a while and surprisingly it worked well… I chose the lens profile for the huawei P10 and it had a pretty decent vignette correction and did not seem to distort the image…The vignette is so strong that without it the images were a pain to deal with…gain maps is really nice…