I need to check how to do that on linux 
Here is a quick-and-dirty way:
- For a starting point, take the version in the inclusion of Post 11.
- Cut/paste the inclusion contents into a file. Call it
mypaint.gmic.It can be used as a gmic command file. - For
ffmpeg(discussed later) Choose/scale an image to animate to a 16:9 aspect ratio with an evenly divisible height: perhaps 720×504. Other tools may not need this requirement. - Run the command file in a shell:
gmic mypaint.gmic input <path_to_the_image_file_to_be_animated> paint.
- A preview appears on your screen. Observe the image as it forms.
- After a minute or two, depending on the size of your image, the image stabilizes.
- Hit CTRL-C in the launch shell. Your shell prompts returns.
- Your current directory will have a number of image files of the form
frame_xxxxxx.jpgwherexxxxxxis a six digit sequence number. These are your animation frames. - You could use a tool like
ffmpegto composite the sequence. See restriction in step three. Try, for example:
ffmpeg -framerate 30000/1001 -i frame_%06d.jpg -c:v h264 -bf 2 -g 30 -crf 18 -pix_fmt yuv420p -c:a copy -movflags faststart paintanimation.mp4
This creates an h.264 encoded .mp4 file with a framerate of 29.97, suitable for uploading to Youtube.
The line on. frame.jpg,$f f+=1 sets the counter and output format. Change to foobar.png,$f f+1 if you prefer to output .png files with the foobar prefix instead.
Other ways to do this, but this is a quick start. Have fun!
3 Likes
I’m currently writing a full-parameterized filter for the plug-in. Hopefully, it will be ready before tomorrow
2 Likes
Bonjour,
A sixth parameter is added to the test filter (samj_test_paint_gmic_gimp) to create a PNG image sequence.
We must put 1 as the value of the sixth parameter to obtain a sequence.
This change is tested under GIMP 2.10 / GMIC 2.9.9_pre Windows and Xubuntu. Necessary update of GMIC filters.
These images are found in the temporary directory :
Xubuntu : /tmp/\\frame_000000.png
Windows : C:\Users\[user]\AppData\Local\Temp\frame_000000.png
Command lines under GIMP 2.10 / GMIC 2.9.9_pre for obtaining the image sequence :
rm
fx_gmicky 0
resize 480,480
samj_test_paint_gmic_gimp 300,0,0.05,1,1
Terminal FFMPEG command lines to get the video :
Xubuntu : ffmpeg -i "/tmp/\\\frame_%06d.png" -c:v libx264 -vf "yadif,fps=25,format=yuv420p" "/tmp/test_paint.mp4"
Windows : ffmpeg -i "C:\Users\[user]\AppData\Local\Temp\frame_%06d.png" -c:v libx264 -vf "yadif,fps=25,format=yuv420p" "C:\Users\[user]\AppData\Local\Temp\test_paint.mp4"
Under Windows Replace [user] by the user’s name.
I’ve pushed a first version of the filter in the latest filter update for G’MIC 2.9.9 :
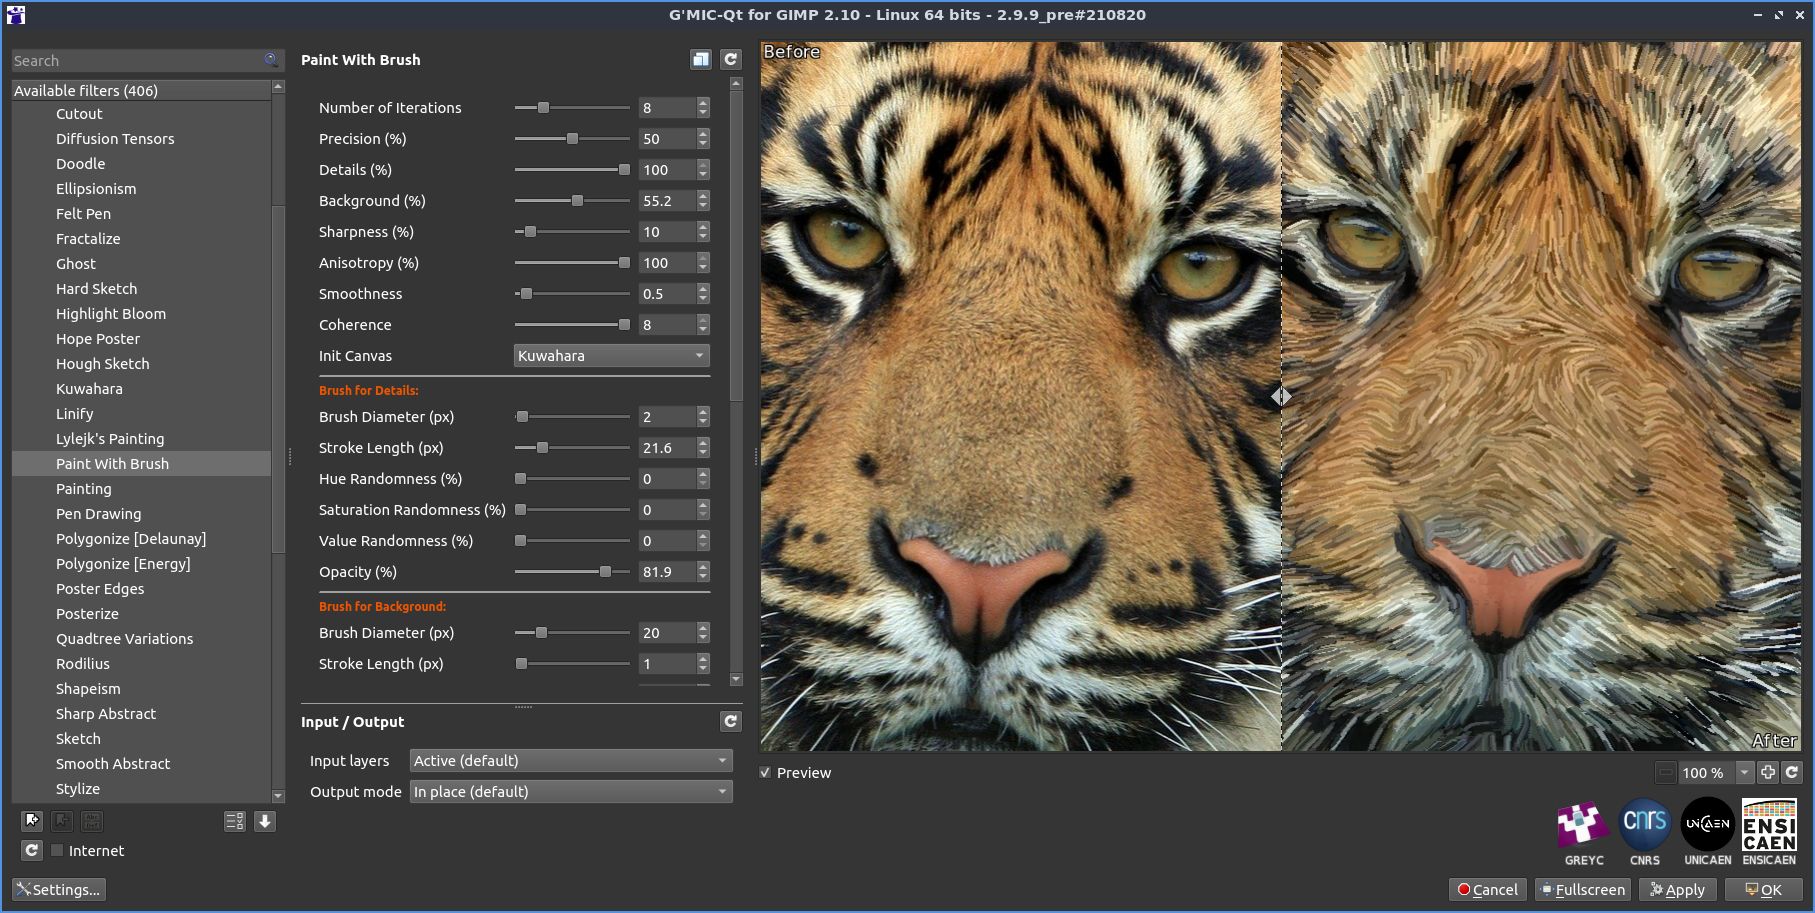
Feedback is welcome.
Be aware that:
- This requires G’MIC 2.9.9_pre (current development version) to work.
- This is a slow filter, even though it uses all your CPU cores when available.
- There are tons of parameters to set (and basically no documentation about them right now).
As the number of parameters is quite large, I’m planning to add a “Predefined Style” combobox, that would be used to choose between different set of parameters for this filter. I’d be interested by any cool style you may achieve playing with these sliders (as well as a corresponding style name).
5 Likes
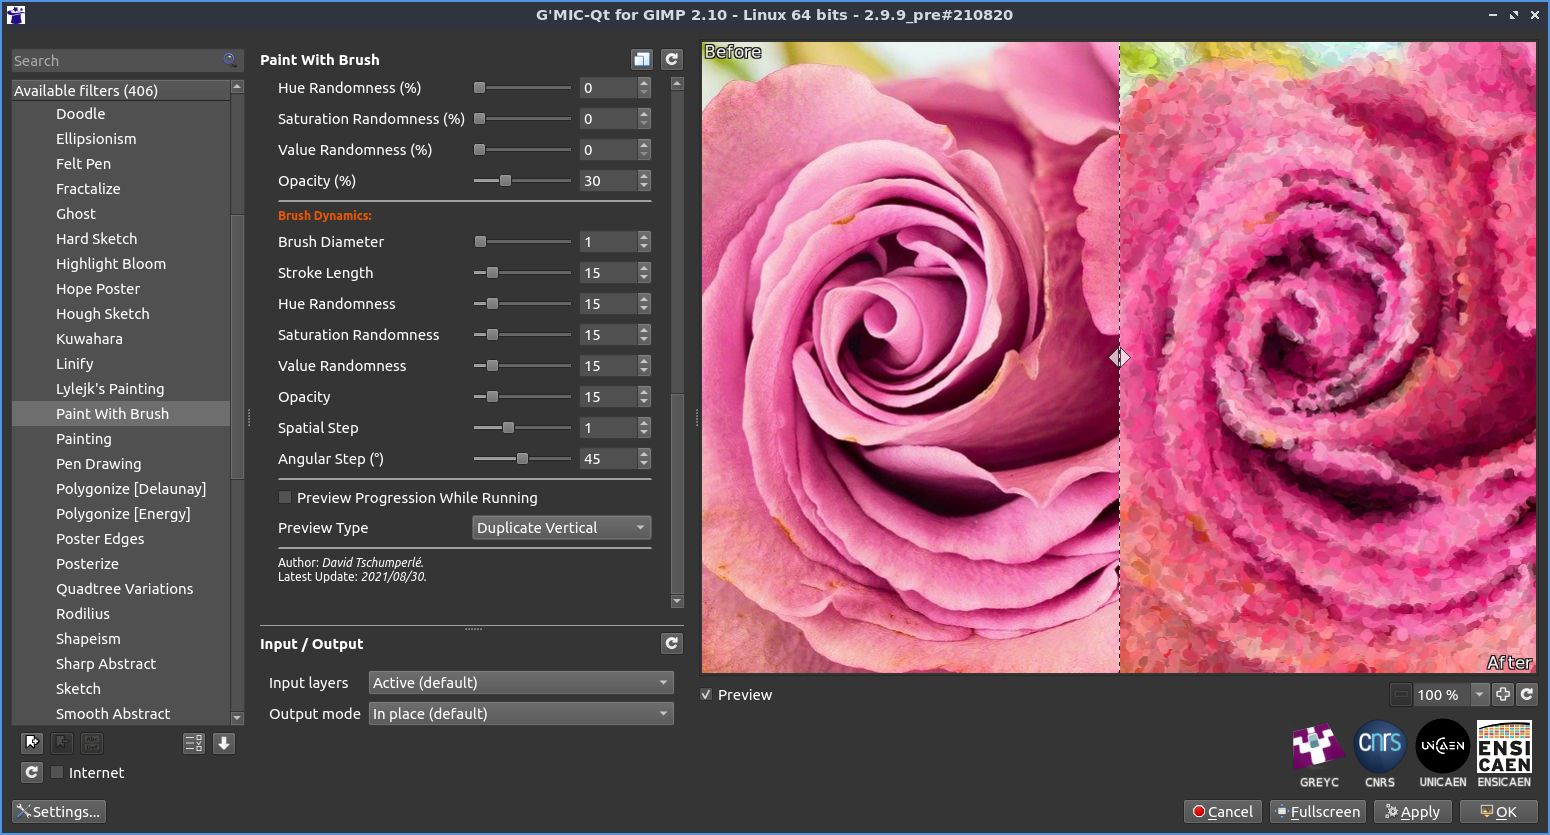
Here is an update, with a few predefined styles and more controls.
I think I’ll stop here for the moment. I’ll just add some new styles if I found some that worth it.

7 Likes
Thanks David, very cool filter!
1 Like
Bonjour,
Thank you for this filter and the interesting results it provides.
With the large number of parameters it is very difficult to use.
I also liked the opportunity to make a video during the progression… Unfortunately this increases the number of parameters.
To illustrate this progression here is a video of 16 frames (modified program). The last frame is duplicated to better visualize the result.
The settings :
fx_paint_with_brush 0,"0",1,16,30,100,100,10,80,0.5,3,45,0,6,2,10,0,0,0,60,20,1,0,0,0,30,15,15,15,15,15,15,1,45,1,0,50,50
ffmpeg -r 1/1 -i "C:\Users\[user]\AppData\Local\Temp\frame_%06d.png" -c:v libx264 -vf "yadif,fps=25,format=yuv420p" "C:\Users\[user]\AppData\Local\Temp\test_paint.mp4"
Impressive results, David; look forward to trying this out as soon as I find an image that I like to work with it.
Hah! And people say that HDR makes a photo look painter like! LoL
This is very cool, looking forward to trying it out.