Yet another “noise suppression” attempt.
JPEG Preview - “Denoised”
Pencils Noise 40 - “Denoised”

It’s looking good. By the way, remember that you wanted to do multi-threaded evaluation, and then move on into next row/column? One could do that with a image strip, and insert a repeat({w or h or d}, I(#ind,tx,ty,tz)=expression;);.
Yet another “noise suppression” attempt. No machine learning, just mild-mannered fun with afre.
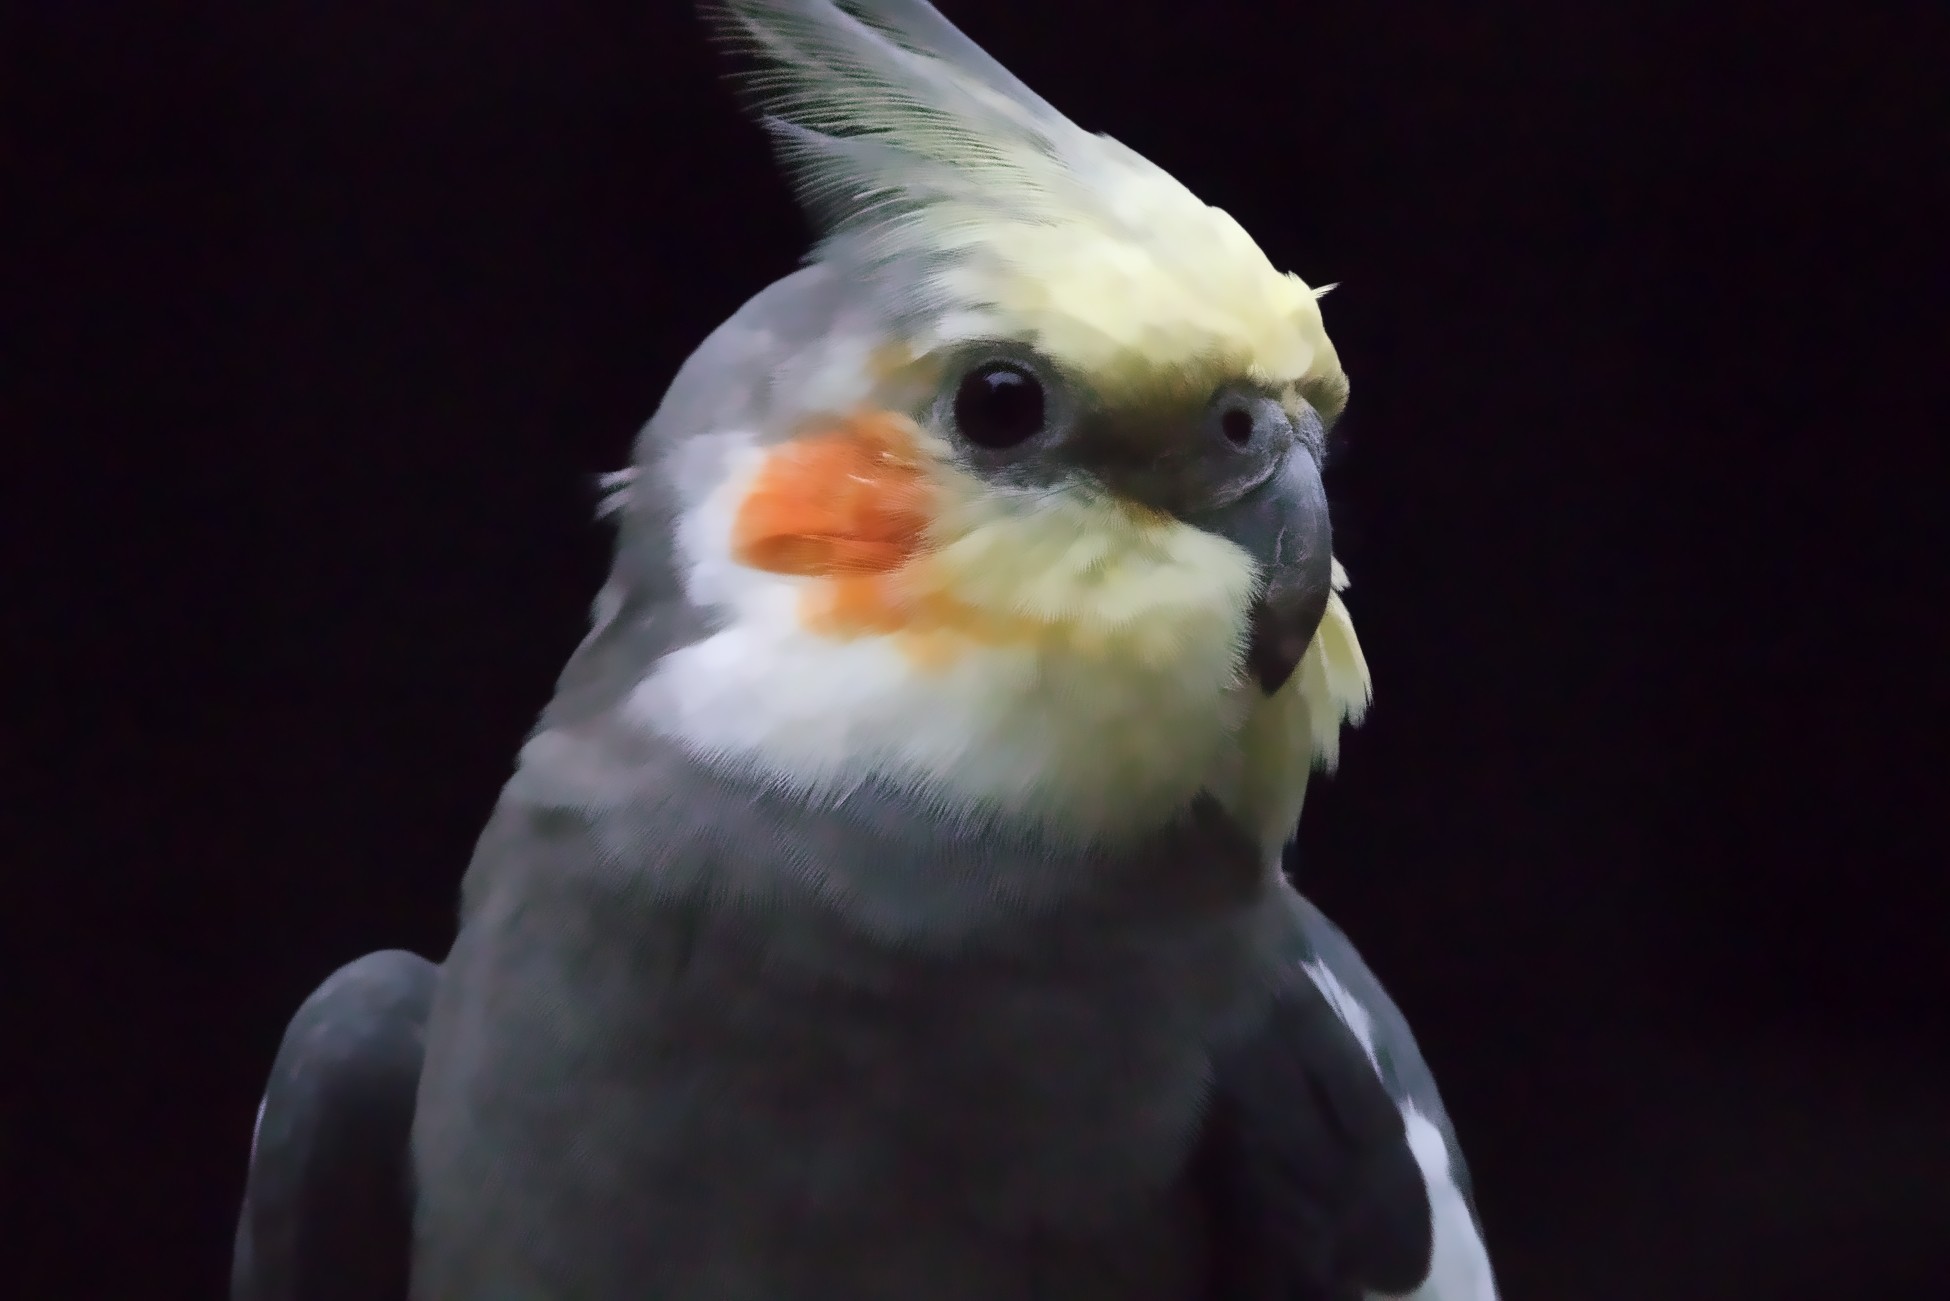
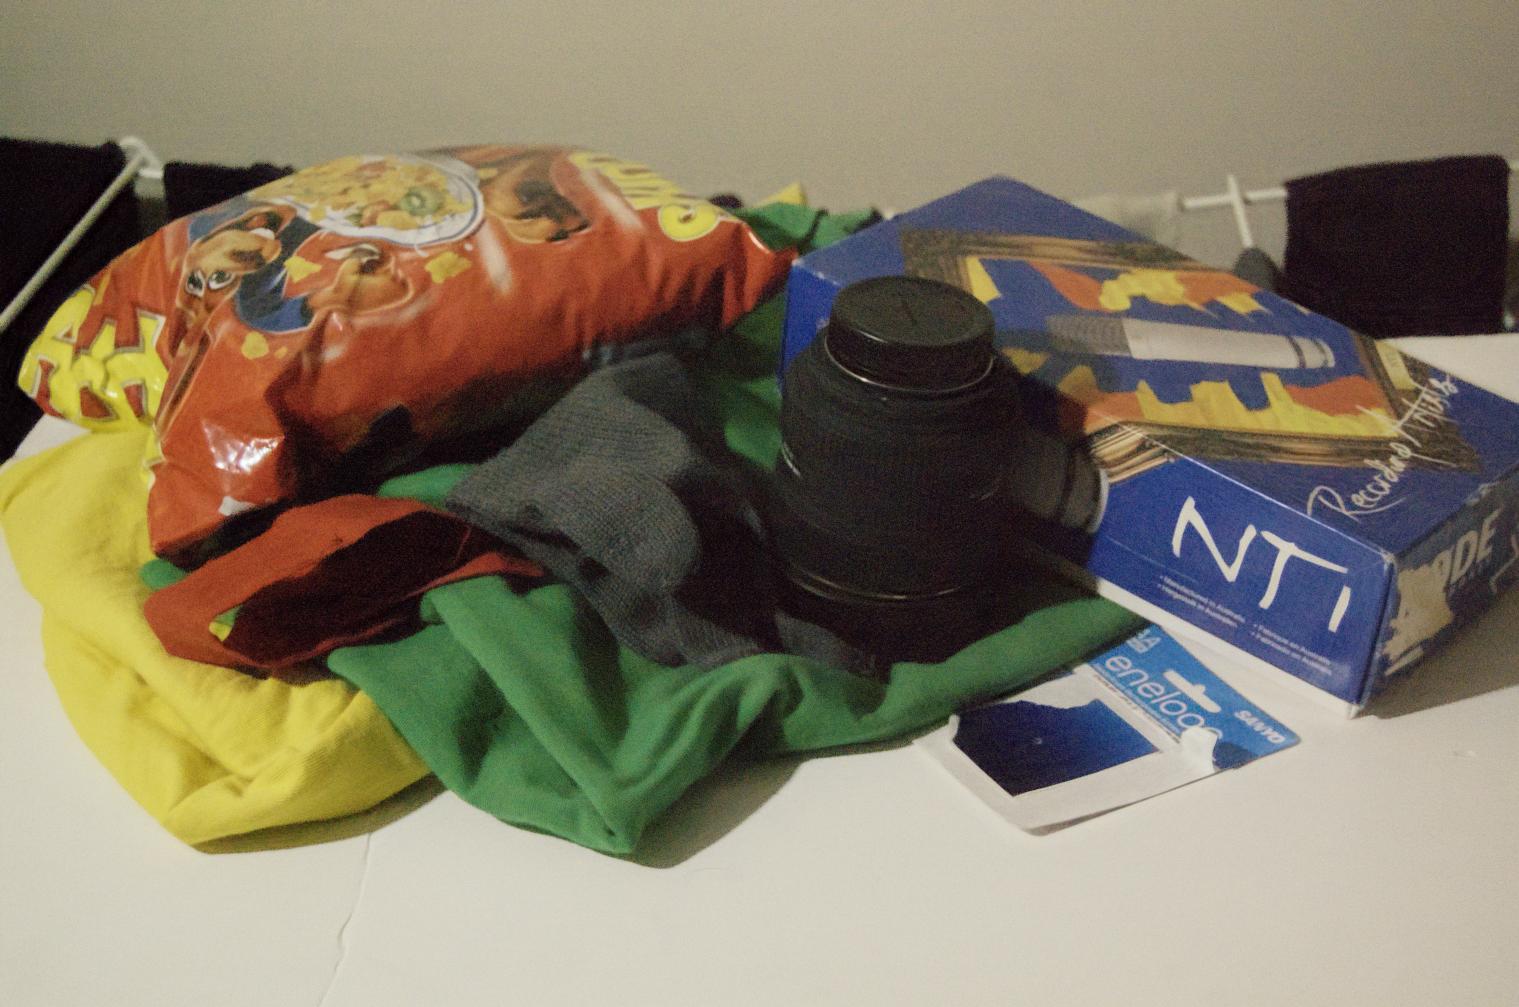
Before (source: Exporting/importing photos in full 32-bit representation (to train a neural network for image denoising) - #85 by Peter)
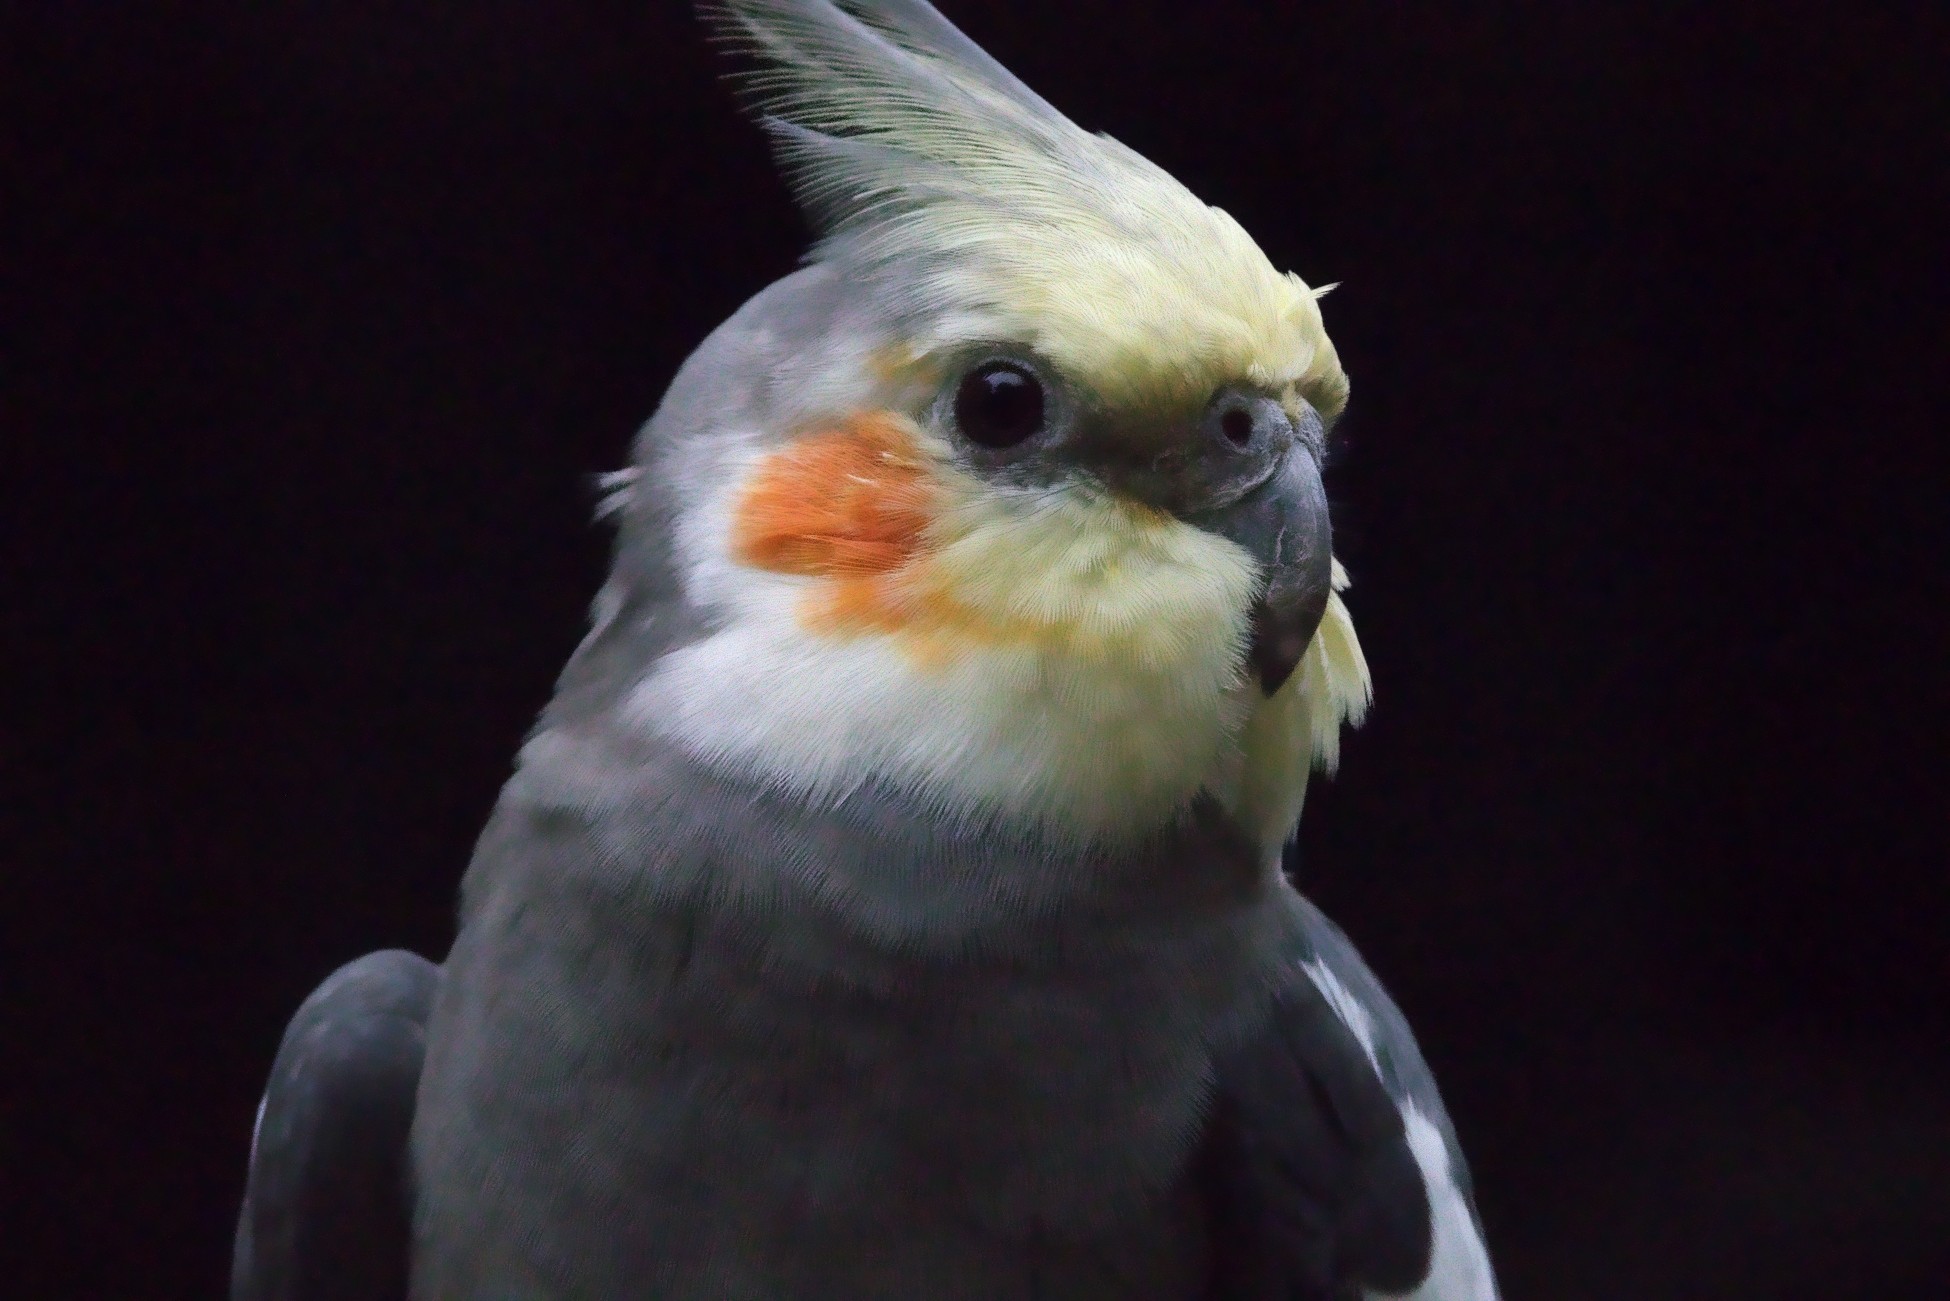
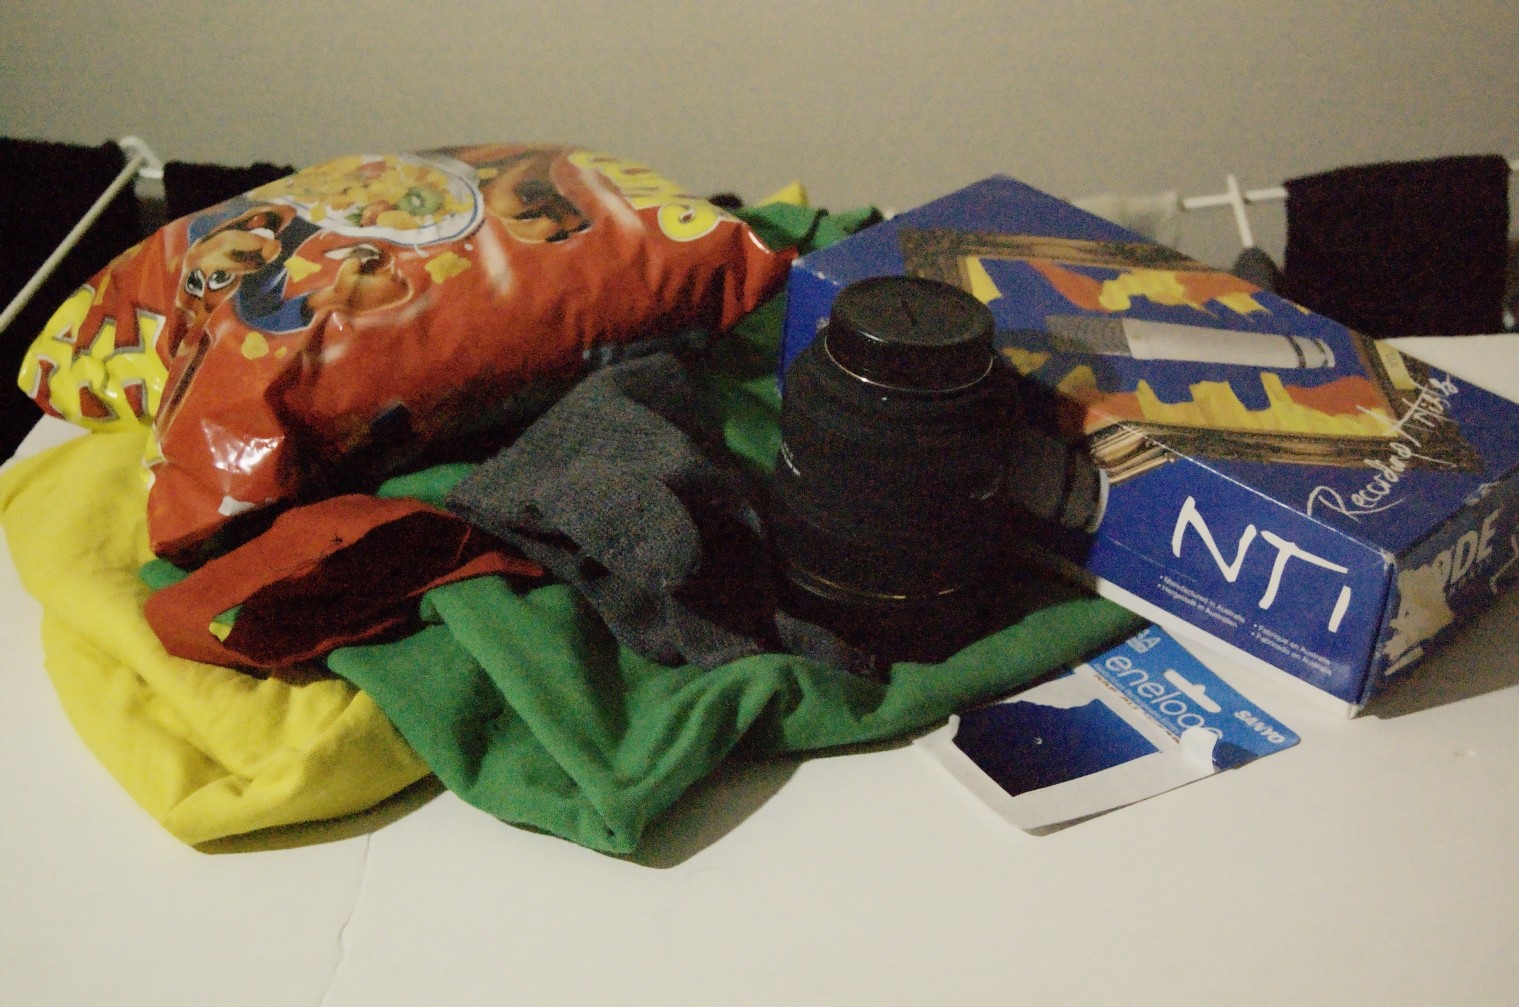
After (on JPEG above, not raw original)
PS Closeups (using my unreleased auto-crop command)
Before

After

A bit heavy handed, I think!
There’s some luminosity noise, but the result is good.
Yes, it is more suited for noise texture removal. By texture, I mean noise and soft edges. Combined with Iain’s recovery algorithm, it would be a good denoiser.
Yes! The detail recovery algorithm does best when textures have been removed but edges have been kept.
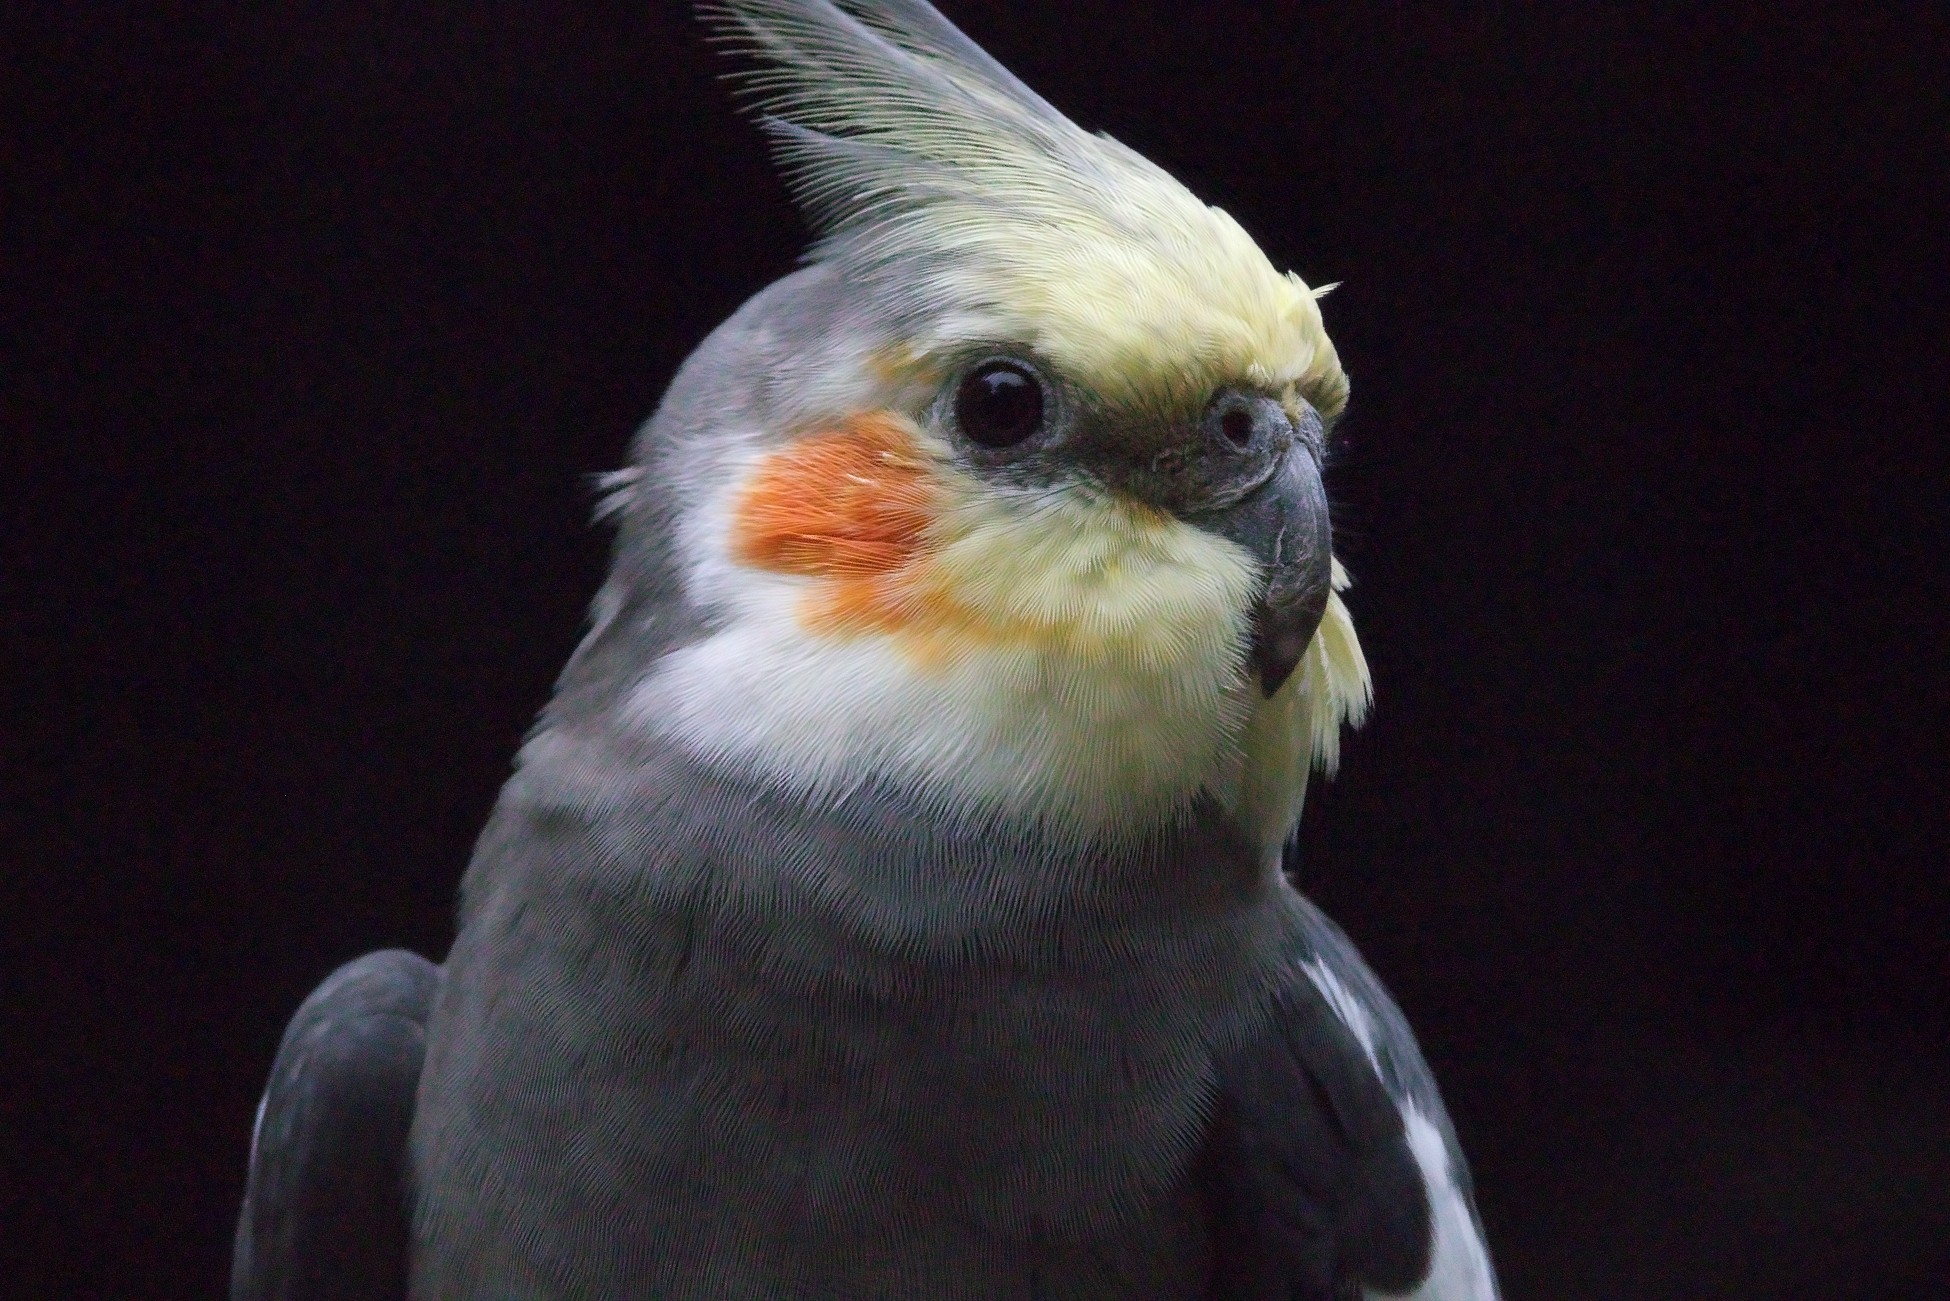
Here is the bird with the details recovered.
I used “guide recovery” with a recovery setting of about 0.8, everything else at default.
This is what it looks like with
+ Iain Noise Reduction 2019 (Guide Recovery 0.8)
The recovery re-introduces some noise. If we compare this with the machine learning (ML) result, it has the following properties:
PSNR
Mine relative to ML 28.362
The larger the better: 30-50 dB is acceptable for lossy JPEG.
MAD (dispersion)
Noisy 45.960 vs ML 7.4129 vs Mine 14.825
STD Noise
Noisy 22.874 vs ML 0.331 vs Mine 4.972
Closer to ML the better. How far can we dial back Guide Recovery without sacrificing detail? @Iain Any other arguments to consider? I get brain fog when there is more than a few ![]() .
.
Guide reduction only uses that one control. All other controls are not used because that is for the main noise reduction, which is skipped because you are providing a noised reduced image instead.
The detail recovery will introduce some noise because that is the least objectionable artefact I could get.
I might be possible to improve it or provide more control.
There is room for improvement other than adding more control; e.g., post #221 is suspect to stretchmarks that can sometimes arise from deconvolution.
Another example of the latest method (without Iain’s algorithm).
Before (JPG source: Exporting/importing photos in full 32-bit representation (to train a neural network for image denoising) - #49 by KristijanZic)
After texture removal + some texture blended back
After texture removal + some texture blended back + Iain’s recovery algorithm
Small Update
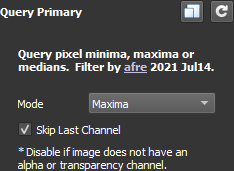
New Added afre_queryprimary, which selects per pixel the channel(s) meeting the min, max, med criterion and sets the rest to 0. This can be for an image with an arbitrary number of channels. There is an option to skip the last channel if it is the alpha or transparency channel.
CLI
afre_queryprimary:
    mode={ 0=min | 1=max | 2=med },_skip_last_channel={ 0 | 1 }

  Query pixel minima, maxima or medians of selected images.

  Default values: 'mode=1' and 'skip_last_channel=0'.
GUI standalone or plugin
More “denoise” fun. This one includes Iain’s recovery. These experiments are usually on the fly based on past experience. I should keep better track of what works and what doesn’t. Compared to last time:
Pros
– Closer MAD to noisy original
– Sharper less noisy highlights
Cons
– Noisier shadows
vs noisy original
Makes me think there should be a double post-processing involved. One on shadows, and one on light. Will that work?
Yes, the previous method did do some of that. However, the more steps it takes, the slower the method will be. I can always go for a perfect result but the reason why I settle for much less in all of my examples is that it will be incredibly slow as far as scripting is concerned. In sum, I am aiming for as
simple
minimalist
general
fast
as possible. The fast part is the limiting factor because I am not clever enough to optimize anything I do, so I have to rely simple and minimalist to make it realistic. And hope it covers most of the use cases: general.
Denoised bird looks improved. A new filter on the horizon?
Made the denoise filter/command as simple as possible for speed reasons. The compromise is that it does not remove the noise completely but makes it more manageable and details are softer but do not disappear completely. Good enough for release with acceptable processing time on my ancient laptop. See samples in #279 (resized/compressed after upload). I may optimize the coefficients or automate the process later.

afre_denoise:
    radius>=1

  Denoise selected images.

  Default value: 'radius=1'.
Update afre_denoise is now a little faster and more accurate. As usual, in a few hours, it will be in the stdlib via the CLI/plugin update command/button.
Results (forum may have resized and/or compressed the uploads)
iain.png
afre_denoise 4
As a standalone result, quite satisfying compared to my other attempts.
+afre_denoise 4 iain_nr_2019 1,0,0,0,0.5,1,0,5,3,0,3,3,0.8,4,0
Not as clean as the previous iain-ified result many moons ago because afre_denoise 4 has too much texture remaining.
Now for the bird. The result is much nicer. Same commands as for iain.png
bird
afre_denoise 4
+afre_denoise 4 iain_nr_2019 1,0,0,0,0.5,1,0,5,3,0,3,3,0.8,4,0
For comparison, this is the machine learning result that introduced this obnoxious bird.
With bird, there’s a lot of chromatic noise that isn’t removed. The other one has great results.