I tried with a test image and it is working as it should. Sorry, my bad. I guess it is my old tired eyes. I will stick with “TRUE” as you menstioned even though mathmatically not correct but it is more intuitive.
filmic does not counteract exposure adjustments: that’s the exposure module. It has a checkbox for that purpose. Where filmic is failing is it does not ask the exposure module if exposure compensation was undone, and adjusts the white and black point based on what it reads from EXIF.
agx does not read the EXIF info: it asks the exposure module for the overall exposure change. The assumption is that, if the user (using the exposure slider, the exposure compensation checkbox or the new highlight preservation mode handling) ended up adjusting the image by some amount, getting the midtones where they want them to be, then we can use that exposure change (positive or negative) as an estimate of where the white point is. If the image was brightened, the white point will be higher; if darkened, it’ll be lower.
2 Likes
I see! Thank you for the clarification.
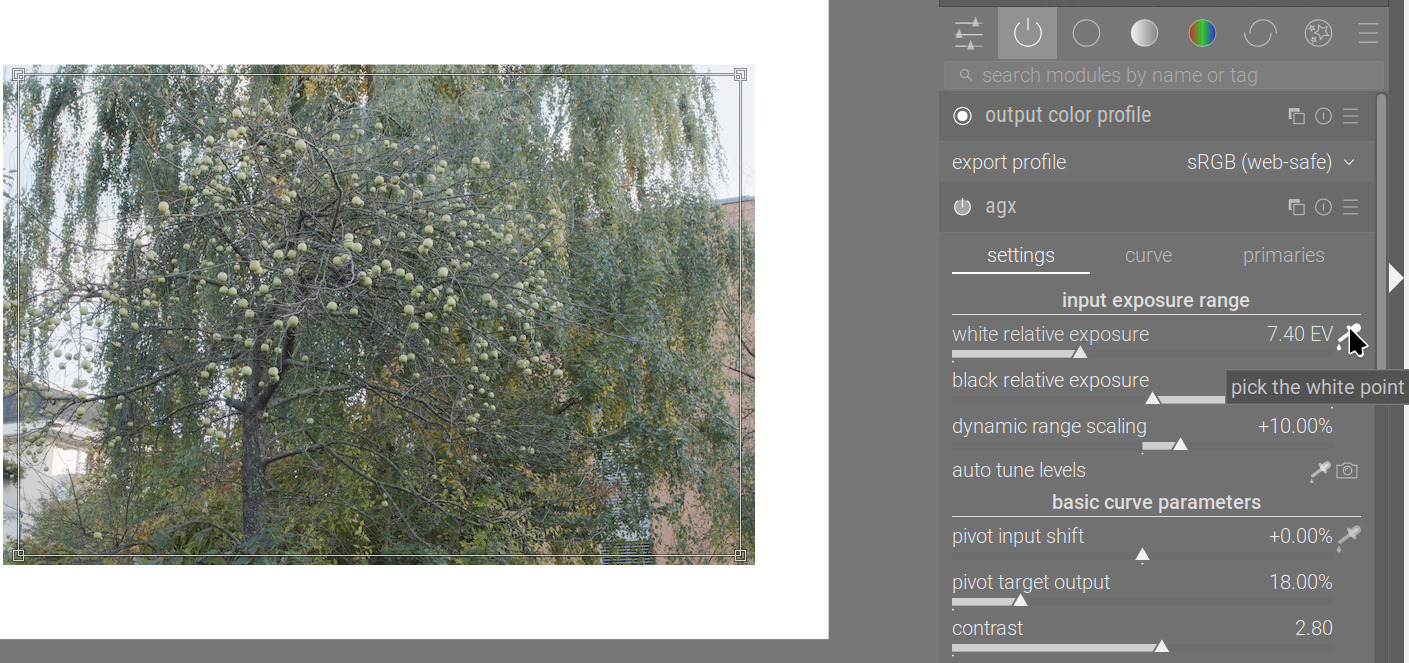
Please explain.
If I enable a picker, you can see the selection rectangle as well as the picked value (7.40 EV, in this case):
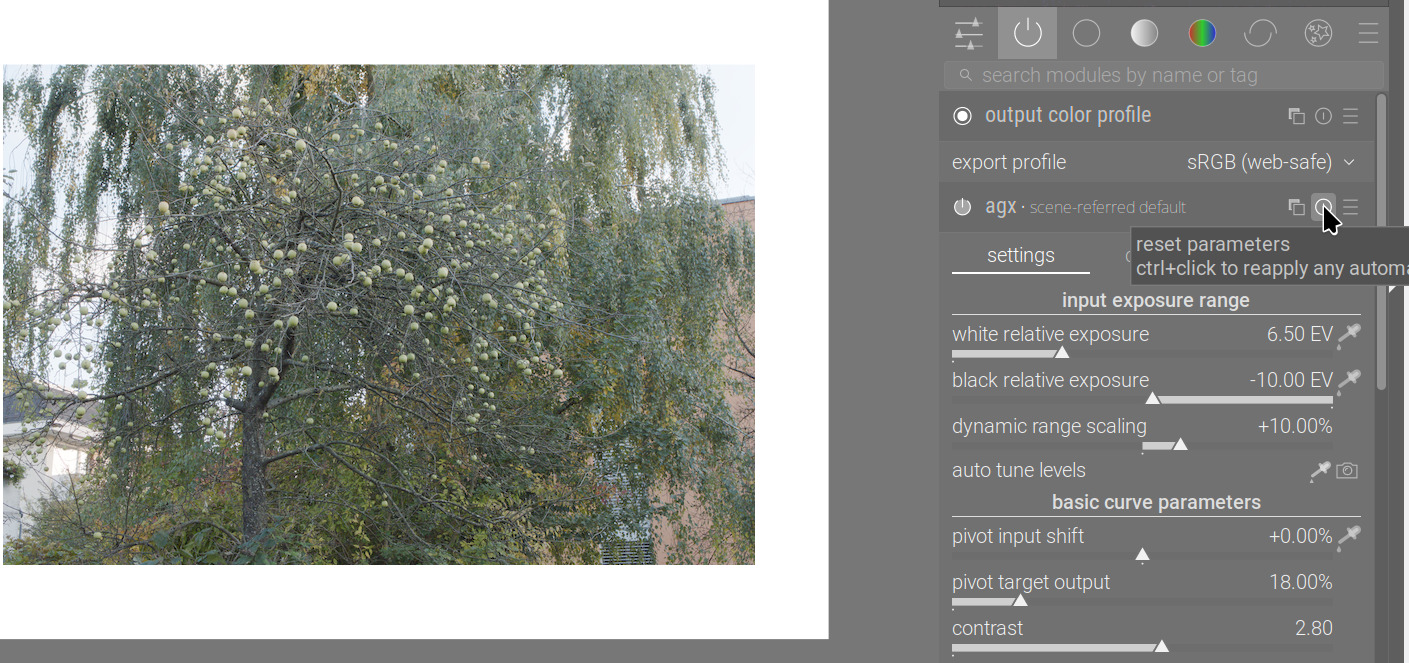
After resetting the module, the rectangle is removed, the default value is restored:
What did you find that is not reset?
In case the “camera” settings become the default, I don’t think a specific “way to disable that” is needed: a preset could already apply fixed values.
Personnally, from my experience with filmic, I don’t use this functionnality, because I often have preset for each camera (so with fixed values).
But I also don’t mind that it’s there.
1 Like
I’ve pushed code to fix the tooltips and the ability to assign a shortcut to both picking exposure from image area and from exposure module / metadata.
It’s late at night here, I’m not publishing an AppImage now.
3 Likes
I thought the size and position of the rectangle will also be reseted. i tried other modules and it was the same. so it is a feature.
thanks for your work!
I am running AgX on a midi board now.
I.e. don’t change too much in the module, it may break my integration. ![]()
So, two polls:
How to decorate the rotation reversal sliders?
- show effect (colour shift after slider); config setting
plugins/darkroom/agx/reverse_hue_for_unrotation=TRUE
- show reversal (what gets reverted to the selected primary); config setting
plugins/darkroom/agx/reverse_hue_for_unrotation=FALSE


0
voters
Set white/black relative exposure from exposure module + camera settings
- Like filmic rgb: initialise according to exposure compensation; no separate button, only the max/min picker
- initialise according to exposure compensation and keep ‘camera’ button in addition to the max/min picker
- keep default -10 EV to +6.5 EV range; keep ‘camera’ button in addition to the max/min picker
- keep default -10 EV to +6.5 EV range; remove the ‘camera’ button, it’s useless
0
voters
The polls will be closed sometime after 8:00 on 1 November (UTC+1).
As a bonus, an experimental build that should address the issues reported above. When testing, please only use 1 instance of exposure (so no local adjustments before you use adjust agx with the ‘camera’ icon – this will be fixed in the final version).
https://tech.kovacs-telekes.org/dt-agx/Darktable-5.3.0%2B652~g91accc84a4-x86_64.AppImage
Repo and branch: GitHub - kofa73/darktable at agx-ui-toe-shoulder-sliders-and-primaries-rotations
@priort @MStraeten @Dave22152 , please update your builds if you have time
can not download. broken link?
Sorry. I’ve now replaced it with https. Works here, please try again.
What do black and white points do if the exposure slider in adjusted? Are they updated accordingly? Should they be? It would be useful to be able to tweak exposure late in an edit without having to re-set the black and white points.
![]()
You are supposed to get midtones correct before editing in agx.
Small tweaks in exposure usually don’t really affect the agx white point and black point, as the curve is quite flat there.
Additionally, you can also adjust the pivot inside agx, and also use the lift, brightness and scale controls to adjust brightness.
Additionally, the ‘camera’ functionality is just an estimate. It does not check the contents of the image; it uses heuristics, as explained above. It can result in both clipped values (when it estimates relative exposures smaller than the actual dynamic range of the image) and a ‘not fully stretched histogram’ (the latter is not a problem, of course, not all images have content to ‘fill the histogram’).
1 Like
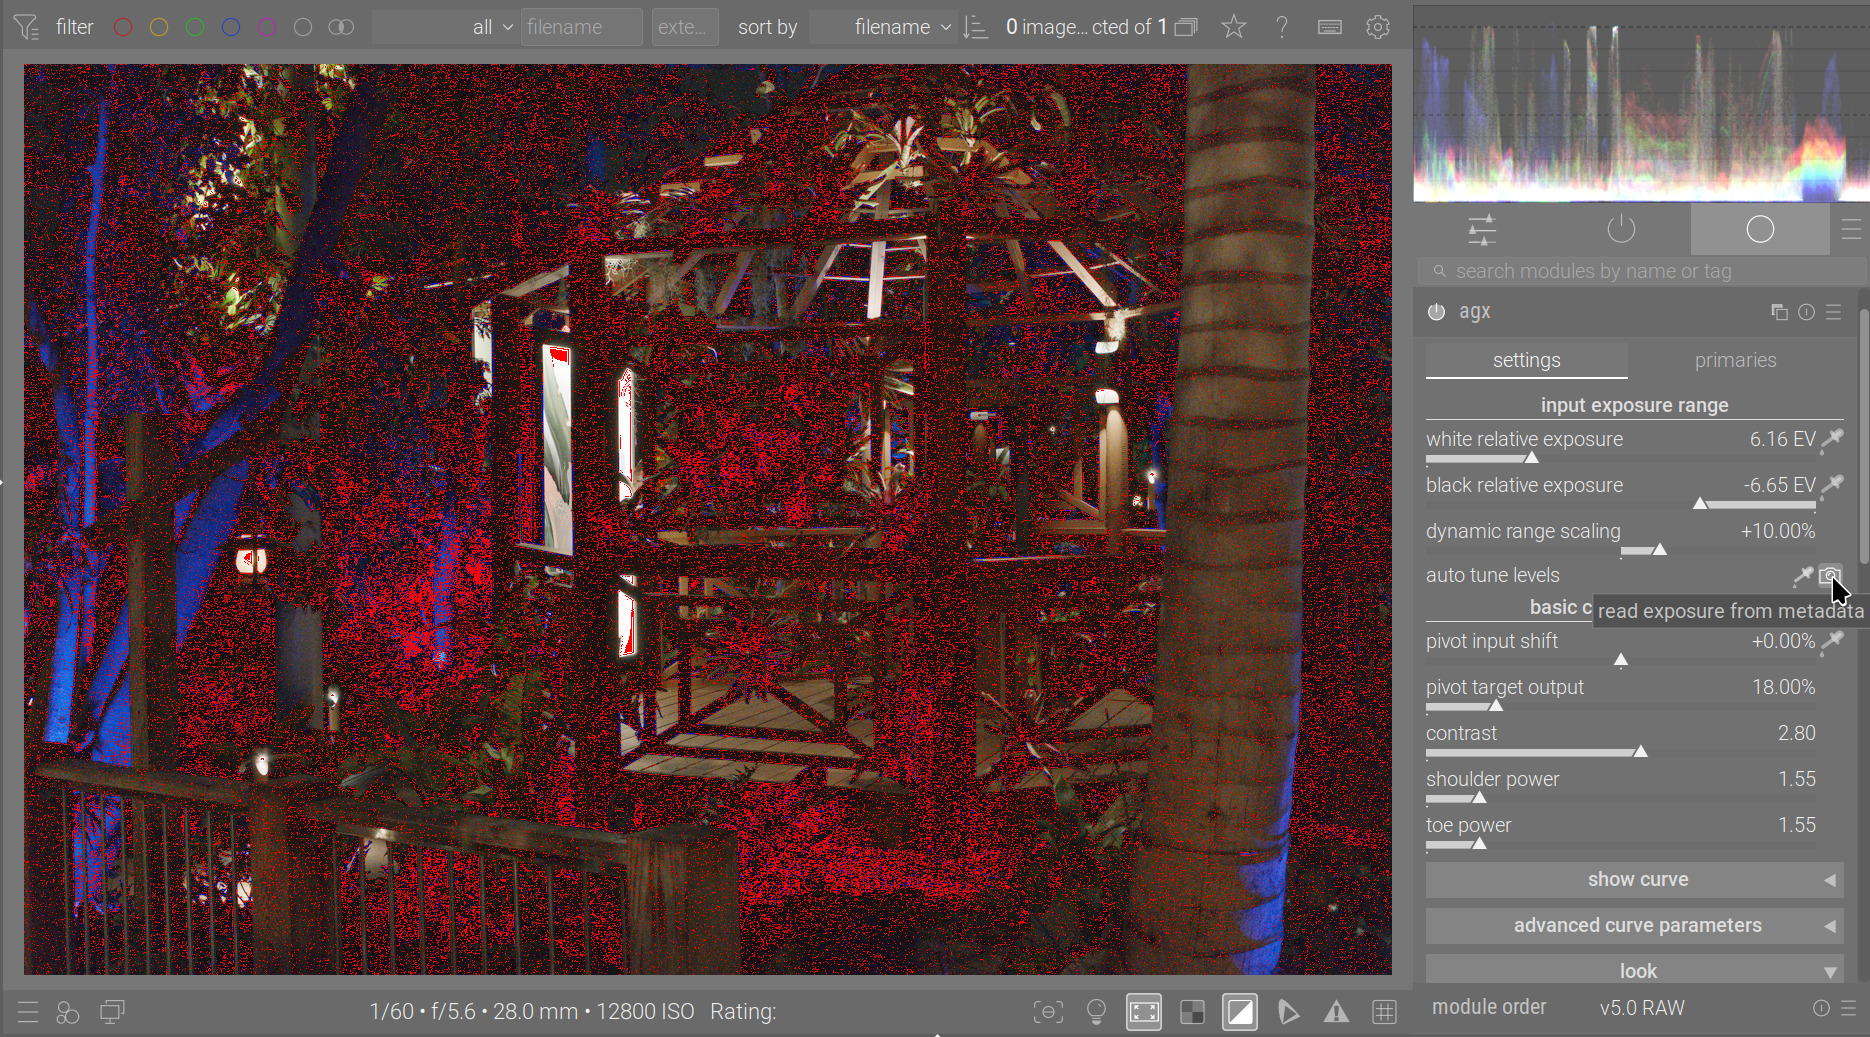
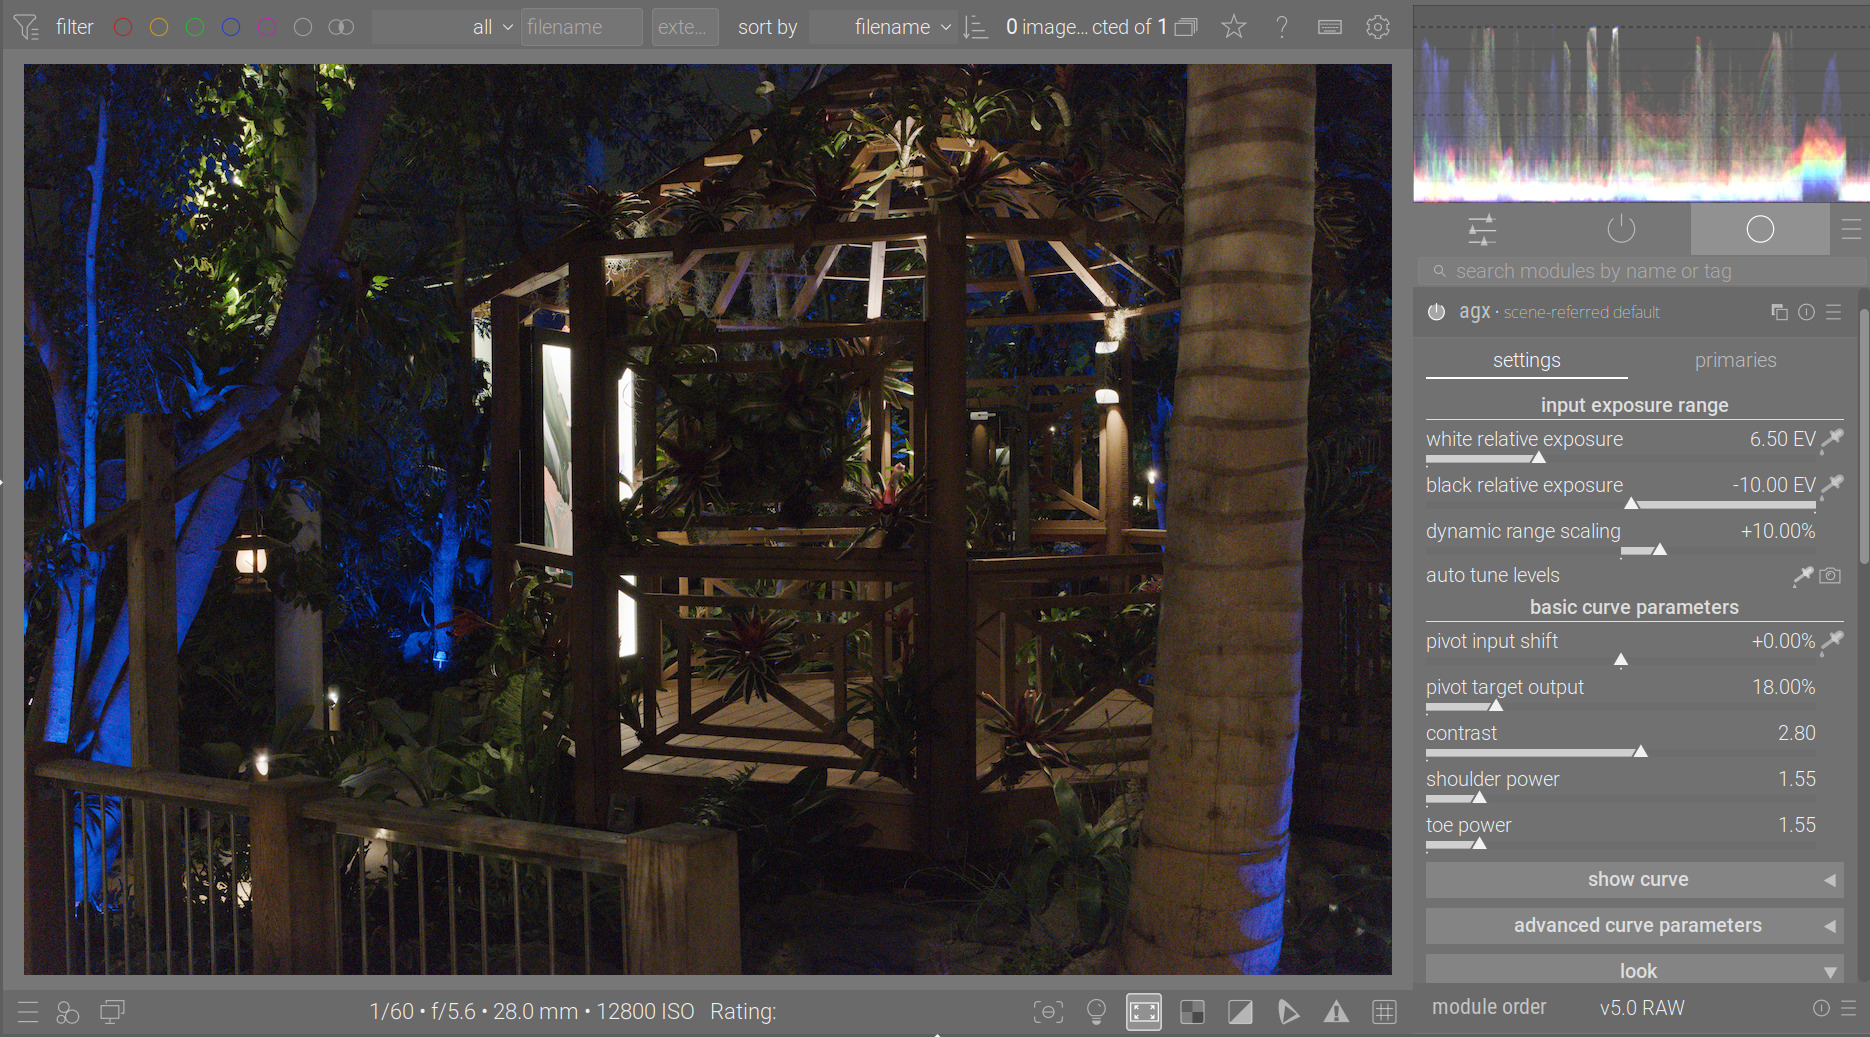
Here is a rather high dynamic range, dark image, with the clipping indicator (over/underexposure) turned on.
AgX default, -10 EV to +6.5 EV:

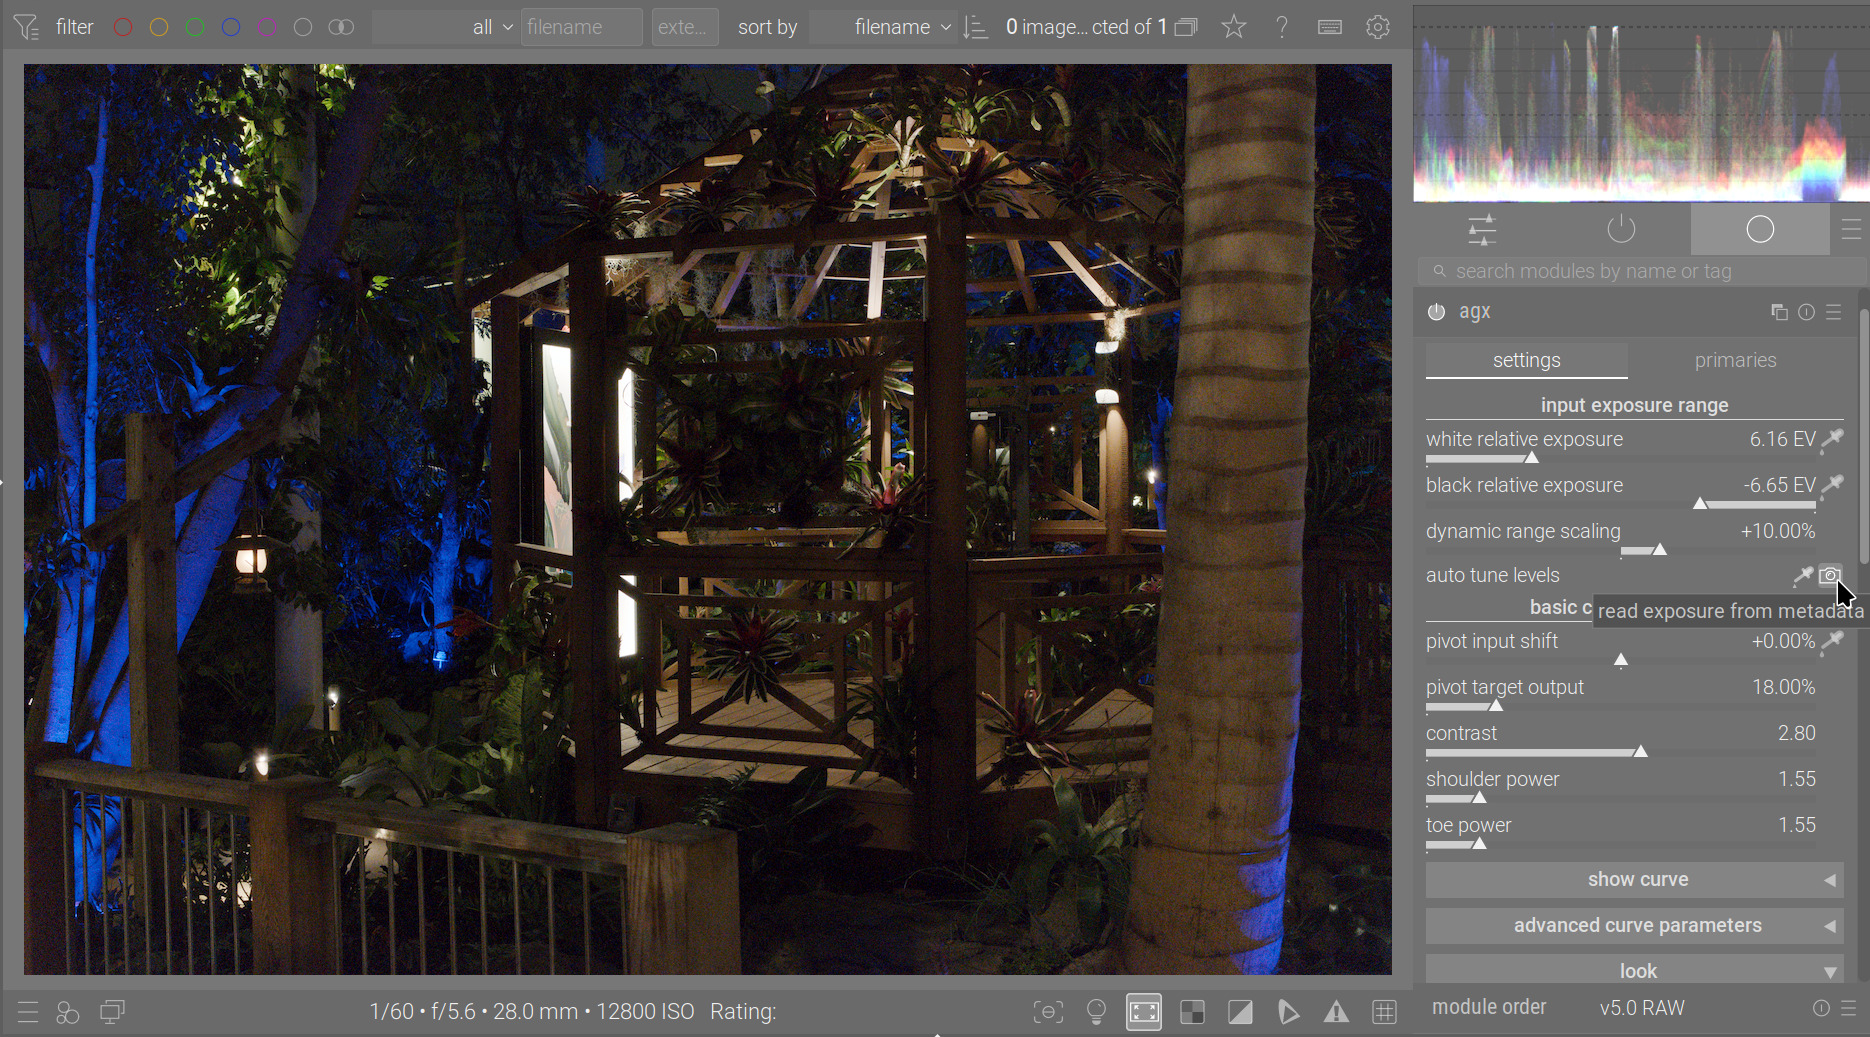
‘camera button’
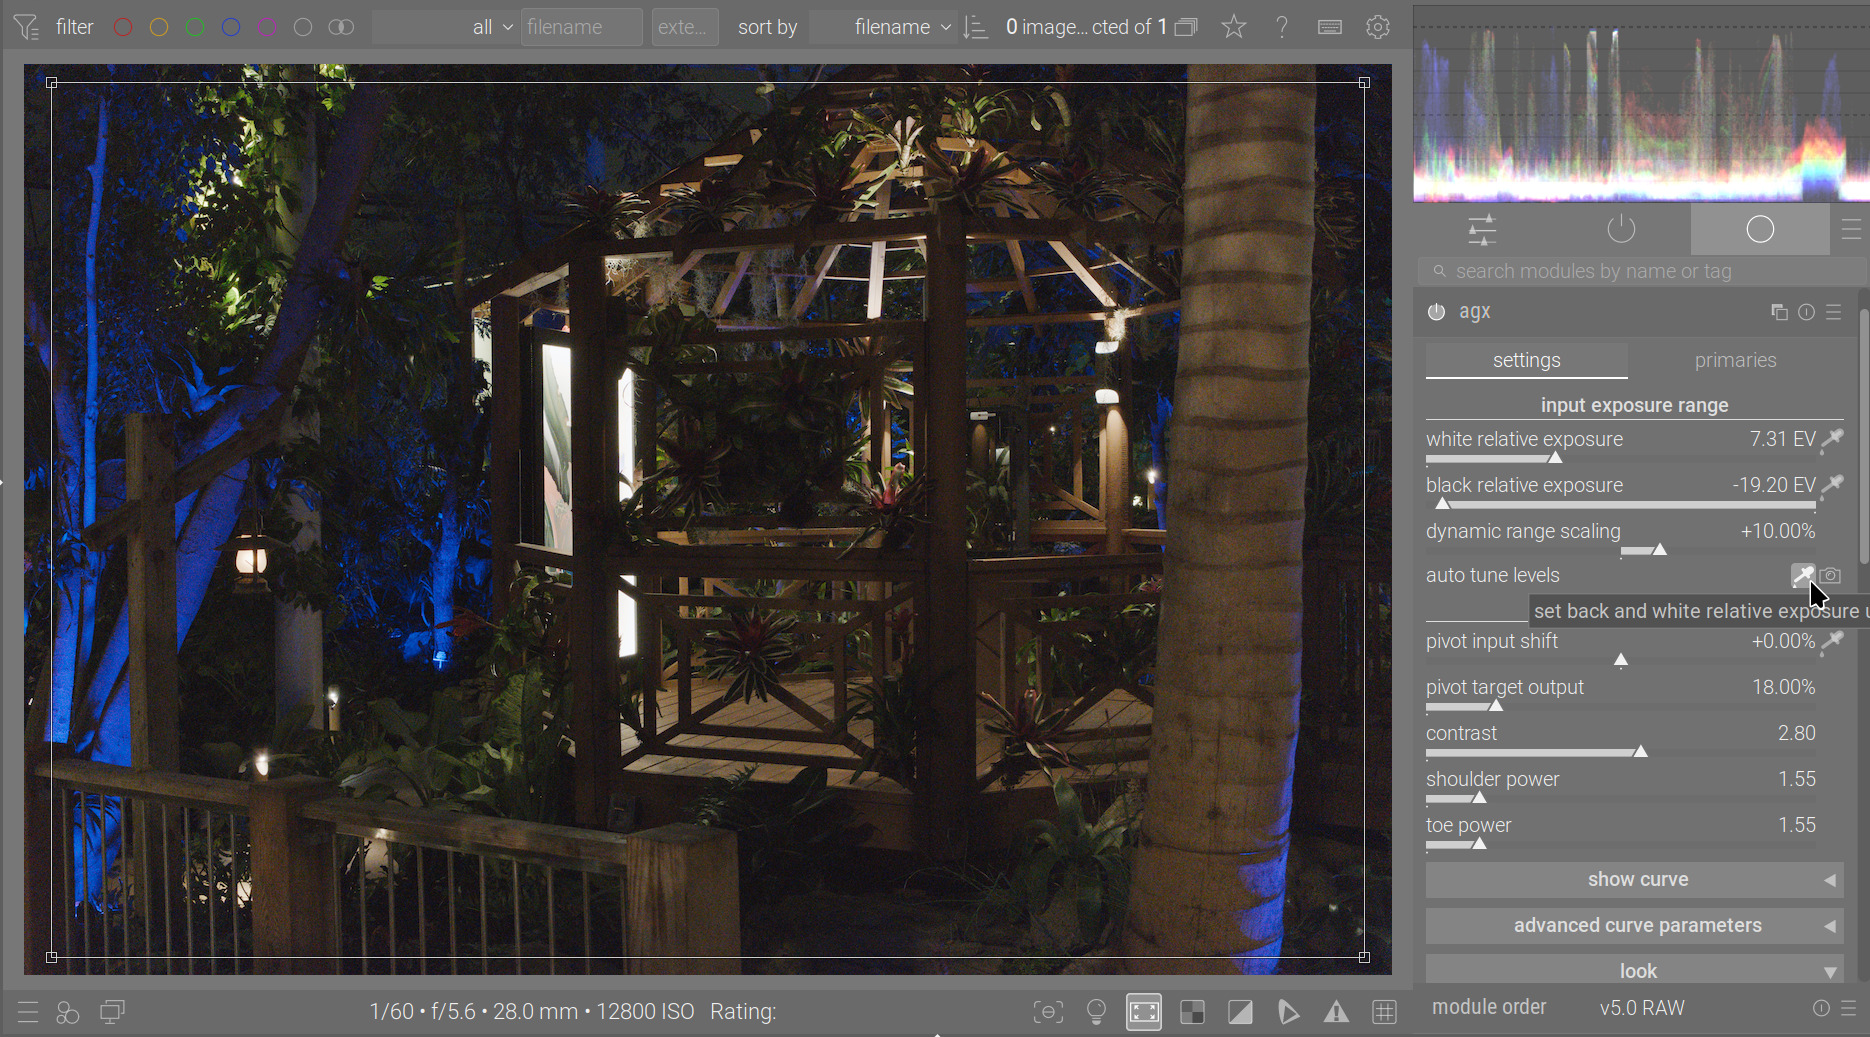
picker:
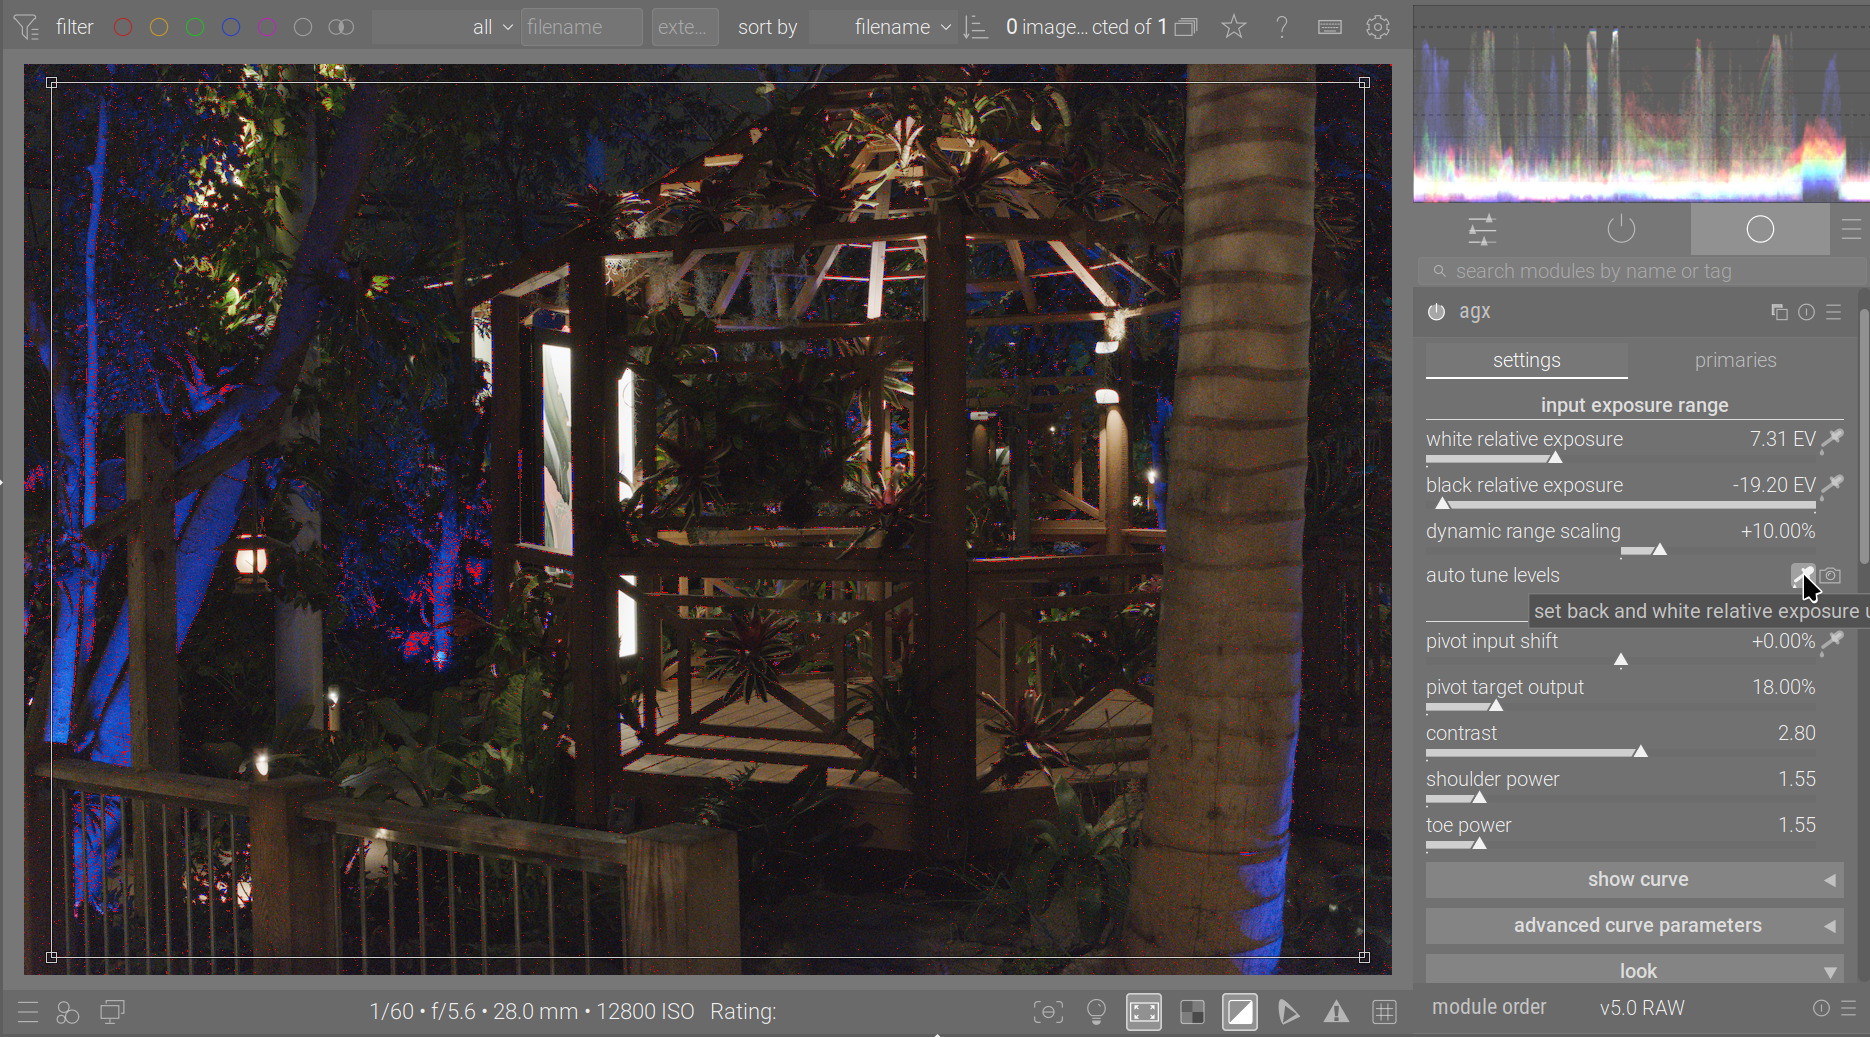
Without the indicator, in the same order:
Of course, with less extreme images, it may work better.
2 Likes
Nice comparison. To me it’s more or less a matter of taste and no matter of good / bad or right / wrong. I think it’s nice to have different methods to get a nice starting point quickly.
1 Like
Also:
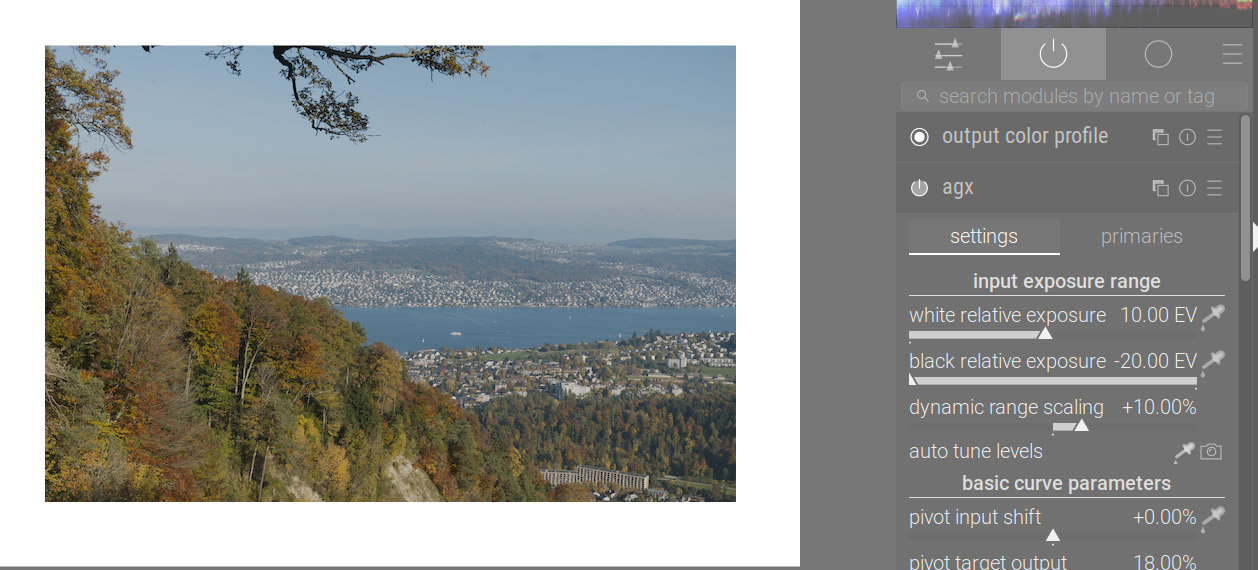
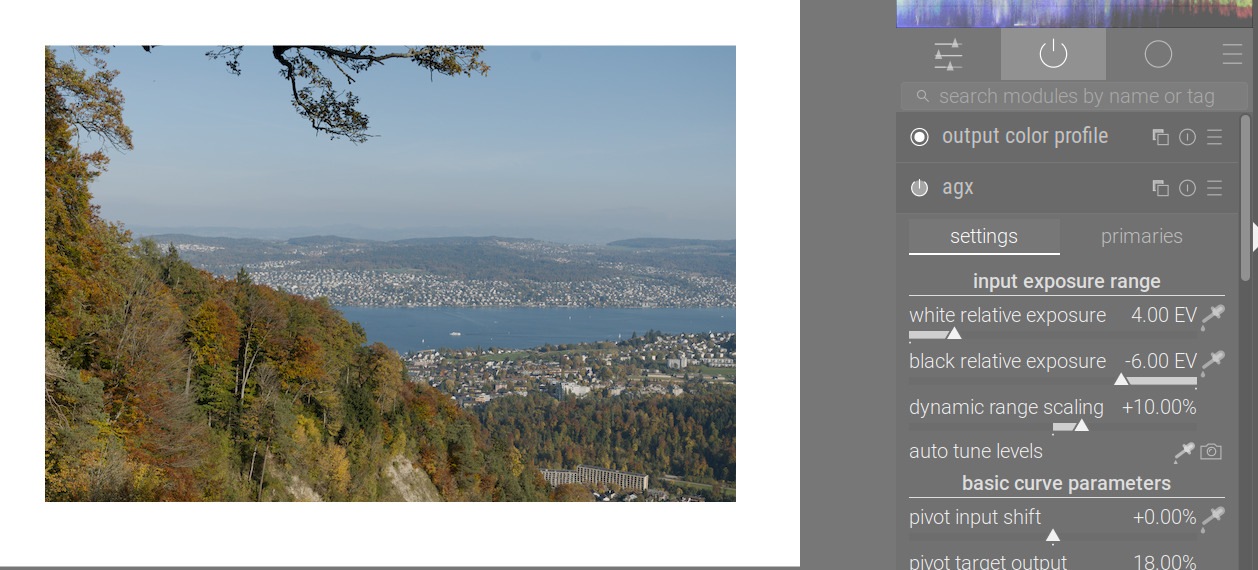
-20 to +10 EV vs -6 to +4 EV:
Contrast and toe/shoulder power are usually a lot more important.
2 Likes
I agree.
And I think AgX allows in a very intuitive way (at least for me) to quickly obtain a nice composition. The sliders were quickly understood and just some pictures later, I was already able to handle even more demanding shots.
This makes it quite outstanding compared to filmic or sigmoid. Again, for me - and without the intention of discrediting those ;-). I have worked with filmic for years now and really love its capability of doing nice pastel renditions…
2 Likes
I’ve been tied up the last couple of days. I should be able to have a windows build sometime tomorrow morning.
1 Like
Is it possible to make the clouds less blue in color using AgX, or does another module need to be used? I would like for them to be more gray.