[NOTE: Moved this from “Play Raw” to “Software ART”]
Yesterday I offered up a “Play Raw” thread (Canyon + Clouds + Biker - Roadsign = ???) which included a cyclist riding up a steep canyon road.
I thought the use of a polygon-shaped mask to make the biker stand out might be of interest to others who are delving into what ART can accomplish with its well-conceived masking tools.
In this case, I used a Local Contrast function with a polygon-shaped mask drawn around the biker.
The goal was to make the cyclist more visible, and keep him from blending into the background behind him. Here’s how the image originally came across after a straightforward B&W conversion:

I zoomed in close and drew a polygon-shaped mask under the Local Contrast panel within the Local Edit tab. Zooming back out a bit after completing the polygon trace, here’s the mask:

… I also pulled the Local Contrast curve seen to the right to its highest level across the entire tone spectrum (white line at the top of the curve). This will maximize the contrast of the masked cyclist.
Now, after turning off the mask’s visibility, here’s the result:

This masking and contrast boost has the effect of exaggerating the sun’s reflection and highlights on his shoulder, arms, helmet and bike frame. It also further darkened his shirt and tires, making the cyclist stand out more clearly against the vegetation behind him.
Before the isolated contrast boost to the cyclist, he was a small detail easy to miss in the image. With the selected contrast boost, he becomes a bit harder to miss. And seeing him helps reinforce the scale of his surroundings while adding human interest to the scene. In my opinion, ART’s ability to let me make this edit meaningfully improved the composition.
Here again is the larger scene as I cropped it @ 16:9:
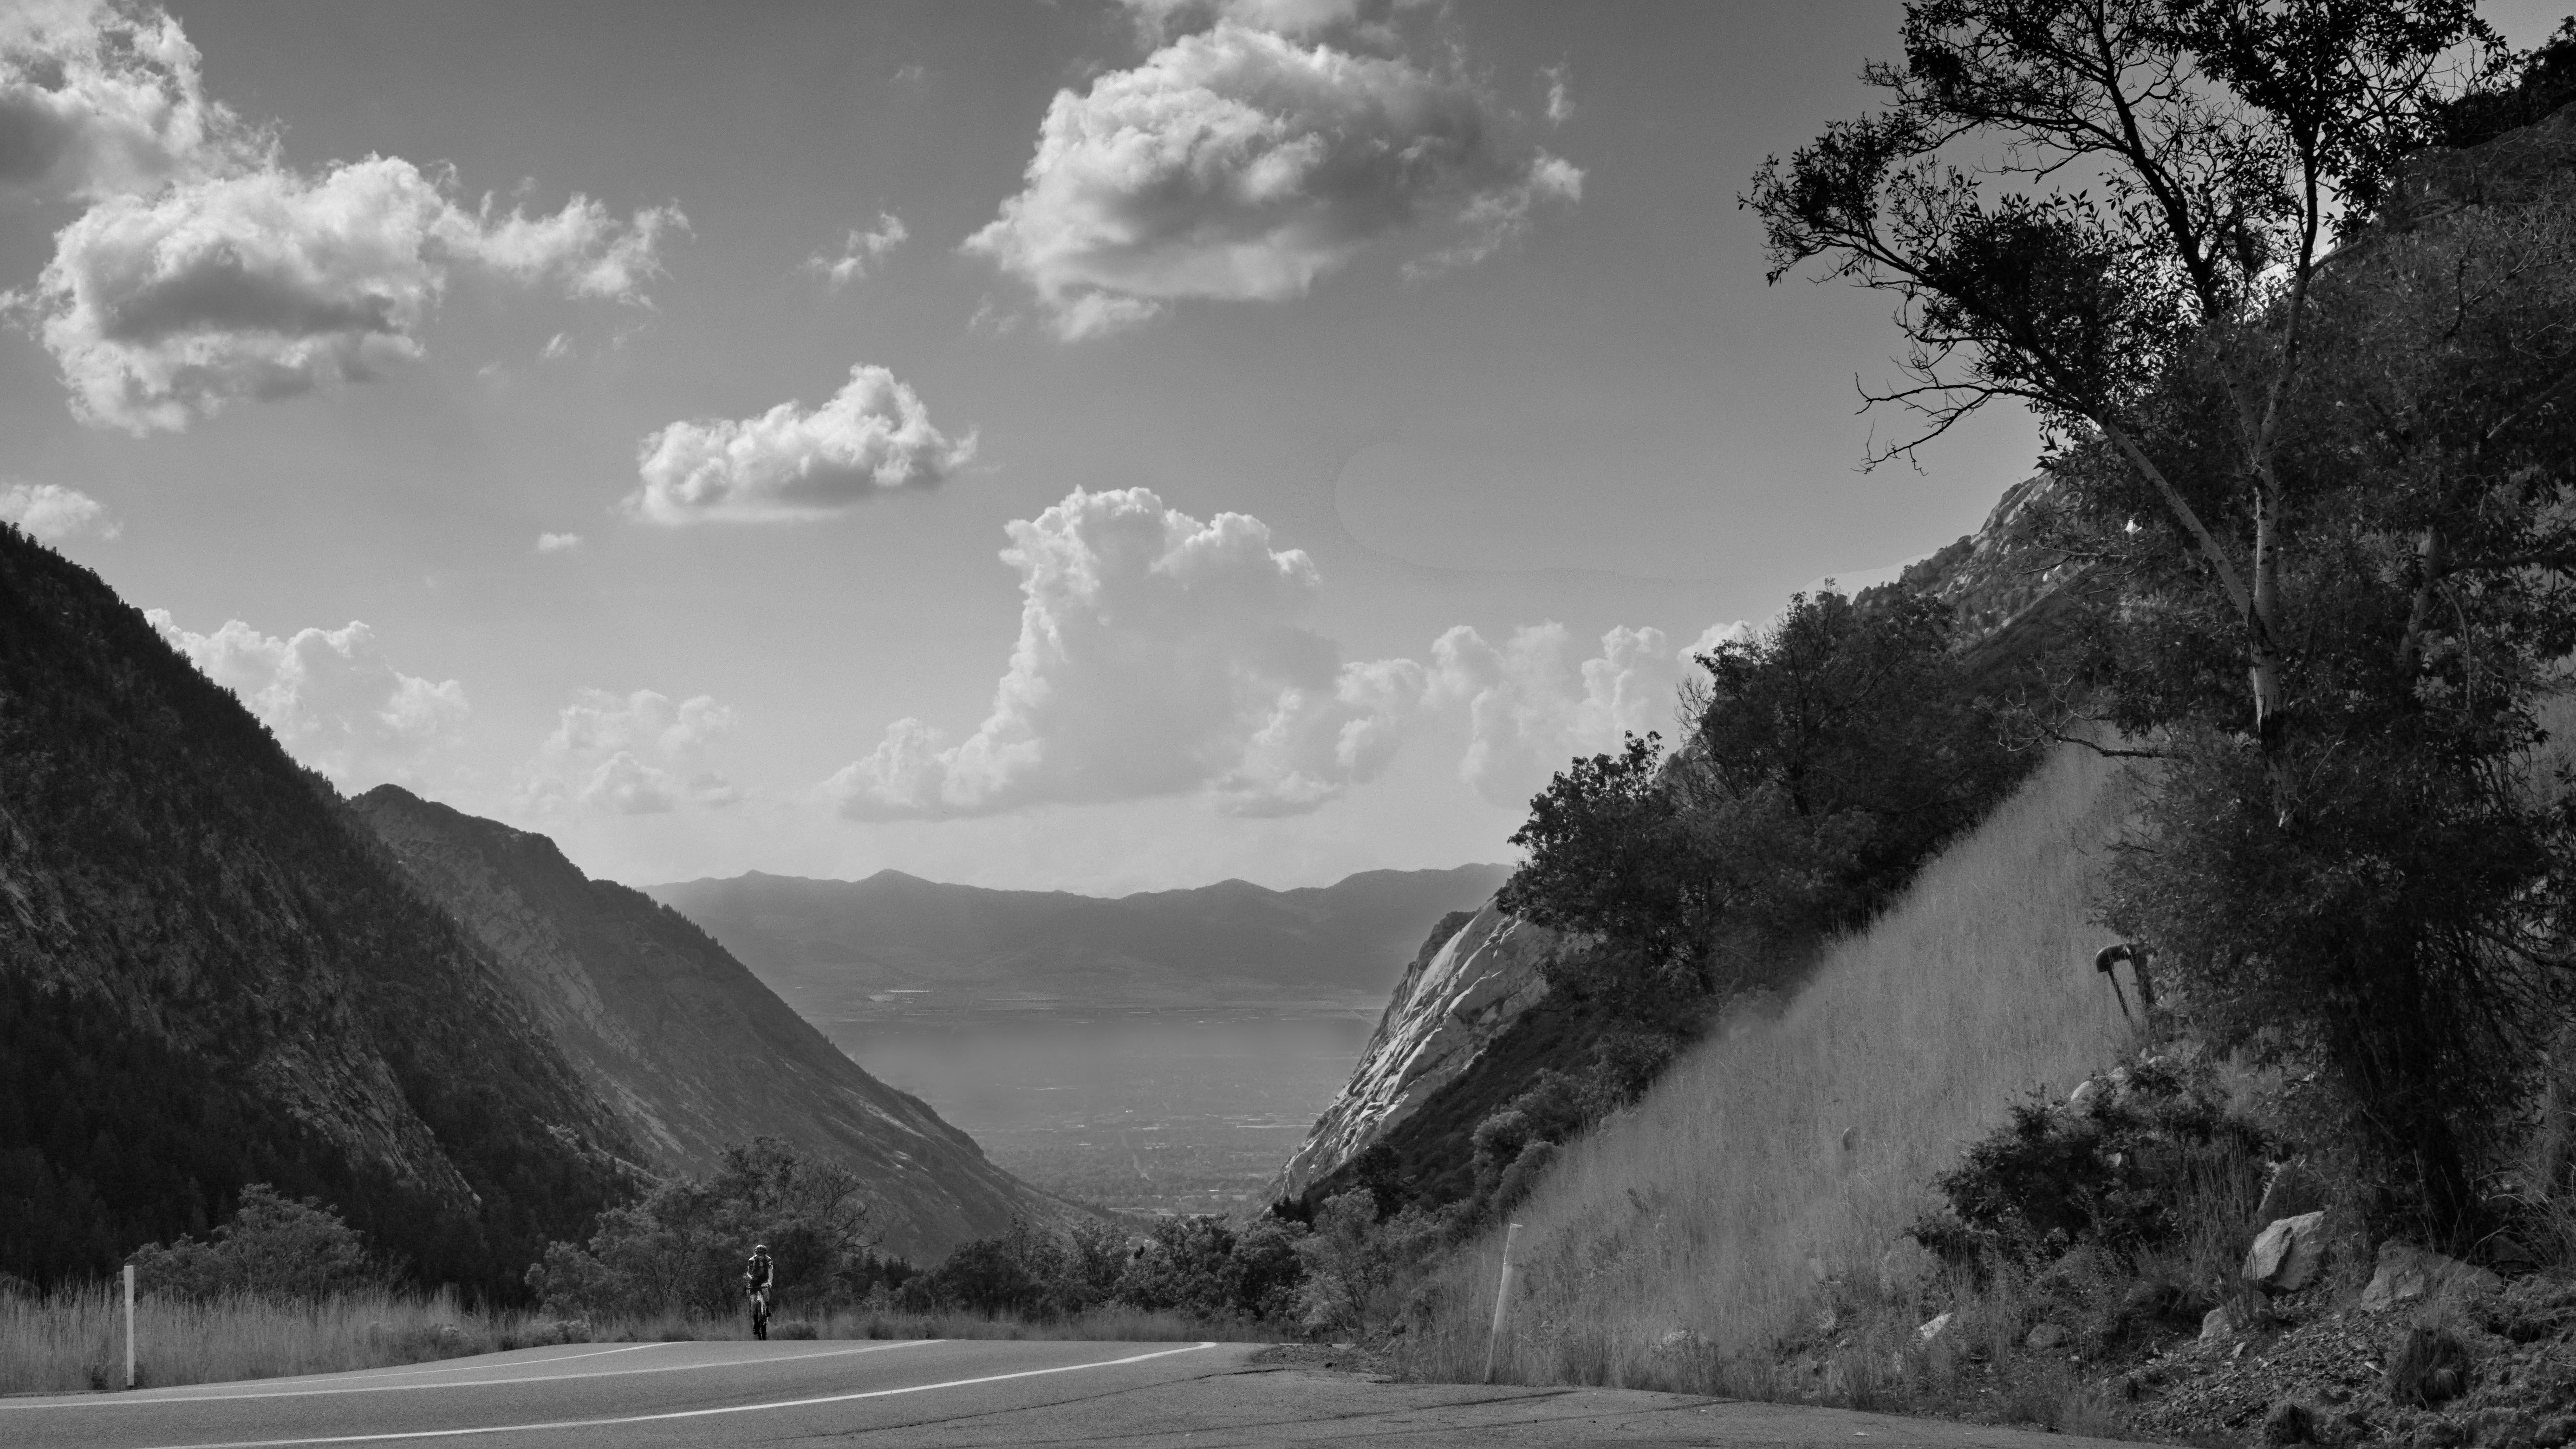
I hope this example helps others interested in learning to further exploit ART’s local editing features. Enjoy!
This file is licensed Creative Commons, By-Attribution, Share-Alike.


