Thanks @afre! Yes the black border is the result of taking a careless screenshot. Will have to live with that for now as there is stuff to do in the garden…
One more versions from me. Filmic is used with a ‘linear-looking’ setup (it’s a log - gamma chart, so it’s not linear, despite the straight line) + @sacredbirdman’s Astia profile on top of that.

1 Like
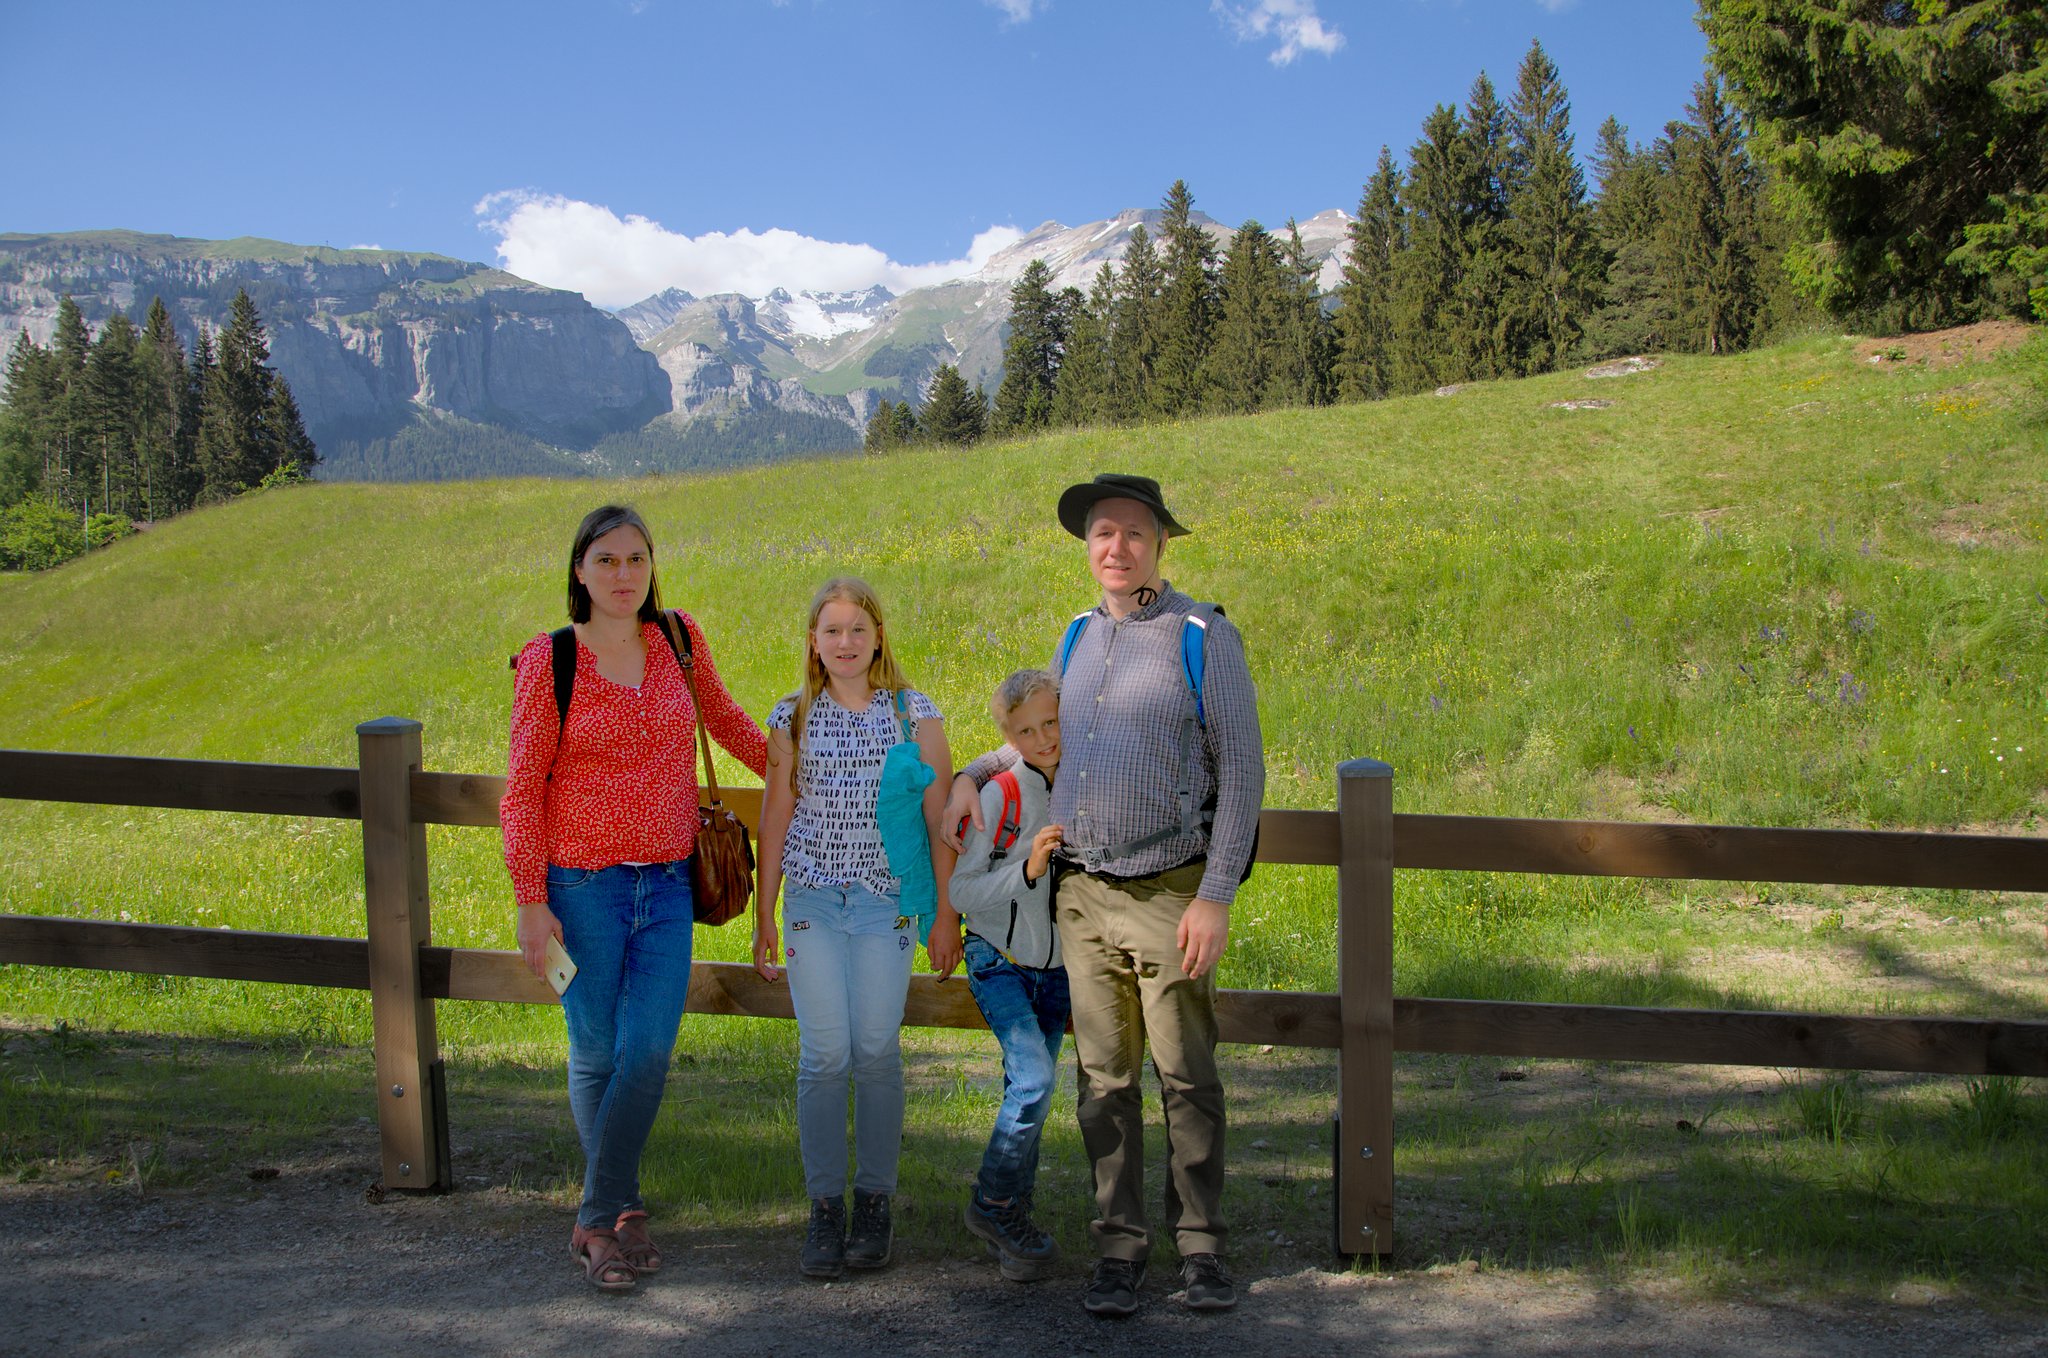
Looks better than your first attempts. Maybe de-saturate the background a bit to provide more separation from the fam.
2020-06-01_16-43-35_DSC_0252_01.NEF.xmp (15.3 KB)


2020-06-01_16-43-35_DSC_0252_02.NEF.xmp (175.3 KB)

1 Like


Sorry about the commercial / non-free tools; I only included them to show what else is out there, especially in terms of convenience.
So I had a thought. What if @kofa had a nice big flash to light his family? Where would the light fall? So I set about creating a “flash”…
First I used ellipses for each member of the family

Then I feathered them and increased the contrast

Then raised the brightness using a rgb curve targeting their values

and finally a second instance of exposure to raise their exposure a little and I fiddled with the black level to maintain contrast

This isn’t a finished edit, but now we have an image that we can start editing with
2020-06-01_16-43-35_DSC_0252_03.NEF.xmp (14.0 KB)
4 Likes

My try with RT5.8. I also like the portrait crop.
2020-06-01_16-43-35_DSC_0252.jpg.out.pp3 (14.8 KB)
3 Likes
That is a nice crop.
Here’s my quick go using mostly dodging with exposure instances. A more satisfying effect could definitely be obtained by massaging the dodging for longer. I usually use LUTs for tone-mapping rather than filmic, but you can swap that out pretty easily.

2020-06-01_16-43-35_DSC_0252.NEF.xmp (127.6 KB)
2 Likes

1 Like
A demanding one, thanks for sharing. Well suited to test the sigmoid module  .
.

2020-06-01_16-43-35_DSC_0252_02.NEF.xmp (35.6 KB)
2 Likes
It’s tough walking the fine line between making the family visible and keeping the whole scene looking natural.
I used RawTherapee Dev and whole image spots to darken the grass, trees, and mountains, then one to lighten the family. I downloaded the LUT I used from here https://freshluts.com/luts/683 and converted it for use in RawTherapee.
 2020-06-01_16-43-35_DSC_0252-2.jpg.out.pp3 (22.2 KB)
1 Like
I am quite pleased with the result, hope those in the image like it.
100% done in darktable 3.5.x a dev version. I know its customary to explain how I achieved this, but it would take too long, cos I end up writing a lot of details. But its 100% darktable.
It might be more productive to understand my broad logic for image editing, in dt, which I’ve outlined here, and its how I edit any image :
A process that starts with global changes and moves on to local changes, and then minor changes to both local and global until the image is completed.
For this image. To address the problem areas
-
Reduce highlights - with an instance of color-balance rgb + parametric mask(on grey level). This gives more headroom to brighten the whole image with exposure module., which also brightens the dark areas a little bit. - using highlight luminance slider - negative value.
-
Lift shadows, with an instance of color-balance- rgb + parametric mask (on grey level) - using shadow luminance slider - positive value
-
Brighten the people
a) A 2nd instance of exposure mask, which has a shape drawn mask, shaped around the people. Make this invisible, by feathering and mask blur so it blends in. -
Brighten their faces a bit more. Just a bit more with a drawn mask on faces + another instance of exposure. This is really important, but done with taste, so its not visible. Like a ray of sunshine.
-
Adjust filmic and exposure (3rd instance with no mask), to taste, before and after steps 1 to 4.
Xmp is attached. I think there is much value in explaining the principles, cos that way, advanced users who need no explanation can find what they need in the xmp, and others who need a bit more assistance, obtain a better grasp - much better than just dumping an xmp at them, for them to figure it all out by themselves.

2020-06-01_16-43-35_DSC_0252.NEF.xmp (46.7 KB)
1 Like
The usual custom is to include the xmp file from darktable so people can load it into their own copy and see what you did. Unless of course you’re using non-merged modules like sigmoid (though you could still include it anyway).