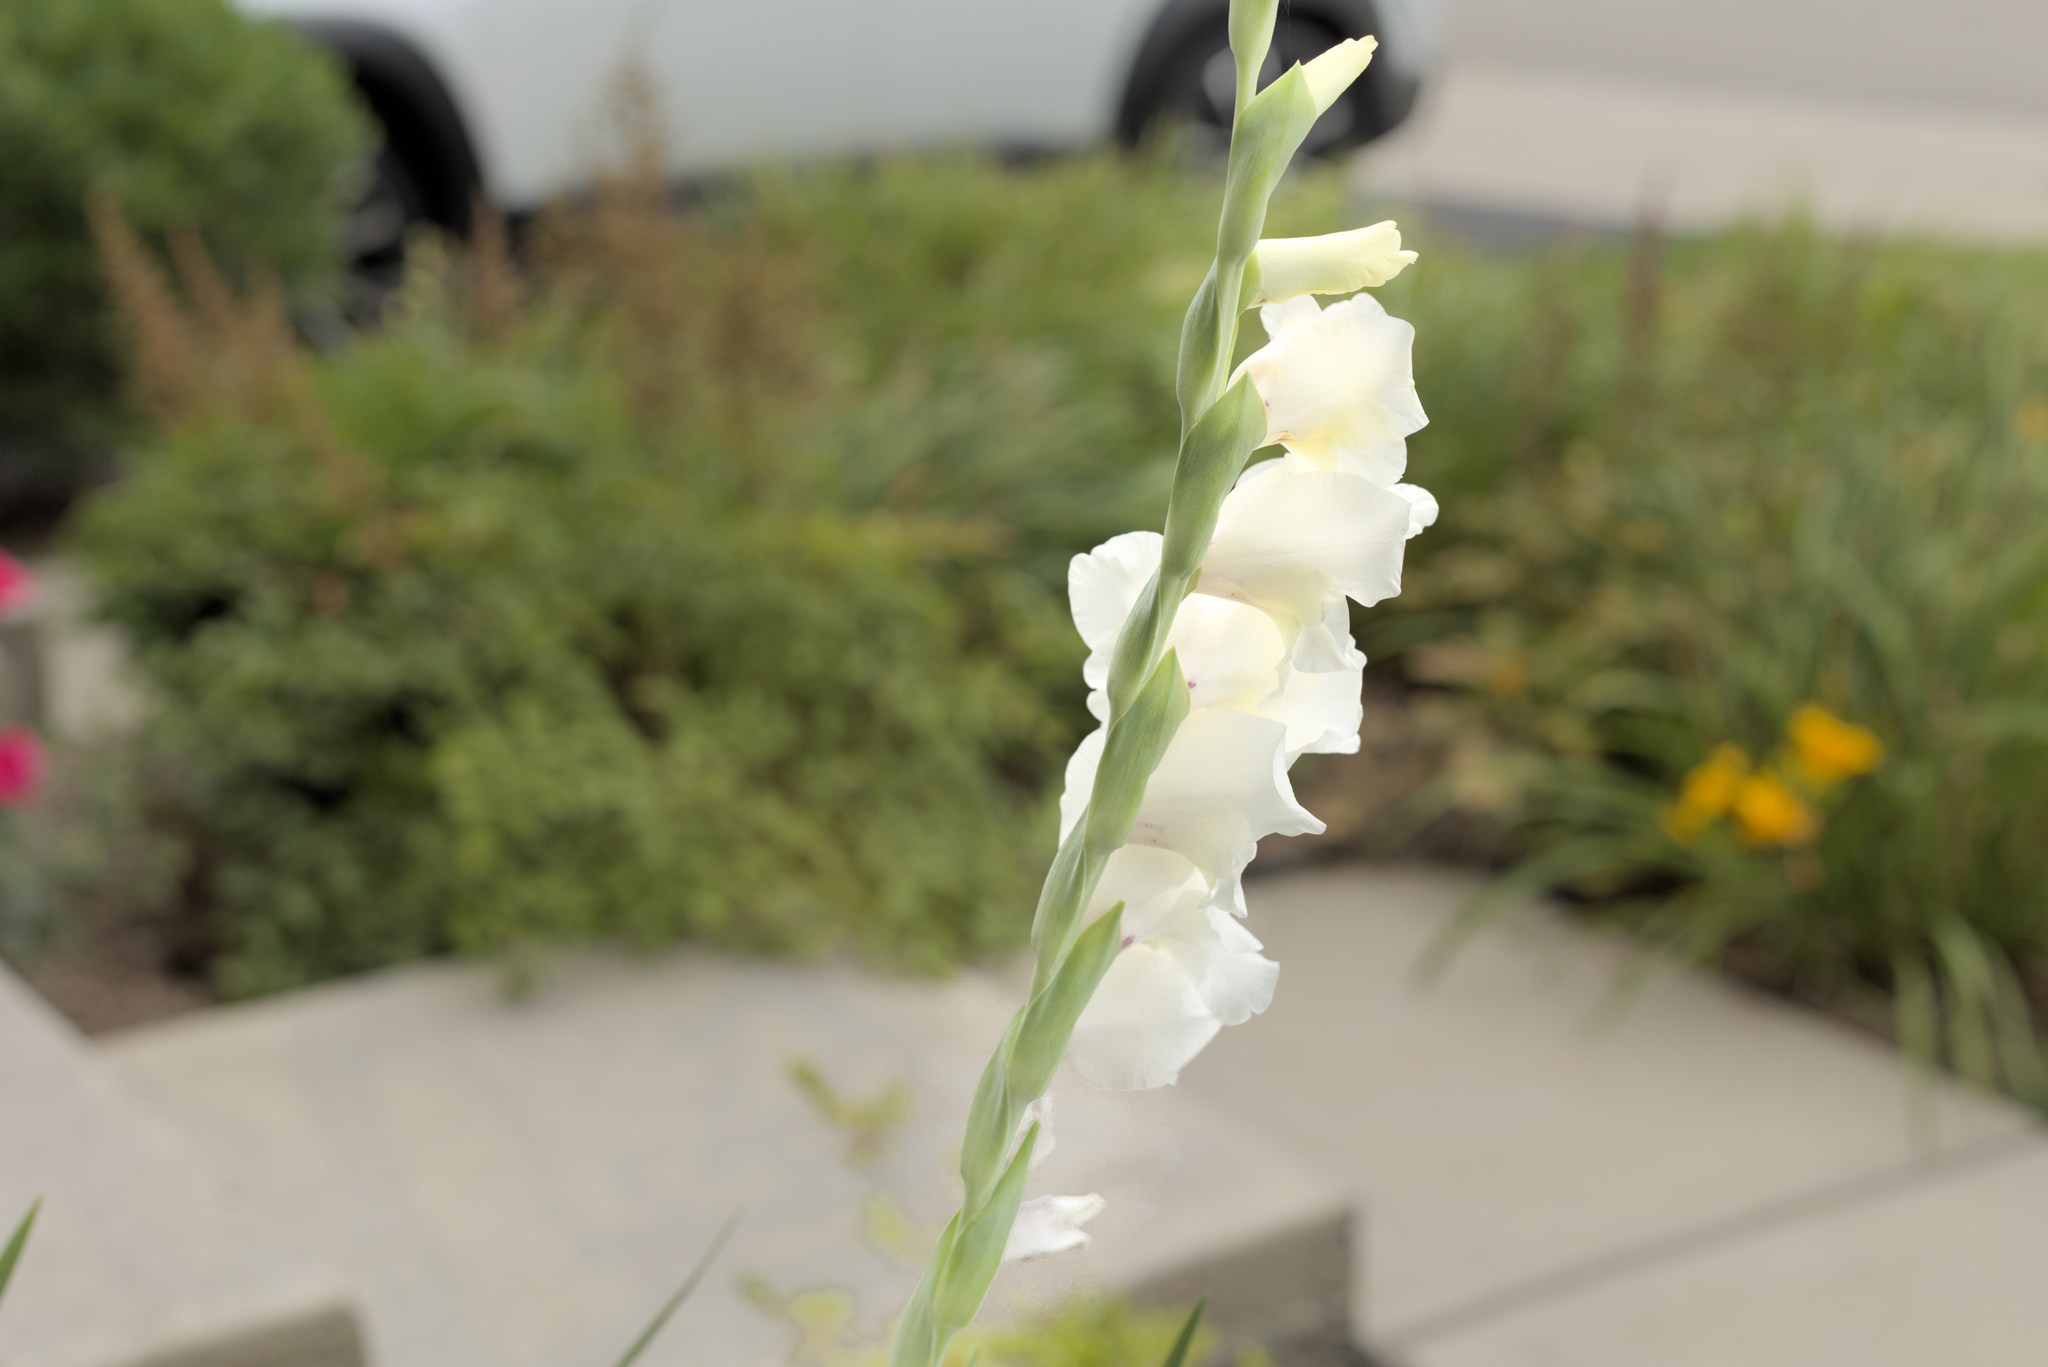
I took this pic today afternoon in my front yard! Its partially overcast day today here in New Jersey. I wanted to darken everything else but the white flower and its stem in the front. Having green in the background am not sure how to mask the flower and the stem. I could have used path but that also didnt give satisfactory result. Anyone wants to give a try? _6I_8540.CR3 (8.3 MB)
Rough and ready, proof of concept, not a finished image, but I have done this…
<Oh! I have uploaded a jpg and an xmp, but can’t see how to insert them in the post. This is my first try. This forum platform does not always play well with my Pale Moon browser>
I selected the stalk with just a brush stroke and increased feathering radius.
I selected the flowers with some parametrics and a drawn path to exclude the unwanted bits.
Did some stuff for path and sky too.
I did it all with exposure modules, but Colour-balance RGB might have been better. I’d like to deepen the green of the stem.
I created a second instance of exposure and drew a path around the flower with very small feathering
I then returned to the first instance of the exposure module and darken the image for the background. I returned to the second (masked) exposure instance and brightened the flower. Note that the transition looks obvious and bad.
I then adjusted the feathering radius to try and get an invisible transition. This usually works. I was happy with the flower against the greenery but not the concrete path. So not really a 100% success. An easier way to solve this problem would be in the camera by using flash to light the flower while leaving the background in a darker state. Even the built in flash can be used to achieve this easily.
Can some one remind me. I think there is a way to draw an open path is there not?? Other wise I wanted to tweak the smoothing as noted in the 4.6 manual for a brush stroke but I could not longer find that in preferences… I’ll take another look or maybe its in darktablerc… ??
What is an open path? I use the drawn path most of the time and I rarely use the brush stroke. I love the drawn mask tool. I usually use it with very minimal feathering during the drawing and later feather using the slider.
It is basically a brush stroke in the end but with a bit more control as you can add the points where you want…then you can expand or contract each individual point with the mask feathering fairly high you could draw a line down the flower and fill it to the edge from the middle out… I tried with the brush stroke but it was creating too many nodes and I just wanted to place about 10…
Has an open path ever been an option in DT. I must admit I like the way a brush can be used in LR to add to a selection and then it can also be used to rub away a selection by inverting the action of the brush. But overall I will take the masking options in DT over LR any day.
A brush can be an open path, no? And you can move and .manipulate the vector points after having drawn it… Sort of lime erasing, but not as slick I guess
Ya when I set the smoothing to high it was much better… had to go in the config file to do it…The manual might imply it’s in the preferences but I couldn’t find it after a couple of runs through the screens
I ask myself, if most of the time a less accurate masking isn’t the better one, because it usually leads to a more natural look. I don’t like the path tool very much. I find it quite irritating that it is often making curves where I don’t want it. Therefore I usually prefer the brush and use the knots to adjust the mask afterwards.
one is, you can add multiple paths of the same kind:
Ctrl+click on the shape icon to continuously draw multiple shapes of the same type – each time a shape is completed, you will re-enter creation mode for a new instance of that shape. While in continuous creation mode, right-click on the image to stop drawing shapes and enter edit mode. darktable 4.9 user manual - drawn masks
while editing the path, before adding the next point, you can control-click to add a sharp corner: