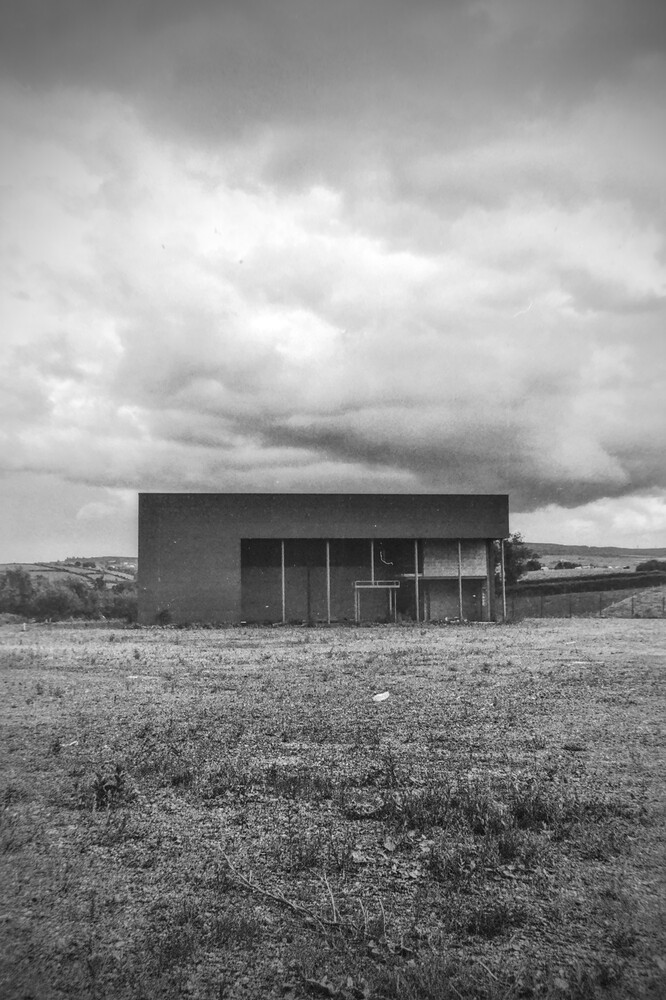
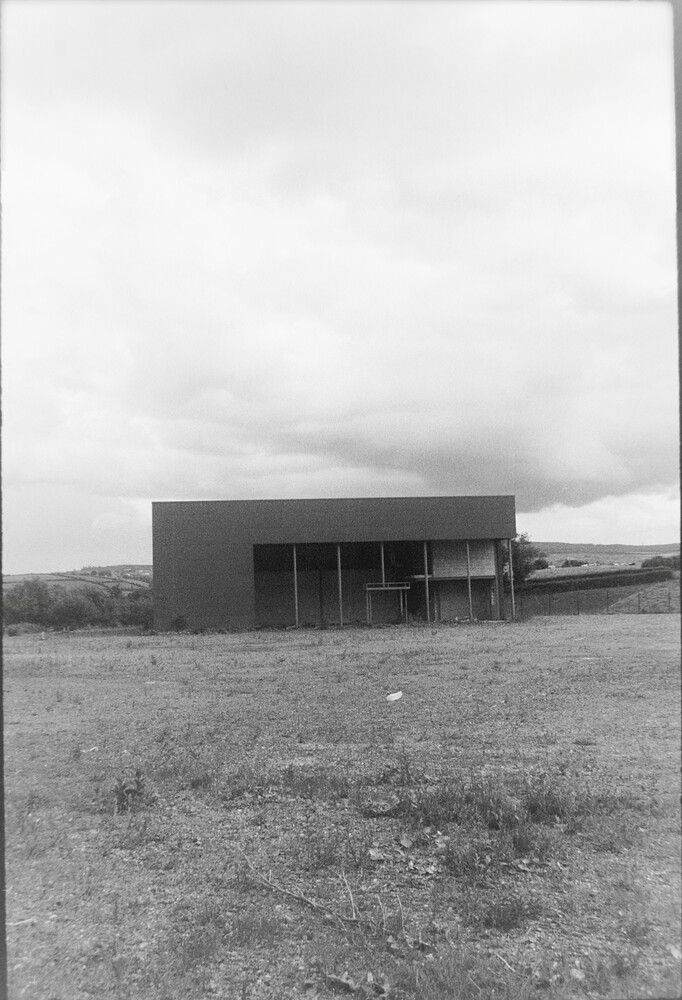
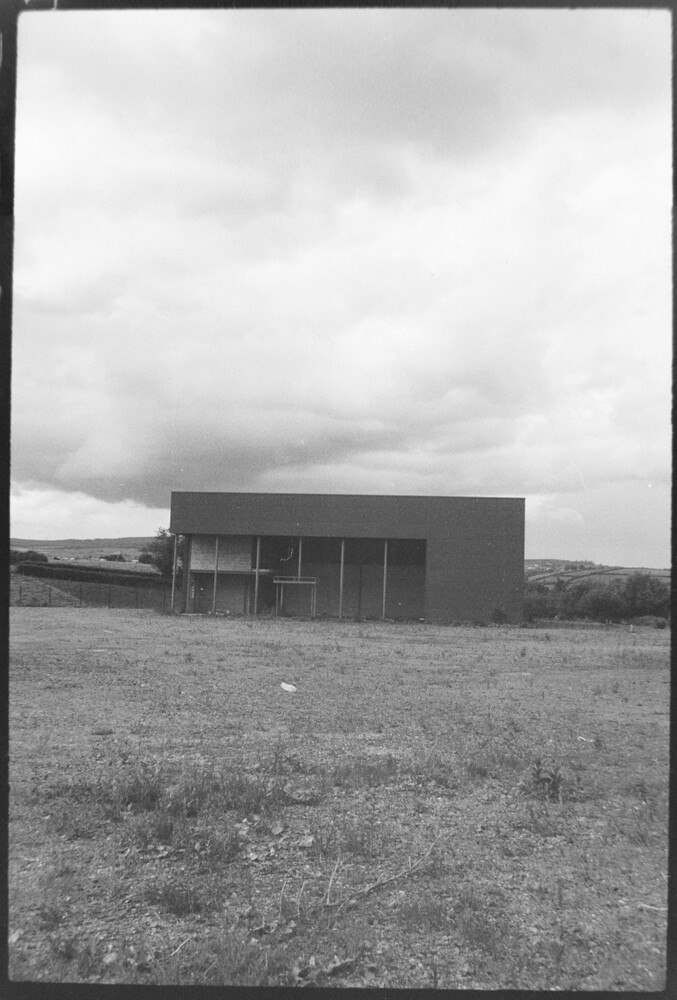
Whoever makes the least moves wins.
Ha! Well, a simple negate, rotate and crop would do the job. And then prettify if we want.
But this shows some technical issues.
The photograph of the negative could be sharper. I suspect a slight mis-focus.
The tiff image has been processed by Microsoft ICE. I can’t see why.
The tiff file is only 8 bits per channel. This has probably lost precision. I would expect 16 bits per channel. It is always better to start from a raw, of course.
The photograph of the negative shows the illumination of the negative is uneven. Shadows in the building are lighter than the margin around the original image. The corners are darker then the centres of the edges, and the left is darker than the right. This area, which is outside the original photographed image, should show as a constant colour. Ideally, it would be white. If it isn’t white, and especially if it isn’t a constant colour, then we can expect that problem is also present in the picture area.
Ideally, when scanning or photographing negatives, also take a scan/photo without any negative present, or an unexposed but developed film, so we have only the illumination. That can be used to correct the uneven illumination.
Instead, we can use the area that is around the edge of the original photo. From that edge, we interpolate the area where the original photo is. The result is an estimate of what a blank file would look like. Divide the image by that, and we have corrected for the uneven illumination.
We can model the light falloff. Examining pixel values in the margin, the light seems to be strongest at about x=70% and y=50% of the original photo. Perhaps the illumination is v=k*cos(alpha) where alpha is the angle subtended at the light source between the pixel in question and the illumination centre, and k is some constant.
The exposure by the film camera was great for capturing detail in the clouds, putting them in about zone V, but:
Kinda getting to where I want it tone wise but this was a very bright sunny day and really wasn’t looking that overcast - expecting a bit more pop.
The -sigmoidal-contrast 4.0,20% increases contrast around the 20% mark; pixels darker then this are made darker, and lighter pixels are made lighter. This makes the sky too light for my taste, but other tastes are available.
Windows BAT script, using ImageMagick:
set SRC=24-07-27_MG_2670-2672_icestitch.tif

set LX=0.7
set LY=0.5
set LampDist=0.6

set sFX=^
  ii = i/(w-1)-%LX%; ^
  jj = j/(h-1)-%LY%; ^
  dd = hypot (ii,jj); ^
  ang = atan2 (dd, %LampDist%); ^
  cosang = cos (ang); ^
  cosang * 1.1

%IMG7%magick ^
  -quiet ^
  %SRC% ^
  +quiet ^
  -define quantum:format=floating-point -depth 32 ^
  -alpha off ^
  -colorspace Gray ^
  ( +clone ^
    -fx "%sFX%" ^
    -write x.tiff ^
  ) ^
  -define compose:clamp=off ^
  -compose DivideSrc -composite ^
  -write x2.tiff ^
  -transpose ^
  -negate ^
  -write x3.tiff ^
  -crop 3625x5349+746+40 +repage ^
  -auto-level ^
  -auto-gamma ^
  -write x4.tiff ^
  -sigmoidal-contrast 4.0,20%% ^
  -write x5.tiff ^
  -resize 1000 ^
  x5.jpg
Each -write x?.tiff is so we can see intermediate results. The result, x5.jpg, is:


